Shrimp with Homemade Cocktail Sauce


Who doesn’t love shrimp cocktail?  Nobody…unless you’re allergic to shrimp I guess.  I actually know someone who’s allergic to shrimp but loves it so much that once in a while he takes a bunch of benedryl and eats shrimp…now that’s some shrimp dedication right there (I don’t recommend doing this by the way).

Here are your ingredients for the perfect shrimp cocktail…

2 lbs – peeled (except for tail), de-veined raw shrimp
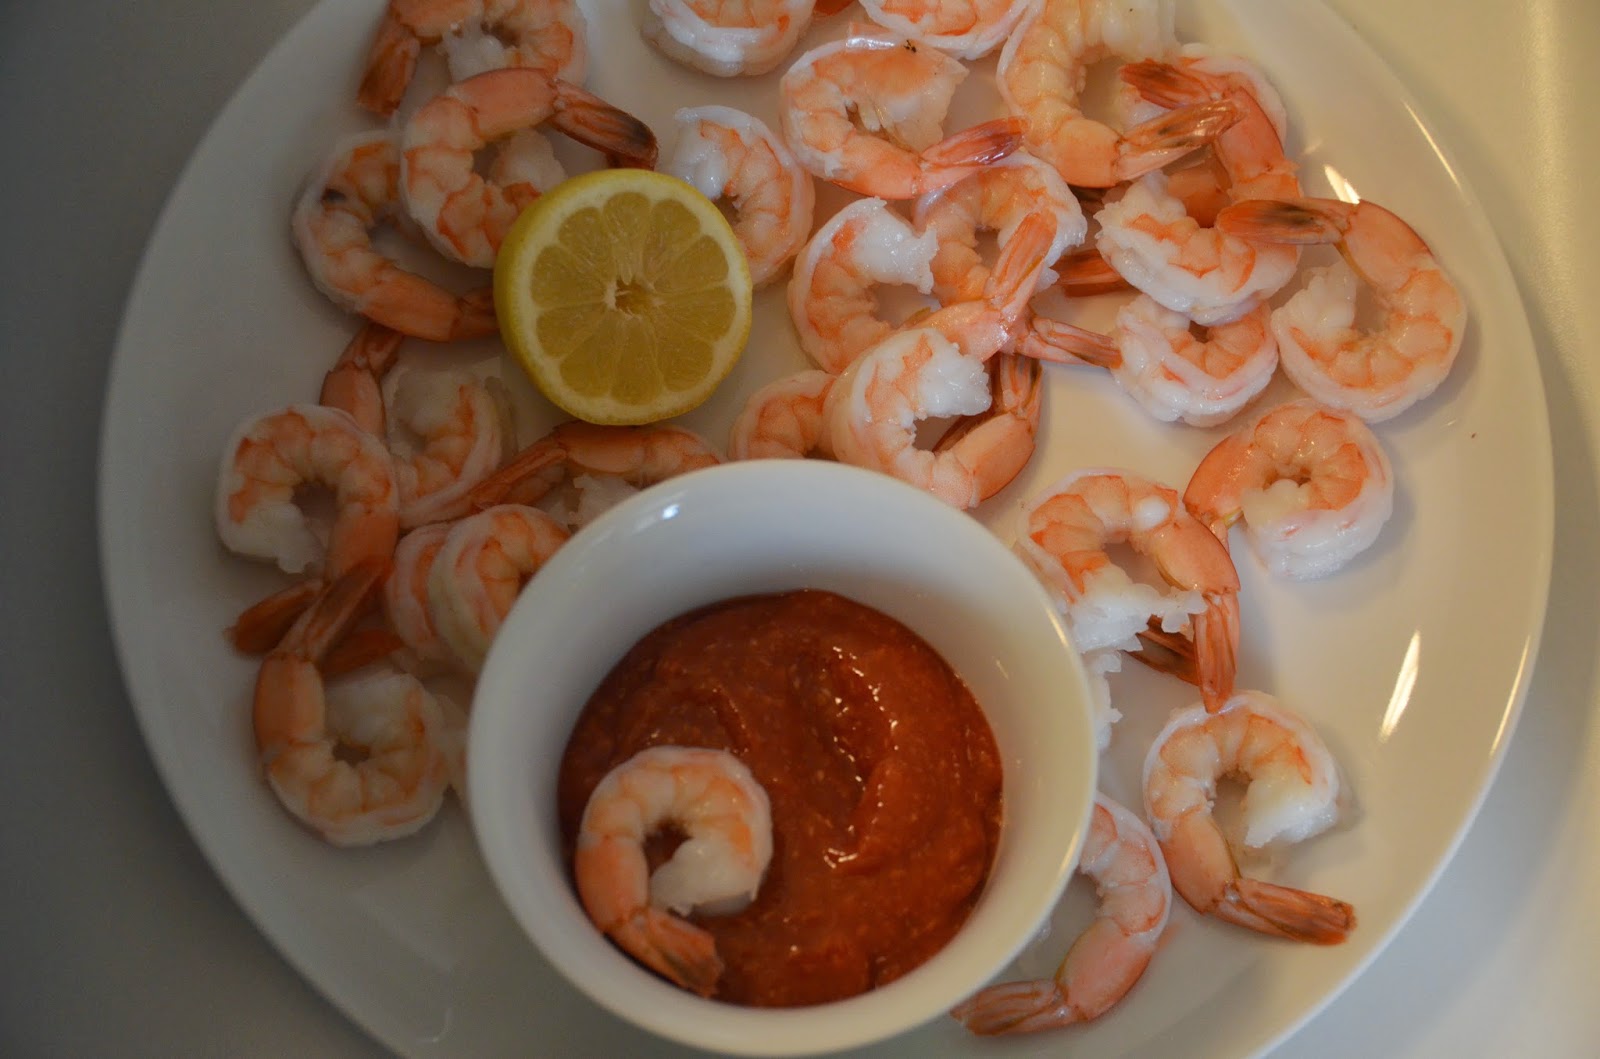
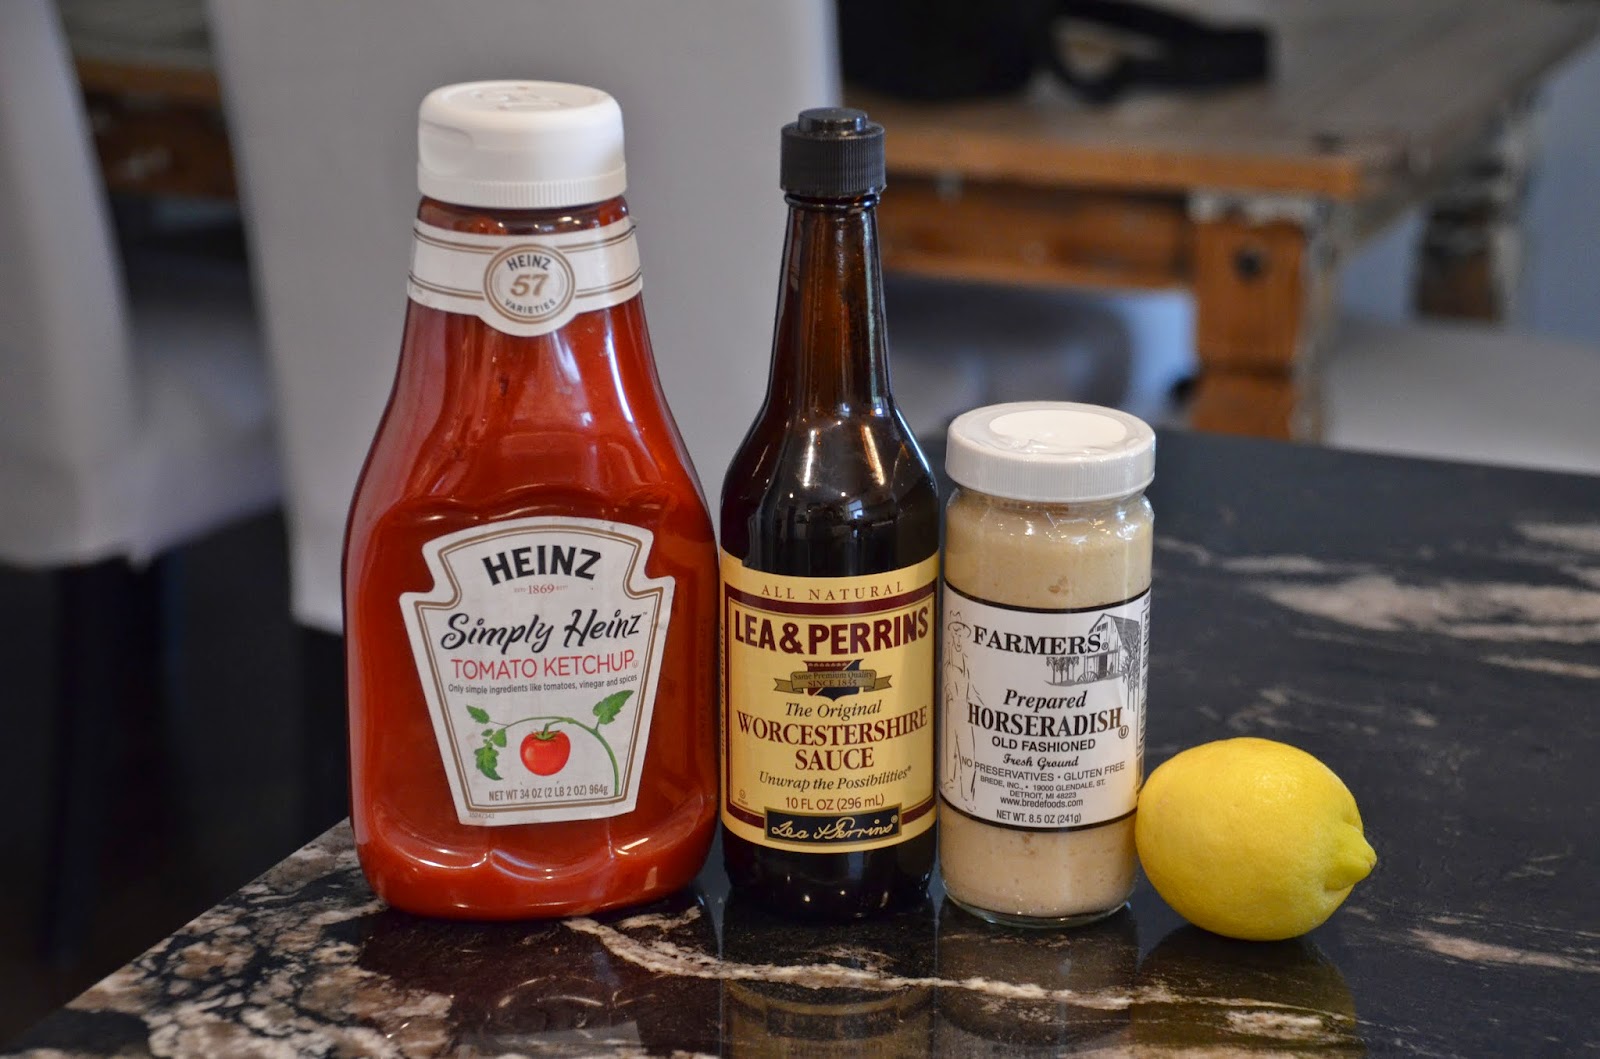
2 cups – ketchup
3 tbsp – worcestershire sauce
2 tbsp – prepared horseradish
1/2 lemon, juiced

If you serve shrimp cocktail at a party everyone gets super excited…people say to themselves, “oh look!  shrimp cocktail…this is going to be a great party.”  You know it’s true…you never have leftover shrimp cocktail after a party, even if you make 500 pounds of it.

I also love to make shrimp cocktail as an appetizer when I’m really hungry, shrimp has virtually no fat and no carbs but it’s packed with protein…this is good news for me because I can eat a boatload (get it?) of those little suckers!

Now let’s talk about buying shrimp…you can get shrimp in all different forms and sizes.  Peeled, not peeled, peeled except for the little tail, de-veined, not de-veined, peeled and de-veined, cooked, raw, frozen, not frozen…the list goes on and on.  You can get really big shrimp or little bitty shrimp or something in between.  Just cue the Forrest Gump scene already…

I have three rules for buying shrimp that will be used for shrimp cocktail… they must be raw, they can’t be little bitty and they must have the tail still attached.  You can get some really good deals on frozen shrimp these days, especially if you’re willing to do the de-veining.  De-veining shrimp is SO easy, don’t be afraid to do it…


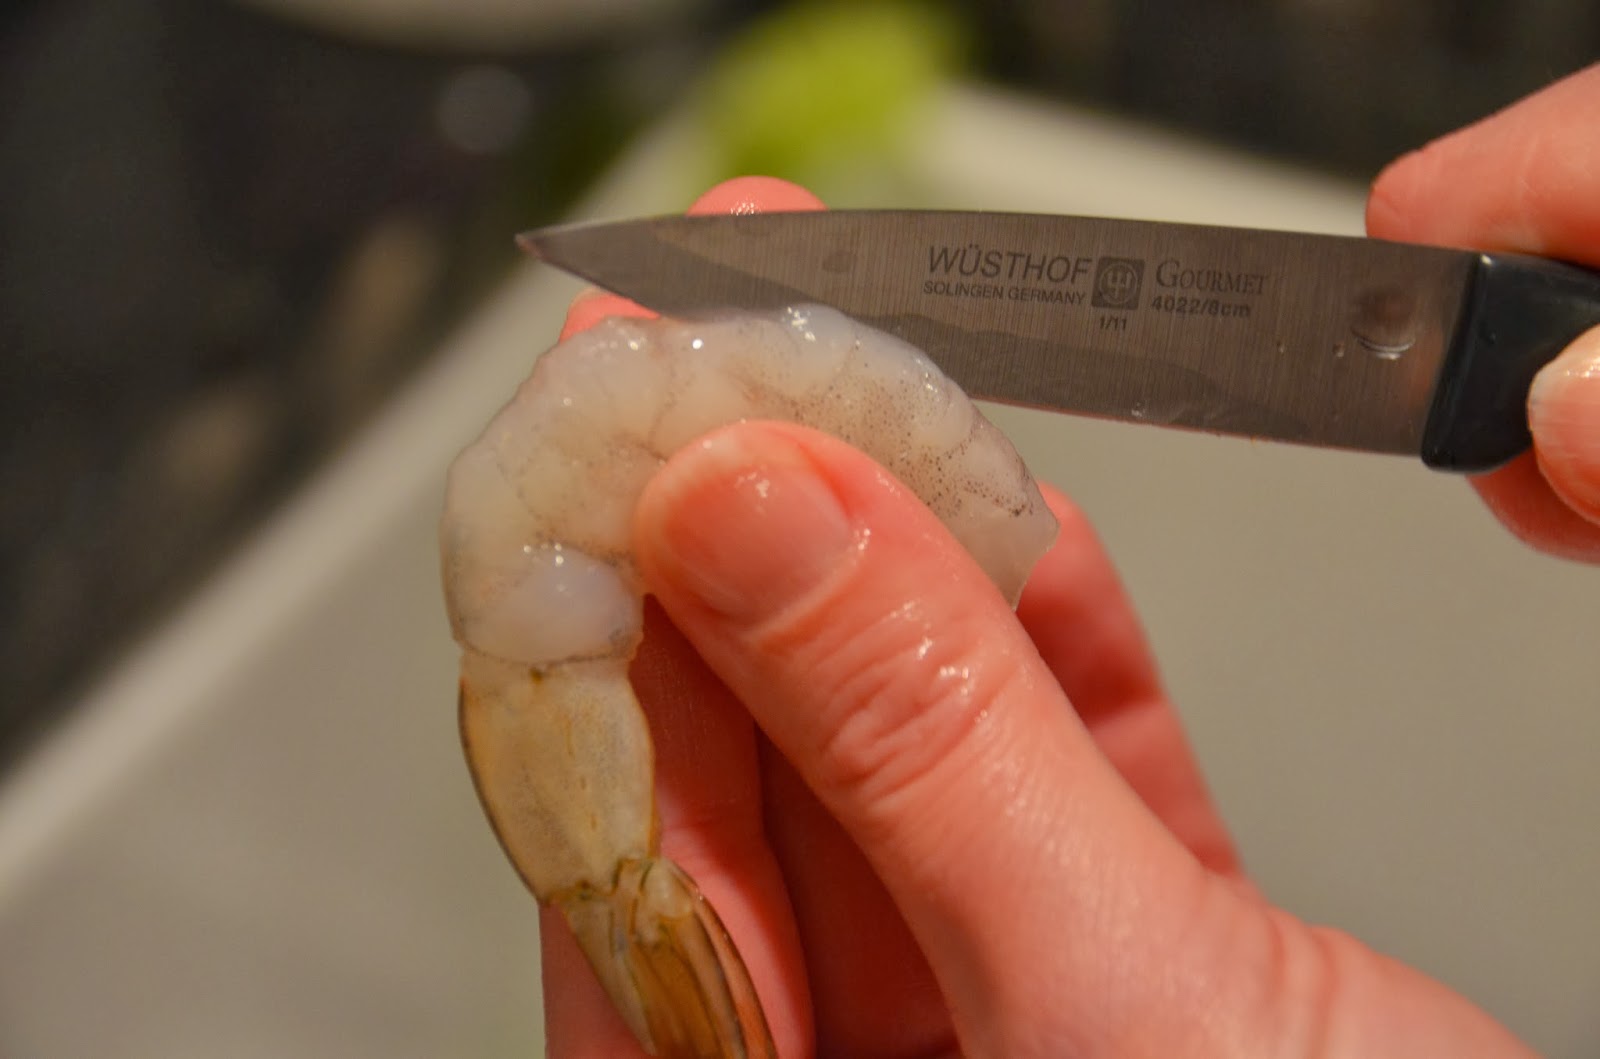
click here if you need instructions, and then just scroll down to the shrimp photos.

I would NEVER recommend buying already cooked shrimp…because it always sucks.

To cook your shrimp, get a large pot of water going on the stove.  If you bought frozen shrimp, thaw it under cold water before cooking.

Once the water is boiling add your raw, tail-on, de-veined shrimp to the pot.


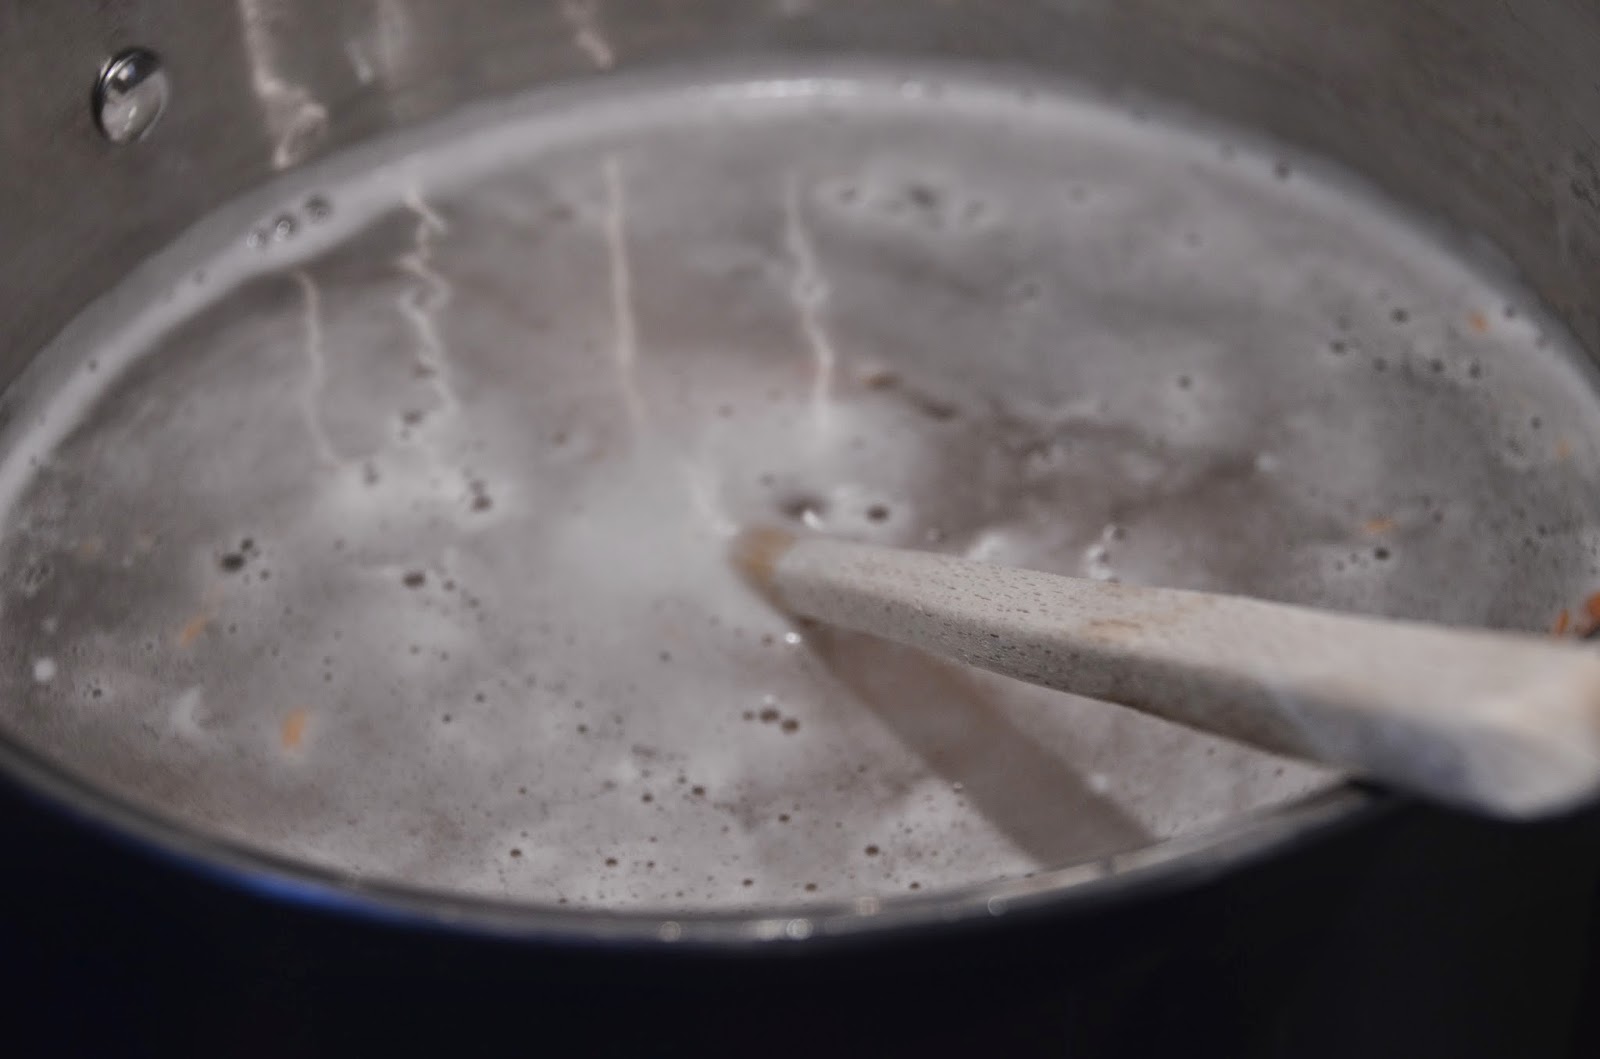
The water will get a little foamy…that’s normal.  Stir the pot with a big spoon for one minute and then get those things out of the pot immediately!  

One rule about boiling shrimp…when you think they’re done, they’re already overcooked.  Unless you are boiling prawns (very large shrimp) one minute is all they need.

Pour the pot of shrimp into a strainer.


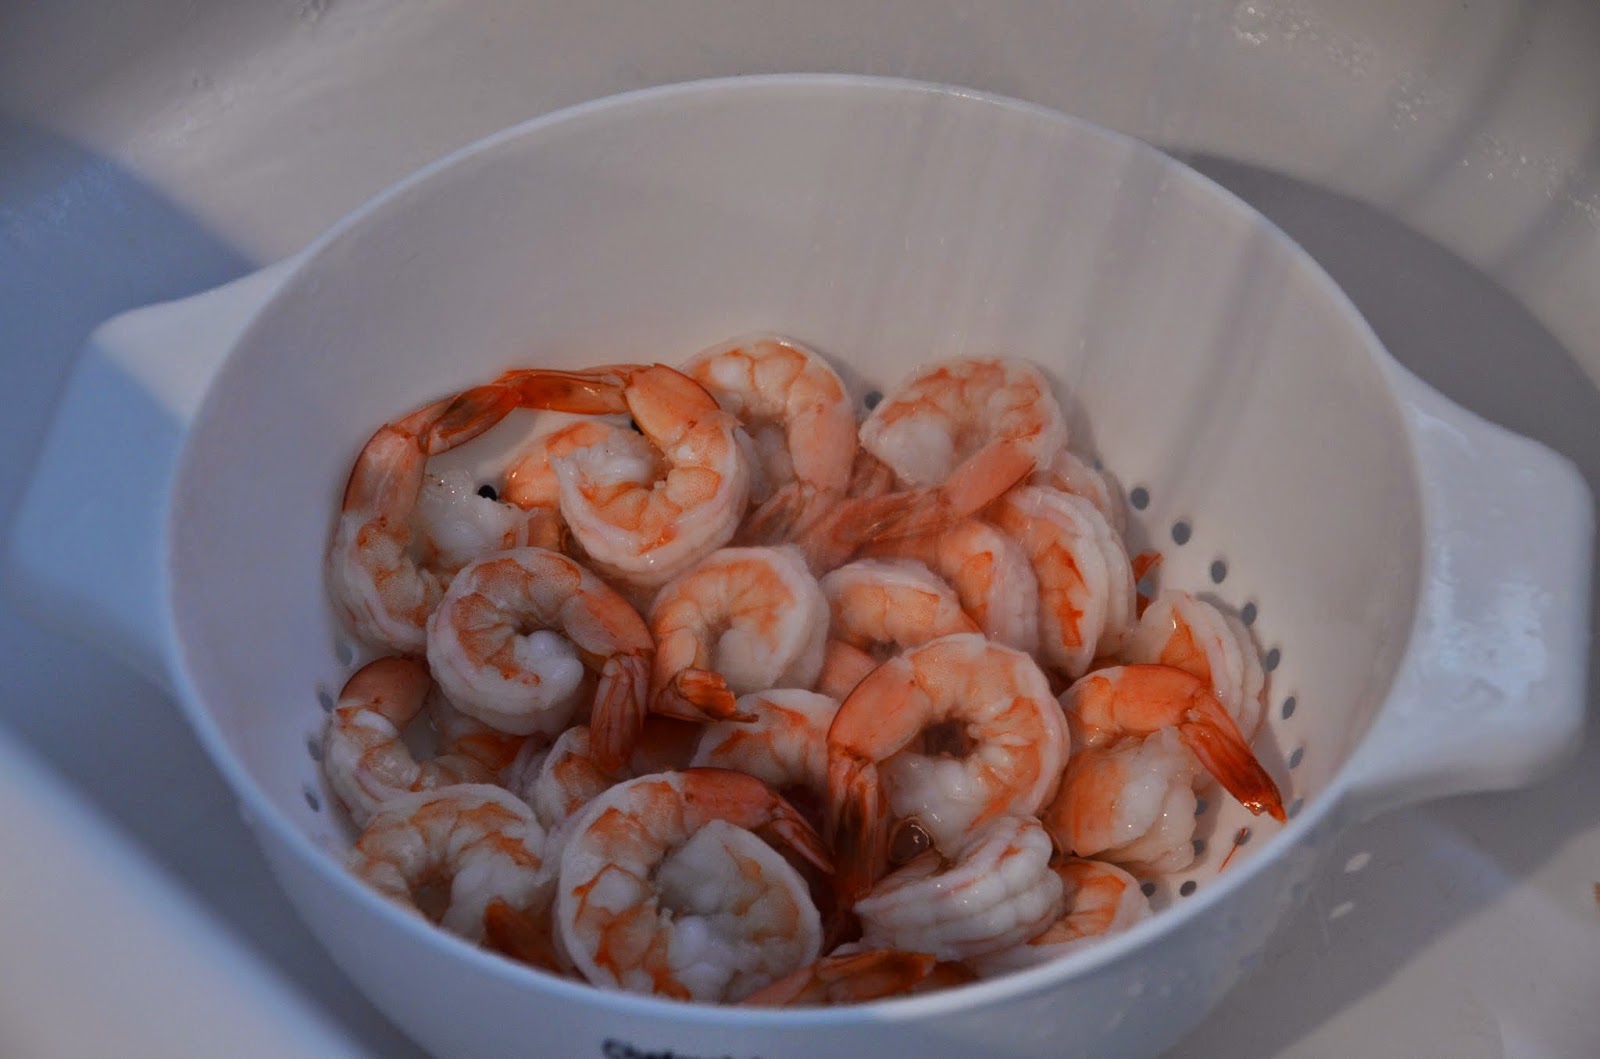
And start running cold water over them…


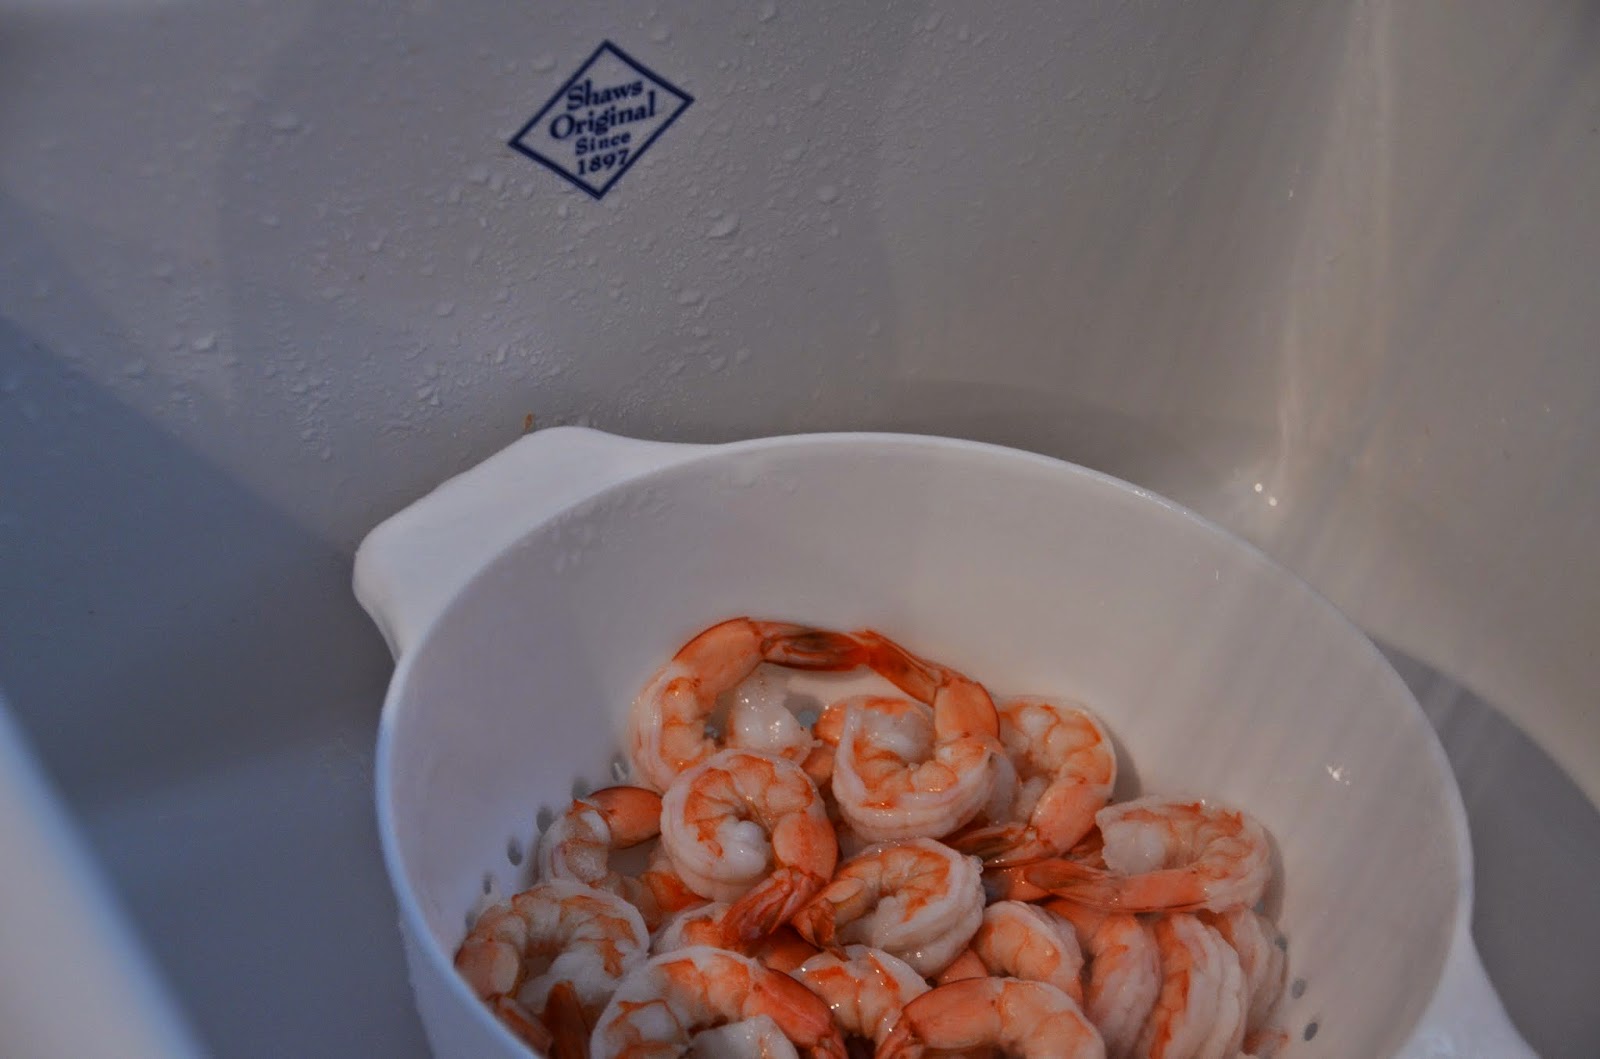
Now set the strainer on a plate to catch any access water and put the whole thing in the refrigerator to chill some more.

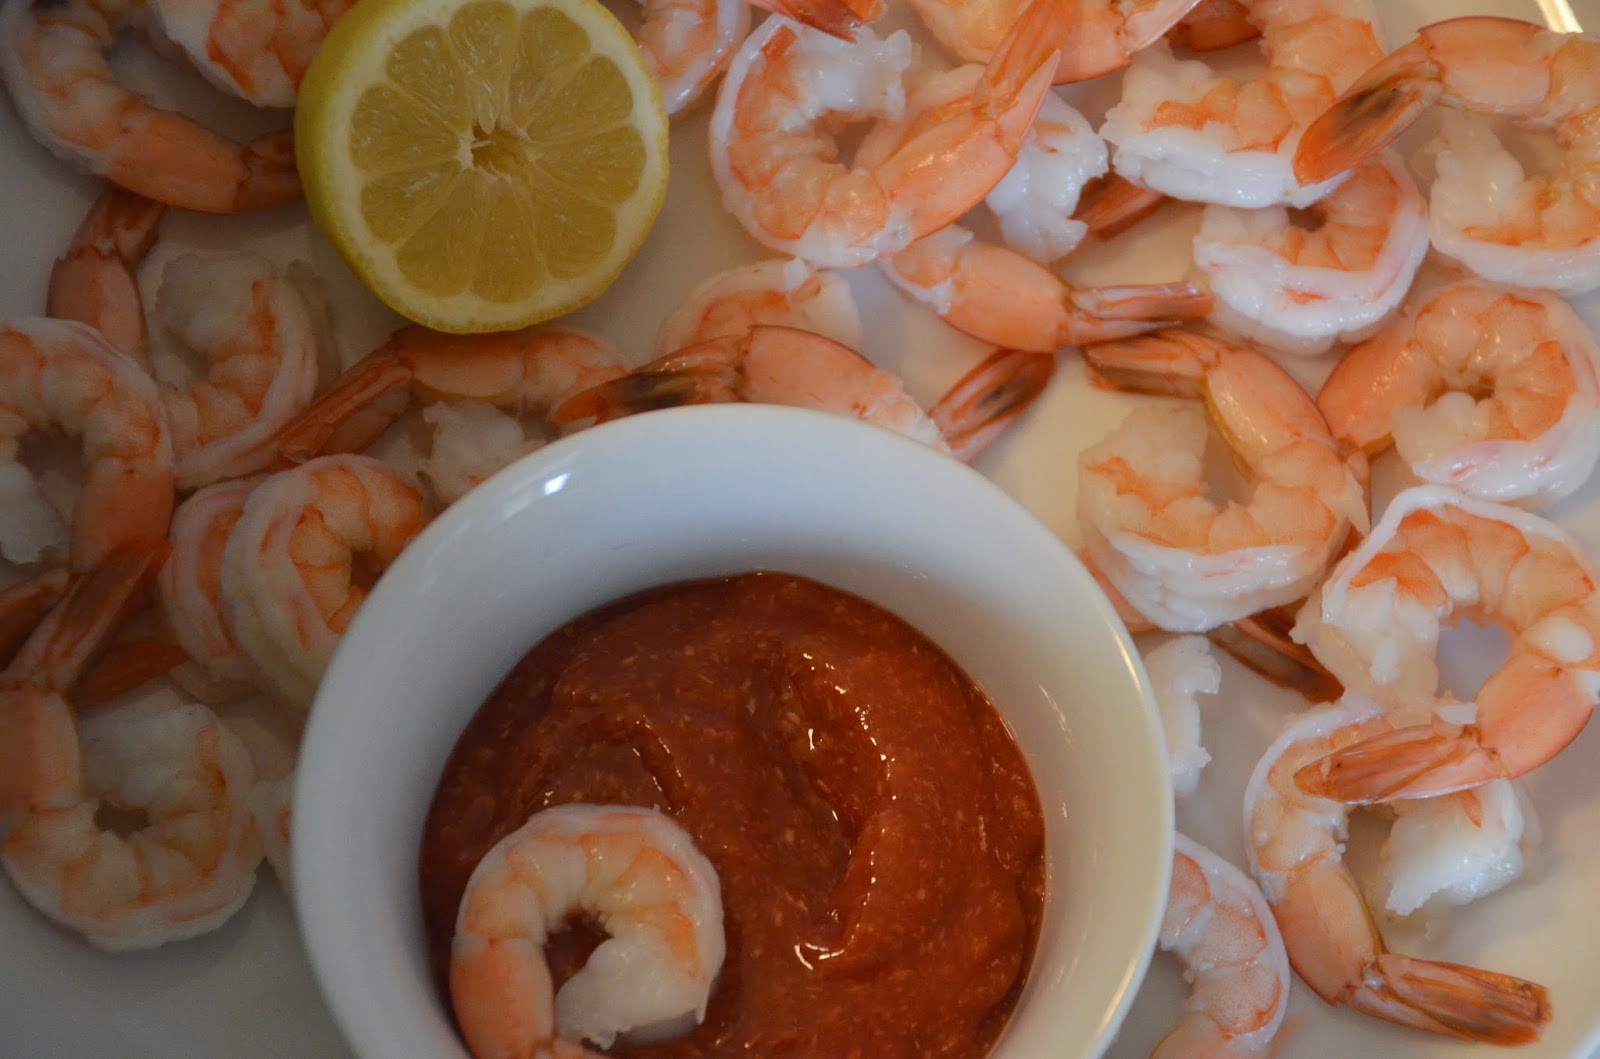
Time to make the sauce, here is what you need…


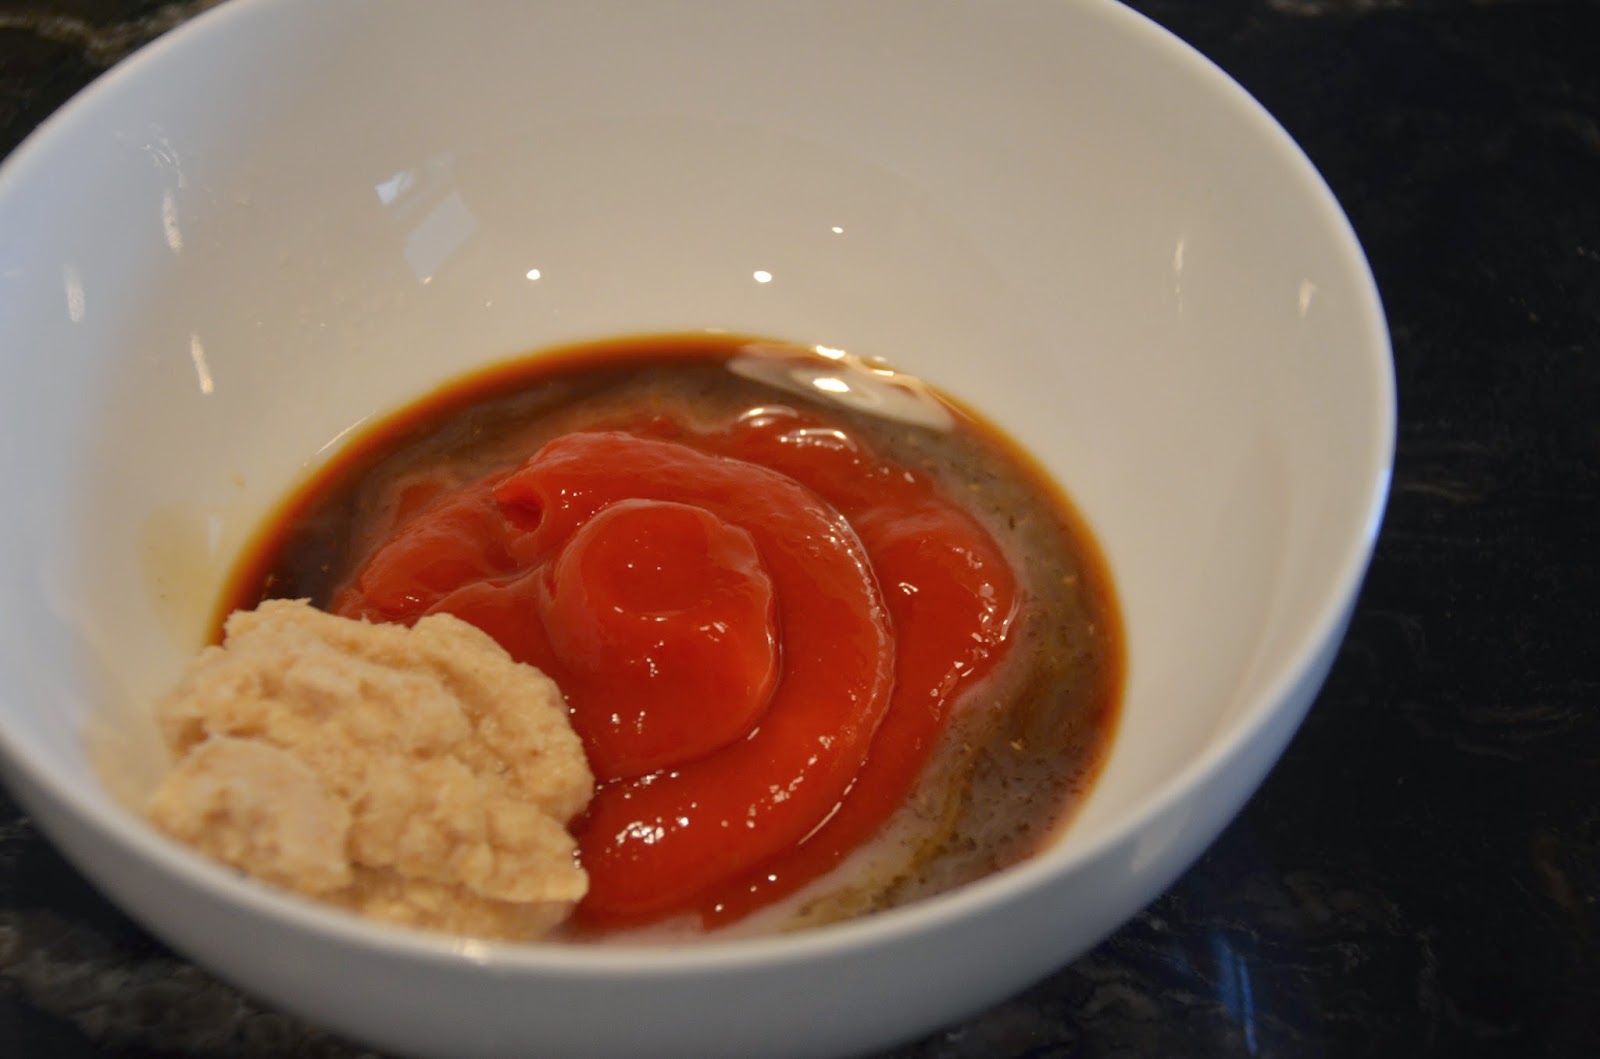
Just put all of these ingredients in a bowl…


And stir it all together…


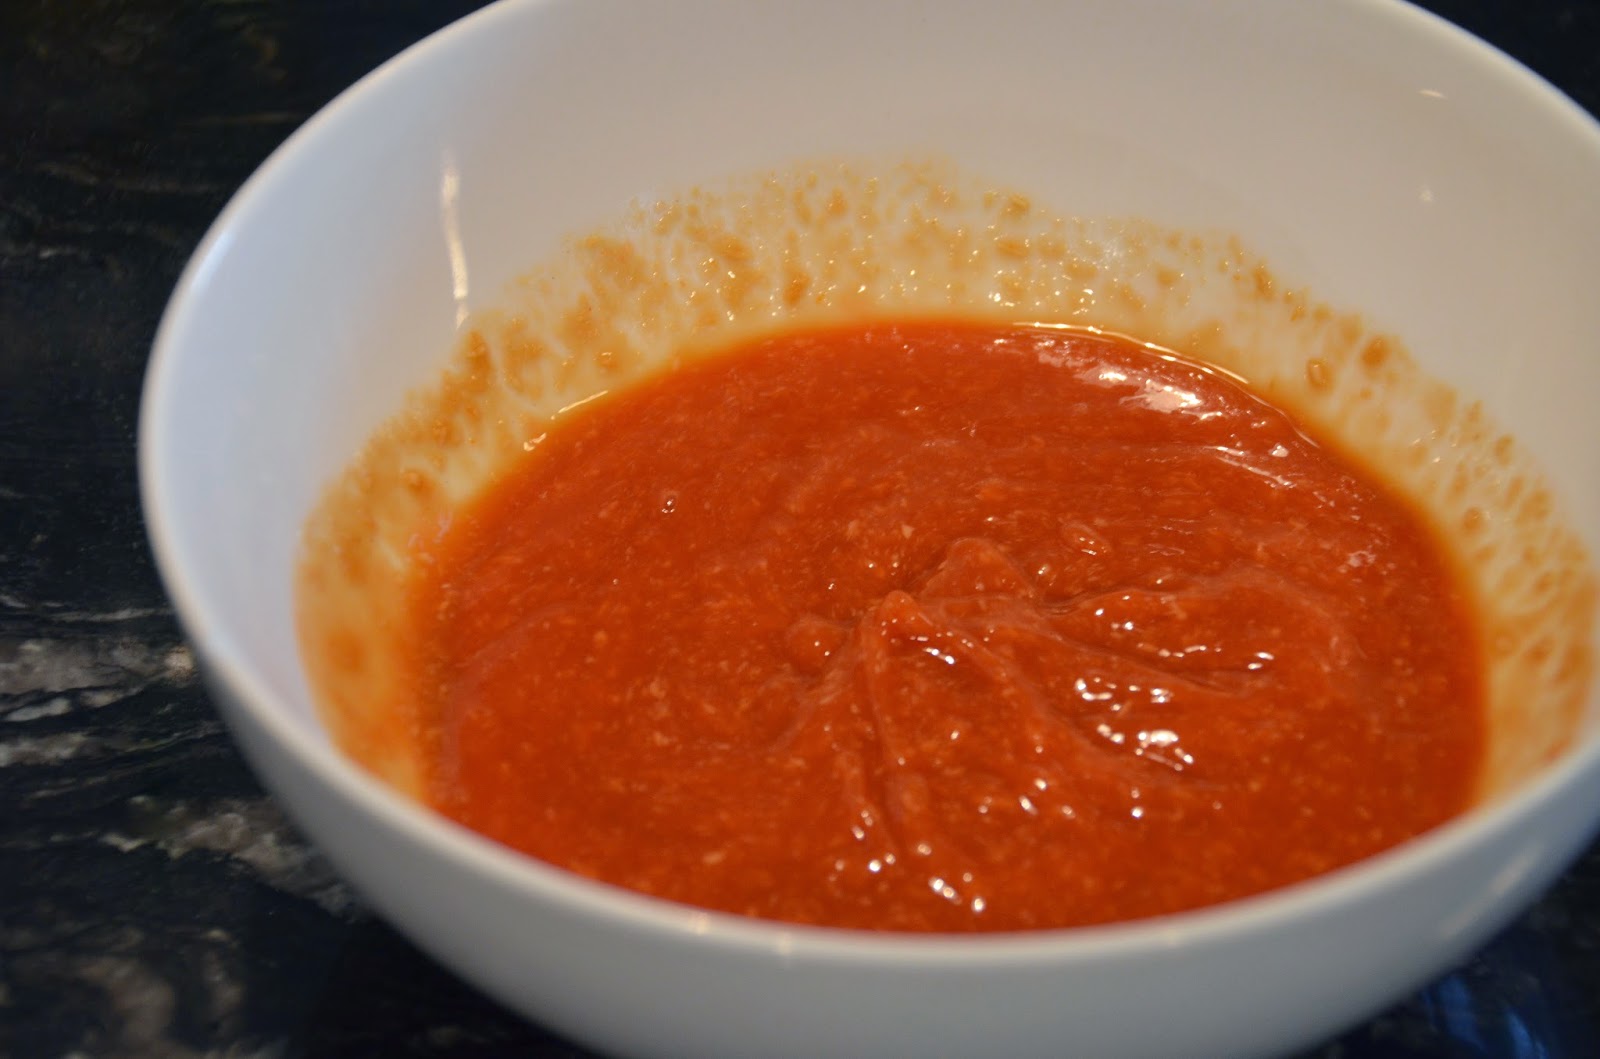
And there you have it…


If you’re serving these for a crowd and you want to make sure the shrimp stays cold, my recommendation is to set the platter over another platter filled with ice…or just throw some ice over the shrimp.

Once you set down the platter, I advise you to get out of the way quickly to avoid being trampled by your guests.

Cheers!

The Good Cooker

Marinated Beef Kabobs


GAH!  I suck…I won’t even go look to see when my last blog post was, but I have a feeling it’s been a while.  I know that all you readers, all 12 of you, are very disappointed.  But take comfort in knowing that my yard looks AMAZING….I’ve officially banned myself from going to Home Depot for at least two weeks so I should have some more time for my first love…this blog (don’t tell the hubby and kids).

We made these marinated beef kabobs last weekend and they were a huge hit…my boys love beef and even though I don’t eat a lot of it, even I had a hankerin’ for some grilled steak (I blame my borderline anemia).  

Kabobs are great because not only do you get your meat and your veggies at the same time, you get them on a stick!  Food is always better on a stick, am I right you carnies!?

The best cut of beef to use for kabobs, in my humble opinion, is sirloin…


It’s a lean cut but still has great flavor and holds up perfectly on the grill.  I got 2.5 pounds of sirloin for 11 bucks at the butcher counter.  They were making kabobs too so he had some nice thick pieces for me that I could cut up at home, serendipity I guess.

I cut 2-3 inch cubes for the kabobs…they don’t have to be exactly the same size, just similar.

For the marinade…

1/4 cup – olive oil
3/4 cup – soy sauce
1/2 cup – lemon juice
1/4 cup – Worcestershire sauce
1/4 cup – Belgian Style Mustard (or any spicy mustard)
2 cloves garlic – peeled and smashed

Whisk everything together in a large bowl…


Now add your chunks of meat…


Make sure all of the pieces are covered for the most part, and then stick a lid on it and pop it in the fridge for 2-4 hours.  I stir it up about halfway through just to make sure every inch gets exposed to the marinade.

For the veggies…I say the skies the limit.  I like mushroom, bell peppers, and red onion but this is by no means the only combo to go with…


Let’s talk about these baby bell peppers, shall we?  First of all, holy pepper cuteness!  I have an obsession with the mini versions of foods (don’t get me started on mini cupcakes) and these baby bell peppers are PERFECT for kabobs.  I have seen them everywhere, they come in a bag and are actually cheaper by pound then whole peppers.  They also have less seeds so getting them ready for the kabobs is a cinch, this is what I do…

Cut off the top…


Scoop out the few seeds that are in there with your fingers…


and that’s it!


The onion and mushrooms are pretty self explanatory…other veggies that work well are cherry tomatoes or thick cut slices of zucchini and squash.

About 30 minutes before you’re ready to grill, take the meat bowl out of the fridge and let it come up to sort of room temperature, this will ensure the beef gets cooked evenly on the grill…


Don’t be alarmed that the meat has turned from red to brown…this is normal.

You also want to get your wood skewers soaking in water for about 30 minutes prior to assembly of the kabobs…this will prevent a camp fire from starting in your weber.


Now it’s time to skewer!


To give you all a nice visual on how I construct my kabobs, I decided to post a weird video of the process that my husband shot for me…

I know what you’re all thinking…does he work at Warner Brothers?  The answer is no…shockingly enough, he didn’t even go to school for film making…and he obviously doesn’t know how to focus a camera either, moving on…

I use a glass dish to hold the kabobs I’ve already assembled…


and then once I’ve used all the meat I pour the remaining marinade over the kabobs, now they are ready for the party!


The grill should be set to medium heat…lay them perpendicular to the grates.

If you’re not sure what perpendicular means, you may want to re-take sophomore geometry class.

You should cook these for a total of about 15 minutes…I rotate them 3 times (5 minutes a side), wow this highschool math stuff is really coming into play on this one.


Above is what you want to see when you rotate the kabobs…yes, angels did start singing.

I like to pair this dish with a nice cool caprese salad…


Fresh mozzarella, cherry tomatoes, basil from the garden, extra virgin olive oil, and salt & fresh ground black pepper.

Dinner is served!


I didn’t realize it at the time, but I think this meal may work nicely for someone following a carbohydrate restricted diet.  The creaminess of that fresh mozzarella works so well with the saltiness of the meat and the freshness of the veggies rounds everything out…

I’m practicing for when Food & Wine Magazine hires me to write a monthly column.

Cheers!

The Good Cooker