If I had to guess, I bet the person who invented hummus is really pissed off. If you go to the store today, you can choose from a variety of prepared hummuses and they are all totally gross. And instead of fixing their hummus recipes, these hummus companies just take their crappy hummus and add different stuff to it…so not only do we have gross regular hummus, we also get to enjoy gross roasted red pepper hummus!
I’ve looked at so many packaged hummus containers studying the ingredients to try and find out what in the heck is making this store bought hummus taste so darn awful (can you tell this annoys me?) and all I can think of is that some of them add preservatives (like citric acid) to extend shelf life but I’ve even found recipes with no preservatives that still tasted like dirt…I’ve come to terms with the fact that I may never know the answer to why store bought hummus is so shitty but at least I have a solution…I make it myself, and guess what? That’s right…it’s SO easy.
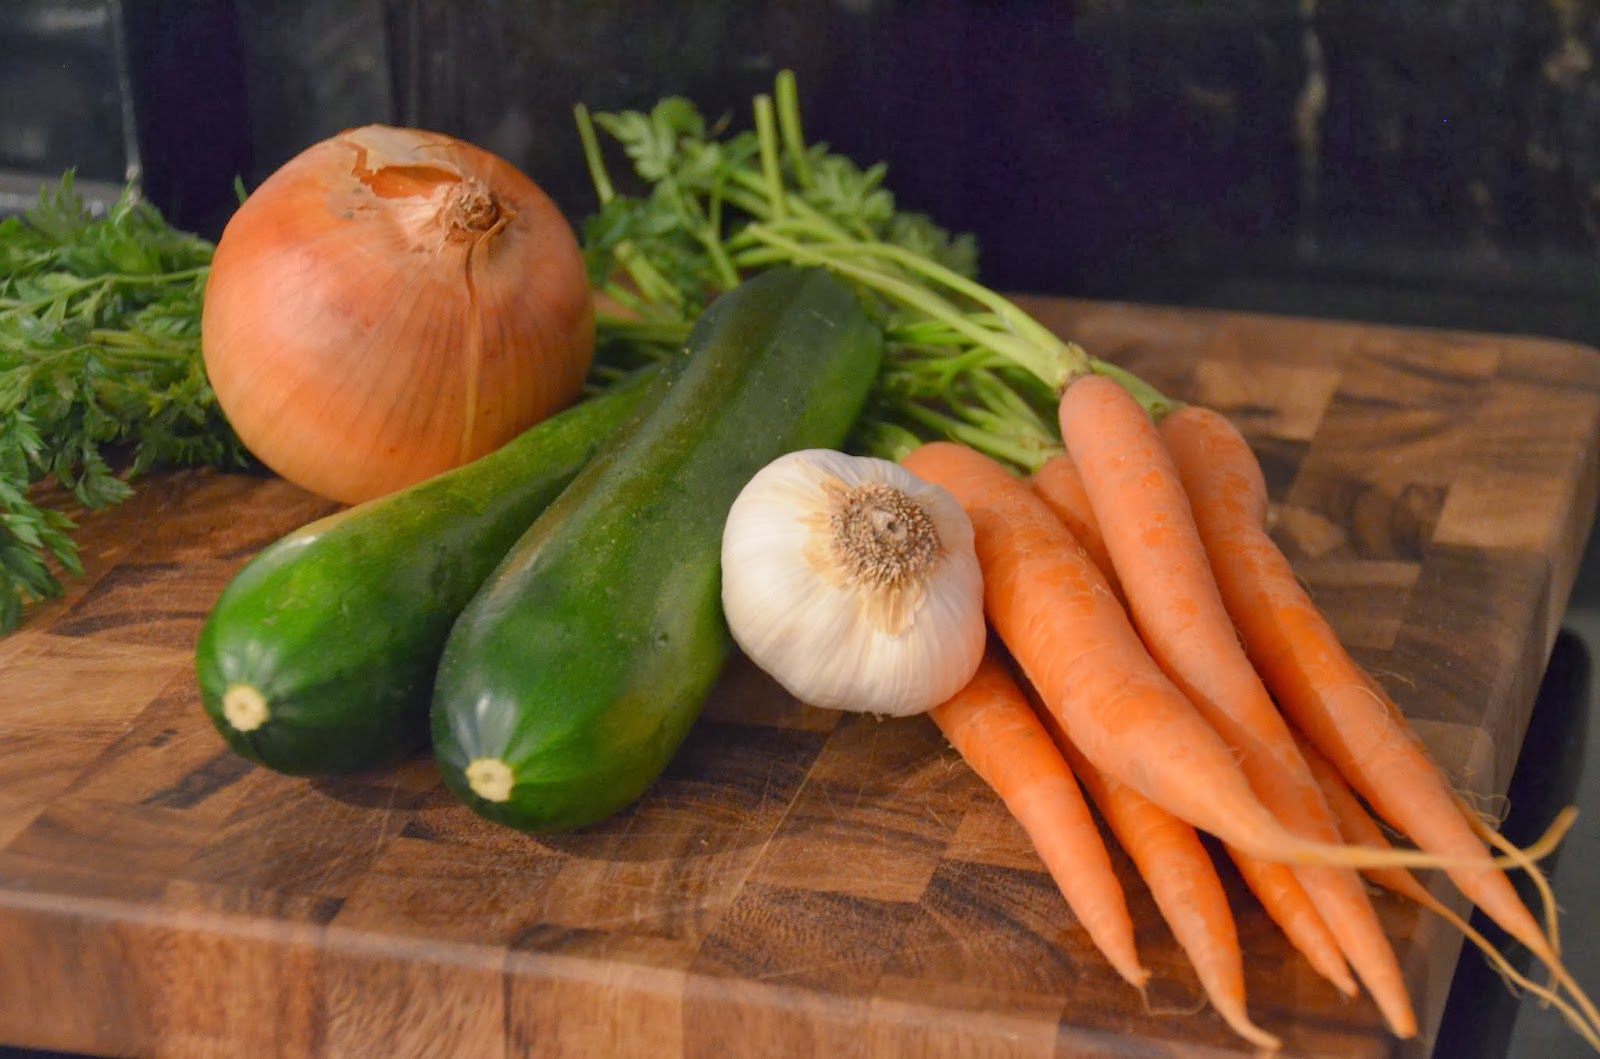
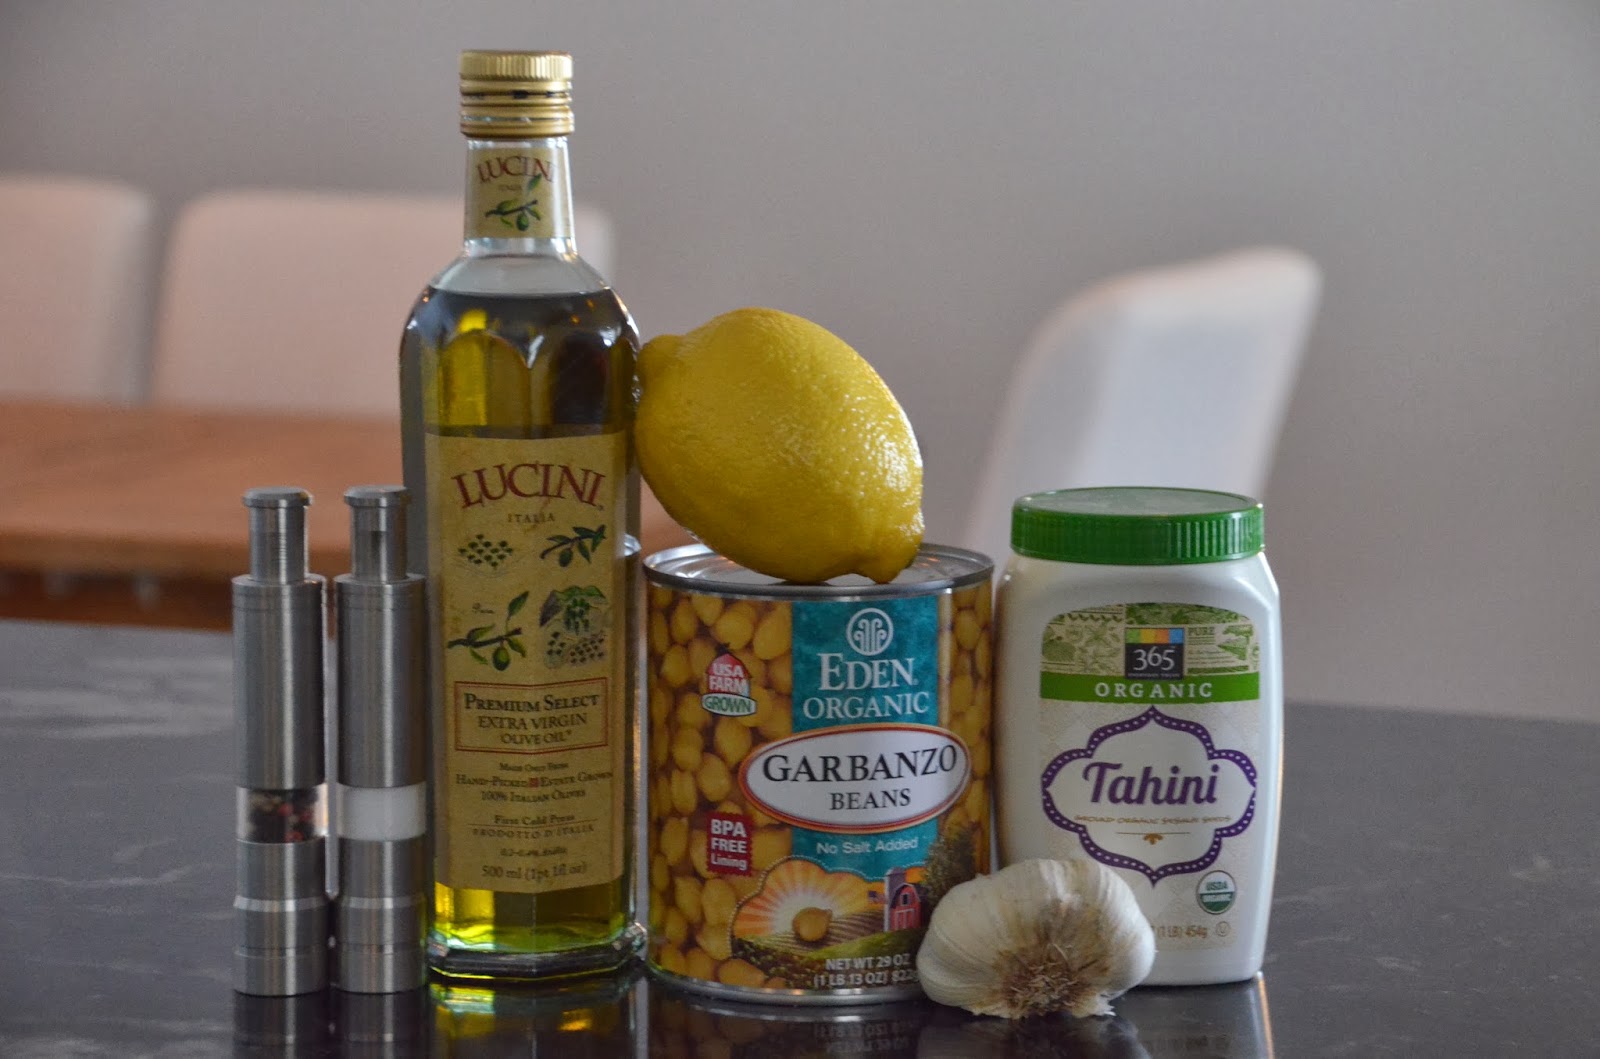
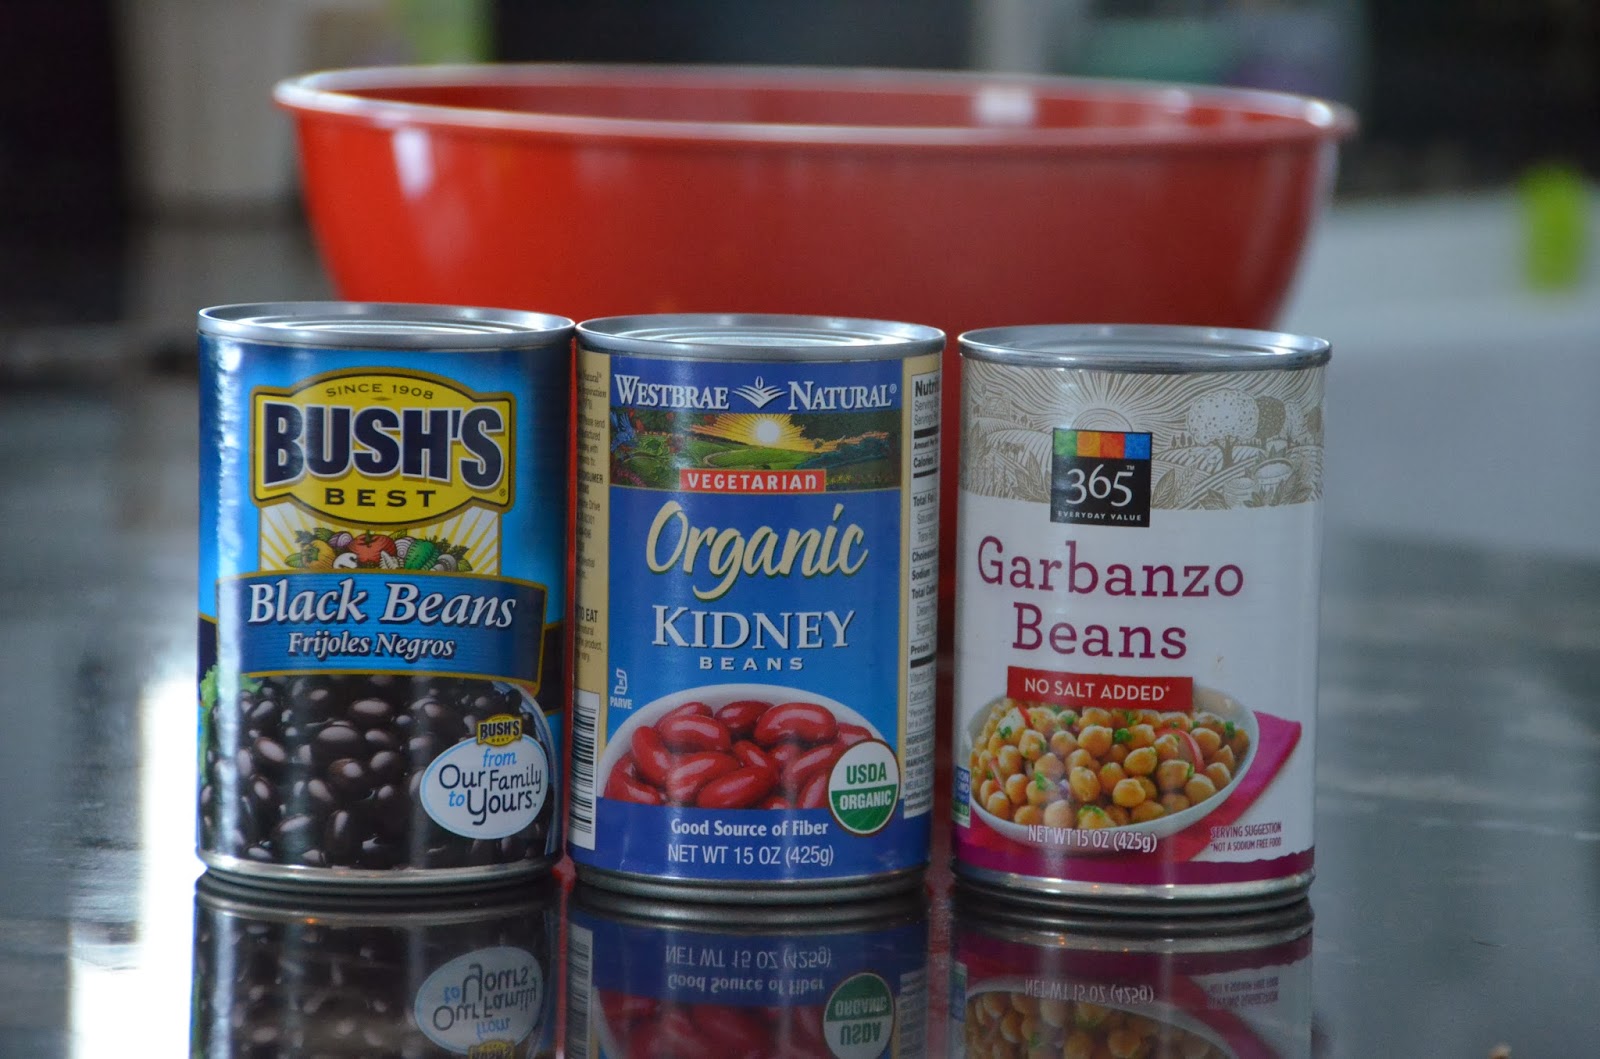
Here’s a family photo of what you’ll need…

And here’s the list…
1 – 30 oz. can garbanzo beans (or 2 – 15 oz. cans) with 1 cup liquid reserved
3 tbsp. – tahini (aka ground sesame seeds)
juice of 1 lemon
1 clove garlic, chopped
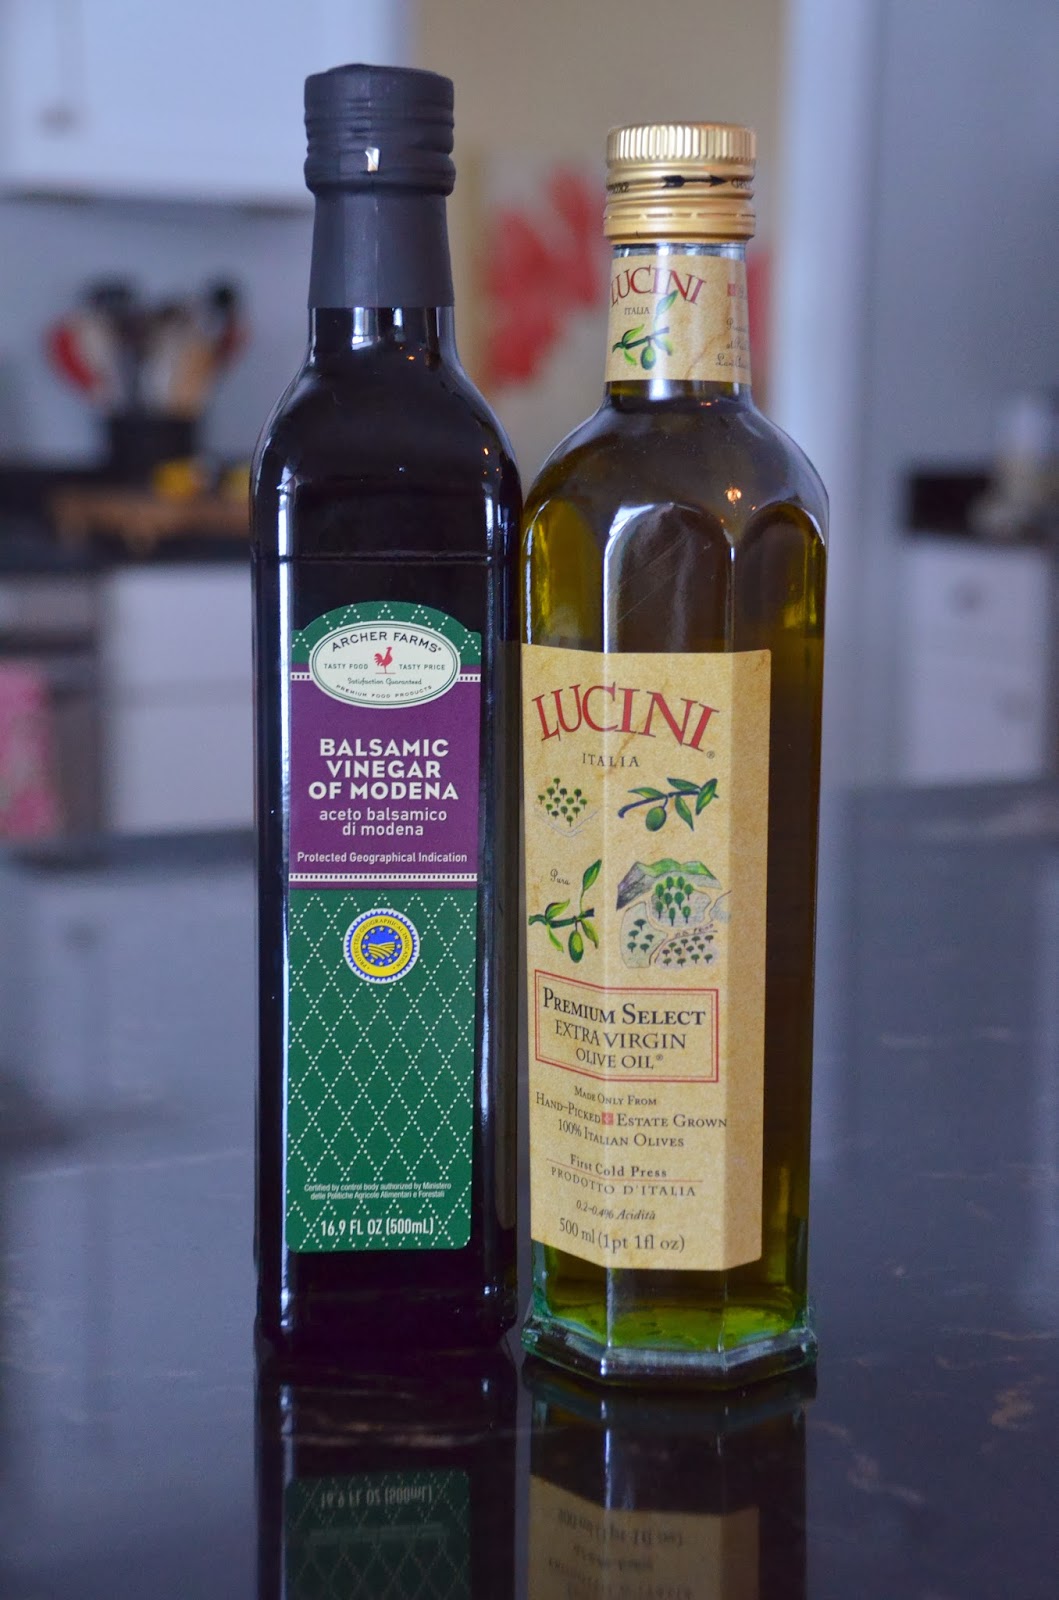
Drizzle of EVOO
salt and ground pepper to taste
1/2 tsp. cumin (optional)
You’re also going to need a food processor (I mean, you technically could use a giant mortar and pestle but then the recipe goes from really easy to pretty labor intensive.)
I was really nervous today because I had to take my own photos, but I think they turned out okay (it’s called using automatic focus and a really good camera), my dad is probably wondering where his camera went (my mom let me borrow it) and obviously he does not read my blog or he would have asked for it back by now…there’s definitely a heart to heart talk in our future.
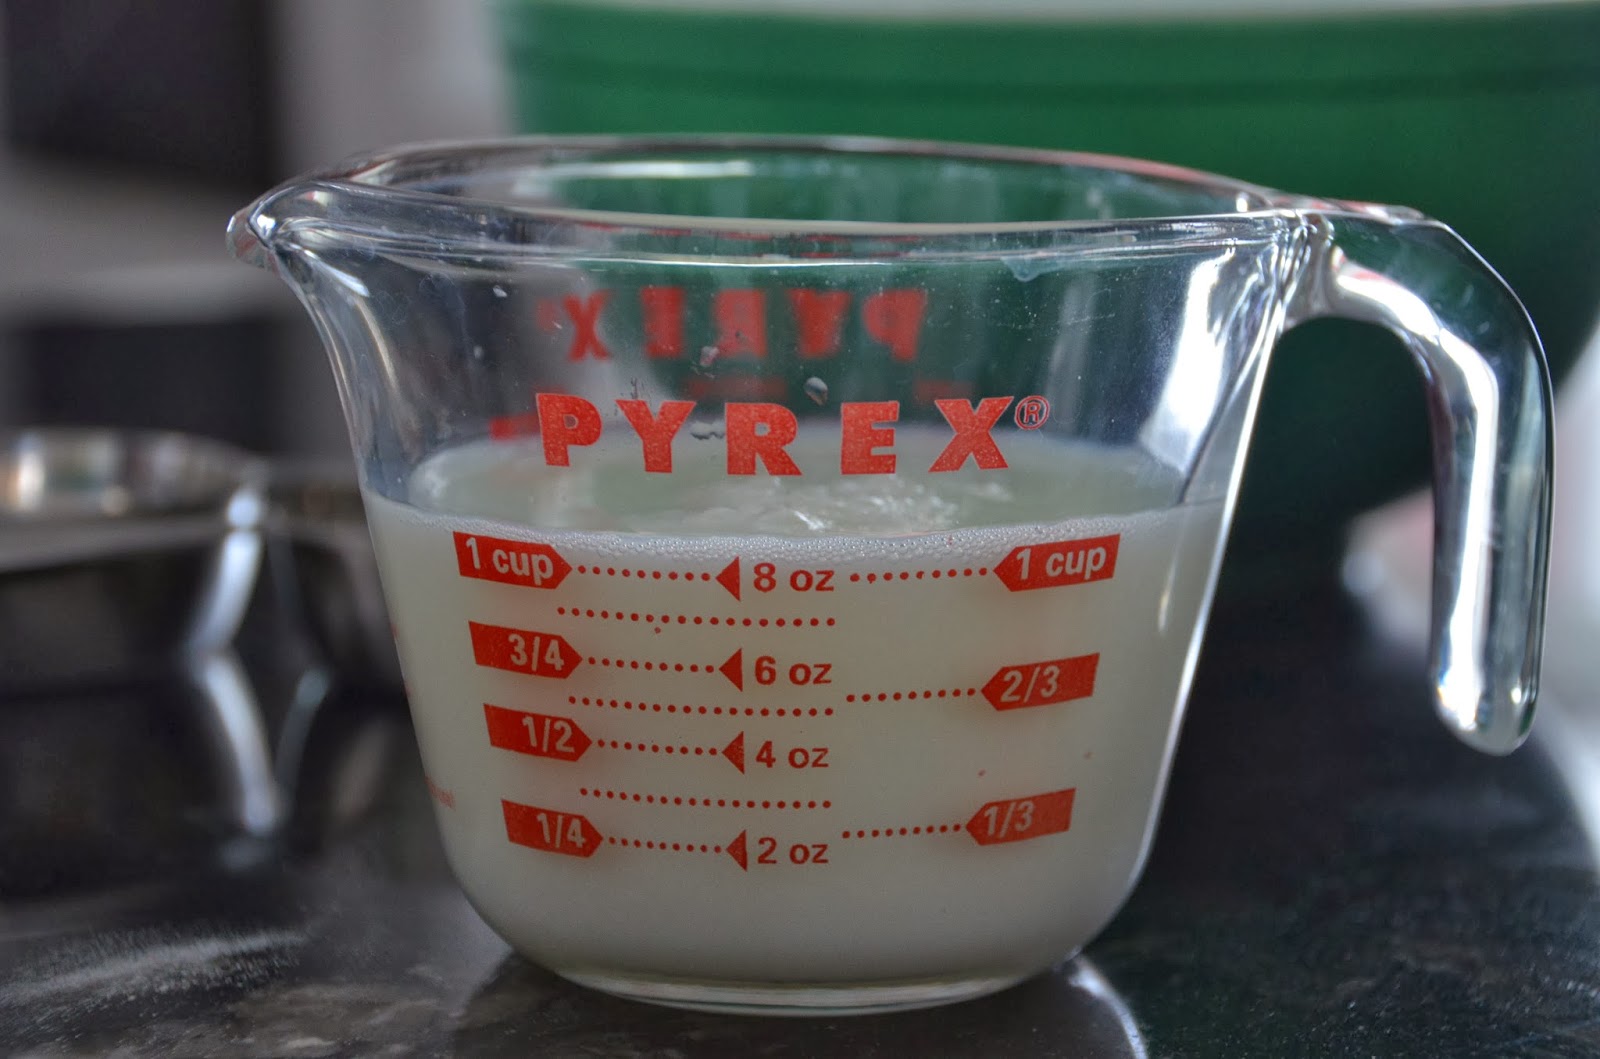
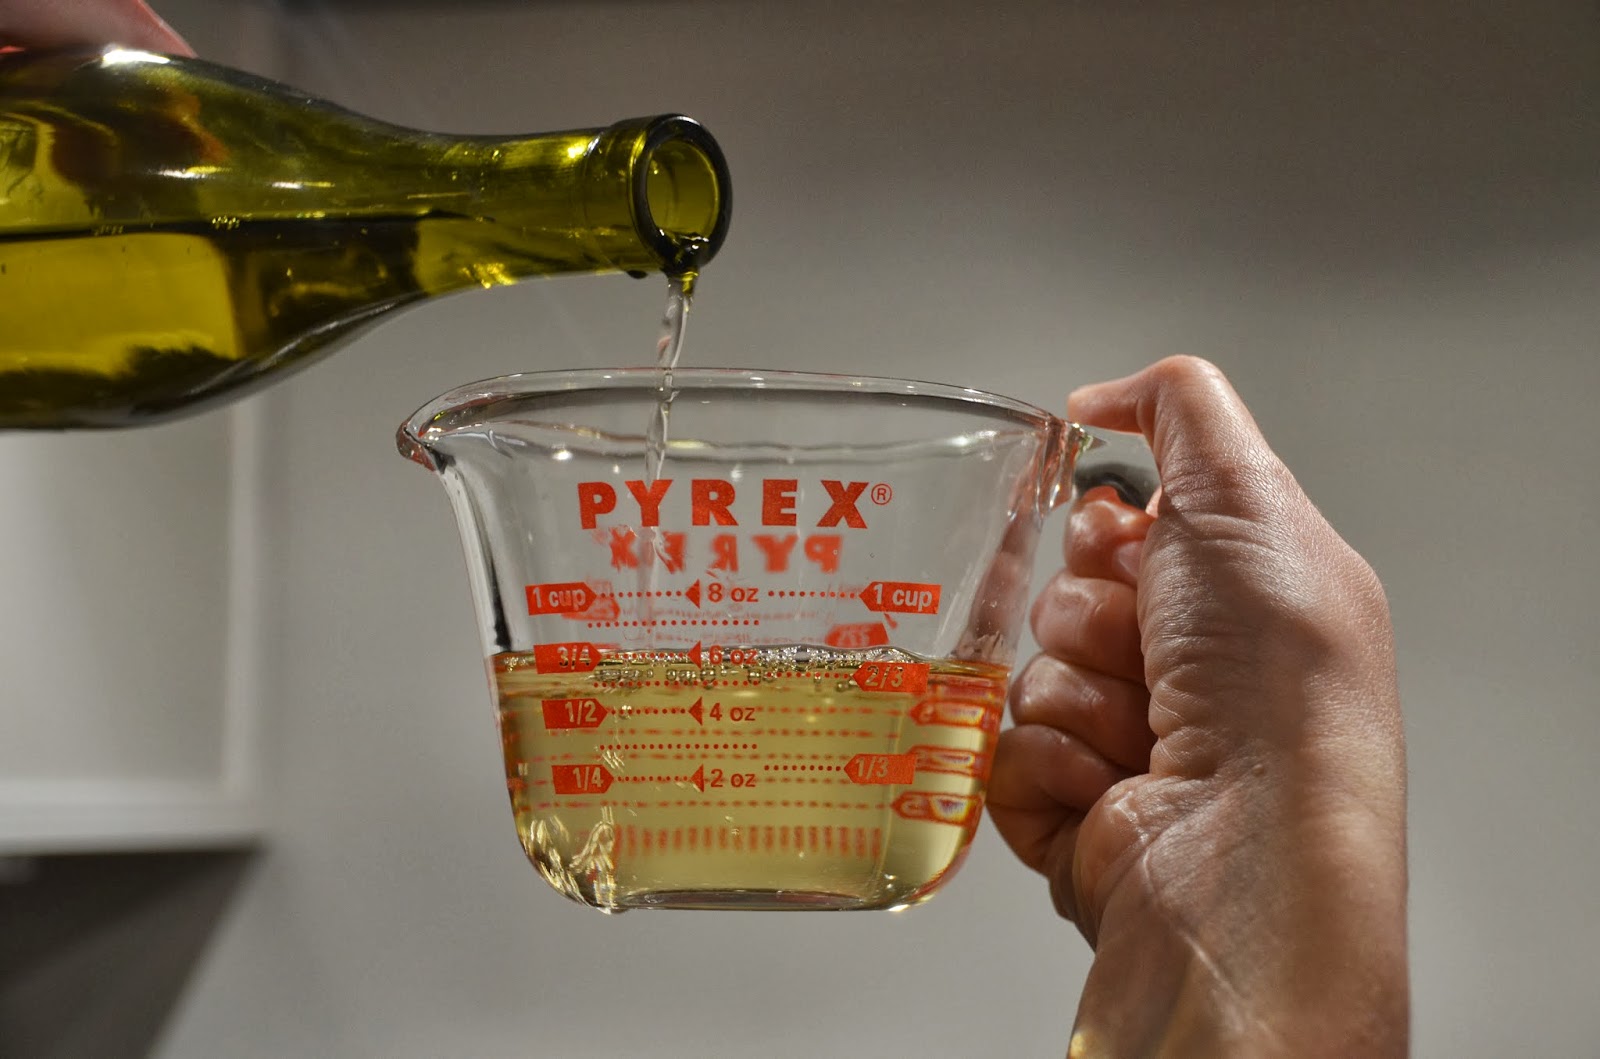
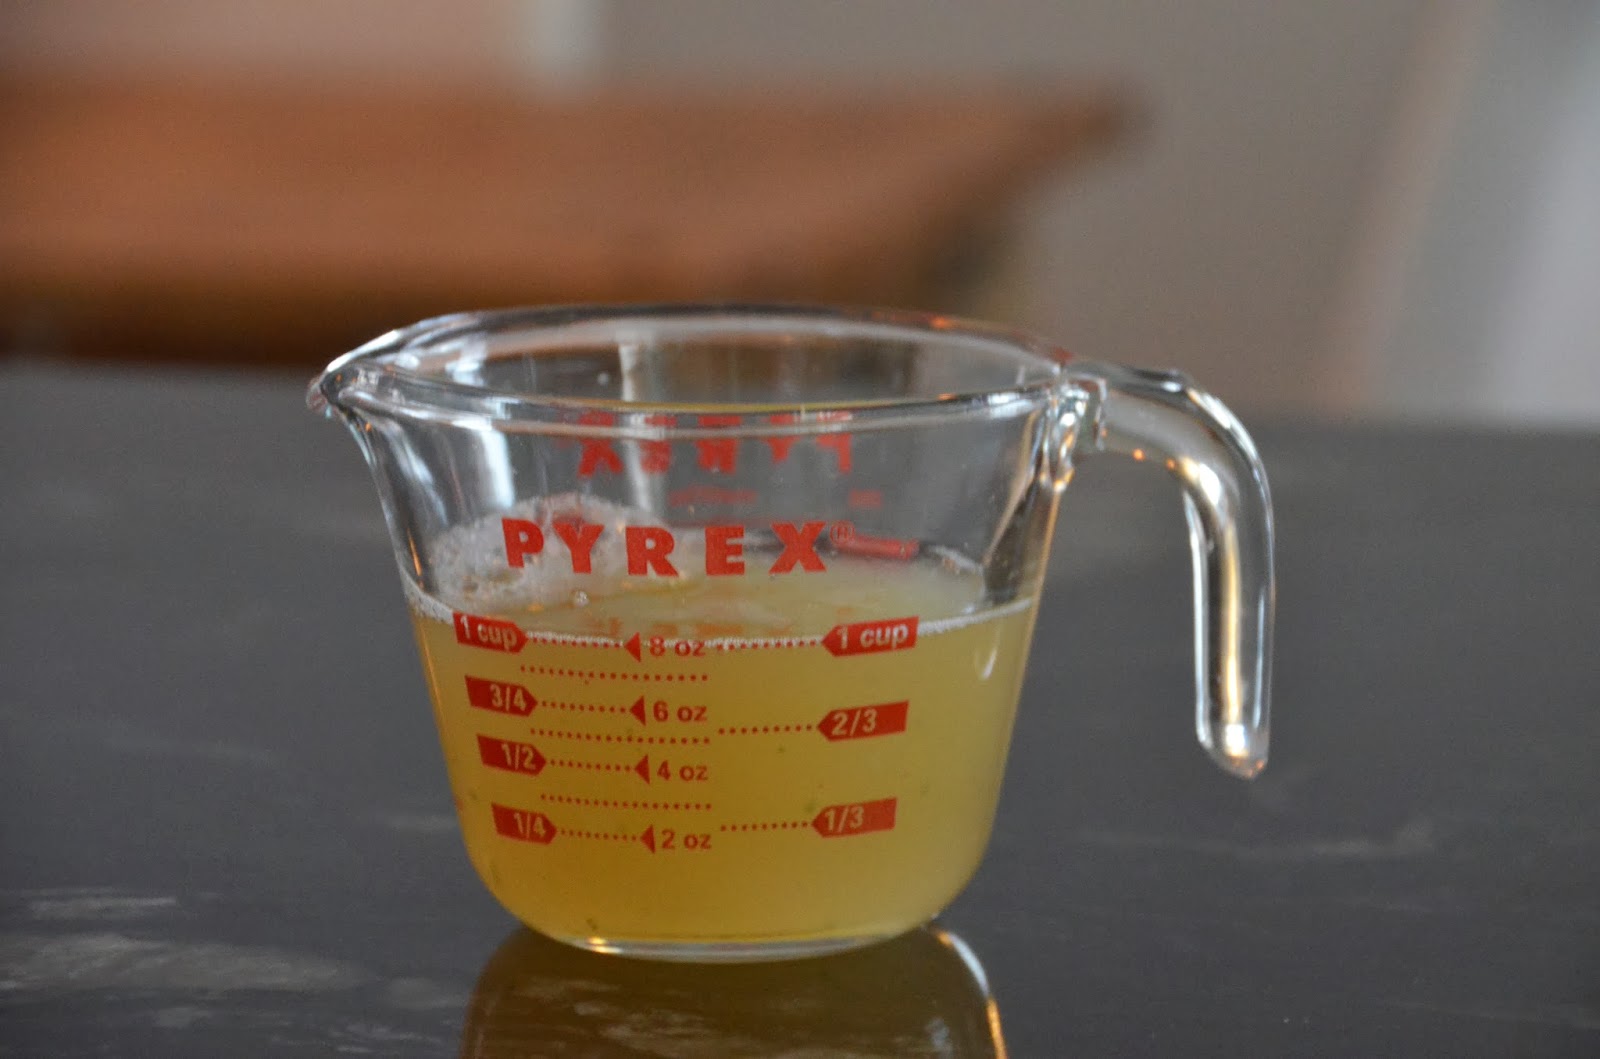
So first you need to drain the beans, but reserve some liquid! After you open the can, just push the lid back and let some of the liquid drain into a measuring cup. I know you guys don’t need me to explain how to reserve bean liquid but I can’t help myself.
Here’s the liquid, mmmmm…bean liquid (said in Homer Simpson voice)
Set the liquid aside and pour the beans into the food processor. I use “no salt added” beans for this because I can add as much or as little salt as I want at the end but you can definitely use the other kind (with salt) and then add less salt at the end (more information that 99% of you already know).
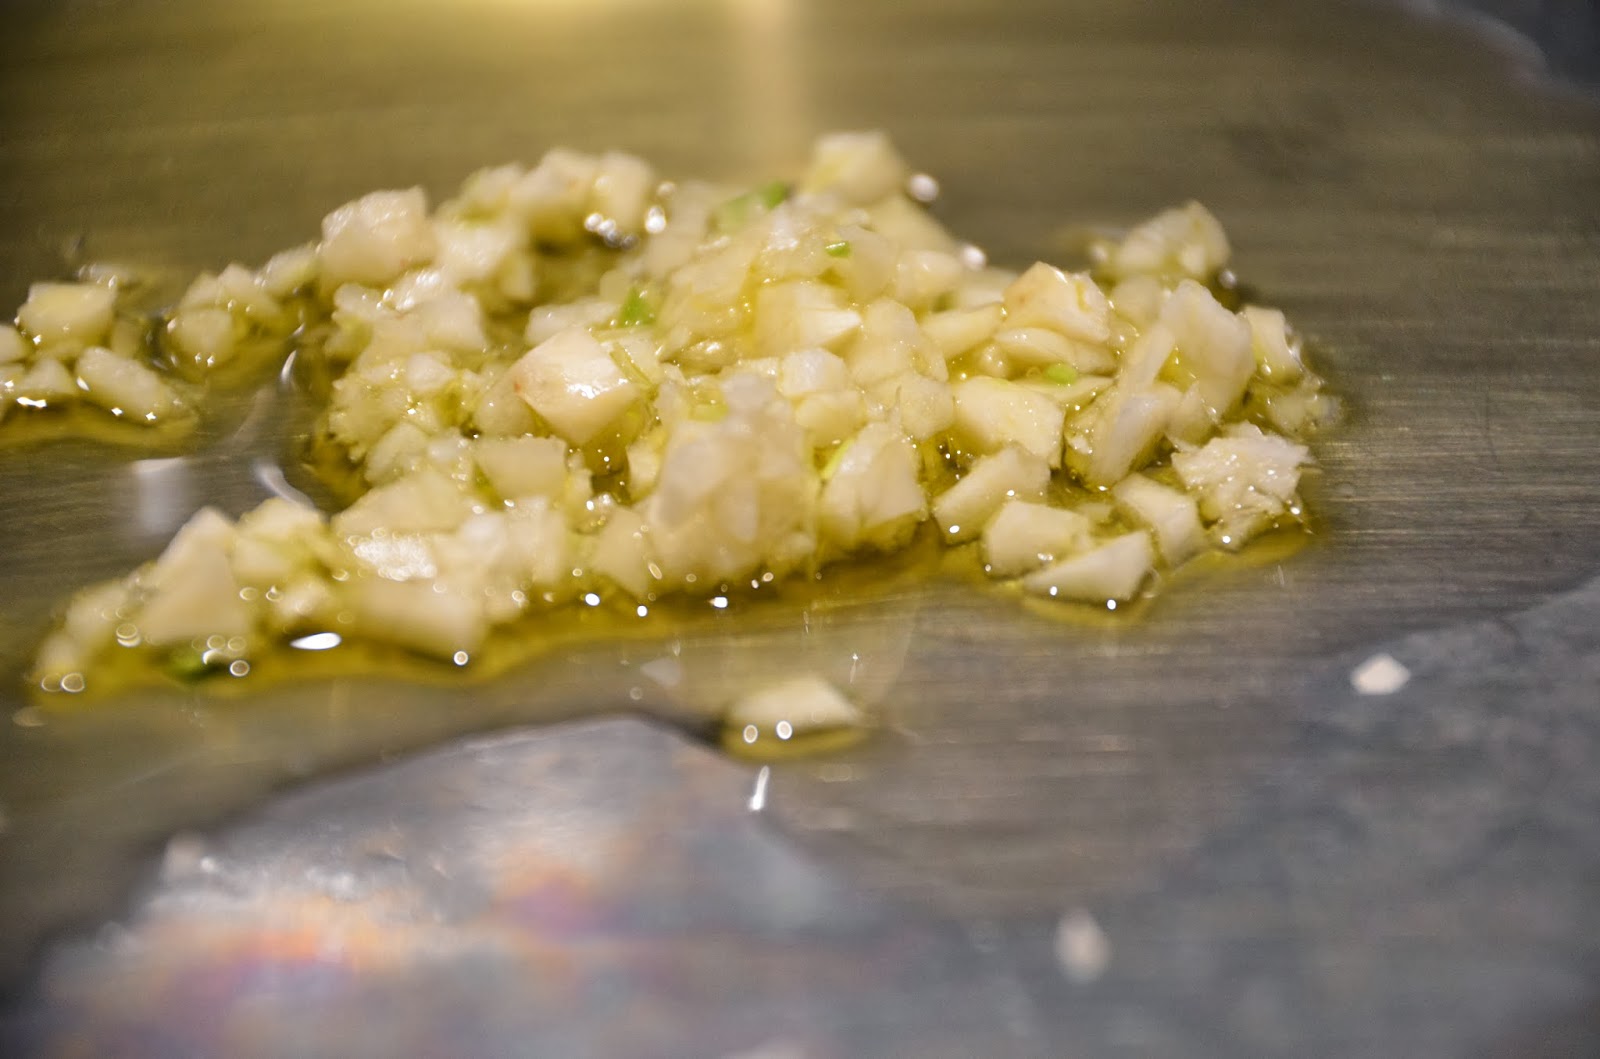
Next I chop a clove of garlic and add that in. I think one clove for this recipe is plenty but you are the boss of your hummus and you can add more if you want. I LOVE garlic but raw garlic sometimes doesn’t love me back…and that really hurts (we’ve all been there).
Here’s what’s in your food processor so far…
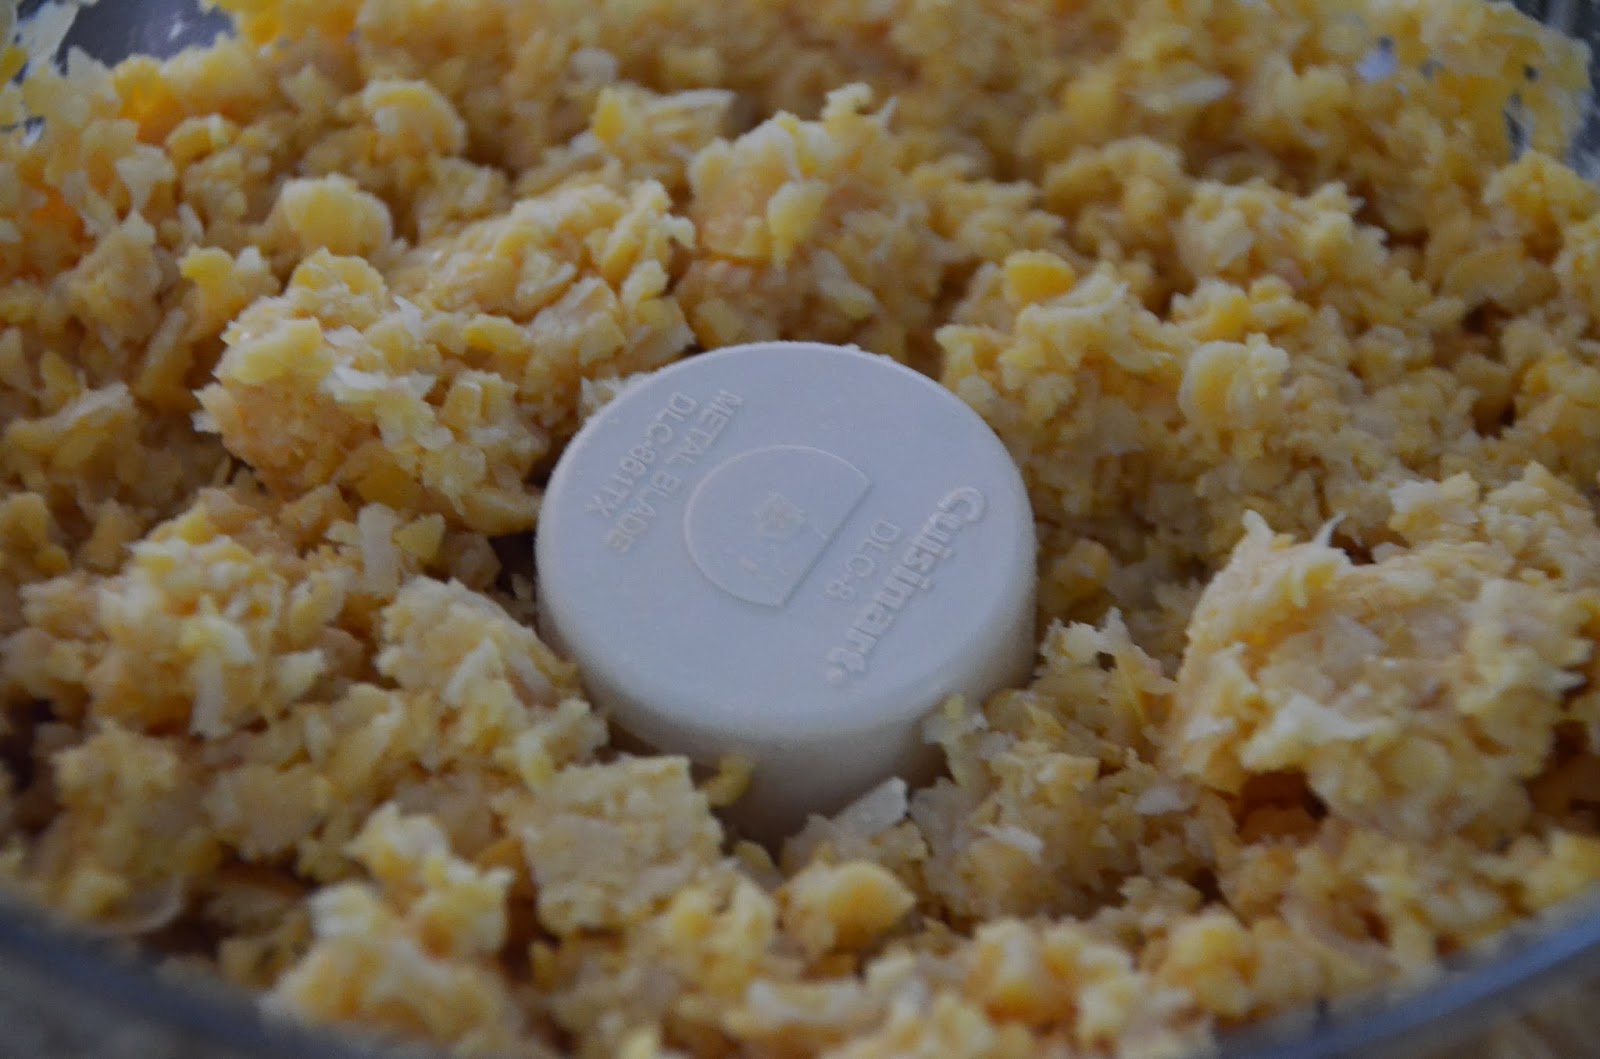
Now I pulse it for a while…anywhere from 10-20 pulses is good (I forgot to count). Now it looks sort of like this…
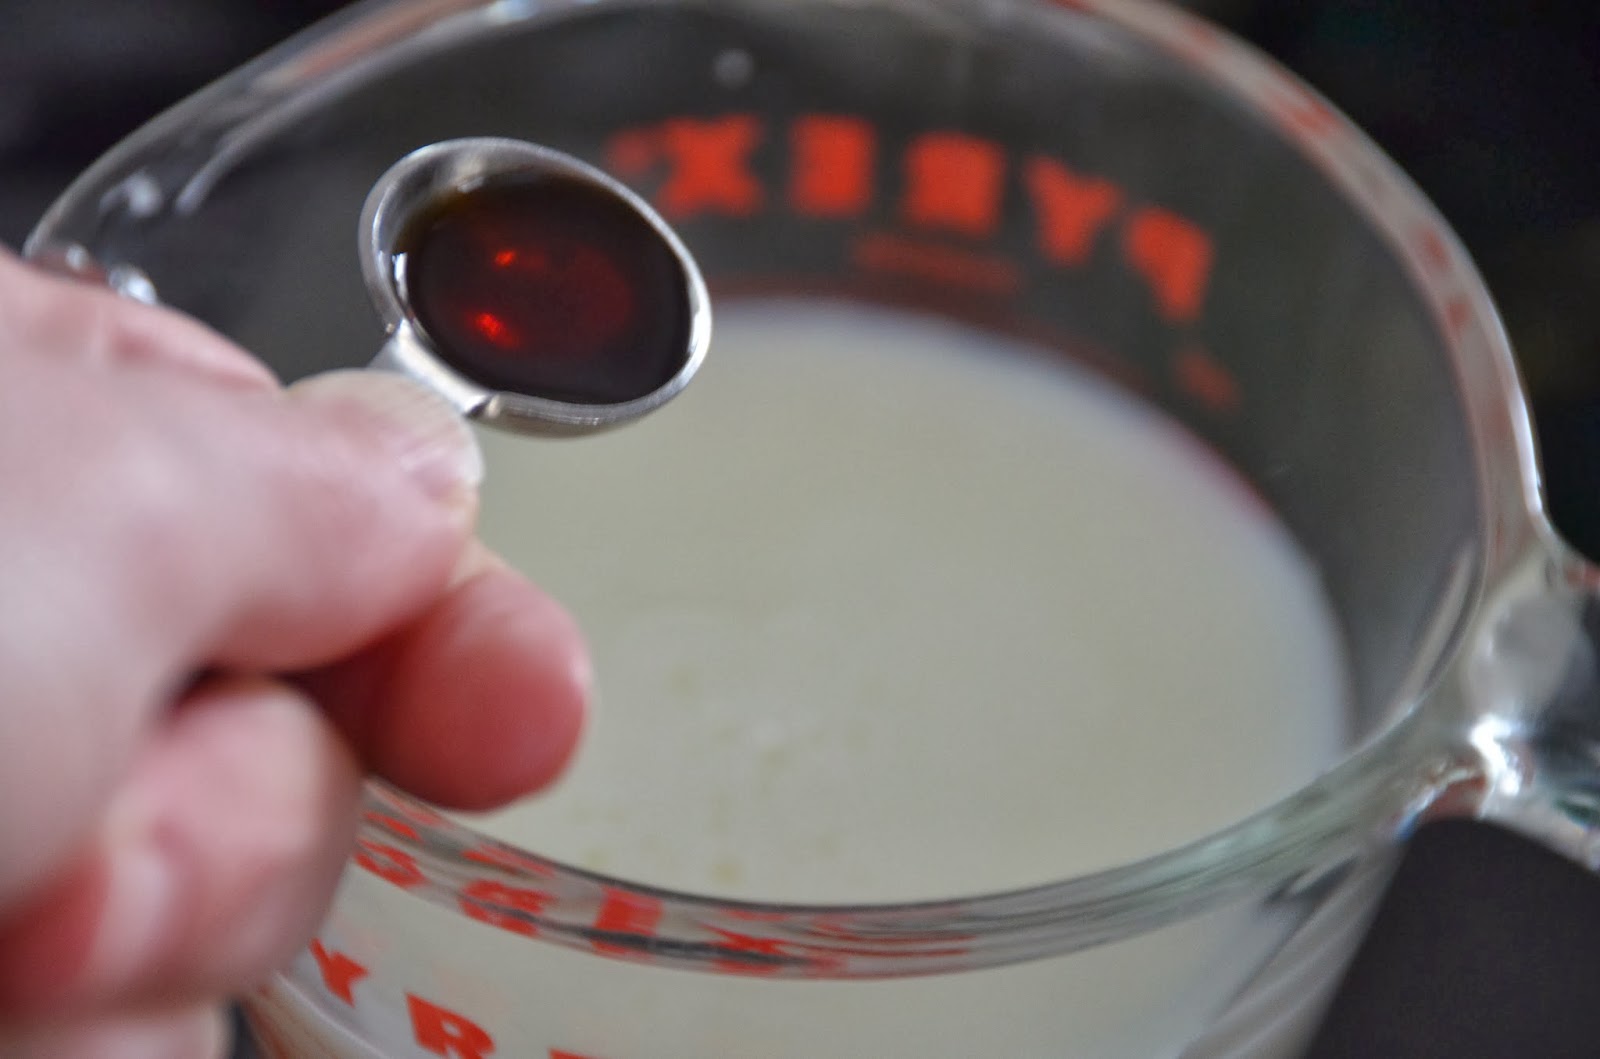
Next you’re going to want to add some liquid to soften things up. In goes the juice of one lemon and 3 tablespoons of tahini. If you’ve never had tahini, you might open up the container and be all like, what the heck is going on in here? The oil typically separates from the ground seeds (like natural peanut butter does) so just stir it really good and proceed.
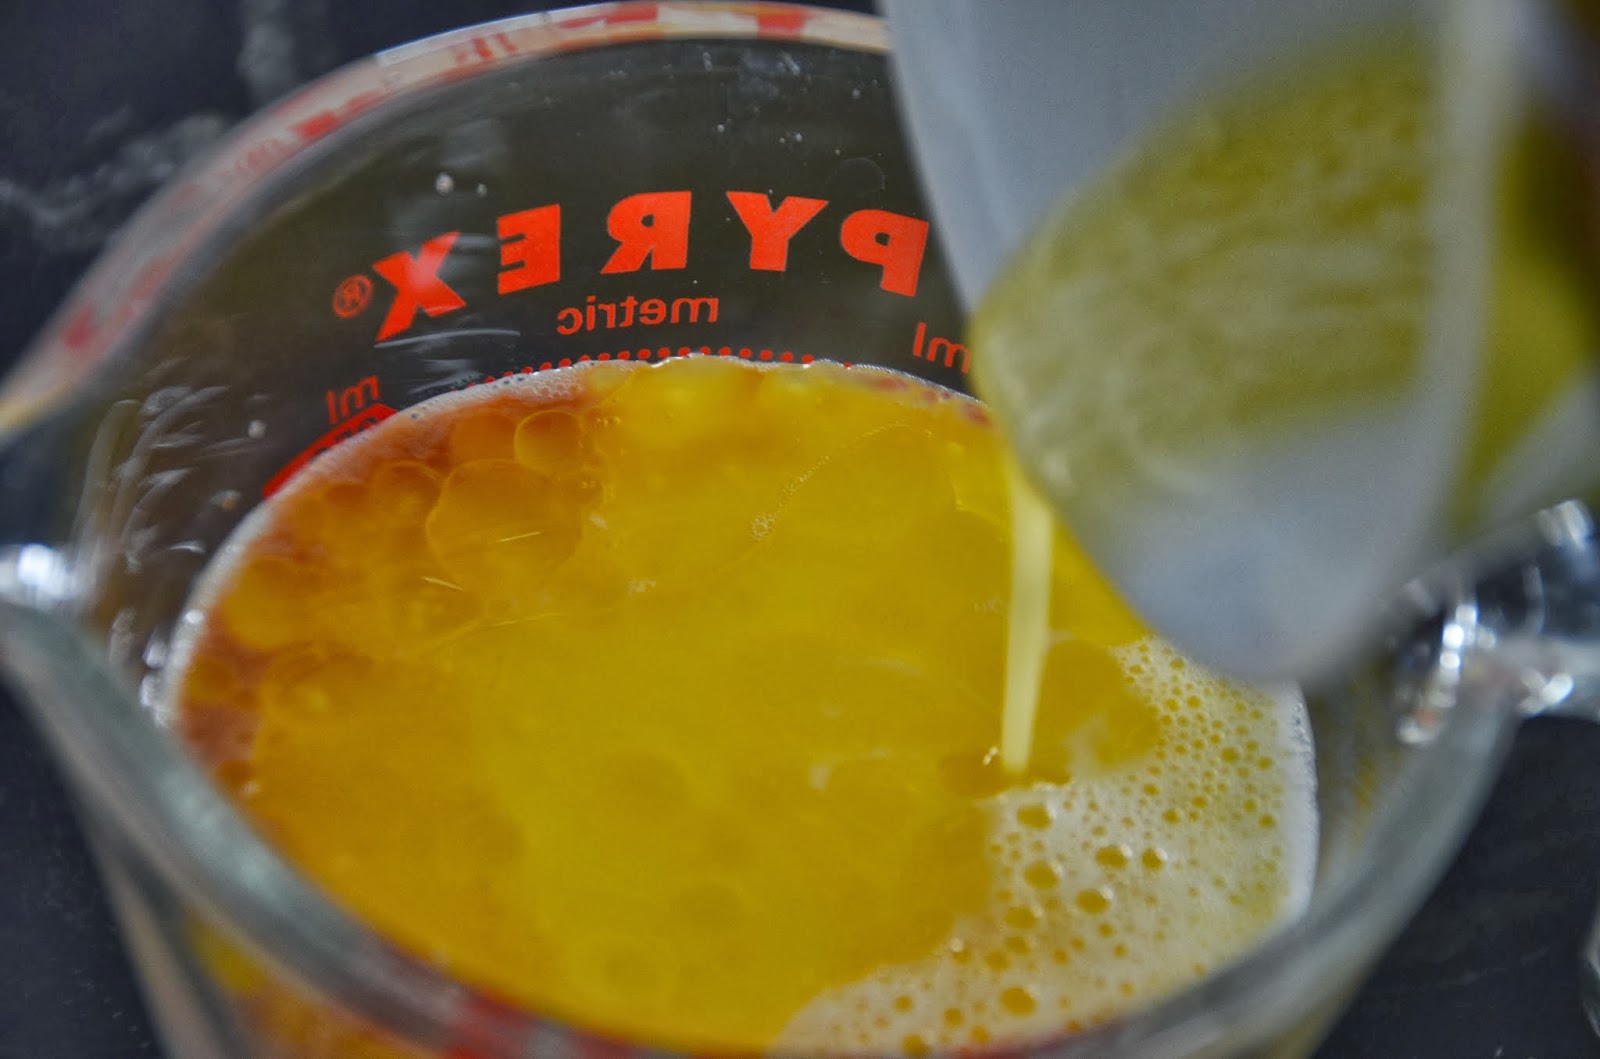
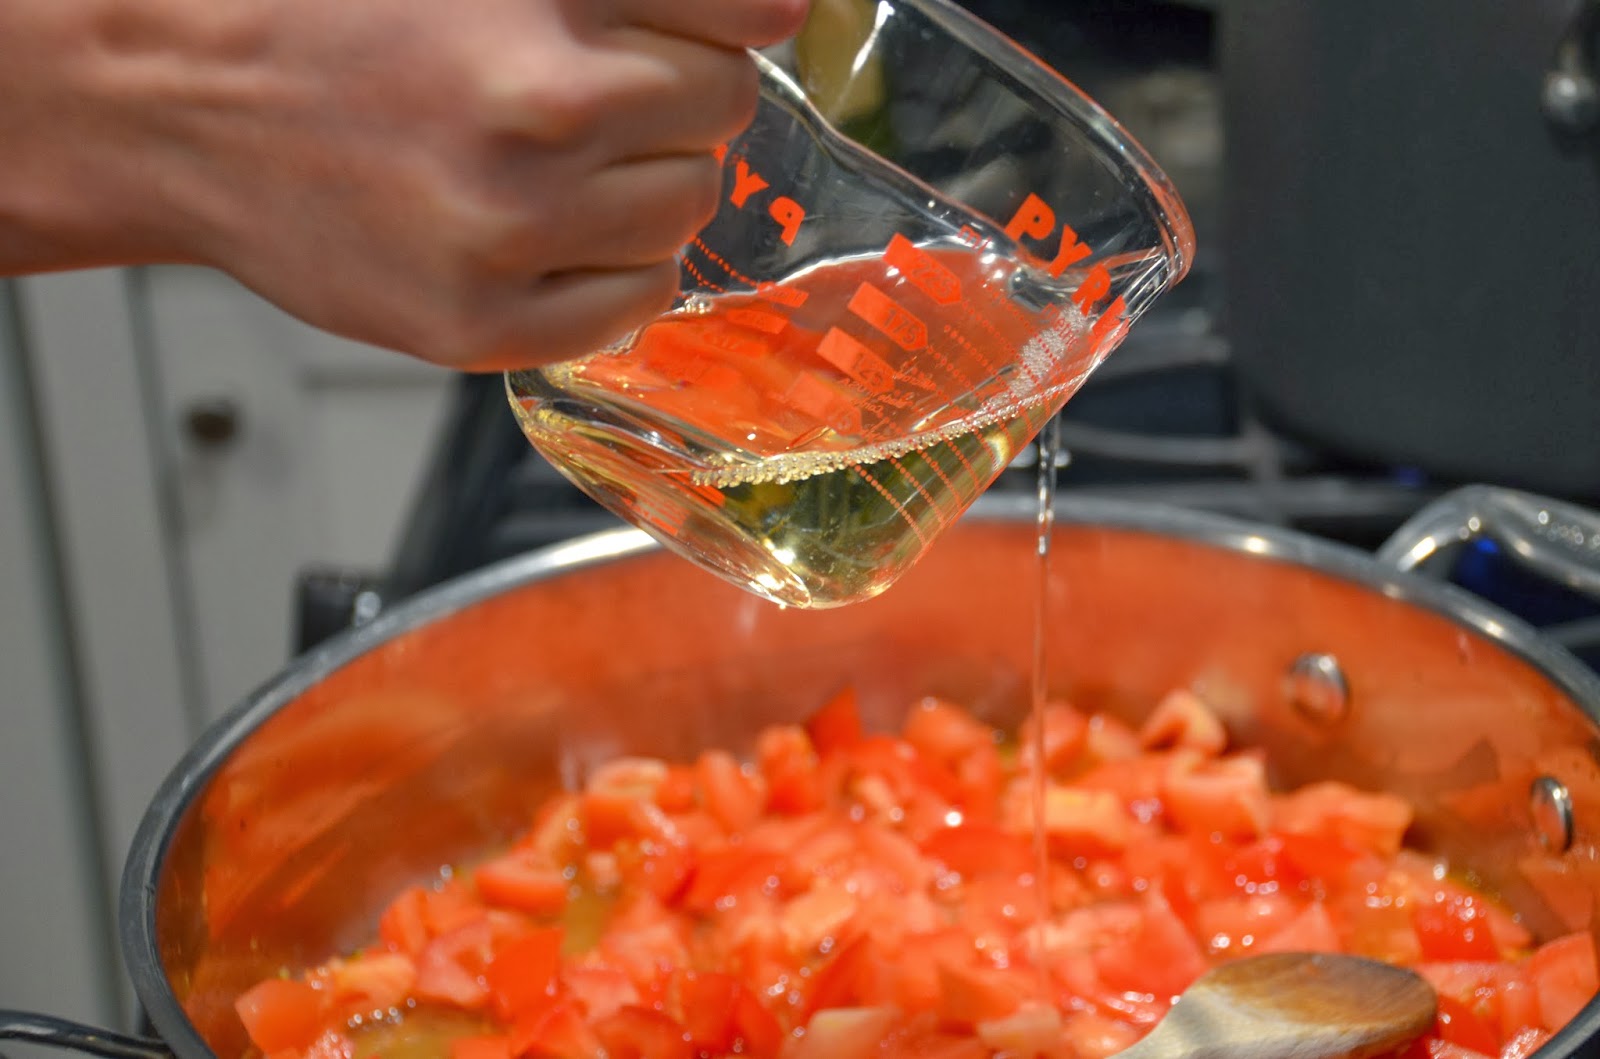
Next, start adding some of the bean liquid back into the bean mixture. Begin with 1/4 cup and then let that process for a little while, if it still looks pretty chunky (which mine did) add 1/4 cup more. I stopped at 1/2 cup because I like my hummus on the thicker side (ain’t nothin’ wrong with that ladies!). You can definitely add more if you like a smoother hummus.
Now add salt and ground pepper to taste. The amount of salt people prefer varies so it’s difficult to say what the correct amount is. You’re just going to have to add a little, taste, add a little more…and so on. (I’m sorry, I know you guys are smart).
Last, I add a little drizzle of EVOO…you don’t even have to add olive oil if you don’t want, but I think it adds to the flavor and gives it the best texture.
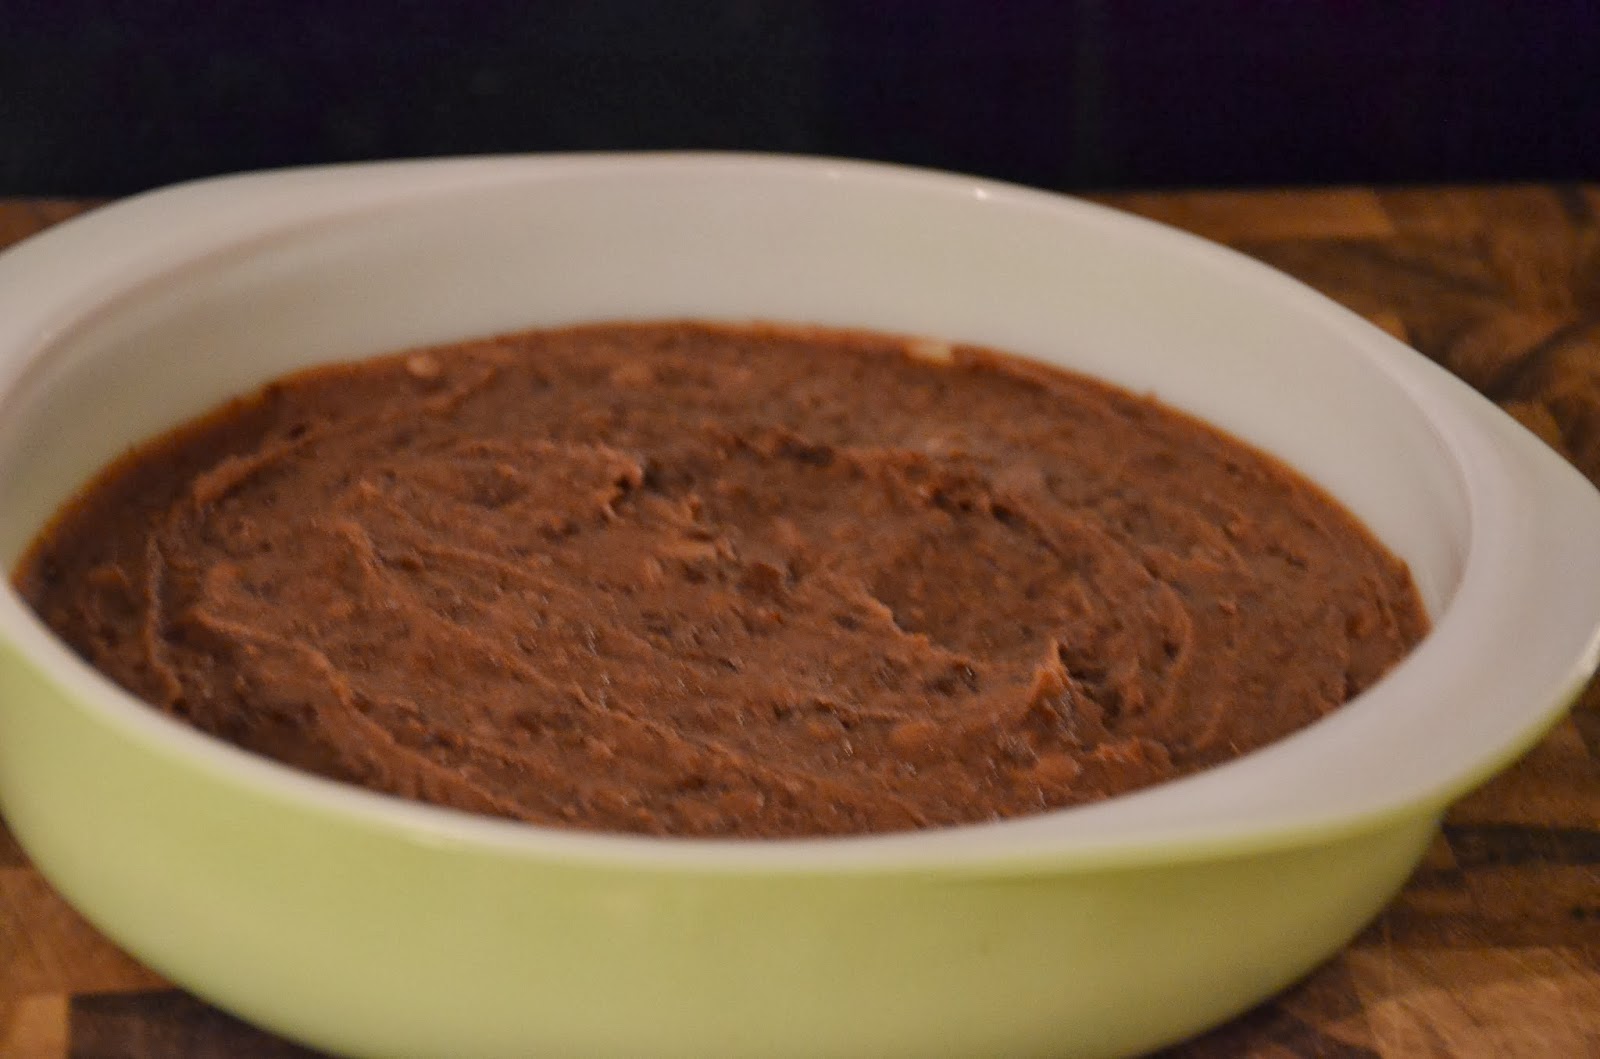
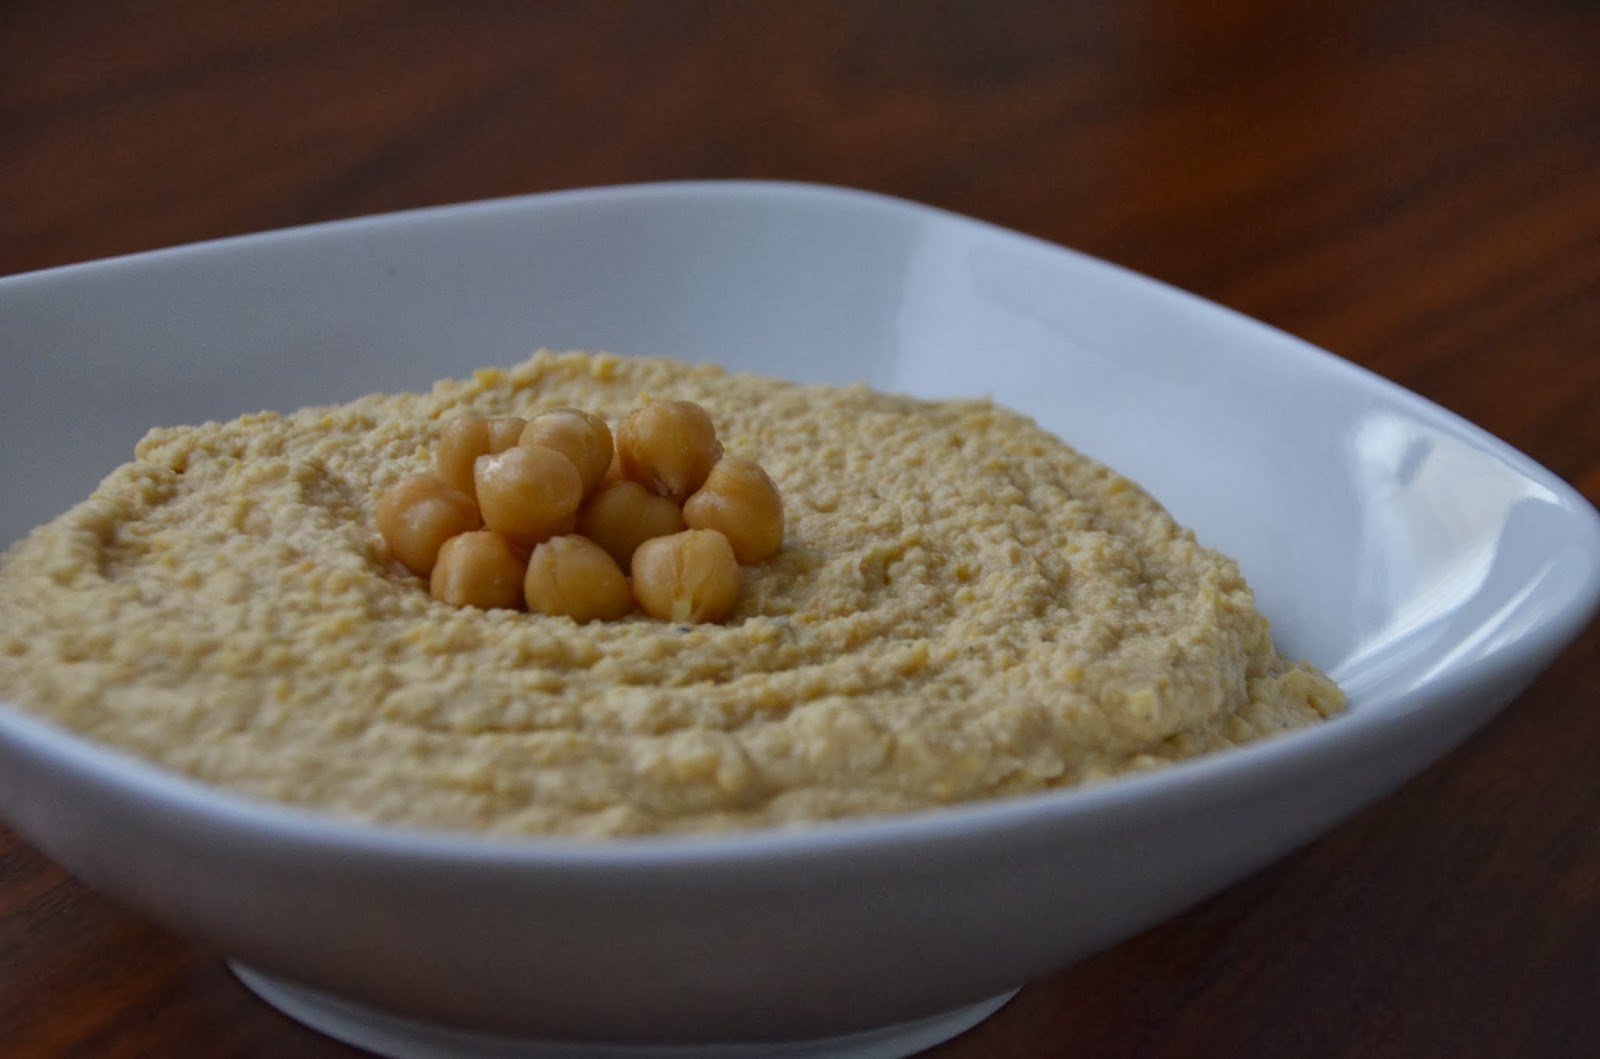
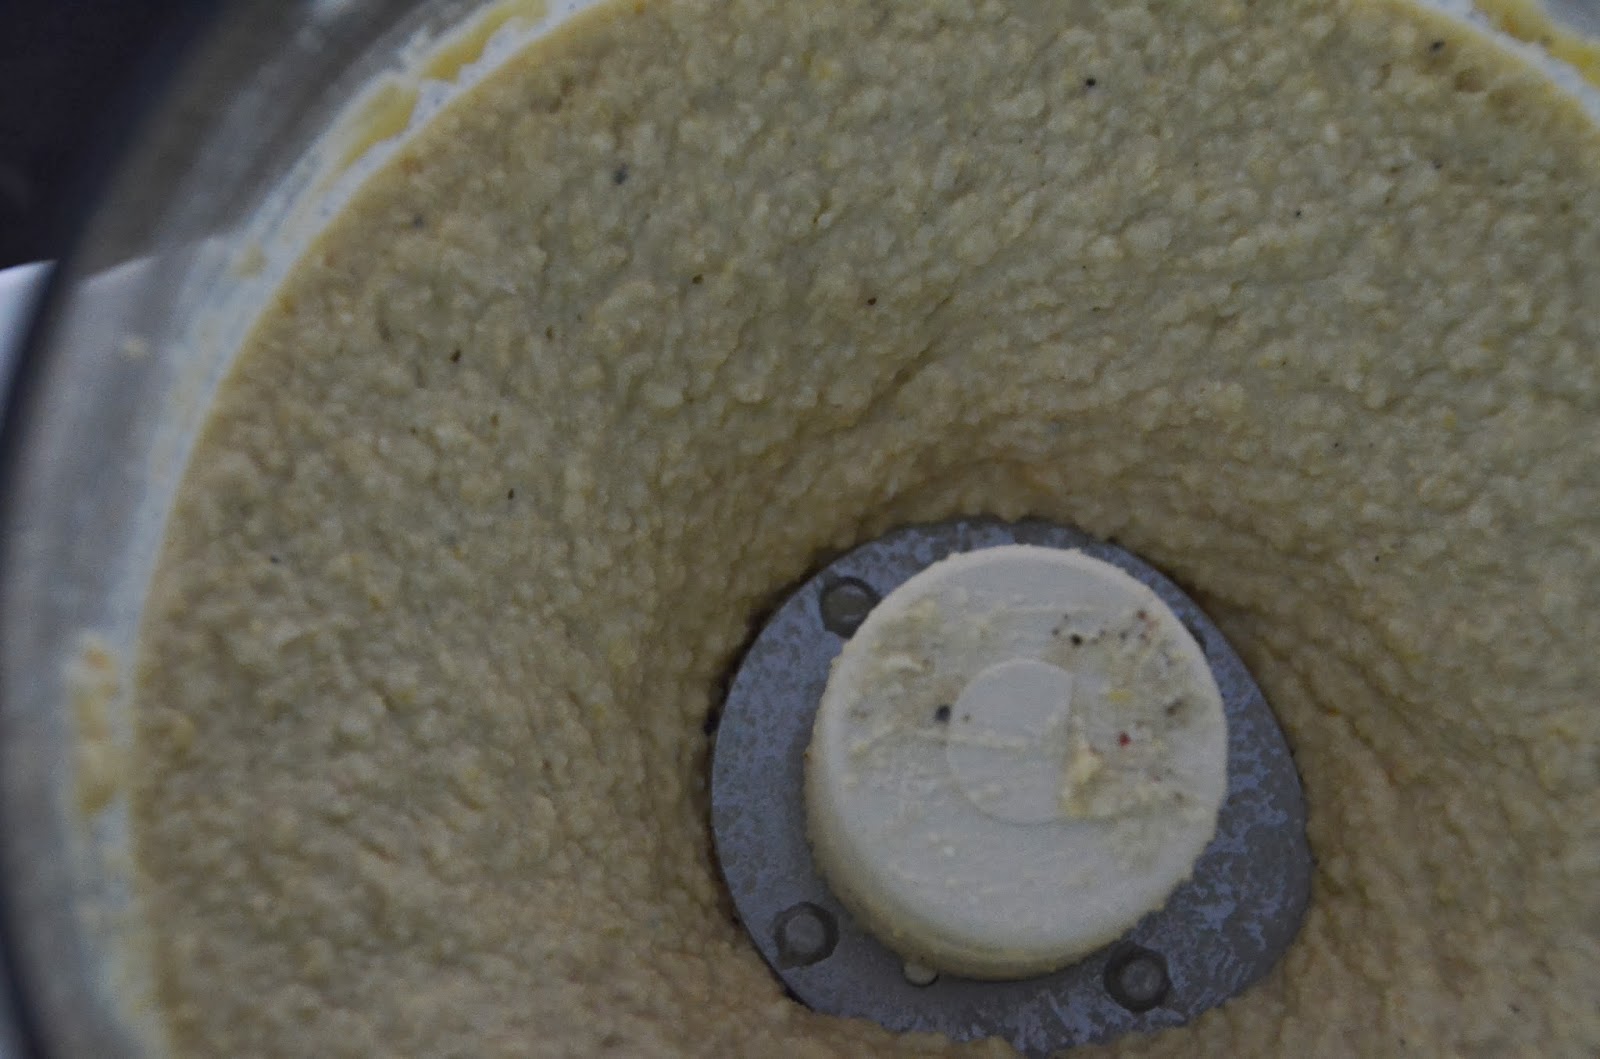
This is what my hummus looked like when it was all said and done…
This recipe will make a nice party size portion, whatever that means. I asked my husband how much he thought it was and that’s what he said and I totally agreed (never happens) so that’s what we’re going with…party size portion.
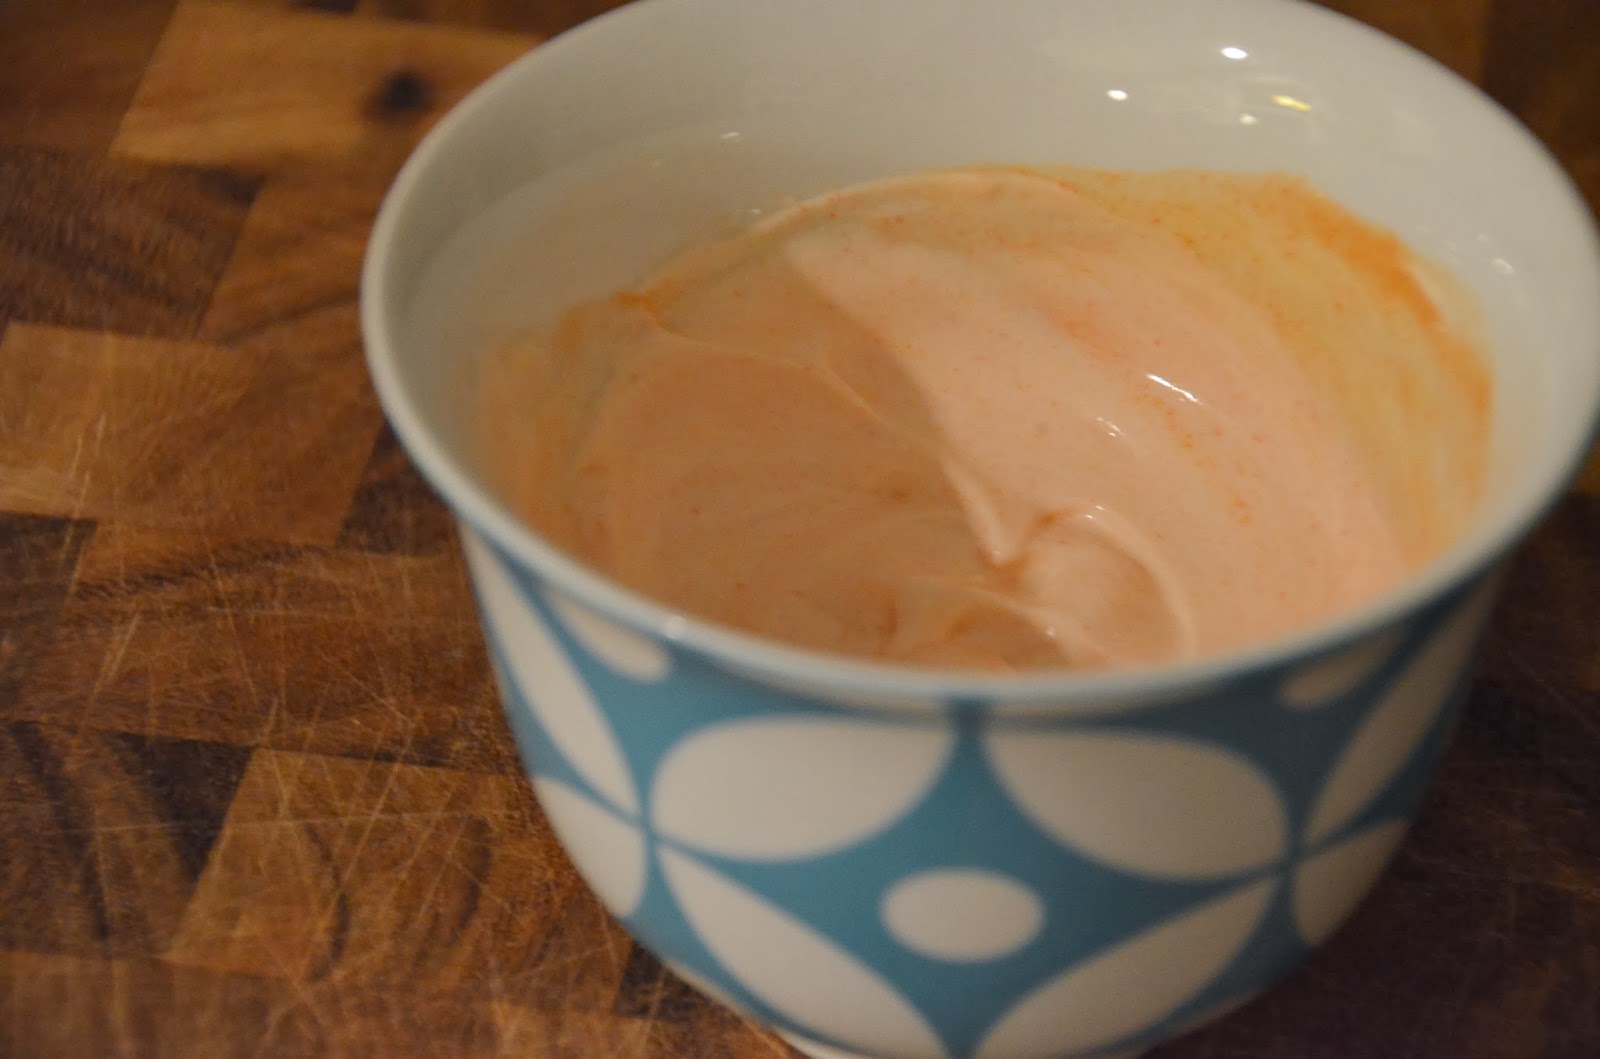
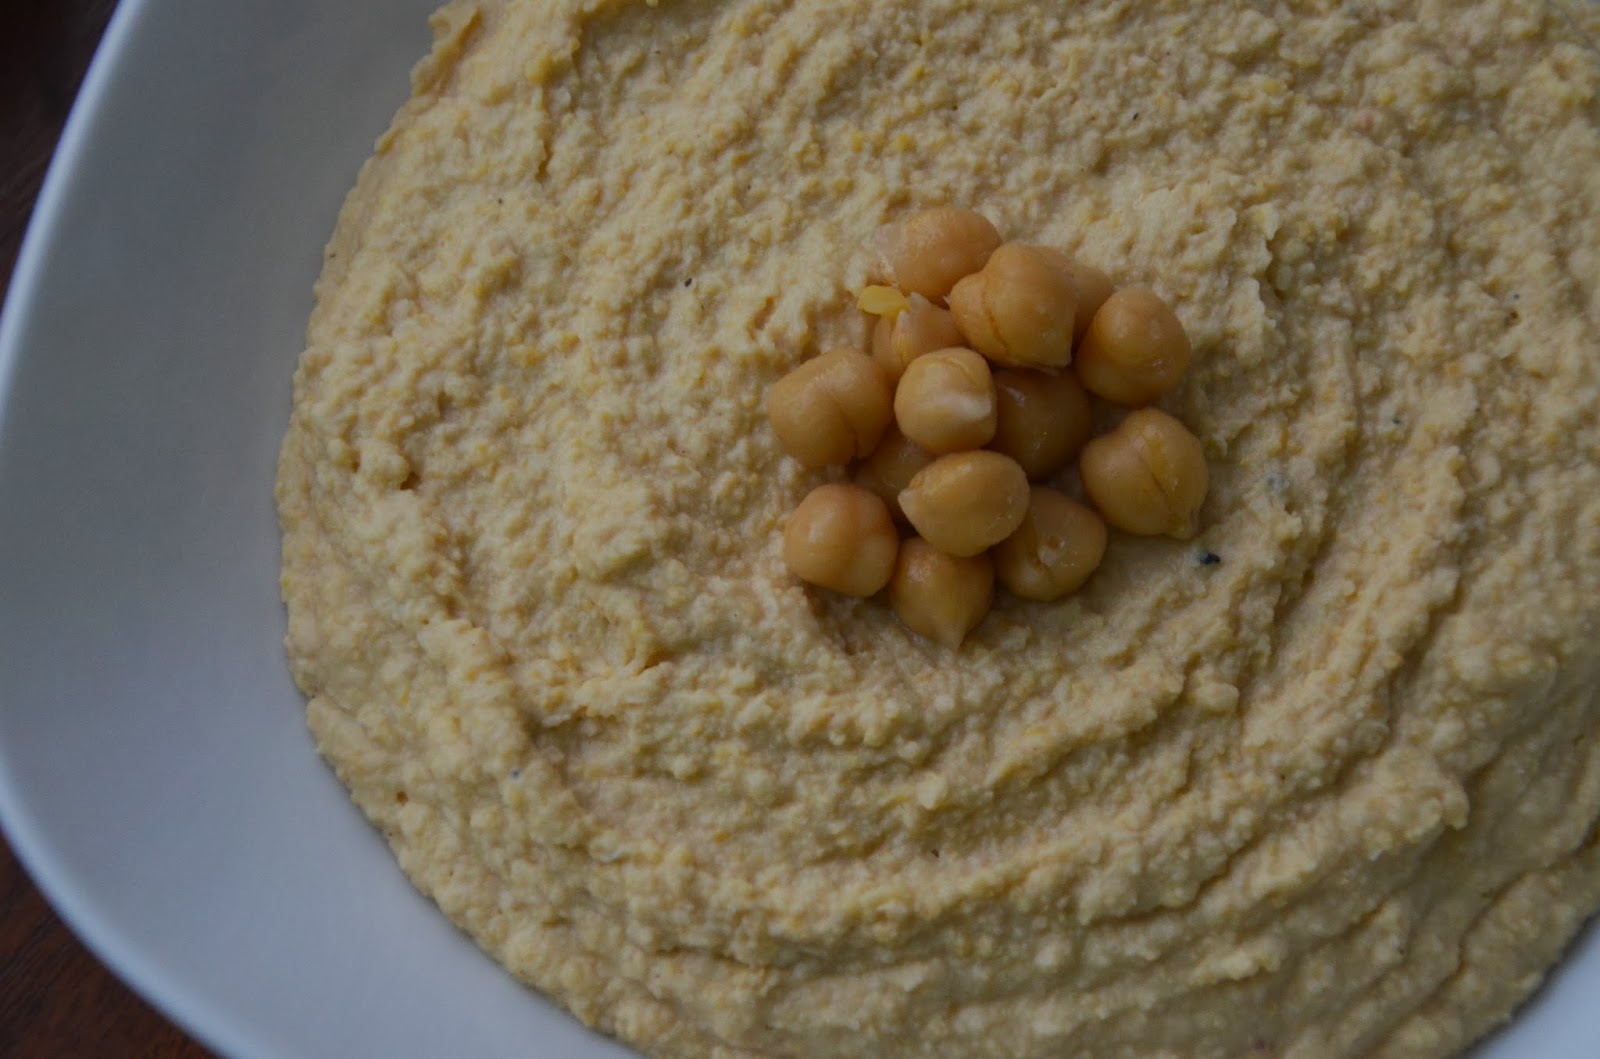
Here is the hummus sitting in a pretty bowl…
If you like a little more smokiness in your hummus, you can always add 1/2 tsp. of cumin. I usually do but for some reason I chose not to today (because I forgot).
I can think of a million ways to eat hummus…it’s great as a healthy dip for vegetables, you can spread it on warm pita bread (to die for), you can eat it with a spoon…but I’m going to show you my all time favorite way to eat it.
This is hummus…CP style. CP is my sister and she has been eating hummus like this since she could walk (small exaggeration but you get the idea).
Take a good piece of multi-grain bread or a bagel and toast it to your liking. Next, spread a good amount of hummus on the bread and then top with thin slices of vine ripened tomatoes. Lastly, sprinkle the whole thing with a little salt, fresh ground pepper, and dried basil.
Here is the masterpiece…
I don’t know what it is about this combination but it is crazy freaking good. You can obviously do whatever you want to with your hummus but if you’re looking for a healthy breakfast, or lunch, or snack, or you just want some darn hummus…this is definitely worth trying.
Ok, now you have to make a promise…please, please, please promise me that you will never buy packaged hummus ever again (I’m being dramatic). I’m not trying to put the hummus companies out of business and I’m sure there are some really nice people that work at these hummus companies but enough is enough…we don’t like eating bad hummus and we’re not gonna take it anymore! I’m probably going to get sued for this but oh well, it was totally worth it.
Cheers!
The Good Cooker