Baked Chicken with Spinach and Goat Cheese


On my list of top 10 easiest dinners to throw together, this one ranks pretty high.  You can’t beat the chicken/spinach/goat cheese combo.  I usually see recipes using these ingredients where you are pounding out the chicken or cutting pockets into it, and then stuffing them with filling, and then trying to close everything up with tooth picks…I’m tired already.


You can get the same flavor combos without all the fuss and have dinner on the table in a flash.  Here’s what you need for the ingredients…

Chicken Breasts (1 for each person)
Baby Spinach – a whole bunch of it
Goat cheese 
Marinara Sauce (Optional)
Salt/Pepper
Dried basil
Dried Oregano


Start by baking your chicken…baking is one of the easiest and least messy ways to prepare chicken, and if you cook it at the right temperature for the right amount of time it will always be juicy and delicious.

Line a baking sheet with foil and then drizzle your chicken breasts with olive oil, next add your seasonings…salt and pepper is a must but I also recommend adding some dried oregano and basil (or any Italian seasoning mix you might have).

Put the chicken in the oven at 350°F for about 30 minutes…and this is what you get.

About 5 minutes before the chicken is done, get some olive oil down in a large pan and put it over medium low heat…then add a crap load of spinach and season it with salt and pepper…


This will of course wilt down to nothing pretty quickly…put the lid on to help it along.  After a few minutes, remove the lid and place your chicken that you just took out of the oven on top of the spinach in the pan.

Then crumble goat cheese over the entire thing…I get pretty liberal with the goat cheese because I’m addicted to it.


Now just put your pan in the oven and turn on the broiler so that the cheese melts nicely over the chicken.  Make sure you watch it, this should only take a few minutes…and then it’s done!


My goat cheese is usually much meltier (not a word) but my husband bought the crumbles instead of the whole package of goat cheese.  I never buy the crumbles so I’m not really sure what he was thinking but whatever, I’m over it…or maybe I’m not because I just got a little irritated after writing that.  Anyway…either form of goat cheese will work.

The last thing I do is heat my favorite marinara on the stove and spoon it over each plate…


And that’s dinner…SO easy.


Beer Brats with Beer Stewed Onions…served with Beer of course


Who likes beer?  I know…stupid question.

Beer brats are one of the best foods to serve at a BBQ…they are super easy to throw together and you can make a lot at once…oh, and they taste like heaven.

I like to serve my brats with beer stewed onions which doesn’t even require additional work because you use the same beer to cook everything.

Here are the ingredients you will need…

Brats (pork, turkey, or even veggie will work)
Beer…and not the expensive stuff, save that for the drinking

Large onions (white or yellow)
garlic powder
salt 
pepper
whatever other spices you want to throw in…


Start by cutting your onions…

I was only making 5 brats so I used one onion…cut it up like you’re making onion rings…

And then throw it in a large dutch oven or stock pot with some butter or olive oil.


No, that is not margarine…that is what organic butter looks like, fluorescent yellow.

Saute the onions until they soften and your whole kitchen smells amazing…then add whatever other seasoning you feel like using.


I use this stuff called M Salt all the time…

It’s some sort of seasoned salt and I would love to tell you what’s in it but the company refuses to give up the information.  You can visit their website here  if you don’t believe me.  I don’t even care what’s in it…I just have to have it.


So now that your onions are softened and seasoned…it’s time to add the beer to the pot.

This is my beer of choice for brats…

No eye rolls please!  I think these ladies are just lovely and they’re flavor profile is perfect for this recipe.

So pour your favorite cheap beer in…


And cook the beer/onion mixture over medium heat until it starts to boil…then add your brats and turn the heat to medium low.


Boil the brats for about 10-15 minutes…and then throw them on the grill for another 10 minutes just to crisp up the outside.  Continue to cook the onions in the beer until you’re ready for them.

That’s all she wrote folks!  Here’s a brat covered in stone ground mustard….


And then topped with the stewed beer onions…

I tell you what…there is really nothing better than a salty brat topped with spicy brown mustard and sweet beer stewed onions, with a cold one to wash it all down…lord have mercy.

Cheers to SUMMER!

The Good Cooker


Steamed Artichokes


Were steaming artichokes an 80’s fad?  Every time I mention steaming artichokes, one of my friends recalls that their mother did this all the time when they were a kid…my mother did it too.  I will always remember sitting around our kitchen booth (yes we had a booth) and dipping the steamed artichoke leaves into lemon butter before using my teeth to scrape away the flesh.  I’m not even sure that I really liked the taste of artichoke at that age but the process was fun and I was dipping something in butter so it was a no brainer.

Steamed artichokes are sort of a best kept secret, I was holding one up at the store the other day and a lady said, “what in the hell are you going to do with that thing?”  My initial response was, “I love you and will you be my new best friend”…and then I went on to tell her how easy it is to prepare the whole artichoke.  She was also confused about where the heart was, “is it in there?”…I reassured her that it was indeed in there but that eating that part would be the grande finale…she bought 3 artichokes.

I love making artichokes because they are sort of a blank canvas, you can infuse them with all sorts of flavors.  You can tuck ingredients (like garlic cloves) down into the leaves or throw herbs and spices into your steaming water (that’s what I did this time).

You do need some sort of double boiler set up for this…here’s what I always use.


I used 2 artichokes for this recipe…look at these beauties!


You will need to get these babies ready for their steam bath, but that is really easy…just chop off that big stem on the bottom, also chop about an inch off the top…and then clip the outer leaves with some kitchen scissors.


Now place about 3 inches of water in the bottom of your double boiler and add any herbs or spices you fancy.

I threw in a few cloves of garlic, some bay leaves, onion powder, seasoned salt, pepper, lemon juice…


Now just put your artichokes into the top of the double boiler, put the lid on and place over medium low heat.


So I ran into a “slight” problem in that my artichokes were too big for my pot so I couldn’t get the lid on.  I cut one in half and it cooked just fine…

After about an hour you will have something that resembles this…


I usually do a taste test right about now to make sure the flesh on the leaves is nice and soft.  You should be able to pluck one right out with no problem.

The last thing I do is prepare the lemon butter dipping sauce, here’s what you need for that…


Crazy complicated I know…I used salted butter but if you use the unsalted variety I would recommend adding some salt.

Here is your steamed artichoke ready for you to devour…

All you need to do now is pluck a leaf, dip it in the lemon butter, put the leaf between your teeth, and then pull the leaf out while scraping the flesh away from the leaf…and then throw the leaf on the floor.  Or I guess you could put the discarded leaves in a bowl or something, my kids don’t seem to get that concept though.

Once you get toward the inside of the artichoke, you will start to see that there’s a meaty part near the steam (that’s the heart)…however it has some stringy stuff attached to it.  You just need to scrape the hairy stuff off and then you can eat the heart.  I did all of that and then went to get my camera to snap a pic of the heart but when I came back (5 seconds later) it was already gone.  My husband was all like, oh did you need that?  

If you’ve never steamed an artichoke but you like artichokes (or even if you just like melted butter and need a reason to eat it) I suggest you try this out…and let me know how it goes!

Cheers!

The Good Cooker


Homemade Mac and Cheese…(drops mic)


To say that homemade macaroni and cheese is good is like saying the earth is round…or the sky is blue…or that I’m getting wrinkles.


It’s just a fact.

My homemade version is rich, creamy, indulgent…healthy, say whaaaa?  Okay, it’s not steamed broccoli but I have mastered a way to create a lighter version that doesn’t taste light at all.  Some people use heavy cream in their mac and cheese recipe because “why not?”…well my “why not” is as follows… me + summer + beach + swimsuit. 

Let’s go over the ingredients…

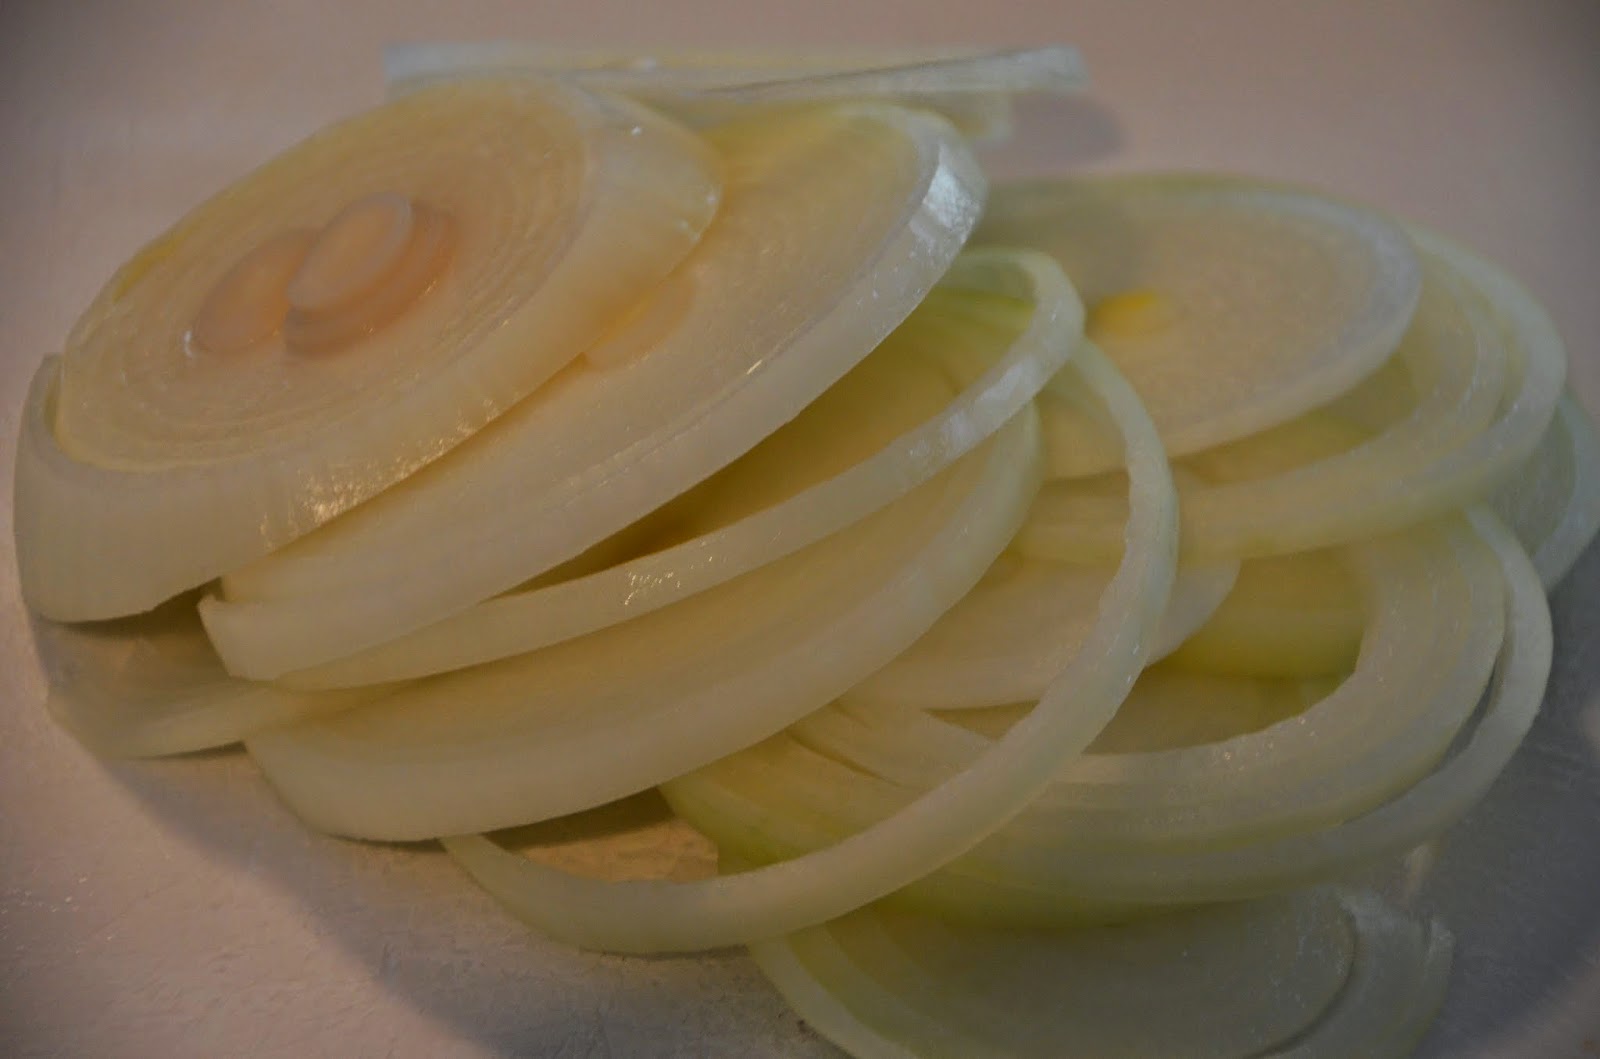
1 pound –  tubular pasta…because it’s tubular!
1 stick – butter
1/4 cup – flour
4 cups – 2% milk
12 oz – shredded cheddar cheese
12 oz – Colby jack cheese
1/2 tsp – salt
1/2 tsp – black pepper
1/2 tsp – dried mustard
1/2 tsp – garlic powder
1/4 tsp – ground nutmeg
1/2 tsp – salt (or to taste)
panko bread crumbs

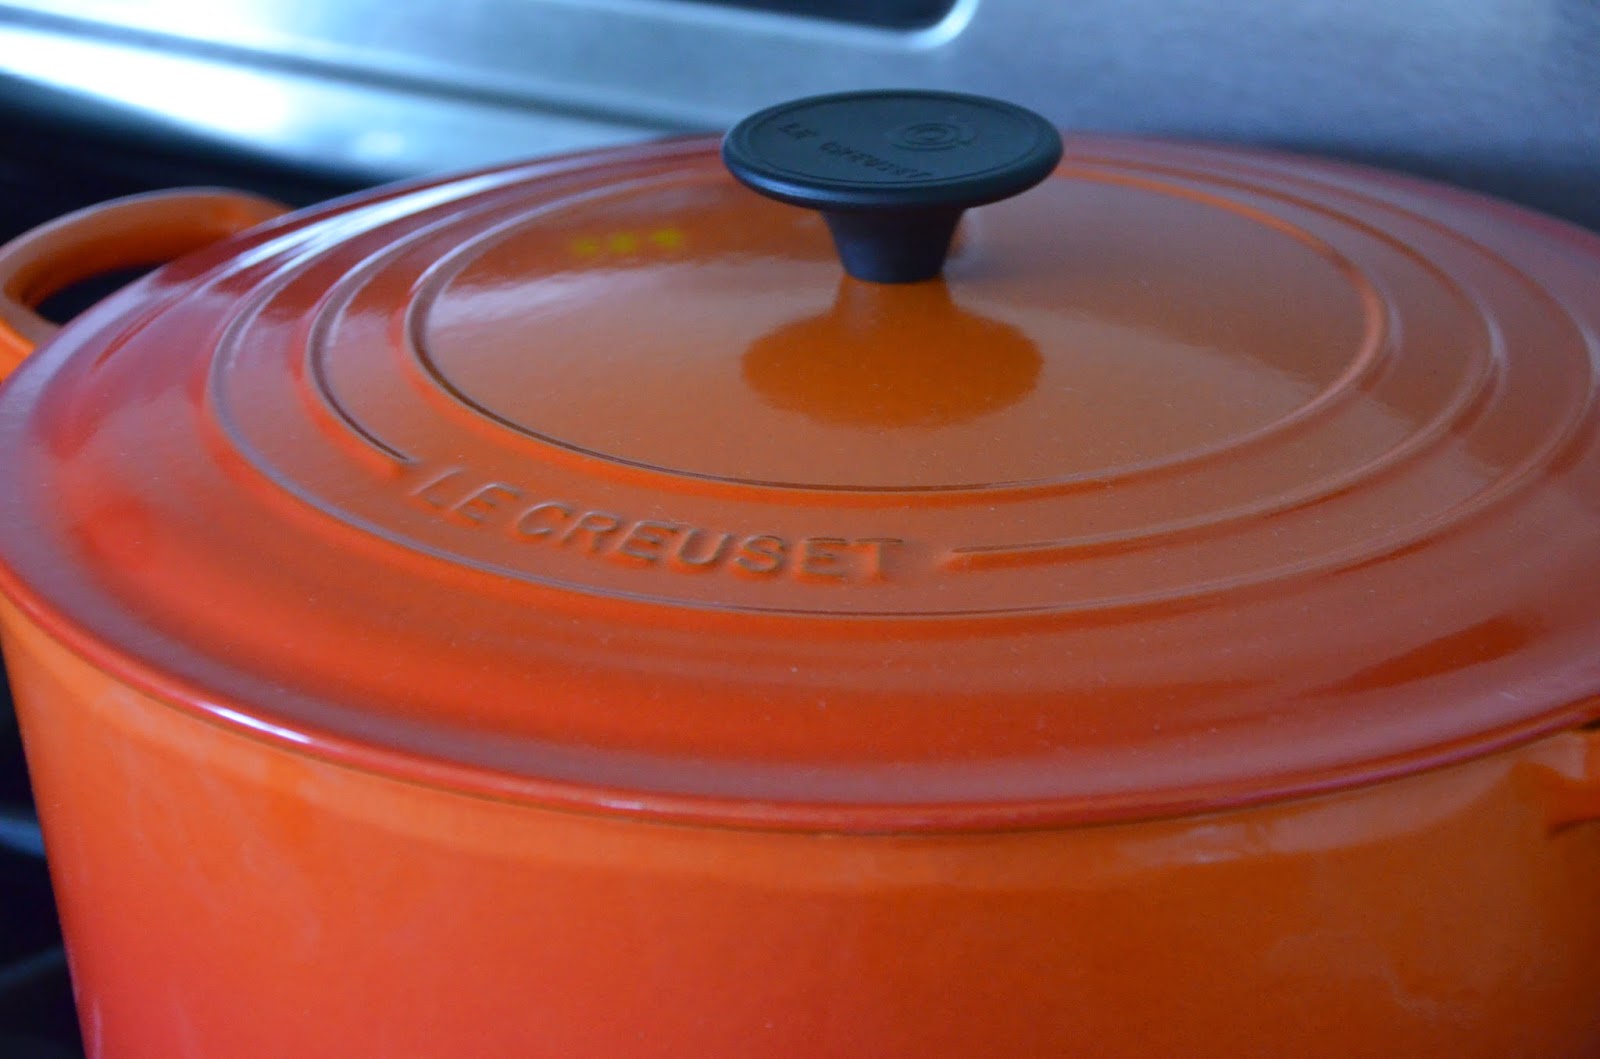
Before we get started we need to talk about some bakeware I just got from my mom, she got me this for Mother’s Day…


The answer is yes, my mom is the best mother on the planet.  I literally had a photo shoot with this thing while my husband stood back and rolled his eyes (he was more interested in getting on with the mac and cheese).

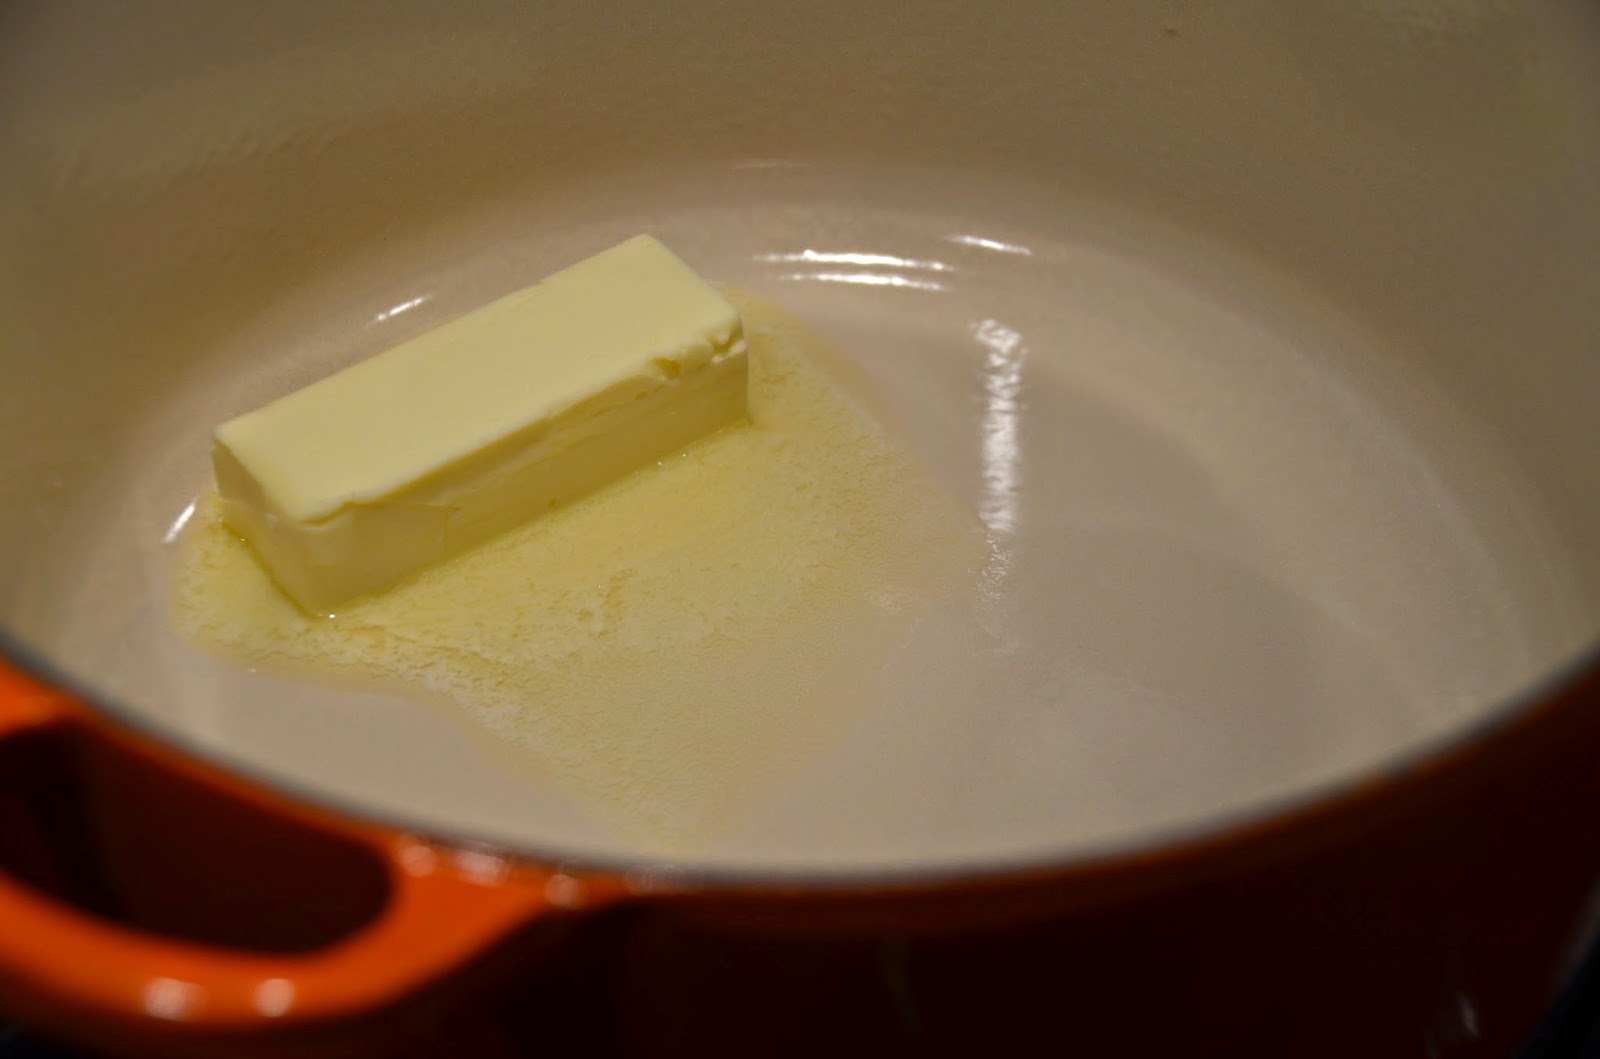
So in your dutch oven (mine is pictured above in case you didn’t get that) start melting your stick of butter.  You can obviously use any heavy bottom pot for this.

You also should get a large pot of salted water going on the stove for the pasta…okay, back to the butter…

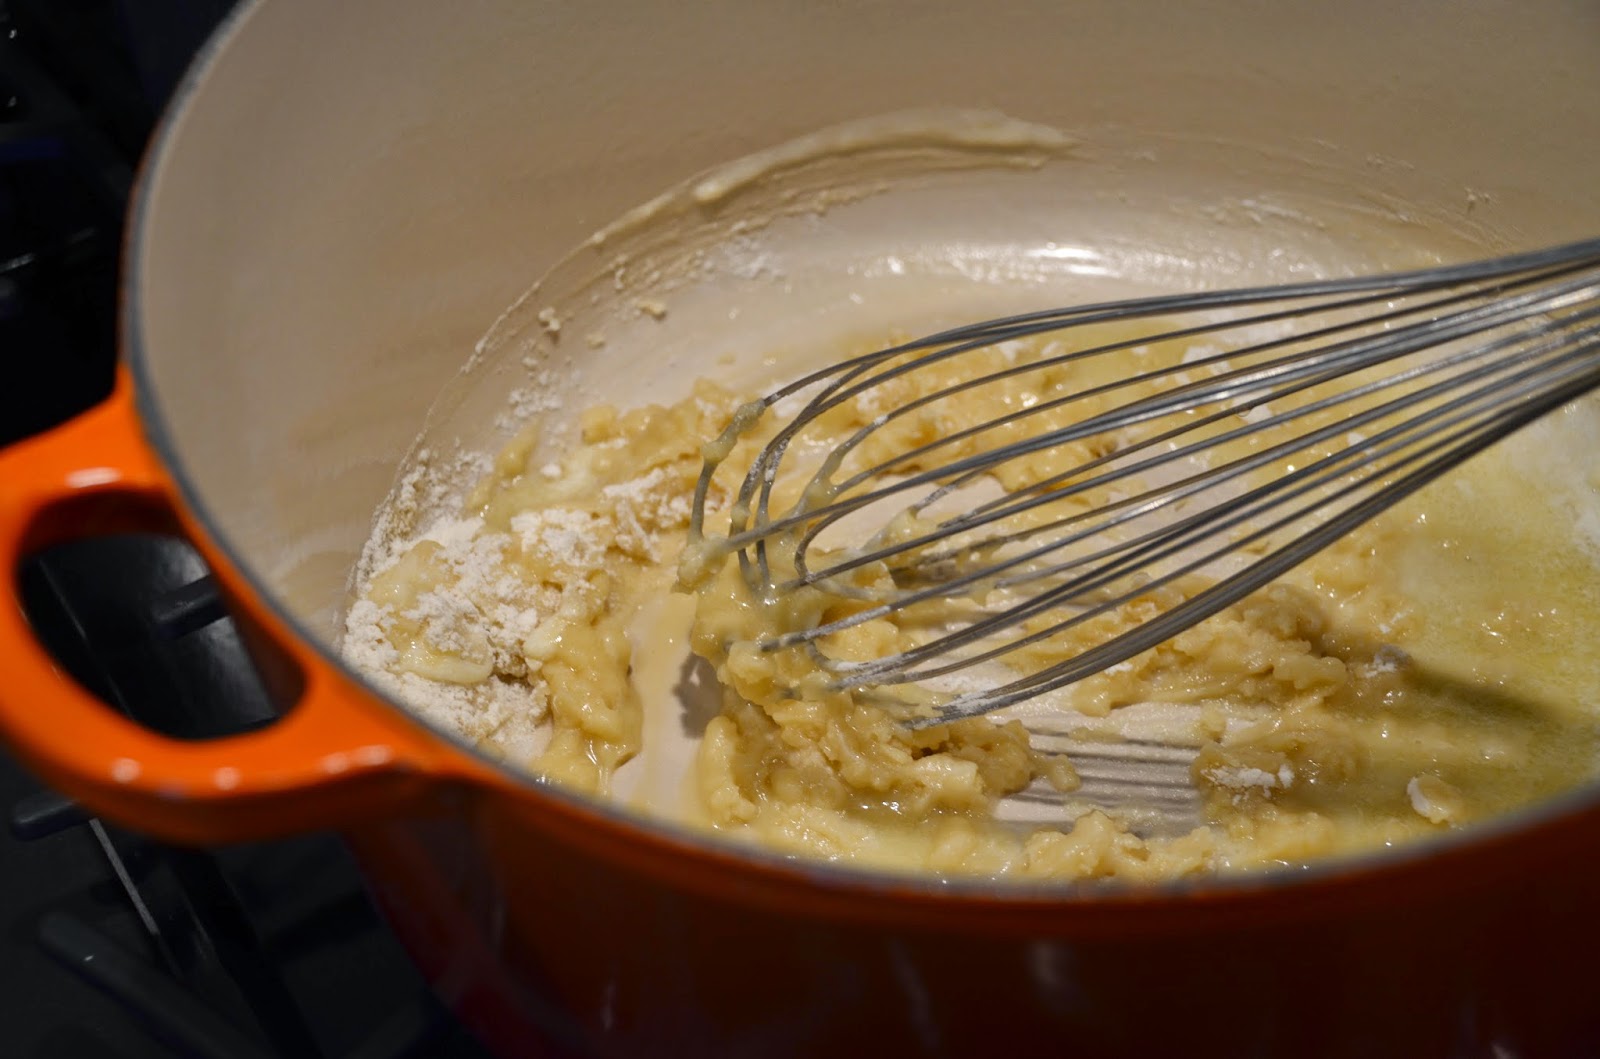
Now add your 1/4 cup of flour and start whisking that together over medium low heat, this is called the roux (it makes the sauce thick)…


Keep whisking this together over the heat until everything is mixed together…


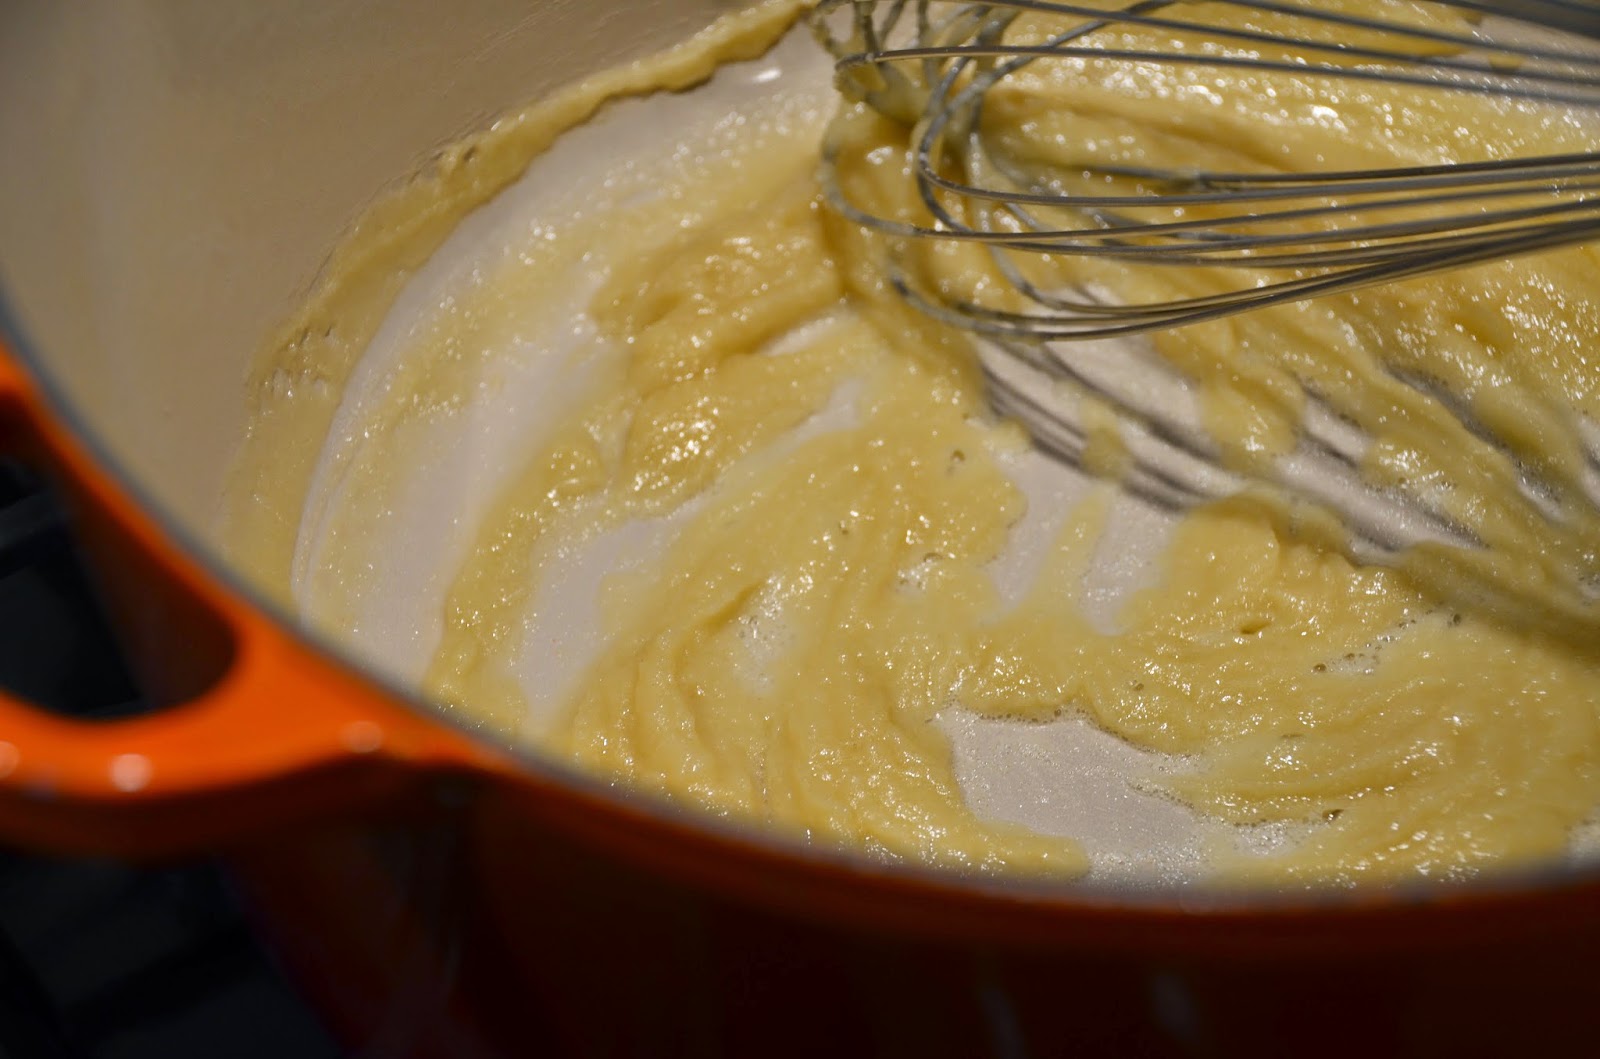
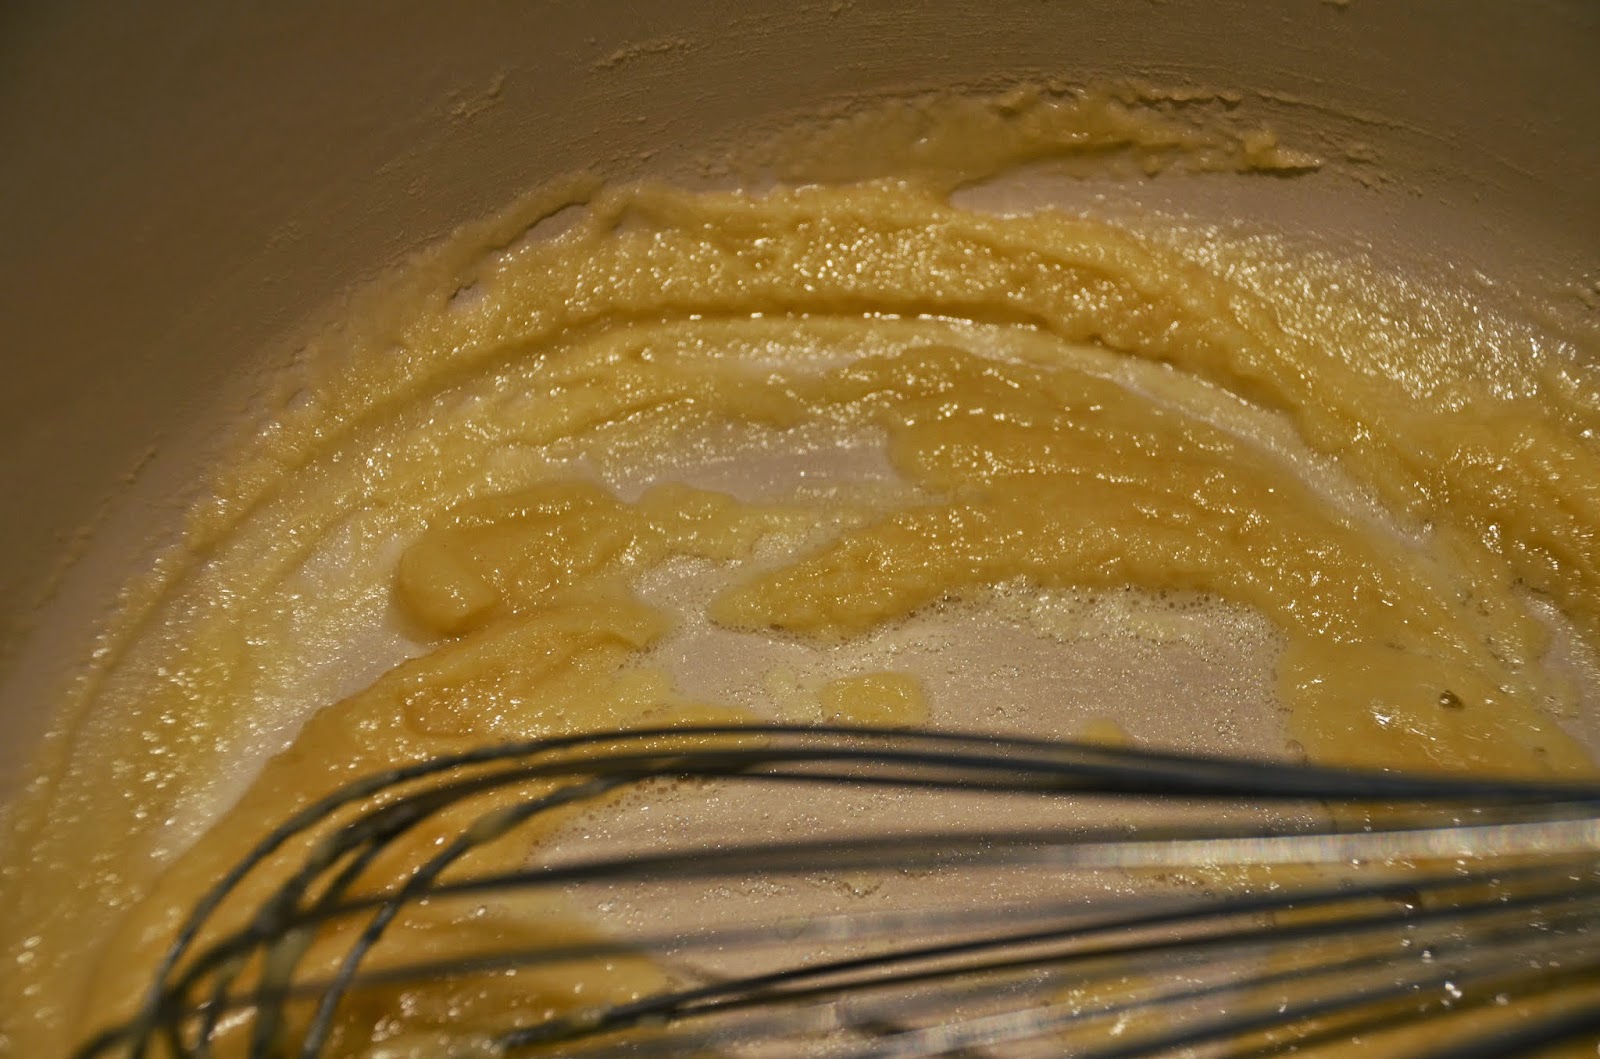
And then cook it a little more just to ensure the raw flour taste is gone, it should be golden in color…because it’s gold.


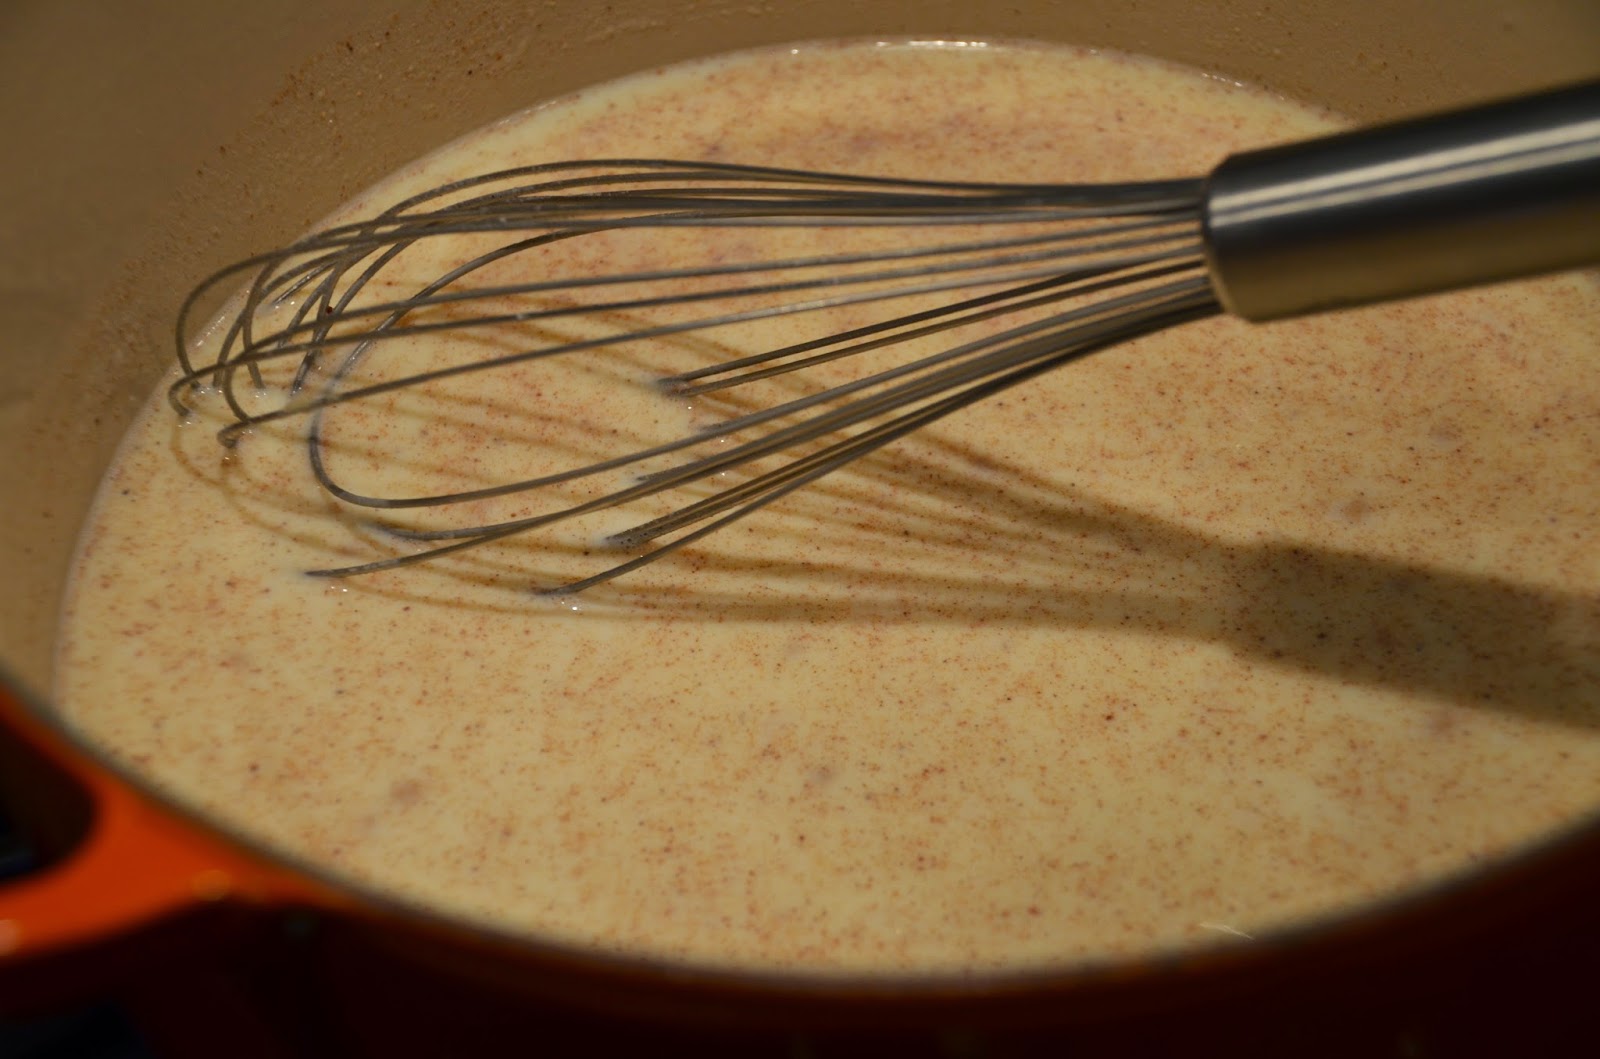
Now it’s time to add the milk, 4 cups…I used 2% but you could also use 1% (or even skim), people can tell me I’m crazy all day long but it’s not the fat in the milk that makes it creamy…it’s that gold stuff we just made.

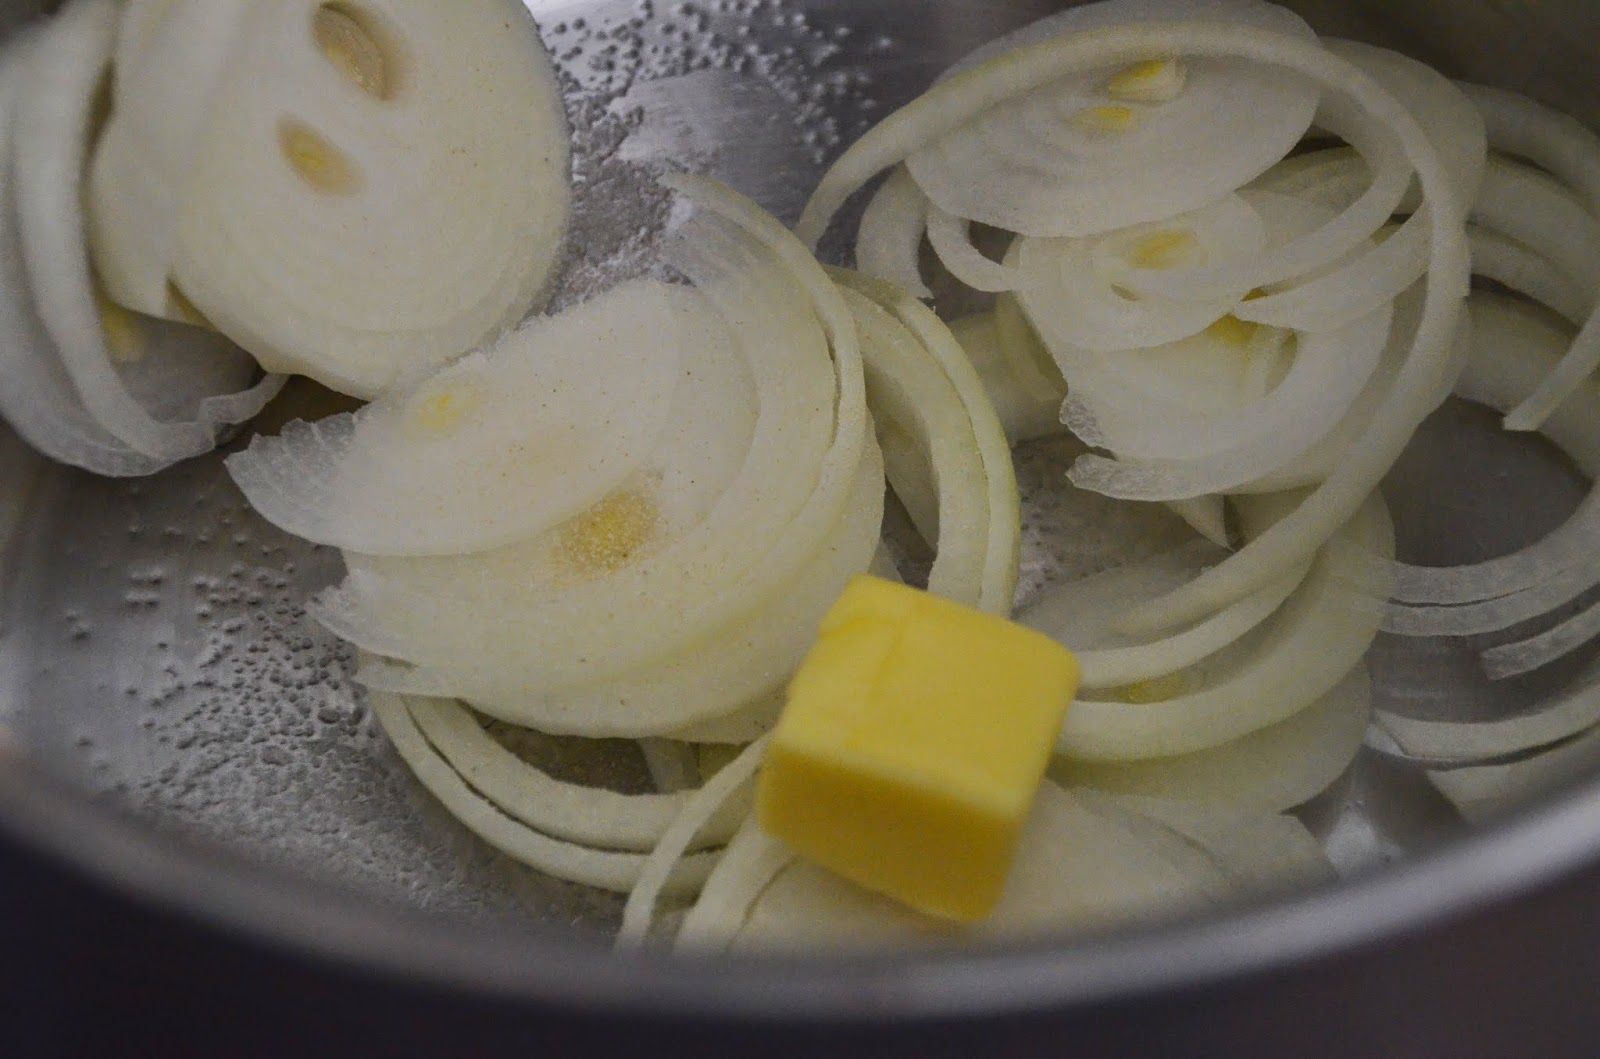
Now add your ground mustard, pepper, garlic powder, and nutmeg…


If you are completely against nutmeg then leave it out…but if you like nutmeg you will LOVE it in this recipe.

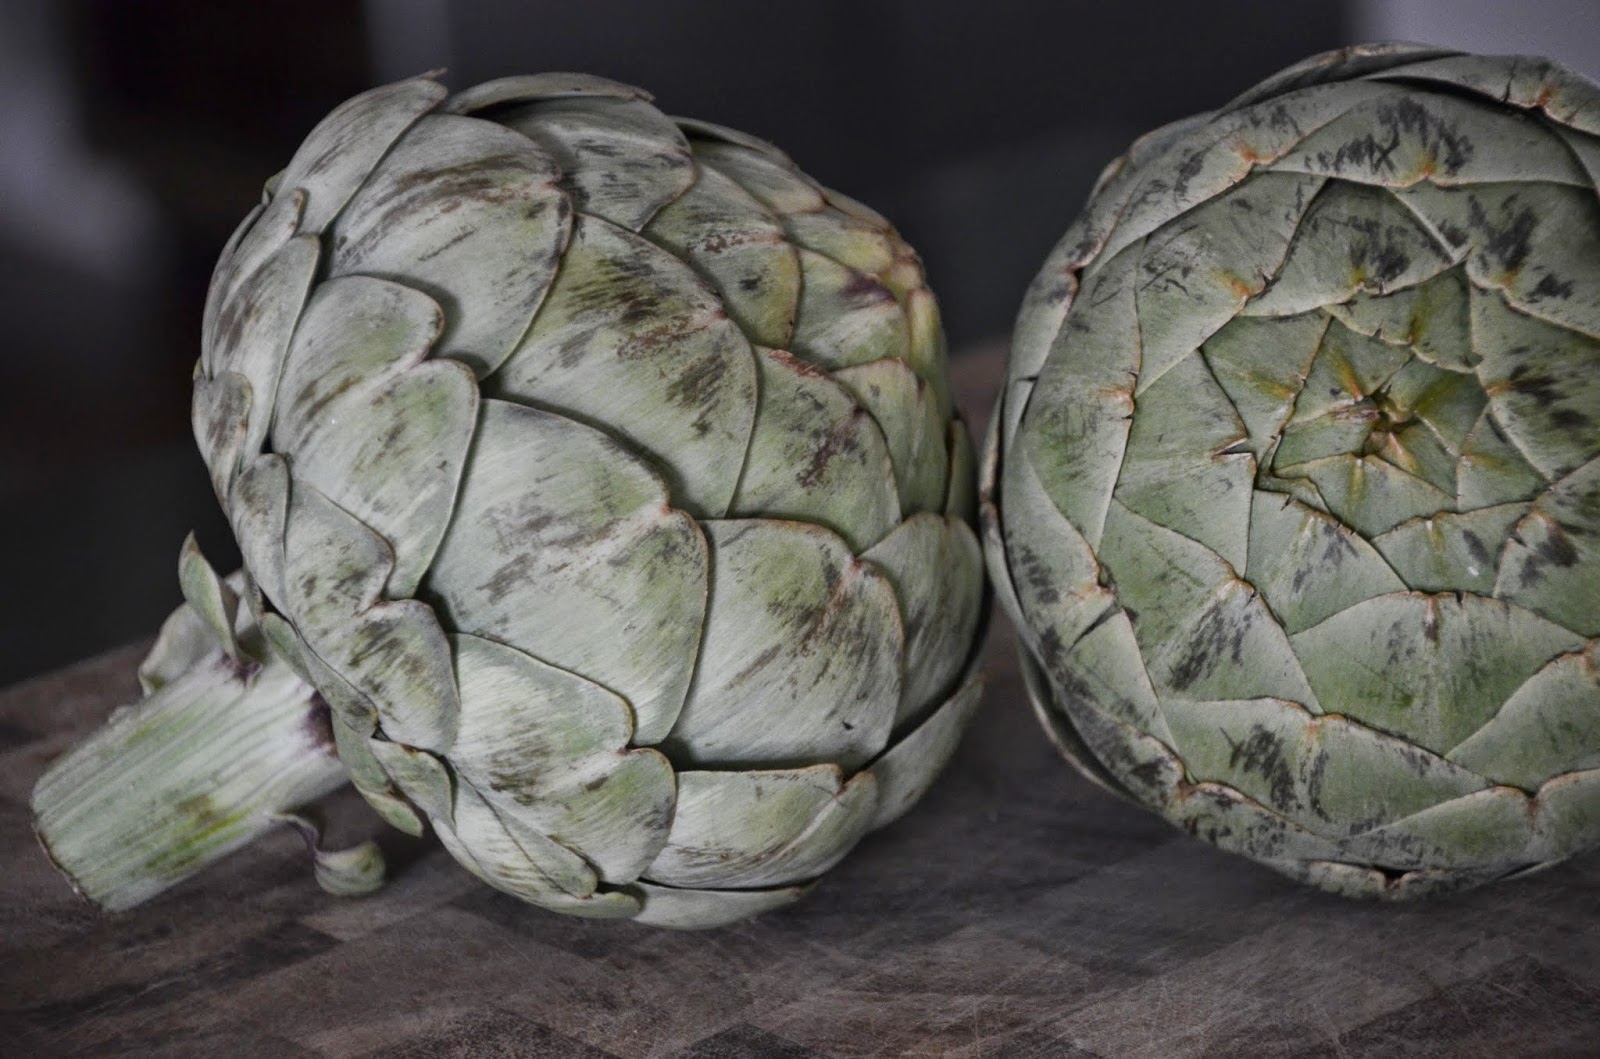
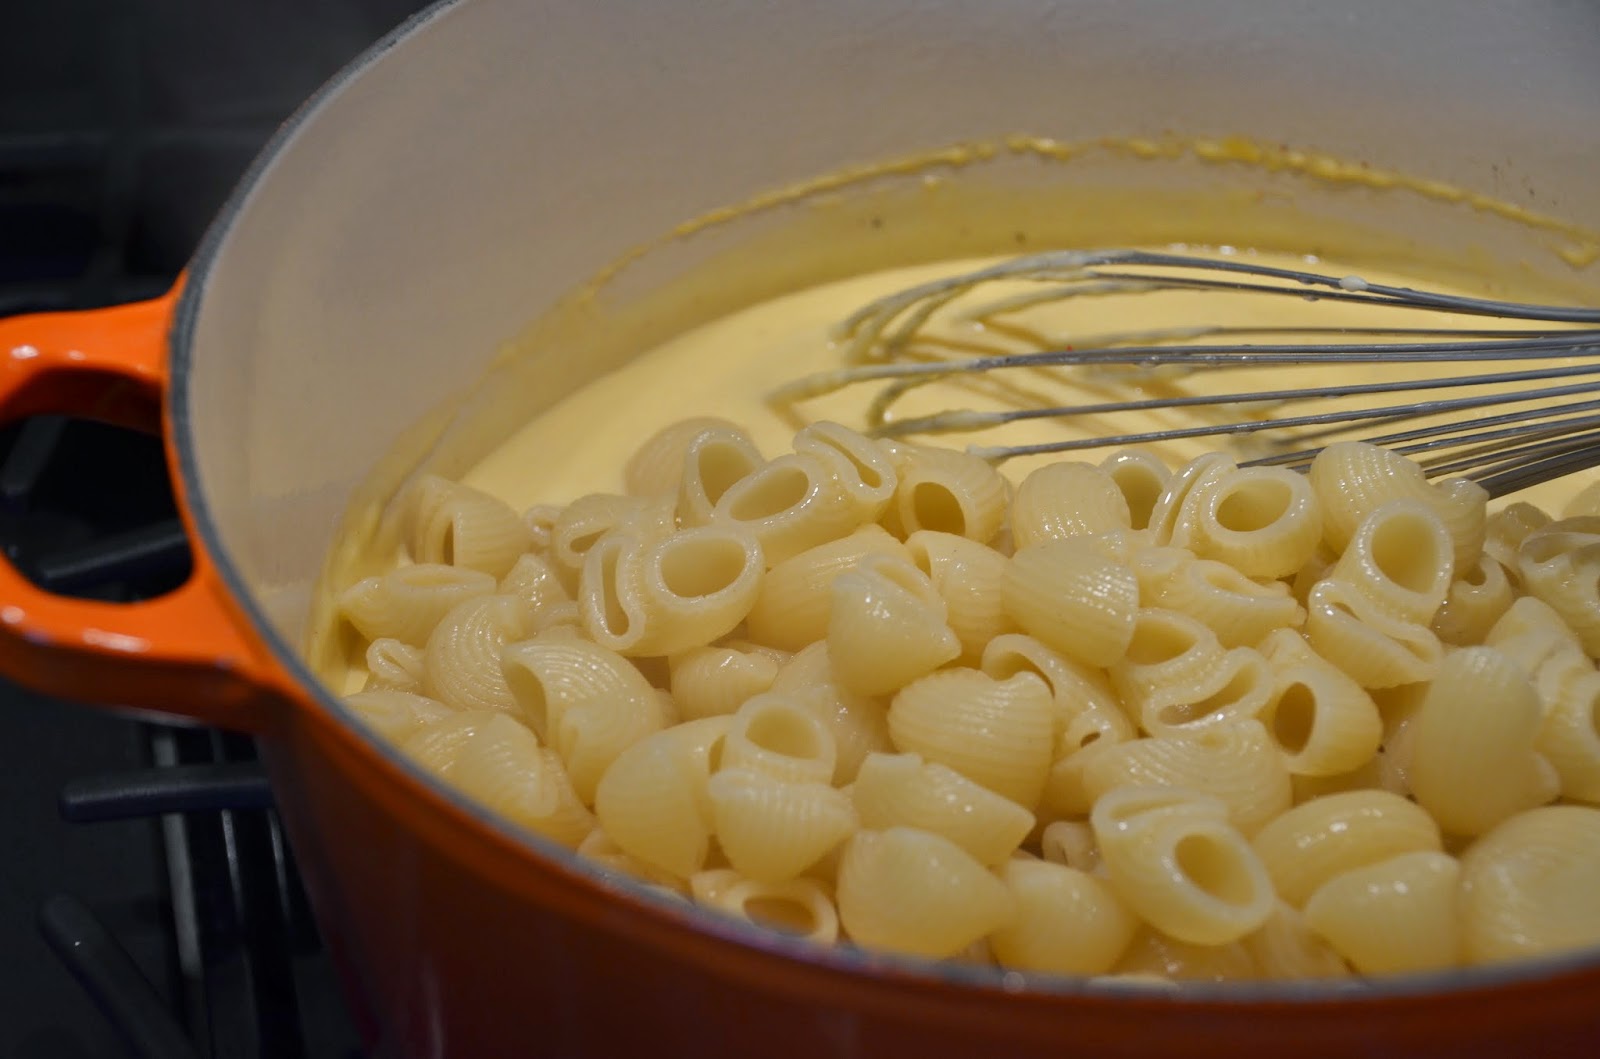
This is a good time to throw your pasta in…you can use any tubular shaped pasta…
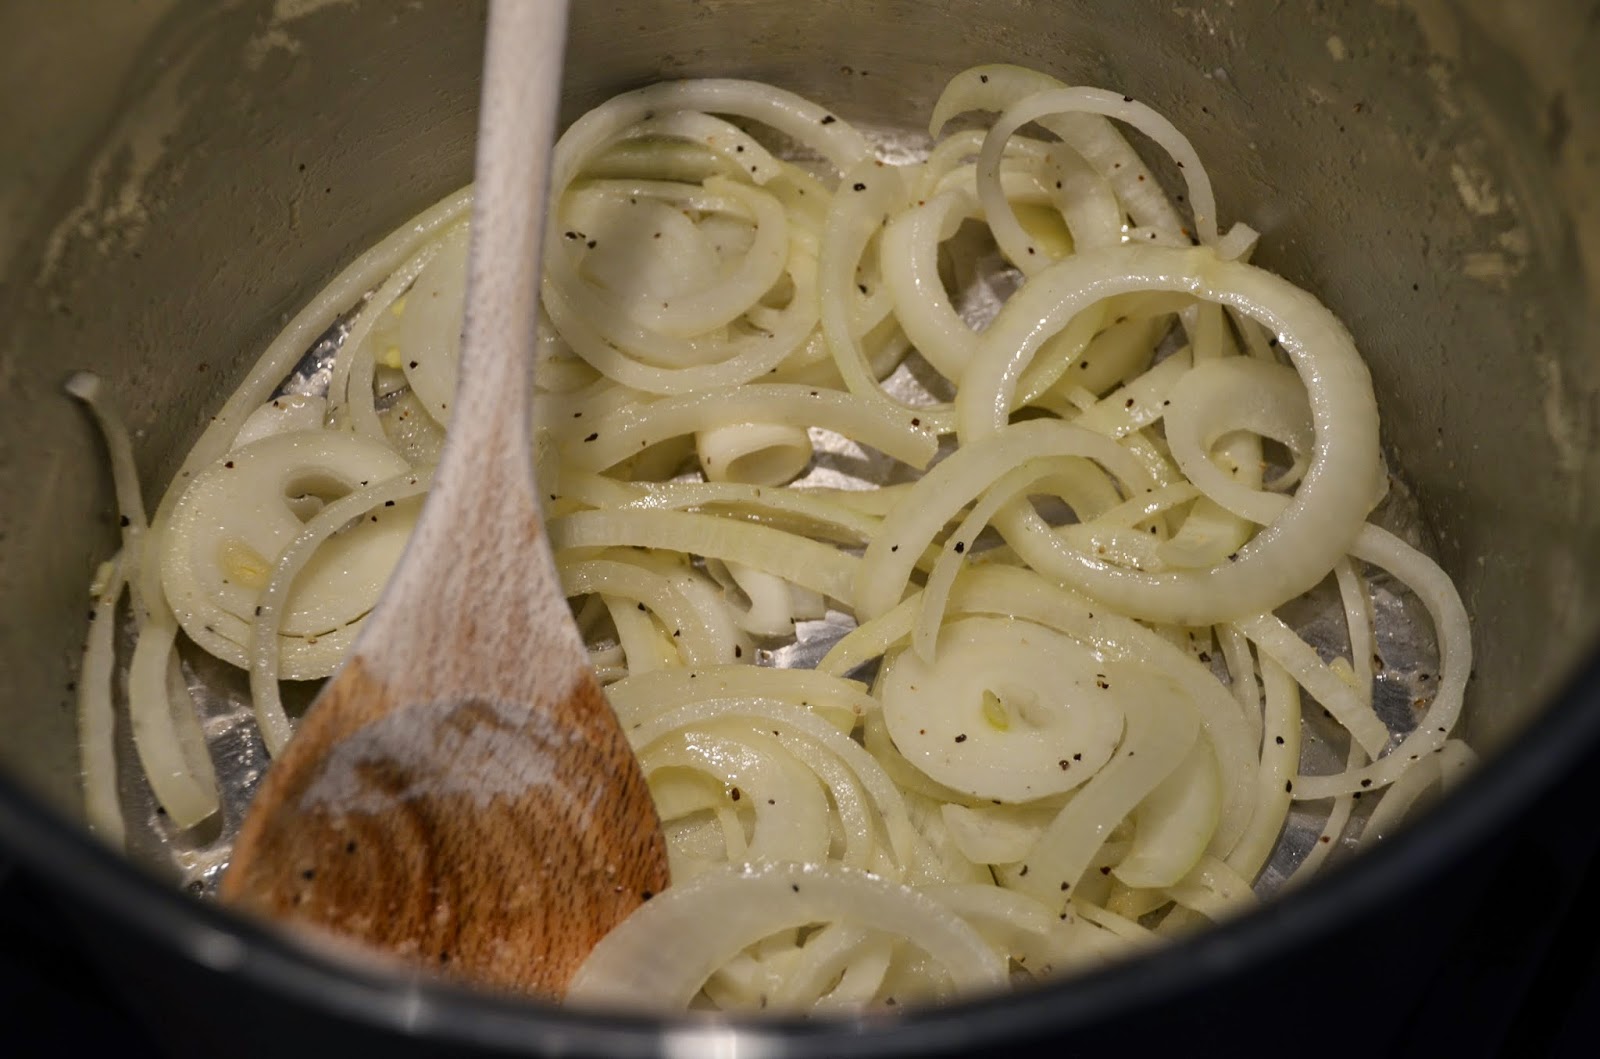
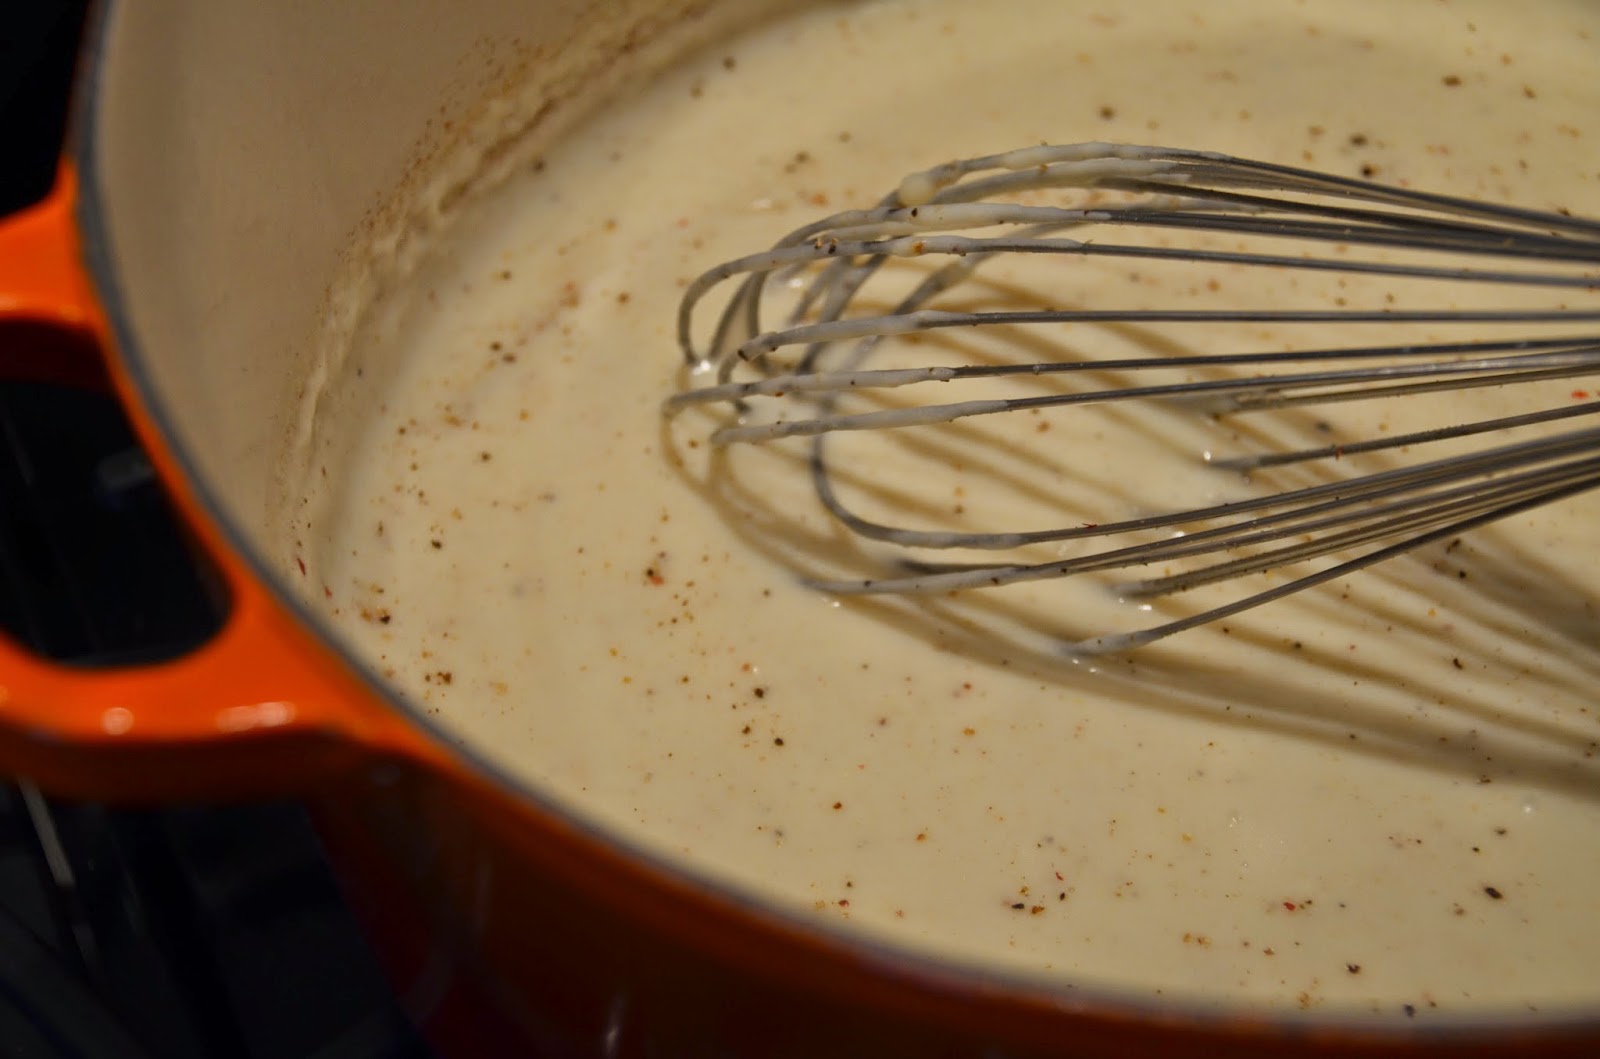
Now you have a big soupy mess but just keep whisking this over medium low heat…

oh look…things are happening…

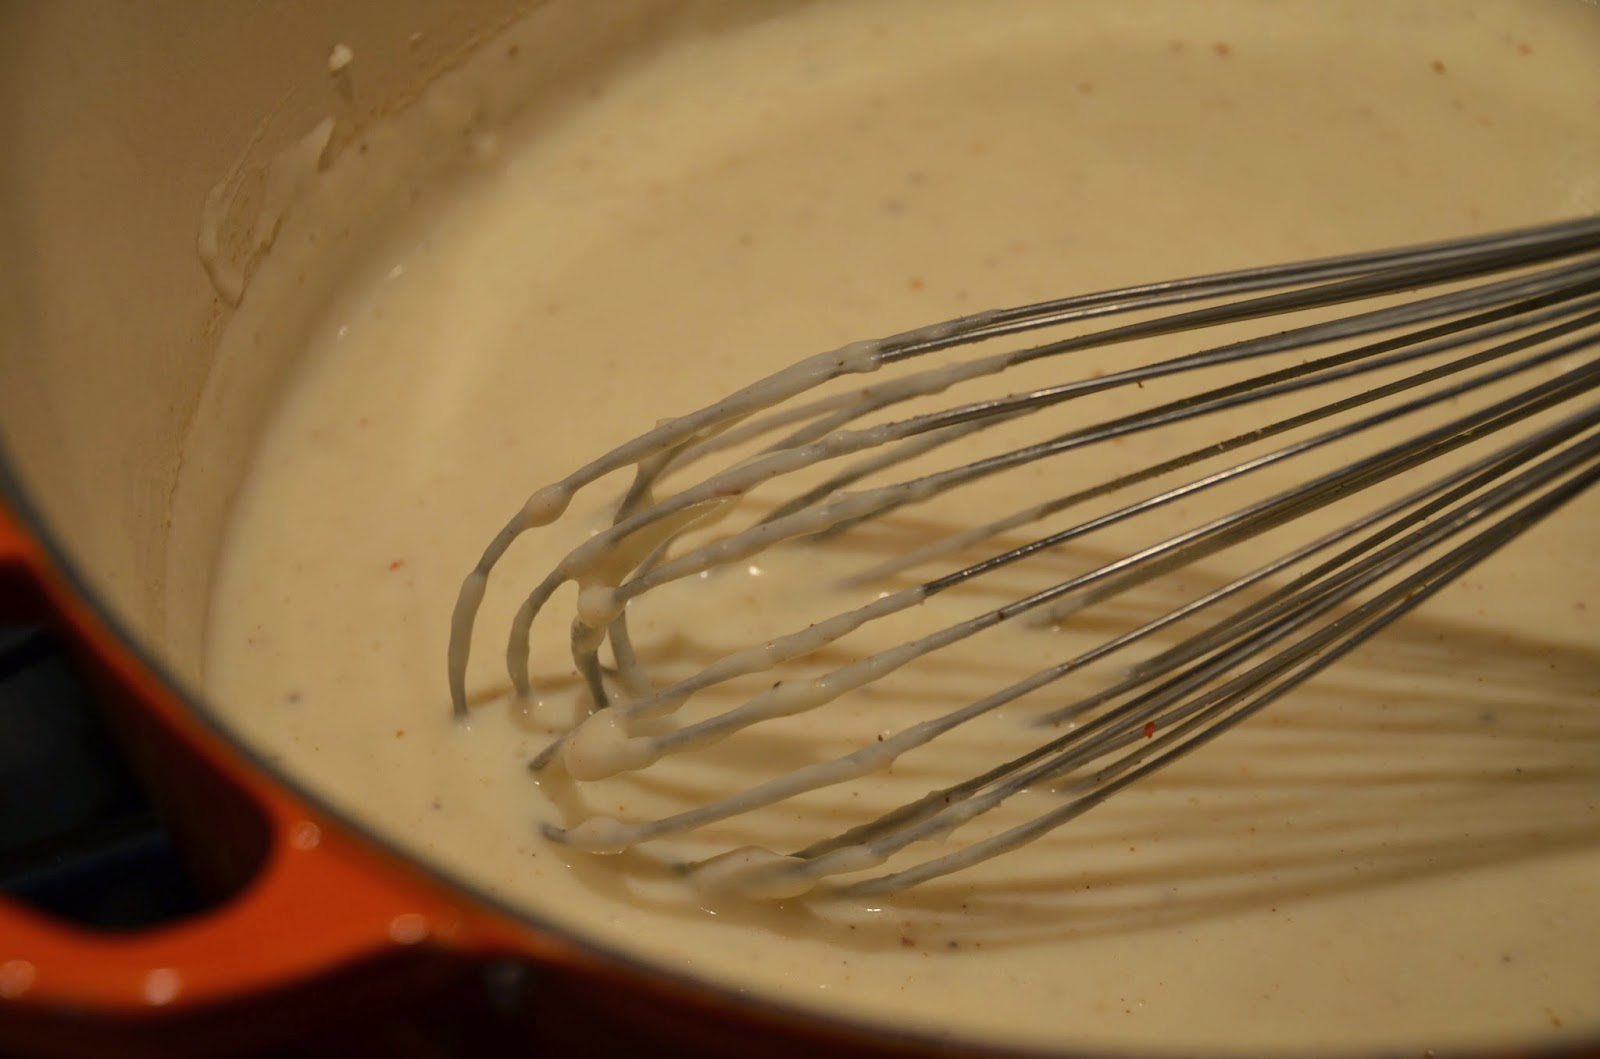
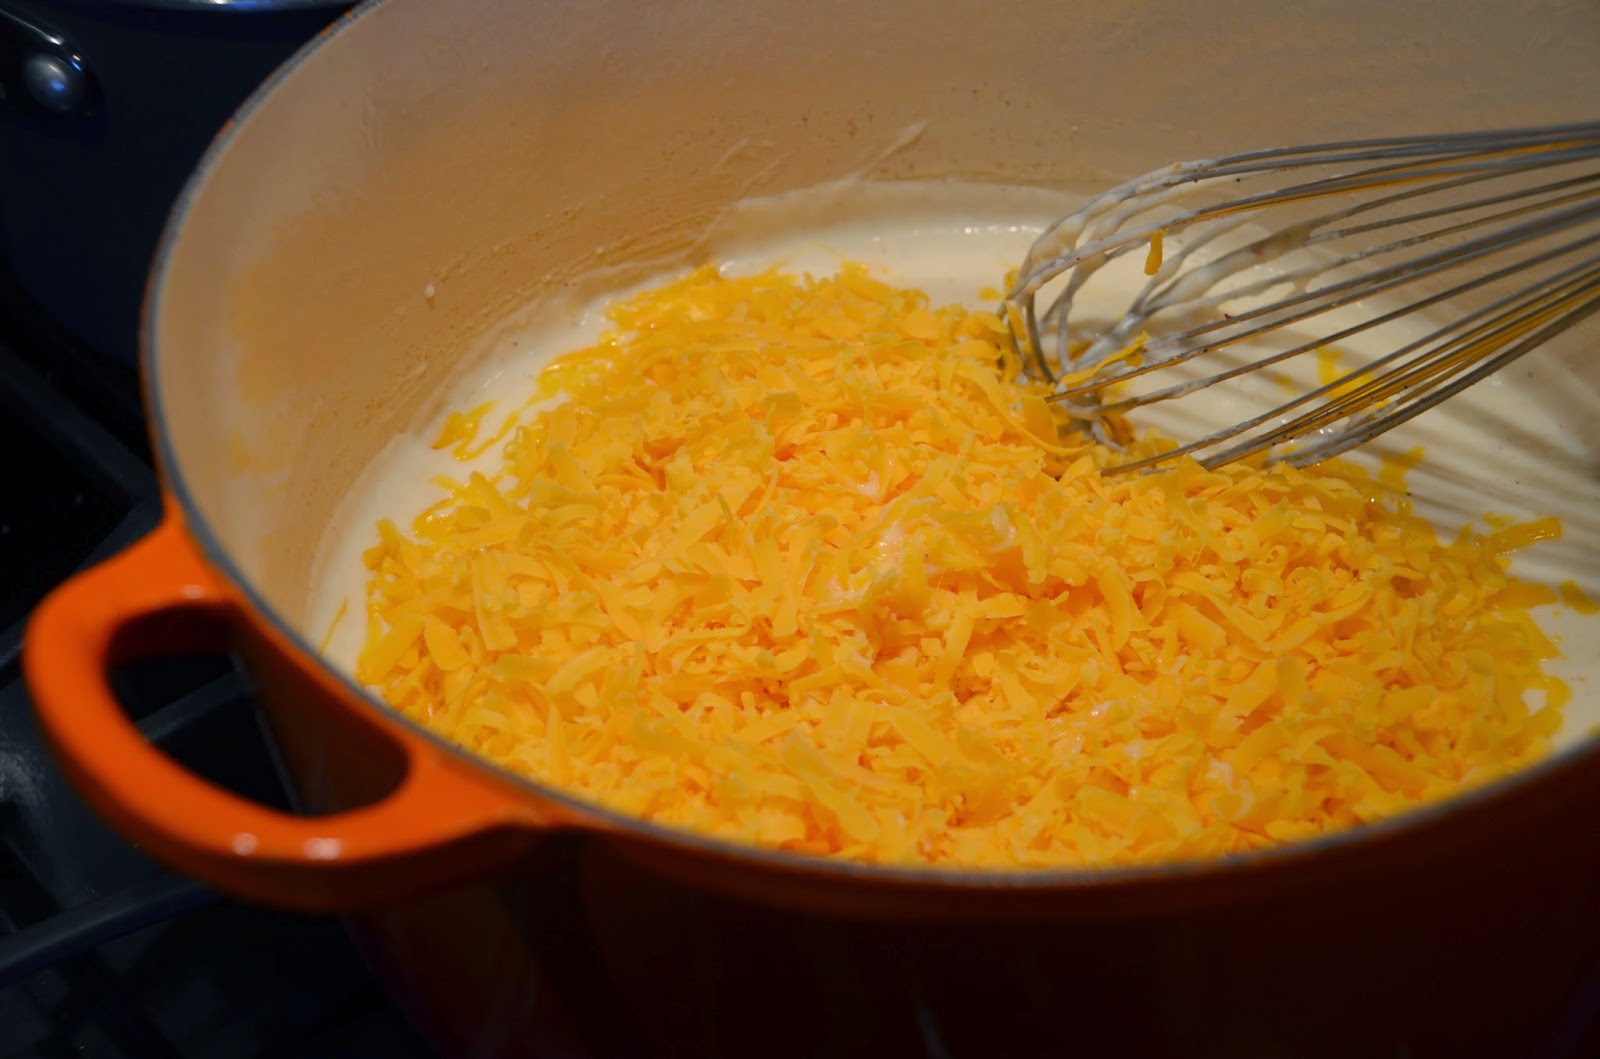
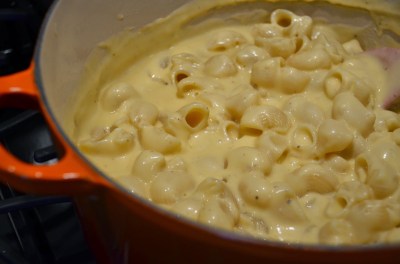
After about 7-8 minutes you will have a nice Béchamel (white sauce).  Now you need to turn off the heat and add your cheese…Grate a block each of cheddar and Colby jack (about 24 oz) and throw that in.

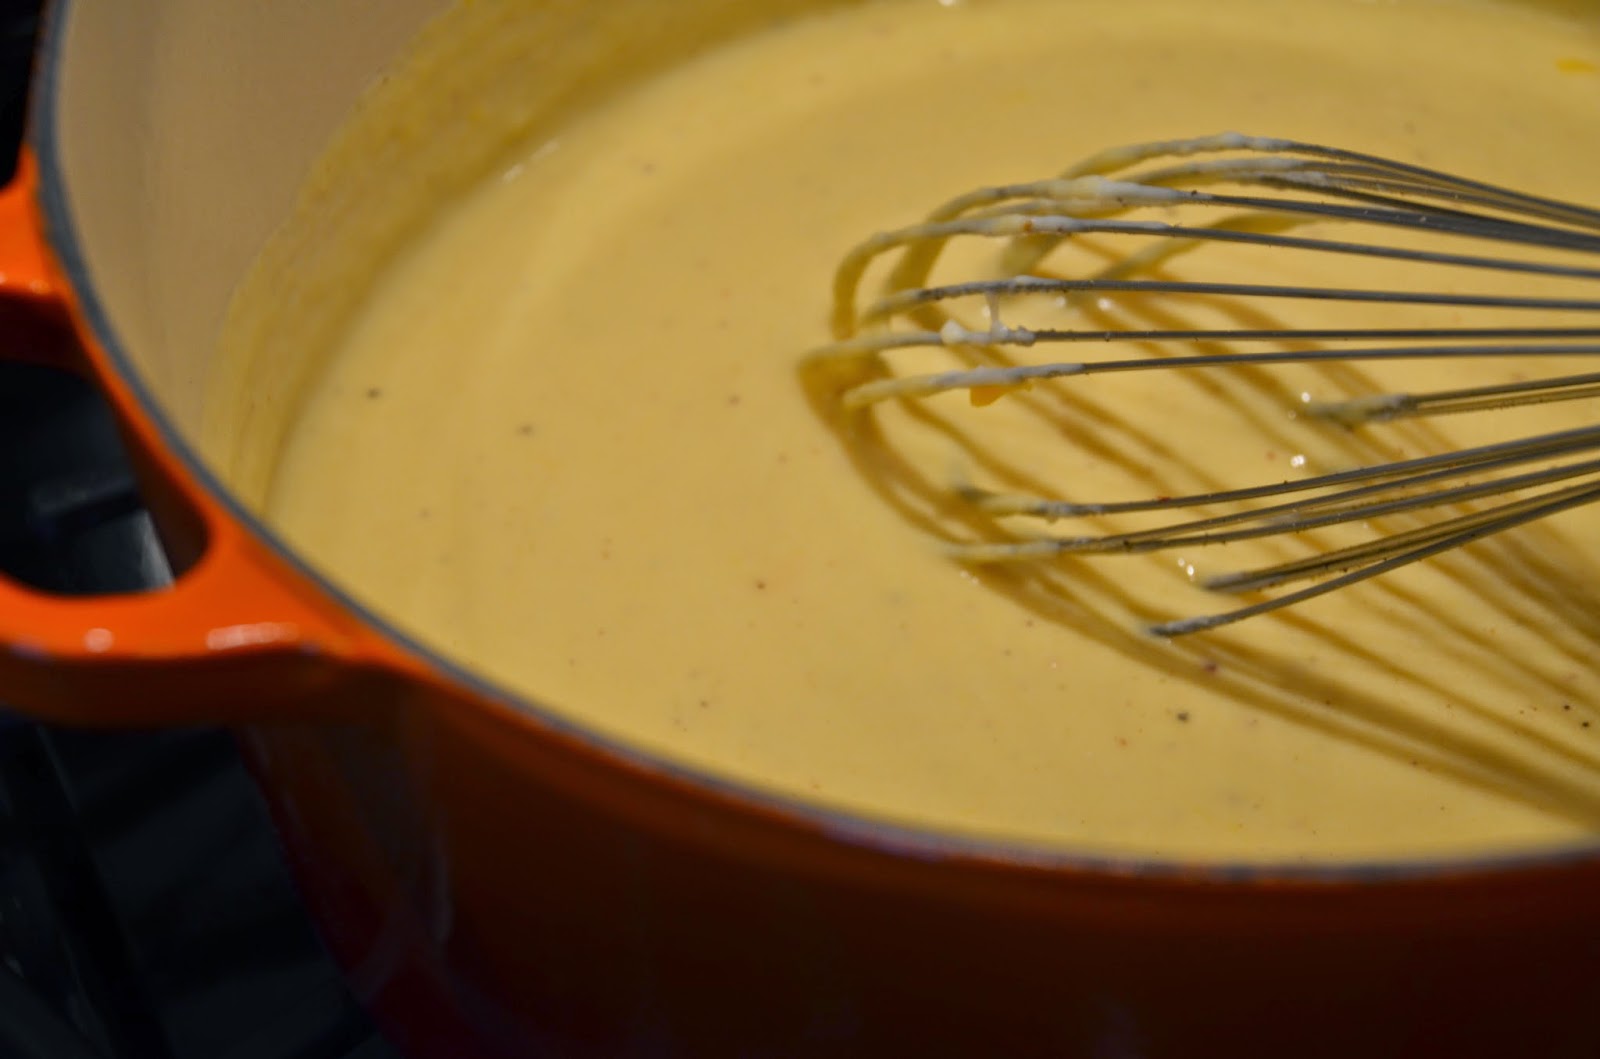
Use your whisk to stir the cheese until it’s completed melted into the sauce…


Now you have to taste it (oh darn!) and add salt to your liking…I used about 1/2 tsp.

Drain and rinse your pasta and put it in with the sauce…I used Pipe Rigate because I think it’s so fun.


And mix that all together…drooling yet?


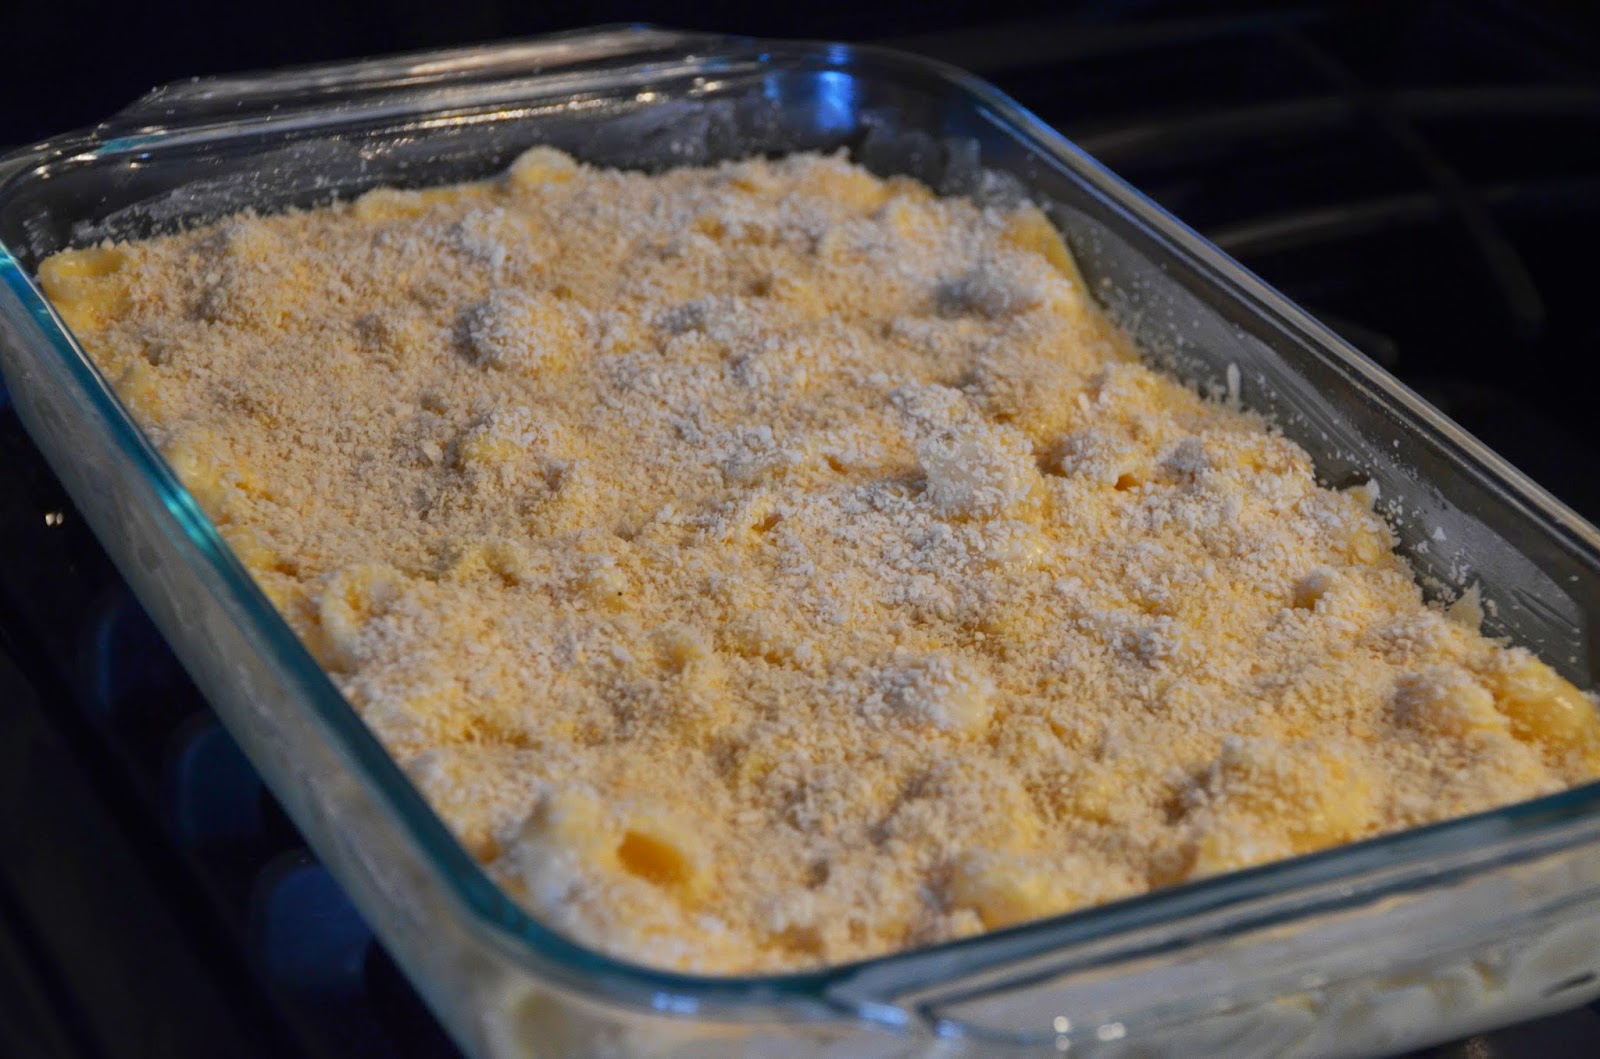
Now you need to get everything into a buttered 9 X 13 baking dish, I used a rubber spatula to get every last bit of cheese sauce out of the pot…unfortunately I put the spatula in my mouth before the cheese had a chance to make it into the dish…this phenomenon is called cheese sauce hypnosis.

Ok, once you have it in the dish, sprinkle the whole thing with panko (Japanese bread crumbs). Just a little fact, regular big brand bread crumbs (BBBC’s) are usually FULL of chemicals but typically you can find natural panko at any grocery store…or go to Whole Foods…or make your own.  I’s sorry but I just can’t justify covering a made from scratch dish with chemicals and preservatives, ya hear that Progresso!? (please don’t sue me).

Here is your natural bread crumb topped dish of mac and cheese…

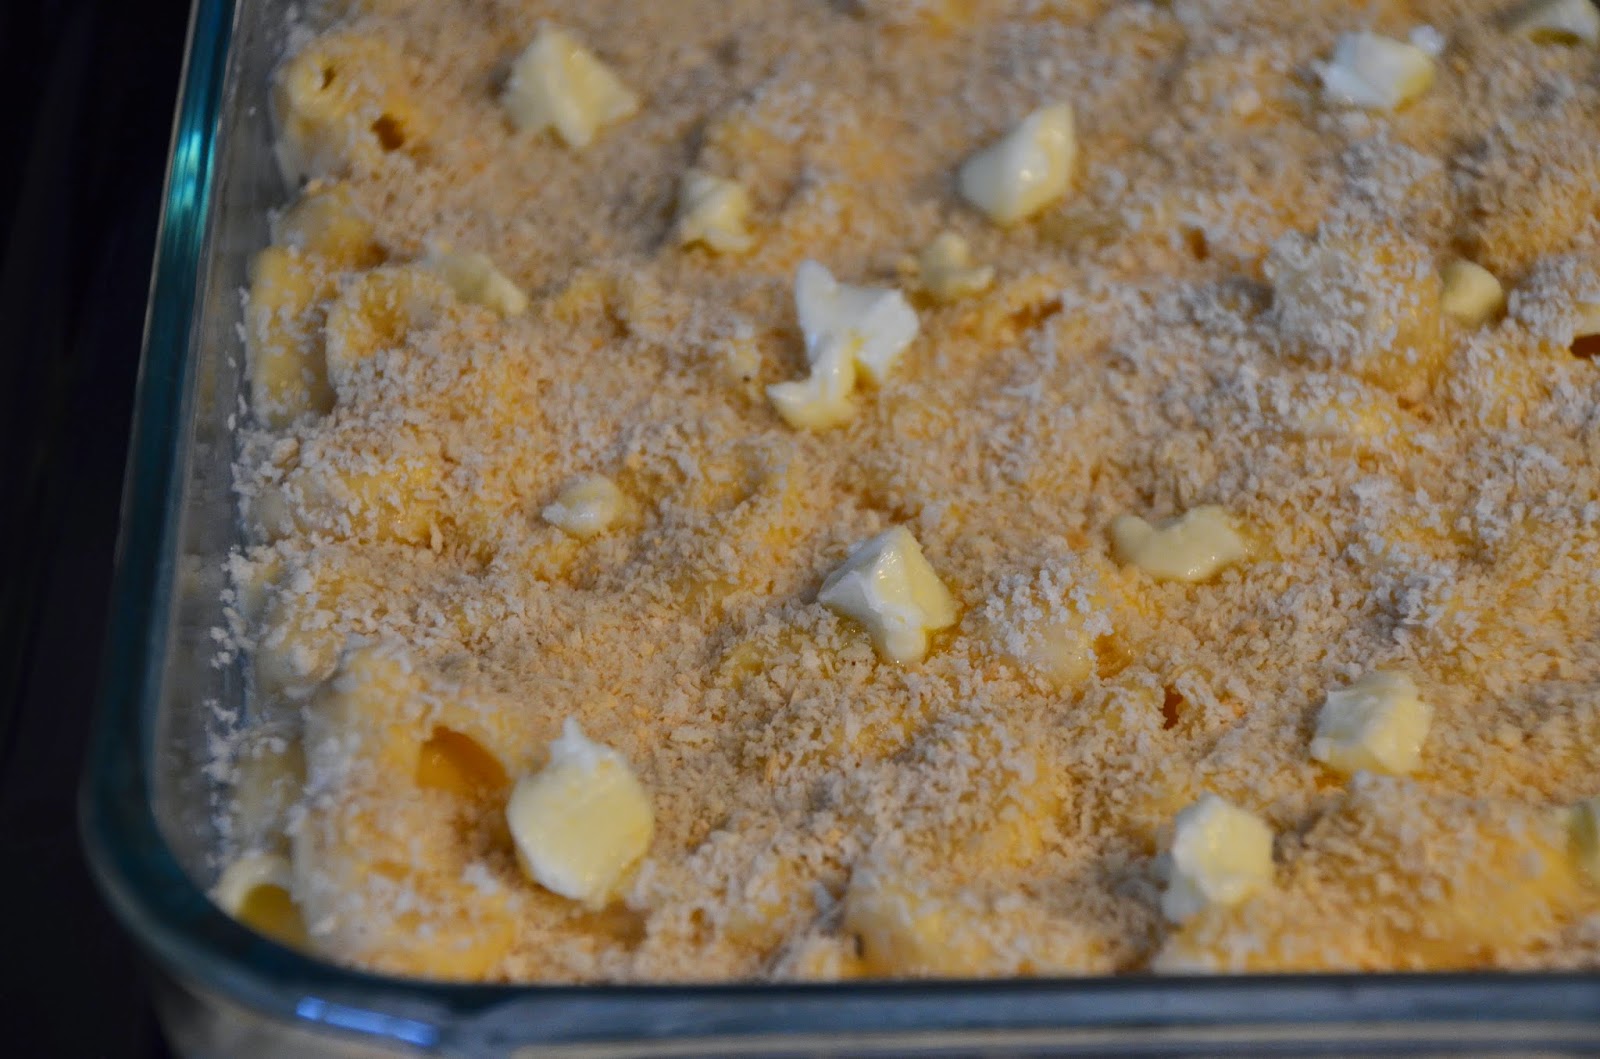
And here it is topped with little pieces of heaven (butter)…you can drizzle with olive oil for a healthier option, both methods achieve the same desired effect (golden crunchy top effect that is).


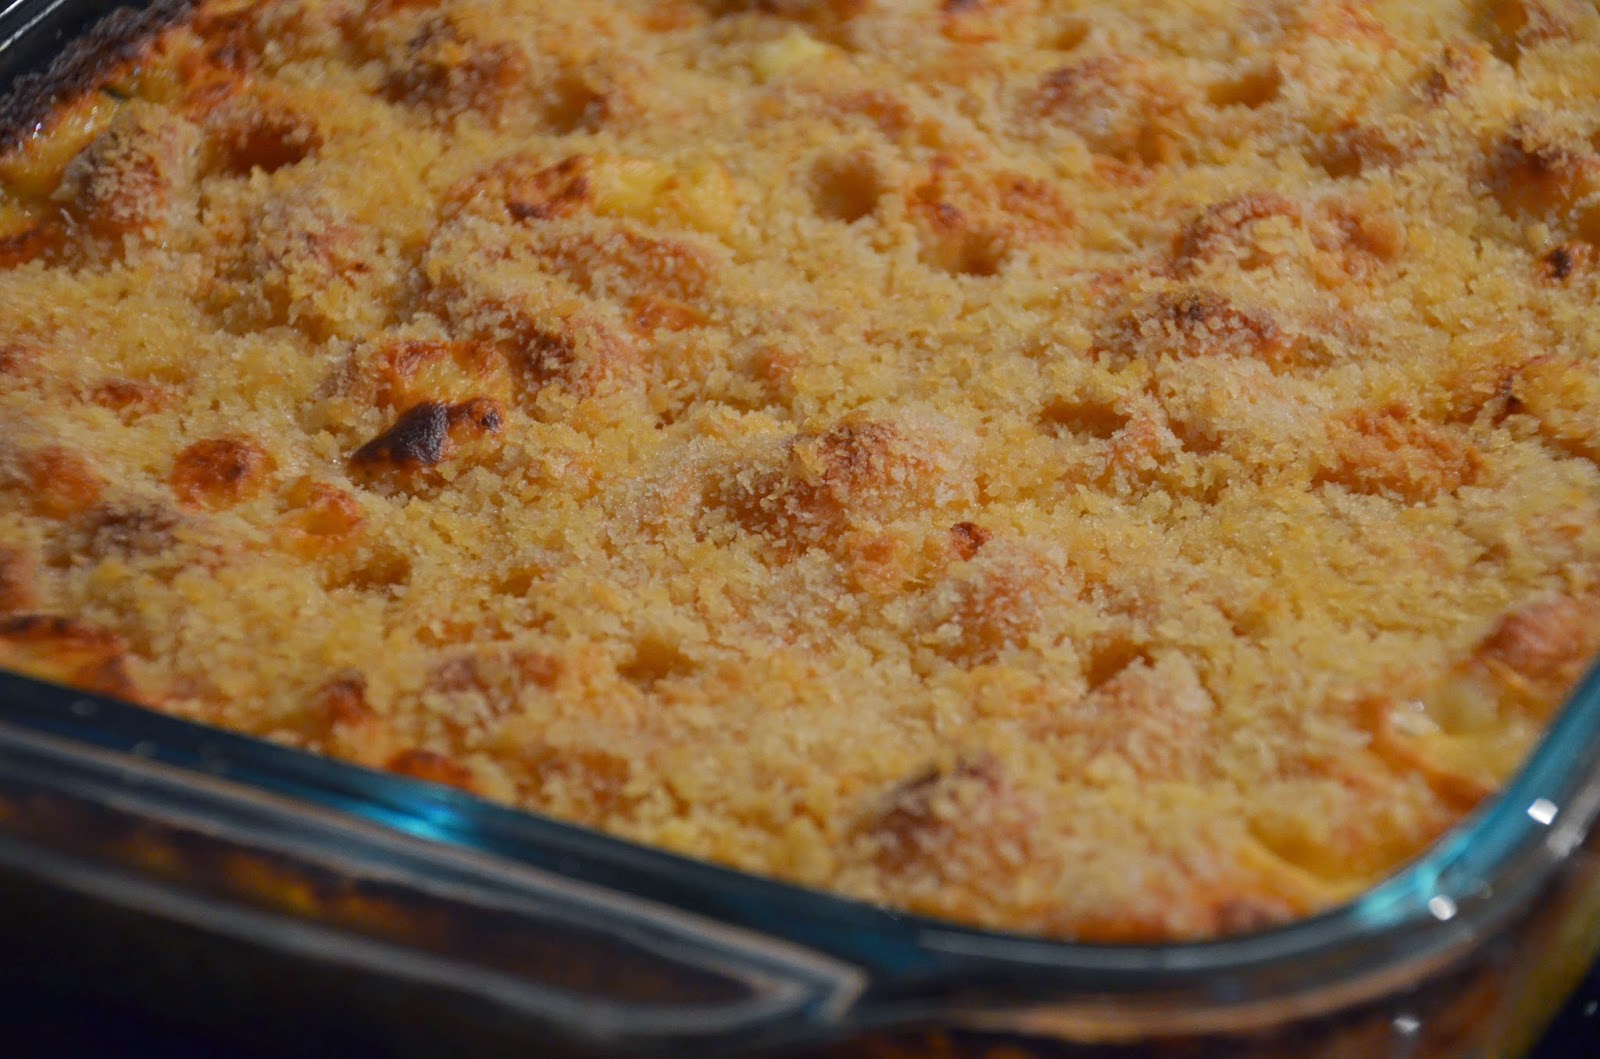
Put it in the oven at 350° F for about 45 minutes to an hour.  I leave it uncovered the whole time but I guess you could stick some foil over it.  During the last few minutes I might turn on the broiler just to get an even crunchier top but make sure you watch it closely.

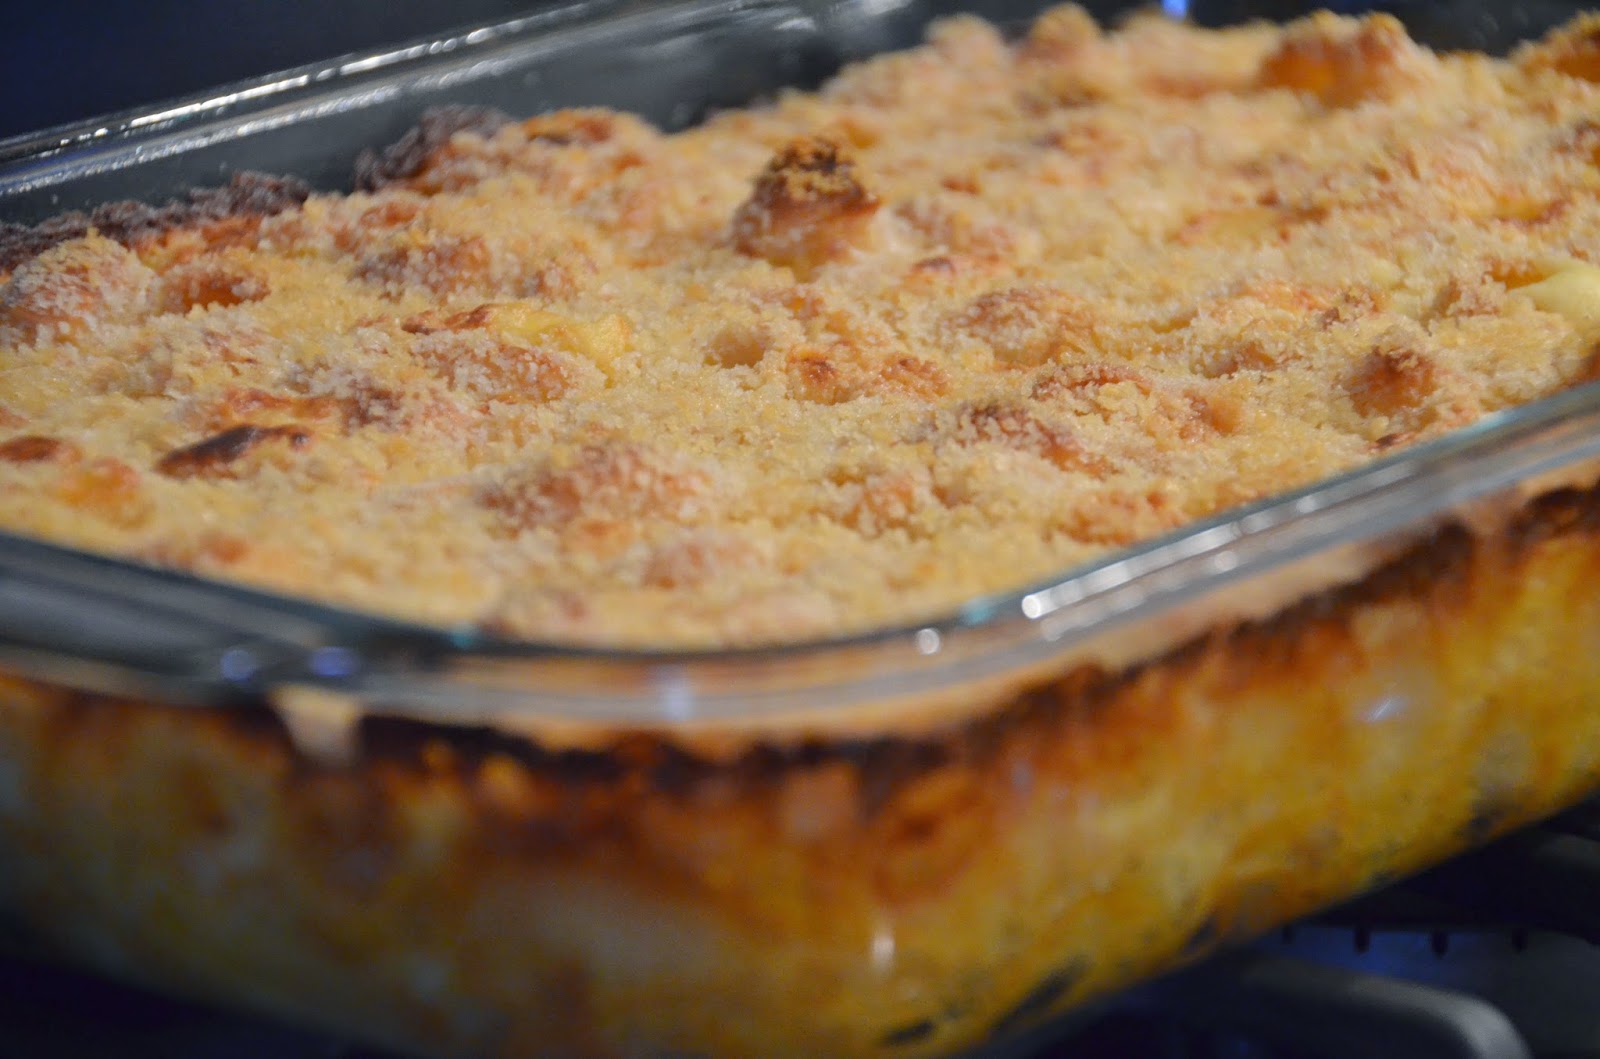
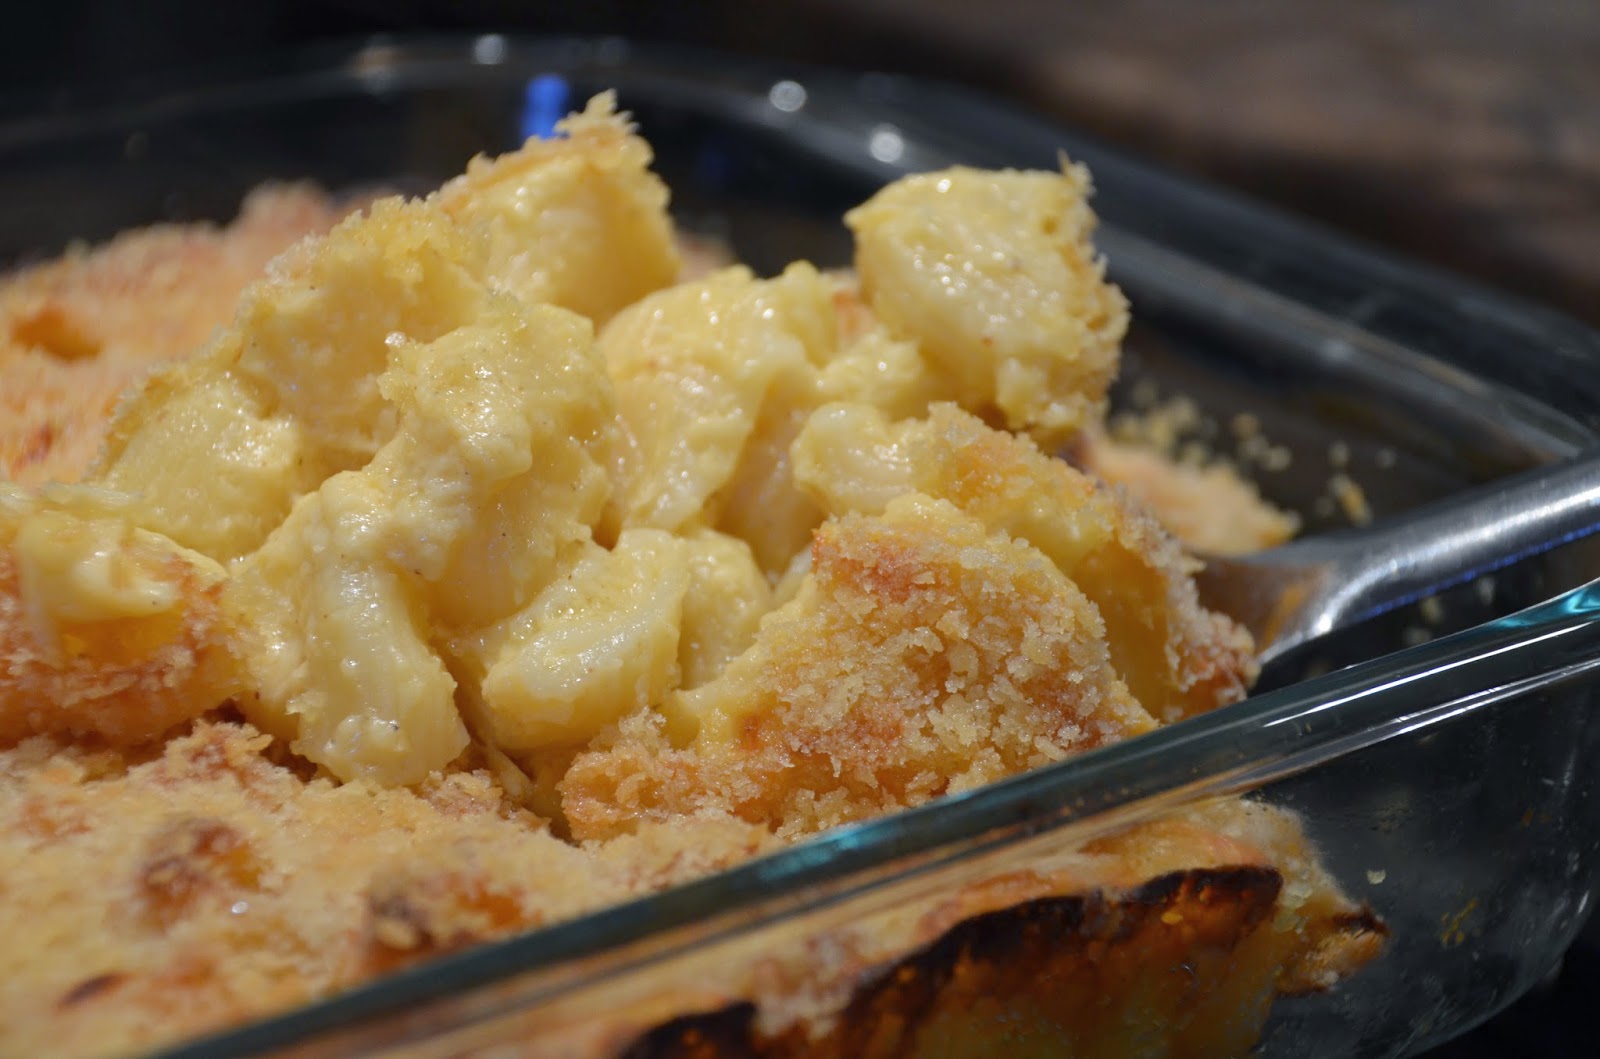
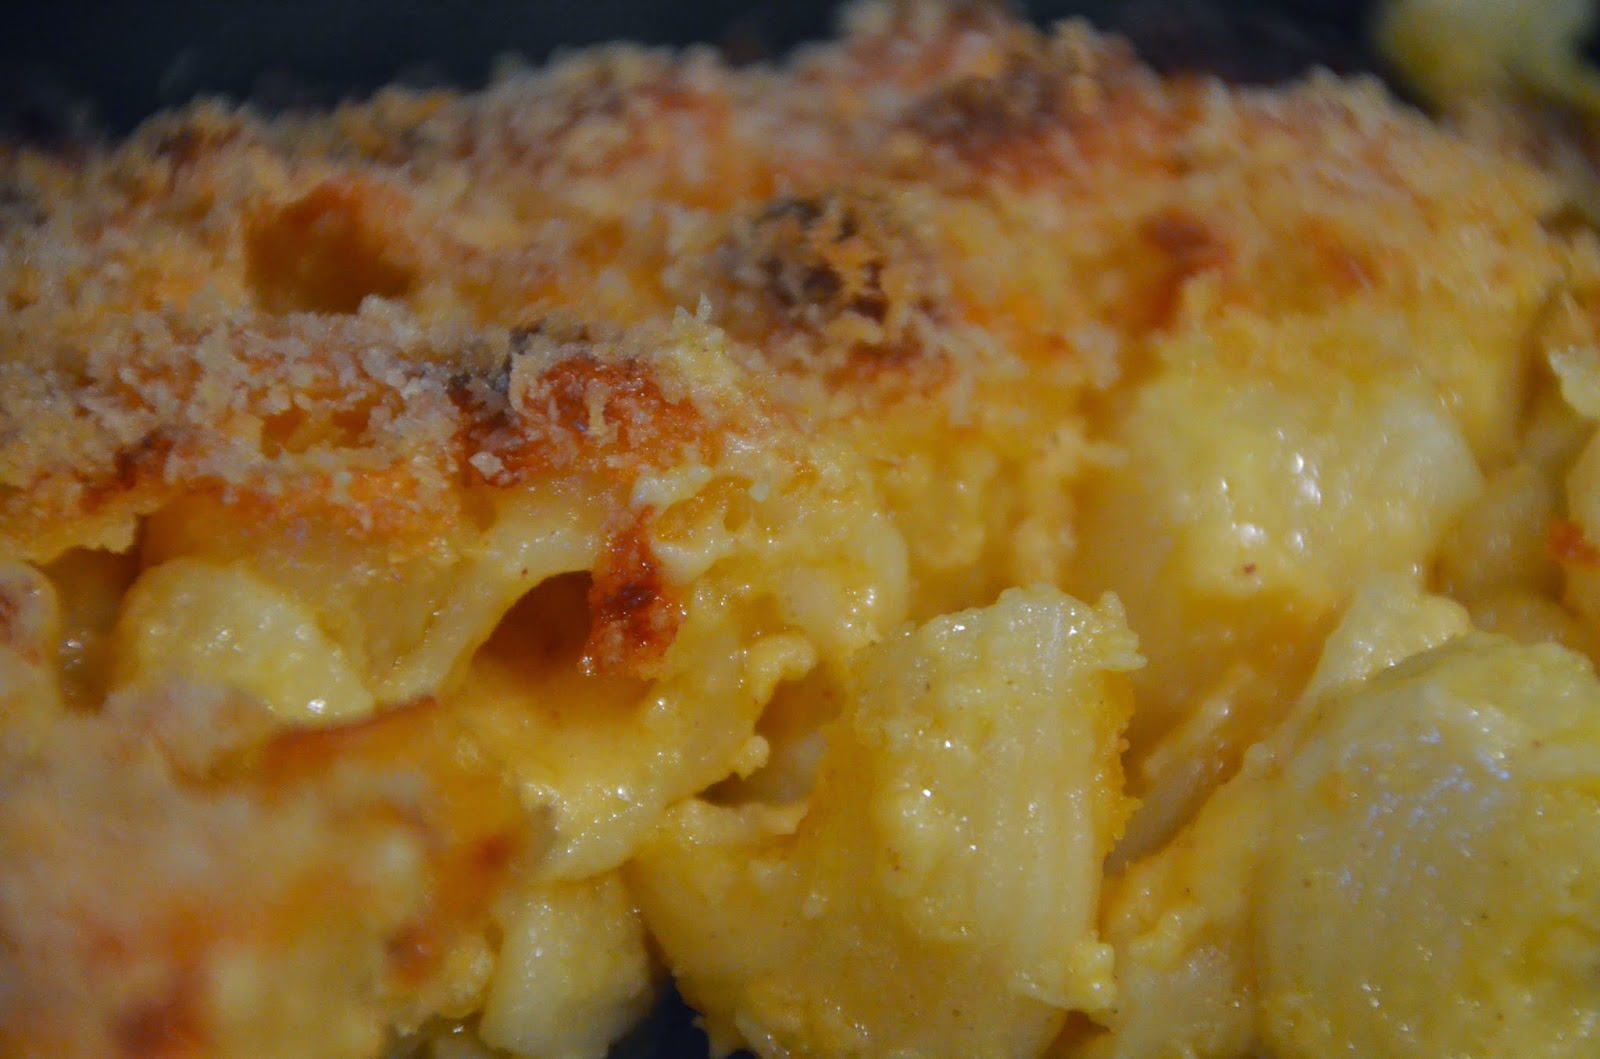
Here’s your golden crusted macaroni and cheese…


There’s really nothing more to say…or I can’t find the words.  I did take a million photos…

 Even super freakishly close up photos…


…but just look at it!


Okay, that’s the end of my macaroni and cheese story.  Not the lightest dish I’ve ever made but still pretty healthy if you can refrain from eating the whole pan…


Cheers!

The Good Cooker

Grilled Marinated Flank Steak


As I have said before, there are only two ways to cook a flank steak…one way is shown here…and the other way is to cook it fast on a REALLY hot grill.  Today we’re grilling because it has finally stopped snowing in Northern Indiana (yes I realize it’s May but spring is getting a really late start around here)…

Flank steak is one of my favorite cuts of meat for two reasons, it’s relatively lean and it’s easy to cook if you follow the rules.  It’s also very versatile which I like…okay that’s three reasons.  I used two 1 pound flank steaks but you can adjust for your crowd.  I serve it with a creamy horseradish sauce, a perfect compliment for the sweet and salty marinade.

Speaking of the marinade, here’s what you need for that.

1/3 cup olive oil
1/4 cup red wine vinegar (or red wine)
1/3 cup soy sauce
1/4 cup honey
4 whole cloves garlic
1/2 tsp. black pepper

Take your flank steak and place it in a large sealable plastic bag…

Mix all of your marinade ingredients in a bowl…


and then pour the marinade into the bag with the meat…


Now seal the bag and make sure the marinade is distributed evenly…you need to refrigerate it for at least 2 hours (or up to 24 hours).  I always advise placing the bag in a secondary container just in case your bag leaks.

I usually flip it over once or twice during the marinating process (again to ensure even distribution of flavors).

Once it’s ready for the party, I take it out of the fridge and let it sit for about 10 minutes while the grill gets nice and hot, and I mean HOT…you want to sear in all of those juices when it hits the grates.

Use tongs to remove the meat from the bag and place it on the grill…we will talk more about what’s in that foil package in a minute.


Once the meat is down, don’t you dare touch it or mess with it or even look at it funny!


Now shut the lid right away and let it go for about 6 minutes…then it’s time to flip.


This is what you want to see when you flip it…put the lid back down and let it go for another 5-6 minutes and then pull them off.  This will result in a medium/rare steak, you can up the time to 7-8 minutes per side for medium/well.

Once you pull it off, let it rest for about 10-15 minutes, you can cover the meat with foil if you want…


Now it’s ready to slice, you MUST cut against the grain (in other words, perpendicular to the lines in the meat)…

Oh dear lord, that looks amazing…because it is amazing.

Here is the sauce I make to go with the steak…


It’s just 1 1/2 cups sour cream (I used light) and 2 tbsp prepared horseradish, half of a squeezed lemon, and 1/2 tsp salt…SO good with steak.

These were in that bag of foil on the grill…


Just cut up some red potatoes and place on the end of a large sheet of foil, add some olive oil, salt & pepper and then fold the foil over the potatoes and seal with edges together.  Grill on the top grate for about 30 minutes.

I also did some asparagus in the oven…


Now that’s a Sunday dinner fit for a king!  

Even if it’s been a relatively cool spring, the flowers and trees are beginning to bloom and I can actually see my grass…and it’s green!  (I thought it was but it had been so long that I started to doubt myself).

So get grillin’ everybody…maybe mother nature will smell the fire and get the hint!

Cheers!

The Good Cooker