Marinated Shrimp

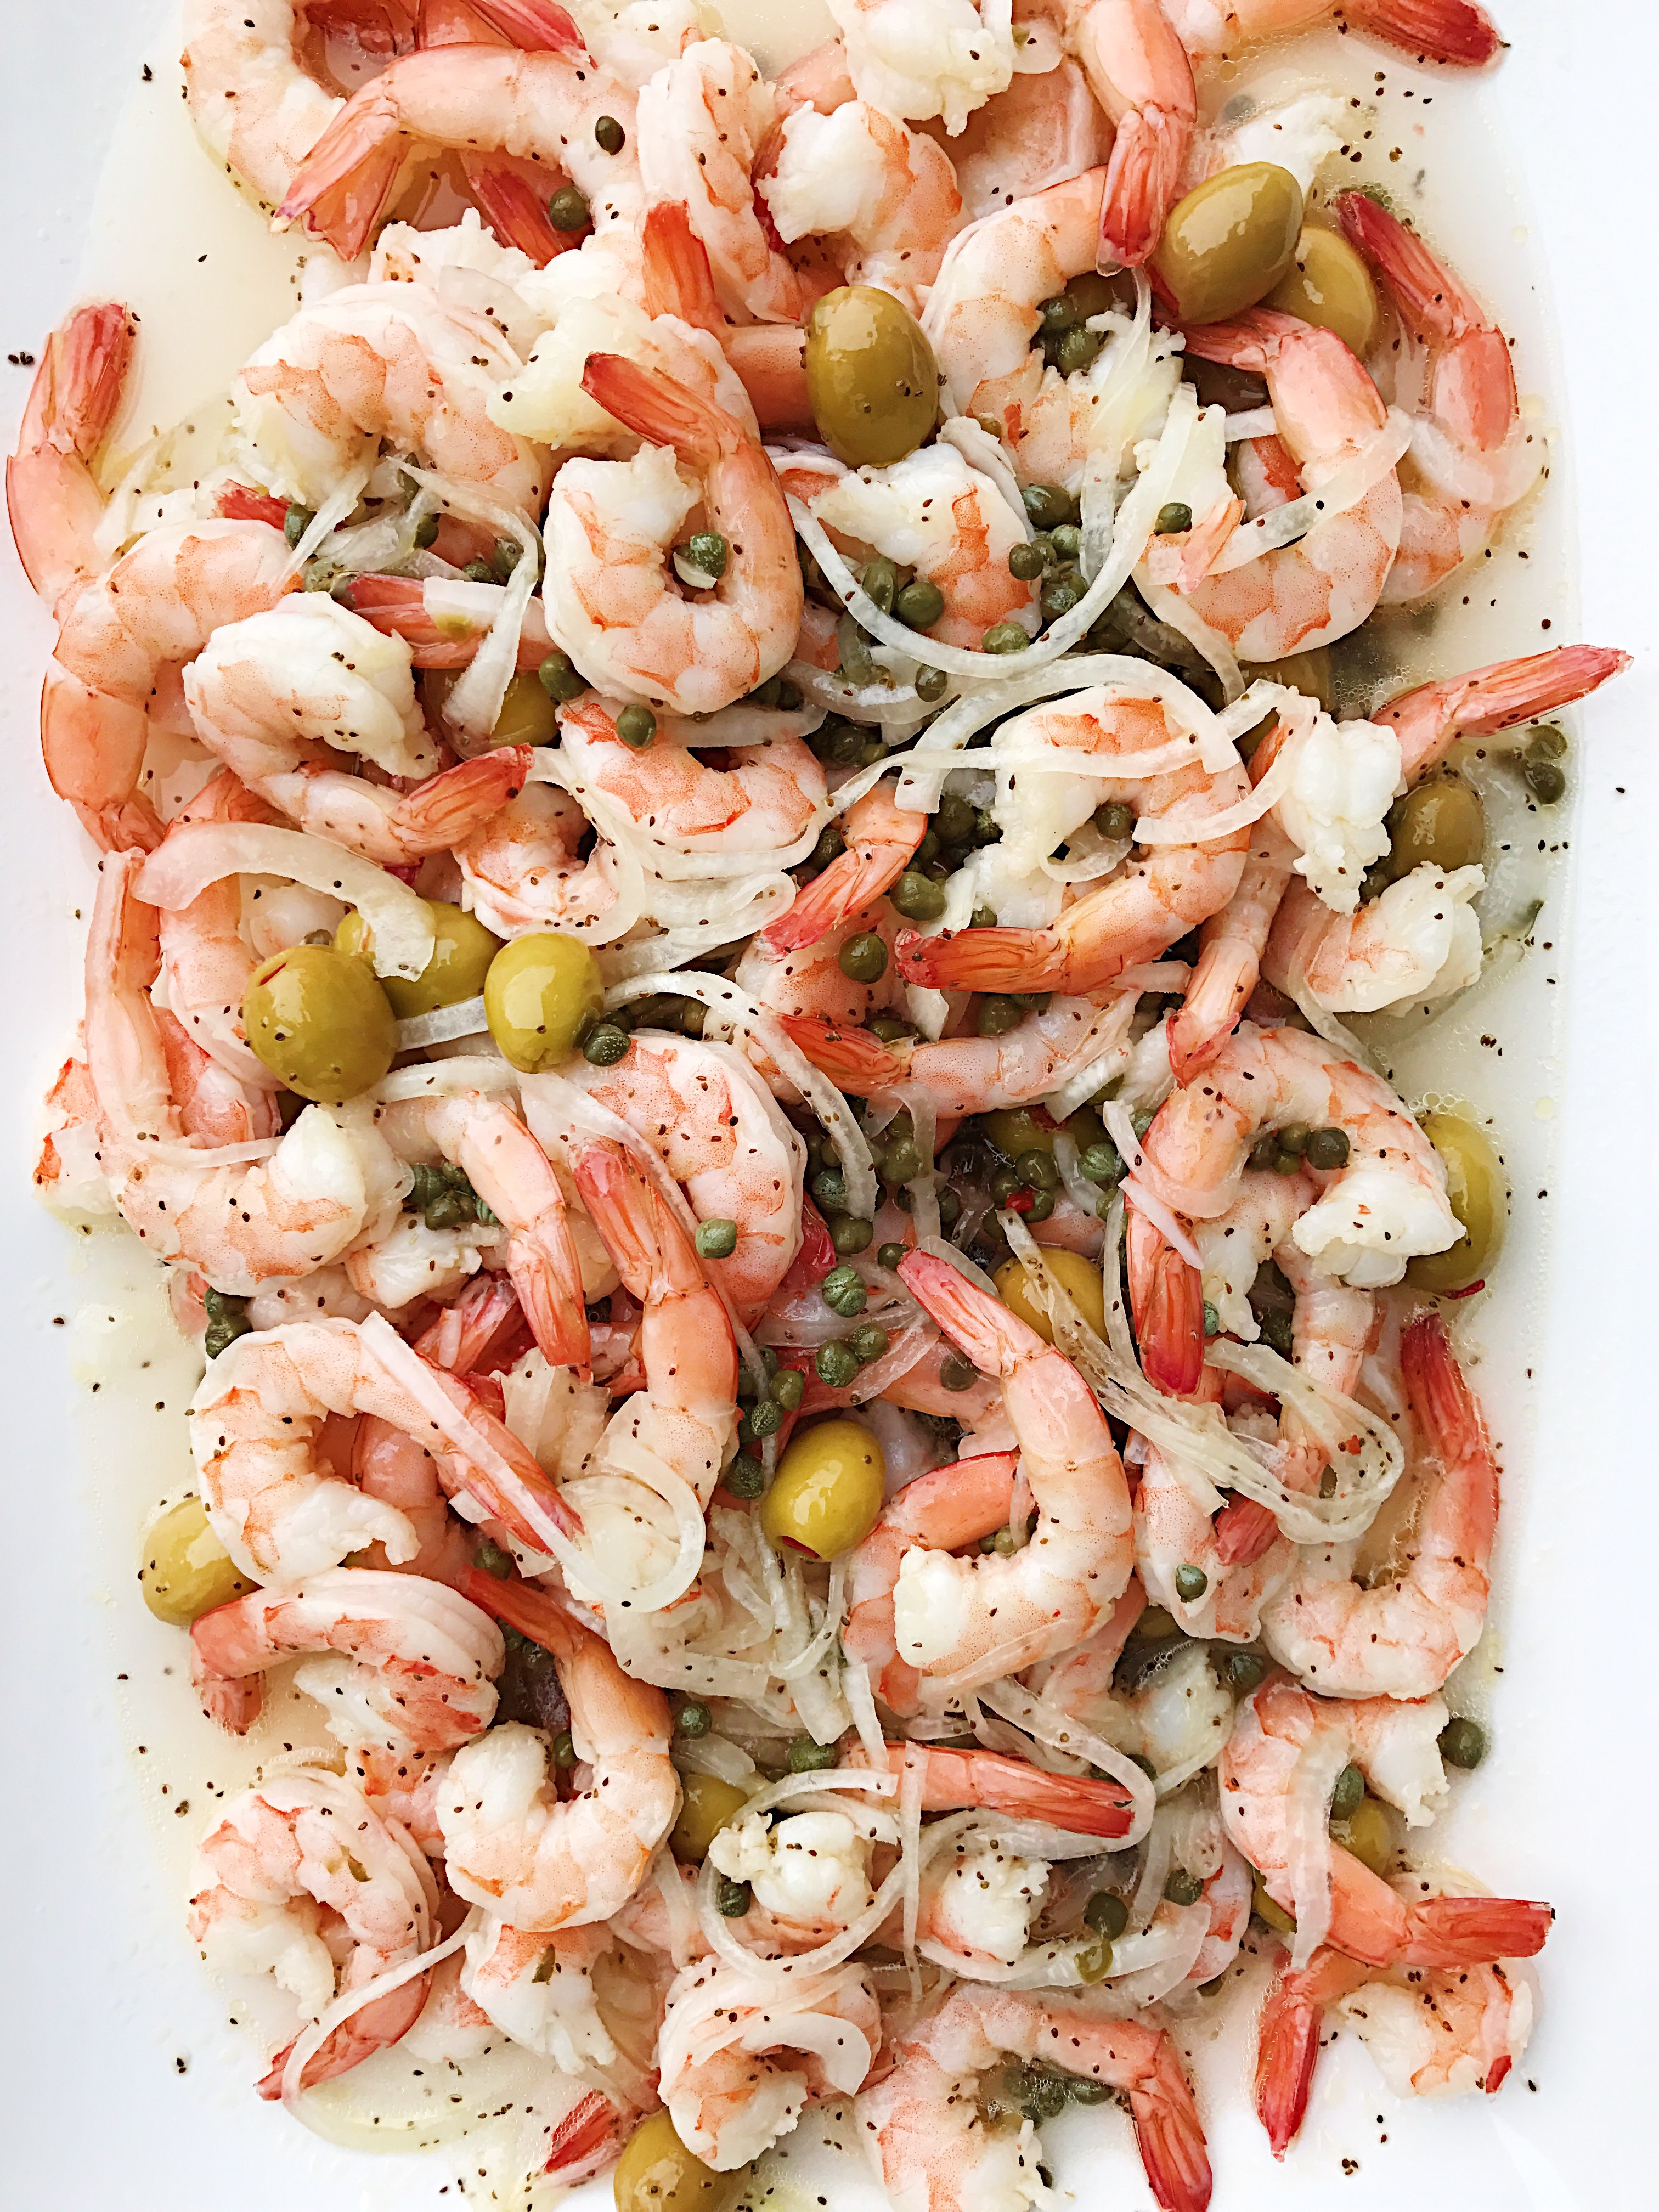
I don’t even know how to start this blog post, I want to convey the awesomeness of this marinated shrimp but there are no words that exist in the English language worthy of describing it.  This recipe was something that my mom used to make when we were kids, it’s from an old southern cookbook that she (thank GOD) still had.  I remember admiring the dish but I don’t think I ever actually ate it, kids are weird.  I asked her one day if she had remembered making some sort of shrimp thing with olives and capers…she did.  She handed me the cookbook and I made this for the first time on New Year’s Eve 2014.  I don’t think my life really began until the moment I ate that first shrimp, I fell head over heels in love.  We’re still together today and things are going great.

The most difficult thing you will need to do when making this is to not eat the whole thing before you even serve it.  Here’s the recipe.

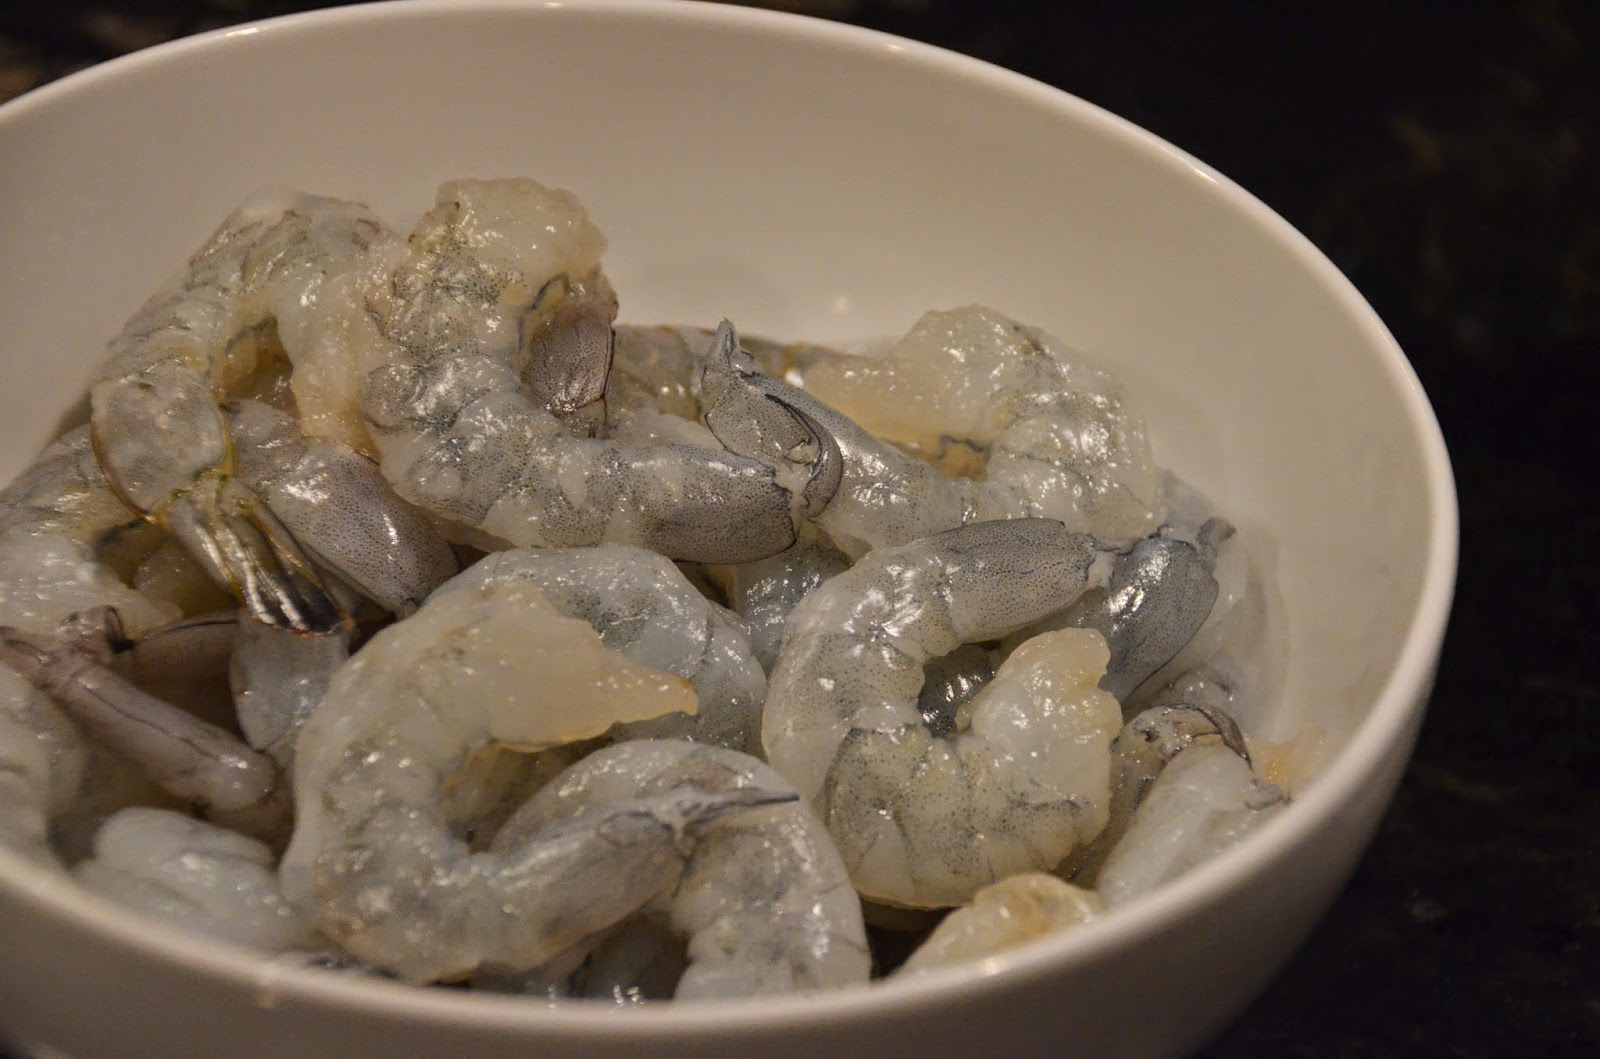
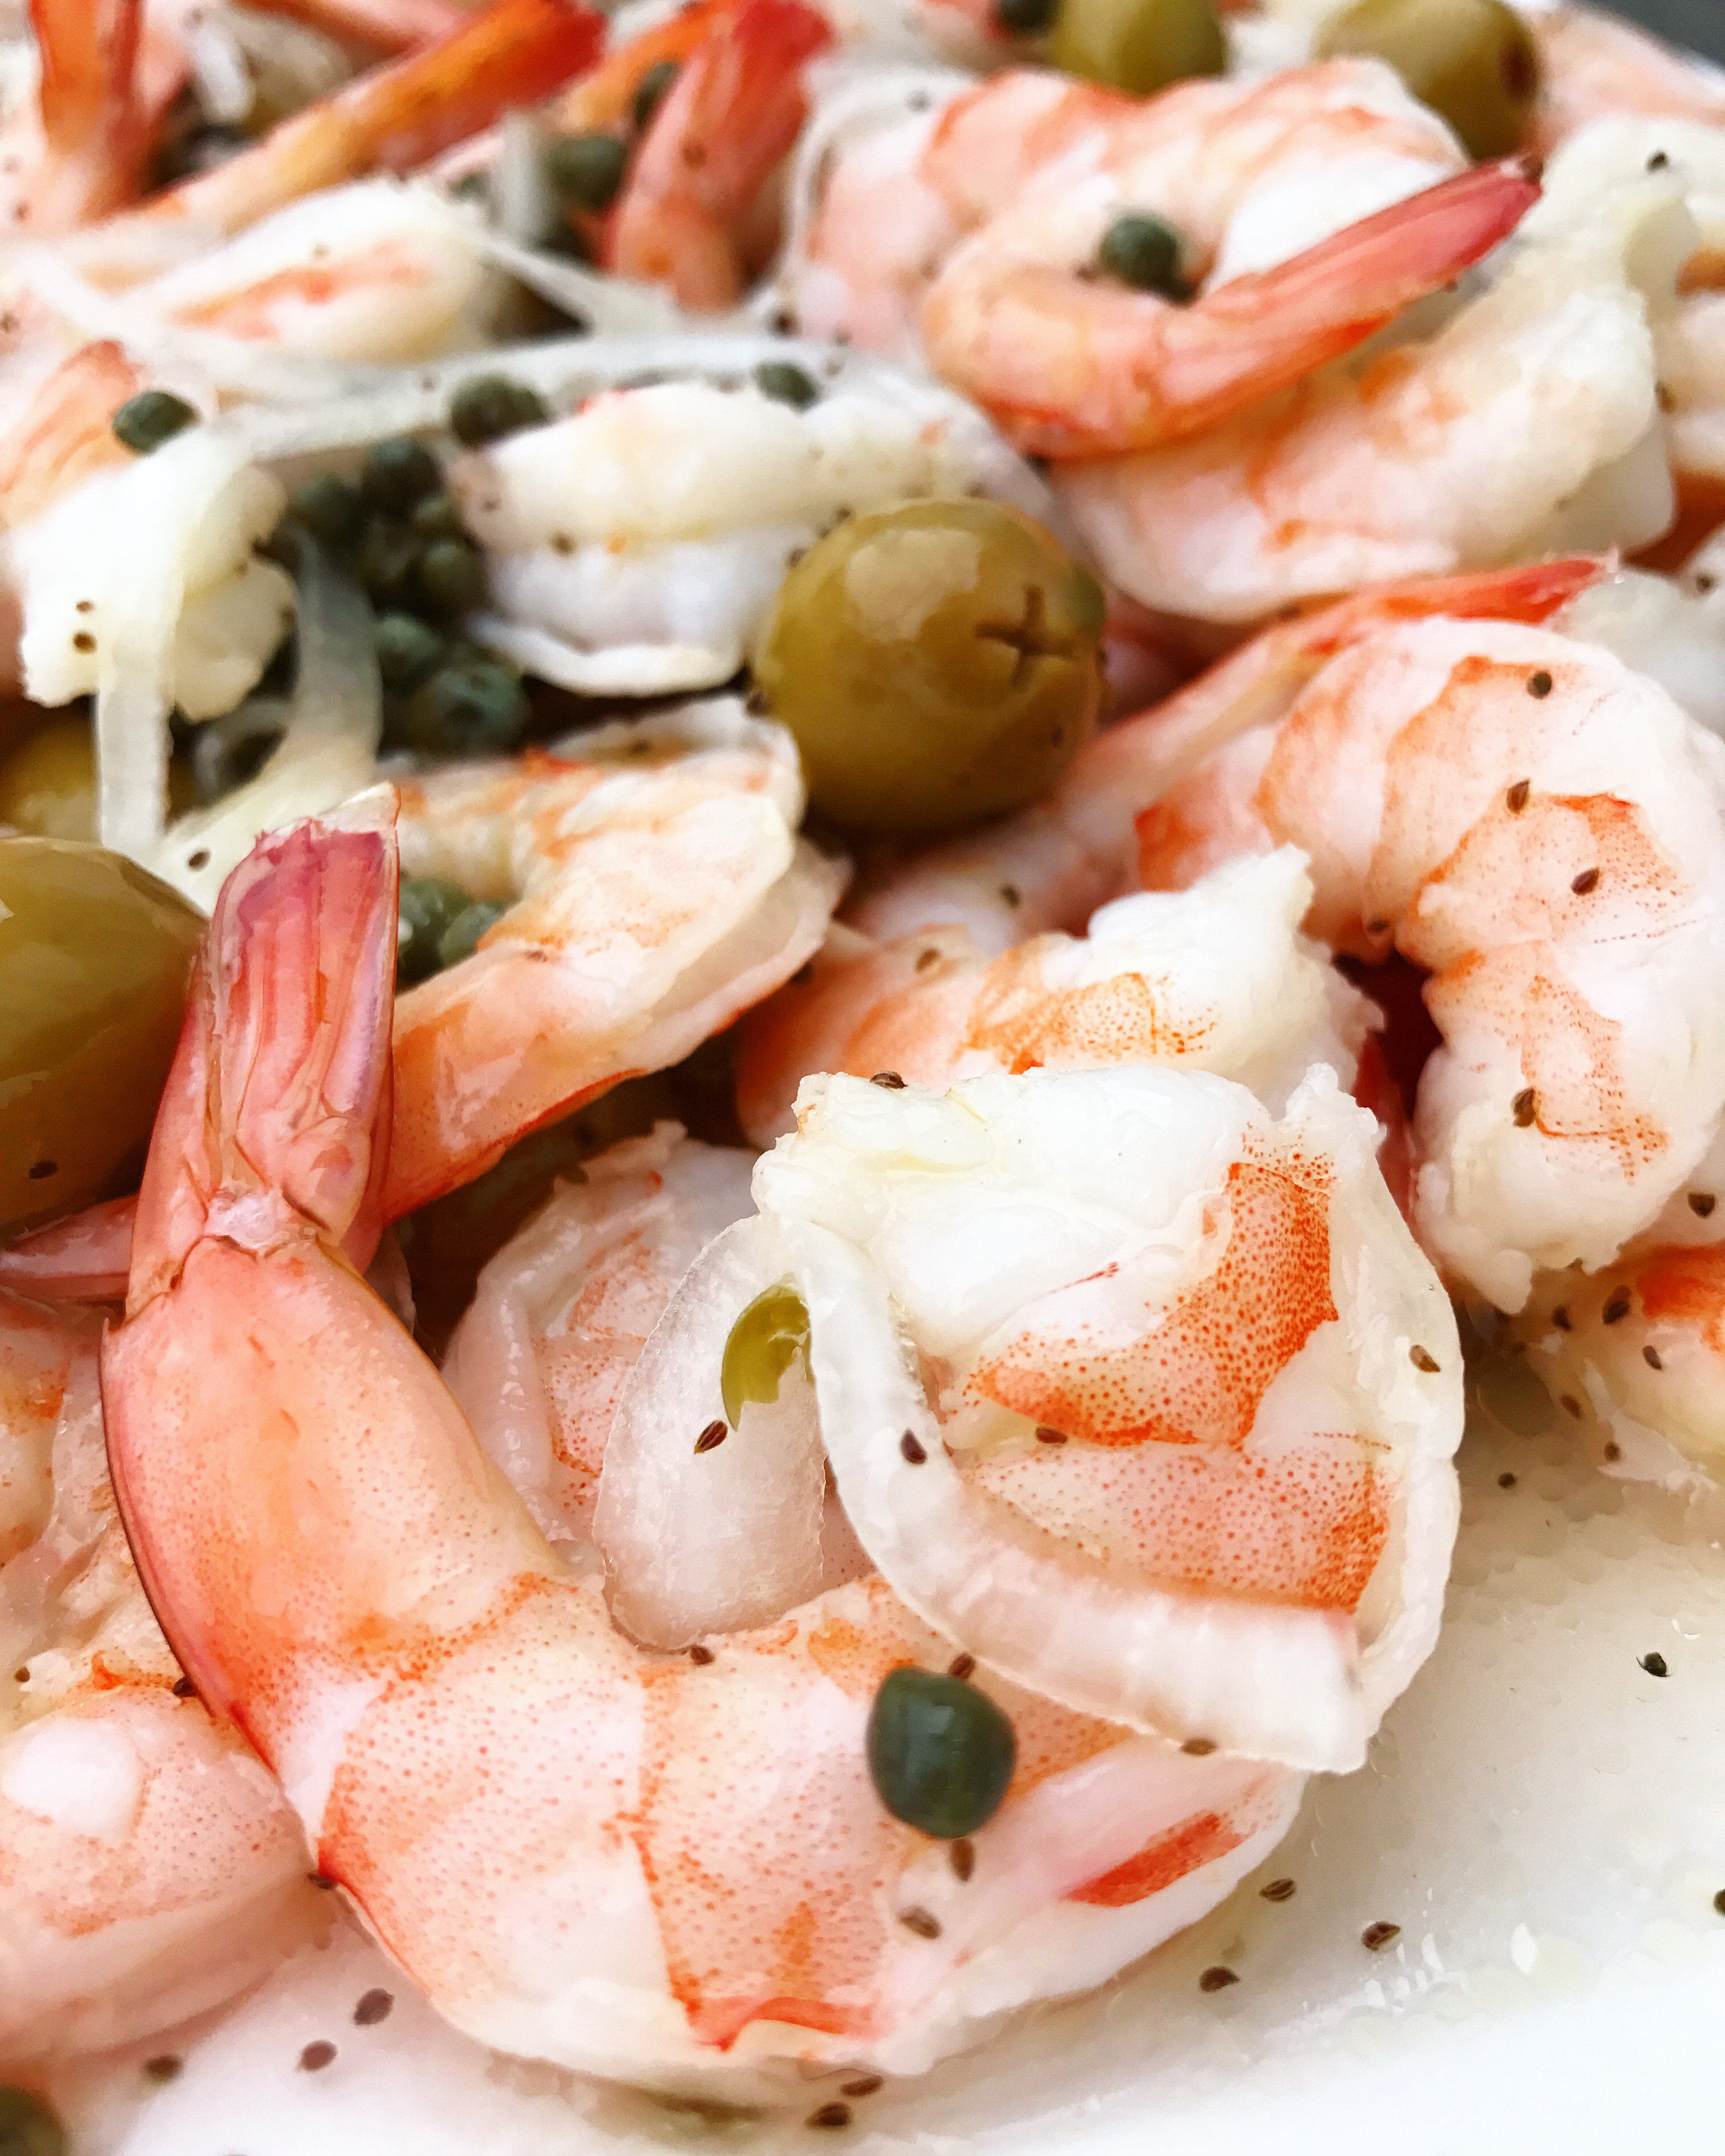
  • 2 lbs shrimp, cleaned, boiled, and chilled
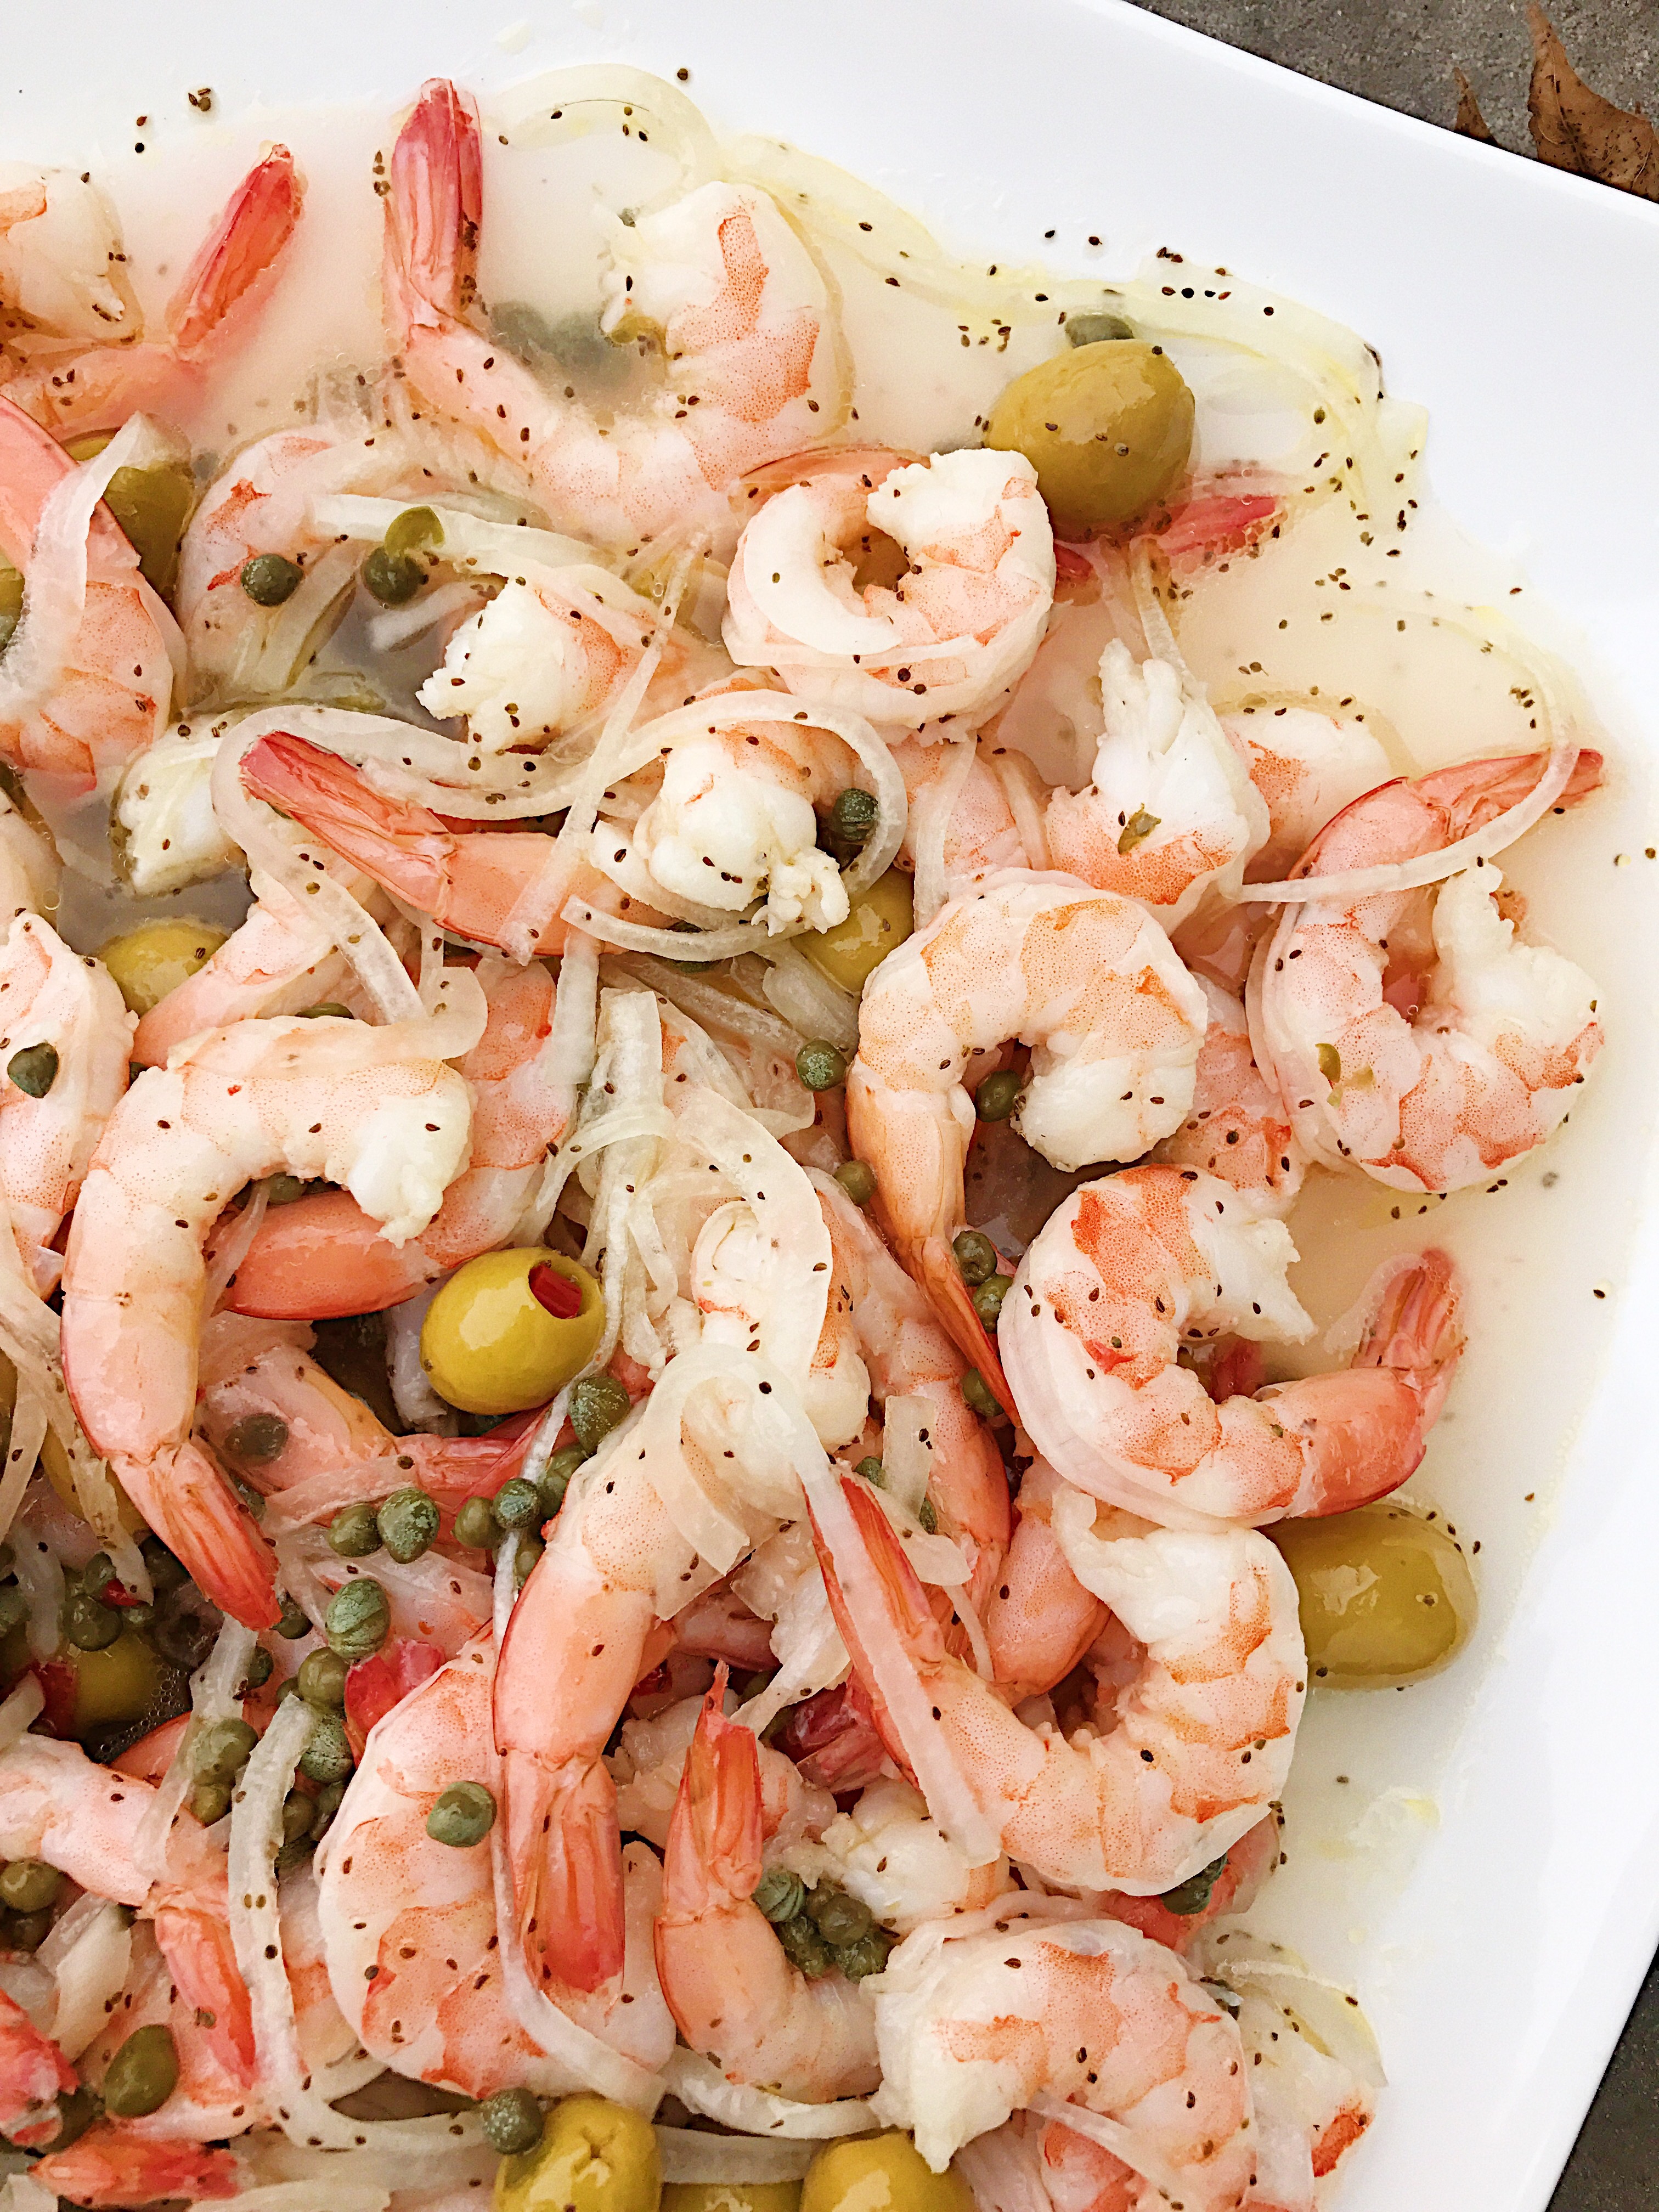
  • 1 white onion thinly sliced
  • 1 jar pimento stuffed olives, with liquid
  • 4 tbsp capers, with liquid
  • 1 cup rice vinegar
  • 1/2 cup extra virgin olive oil
  • 1/2 tsp celery seed

Mix everything together and marinate for 12-24 hours.  Obviously the longer it marinates the better.  One tip I have is to use the Marukan Sweet and Tangy Rice Vinegar, pictured below.  It has some sugar in it and that helps to balance out the tartness of the vinegar.  You can also use a rice vinegar without sugar and then add it in, you can use honey or agave to sweeten it.  I would suggest starting with a tablespoon of your sweetener and then tasting it.  Or just make your life easy and buy this stuff.


I am so not a raw onion fan but once these are marinated I CHOW on them, all of the pungency is gone and you won’t even have onion breath, promise!

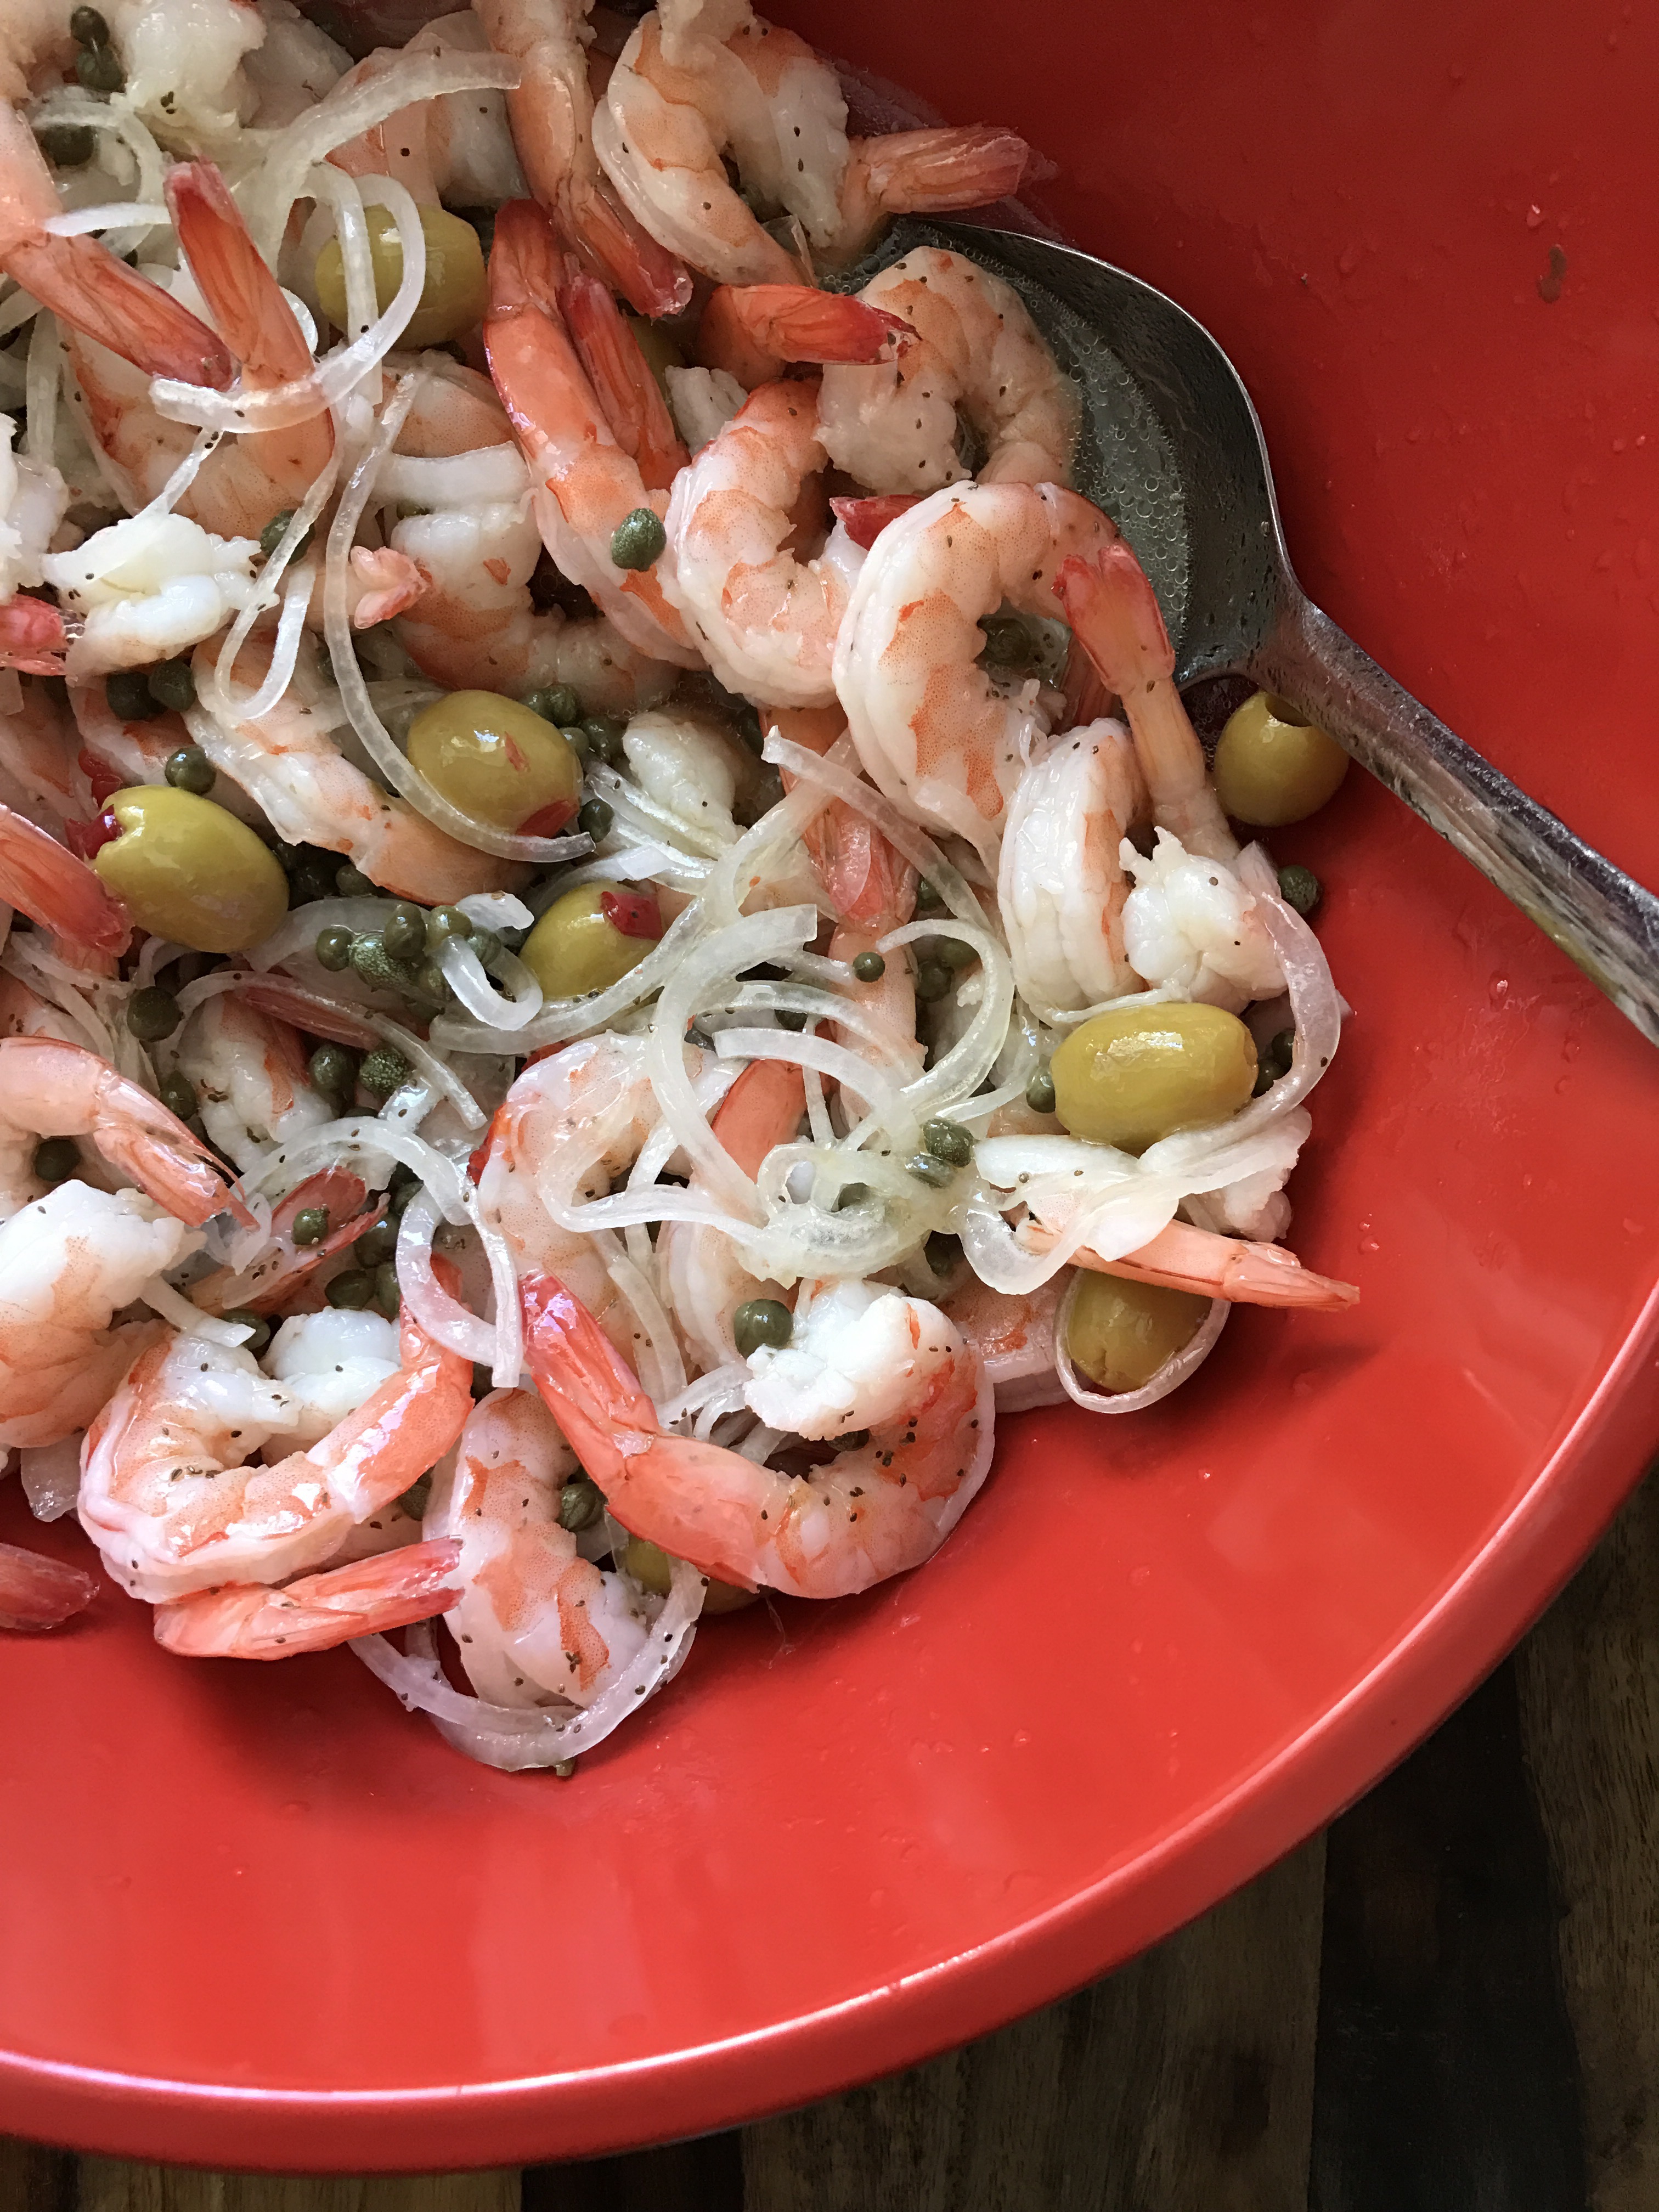
This is a great make-ahead appetizer and it’s pretty darn healthy…and it will change your life.

Skillet Frittata, because you’re lazy.

b942a200-3360-4518-bc63-f79aa6ded16e

It’s New Year’s Day!  You’re waking up feeling reborn, refreshed, and ready for a new start.  Just kidding, you’re super hungover and just want to eat your weight in greasy breakfast food.  I’ve got a compromise for you, a simple one pan breakfast that’ll satisfy your stomach without wrecking your New Year’s resolution to eat healthier on day one.  You need a large cast iron skillet for this recipe so if you don’t have one you’ll need to follow this recipe instead (and get a cast iron skillet already!)  This frittata starts with eggs and then the sky’s the limit.  For this recipe, I decided to use a ton of fresh herbs because I had them on hand and turkey sausage because, well, I had that on hand too.

Here’s the recipe:

  • 12 eggs
  • 1/2 cup milk
  • 2 cups shredded cheese of your choice
  • 8 turkey sausage links, cut
  • 1 leek, cleaned and chopped
  • 1 tbsp fresh thyme
  • 1 tbsp fresh sage
  • 1/2 tsp salt
  • 1/2 tsp pepper

Set your broiler on high. Whisk eggs and milk, add the spices and half of the cheese, set aside.

img_2375

Sauté the leek and turkey sausage in your cast iron skillet with a good drizzle of olive oil. If you don’t know how to properly clean a leek,  I’ve got a tutorial here.

Turn heat to medium low and add your egg mixture to the skillet. Cook until the edges start to set, shaking the pan occasionally (about ten minutes).

Top with remaining cheese and transfer to your oven. Broil until the top is firm and golden, about 4 minutes. Sprinkle with more fresh herbs.

You can add more veggies to this, just sauté them in the pan with the leek and turkey sausage.

You can also make this frittata with ham and kale, like I did here.

image

Or you can make it with mushrooms, tomatoes, and goat cheese like this one.

I hope everyone is enjoying their New Year’s Day with a great breakfast and a strong Bloody Mary.  Happy New Year!

Chicken Salad (the good kind)

Okay, let’s just get this out of the way right now…you can make this with chicken or turkey, it doesn’t matter.  Moving on…I am a chicken salad FANATIC.  I could eat pounds of it in one sitting, for this reason I reserve my chicken salad binges for the homemade stuff.  Store bought or restaurant ordered chicken salad is a huge gamble, and I prefer betting on horses.  Just kidding I don’t do that either.

I don’t know what some people are thinking with their chicken salad recipes, here’s a few versions that I’ve encountered in the past:

Version 1:   1 lb chicken, 63 lbs mayonnaise

Version 2:   1/2 lb chicken, 63 lbs mayonnaise

Version 3:   1 lb chicken, 1 lb mayonnaise, 1 cup of every fruit, vegetable, and nut known to man

If I had to choose, the last option doesn’t sound horrible but still not ideal.

In this recipe the chicken is the star, just as God intended.  I think I’ve got a pretty good balance of savory, sweet, crunch, and creamy.  Here’s what you’ll need:

  • 1 – 1.5 pounds organic chicken breast
  • 1 – 1.5 pound organic chicken thighs
  • 32 oz. organic chicken stock
  • 3 cups red grapes (cut in half)
  • 3 large celery stalks (chopped small)
  • 1 cup sliced almonds
  • 1 – 2 cups mayonnaise (the good stuff)
  • 1 tsp salt
  • 1/2 tsp black pepper

You obviously don’t have to buy organic chicken, but I highly recommend it…and that’s all I’ve got to say about that.  My grocery store carries a brand from a local farm that I like AND it’s from Amish country, I don’t know why this is different than regular country but it sounds good.  I use boneless skinless but you don’t have to, bone-in works fine and it’s cheaper.  You can also use all chicken breast meat, I just like the combo of the two.  You can also get up every day at 5:00 AM to workout, I prefer to sleep until the last possible minute.  Lots of choices here.

673ff-dsc_1007

I recommend poaching the chicken, it’s easy and the chicken stays nice and moist.  Just get your chicken stock simmering in a large pot and then add the chicken, add water if the stock doesn’t completely cover the chicken.  Cook on medium heat for about 20 minutes.  Once the chicken is cooked through, remove it from the pot and set it aside to cool before handling it, that shit will be hot.


This is a great time to prep your other ingredients, slice your grapes, cut your celery, yell at your kids, whatever.

Once the chicken has cooled, dice it up.  There’s no rule on the size of the dice, if you want to put this salad on a sandwich I would suggest dicing it to the same size as the grapes.  If you’re going to ugly eat this out of the serving bowl while standing in front of the refrigerator I would go for a bigger dice.

Combine everything in a large bowl and gently stir until the ingredients are distributed evenly (especially the mayo).  You can always add more mayonnaise but taking it away seems like it would be more of a challenge, you would have to suck it off the grapes or something.  Moral of the story, don’t over mayo it.

I like to let it chill in the fridge for a while and then taste it again, it may need more salt depending on your taste (I usually add more salt).  Serve it up on a bed of lettuce, between some thick grainy bread, in a pita, or eat it out of the bowl like a dog, what do I care.

Cabbage Soup Memories


Every time I eat cabbage soup I think of my Grandma Nelson, I remember her making if for me all the time and I loved it.  I finally asked my mom if she remembered Grandma’s cabbage soup and she sort of laughed before telling me that the reason why my grandma was always making me cabbage soup was because she was always eating cabbage soup.  And the reason why she was always eating cabbage soup was because of Weight Watchers.  My grandma was a big fan of Weight Watchers and the cabbage soup was zero points.  I have no clue about the Weight Watchers point system but I’ll assume that zero is a good thing in the world of dieting.  Anyway, regardless of points the soup was always SO good…and salty.  I don’t think sodium was part of the point equation back then.  I started making my own version a few years ago and my family loves it.  This recipe has lean ground turkey and white beans but the base gets along with just about anything (green beans, zucchini, corn, potatoes…I could go on for ten minutes…carrots, celery, fennel…okay I’m done).  Here’s my recipe but feel free to experiment with what you like.

  • 1 onion, chopped
  • 1 head cabbage, roughly chopped
  • 1 lb lean ground turkey
  • 1 28 oz can crushed tomatoes
  • 8 cups chicken stock
  • 1 14 oz can white beans
  • 1 tsp dried thyme

Sauté the onion with olive oil in a stock pot, add the turkey and cook until browned, add the cabbage, tomatoes, stock, beans, and thyme. Cover and cook on medium low for 45 minutes. Add salt and pepper to taste. You can make this vegan by omitting the turkey and using veggie stock instead of chicken.

Seriously people. You can’t screw this up…I feel like I say that about a lot of my recipes but this one is truly a no-brainer.

So obviously this soup is a winner in terms of calories and overall wholesomeness, but my kids are notorious for demanding a cheese and bread element at every meal (can you blame them?).  Homemade croutons and a sprinkle of Parmesan cheese fits like a glove.

This soup gives me all the feels without all the fat, it’s so satisfying and healthy…which is great because I have about a hundred cookies to eat and 17 bottles of wine to drink before the holidays are over.

Cheers!!!

Peanut Butter Blossoms

The Christmas season doesn’t officially begin in my house until the first batch of peanut butter blossoms is being devoured.  Confession:  I am not completely obsessed with peanut butter like some people I know (husband, kids, dog) but I am completely obsessed with making these cookies, and I’ve mastered this recipe.  If there’s a peanut butter blossom cookie making contest that you’re aware of please send me all the details, because I’m in…but only if there’s a giant cash prize, I really don’t have time to be entering cookie baking contests just for the bragging rights.

Moving on…so I mentioned that my husband LOVES peanut butter, I know how much he appreciates it when I make these cookies for him and I just want to make him happy.  It has nothing to do with the fact that he doesn’t have an ounce of fat on his body and I secretly want him to gain a few pounds so that I can feel better about myself.  Seriously, he has the physique of a 21 year old and it’s complete bullshit, he barely exercises while I’m out running miles in the freezing ass cold and I’m just over it.

Moving on again…these are great cookies to make with kids because the recipe is pretty simple and there’s a few “fun” steps along the way (what kid doesn’t want to roll peanut butter dough balls in sugar?).  Here’s your list of ingredients…

  • 1/2 c. unsalted butter
  • 3/4 c. natural creamy peanut butter
  • 1/2 c. white sugar
  • 1/2 c. packed brown sugar
  • 1 egg
  • 1 1/2 c. all purpose flour
  • 1/2 tsp. baking powder
  • 1/4 tsp. salt
  • 3/4 tsp. baking soda
  • 1 tsp. vanilla
  • Hershey’s kisses

IMPORTANT TIP, use natural peanut butter only!  None of that Jiffy shit.

For tools, I use a hand mixer but you can also use a standing mixer or a spoon I guess.

Cream together butter, peanut butter and sugars in a large bowl. Add vanilla and then beat in the egg.

In a separate bowl, combine flour, baking powder, baking soda, and salt. Stir into batter.  The batter might look a little crumbly but that’s okay, form it into a giant ball and wrap in plastic.  Put the batter in refrigerator for at least 1 hour, this will make it easier to form the balls.

Roll into 1-2 inch balls and coat in white sugar, this is the part that the kids might enjoy.  Pour some sugar in a bowl, and then drop the balls in the sugar and roll around until the entire surface is coated.

Put the balls on baking sheets about 2 inches apart.  It will look like you made doughnut holes but you didn’t.

Bake in a preheated 375 °F oven for about 10 minutes or until cookies have a good crackle on them, don’t even think about taking them out until you see that crackle!!

Remove cookies and place a Hershey’s Kiss in the center of each cookie, pressing down gently (another kid friendly task if your kid understands the word “gently”).  Move cookies from sheet to rack for cooling.

This recipe should make about two dozen cookies, you can also save some of the dough in the fridge for up to 5 days.  I made a dozen and they were gone immediately, I’m going to use dark chocolate kisses for the next dozen and hope that they make my husband fatter.  I’ll report back.

Sundays are for pancake savages…

Every Sunday morning I awaken at dawn to the sound of my precious children…screaming at me to make them pancakes.

Kids go freaking psycho for pancakes and rightly so, in the end they’re really just bread topped with butter and sugar sauce so it makes sense.  I thought about this as I watched my seven year old eat his flapjacks last Sunday.  He devoured two in about 30 seconds, and then it just got out of control from there.  I think he had 12 in the end, I’m not kidding.

I’ve been making pancakes for a while now and I think I’ve found the secret combo of ingredients to produce a light fluffy vehicle for all that butter and syrupy goodness.  Probably the most important thing you need is an electric griddle (especially if you’re slinging flapjacks for a crowd).  It’s big, non-stick, and cooks evenly.

The recipe I use makes 12-15 good size pancakes (I double it for my savages, I mean kids).  Here’s what you need…

  • 1 1/2 cups all-purpose flour
  • 4 teaspoons baking powder
  • 1/2 teaspoon salt
  • 4 tablespoons sugar
  • 1 1/3 cups milk
  • 1 egg
  • 3 tablespoons butter, melted
  • dash of cinnamon (optional…but why wouldn’t you)

Combine all of your dry ingredients in a large bowl.  In a smaller bowl, whisk the egg and milk together.  It’s best if the milk and the egg are close to room temperature but this isn’t a deal breaker.  Now SLOWLY add your melted butter to the milk/egg mixture while you whisk, this will prevent bad things from happening (aka scrambled egg).  Make a well in the center of your dry ingredient bowl and pour the liquid in.  Use a whisk to incorporate everything but for GOD’S SAKE don’t over mix it or those pancakes will turn on you, a few lumps is perfectly fine (say it with me now).  Once the batter is all dun mixed up I let it sit for a good 5 minutes before I use it, I don’t know why I do this but I do know the saying “if it ain’t broke don’t fix it” and I comply with all sayings.

This is a good time to get your griddle nice and hot!  But not too hot, like 300°F is good.  If you’re making your pancakes on the stove I would suggest a cast iron skillet on medium low heat and an extra 3 hours to make all of the pancakes, kidding!  Just an extra 2 hours.  Use a 1/2 cup measuring device (I needed another word for cup) to ladle the batter onto the griddle, you can use more or less depending on the size you desire.  I desire to have six fit on my griddle so I plan accordingly.  They should take about 4 minutes a side but check them to make sure they’re ready to flip before you commit.

Serve with good butter and REAL maple syrup, your pancakes are too special for the fake stuff…yea, I’m talkin’ bout you Mrs. Butterworth and Aunt Jemima!

Look at those beauties…and the best part is that I get at least an hour of quiet time after I make these pancakes because my boys are too full to beat each other up.  Hashtag Bliss.

The Best Salad Dressing Like Ever


img_0828-1

romaine lettuce, avocado, celery, cucumbers, goat cheese


Does anyone buy bottled salad dressing anymore?  If the answer is “yes” I can’t help but feel compelled to shake my fists in the air and demand WHY?  Have you looked on the back of a salad dressing label lately?  That should be reason enough to make your own but I will give you another reason, it takes like 2 seconds and you’ll know what’s in it! (wait, that’s two more reasons I think)…you get it.

Here is my go to salad dressing recipe, it’s a sweeter vinaigrette but can be adjusted easily to your taste preferences.  I suggest making the dressing in a large liquid measuring cup so that you can just refer to the measurements on the cup while you add ingredients (although you might need some basic addition skills to do this).

Here’s the recipe…

  • 1/2 cup extra virgin olive oil
  • 1/2 cup apple cider vinegar (or any vinegar of your choice)
  • 2 tbsp honey or agave
  • 2 tbsp stone ground mustard
  • 1/2 tsp salt
  • 1/4 tsp black pepper

Combine everything together and whisk really well…done.  I also like to make this dressing in a mason jar so that I can pop the lid on and shake it till I make it.  It will last in the fridge for weeks and you can always double or halve the recipe depending on your needs.  It also serves as a great marinade for chicken or beef, there’s really nothing it can’t do.

Cheers!

Holy Seafood Corn Chowder

I love me some chowda’…especially when it’s chock full of seafood.  I never get chowder when I’m dining out because it’s just too fattening for my taste and the seafood to liquid ratio is WAY off.  So one day not long ago I was thinking about how I never eat chowder even though I love it and I got really sad…and then I started crying.  Ok, maybe I didn’t cry but whatever.  It was then that I had the craziest idea ever, I could make seafood chowder at home and do it the way God intended…My holy chowder would be full of flavor, low on fat, and the ratio of seafood to soup would be about 100:1.

So I did it…and all of my wildest chowder dreams came true in a matter of about an hour…and now I will share the dream with you.  (Are you tearing up yet?)

First things first, this recipe will feed 7 armies.  My lust for chowder must have resulted in me inadvertently making 50 gallons of it.  So this would be great for your next party…or just halve the recipe.

Here’s what you need:

1 pound – raw shrimp, peeled and de-veined
2 cans – fancy lump crab meat
1 red bell pepper, diced
4 celery stalks, diced
1 onion, diced
1/2 cup – flour
1/4 cup – olive oil
8 small yellow potatoes
16 oz – vegetable stock
4 cups – 2% milk
2 cans – creamed style corn
2 cans – whole kernel sweet corn
1 bay leaf
2 tsp – thyme
1 tbsp – hot sauce
salt and pepper to taste


Get out a HUGE stock pot or dutch oven and start sauteing the onion, pepper, and celery in olive oil.


Wow, that looks festive doesn’t it?  After the veggies have softened, go ahead and add the thyme, more olive oil, and your flour (this is going to help thicken the soup).  Side note, if you want a gluten free version, just omit the flour and use corn starch at the end to thicken it.

Stir everything together…

Until you can no longer see the flour, and then stir it a little bit more.


Now it’s time to add the vegetable stock…so go ahead and do that.


Now add your potatoes…check out that potato shot!


Now add your milk, your cans of corn, and your hot sauce…


Let all of this hang out and simmer for a while, like 15 minutes (if you didn’t use the flour, now would be a good time to add 3 tbsp of corn starch mixed with 3 tbsp cold water to thicken the soup).  While that simmers, go ahead and get your shrimp and crab ready to go…


Now all you have to do is throw in that glorious food of the sea.  Stir this around for 5 minutes, add salt/pepper to taste and it’s done!


Wow, that looks pretty freaking good…because it is.


I made this soup a while back and now that I’ve posted the recipe I suddenly have a very strong urge to make it again, like right now.

Cheers!

The Good Cooker

White Bean and Spinach Pasta with Chicken Apple Sausage


It took me 20 minutes to find the right wording for the title of this post, which makes no sense because the recipe is super simple.  If anyone has a better title, please by all means, come forward.  

The hubs brought home a pound of apple chicken sausage from a local meat market called DC Meats.  My husband’s family is actually good friends with the owners (The Gill’s) but they hadn’t seen us since our wedding.  Jason went in there one day to say hi and then left with a pound of apple chicken sausage.  

I will be the first to admit that I have OCD when it comes to purchasing food, everything I buy typically already has a reserved spot in my weekly meal plan.  So when my husband brings home surprises I get a little…antsy.

But then I thought, if I’m ever going to make it on Chopped I better learn to do this sort of thing…

I gave myself a day to figure out what I would create with the surprise ingredient.  Yes I know that you only get about 12 seconds on chopped to figure that out but this wasn’t reality cooking TV, this was just reality…there would be no $10,000 prize so who cares if I broke the rules!

I came up with the following recipe and I think you’re gonna like it…a lot.

This is what you need:

1 lb chicken apple sausage
1/2 onion, diced
1 lb tube shaped pasta (penne, ziti, rigatoni, whatever)
1/2 cup chicken broth
1/2 cup white wine
2 to 3 cups white beans (either great northern beans or cannellini beans)
fresh spinach
1/4 cup freshly grated Parmesan cheese 
1 Granny Smith Apple, sliced thin (optional)


Of course the first thing you need to do is get the chicken sausage out of the casing and into a large skillet on medium heat, use a wooden spoon to break the sausage apart into smaller pieces.  You also need to get some water boiling in a separate pot for your pasta. 


Now add your onion to the skillet and continue to saute everything over medium heat.  Also add your pasta to the pot once your water is boiling.  I usually throw in a few spoonfuls of course salt into the water to enhance the flavor of the pasta.


Next up are the beans…there are no true measurements here (this is the joy of cooking) so put in as many or as little as you would like.  You can drain your beans but don’t rinse them because you really need some of that bean liquid to help thicken the sauce.  Below is a pic of Randall’s beans…if you want to know how much I love these beans, just read “my favorite things” post and then you will no longer question.


So here are the beans coming into the mix…


Now we need to add some wine and chicken broth…or just add wine…or just add chicken broth (although I highly suggest not omitting the wine).  In order for the wine and/or chicken broth to warm quickly, make a spot in the middle of the pan for the liquid to go…This looks like a giant jacuzzi,surrounded by natural rock formations…but in actuality it’s just beans and sausage.

Stir this together for about 5 minutes, the liquid will condense and help flavor the dish…wine makes everything better, but you already knew that.

This is where you can add a sliced apple if you wish, I didn’t have an apple in the house and the men folk weren’t loving the idea so I indulged their lack of adventure and left it out…I regret my decision.  I would HIGHLY recommend adding the apple if you have it.


Your pasta should be done by now (8 minutes of boiling is all you need), drain it and add it to the sausage/bean mixture.

Oh that is looking good, real good.  But we need to add some green don’t you think?  I do.  Take a big heapin’ gatherin’ of organic fresh spinach and put it on top of the sausage/pasta mixture…and then put the lid on the skillet.


Leave the lid on for a few minutes and then open it up and stir everything around…add your Parmesan cheese and put the lid back on so that the cheese can melt, this only takes about 30 seconds.


Dinner’s ready!  You might have noted that I didn’t use any seasoning in this dish…that’s because the chicken sausage and parmesan cheese give me all the seasoning I needed to rock this one out.


My kids tore this up!  Another great success in the quest for kid friendly food that doesn’t cause congestive heart failure…YAY!

I hope you guys try this one out…I would love to hear from anyone who’s cool enough to add some apple slices to the mix.

Cheers!

The Good Cooker

Peach Olive Oil Cake


First things first…it’s election day so go vote.

Now that we have that out of the way, let’s make cake.  This cake is amazing, it’s like a cross between a sponge cake and a pound cake…and you can’t taste the olive oil.

Summer is over so I thought this would be the perfect time to post a recipe that requires fresh peaches…brilliant I know.  I made this recipe when it was still summer  but I feel very strongly it is still deserving of a blog post.

I’ve got a great substitution if you can’t find fresh peaches anymore so don’t everybody freak out.

Since this cake is made with olive oil instead of butter, you can eat the whole thing if you want…hey, I don’t make the rules.

Here is what you need for the cake:

3 eggs
2 tbsp. orange zest (and a few squeezes of the juice)
1 1/2 cups sugar

1/2 cup olive oil
1/4 cup milk

2 cups flour (sifted)
1/4 tsp salt
1 1/4 tsp baking powder

orange marmalade for topping


I highly suggest using a non-stick 9 inch spring form pan for this cake, like this one…


I also coated this with olive oil, just in case.

In one bowl, you are going to add your orange zest…I love my microplane, you should get one if you don’t have one.


Now add a squeeze of your orange, the eggs and the sugar.


In another bowl, sift together your flour, salt, and baking powder.  I don’t have a fancy sifter, I just use a metal strainer thingy.


So now you should have two bowls of ingredients, like this…


Mix your eggs and sugar together, I used a hand mixer (another highly recommended tool)…


Now put the oil and the milk in a liquid measuring cup and then alternate adding that with adding the flour to the egg/sugar mixture.  I have no photos of this as I was too busy adding things.  Everything should eventually end up in the bowl with the eggs and sugar.


Now pour the whole thing in your spring form pan and put in a 350 degree oven for 40-50 minutes.  If you are going to add peaches to the top, now is the time to slice them up.


After about 10 minutes in the oven, pull out the cake and add the peaches in any sort of pattern you like…then put it back in the oven, carefully!

If you don’t have peaches then just skip this step.

When the cake is getting close to being done you need to start warming some orange marmalade on the stove…this is orange marmalade.


In my world, the Bonne Maman jams and preserves are the only jams and preserves worthy of being purchased in a store…this shit is made in France, and sold at Target…say whaaaaa?

A half cup should be good…just throw it in a sauce pan and cook over LOW heat while stirring.


Once your cake is done (it should begin to get golden on top) take it out of the oven and let it sit there for a few minutes while you stare at it.


Now get it out of the pan (this should be easy if you used the right pan).  Stick it on a plate and top it with the warm marmalade, if you omitted the peaches then just use more marmalade…you can’t use too much, it’s French remember?


Your cake has been born…and it’s a freaking super model.


You don’t need to serve this with ice cream and caramel syrup but I am not the boss of you…


I don’t know about you but I would vote for this cake every damn day of the week.

Cheers!

The Good Cooker