Mom’s Bow Tie Pasta with Turkey Sausage and Pea Pods


I made this recipe a while back and just never got around to posting it (I know, big shocker)…but my sister sent me a text this morning asking if it was on the blog so naturally I sprang into high gear so she could have it, I work best under pressure.

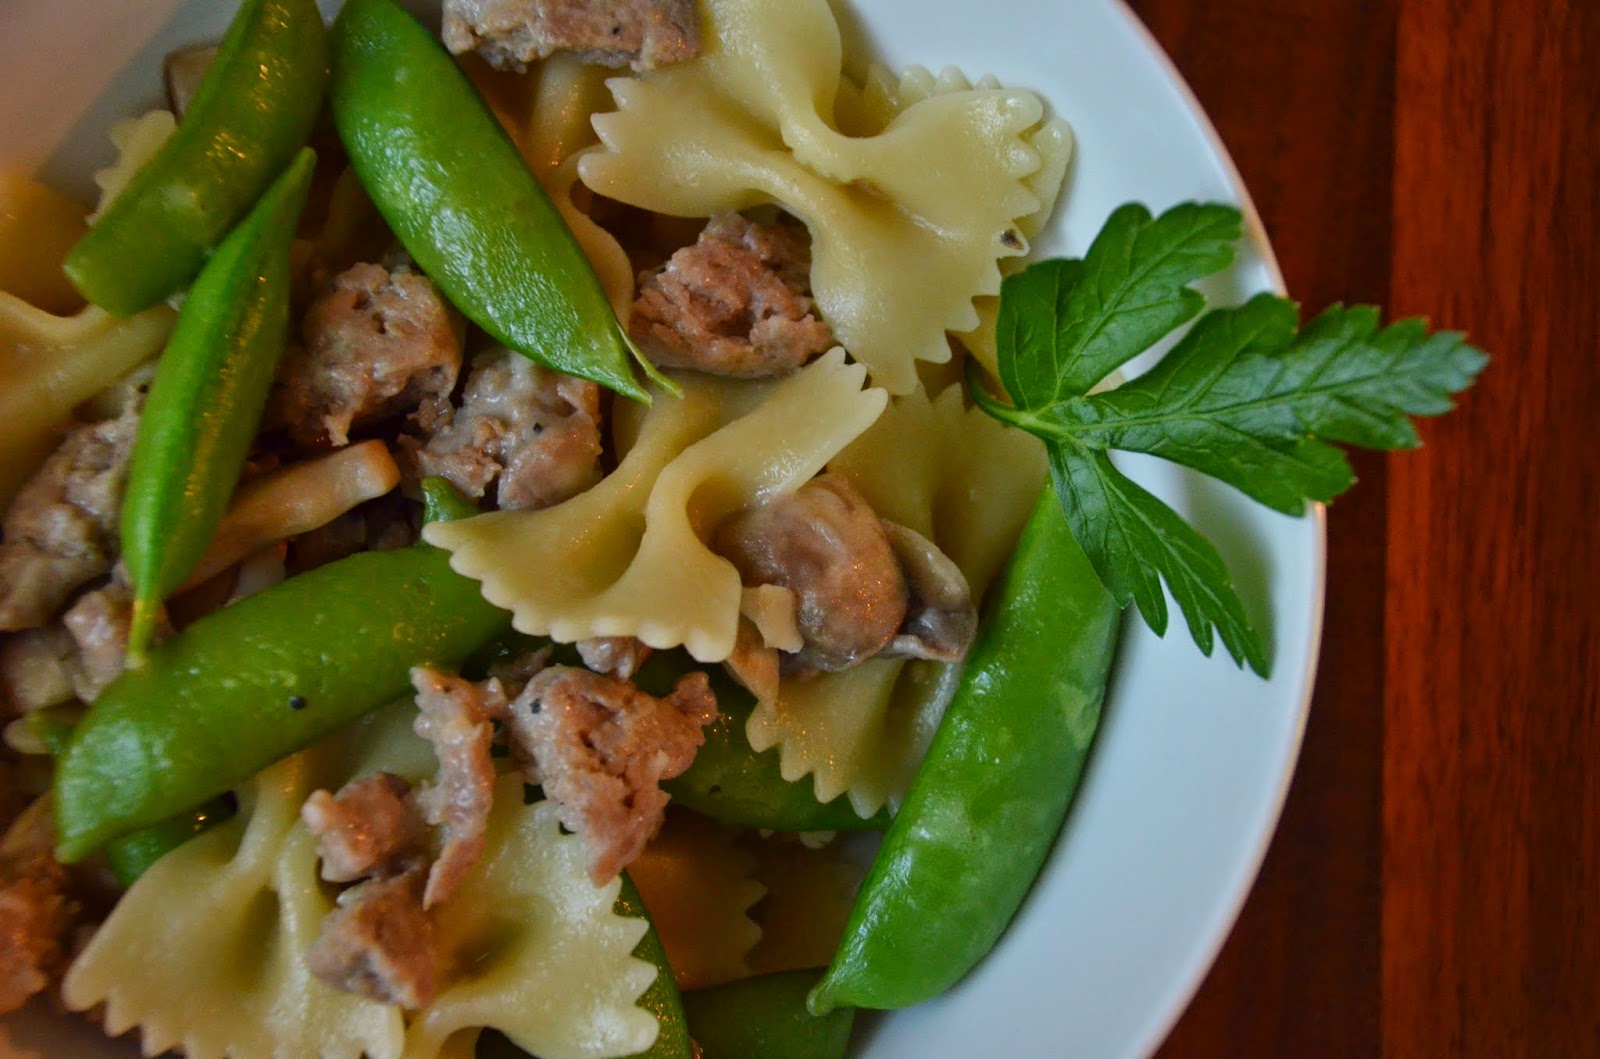
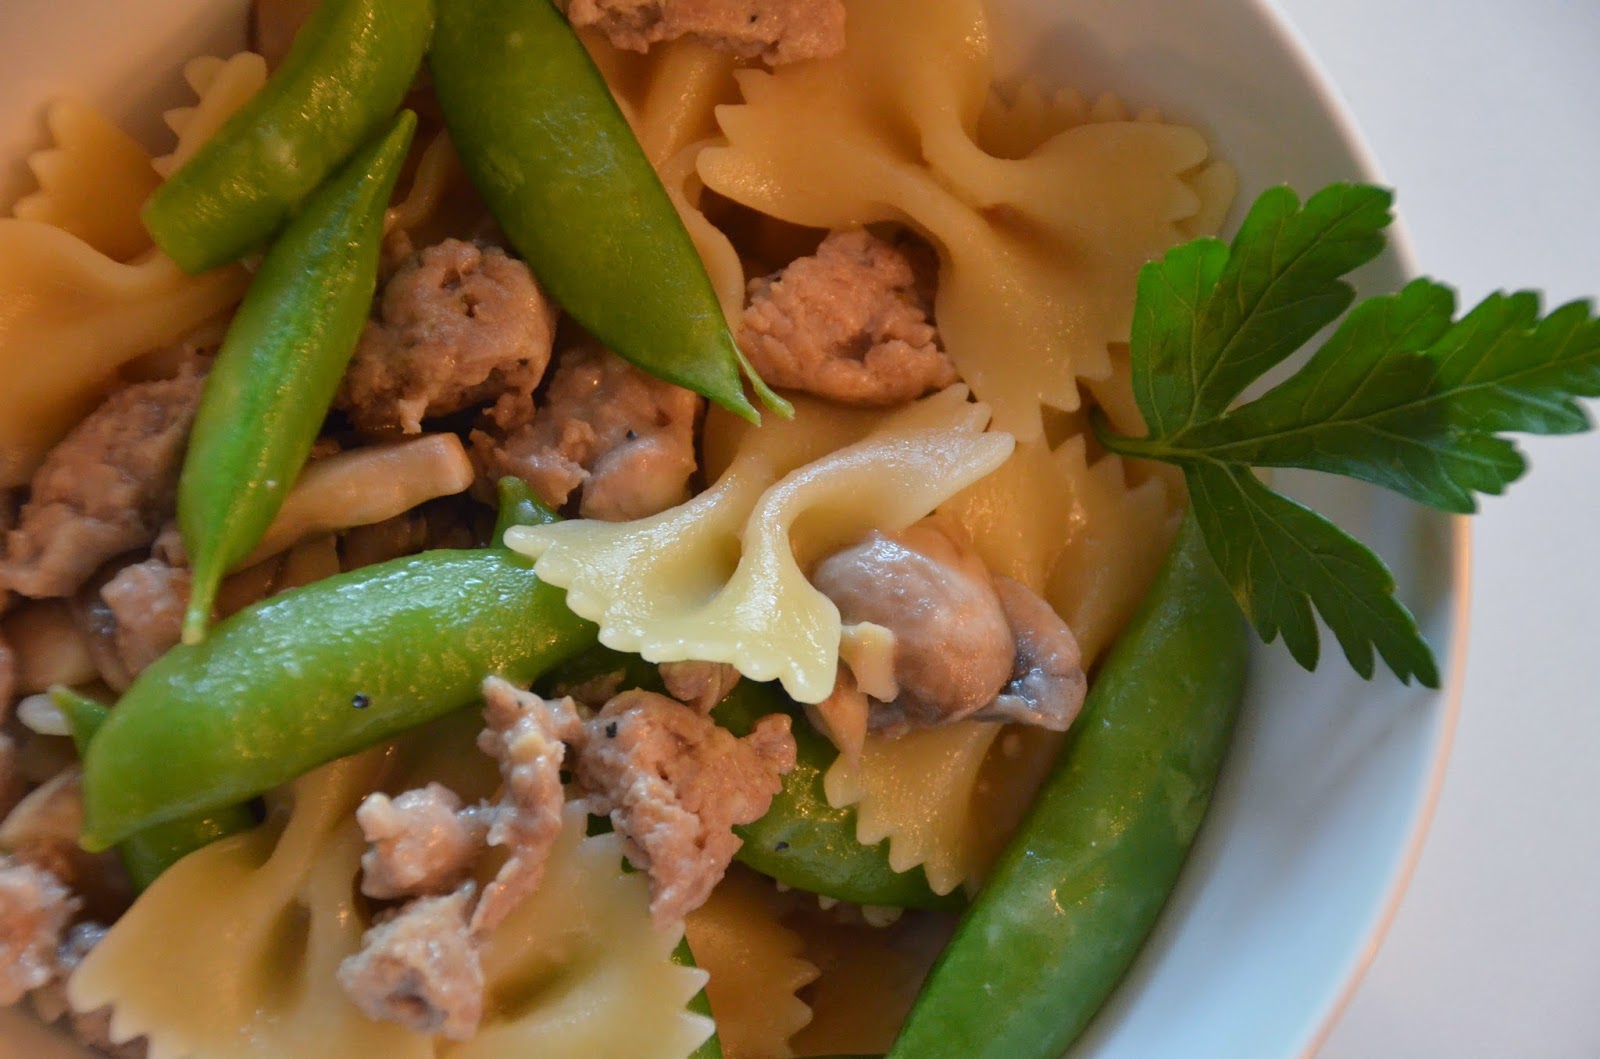
My mom used to make this all the time when we were kids, it was definitely in the weekly rotation for a while.  The flavors are perfect together…the saltiness from the turkey sausage, the sweetness from the pea pods, the tangy-ness from the Parmesan, and the fun-ness from the bow ties pasta…a lot of “ness” going on with this one.

I’m going to cut to the chase…here’s what you need:

1 lb – bow tie pasta
1/2 cup – reserved pasta water
1 lb – sweet italian turkey sausage
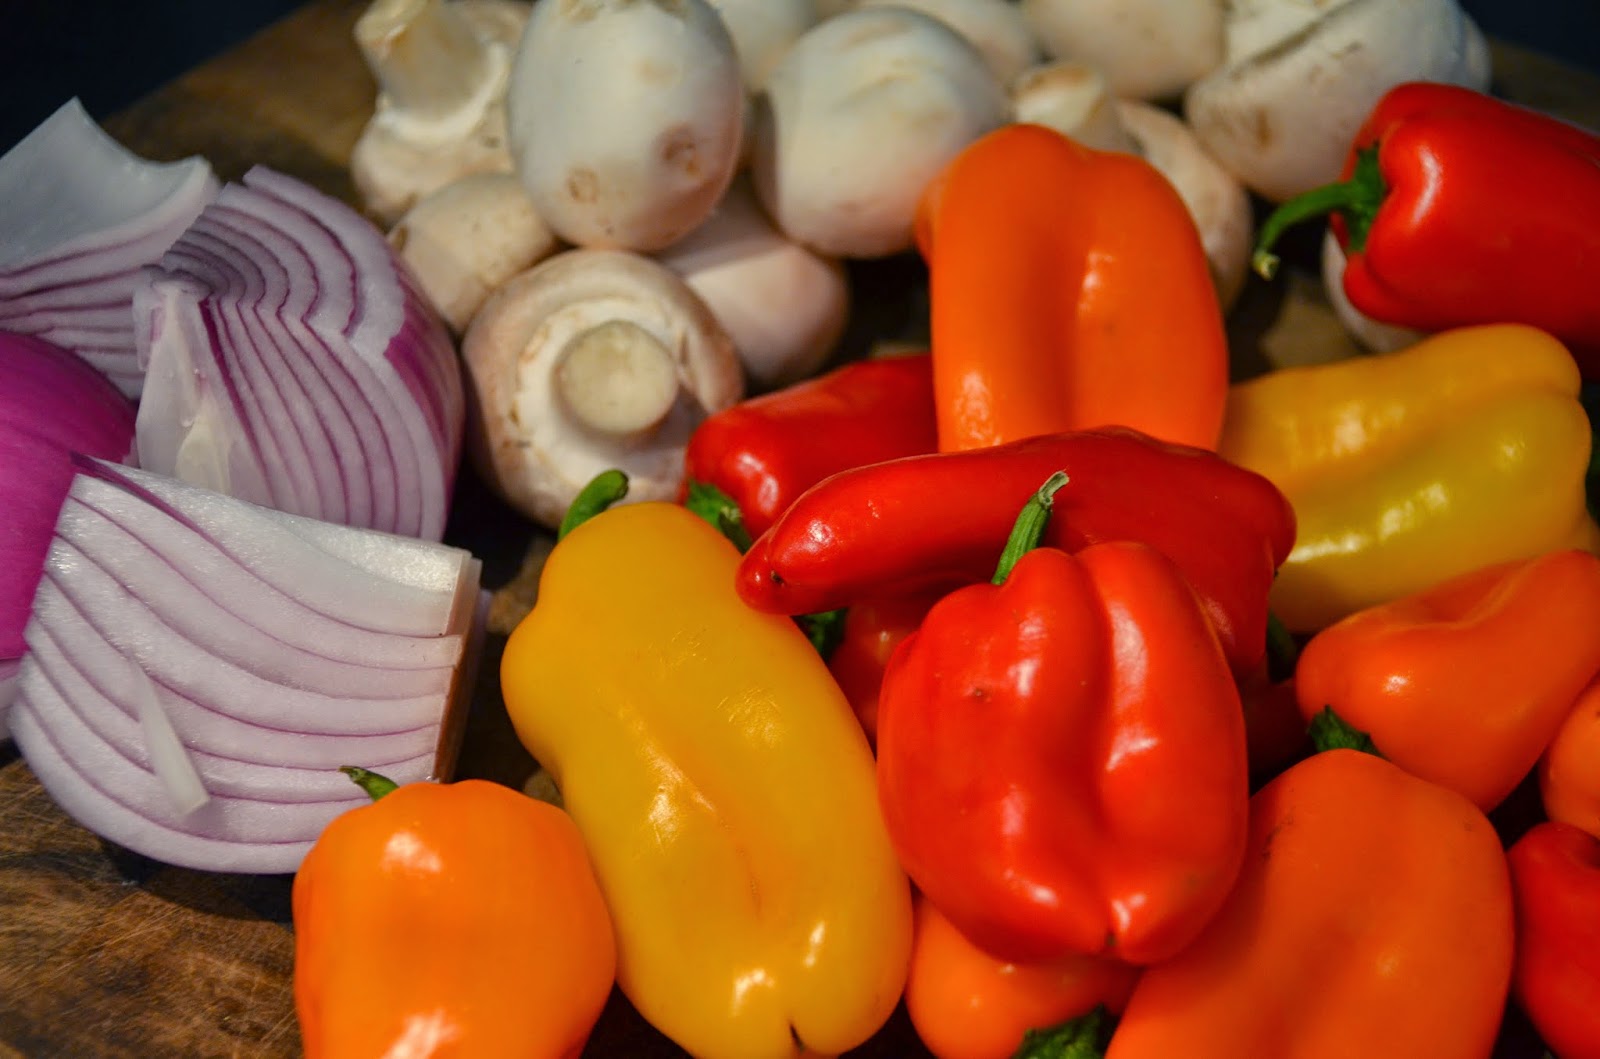
1 bag – sugar snap peas
2 cups – sliced mushrooms (optional)
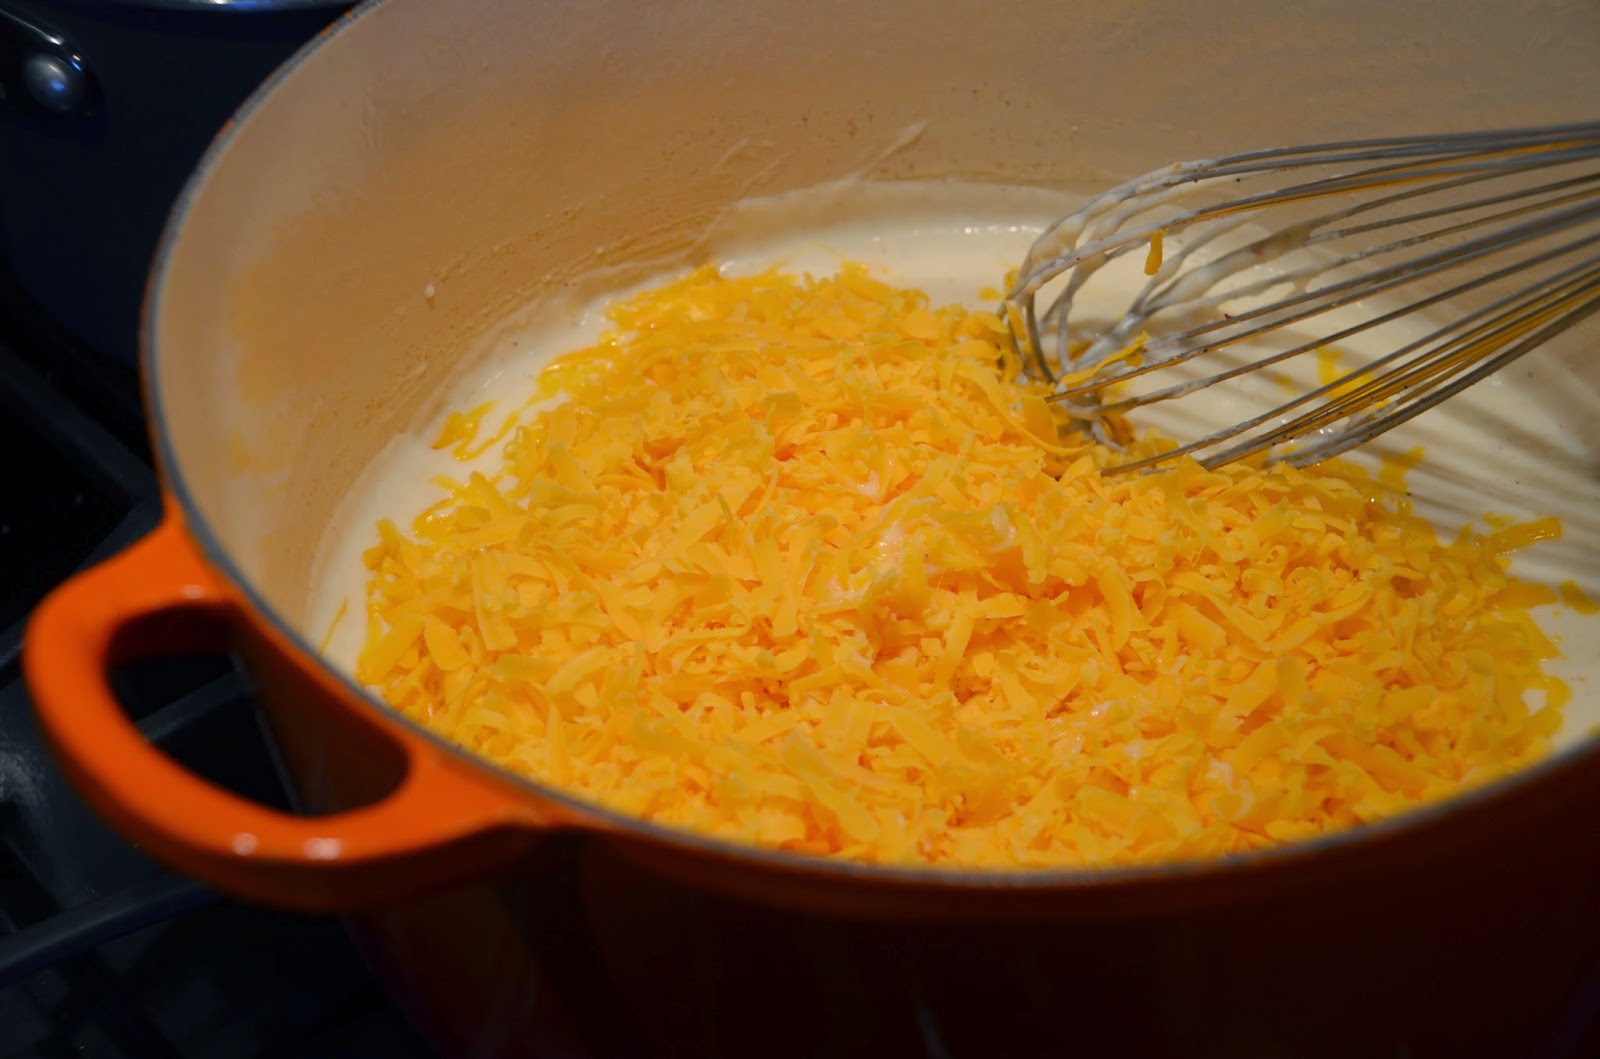
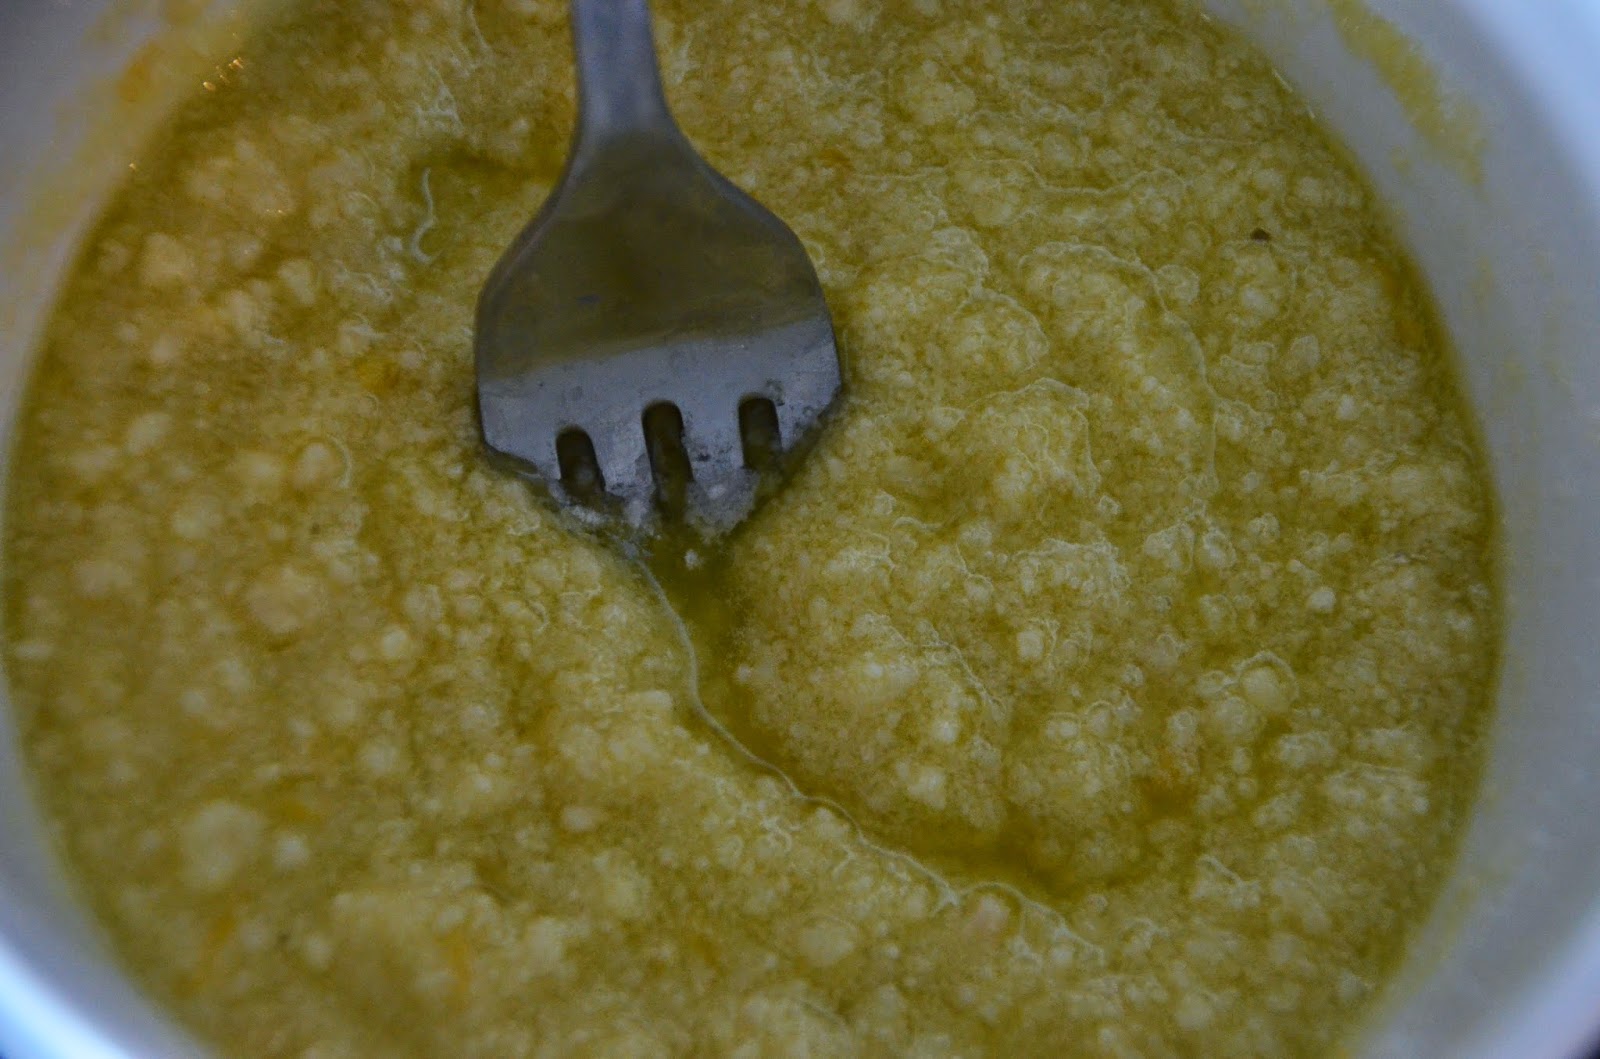
1 cup – freshly grated Parmesan 
1/2 cup – white wine (chardonnay or sauvignon blanc)
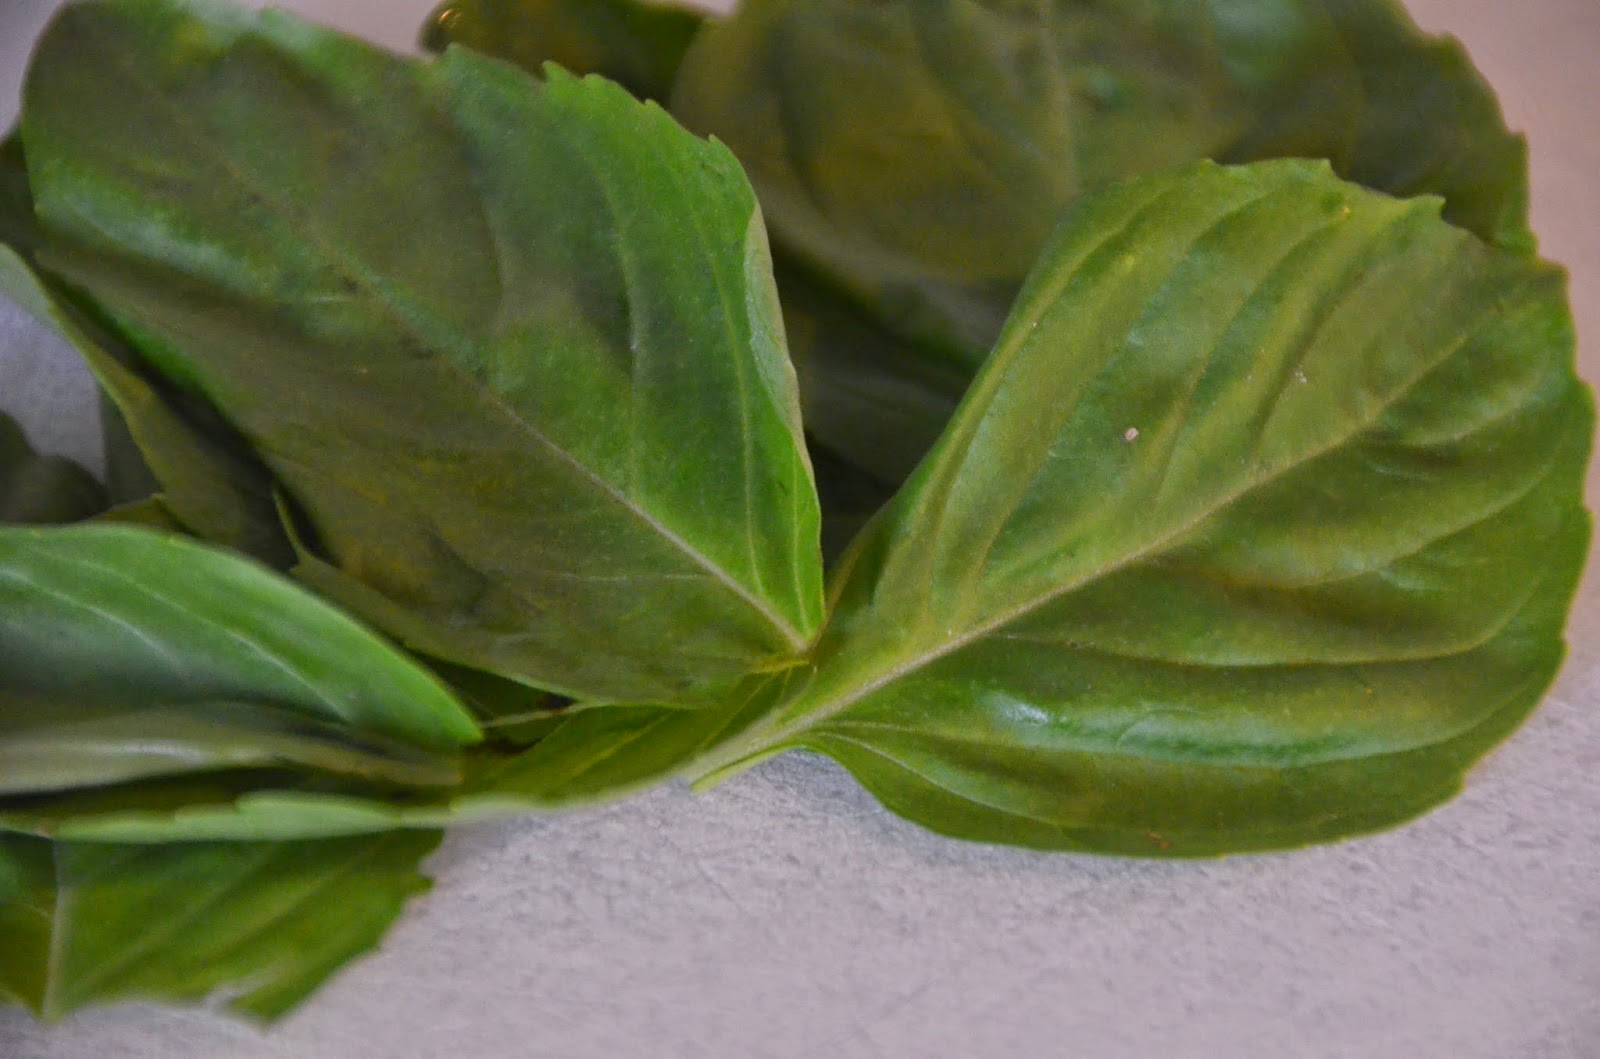
Italian parsley for garnish

Get your salted water boiling on the stove…and add the pasta when it starts to boil (very important).  Don’t forget to reserve 1/2 cup of the pasta water after you cook it.

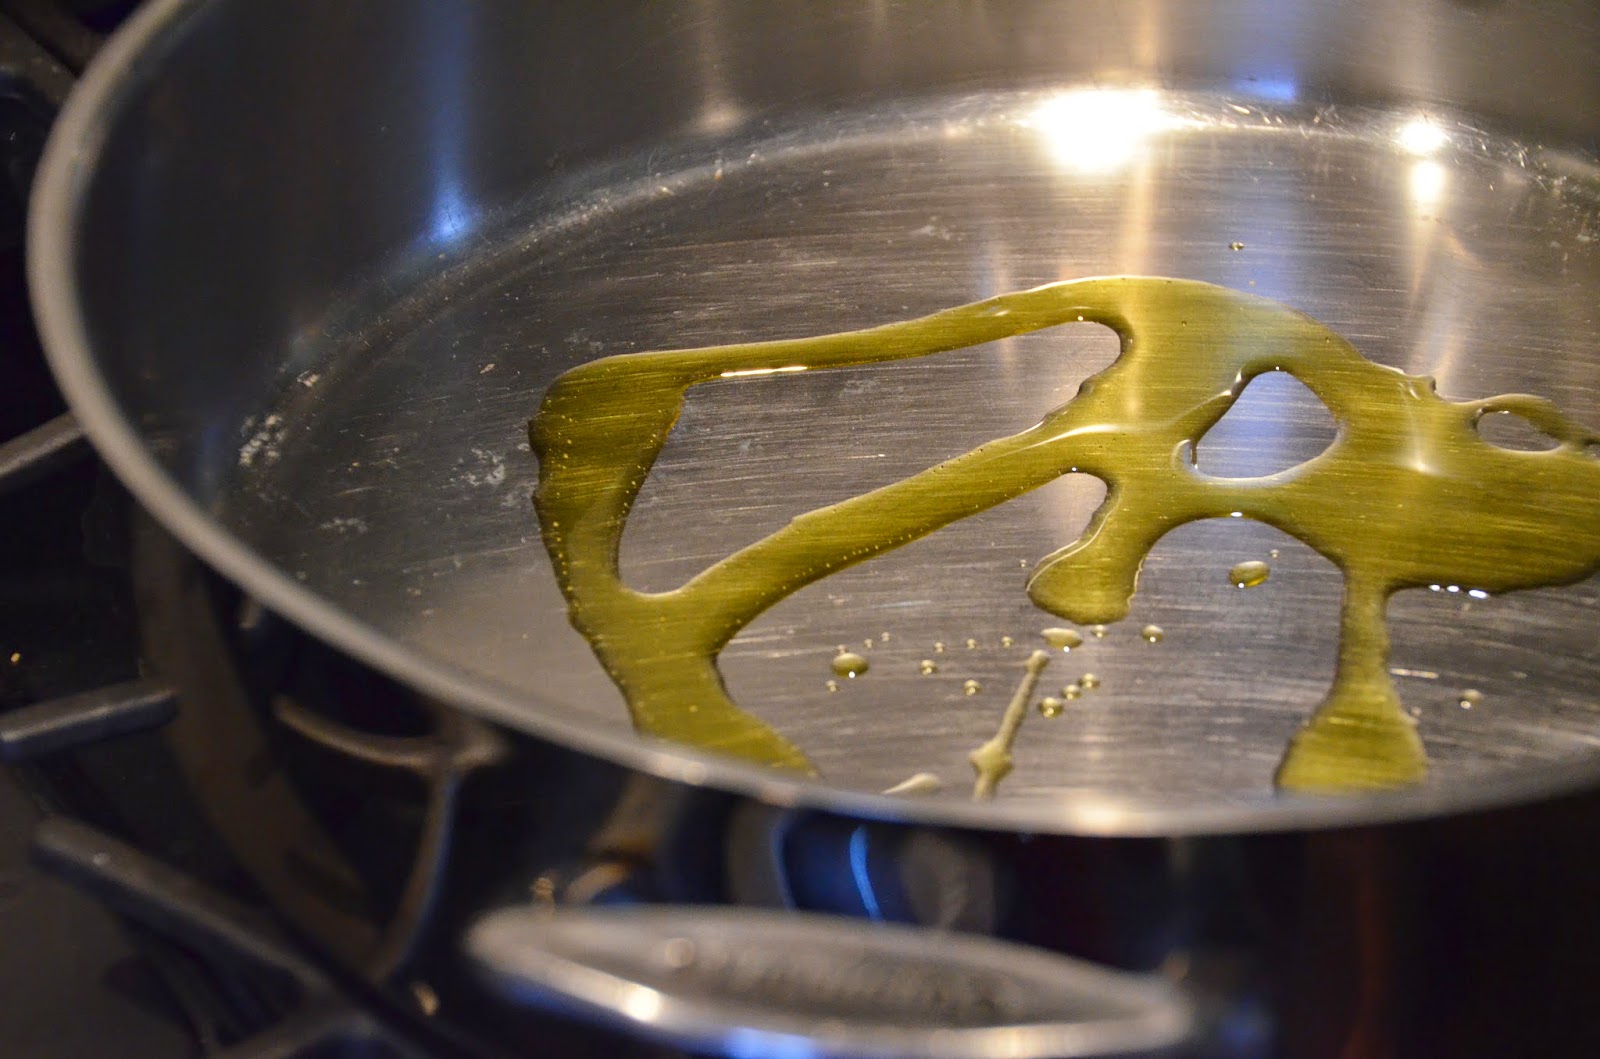
Also get out a heavy bottom large skillet and add some olive oil to it.


Then add your turkey sausage, but you have to get it out of the casing first..use a wooden spoon to help break it up into bite size pieces.


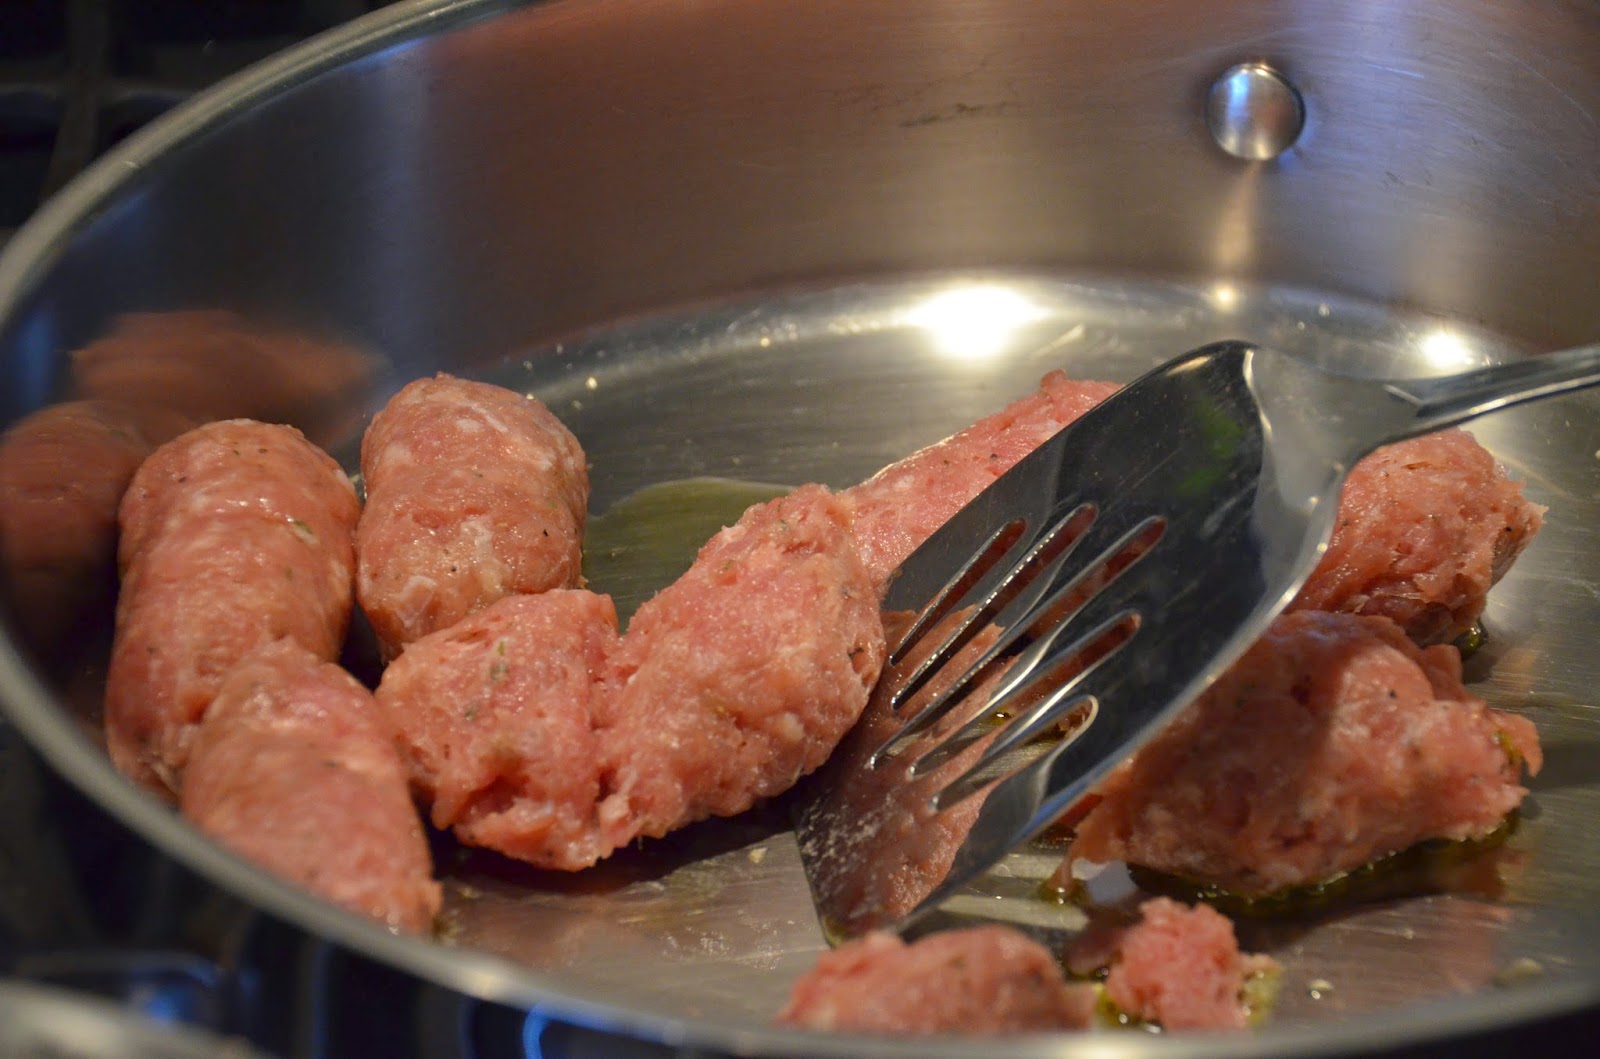
You guys are probably totally sick of me pimping out turkey sausage but I can’t help it, everything tastes better with turkey sausage!  EVERYTHING.

Once your turkey is cooked through add your mushrooms (if you’re adding them).

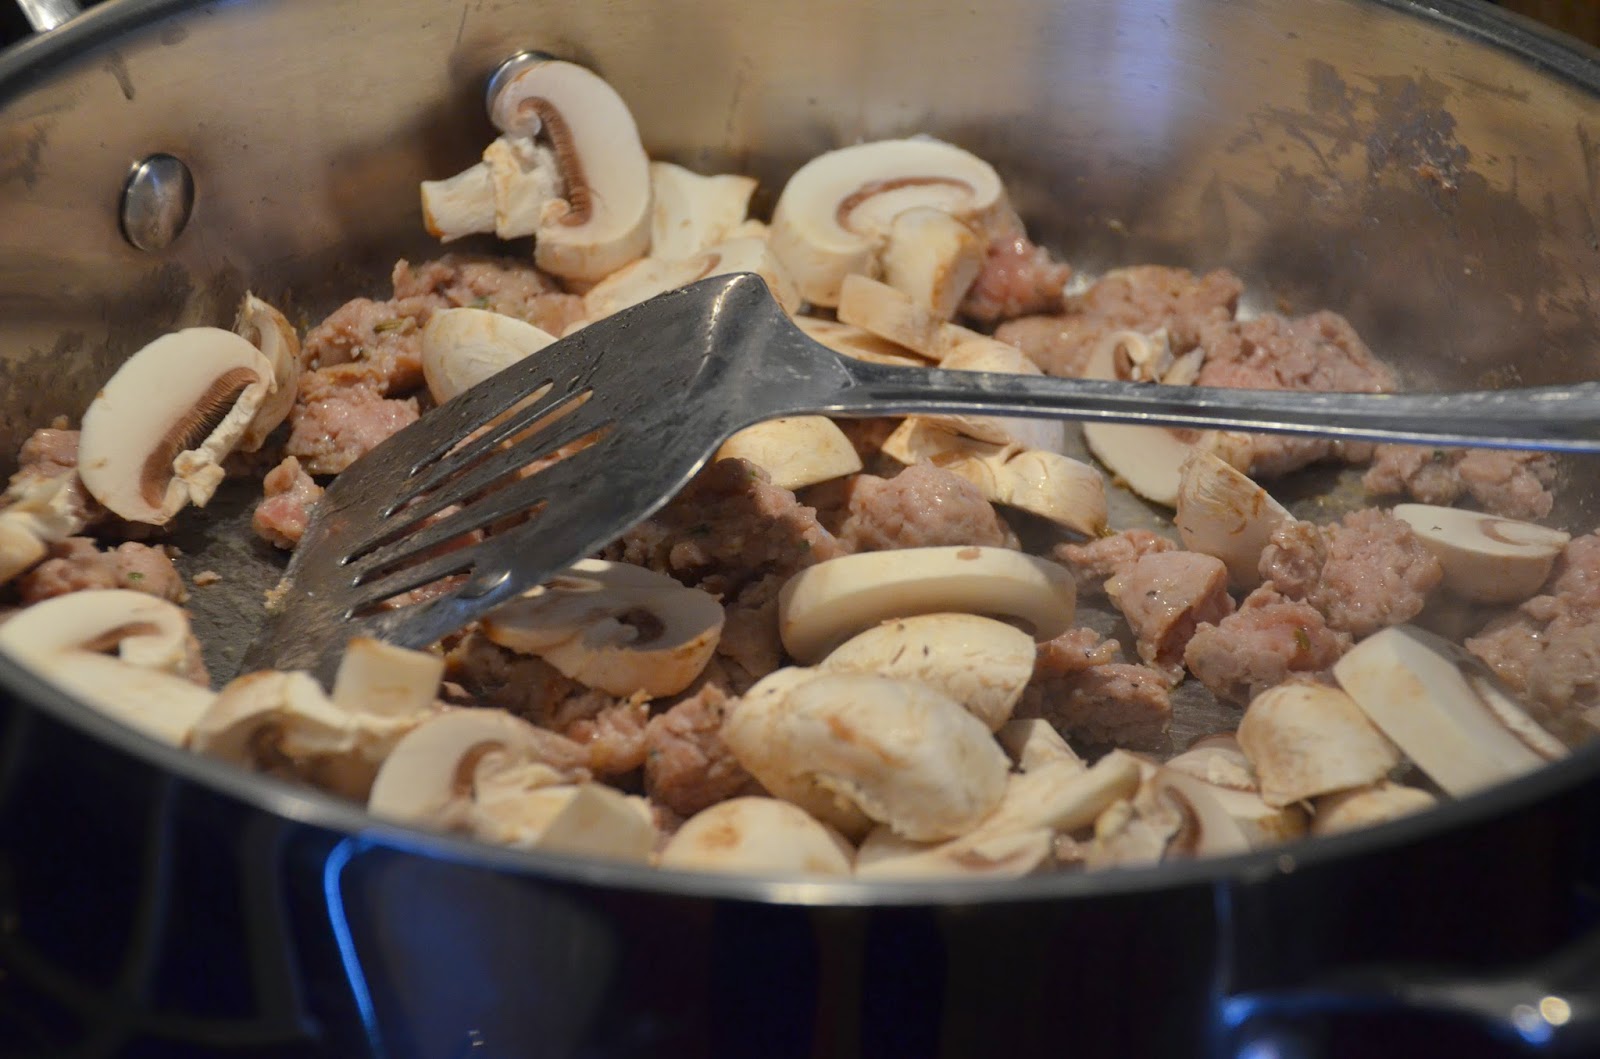
Let that saute for a while until the mushrooms soften a bit…and then add 1/2 cup of white wine, you can substitute chicken broth but I don’t know why you would.

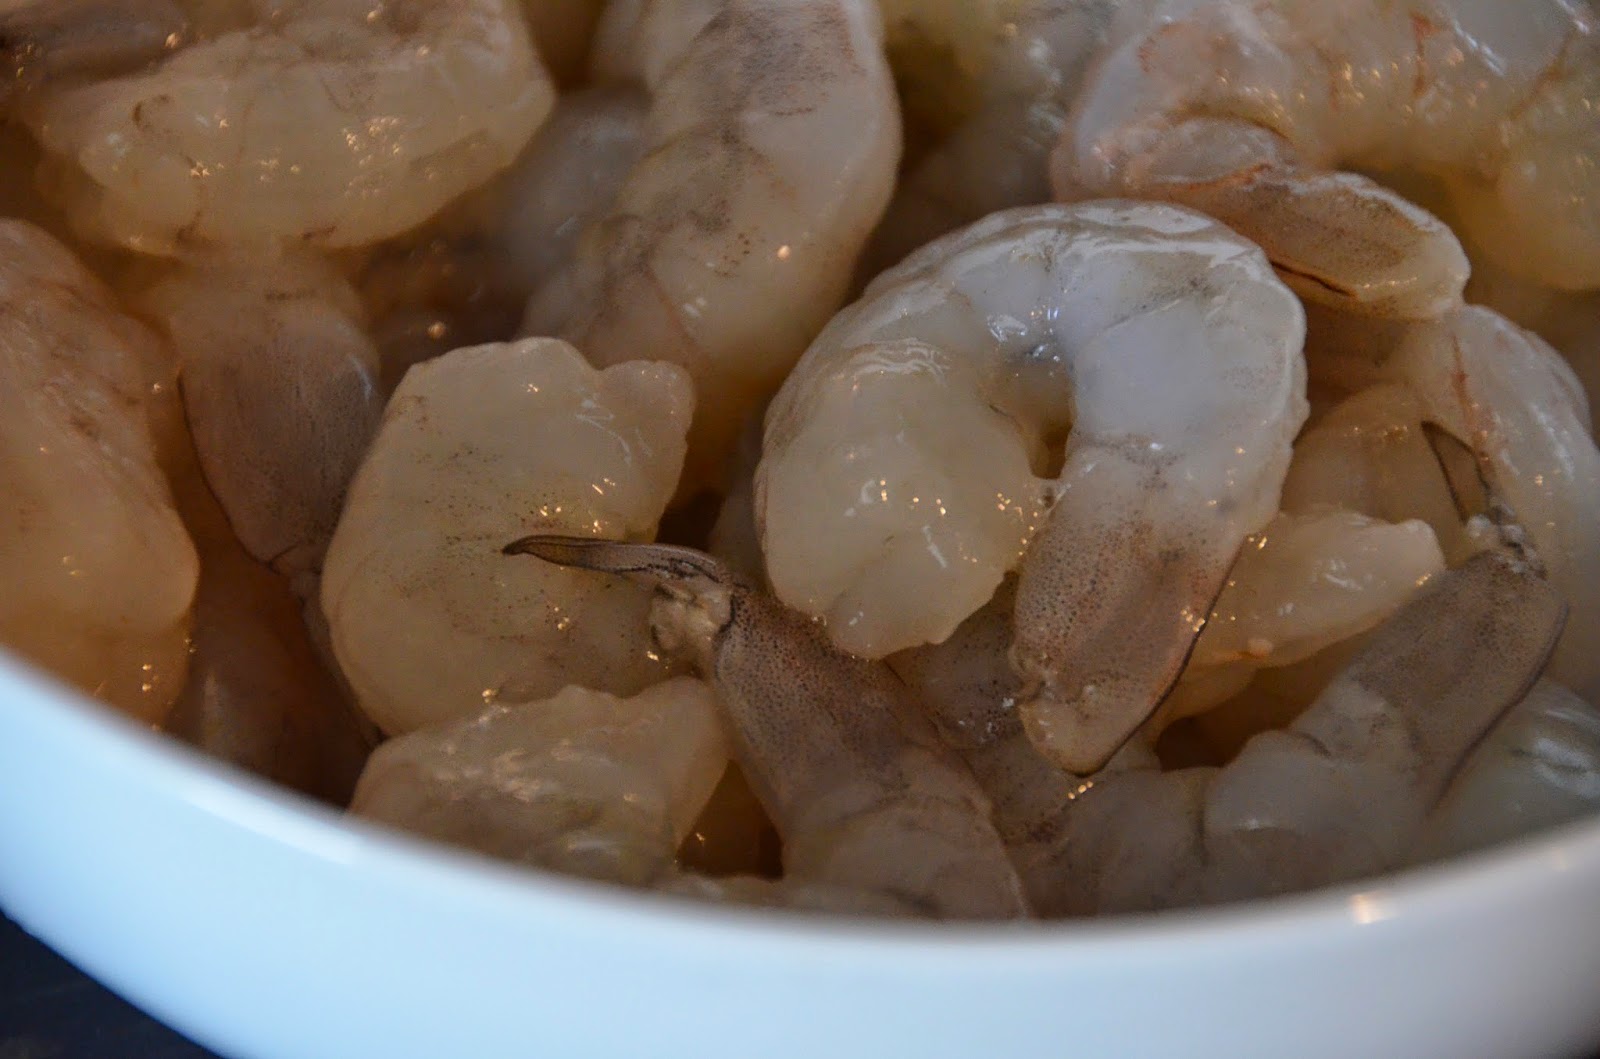
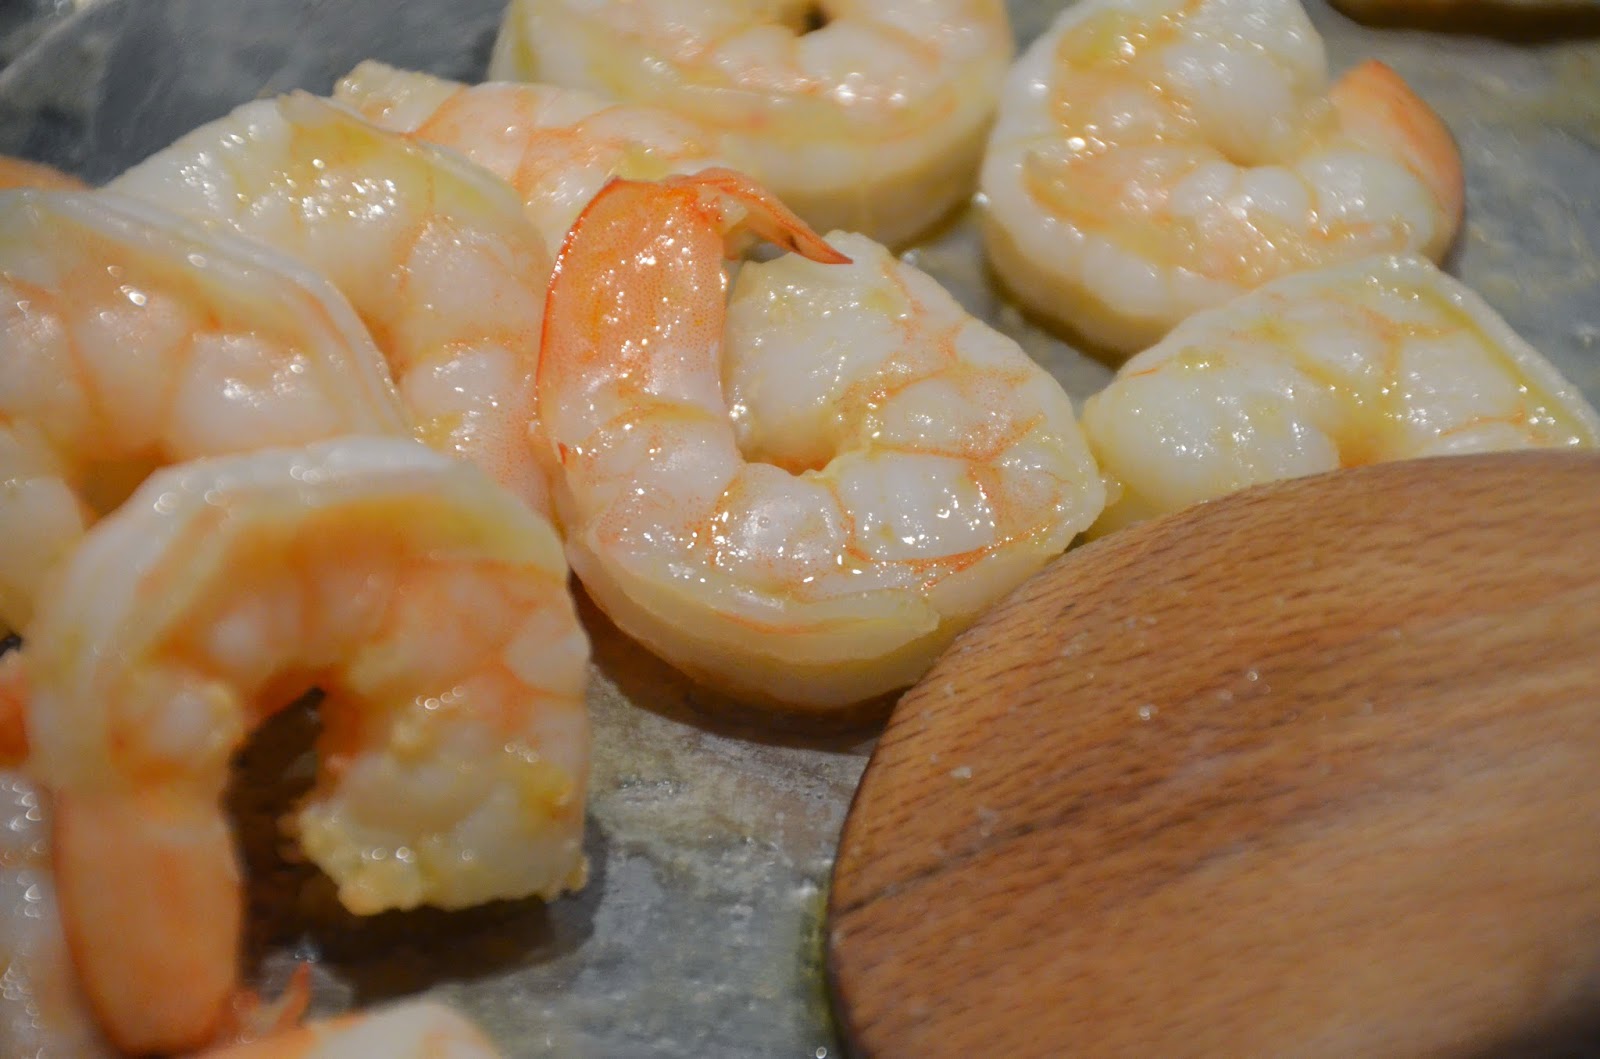
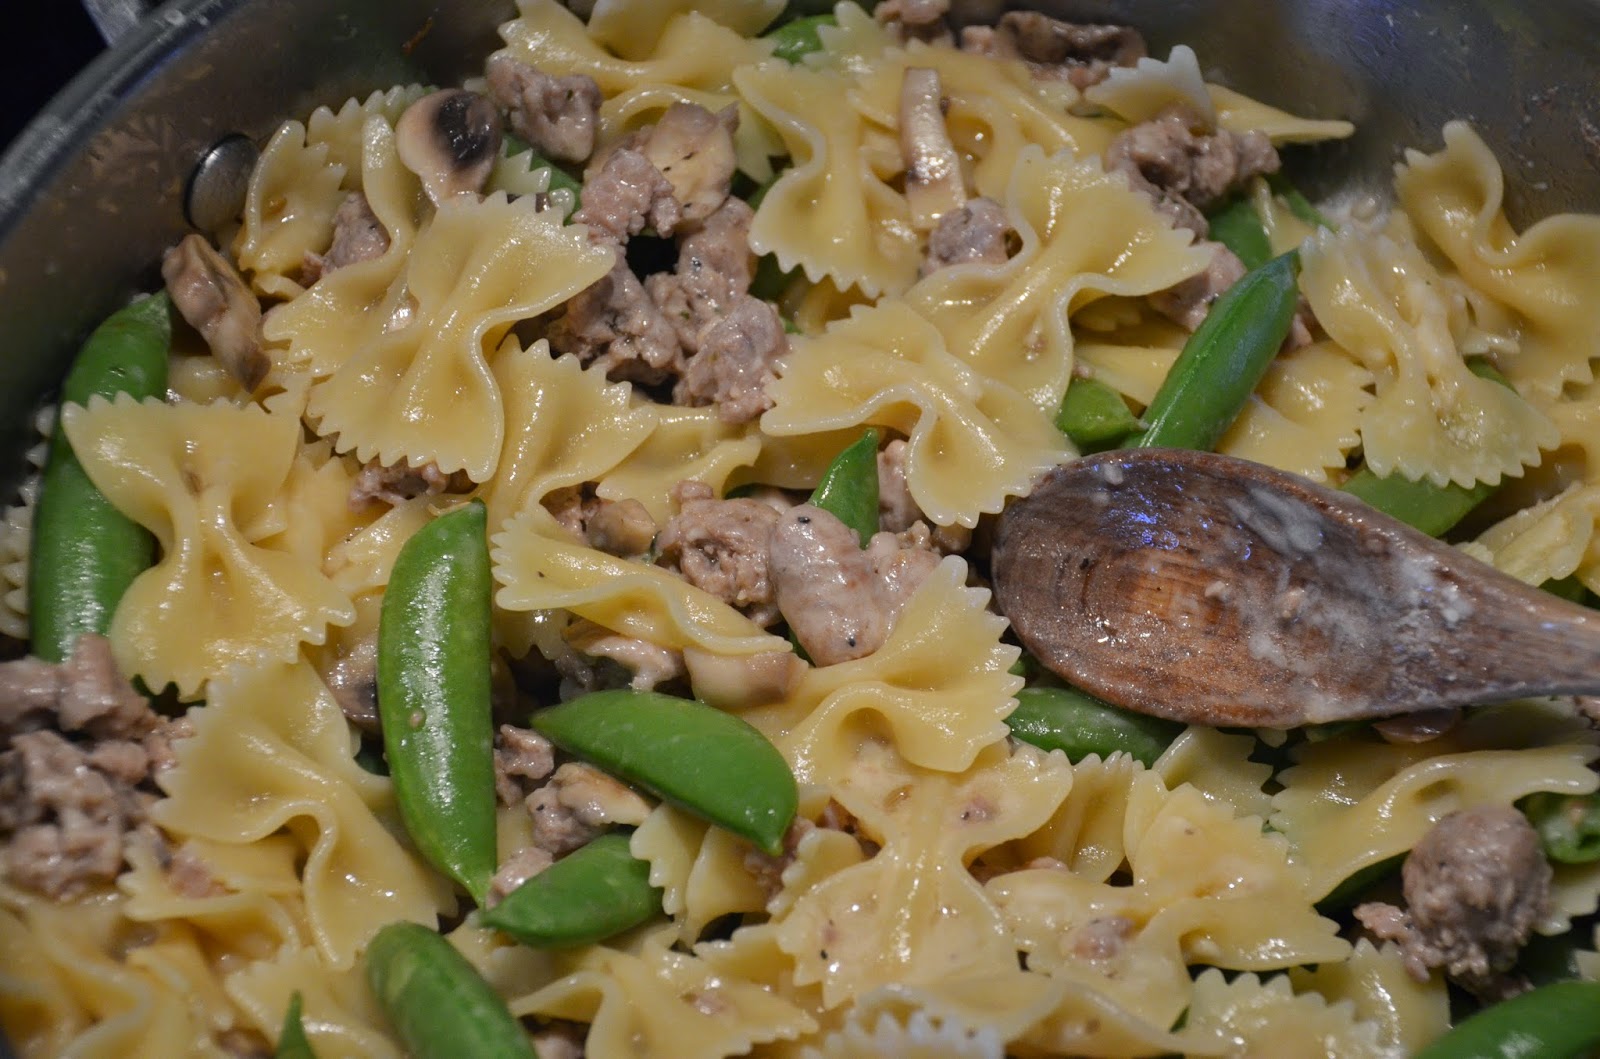
Next add in your pea pods, these go in last because you want them to cook but still maintain some crunch.


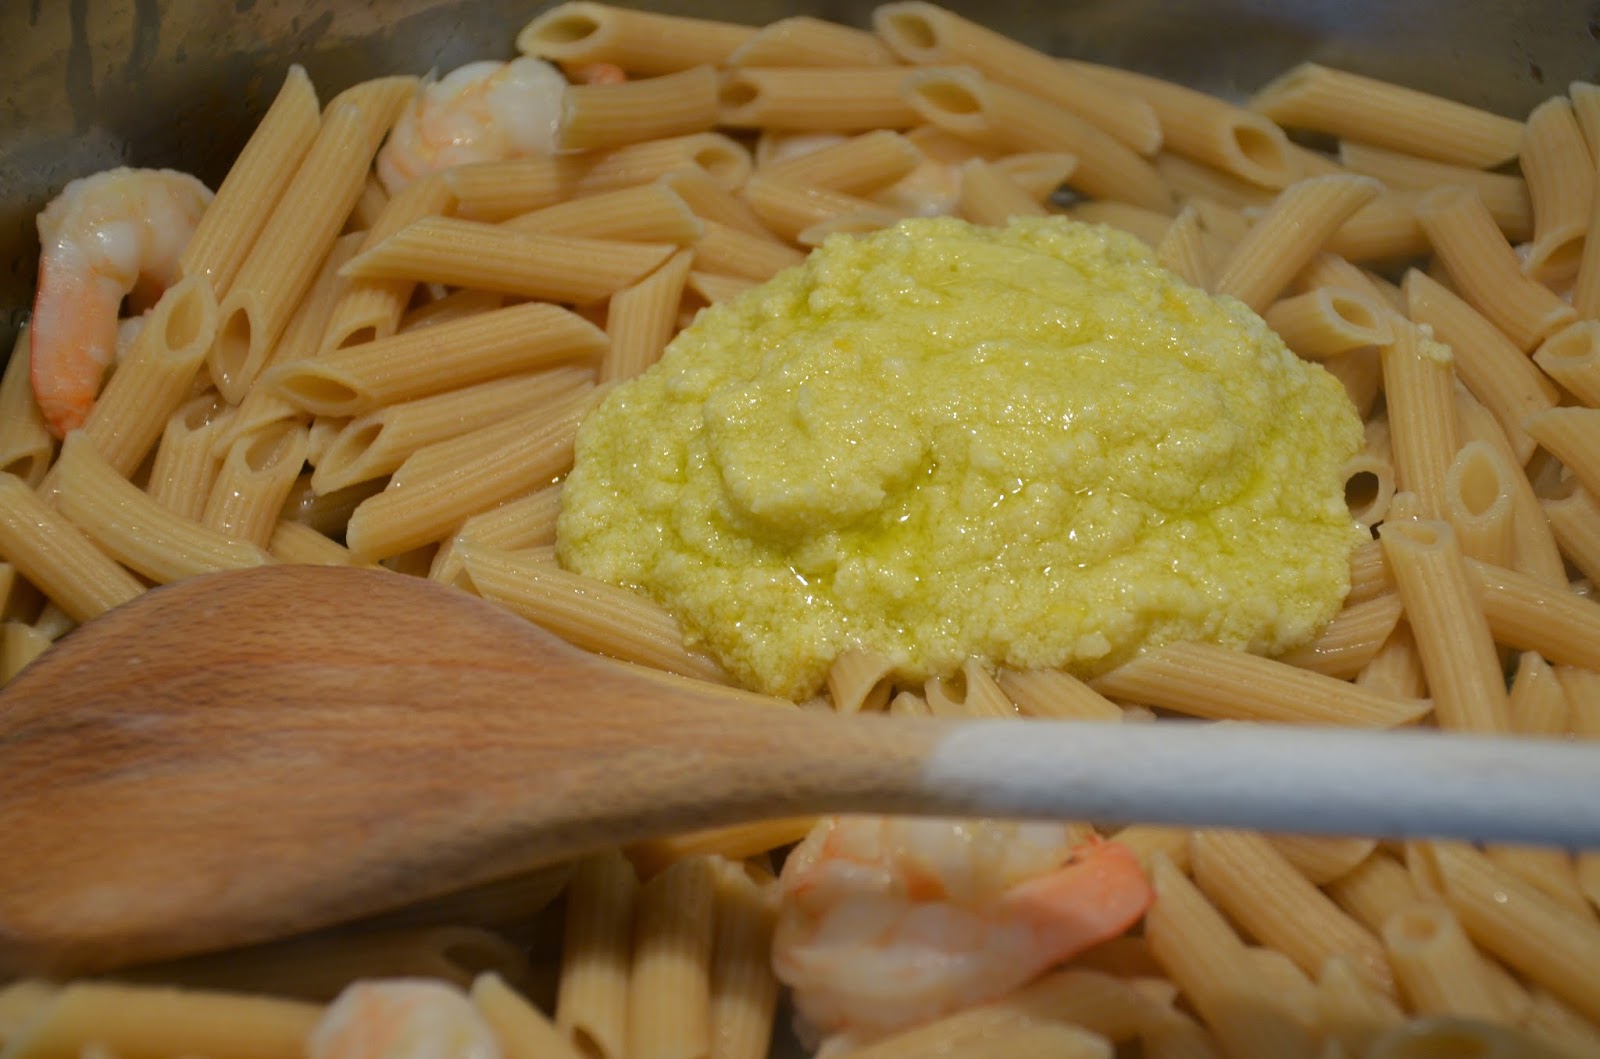
Cook the pea pods for about 5 minutes and then go ahead and add your cooked pasta, 1/4 cup of your reserved pasta water, and your Parmesan.

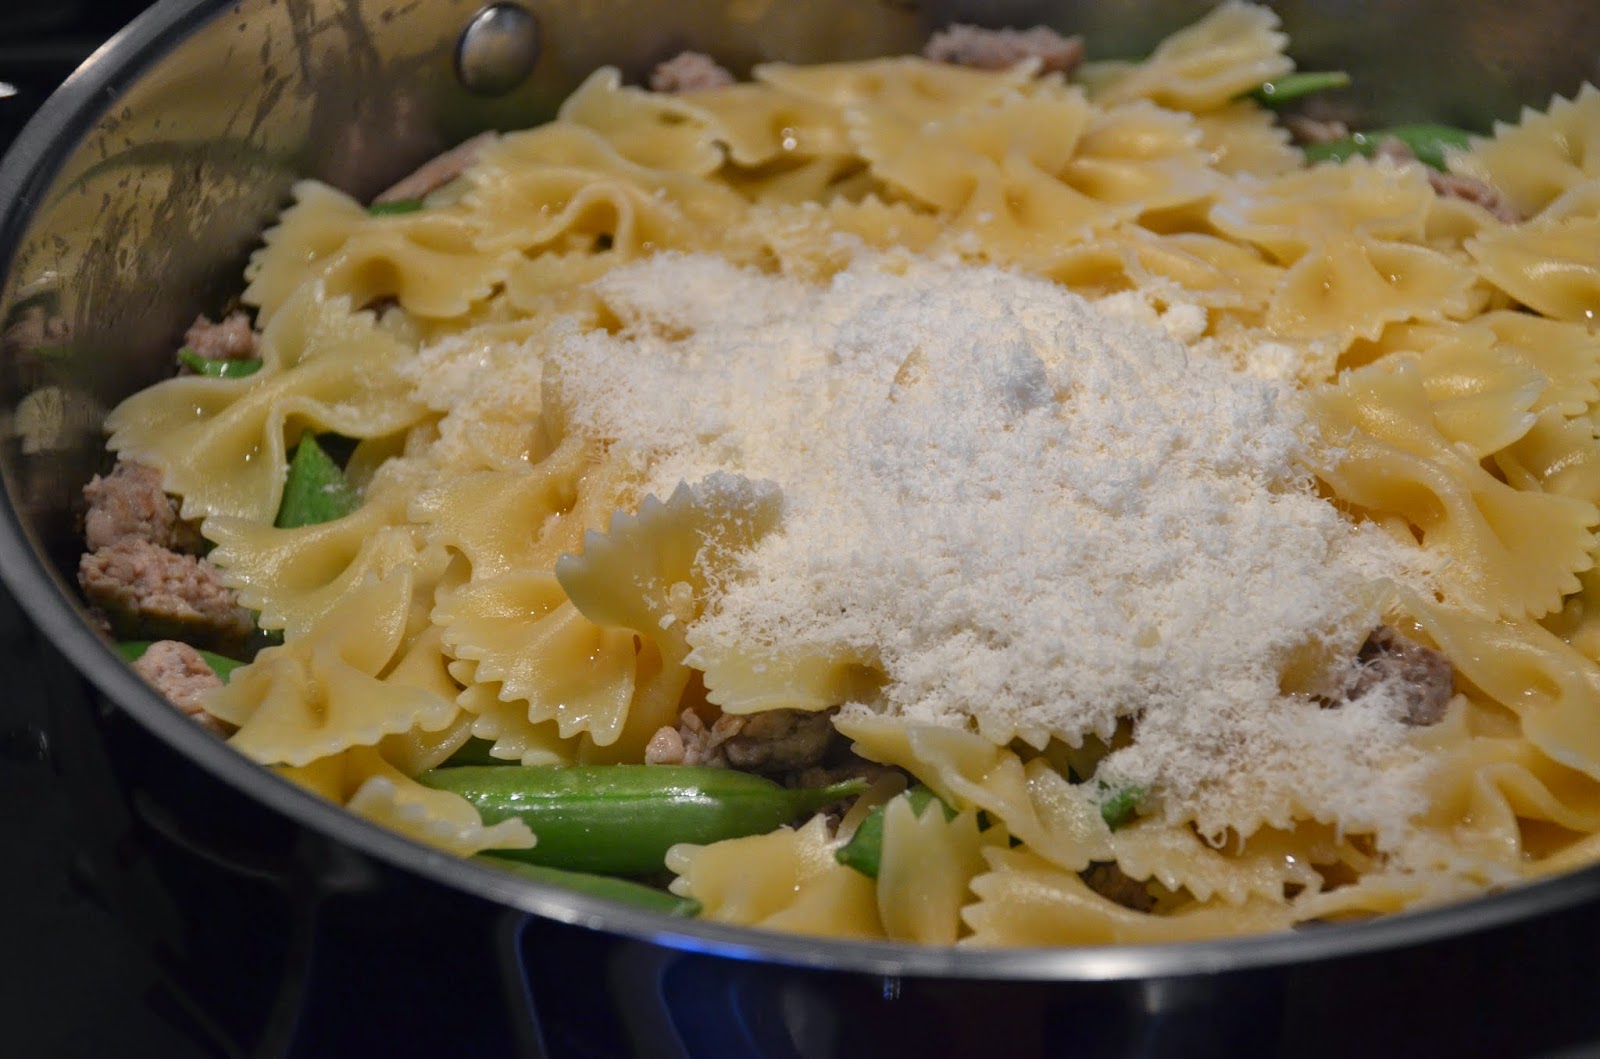
You can add the other 1/4 cup of pasta water if you think the pasta is too dry.  The water also helps to melt the parmesan and creates a nice sauce.


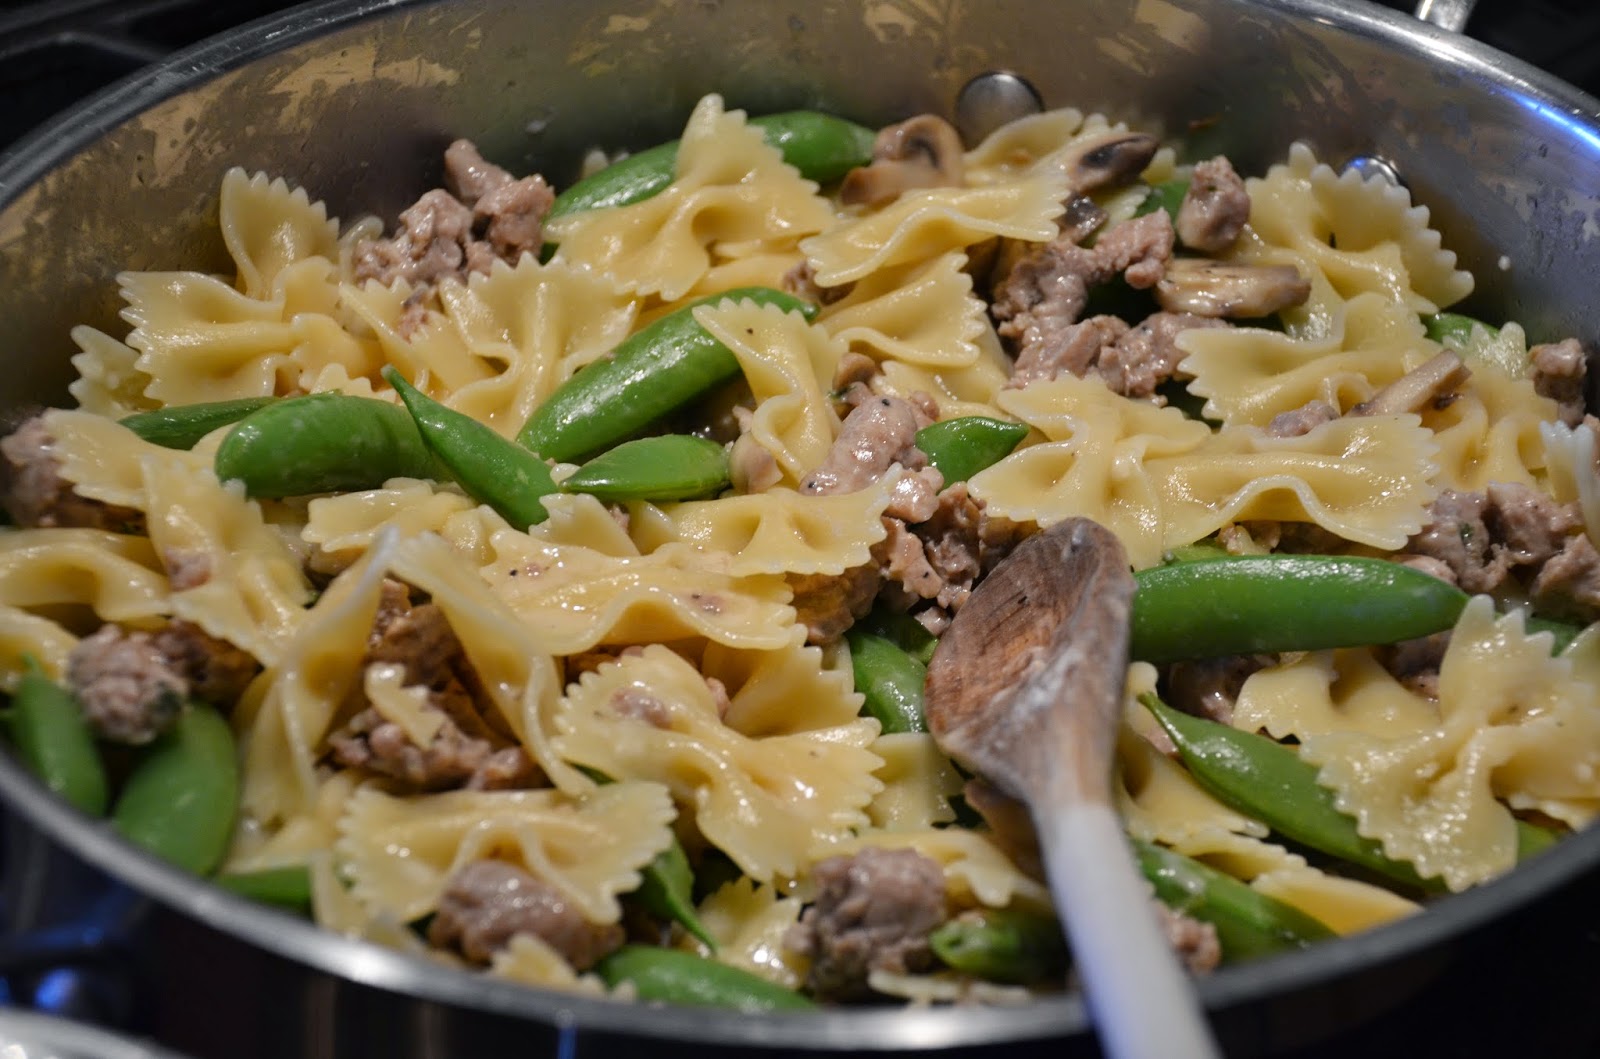
It’s done…and it took about 15 minutes all together.  This dish is the epitome of dinner at home for me.  It’s super kid friendly but equally enjoyed by food snobs alike.


I hope everyone is enjoying the cooler weather these days…this is definitely a winner anytime of the year.

Cheers!

The Good Cooker

Baked Pretzel Bread French Toast


So I figured I had a few options for writing this post…I could pretend that I haven’t been completely MIA for almost two months and just get on with this amazing french toast recipe…or I could ramble on about the million reasons why I haven’t posted in a while.  I’ve decided to shoot for somewhere in between with a short re-cap of what’s been going on…

1. I got a new job and it’s crazy and I absolutely freaking love it but unfortunately my longer commute has cut into my blogging time.

2. My husband also got a new job.

3.  We went on vacation.

…and now for the last reason, which is probably the biggest reason and the only reason I am ashamed of admitting…

4.  I lost the USB device that housed every single food photo I’ve ever taken and I was too freaking pissed off about it to blog.  I guess you could say I was boycotting, or pouting, or just being an idiot.  

I had been blogging on my husband’s work computer since the inception of The Good Cooker and for some crazy reason his company wanted it back when he decided to take another job (goodbye Sony Vaio, we had a good run)…so much for parting gifts.

So I went out and got a USB drive with 10 billion GB’s of storage and my husband was gracious enough to transfer the photos for me…after that, things get real fuzzy.  He says he put it on my jewelry box in a bowl (I know, I know)…when I went to retrieve it a few days later, no USB device could be found.

We tore the house apart several times looking for that thing…and considering I have a toddler who loves to throw anything precious into the garbage or down the toilet, that thing could literally be anywhere.  It’s gray and black with a red dot on it if you happen to come across it.  

The good news is that most of my photos from previous posts are safely housed on google, the bad thing is that I had photos for about seven new recipes that I hadn’t uploaded yet…cue me lying on the floor kicking and screaming.

So there you have it…last weekend I finally came to terms with the fact that the only person I was punishing for this was myself and boycotting my blog wasn’t going to bring my photos back.

So I made pretzel bread french toast and it turned out amazing, and I took photos…and now I’m going to blog about it.


Here’s what you need for this simple, yet decadent, french toast.

  • One loaf of pretzel bread (I got mine at Whole Foods)
  • 6 eggs
  • 2 cups milk (I used 2%)
  • 2 tbsp sugar
  • 2 tsp vanilla extract
  • 1 tsp cinnamon


Here’s my pretzel bread…


Pretzel bread is great for french toast because it’s hearty and has a great salty flavor.

Use your hands to tear the loaf into about 2 inch pieces and place pieces in a 9 X 13 buttered baking dish.


Now it’s time to mix the wet ingredients…start by cracking 6 eggs into a large bowl…I always have to break one.


Now add your milk and whisk this together.


Now add your vanilla…a good vanilla is a very wise investment.


Then add your cinnamon…


And whisk everything together really well..


Now dump the whole thing over your torn pieces of pretzel bread.


I see so many recipes that require you to refrigerate this overnight and I don’t get it.  This bread soaks up the liquid in no time at all.

If you pre-heat your oven now to 350°F it will be ready to go in once the oven heats up.

Throw it in and bake it for 45 minutes to 1 hour or until you see it really start to poof up and get golden on top.

Ta freaking da!!!


Now all you need is some real maple syrup to drizzle over the top and a side of organic turkey sausage.


Breakfast is ready!!!

God that felt good!  I hope you all try this super easy recipe and let me know how it turns out…and I hope the next time I hit a blogging roadblock, I can find the strength to shorten the duration of my pity party and get on with my (blog) life.

Cheers!

The good Cooker

Shrimp with Homemade Cocktail Sauce


Who doesn’t love shrimp cocktail?  Nobody…unless you’re allergic to shrimp I guess.  I actually know someone who’s allergic to shrimp but loves it so much that once in a while he takes a bunch of benedryl and eats shrimp…now that’s some shrimp dedication right there (I don’t recommend doing this by the way).

Here are your ingredients for the perfect shrimp cocktail…

2 lbs – peeled (except for tail), de-veined raw shrimp

2 cups – ketchup
3 tbsp – worcestershire sauce
2 tbsp – prepared horseradish
1/2 lemon, juiced

If you serve shrimp cocktail at a party everyone gets super excited…people say to themselves, “oh look!  shrimp cocktail…this is going to be a great party.”  You know it’s true…you never have leftover shrimp cocktail after a party, even if you make 500 pounds of it.

I also love to make shrimp cocktail as an appetizer when I’m really hungry, shrimp has virtually no fat and no carbs but it’s packed with protein…this is good news for me because I can eat a boatload (get it?) of those little suckers!

Now let’s talk about buying shrimp…you can get shrimp in all different forms and sizes.  Peeled, not peeled, peeled except for the little tail, de-veined, not de-veined, peeled and de-veined, cooked, raw, frozen, not frozen…the list goes on and on.  You can get really big shrimp or little bitty shrimp or something in between.  Just cue the Forrest Gump scene already…

I have three rules for buying shrimp that will be used for shrimp cocktail… they must be raw, they can’t be little bitty and they must have the tail still attached.  You can get some really good deals on frozen shrimp these days, especially if you’re willing to do the de-veining.  De-veining shrimp is SO easy, don’t be afraid to do it…


click here if you need instructions, and then just scroll down to the shrimp photos.

I would NEVER recommend buying already cooked shrimp…because it always sucks.

To cook your shrimp, get a large pot of water going on the stove.  If you bought frozen shrimp, thaw it under cold water before cooking.

Once the water is boiling add your raw, tail-on, de-veined shrimp to the pot.


The water will get a little foamy…that’s normal.  Stir the pot with a big spoon for one minute and then get those things out of the pot immediately!  

One rule about boiling shrimp…when you think they’re done, they’re already overcooked.  Unless you are boiling prawns (very large shrimp) one minute is all they need.

Pour the pot of shrimp into a strainer.


And start running cold water over them…


Now set the strainer on a plate to catch any access water and put the whole thing in the refrigerator to chill some more.

Time to make the sauce, here is what you need…


Just put all of these ingredients in a bowl…


And stir it all together…


And there you have it…


If you’re serving these for a crowd and you want to make sure the shrimp stays cold, my recommendation is to set the platter over another platter filled with ice…or just throw some ice over the shrimp.

Once you set down the platter, I advise you to get out of the way quickly to avoid being trampled by your guests.

Cheers!

The Good Cooker

Marinated Beef Kabobs


GAH!  I suck…I won’t even go look to see when my last blog post was, but I have a feeling it’s been a while.  I know that all you readers, all 12 of you, are very disappointed.  But take comfort in knowing that my yard looks AMAZING….I’ve officially banned myself from going to Home Depot for at least two weeks so I should have some more time for my first love…this blog (don’t tell the hubby and kids).

We made these marinated beef kabobs last weekend and they were a huge hit…my boys love beef and even though I don’t eat a lot of it, even I had a hankerin’ for some grilled steak (I blame my borderline anemia).  

Kabobs are great because not only do you get your meat and your veggies at the same time, you get them on a stick!  Food is always better on a stick, am I right you carnies!?

The best cut of beef to use for kabobs, in my humble opinion, is sirloin…


It’s a lean cut but still has great flavor and holds up perfectly on the grill.  I got 2.5 pounds of sirloin for 11 bucks at the butcher counter.  They were making kabobs too so he had some nice thick pieces for me that I could cut up at home, serendipity I guess.

I cut 2-3 inch cubes for the kabobs…they don’t have to be exactly the same size, just similar.

For the marinade…

1/4 cup – olive oil
3/4 cup – soy sauce
1/2 cup – lemon juice
1/4 cup – Worcestershire sauce
1/4 cup – Belgian Style Mustard (or any spicy mustard)
2 cloves garlic – peeled and smashed

Whisk everything together in a large bowl…


Now add your chunks of meat…


Make sure all of the pieces are covered for the most part, and then stick a lid on it and pop it in the fridge for 2-4 hours.  I stir it up about halfway through just to make sure every inch gets exposed to the marinade.

For the veggies…I say the skies the limit.  I like mushroom, bell peppers, and red onion but this is by no means the only combo to go with…


Let’s talk about these baby bell peppers, shall we?  First of all, holy pepper cuteness!  I have an obsession with the mini versions of foods (don’t get me started on mini cupcakes) and these baby bell peppers are PERFECT for kabobs.  I have seen them everywhere, they come in a bag and are actually cheaper by pound then whole peppers.  They also have less seeds so getting them ready for the kabobs is a cinch, this is what I do…

Cut off the top…


Scoop out the few seeds that are in there with your fingers…


and that’s it!


The onion and mushrooms are pretty self explanatory…other veggies that work well are cherry tomatoes or thick cut slices of zucchini and squash.

About 30 minutes before you’re ready to grill, take the meat bowl out of the fridge and let it come up to sort of room temperature, this will ensure the beef gets cooked evenly on the grill…


Don’t be alarmed that the meat has turned from red to brown…this is normal.

You also want to get your wood skewers soaking in water for about 30 minutes prior to assembly of the kabobs…this will prevent a camp fire from starting in your weber.


Now it’s time to skewer!


To give you all a nice visual on how I construct my kabobs, I decided to post a weird video of the process that my husband shot for me…

I know what you’re all thinking…does he work at Warner Brothers?  The answer is no…shockingly enough, he didn’t even go to school for film making…and he obviously doesn’t know how to focus a camera either, moving on…

I use a glass dish to hold the kabobs I’ve already assembled…


and then once I’ve used all the meat I pour the remaining marinade over the kabobs, now they are ready for the party!


The grill should be set to medium heat…lay them perpendicular to the grates.

If you’re not sure what perpendicular means, you may want to re-take sophomore geometry class.

You should cook these for a total of about 15 minutes…I rotate them 3 times (5 minutes a side), wow this highschool math stuff is really coming into play on this one.


Above is what you want to see when you rotate the kabobs…yes, angels did start singing.

I like to pair this dish with a nice cool caprese salad…


Fresh mozzarella, cherry tomatoes, basil from the garden, extra virgin olive oil, and salt & fresh ground black pepper.

Dinner is served!


I didn’t realize it at the time, but I think this meal may work nicely for someone following a carbohydrate restricted diet.  The creaminess of that fresh mozzarella works so well with the saltiness of the meat and the freshness of the veggies rounds everything out…

I’m practicing for when Food & Wine Magazine hires me to write a monthly column.

Cheers!

The Good Cooker

Baked Chicken with Spinach and Goat Cheese


On my list of top 10 easiest dinners to throw together, this one ranks pretty high.  You can’t beat the chicken/spinach/goat cheese combo.  I usually see recipes using these ingredients where you are pounding out the chicken or cutting pockets into it, and then stuffing them with filling, and then trying to close everything up with tooth picks…I’m tired already.


You can get the same flavor combos without all the fuss and have dinner on the table in a flash.  Here’s what you need for the ingredients…

Chicken Breasts (1 for each person)
Baby Spinach – a whole bunch of it
Goat cheese 
Marinara Sauce (Optional)
Salt/Pepper
Dried basil
Dried Oregano


Start by baking your chicken…baking is one of the easiest and least messy ways to prepare chicken, and if you cook it at the right temperature for the right amount of time it will always be juicy and delicious.

Line a baking sheet with foil and then drizzle your chicken breasts with olive oil, next add your seasonings…salt and pepper is a must but I also recommend adding some dried oregano and basil (or any Italian seasoning mix you might have).

Put the chicken in the oven at 350°F for about 30 minutes…and this is what you get.

About 5 minutes before the chicken is done, get some olive oil down in a large pan and put it over medium low heat…then add a crap load of spinach and season it with salt and pepper…


This will of course wilt down to nothing pretty quickly…put the lid on to help it along.  After a few minutes, remove the lid and place your chicken that you just took out of the oven on top of the spinach in the pan.

Then crumble goat cheese over the entire thing…I get pretty liberal with the goat cheese because I’m addicted to it.


Now just put your pan in the oven and turn on the broiler so that the cheese melts nicely over the chicken.  Make sure you watch it, this should only take a few minutes…and then it’s done!


My goat cheese is usually much meltier (not a word) but my husband bought the crumbles instead of the whole package of goat cheese.  I never buy the crumbles so I’m not really sure what he was thinking but whatever, I’m over it…or maybe I’m not because I just got a little irritated after writing that.  Anyway…either form of goat cheese will work.

The last thing I do is heat my favorite marinara on the stove and spoon it over each plate…


And that’s dinner…SO easy.


Beer Brats with Beer Stewed Onions…served with Beer of course


Who likes beer?  I know…stupid question.

Beer brats are one of the best foods to serve at a BBQ…they are super easy to throw together and you can make a lot at once…oh, and they taste like heaven.

I like to serve my brats with beer stewed onions which doesn’t even require additional work because you use the same beer to cook everything.

Here are the ingredients you will need…

Brats (pork, turkey, or even veggie will work)
Beer…and not the expensive stuff, save that for the drinking

Large onions (white or yellow)
garlic powder
salt 
pepper
whatever other spices you want to throw in…


Start by cutting your onions…

I was only making 5 brats so I used one onion…cut it up like you’re making onion rings…

And then throw it in a large dutch oven or stock pot with some butter or olive oil.


No, that is not margarine…that is what organic butter looks like, fluorescent yellow.

Saute the onions until they soften and your whole kitchen smells amazing…then add whatever other seasoning you feel like using.


I use this stuff called M Salt all the time…

It’s some sort of seasoned salt and I would love to tell you what’s in it but the company refuses to give up the information.  You can visit their website here  if you don’t believe me.  I don’t even care what’s in it…I just have to have it.


So now that your onions are softened and seasoned…it’s time to add the beer to the pot.

This is my beer of choice for brats…

No eye rolls please!  I think these ladies are just lovely and they’re flavor profile is perfect for this recipe.

So pour your favorite cheap beer in…


And cook the beer/onion mixture over medium heat until it starts to boil…then add your brats and turn the heat to medium low.


Boil the brats for about 10-15 minutes…and then throw them on the grill for another 10 minutes just to crisp up the outside.  Continue to cook the onions in the beer until you’re ready for them.

That’s all she wrote folks!  Here’s a brat covered in stone ground mustard….


And then topped with the stewed beer onions…

I tell you what…there is really nothing better than a salty brat topped with spicy brown mustard and sweet beer stewed onions, with a cold one to wash it all down…lord have mercy.

Cheers to SUMMER!

The Good Cooker


Steamed Artichokes


Were steaming artichokes an 80’s fad?  Every time I mention steaming artichokes, one of my friends recalls that their mother did this all the time when they were a kid…my mother did it too.  I will always remember sitting around our kitchen booth (yes we had a booth) and dipping the steamed artichoke leaves into lemon butter before using my teeth to scrape away the flesh.  I’m not even sure that I really liked the taste of artichoke at that age but the process was fun and I was dipping something in butter so it was a no brainer.

Steamed artichokes are sort of a best kept secret, I was holding one up at the store the other day and a lady said, “what in the hell are you going to do with that thing?”  My initial response was, “I love you and will you be my new best friend”…and then I went on to tell her how easy it is to prepare the whole artichoke.  She was also confused about where the heart was, “is it in there?”…I reassured her that it was indeed in there but that eating that part would be the grande finale…she bought 3 artichokes.

I love making artichokes because they are sort of a blank canvas, you can infuse them with all sorts of flavors.  You can tuck ingredients (like garlic cloves) down into the leaves or throw herbs and spices into your steaming water (that’s what I did this time).

You do need some sort of double boiler set up for this…here’s what I always use.


I used 2 artichokes for this recipe…look at these beauties!


You will need to get these babies ready for their steam bath, but that is really easy…just chop off that big stem on the bottom, also chop about an inch off the top…and then clip the outer leaves with some kitchen scissors.


Now place about 3 inches of water in the bottom of your double boiler and add any herbs or spices you fancy.

I threw in a few cloves of garlic, some bay leaves, onion powder, seasoned salt, pepper, lemon juice…


Now just put your artichokes into the top of the double boiler, put the lid on and place over medium low heat.


So I ran into a “slight” problem in that my artichokes were too big for my pot so I couldn’t get the lid on.  I cut one in half and it cooked just fine…

After about an hour you will have something that resembles this…


I usually do a taste test right about now to make sure the flesh on the leaves is nice and soft.  You should be able to pluck one right out with no problem.

The last thing I do is prepare the lemon butter dipping sauce, here’s what you need for that…


Crazy complicated I know…I used salted butter but if you use the unsalted variety I would recommend adding some salt.

Here is your steamed artichoke ready for you to devour…

All you need to do now is pluck a leaf, dip it in the lemon butter, put the leaf between your teeth, and then pull the leaf out while scraping the flesh away from the leaf…and then throw the leaf on the floor.  Or I guess you could put the discarded leaves in a bowl or something, my kids don’t seem to get that concept though.

Once you get toward the inside of the artichoke, you will start to see that there’s a meaty part near the steam (that’s the heart)…however it has some stringy stuff attached to it.  You just need to scrape the hairy stuff off and then you can eat the heart.  I did all of that and then went to get my camera to snap a pic of the heart but when I came back (5 seconds later) it was already gone.  My husband was all like, oh did you need that?  

If you’ve never steamed an artichoke but you like artichokes (or even if you just like melted butter and need a reason to eat it) I suggest you try this out…and let me know how it goes!

Cheers!

The Good Cooker


Homemade Mac and Cheese…(drops mic)


To say that homemade macaroni and cheese is good is like saying the earth is round…or the sky is blue…or that I’m getting wrinkles.


It’s just a fact.

My homemade version is rich, creamy, indulgent…healthy, say whaaaa?  Okay, it’s not steamed broccoli but I have mastered a way to create a lighter version that doesn’t taste light at all.  Some people use heavy cream in their mac and cheese recipe because “why not?”…well my “why not” is as follows… me + summer + beach + swimsuit. 

Let’s go over the ingredients…

1 pound –  tubular pasta…because it’s tubular!
1 stick – butter
1/4 cup – flour
4 cups – 2% milk
12 oz – shredded cheddar cheese
12 oz – Colby jack cheese
1/2 tsp – salt
1/2 tsp – black pepper
1/2 tsp – dried mustard
1/2 tsp – garlic powder
1/4 tsp – ground nutmeg
1/2 tsp – salt (or to taste)
panko bread crumbs

Before we get started we need to talk about some bakeware I just got from my mom, she got me this for Mother’s Day…


The answer is yes, my mom is the best mother on the planet.  I literally had a photo shoot with this thing while my husband stood back and rolled his eyes (he was more interested in getting on with the mac and cheese).

So in your dutch oven (mine is pictured above in case you didn’t get that) start melting your stick of butter.  You can obviously use any heavy bottom pot for this.

You also should get a large pot of salted water going on the stove for the pasta…okay, back to the butter…

Now add your 1/4 cup of flour and start whisking that together over medium low heat, this is called the roux (it makes the sauce thick)…


Keep whisking this together over the heat until everything is mixed together…


And then cook it a little more just to ensure the raw flour taste is gone, it should be golden in color…because it’s gold.


Now it’s time to add the milk, 4 cups…I used 2% but you could also use 1% (or even skim), people can tell me I’m crazy all day long but it’s not the fat in the milk that makes it creamy…it’s that gold stuff we just made.

Now add your ground mustard, pepper, garlic powder, and nutmeg…


If you are completely against nutmeg then leave it out…but if you like nutmeg you will LOVE it in this recipe.

This is a good time to throw your pasta in…you can use any tubular shaped pasta…
Now you have a big soupy mess but just keep whisking this over medium low heat…

oh look…things are happening…

After about 7-8 minutes you will have a nice Béchamel (white sauce).  Now you need to turn off the heat and add your cheese…Grate a block each of cheddar and Colby jack (about 24 oz) and throw that in.

Use your whisk to stir the cheese until it’s completed melted into the sauce…


Now you have to taste it (oh darn!) and add salt to your liking…I used about 1/2 tsp.

Drain and rinse your pasta and put it in with the sauce…I used Pipe Rigate because I think it’s so fun.


And mix that all together…drooling yet?


Now you need to get everything into a buttered 9 X 13 baking dish, I used a rubber spatula to get every last bit of cheese sauce out of the pot…unfortunately I put the spatula in my mouth before the cheese had a chance to make it into the dish…this phenomenon is called cheese sauce hypnosis.

Ok, once you have it in the dish, sprinkle the whole thing with panko (Japanese bread crumbs). Just a little fact, regular big brand bread crumbs (BBBC’s) are usually FULL of chemicals but typically you can find natural panko at any grocery store…or go to Whole Foods…or make your own.  I’s sorry but I just can’t justify covering a made from scratch dish with chemicals and preservatives, ya hear that Progresso!? (please don’t sue me).

Here is your natural bread crumb topped dish of mac and cheese…

And here it is topped with little pieces of heaven (butter)…you can drizzle with olive oil for a healthier option, both methods achieve the same desired effect (golden crunchy top effect that is).


Put it in the oven at 350° F for about 45 minutes to an hour.  I leave it uncovered the whole time but I guess you could stick some foil over it.  During the last few minutes I might turn on the broiler just to get an even crunchier top but make sure you watch it closely.

Here’s your golden crusted macaroni and cheese…


There’s really nothing more to say…or I can’t find the words.  I did take a million photos…

 Even super freakishly close up photos…


…but just look at it!


Okay, that’s the end of my macaroni and cheese story.  Not the lightest dish I’ve ever made but still pretty healthy if you can refrain from eating the whole pan…


Cheers!

The Good Cooker

Grilled Marinated Flank Steak


As I have said before, there are only two ways to cook a flank steak…one way is shown here…and the other way is to cook it fast on a REALLY hot grill.  Today we’re grilling because it has finally stopped snowing in Northern Indiana (yes I realize it’s May but spring is getting a really late start around here)…

Flank steak is one of my favorite cuts of meat for two reasons, it’s relatively lean and it’s easy to cook if you follow the rules.  It’s also very versatile which I like…okay that’s three reasons.  I used two 1 pound flank steaks but you can adjust for your crowd.  I serve it with a creamy horseradish sauce, a perfect compliment for the sweet and salty marinade.

Speaking of the marinade, here’s what you need for that.

1/3 cup olive oil
1/4 cup red wine vinegar (or red wine)
1/3 cup soy sauce
1/4 cup honey
4 whole cloves garlic
1/2 tsp. black pepper

Take your flank steak and place it in a large sealable plastic bag…

Mix all of your marinade ingredients in a bowl…


and then pour the marinade into the bag with the meat…


Now seal the bag and make sure the marinade is distributed evenly…you need to refrigerate it for at least 2 hours (or up to 24 hours).  I always advise placing the bag in a secondary container just in case your bag leaks.

I usually flip it over once or twice during the marinating process (again to ensure even distribution of flavors).

Once it’s ready for the party, I take it out of the fridge and let it sit for about 10 minutes while the grill gets nice and hot, and I mean HOT…you want to sear in all of those juices when it hits the grates.

Use tongs to remove the meat from the bag and place it on the grill…we will talk more about what’s in that foil package in a minute.


Once the meat is down, don’t you dare touch it or mess with it or even look at it funny!


Now shut the lid right away and let it go for about 6 minutes…then it’s time to flip.


This is what you want to see when you flip it…put the lid back down and let it go for another 5-6 minutes and then pull them off.  This will result in a medium/rare steak, you can up the time to 7-8 minutes per side for medium/well.

Once you pull it off, let it rest for about 10-15 minutes, you can cover the meat with foil if you want…


Now it’s ready to slice, you MUST cut against the grain (in other words, perpendicular to the lines in the meat)…

Oh dear lord, that looks amazing…because it is amazing.

Here is the sauce I make to go with the steak…


It’s just 1 1/2 cups sour cream (I used light) and 2 tbsp prepared horseradish, half of a squeezed lemon, and 1/2 tsp salt…SO good with steak.

These were in that bag of foil on the grill…


Just cut up some red potatoes and place on the end of a large sheet of foil, add some olive oil, salt & pepper and then fold the foil over the potatoes and seal with edges together.  Grill on the top grate for about 30 minutes.

I also did some asparagus in the oven…


Now that’s a Sunday dinner fit for a king!  

Even if it’s been a relatively cool spring, the flowers and trees are beginning to bloom and I can actually see my grass…and it’s green!  (I thought it was but it had been so long that I started to doubt myself).

So get grillin’ everybody…maybe mother nature will smell the fire and get the hint!

Cheers!

The Good Cooker


Shrimp with Pasta and other amazing stuff…


Last Friday I met my husband at Barnes and Noble for a late afternoon coffee and cookie…and because the newest additions of our favorite magazines were out and we HAD to have them, he’s obsessed with some fishing mag called “Drake” and I am in love with Food & Wine (both the magazine and the real thing).  This month’s issue of Food & Wine definitely did not disappoint.  There was an article featuring Giada’s new restaurant opening in Vegas and this recipe is one she will serve at said restaurant (the restaurant is called “Giada”…duh).

I am a sucker for any shrimp and pasta dish so I was drawn to this right away…plus it called for fried capers, end of story.

I only tweeked the recipe slightly to lower the fat content, but I stayed true to the ingredients…here they are.

1 pound shrimp, peeled and de-veined 
1 pound pasta (she used spaghetti, I used whole wheat penne)
1/2 cup reserved pasta water
1/4 cup capers
1/2 cup chopped basil (plus more for garnish)
2 large lemons
2/3 cup freshly grated parmesan 
1/2 cup extra virgin olive oil

Start by getting a large pot of salted water going on the stove for your pasta…I used whole wheat penne but anything will do.

What got me hooked right off the bat with this recipe were the capers…you fry them.  I had never done this but now I had too.

I LOVE capers!


You just take those glorious capers and fry them in a good amount of olive oil, like this…


Use a large heavy bottom skillet for this because your whole dish is going to end up in the same pan you fry the capers in.

Fry them over medium heat for about 3-4 minutes, string occasionally…and then fish them out with a slotted spoon and let them rest on a plate lined with a paper towel.  Make sure you save the oil in the pan because you will saute the shrimp in it…caper infused oil is a wonderful thing I found out.


Some of these capers got pretty toasted and I was worried about the flavor but then I tasted one…holy moly, party in my mouth.

Once your water is boiling, get your pasta in and then start making the sauce.

For the sauce…just combine the parmesan cheese, olive oil, lemon zest from two lemons, and lemon juice from the same 2 lemons…


Now mix it well with a fork…


Your pasta will be done soon so you need to get that shrimp cooked…just re-heat your caper oil in the large skillet to medium heat and add your shrimp…


Cook them for just about a minute or two on each side…


Now you need to get your pasta back in there…remove about a 1/2 cup of the pasta water and drain the rest.

Throw the pasta over the shrimp, and then throw in your sauce and turn the heat to medium low…


Stir this around and add a little bit of the pasta water…you probably won’t need 1/2 cup but just use enough to help incorporate everything together.

Now you need some basil…


I just roll them up and cut them into ribbons, AKA the chiffonade…


Throw that in and then add those amazing fried capers we made earlier…stir until everything is incorporated.

Time to eat!!!


Seriously…my mouth is watering.  I had this for dinner last night and lunch today and I still want more.  I garnished mine with a little more fresh basil and it was just perfect.  You can also save the fried capers for the very end but I don’t mind that my parmesan cheese melts all over them…dear GOD it’s so good.


That Giada knows her stuff, someday I will go to Vegas and order this dish at her restaurant…and she will just happen to be there, we will get to talking about how I recreated the dish after seeing her article in Food & Wine and the next thing you know I’ll be showing her my blog and she will think it’s amazing… “witty and fresh” is how she’ll describe it, we will ink a book deal on the spot…hey, it could happen.


Cheers!

The Good Cooker