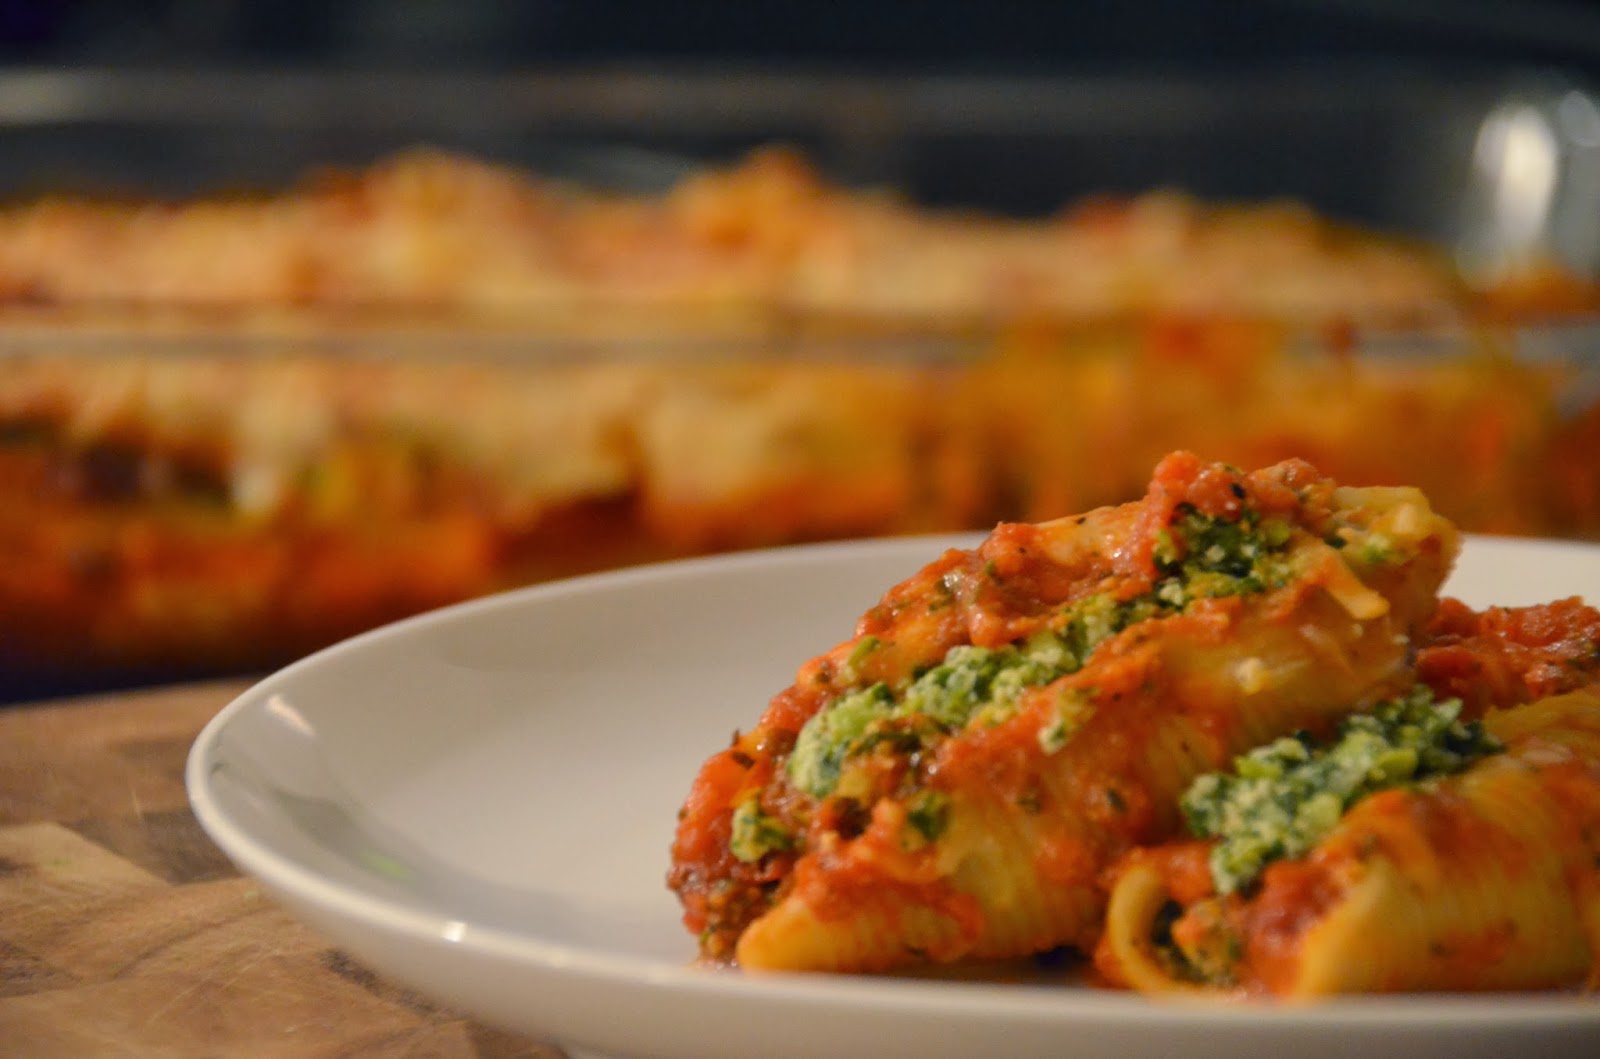
Spinach and Broccoli Stuffed Shells


I’m back on the blog train, and it feels so good!  Going on vacation is SO nice but when you come back to your insane reality it takes a while to come to terms with it and remember how to manage it all.  We went to Riviera Maya for my sister’s wedding and it was AH-mazing, my husband and I got a couple’s massage in a cabana overlooking the ocean…I mean, WHO DOES THAT?  I don’t think I will ever get an indoor massage ever again because I’ll just be disappointed, which means my next massage will be in approximately 10 years.  

Ok, we’re going to make Spinach and Broccoli Stuffed Shells for all you lenters out there!  I realized (thanks to Judy Hill) that some of you may be forgoing meat for lent so this is a great time to feature some veggie recipes!

I used to make this dish with just spinach and you definitely still can but I find that the broccoli compliments the spinach well and it’s one of those veggie that kids seems to tolerate.  When it’s hidden in the shells they can’t tell the difference anyway.

Here’s what we will need

12 oz (one box) – large pasta shells 
1 jar – marinara sauce
10 oz. (one box) – frozen chopped spinach, thawed and drained well
2 cups – finely chopped broccoli florets
1 clove garlic – finely minced
3 cups – part skim ricotta cheese
1/2 cup – grated Parmesan cheese
7 oz. (one bag) – reduced fat mozzarella cheese
1 egg
1/2 to 1 tsp – salt
1/4 tsp – freshly ground black pepper
1/8 tsp – dried oregano 

Start boiling a big pot of salted water on the stove and then throw the shells in.  
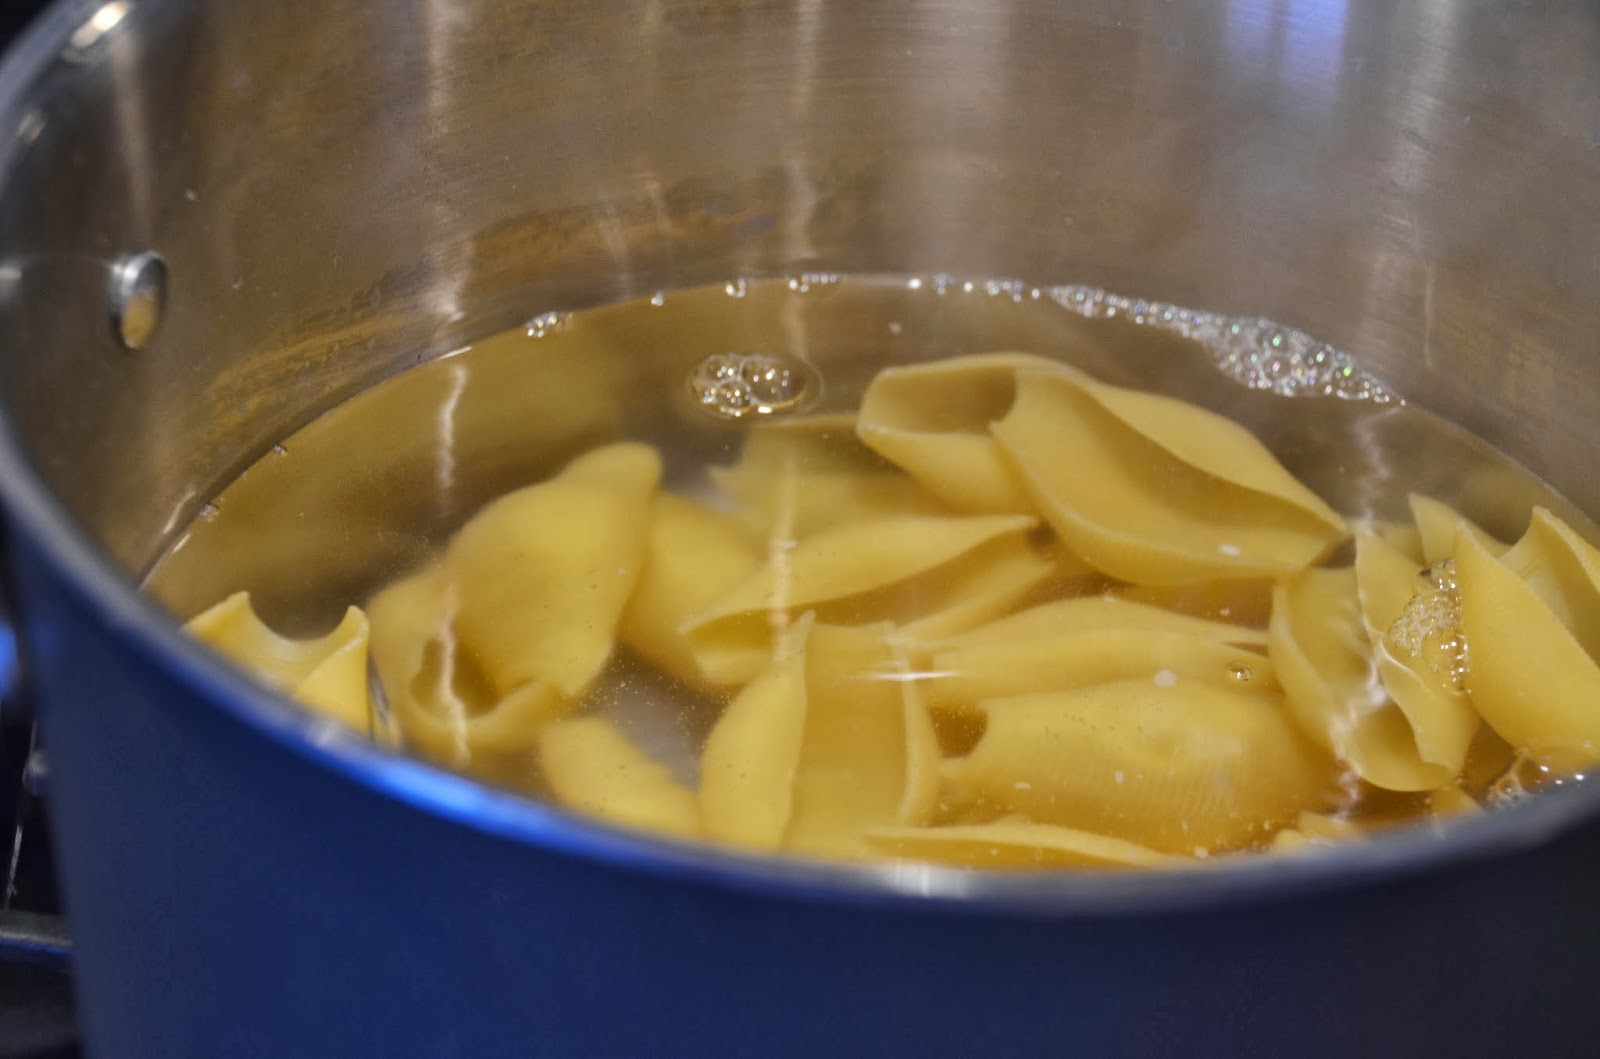


I tried to find whole wheat shells but I couldn’t so I just used the semolina version.  You probably won’t need all of them but I just make the whole box because my kids will eat a bunch of them plain while I’m assembling the shells.  Cook these for about 7 minutes and then drain them and rinse them with cold water so they don’t stick together.  They should be firm, they will cook more in the oven and they will be easier to stuff that way.

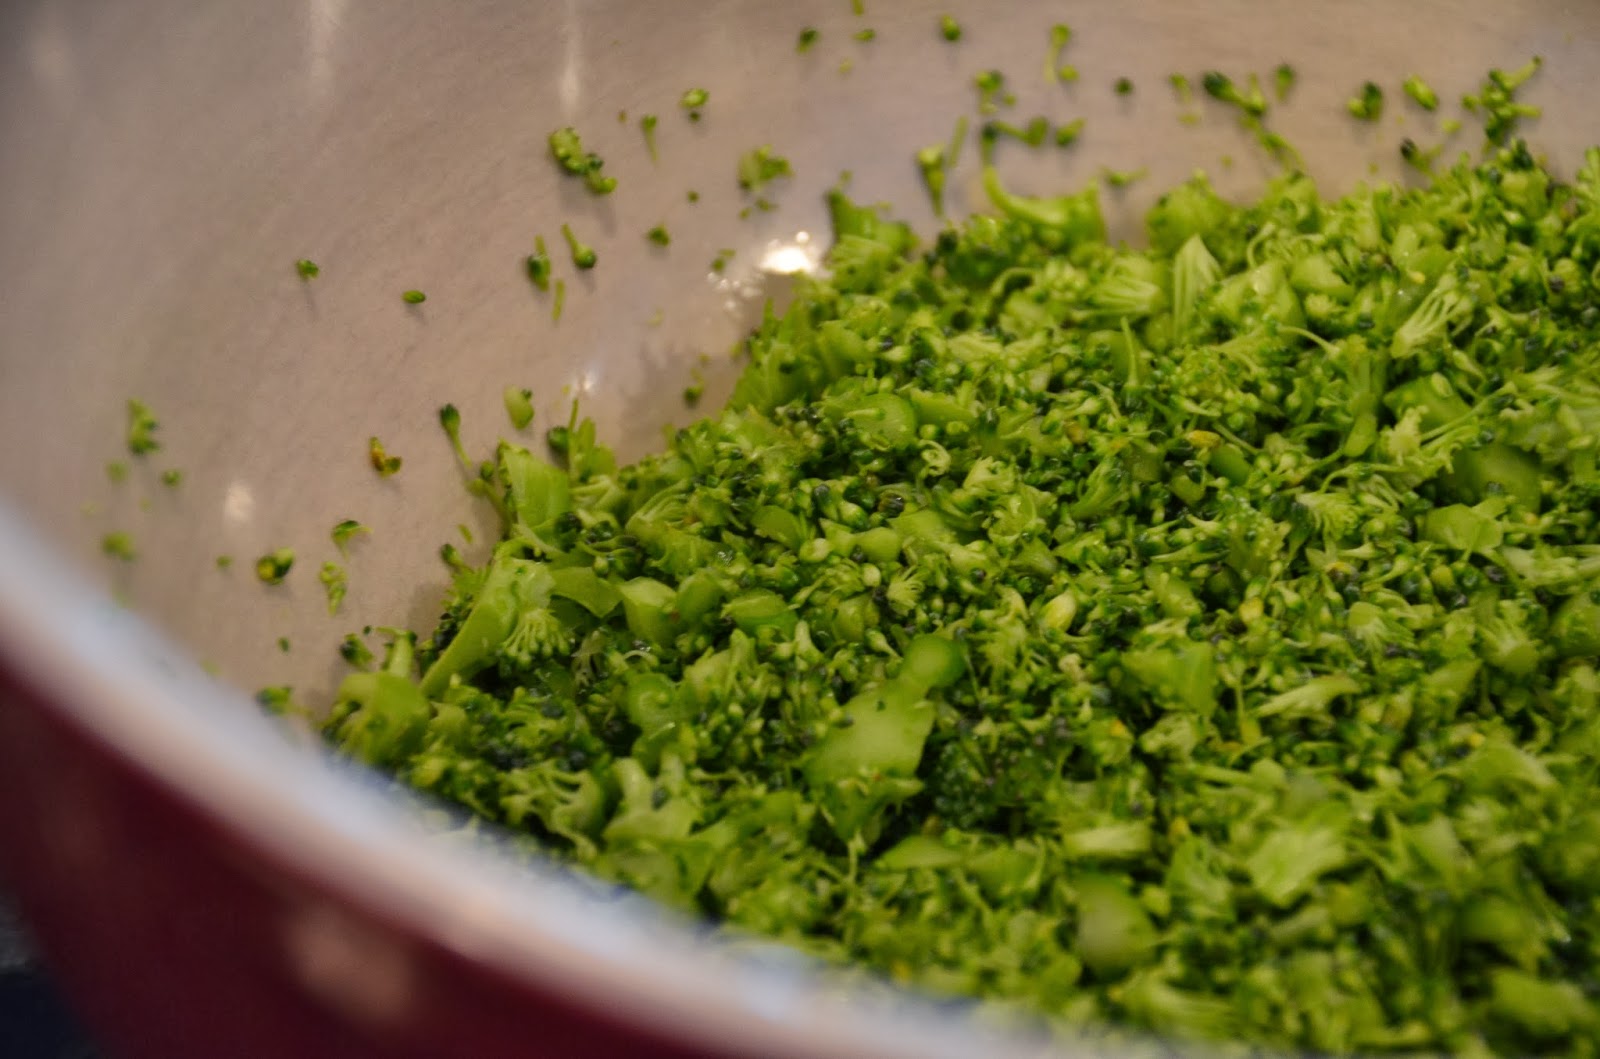
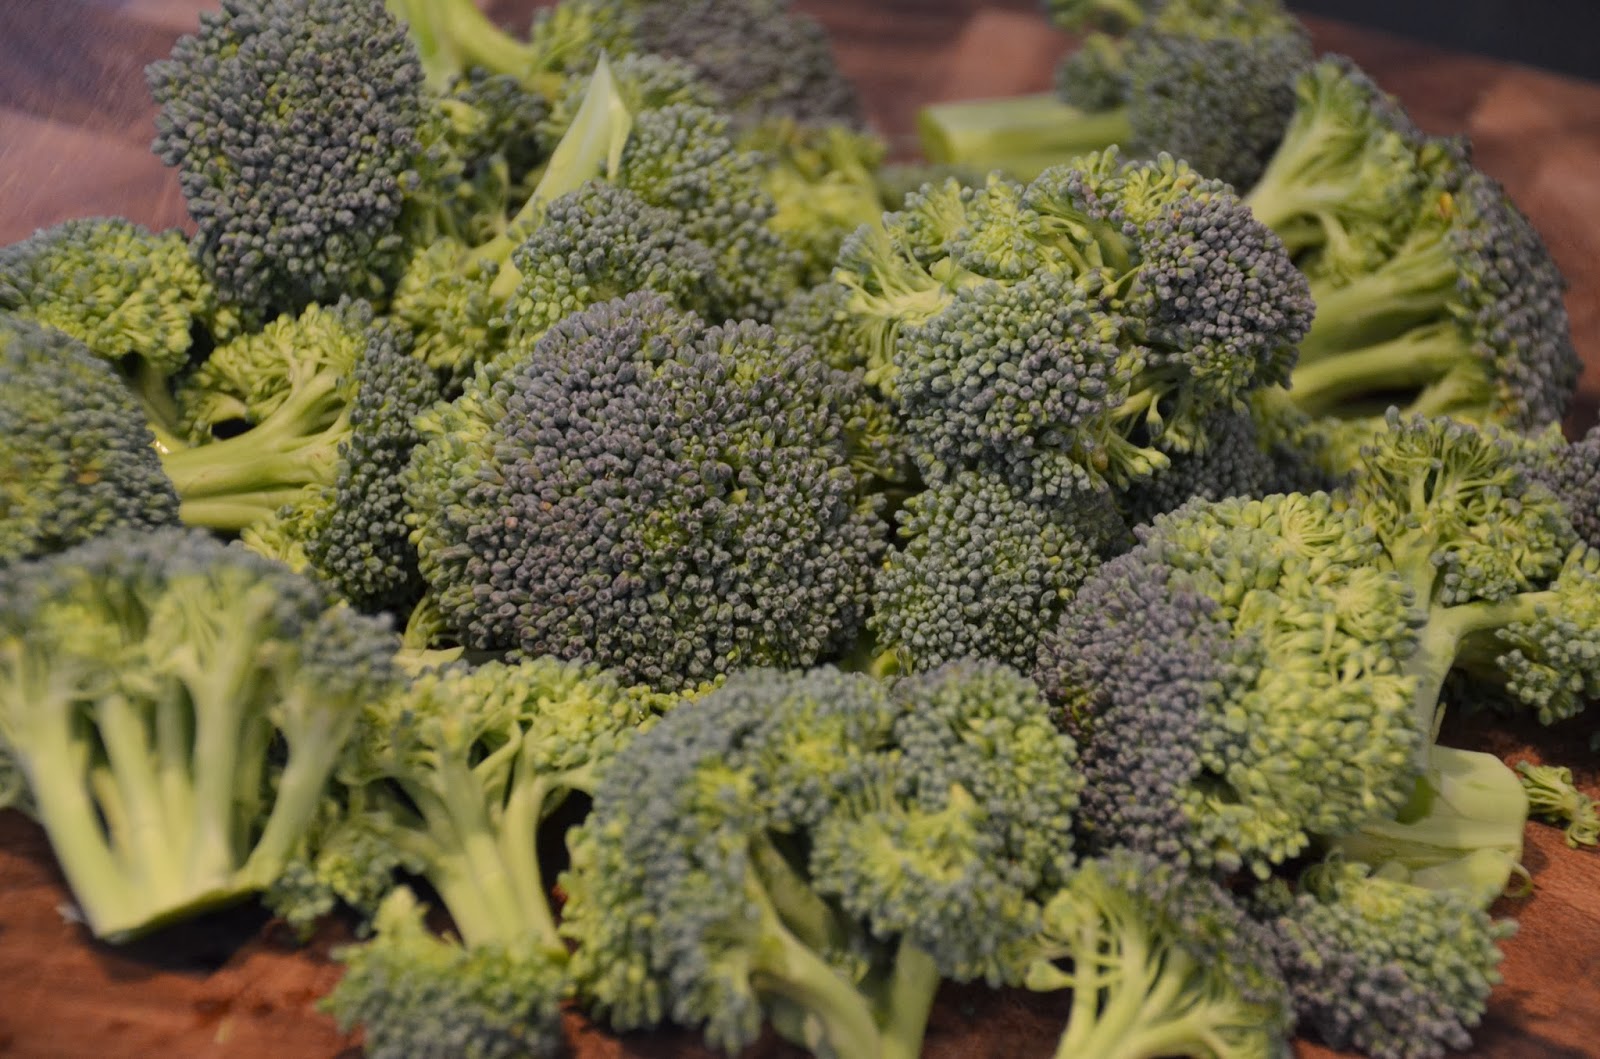
For the filling, chop up some broccoli really well (you will need about two cups but this isn’t an exact science).  


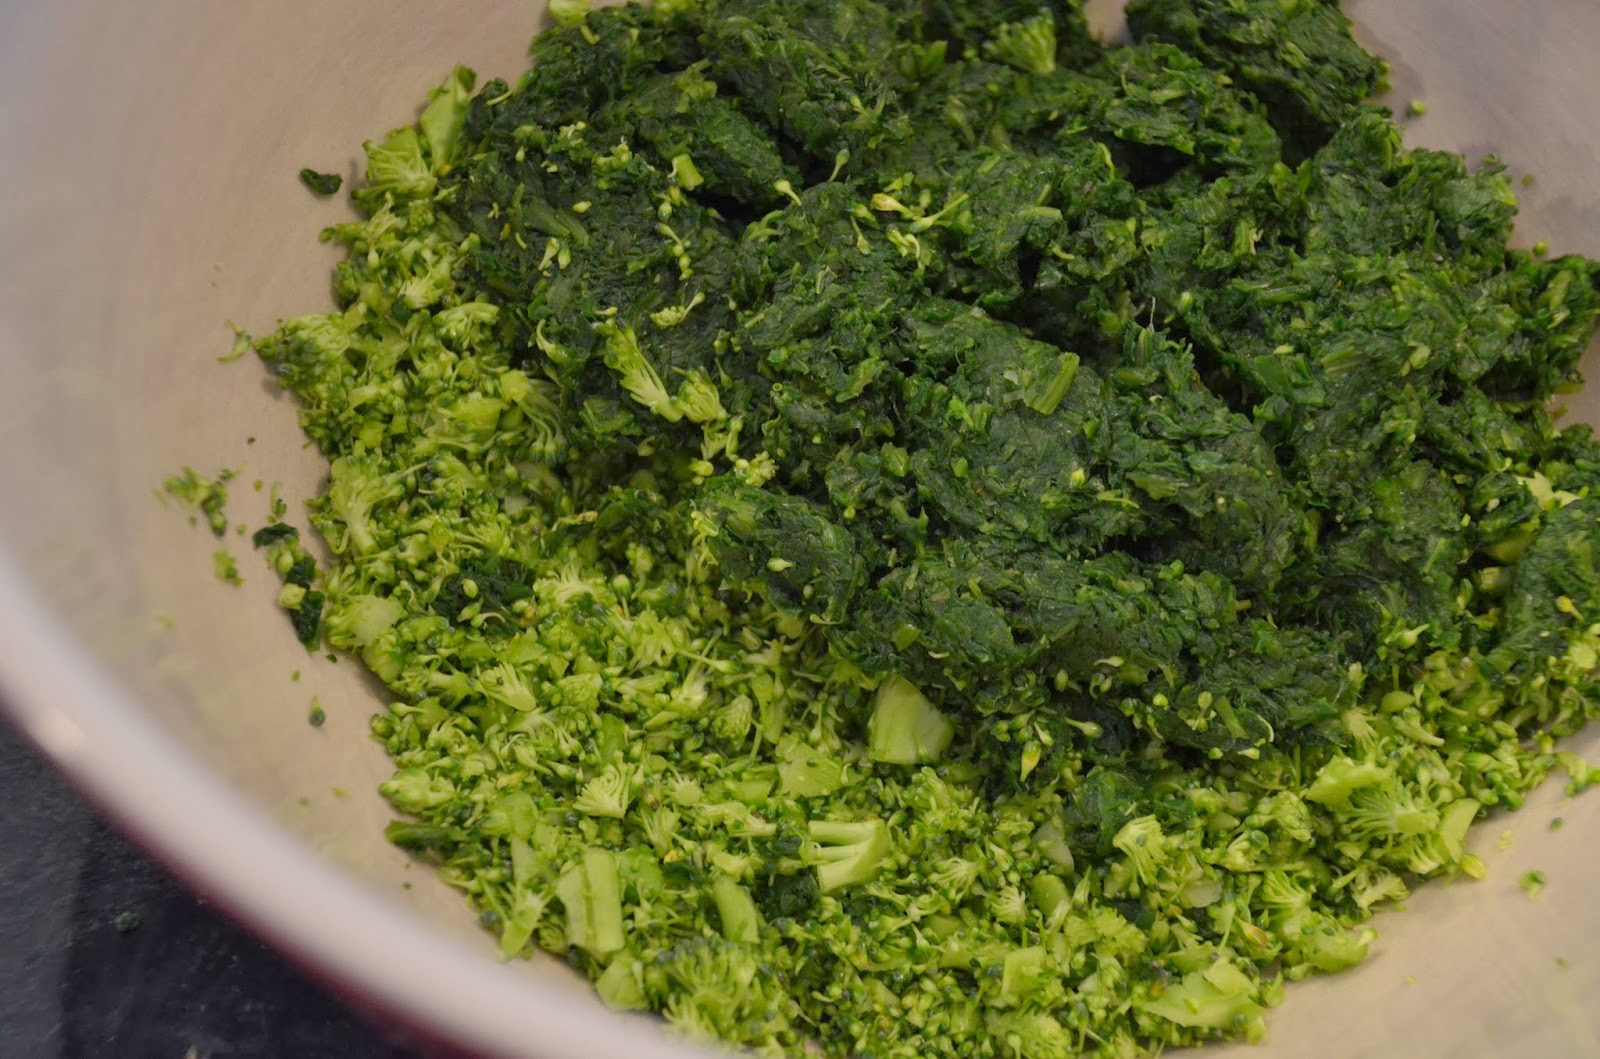
Throw that into a bowl with the spinach that’s been thawed completely and drained VERY well, this part is annoying but you have to do it.  Just use a towel or a cheesecloth if you have one, you can even use paper towels.  If you don’t want to use broccoli in the recipe, just substitute in another box of spinach.


Now add the minced garlic, parmesan, ricotta, and the egg…
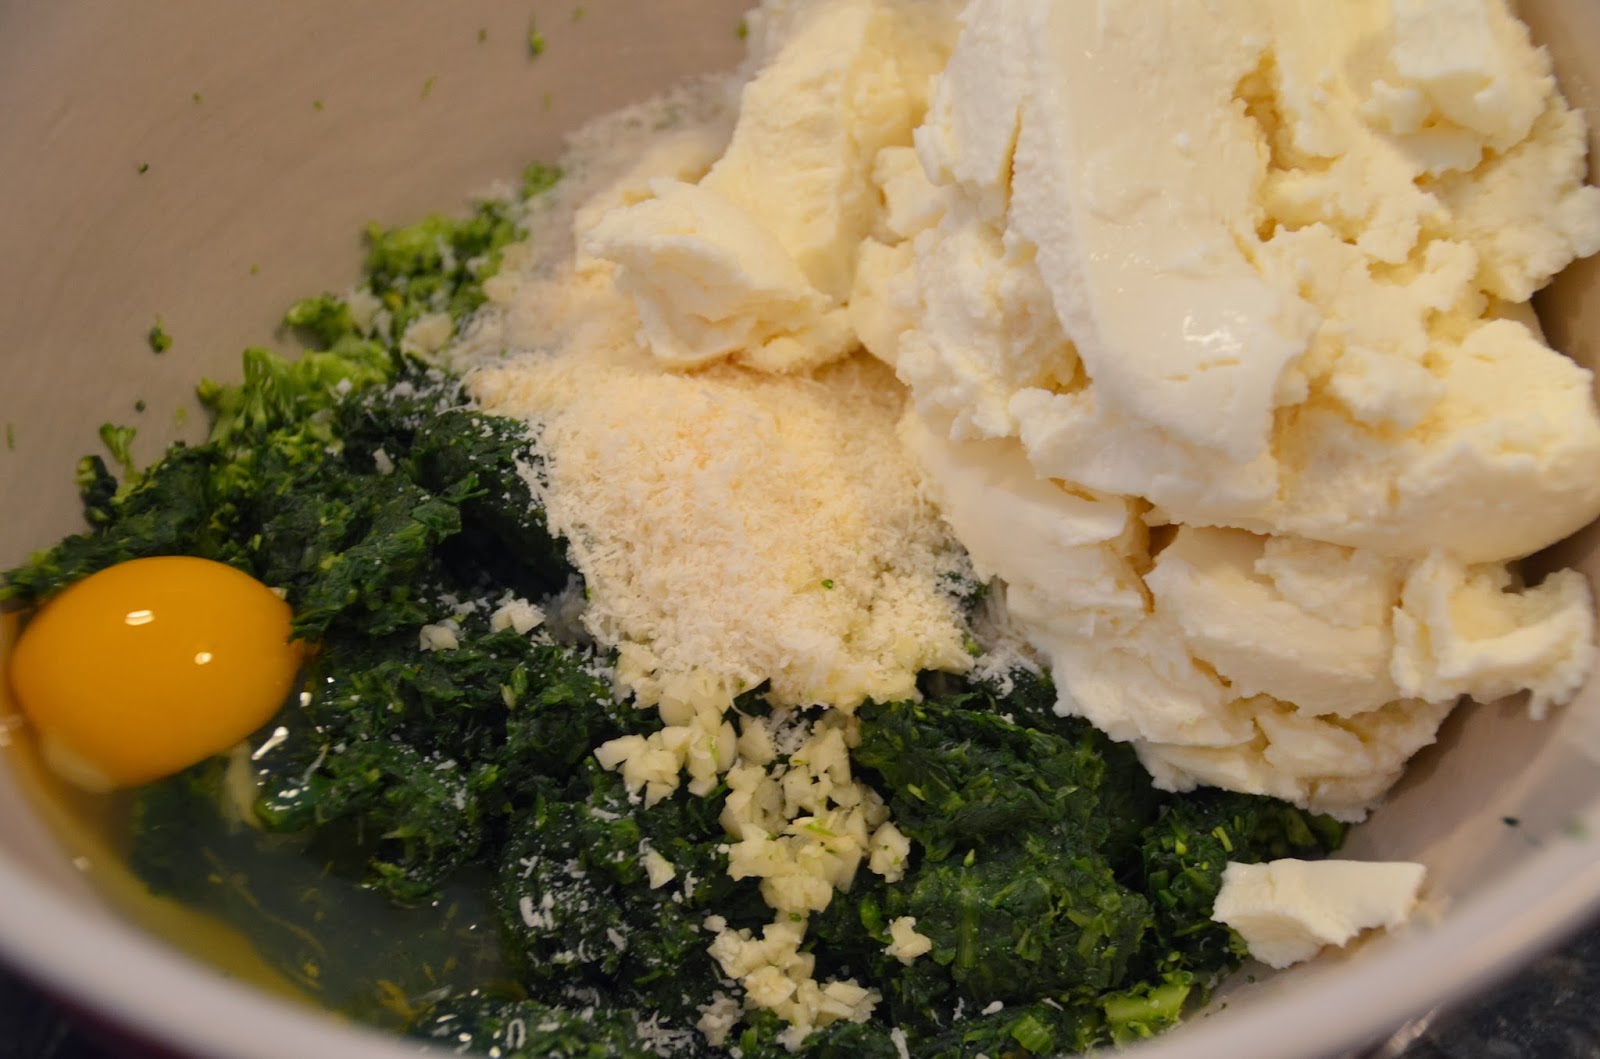


I usually taste it now to gauge how much salt I need to add, if you are nervous about tasting something with raw egg in it just add 3/4 tsp. salt and call it a day.  I’ve been eating raw eggs for years and I’m still alive but that could just be luck I guess.

After you add the salt and pepper, add the oregano and then stir everything together with a wooden spoon.
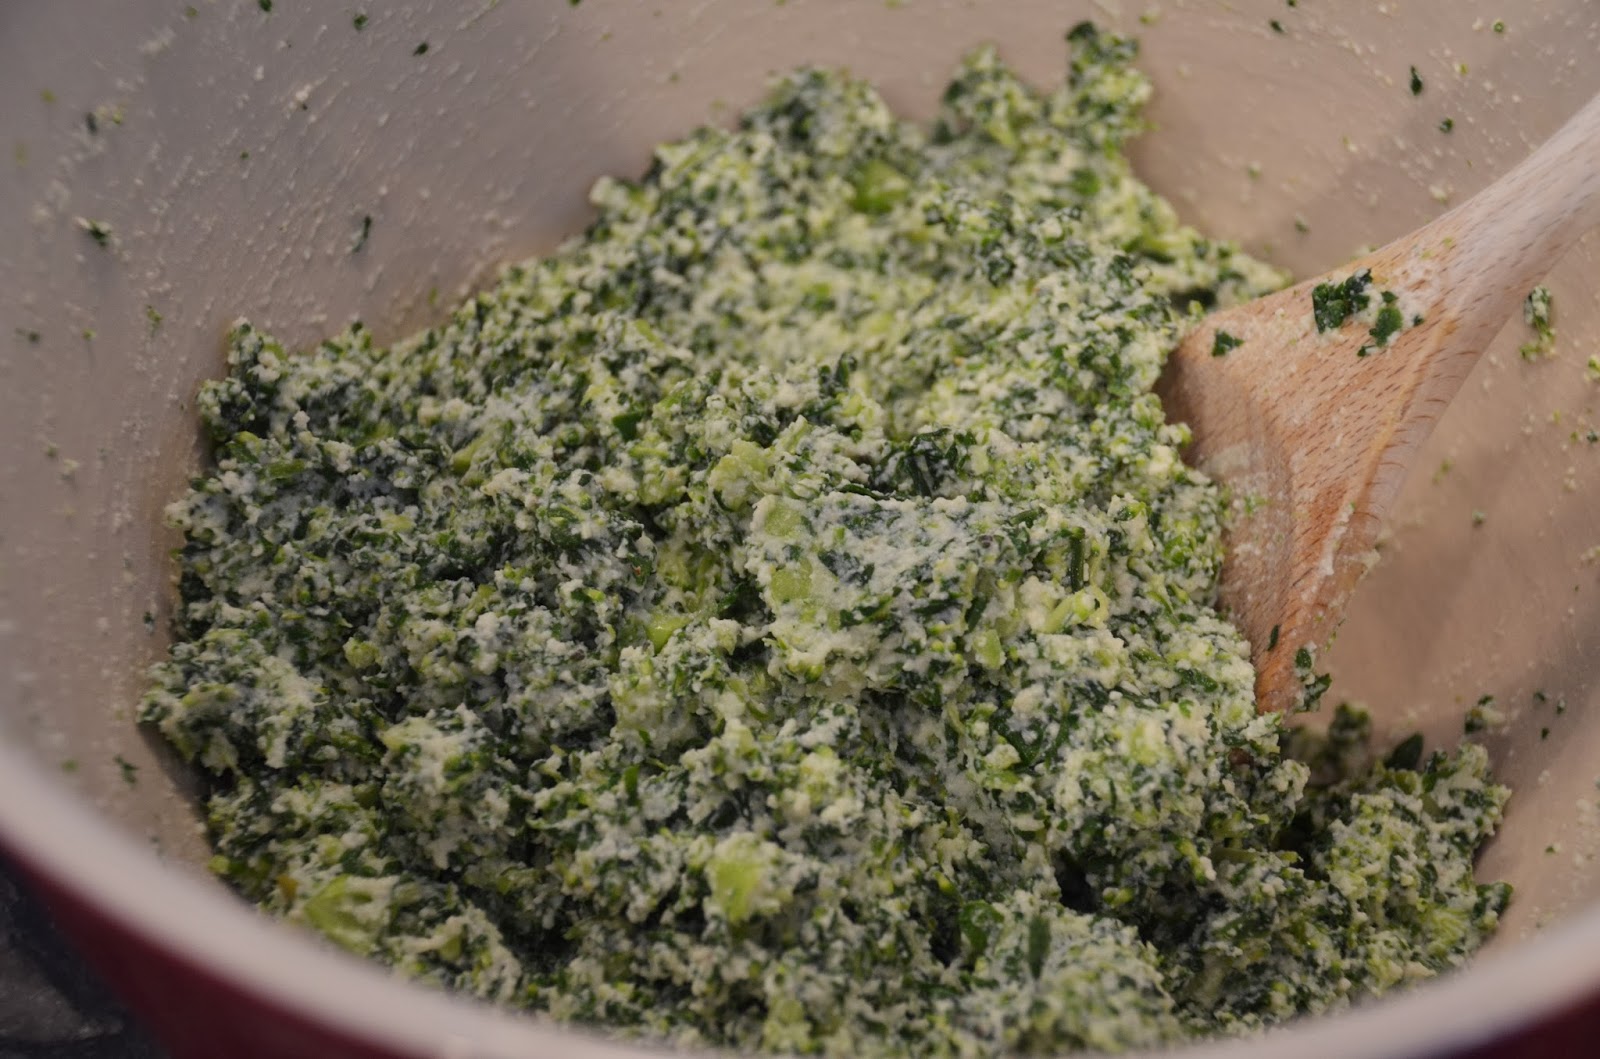


Now it’s time to fill our shells with this yummy green stuff!
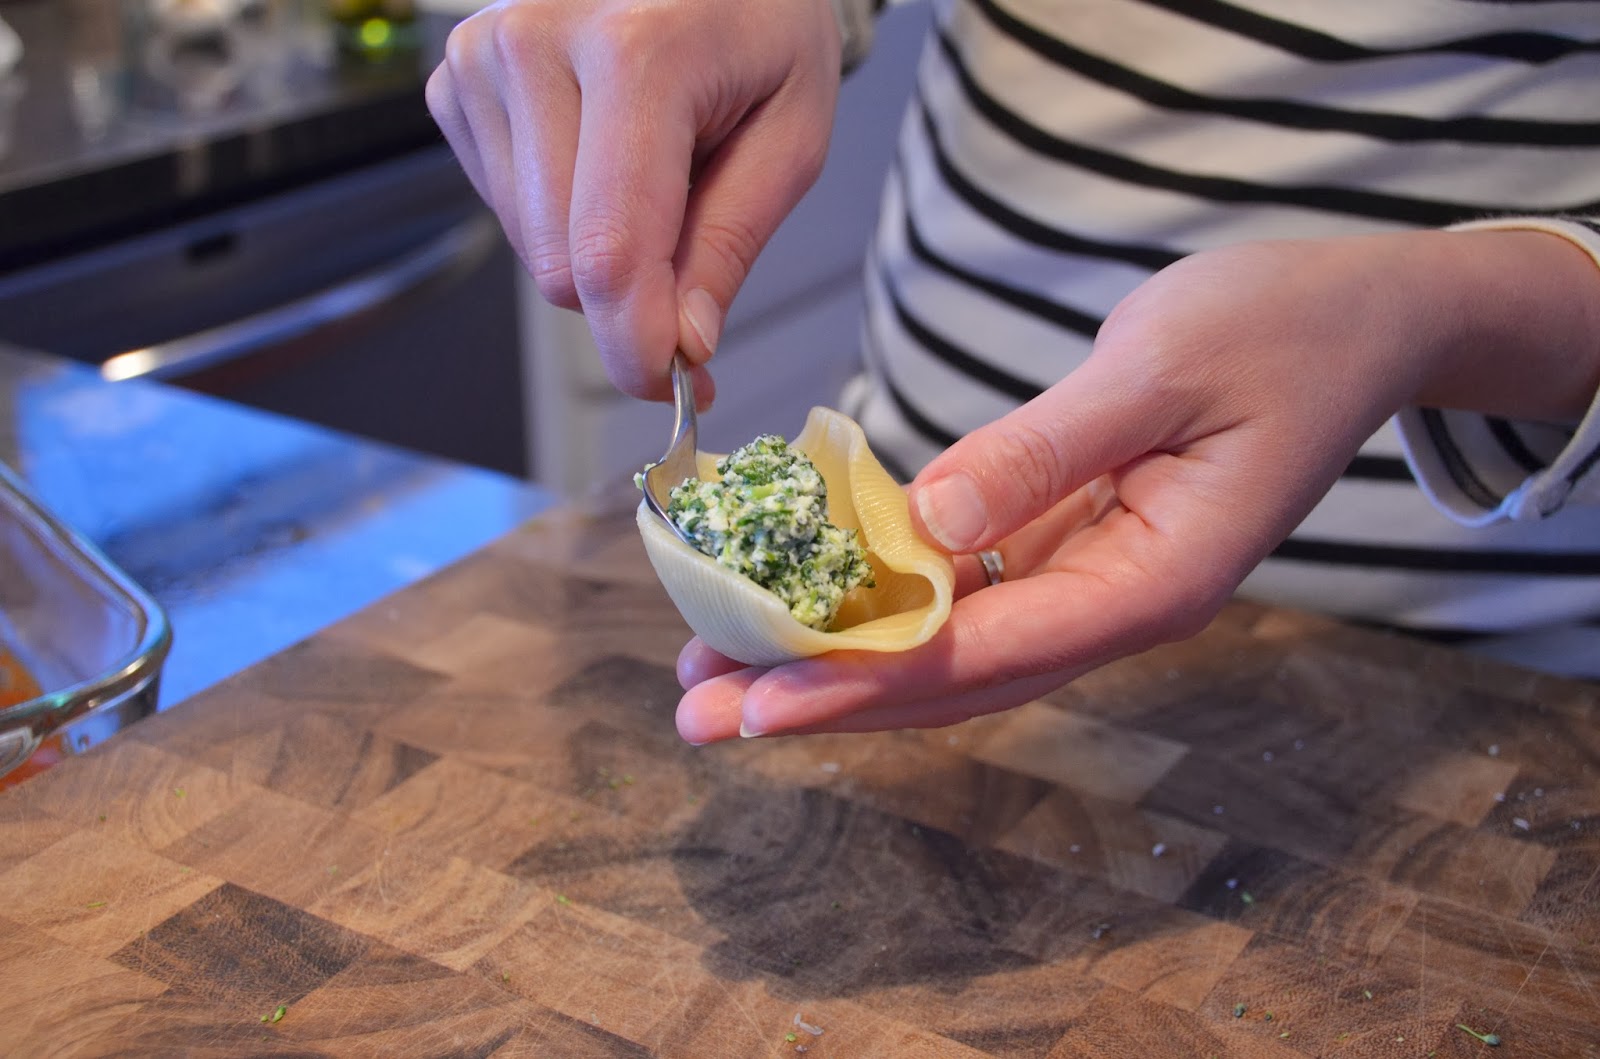


This is very easy to do and I have proof…I showed my husband how to fill one and then I ran out the door to zumba class and tasked him with finishing the job, I’m dead serious.  He had to fill them all….
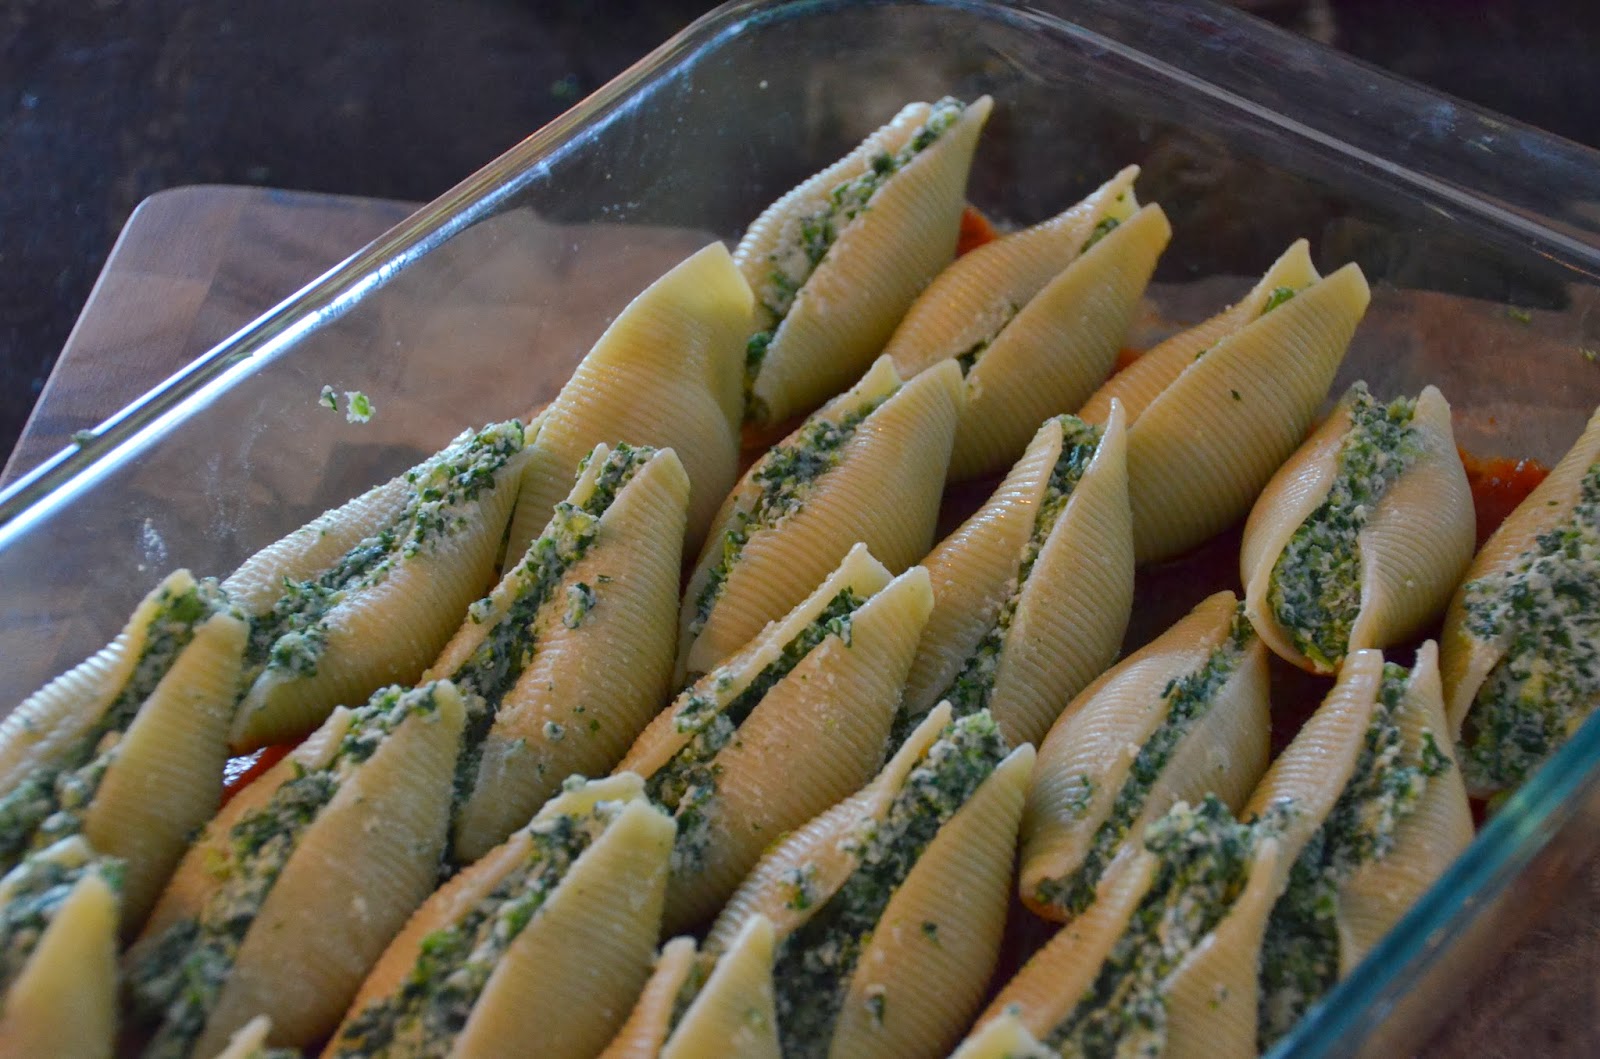


and then he had to cover them in sauce…
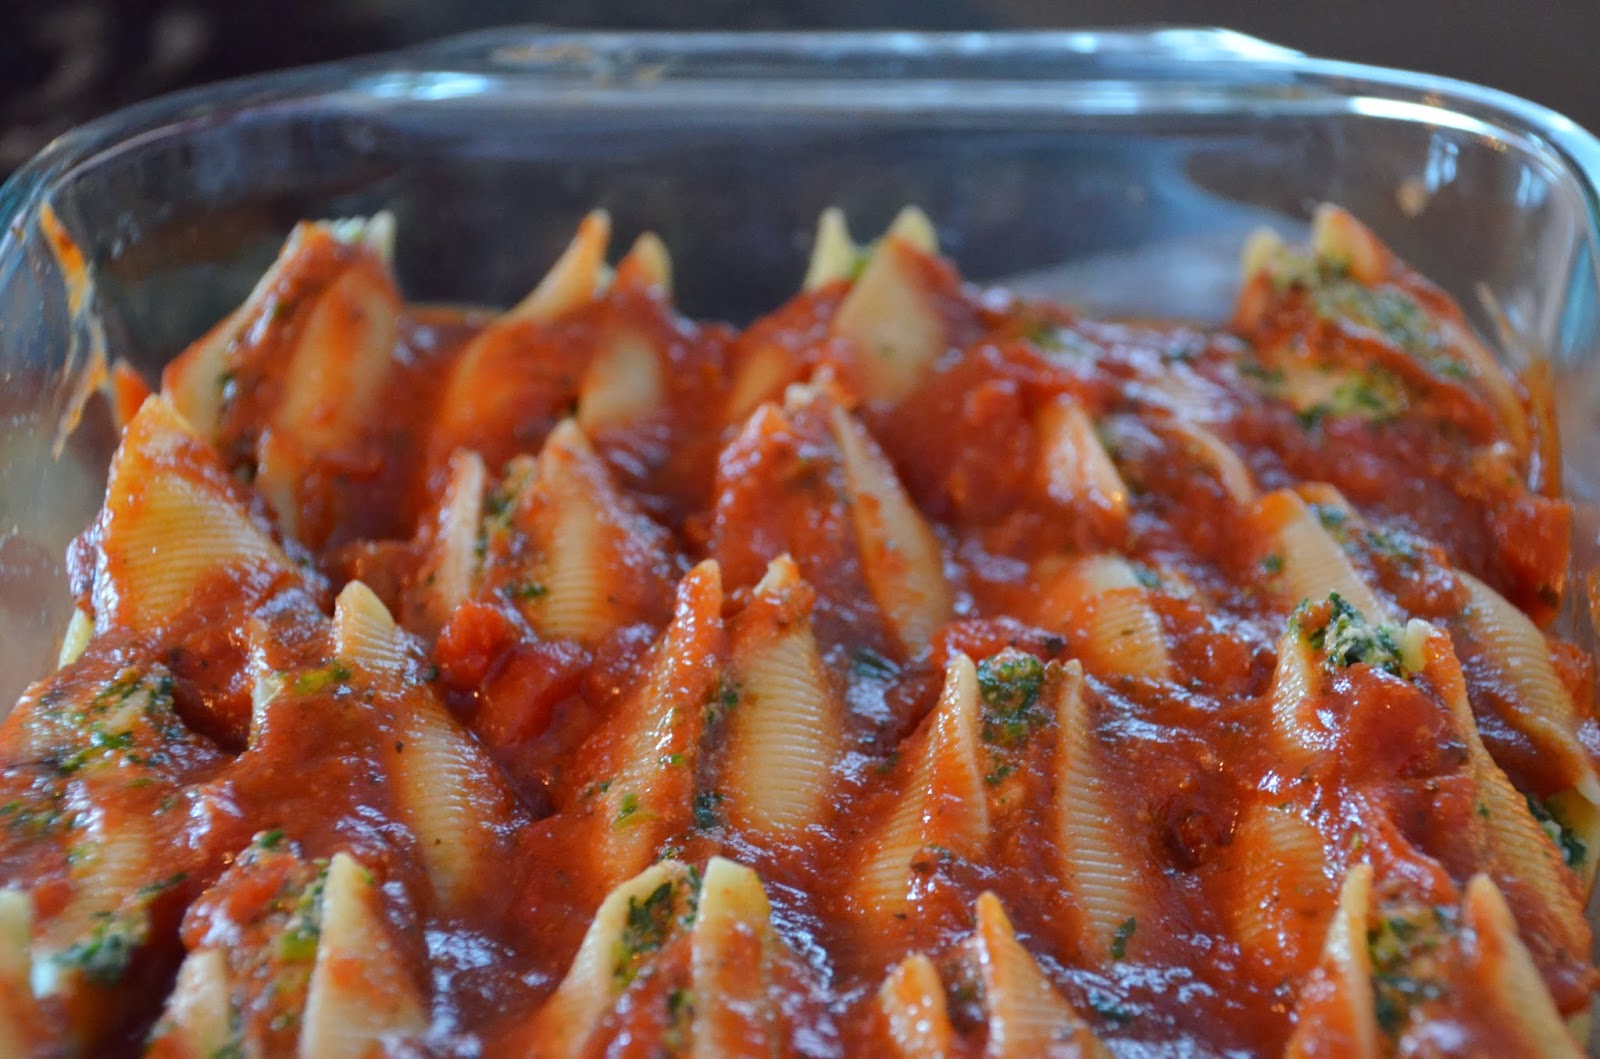


and then he had to cover them with the mozzarella cheese…
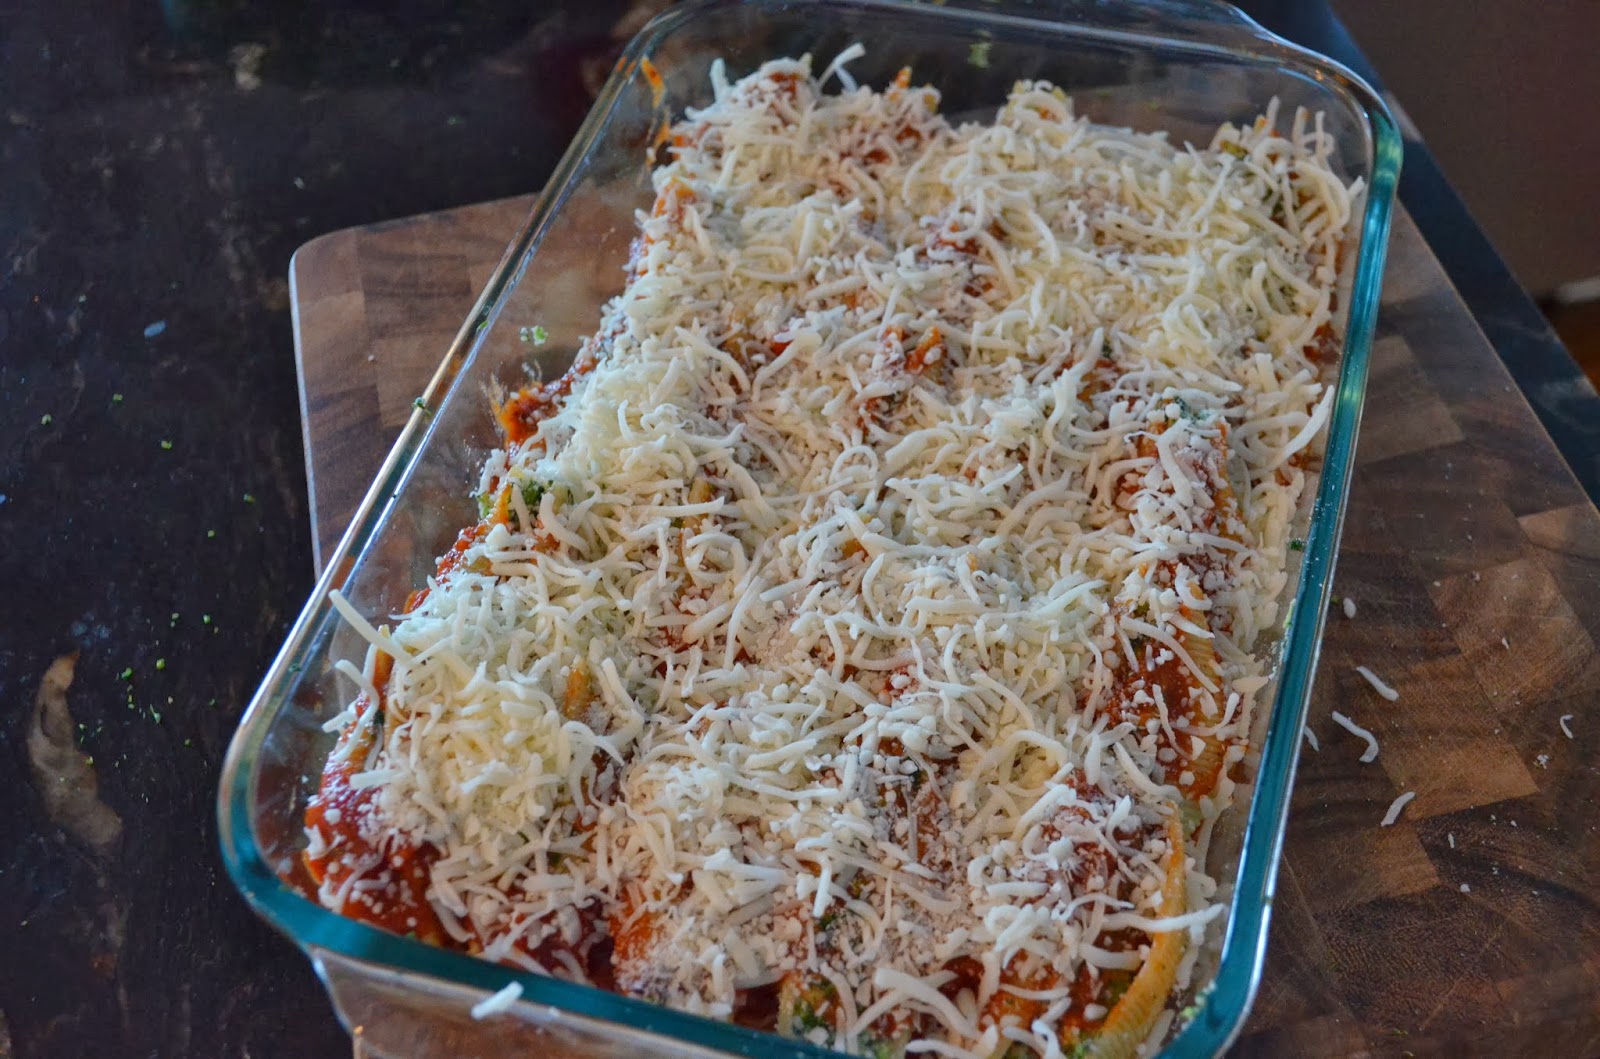


and then he had to put them in the oven at 350 degrees for 45 minutes…

AND he had to take photos of everything he did!  Husband of the year trophy has been ordered and is on its way. 

Ok…there’s one teensy weensy thing I probably would have done differently but let’s keep this to ourselves.

I usually put half of the mozzerrella cheese on the shells, and then pour the sauce over, and then add the other half.  I just find that it melts better that way, but you may prefer it the husband way and that is fine too!

After 45 minutes in the oven, it’s done!
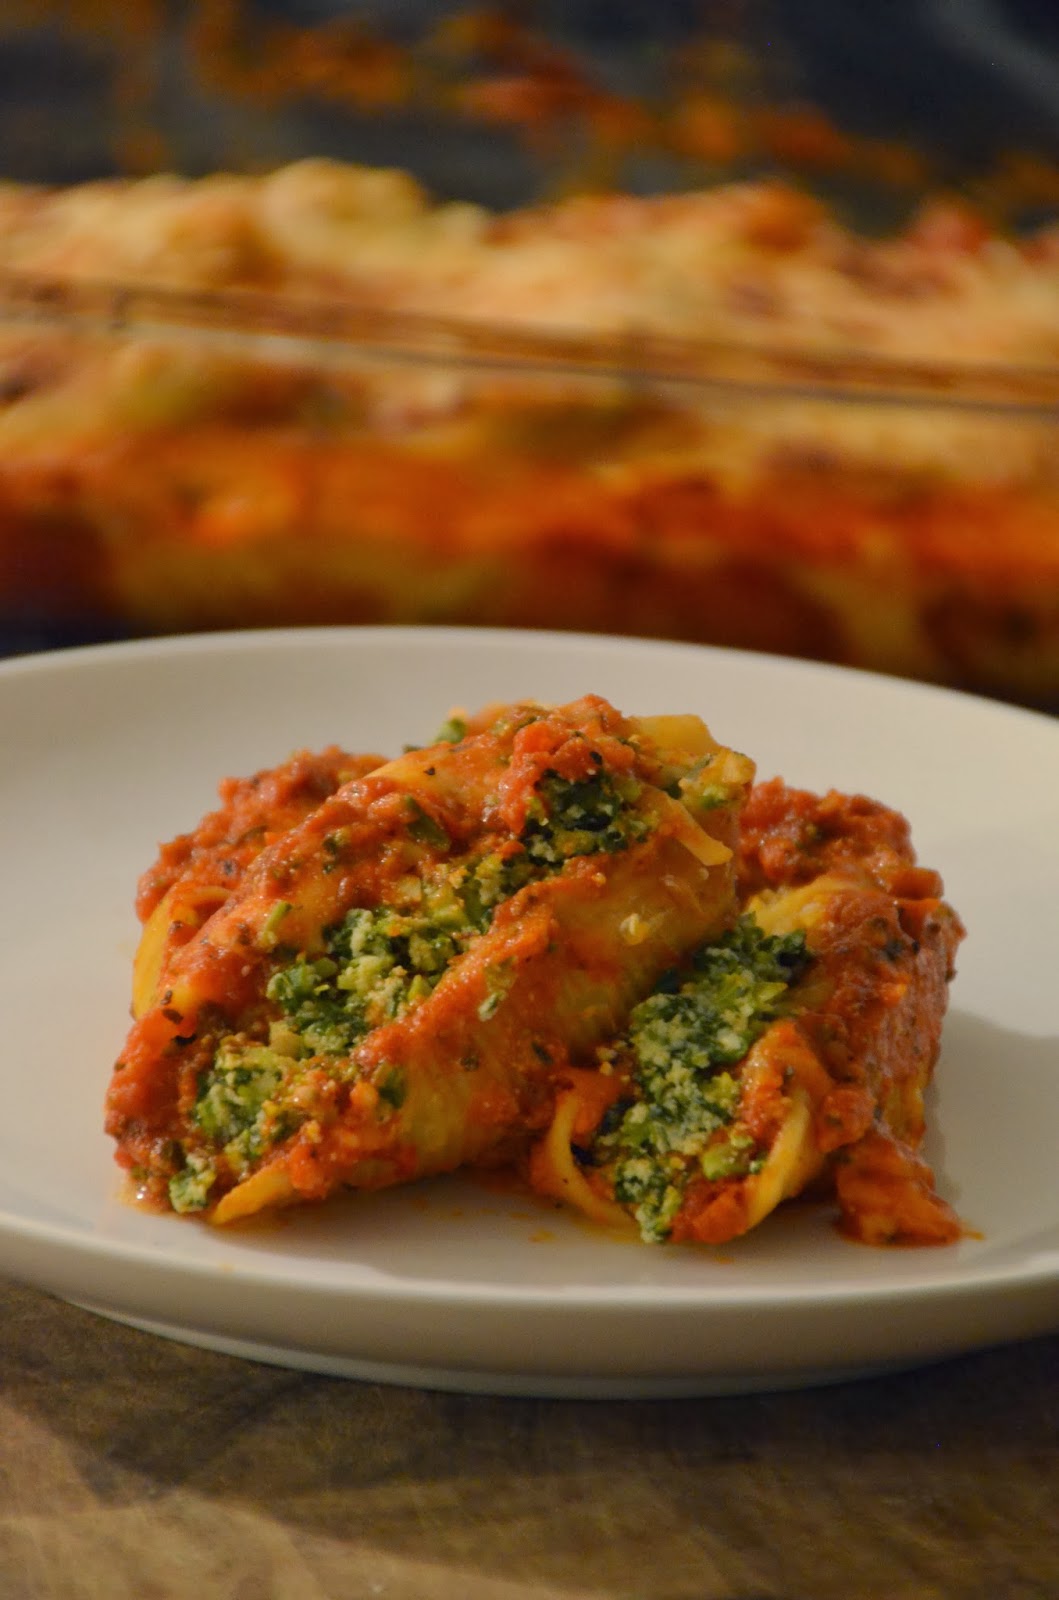


My kids devour these things, and that’s good enough for me!

Speaking of my kids, I really missed them while we were gone.  Before we left, one of our little angels came down with a strep throat/laryngitis/bronchitis combo and another one had an abscessed tooth that he refused to have pulled at the dentist.  But we were able to get them on antibiotics and both of them were feeling MUCH better by the time we left for Mexico.  Things were smooth sailing (loosely speaking) while we were gone…mayhem didn’t ensue until we returned.  It turns out that your kids can be allergic to antibiotics but not break out in head to toe itching hives until they’ve already been taking them for a while.  Good news is that the hives didn’t really set in until our plane landed back in Chicago so the nanny was able to save herself from the madness that is inevitable when you have two boys who are itching uncontrollably.  I was able to get them in to the doc first thing the next morning and large amounts of steroids were given. Steroids reverse the effects of an allergic reaction pretty quickly…I could write a whole blog on how young boys behave on steroids but we will save that for another time.

I hope you guys enjoy this recipe, and to all you parents out there dealing with an adolescent boy on steroids…godspeed. 

Cheers!

The Good Cooker

  

White Chicken Chili to Rock your World…


I’m in love with chili, if someone even utters the word chili I get really excited.  I could never pick what kind of chili I love the most but I will say that this white version ranks pretty high on my list of freaking amazing chili recipes.  I like this because even though it’s chili it has a lightness to it, and with summer right around the corner (it is!) I thought this was a good option…and I was just craving it real bad.  

Chili is not known for being overly difficult but this one is super easy…and yes, it’s as healthy as an ox too.  The kids chowed it down, so did my husband…and my brother…and the nanny, it was a chili party up in here!

Ok, let’s go over the ingredients…

extra virgin olive oil
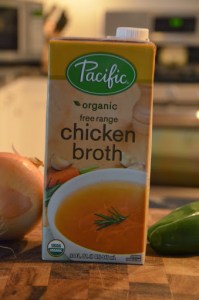
1 – 32 oz. carton chicken broth or stock
1.5 lbs chicken breast – this is about 3 good size breasts, or 2 REALLY big breasts (oh dear)
48 oz. (or more if you like) great northern beans – preferably Randall’s
1 onion (diced)
2 jalapenos (seeds and white flesh removed, diced small)
1 – 7 oz. can diced green chilis
2 cloves garlic (minced)
2 cups frozen sweet corn (or one bag)
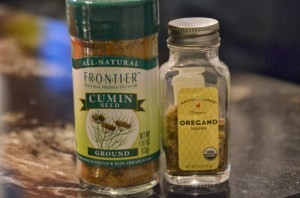
1 tbsp cumin
1 tsp dried oregano
salt and pepper to taste

Start by heating your chicken broth/stock in a large saucepan over medium heat…I use organic because you can get it pretty cheap so why not?  Now if you make your own stock at home then you are WAY cooler than me and my boxed organic chicken broth!


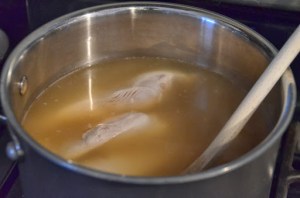
Once the broth starts sort of boiling, through your chicken breasts in because we’re gonna poach those babies…


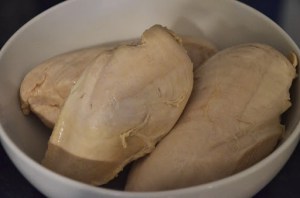
This should take 10-15 minutes, just stir them around in there every so often so they cook evenly.  When it’s done, take it out with a fork and put it in a bowl to cool off but DO NOT get rid of that stock because you’re going to use it in the chili.


But while the chicken’s poaching, get out your stock pot (I still don’t have that le creuset dutch oven, comment on this post if you want to send me one), put some extra virgin olive oil in the bottom and get it going on the stove over medium low heat.  

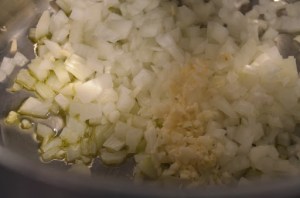
Add your chopped onion and let that sweat for a few minutes, then add in your minced garlic. 


I’m not sure if there’s anything in this world that smells better than sauteing onions and garlic, if you want to impress your dinner guests, just do that before they come over and they will think you’re making something fabulous even if you’re feeding them re-heated pizza.  Once they are served the pizza they will be disappointed but it will be worth it just to have that 30 minutes where everyone is complimenting you on your mad cooking skills.

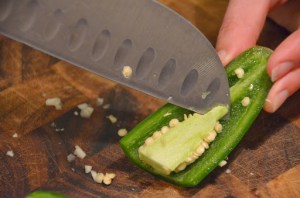
Geez I can get off track…add the diced jalapenos next.  I would highly suggest removing the seeds and white flesh part of the jalapenos unless you like it REALLY spicy because that is where the big spice lives.  My kids were going to eat this so I removed it, like this…

Kudos to my husband for that action shot…now after you operate on the jalapenos you need to get everything they touched in the sink and wash your hands really well…and for the love of GOD do not touch anywhere on your face until you’ve done this…not that I would know what happens if you accidentally touch your face before washing your hands.

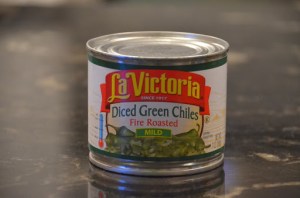
Add a can of green chilis to the pot…ethnic aisle…


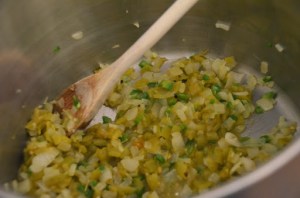
and now let that hang out for a little while…


Now add your cumin and oregano…


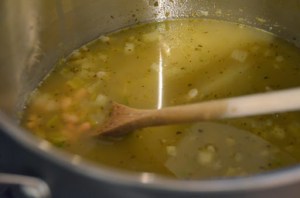
Remember that chicken broth you used to poach the chicken in (and hopefully saved)…it’s time to add some of that back into the pot.  I would add maybe 1/2 – 3/4 of the broth and then see how thick your chili ends up…you can always add more but yada yada.


Let that simmer away while you shred your chicken with a fork…just like I showed you in this post.

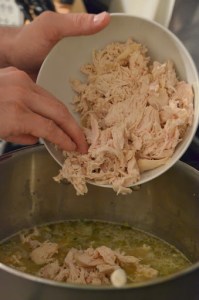
Now put your shredded chicken in the pot…


Please pardon my husband’s awkward hands in this photo, I had to really direct him on this one…he wouldn’t even touch the chicken without some coaxing, I sort of felt like an adult film director. 

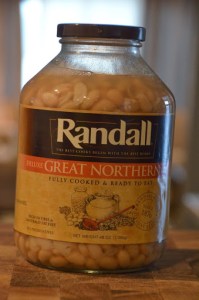
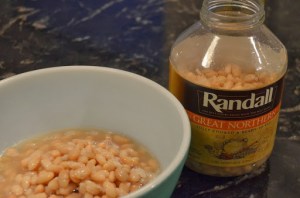
Ok let’s talk beans, I have a favorite brand of great northern beans and they’re called Randall’s…here they are…


Oh Randall, wherever you are…know that I love your beans more than anything (that doesn’t sound right but whatever).  I found out that these are made in Michigan and I live in Indiana…a road trip is in my future!  You can use whatever brand you like…also cannellini beans are essentially the same thing as great northern beans.

You are not going to drain or rinse these, you need that flavor for the chili.  Take half of the beans and put them in a good size bowl…

Now you need to mash the crap out of the beans in the bowl, this is going to be the thickener in our chili!

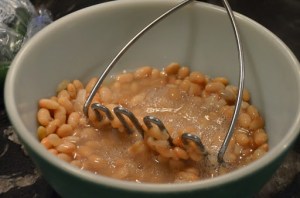
I started doing this with this potato masher…

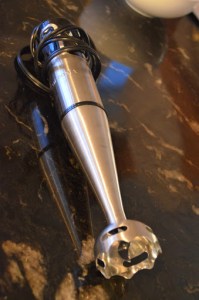
And that got old fast so I got out my immersion blender…holler!

If you’re in the market for a fancy kitchen toy, might I suggest this bad boy…this is what it did to the beans in about 10 seconds.


Now add this to the pot and then add the beans that we didn’t beat the crap out of.

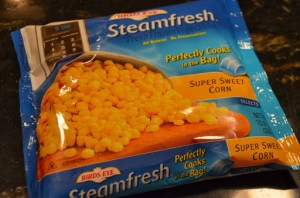
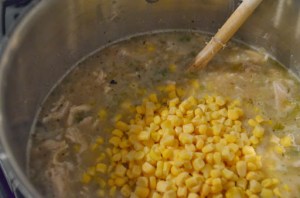
Now add a bag of frozen sweet corn…


Now stir it all together and let it simmer for at least 15 minutes…then you can add some more chicken stock if you think it’s too thick.  I would also wait to salt and pepper it until the end…the broth and the beans are salted so you shouldn’t need much.

Guess what…it’s done!  I like to serve it with condiments in bowls so people can top it with what they like…

Ta Da!!!

This chili is the stuff dreams are made of…I think I’ve used that line before but who cares, it will rock your world.

Cheers!

The Good Cooker

White Bean and Tuna Salad


Ok people.  We’re down to the wire here…I will be touching down in Cancun in T-minus 8 days, the suspense is killing me!  It’s supposed to be like 5 degrees the day we leave which just makes it that much sweeter.  I’ve been working on trimming the waistline for a while now and I think it’s worked to some degree.  I actually eat pretty well for the most part, I do have to let you all in on something I found out tonight though.  Experts say that once you stop eating McDonald’s cheeseburgers for an extended period of time you will no longer want to eat one if it’s sitting in front of you…and this is complete bullshit.  I know this because my husband brought home those cheeseburgers for our boys (judge free zone!) and I wanted that thing just as bad as I wanted it the last time I had one which was like forever ago.  I took a bite hoping I would be repulsed by the taste, however I was not repulsed…not at all.  But miraculously I was able to use that thing called willpower and not steal the rest of my two year old’s cheeseburger after all, I ran to the shower and didn’t look back…Lauren 1, crackburger 0.

Anyhoo…enough about cheeseburgers, let’s talk tuna salad…yay!!!  Just go with me on this one, ok?  First thing I will tell you is that I am just addicted to this white bean and tuna salad as I am to McDonald’s cheeseburgers but the good news is that eating this salad might make you feel slightly better about yourself.

First things first…there’s no mayo here.  I am a fan of mayo don’t get me wrong, but this salad don’t need no mayo.  Let’s just get right to it…

1 – 12 oz can solid white albacore tuna in water
1 – 15 oz can cannellini beans (drained and rinssed)
3 – celery stalks (diced)
2 – green onions (diced)
1 cup – carrots (sliced thin)
3 tbsp – capers
juice of 1 lemon
drizzle of extra virgin olive oil
salt and pepper

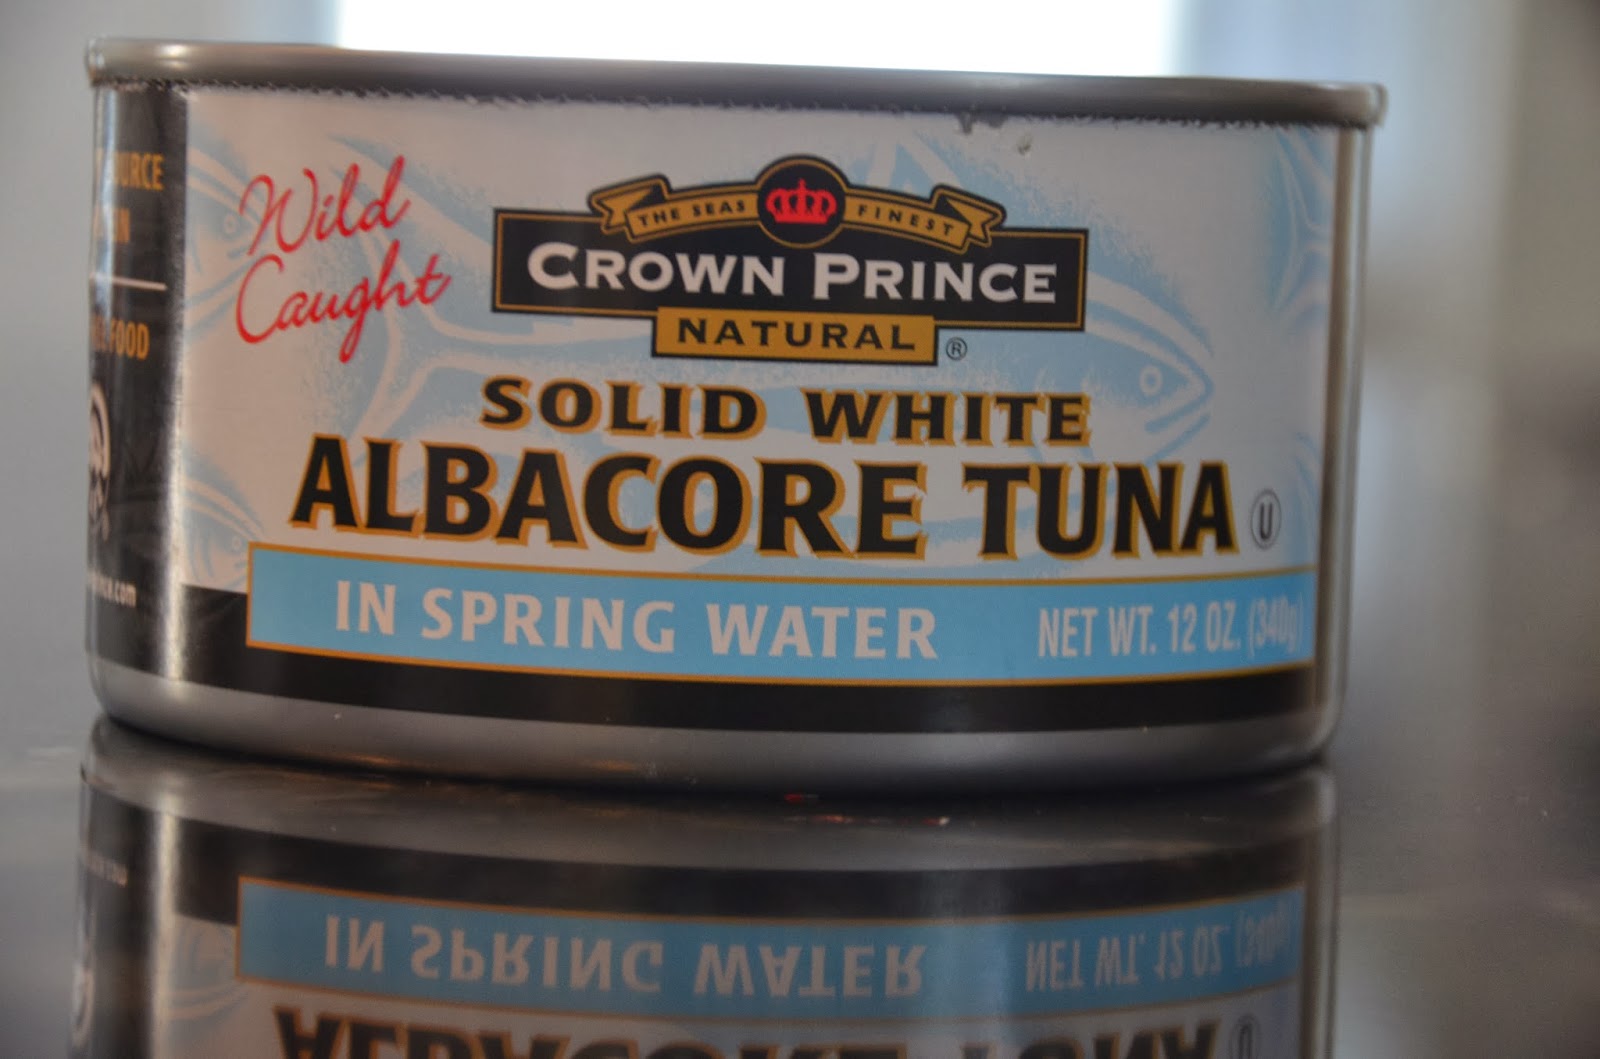
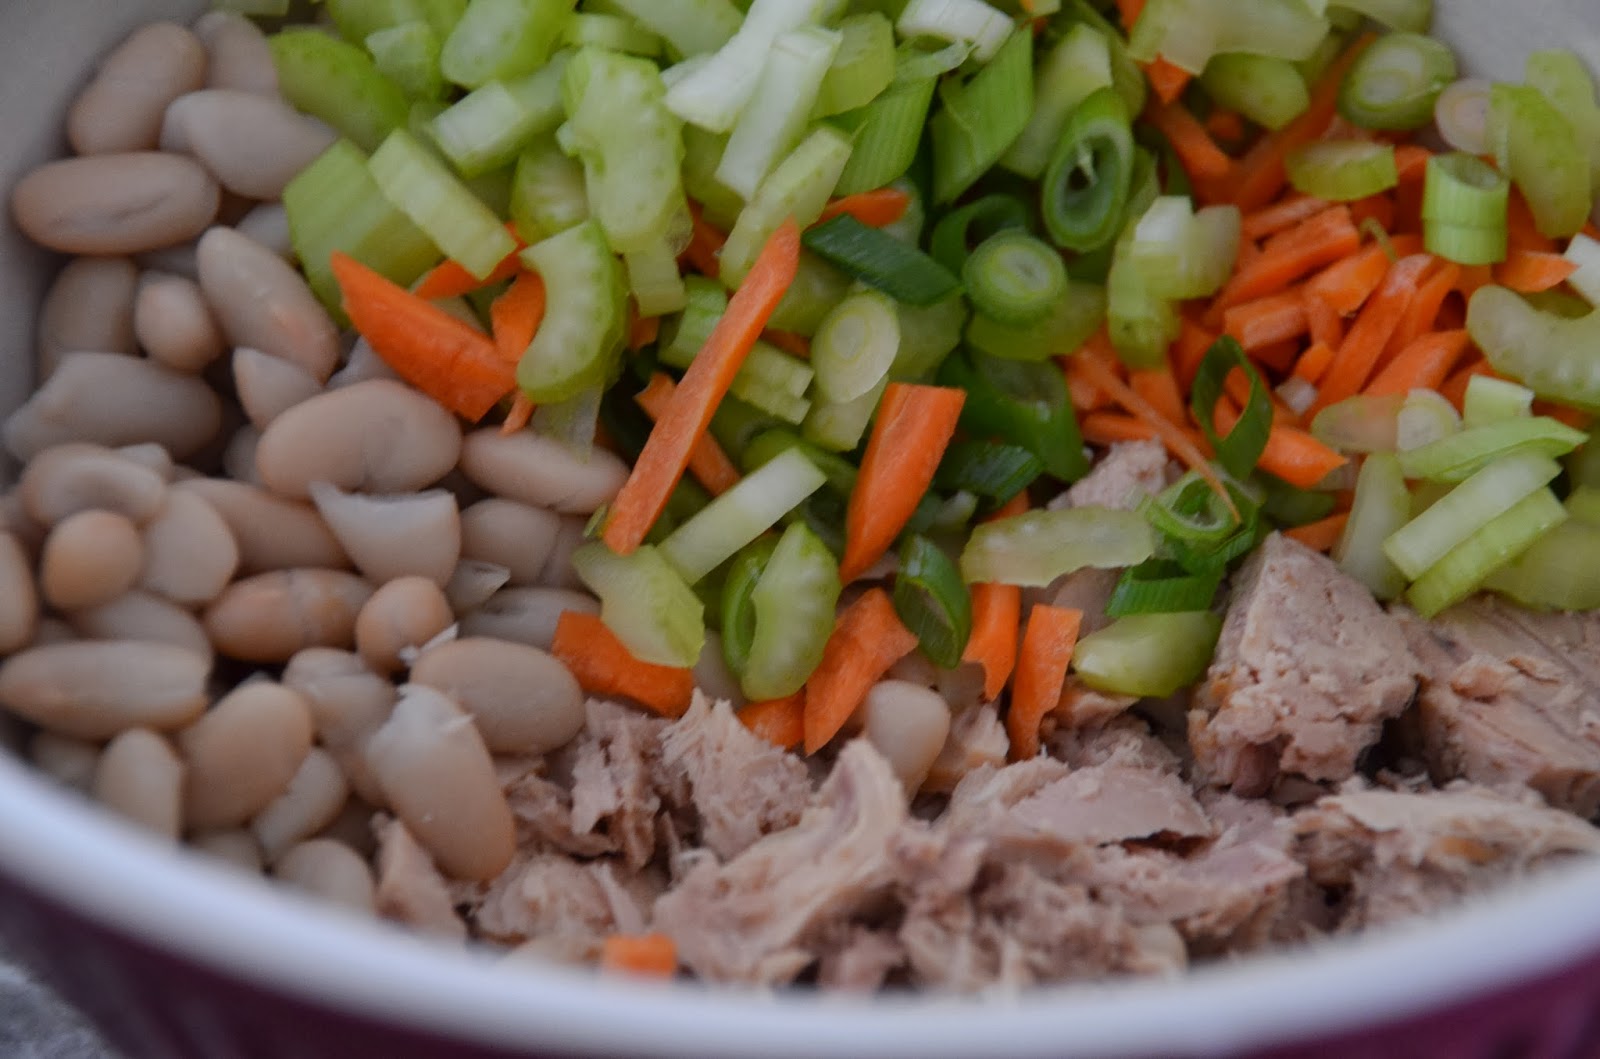
Start with a decent can of tuna…


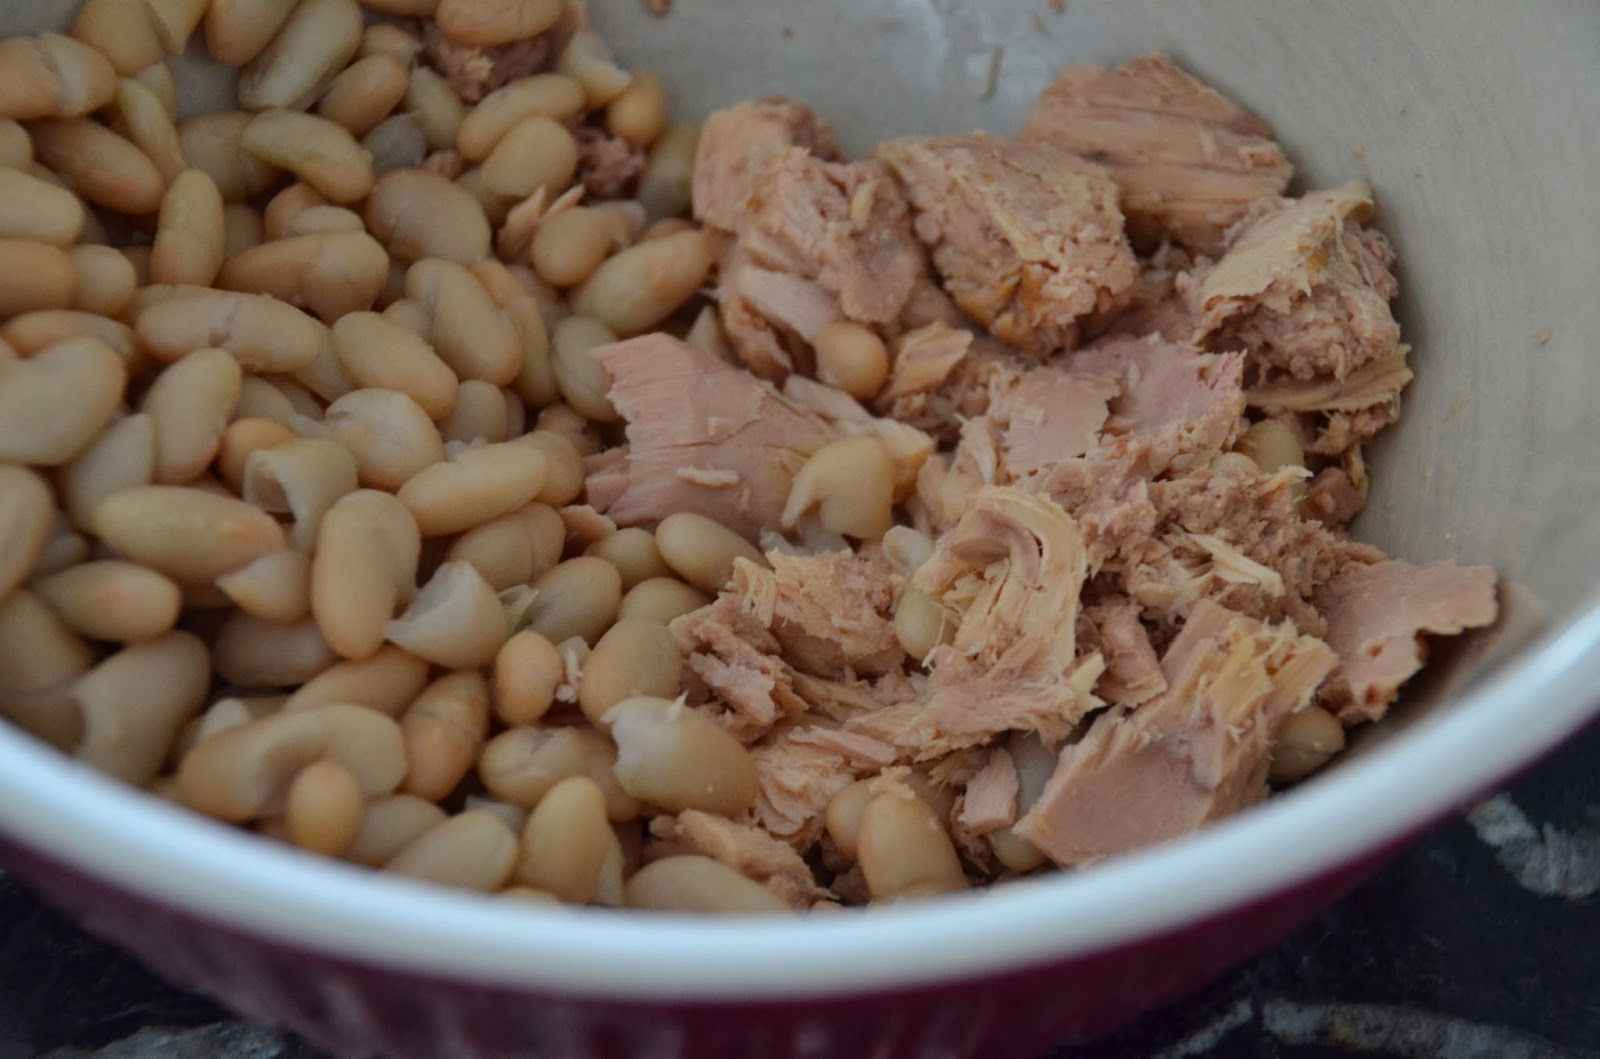
Throw that in a large bowl and add a can of cannellini beans that have been drained and rinsed well…


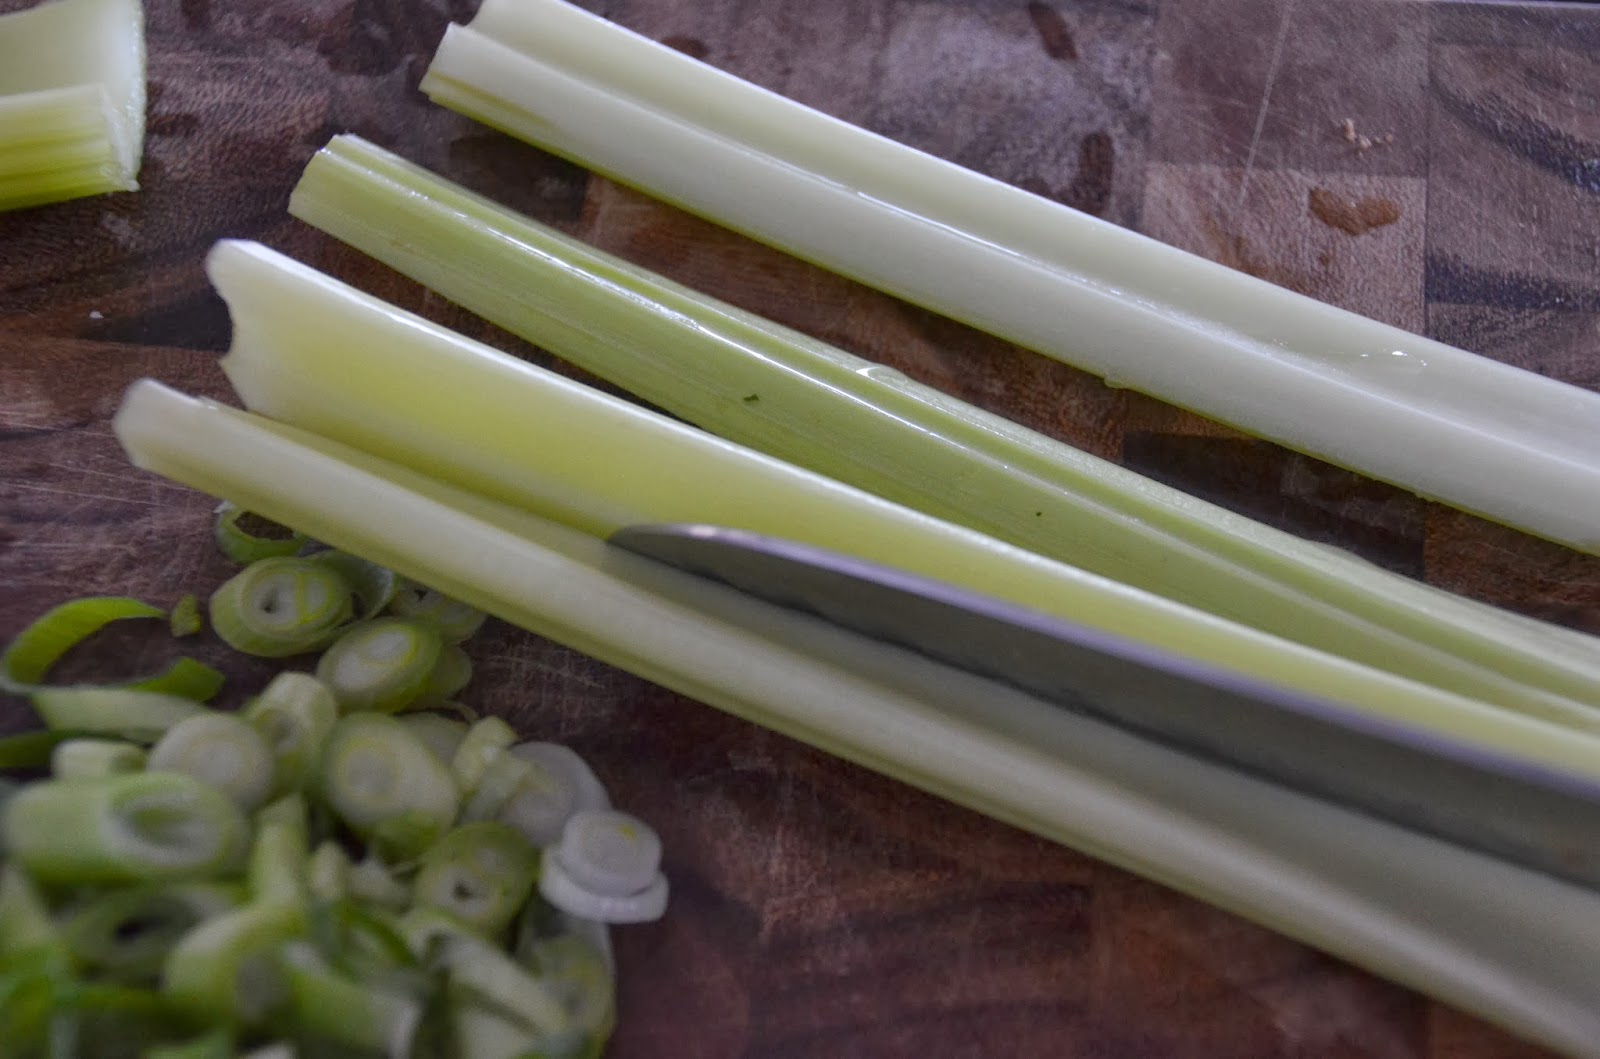
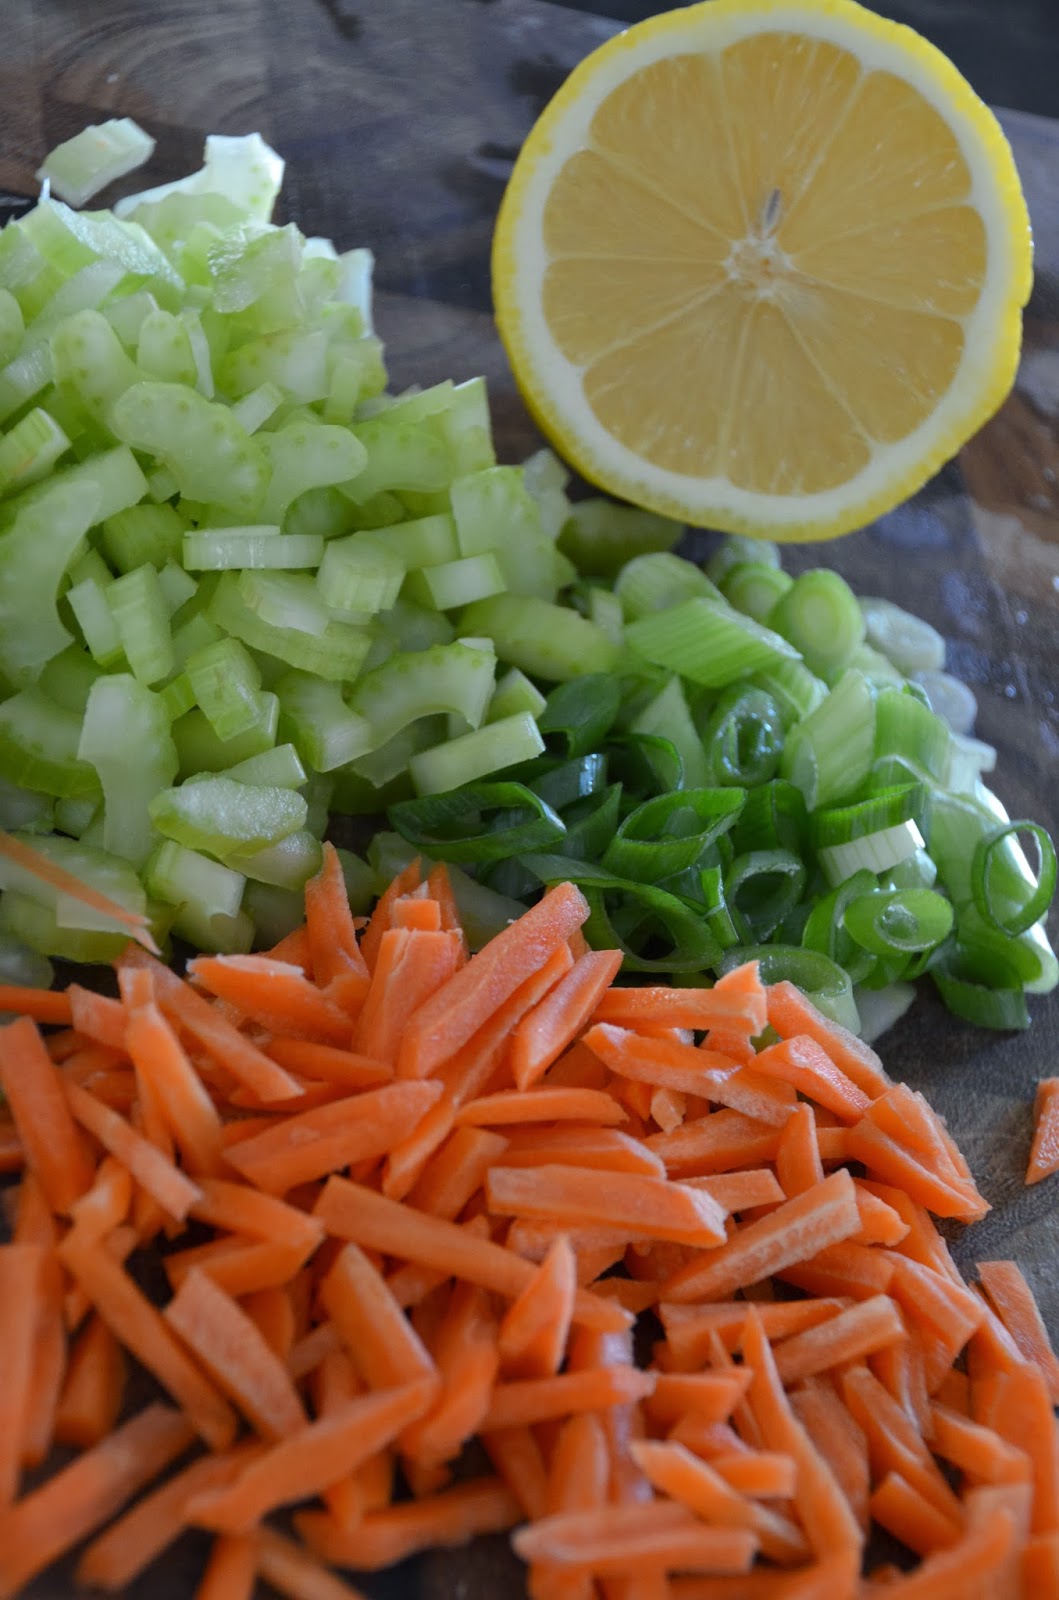
Now it’s time to throw in the veggies…for the celery I like to cut the stalks down the middle and then chop..


For the carrots, I used a bag of sliced carrots and then just diced them up some more because that’s easy to do.

Add all of the chopped veggies…


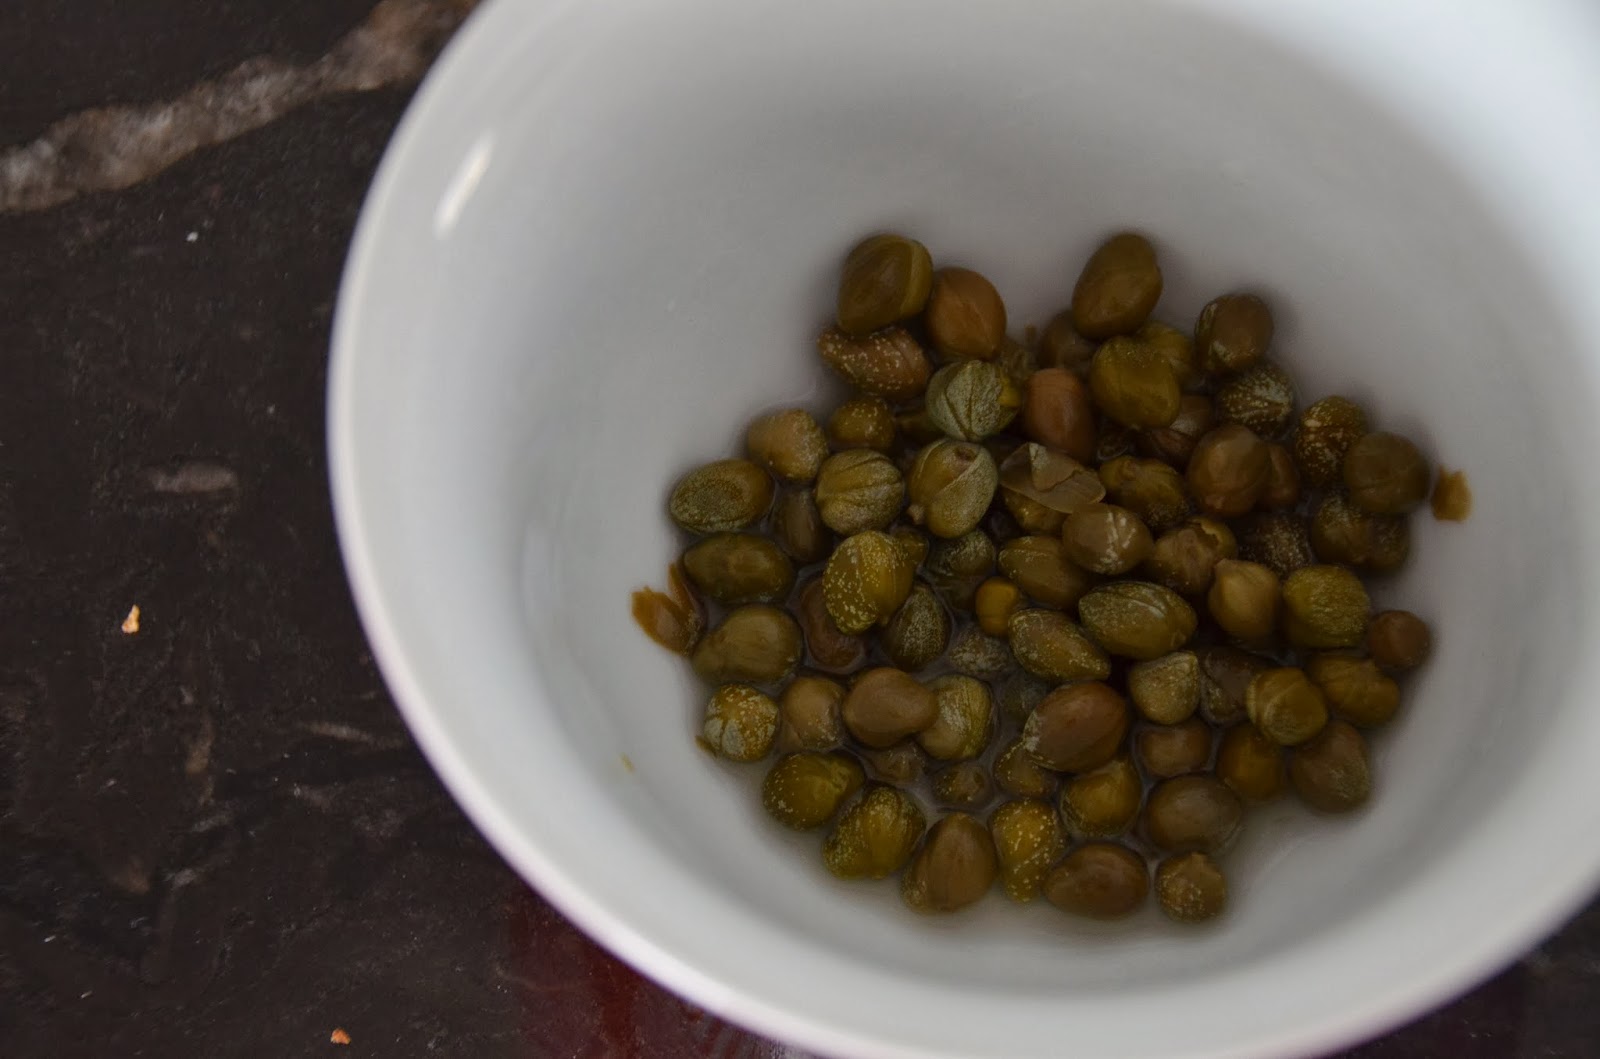
and then add the capers…I also suggest adding some of the caper juice.


I’m addicted to capers, I can’t say enough about these delicious tiny morsels…capers are the unripened flower buds of Capparis spinosa…a prickly, perennial plant which is native to the Mediterranean and some parts of Asia. Sounds very nice doesn’t it…I would eat them if they grew on the side of a boat.

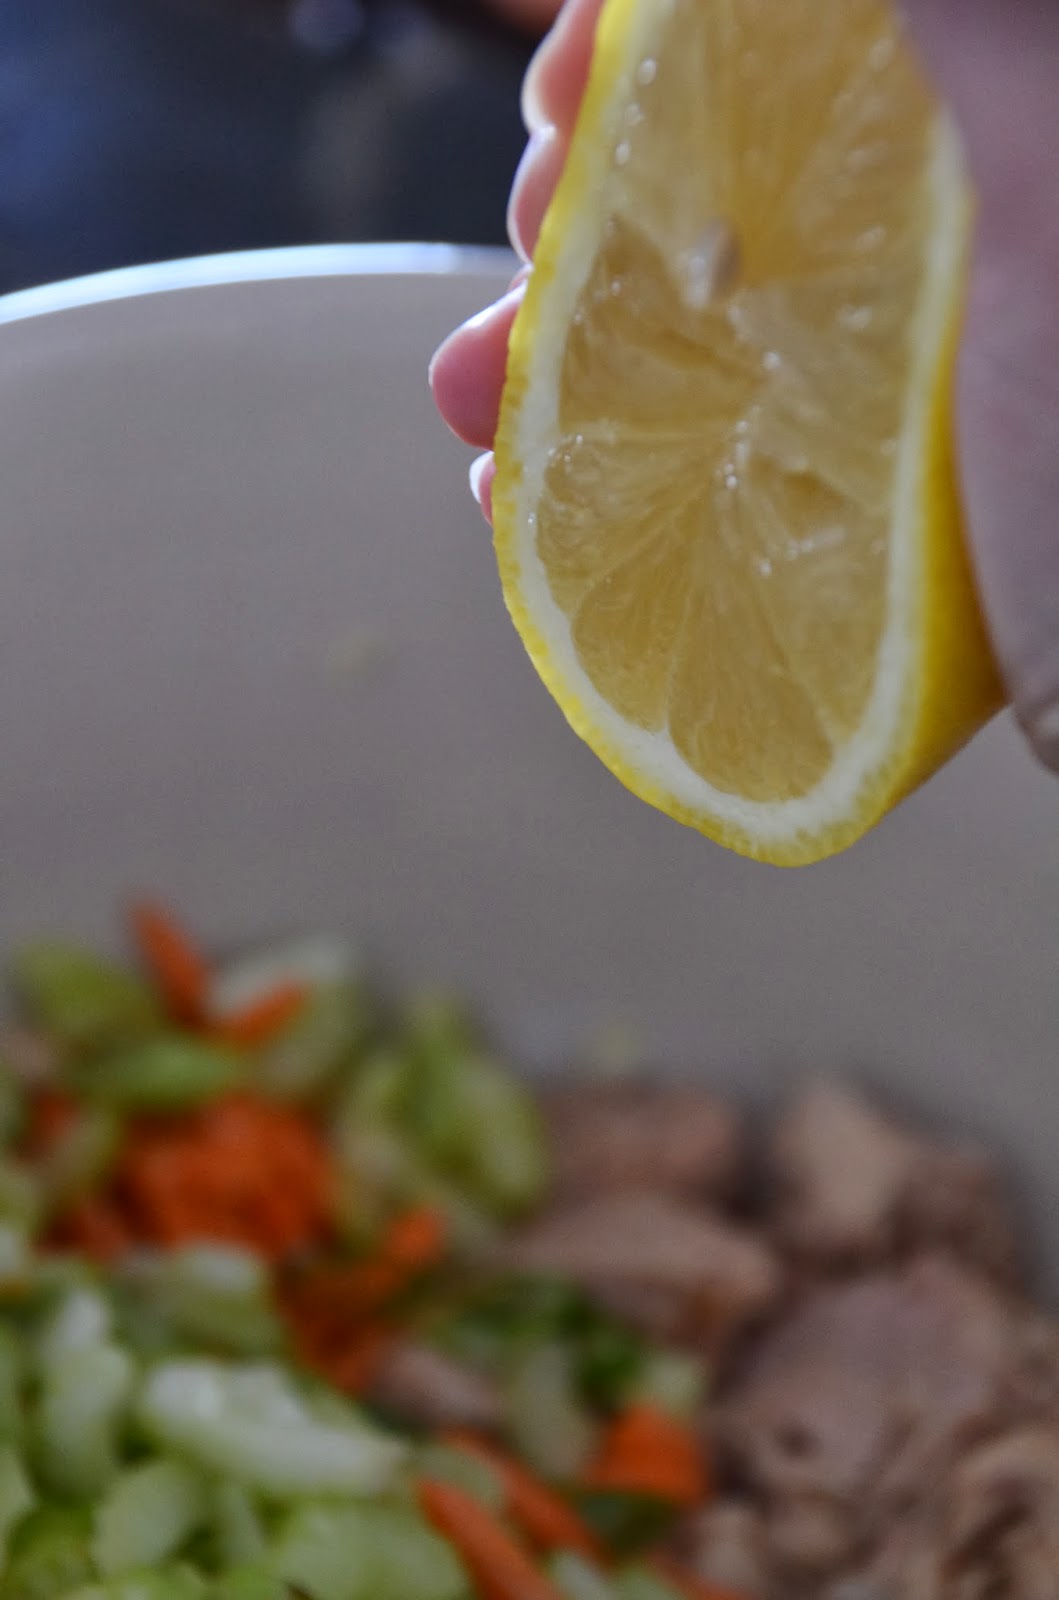
Now, you need to squeeze a whole lemon over the bowl…

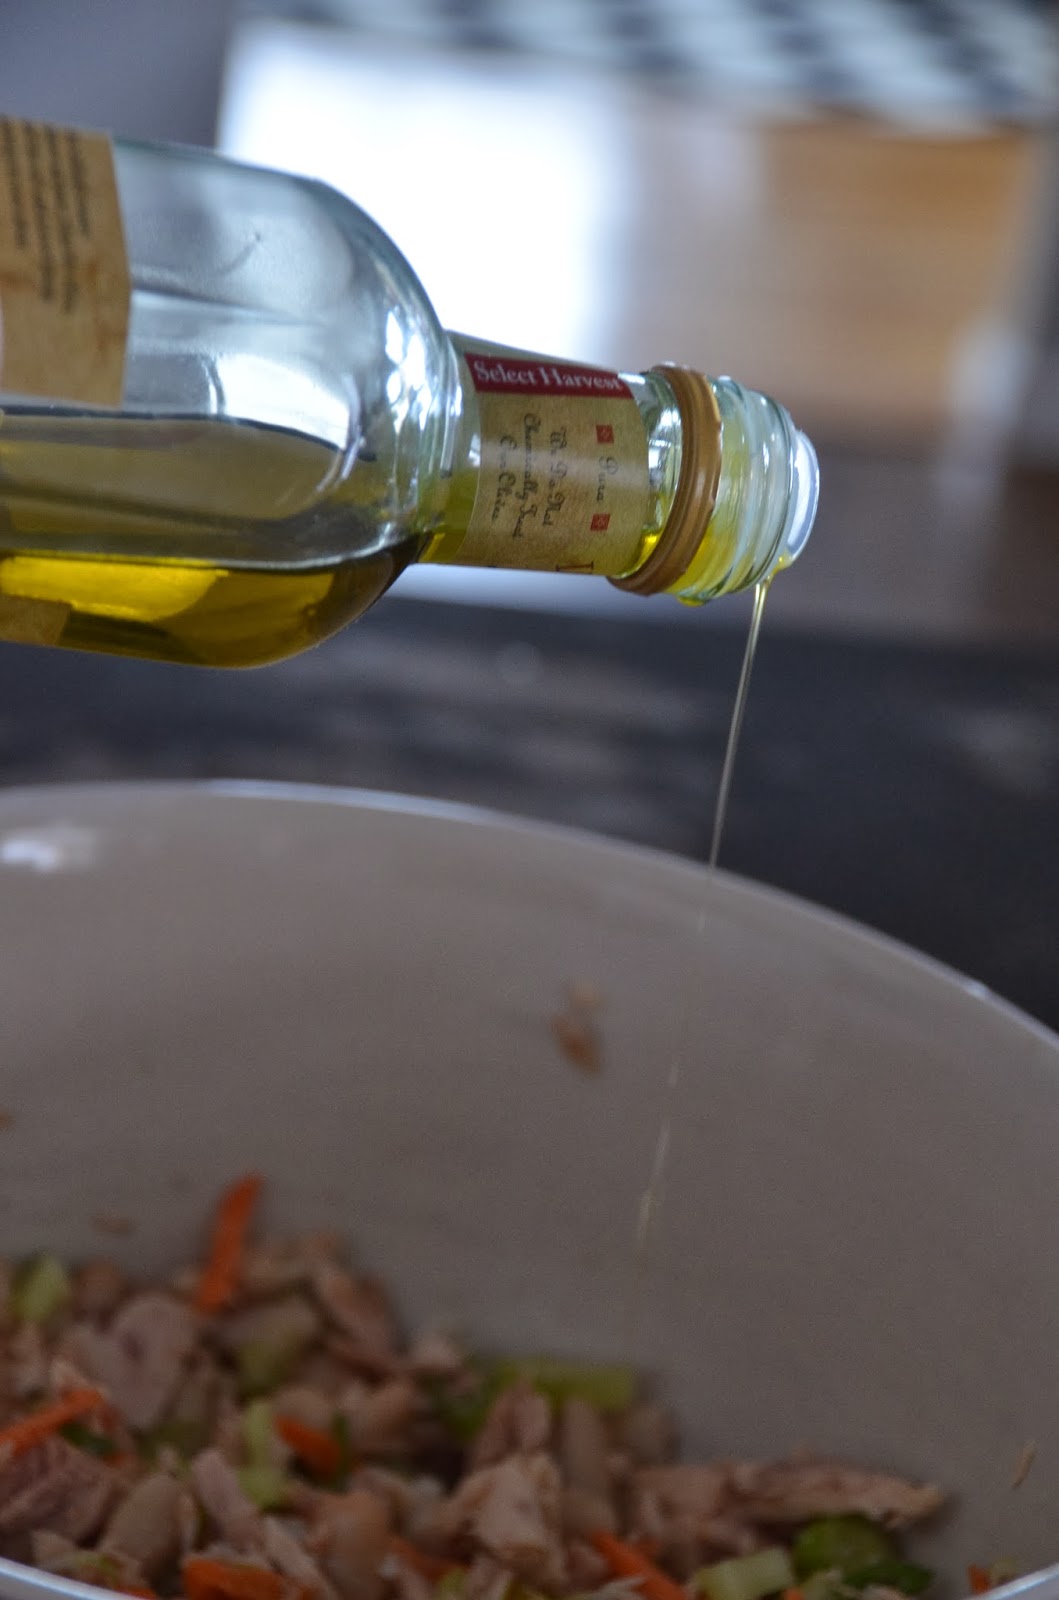
and then drizzle in some extra virgin olive oil…

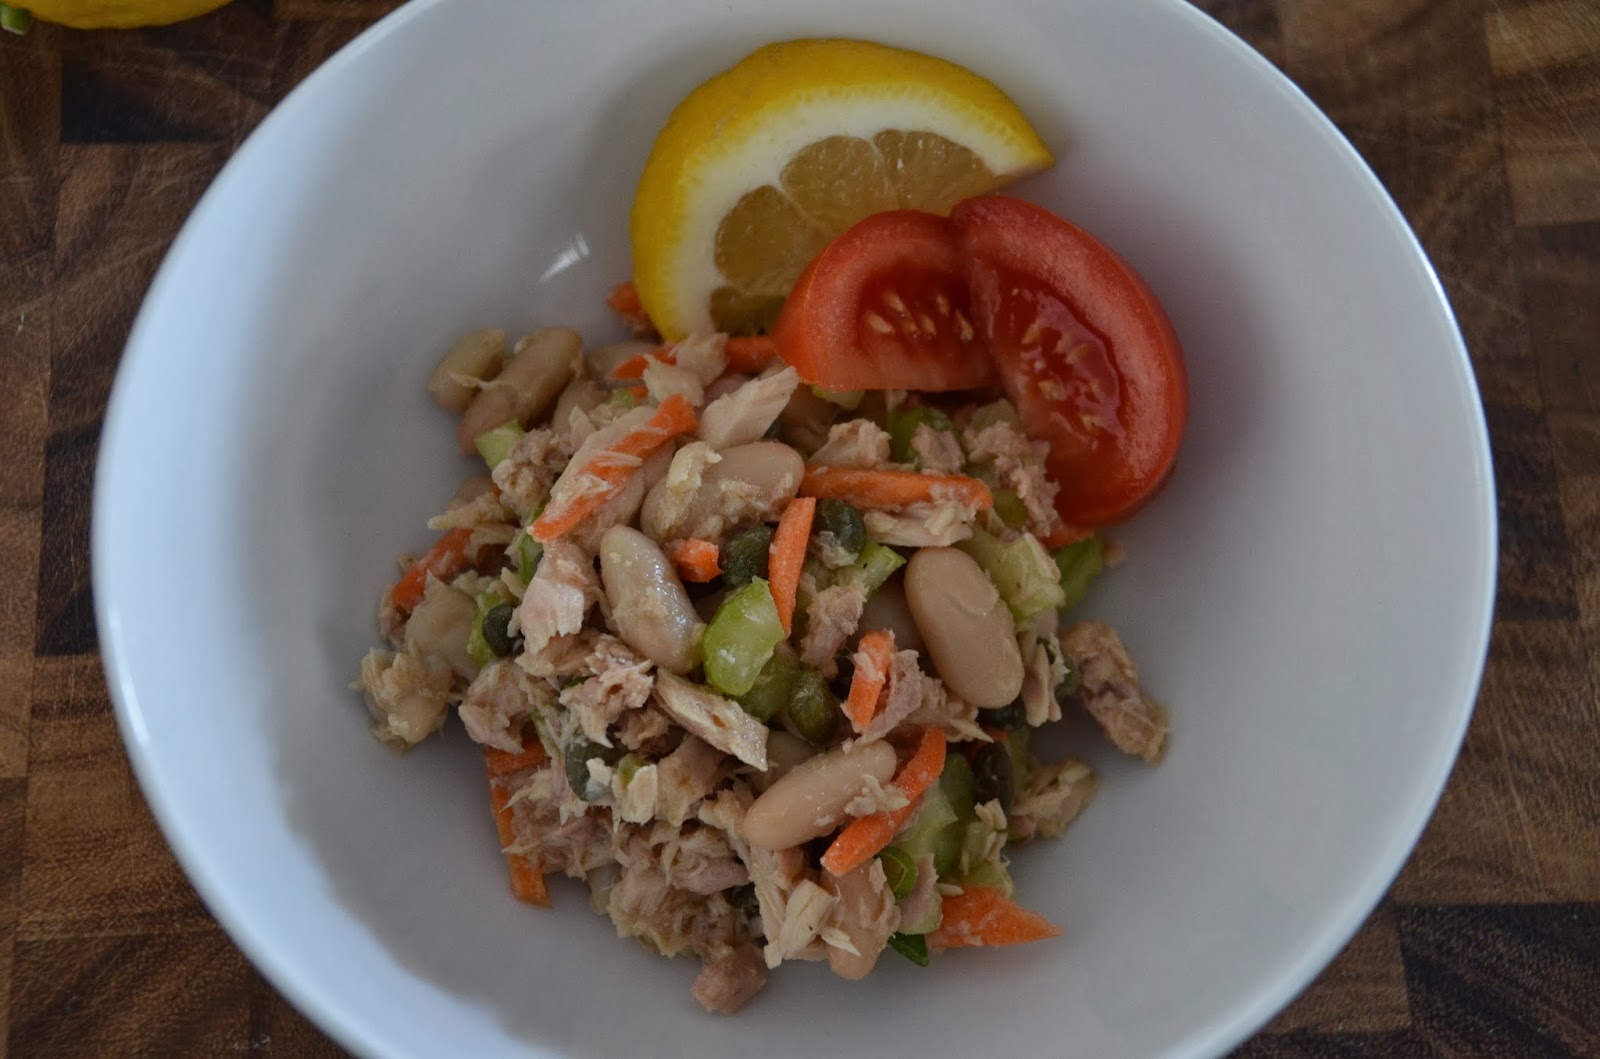
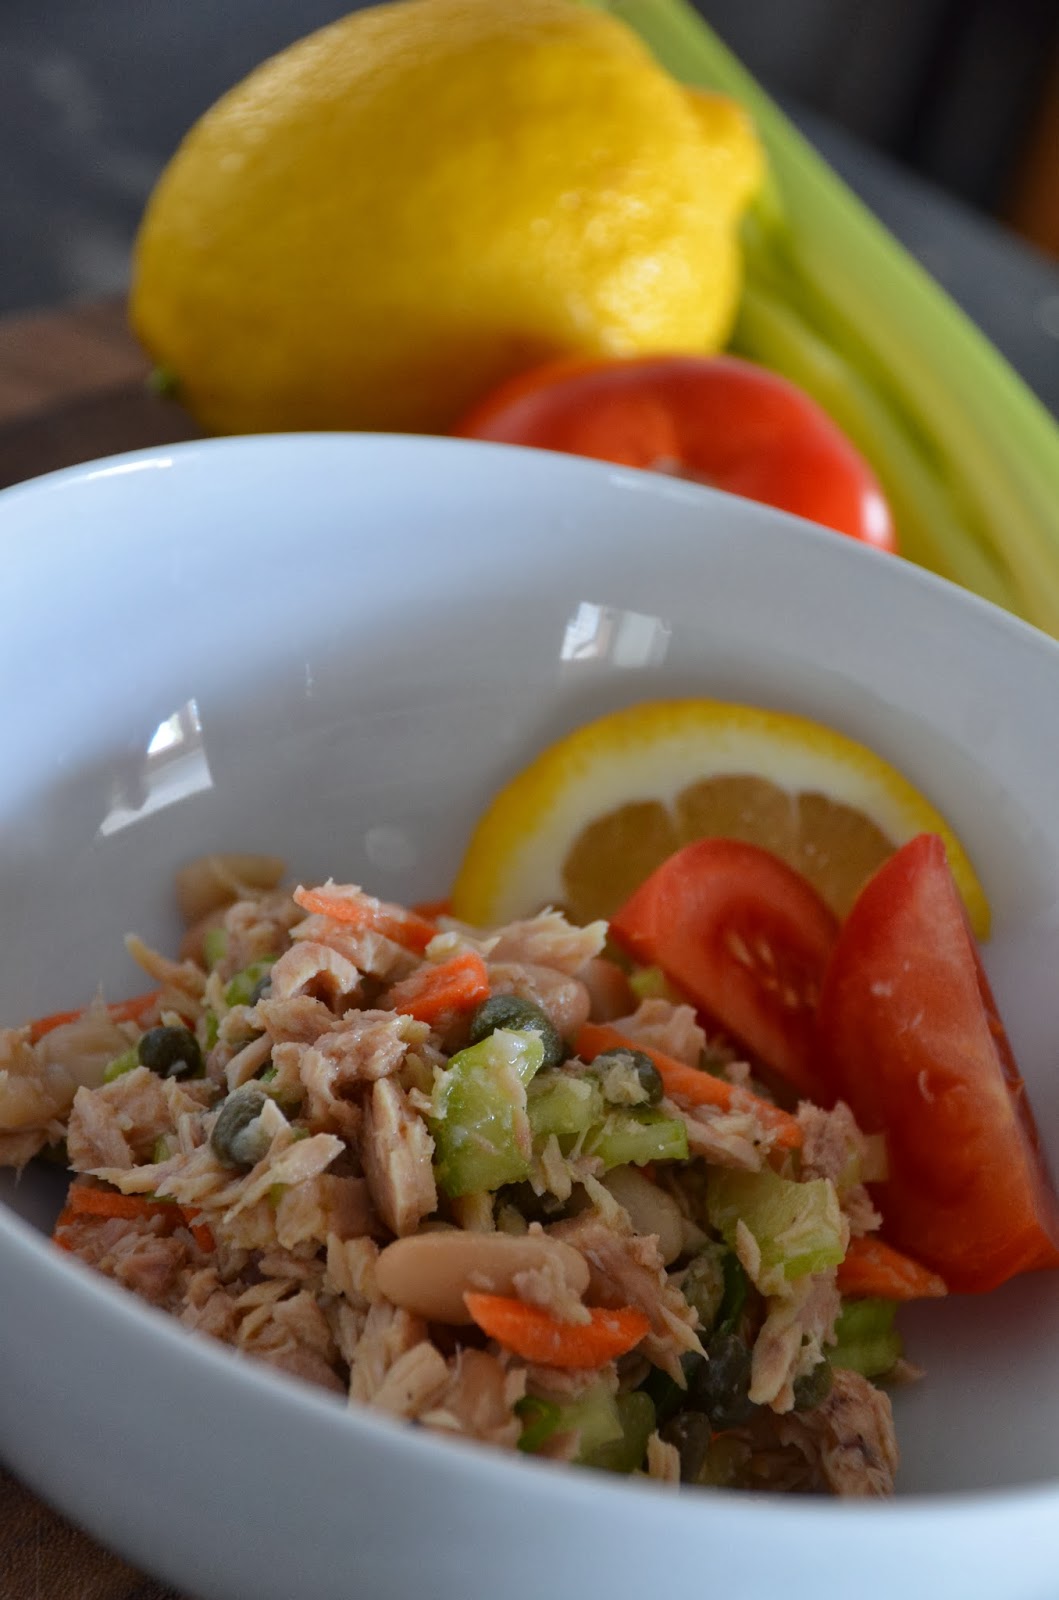
Add some salt and freshly ground pepper and it’s done!

This is one of the best clean eating meals I’ve ever come up with…my husband loves it too. You can eat it out of a tomato or on some whole wheat toast or just out of the bowl…the flavor combos are freaking awesome.

Try this spin on tuna salad and let me know what you think, preferably in the comments section because no one ever comments on my blog posts…did that sound desperate? Oh well, I’m already married.


Cheers!

The Good Cooker 

Filet Mignon and Seared Scallops…and perhaps a marriage proposal


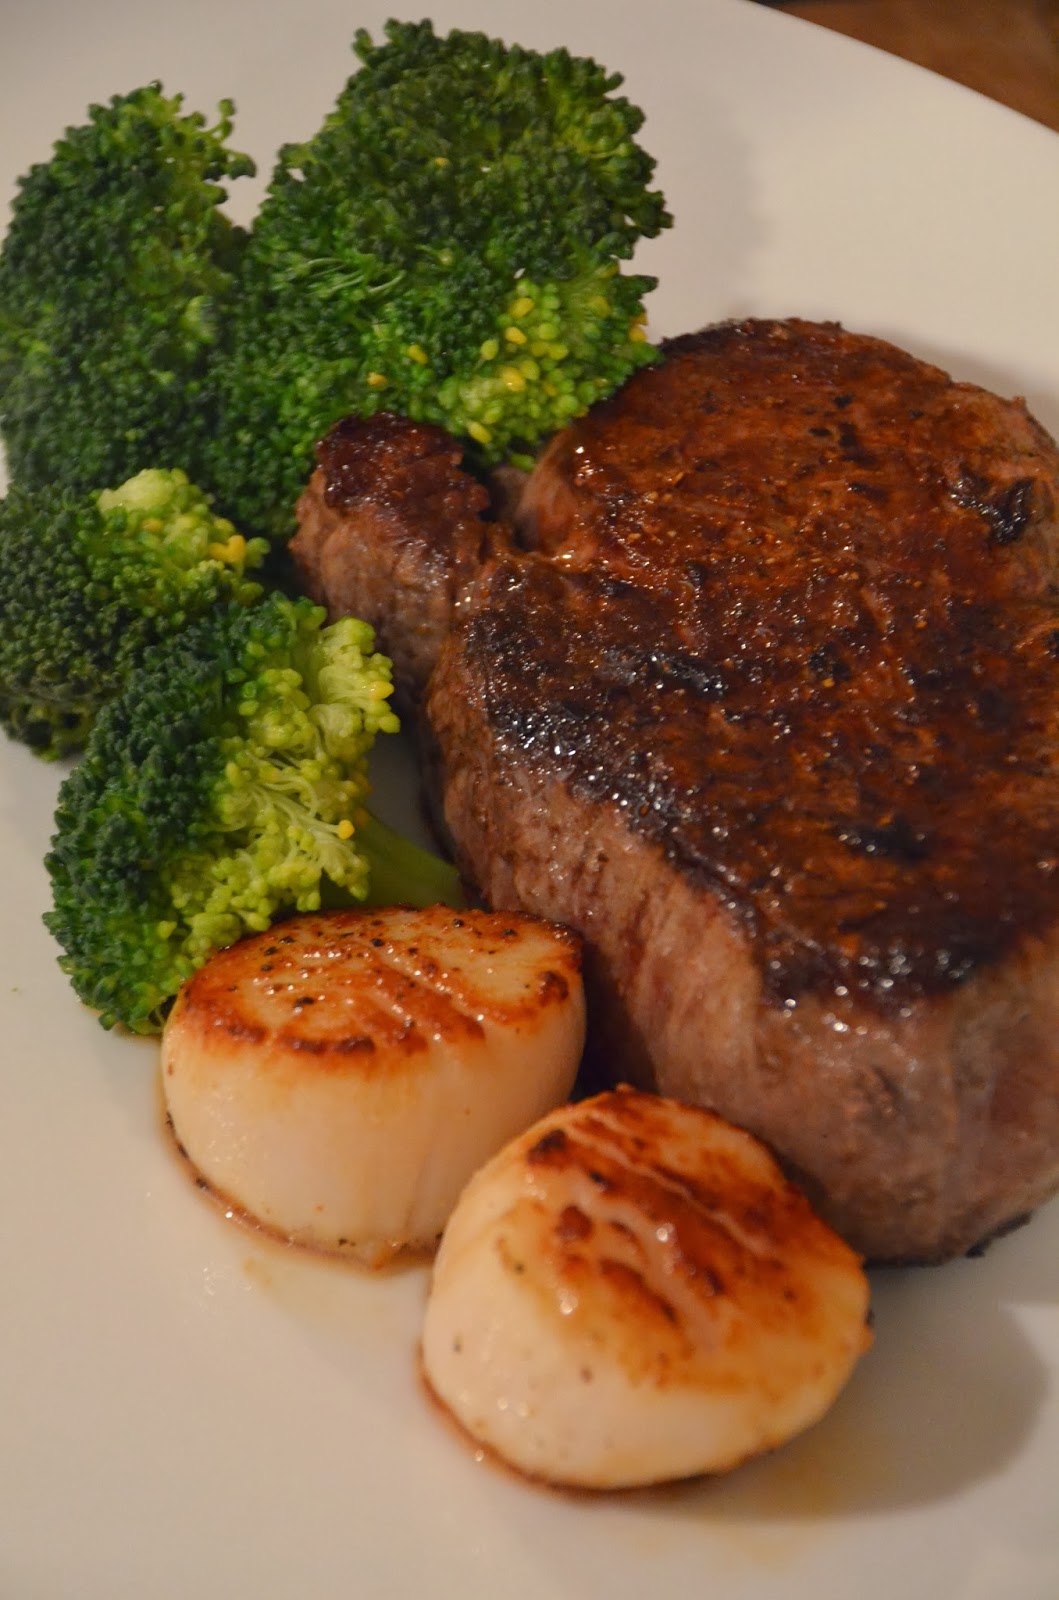
Jason and I used to go out to eat on Valentine’s day but ever since I learned the perfect way to cook filet mignon there’s no need to go out looking for it now.  I’ve had filets at our local pricey steakhouse before and I can say without hesitation, mine are better…and it’s not because I’m a good cook, it’s because cooking a filet properly is as easy as making a grilled cheese sandwich.  Yes, I’ve got the proof right here.

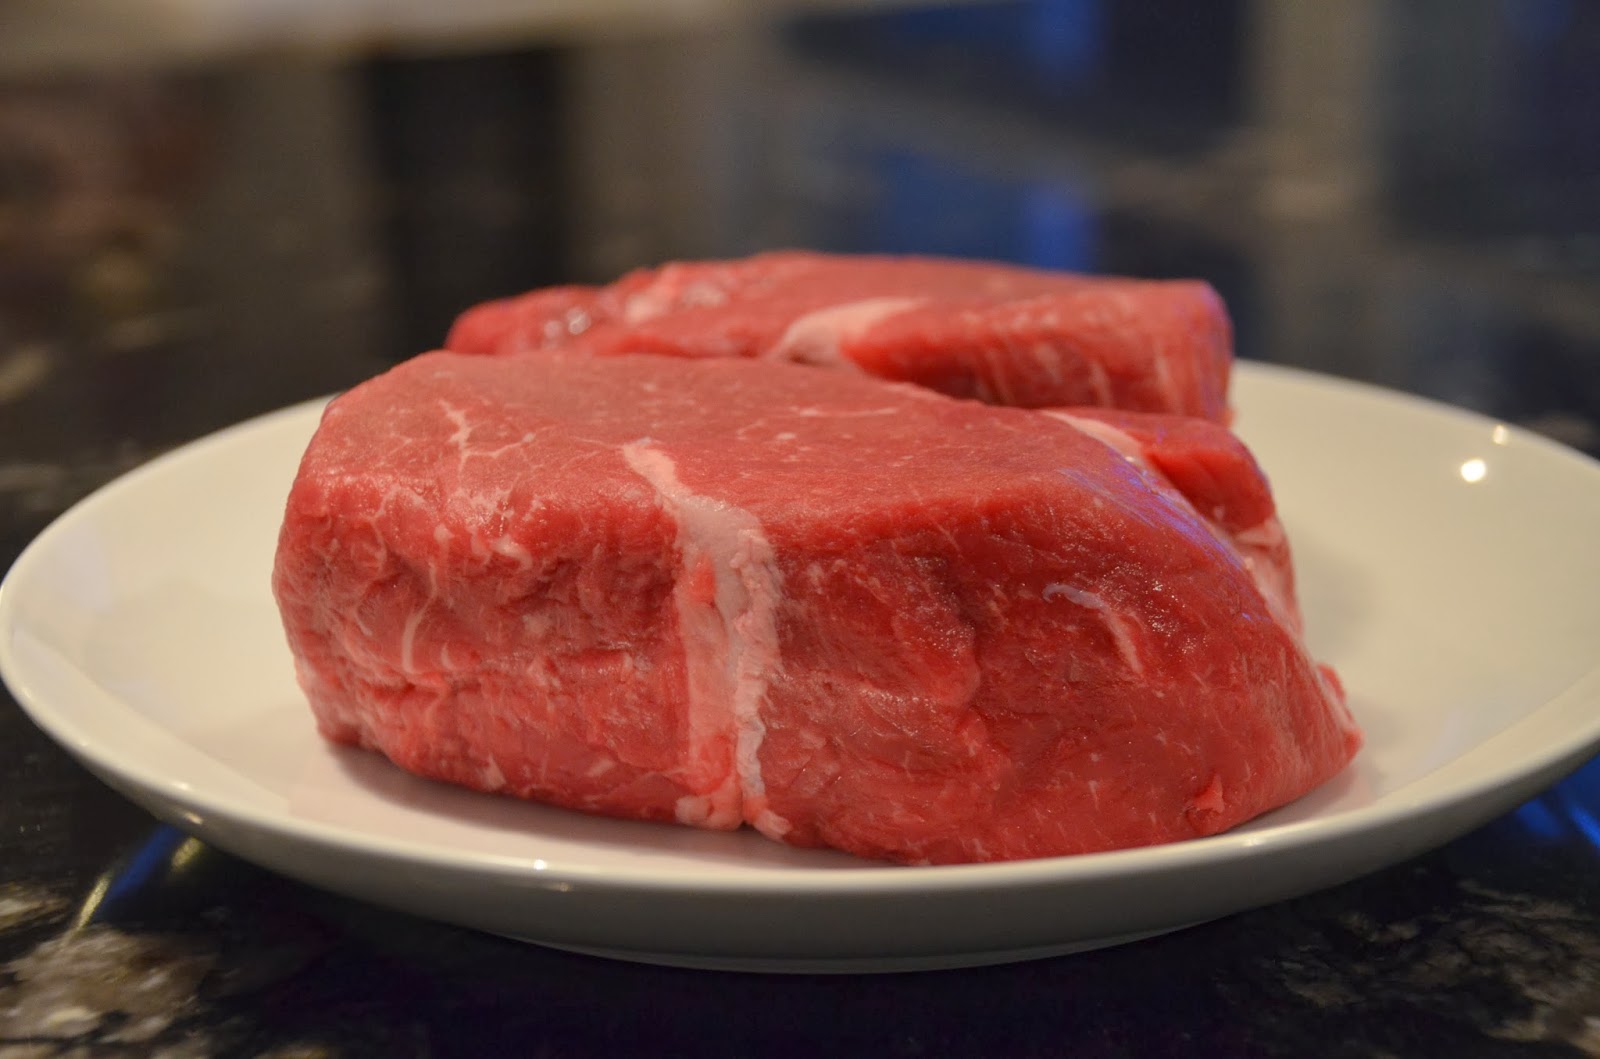
You want to start with a good piece of meat, make sure it’s nice and bright red with little marbling and is at least 3 inches thick.  Also, get a guarantee that the cow your meat came from did nothing but eat grass all day every day.

I picked these bad boys up at Whole Foods…

This was 1.3 pounds and I paid 38 bucks for it.  Seems pricey?  Go order this much meat at a steakhouse and your head will spin when you get the bill.  I got this much because I wanted to feed the kids too, I would feel too bad depriving them of the awesomeness that is filet mignon.

When you take this out of the fridge, let it sit for at least 30 minutes before you start cooking it so it can get close to room temp (yes this is completely safe).

Pre-heat your oven to 450° F…you need it to get blazin’ hot in there.  

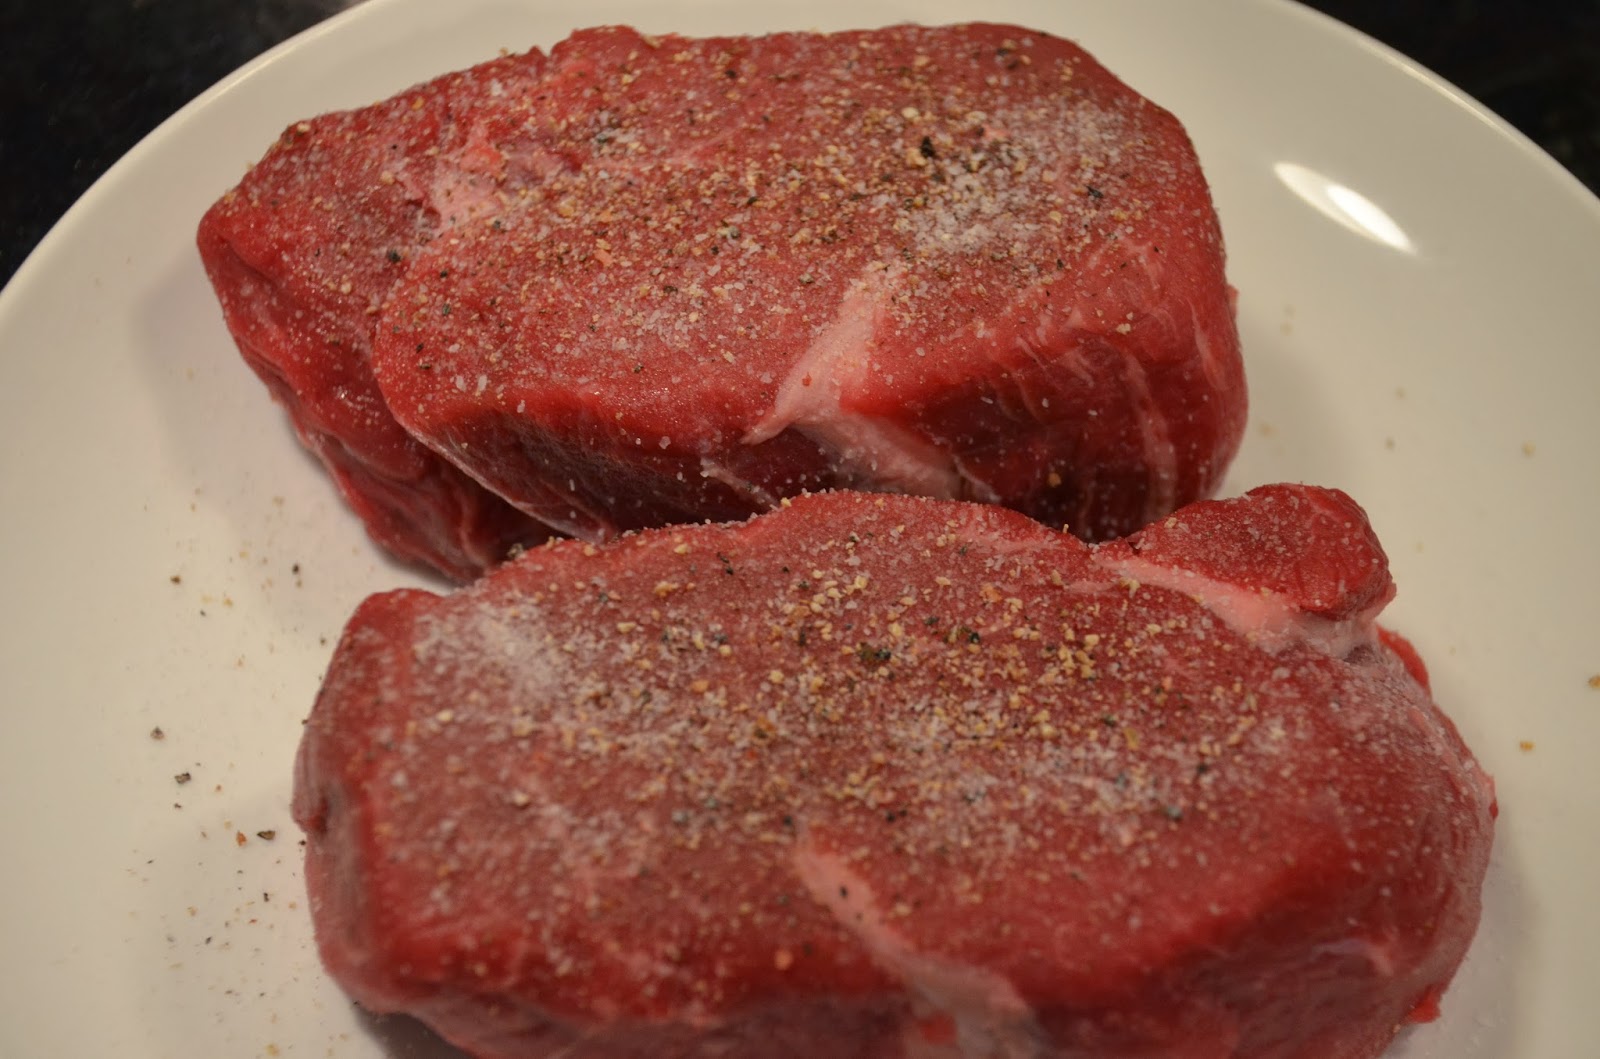
Cover both sides of your steak with a whole bunch of salt and freshly ground pepper.


Heat some extra virgin olive oil in a heavy bottom skillet over HIGH heat, you want that oil to get super duper hot.  I would suggest using your overhead exhaust when doing this because you might get some smoking, our smoke detector still went off as usual.

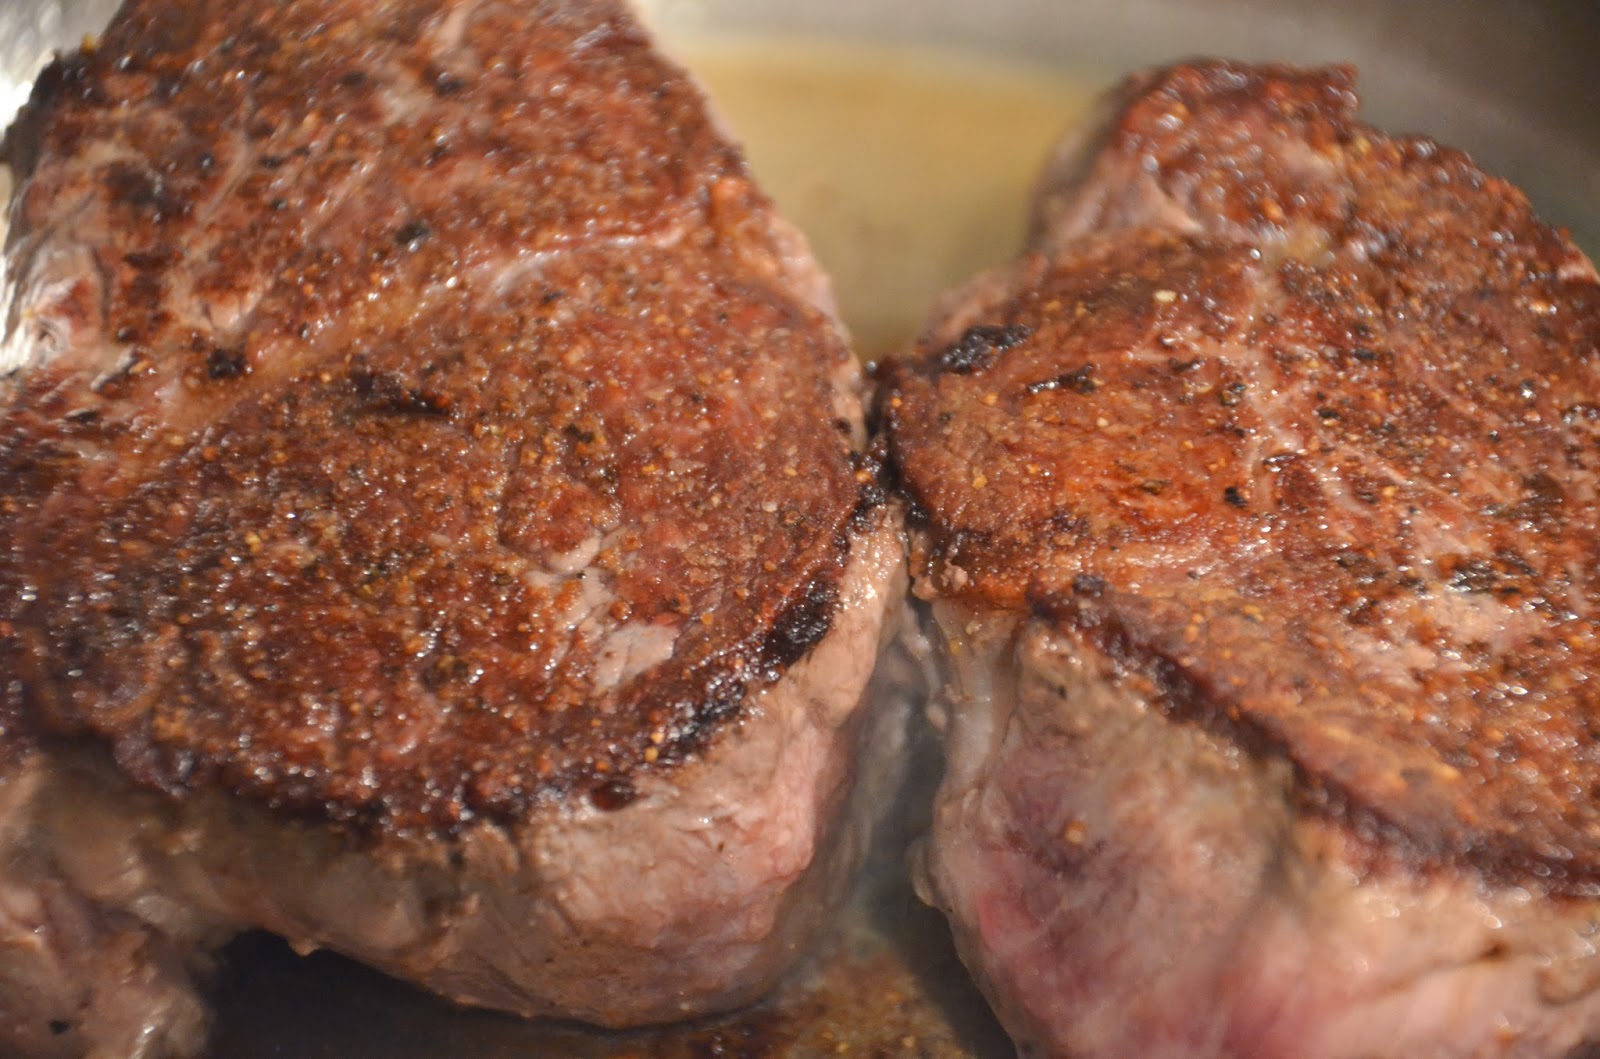
Once you’ve got the oil nice and hot, use tongs to place the meat down in the skillet.  This next part is very important, DO NOT MOVE IT, TOUCH IT, OR FIDDLE WITH IT.  If you do, you will ruin everything.  After 3-4 minutes, use your tongs or a metal spatula to flip the meat over.

This is what you want to see…dear GOD that looks good.


3 more minutes on this side and then pop the whole thing, pan and all, into the oven on the middle rack.  You can put a pat of herbed butter (butter mixed with thyme, rosemary, etc.) on the top of each steak before it goes in the oven but I don’t think it’s necessary.

Here are my suggestions on cooking time…

Rare – 2 minutes
Medium Rare – 5 minutes
Medium – 7 minutes
Medium Well – 8 minutes
Well Done – 10 minutes

As we all know, you can put a steak back in the oven if it’s not done enough for your liking but the reverse ain’t happenin’.  I would also never recommend cooking a filet to well done because it’s not a cut of meat that is meant for that but you won’t get arrested so do what you want I guess.

I did 6 minutes because I like it somewhere between medium rare and medium…it worked perfectly.

When you take the steak out, set it aside in the pan and let it rest for a little while to seal in all those glorious juices.

Now let’s whip up some seared scallops to make this dish even fancier!  Seared scallops go so well with this because they are sweet and light, they compliment the salty heartiness of the meat perfectly. 

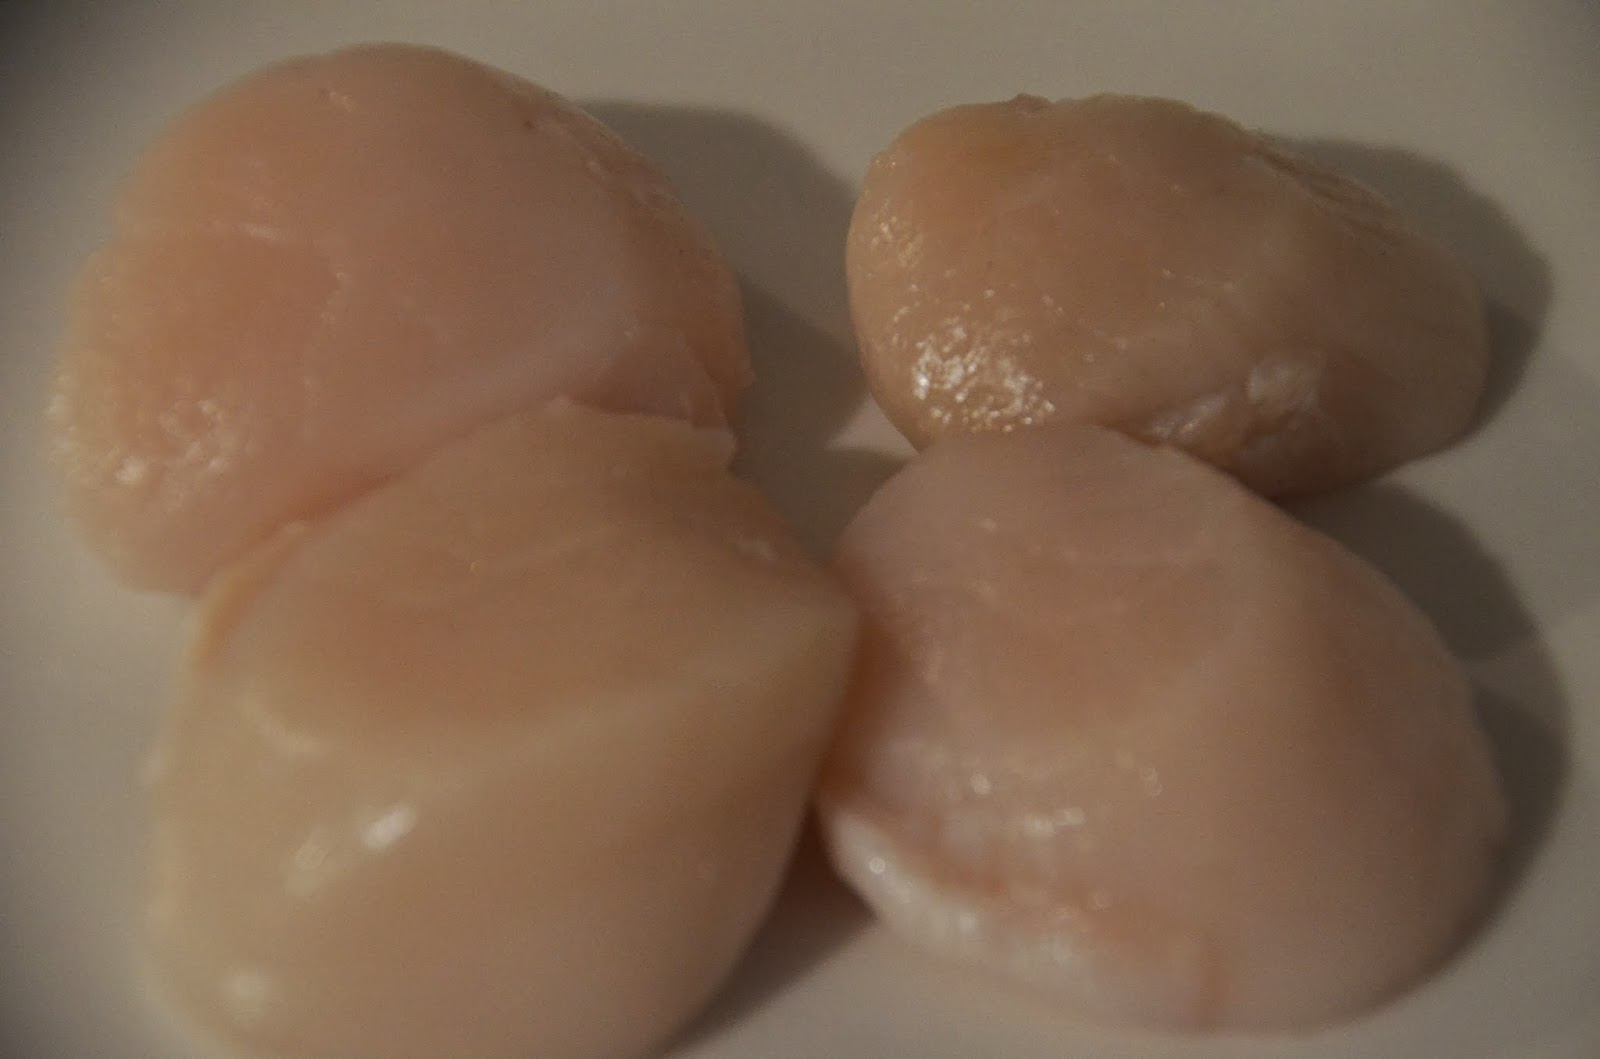
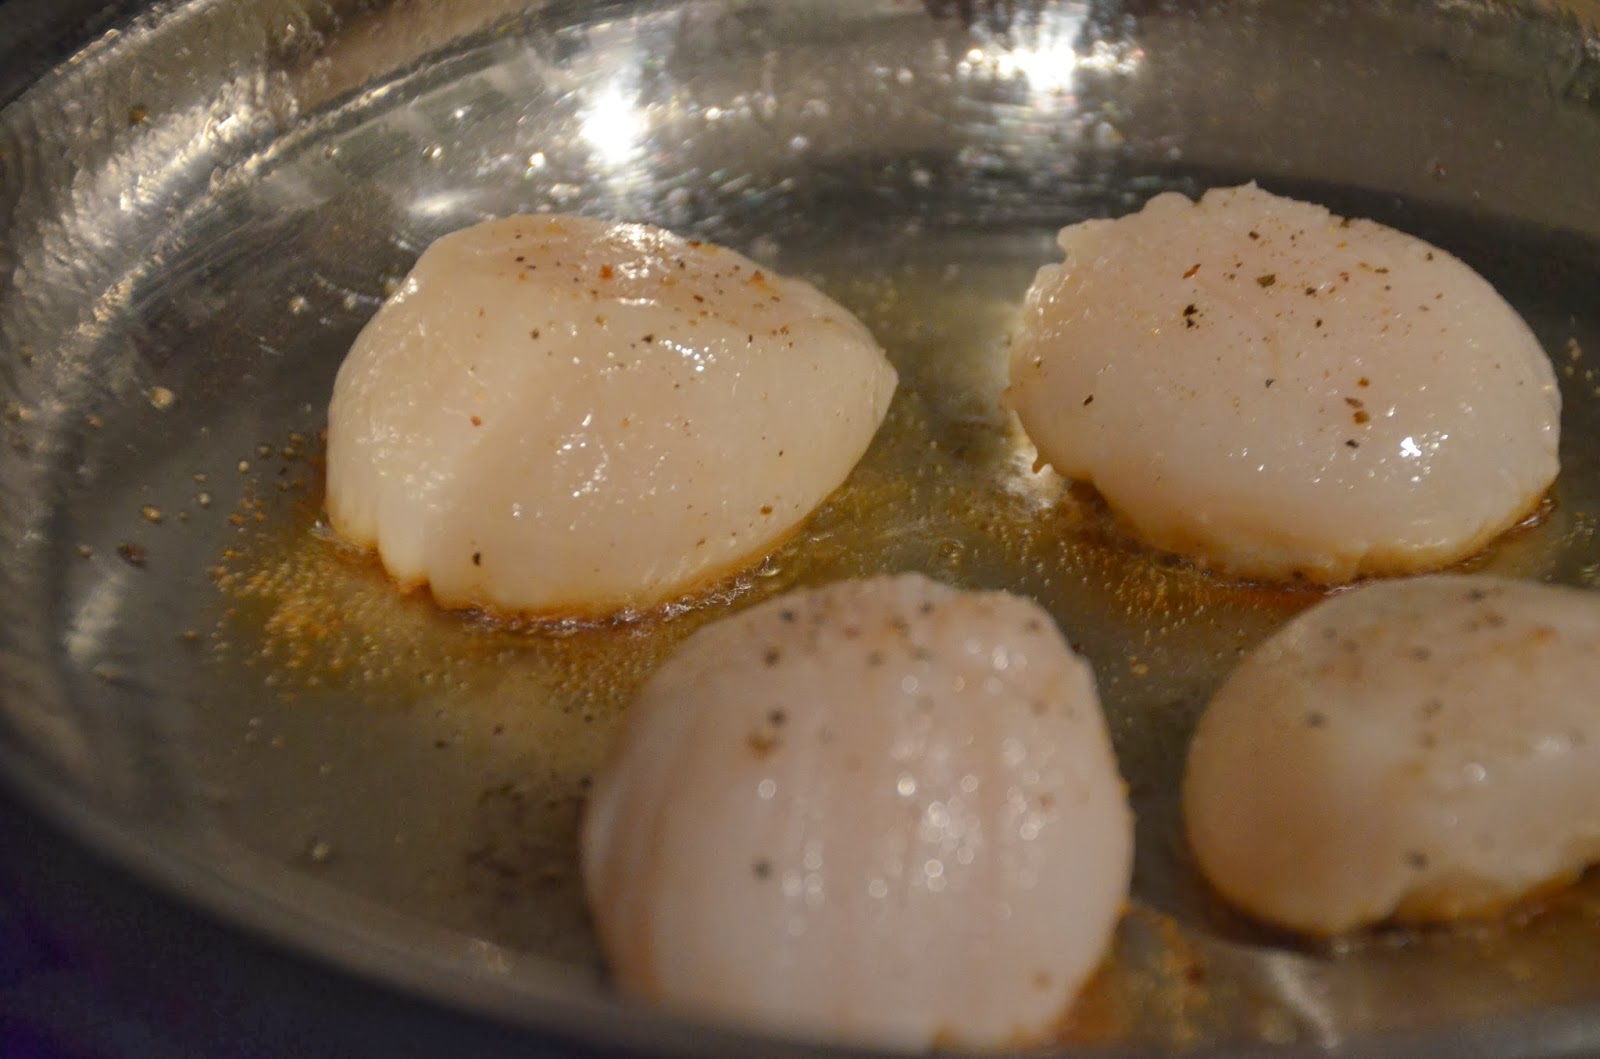
Get some extra virgin olive oil going in a small saute pan over high heat.  Make sure you pat your scallops dry with a paper towel…


Don’t salt and pepper them until right before they go in the pan because the salt will draw out more water from the scallop.

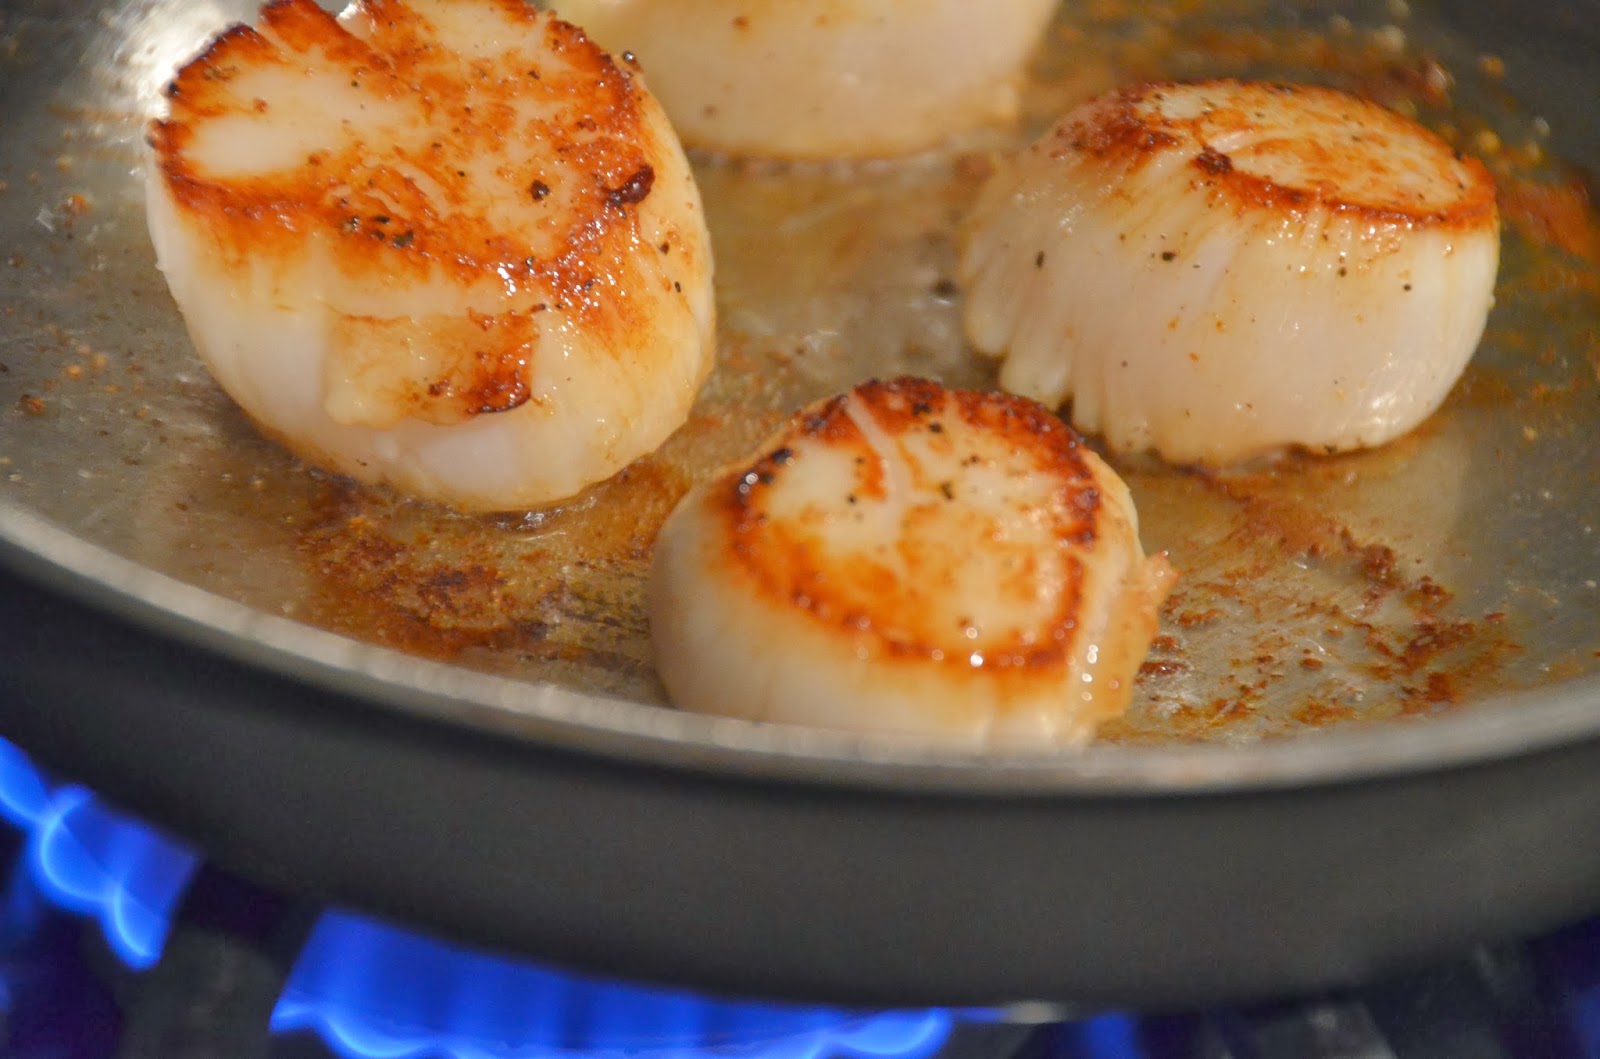
Use tongs to place them in the skillet and sear on one side for 1-2 minutes…


They will start to get nice and brown on the bottom, just what you want.  Then flip them with tongs or a metal spatula…oh yea baby.


Cook for another 1-2 minutes and they are done and ready to eat.  Your steak is also ready for the party.

I like to make broccoli with this dish because my kids love broccoli for some reason, asparagus is also a good option.  

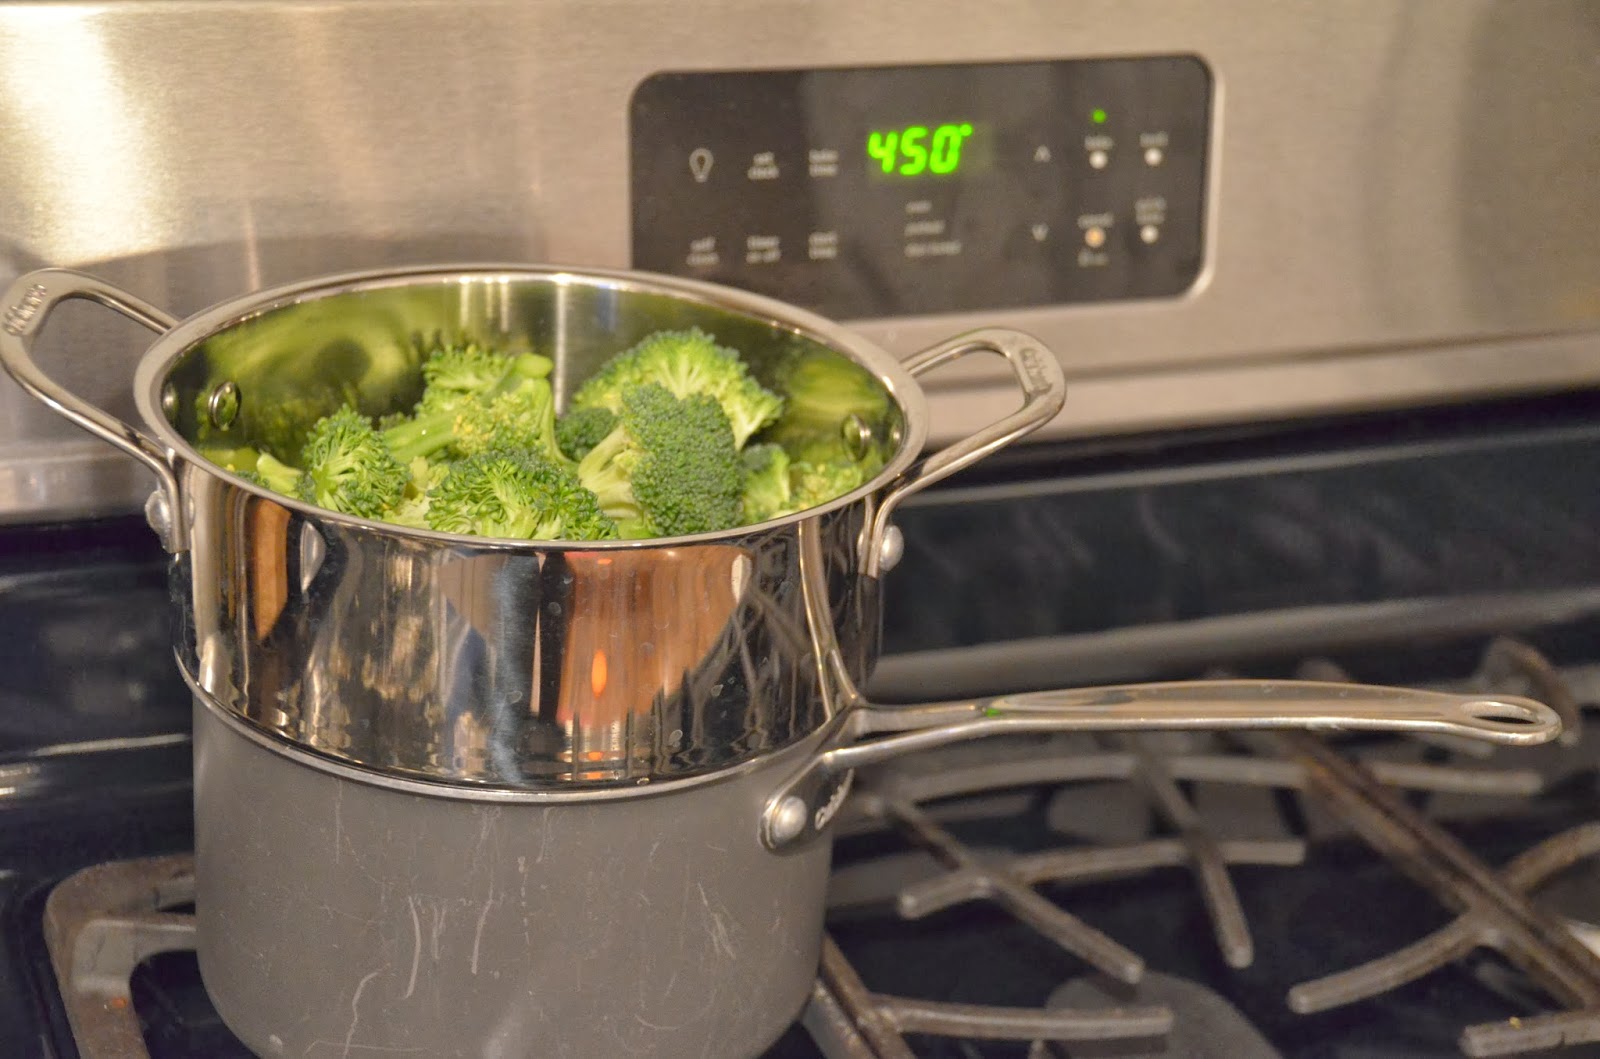
I make broccoli in this thing…


You put water in the pot about half way to the top and the top pot has holes in the bottom so the boiling water steams it perfectly.

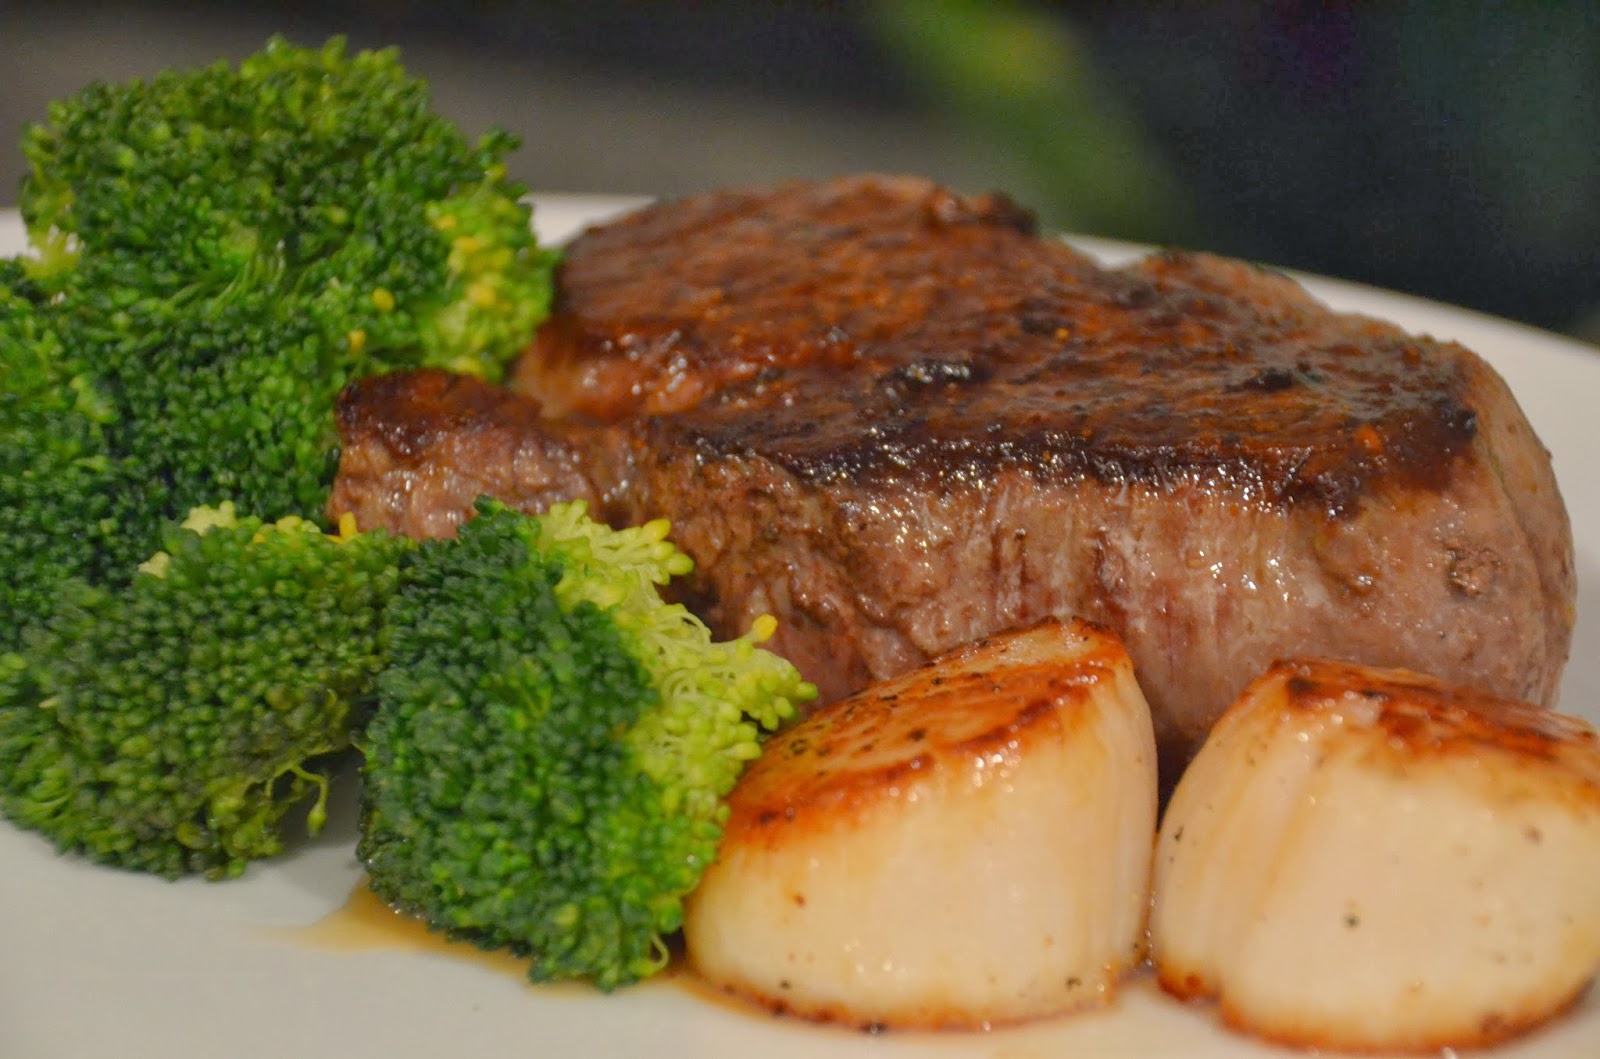
Here is the final product…I know, right.


This is so SO easy.  But just to warn you, if you make this for someone be prepared for a marriage proposal at the end of the meal.  My husband proposed to me after he ate it and we’re already married, that’s how good it is.

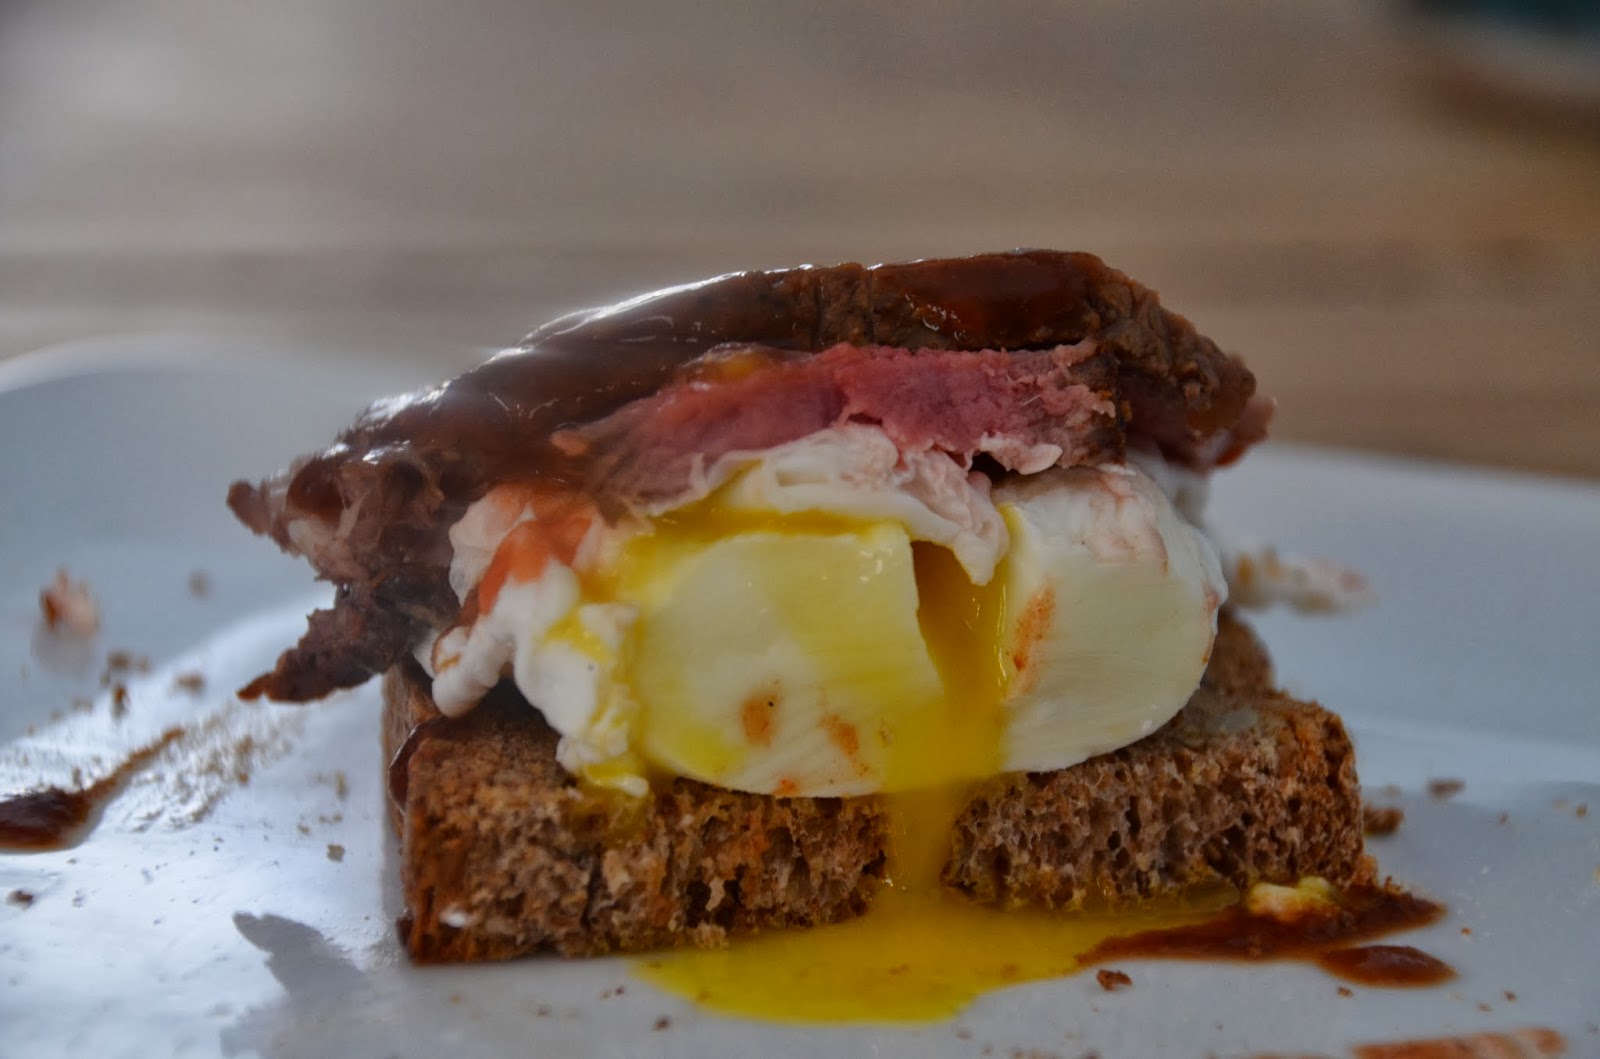
And if that wasn’t enough, we had this for breakfast the next morning…sliced filet over a poached egg on whole grain toast and covered in steak sauce.  We heard angels singing while we were eating it.


I hope I’ve inspired a few of you to try this meal at home.  Everyone deserves to eat this well.

Cheers!

The Good Cooker
That Awesome Coconut Curry Shrimp Thing


Well, my toddler screamed for about two hours straight tonight for no apparent reason other than to attempt to drive me completely insane.  You know that commercial where that lady sings that song to keep from freaking out on her kids…well I think I’ve sang “You are My Sunshine” 85 times since I got home.  I know he’s fine because once in a while he gets distracted by Jake and The Neverland Pirates and goes completely quiet until he realizes he has stopped driving me completely nuts and starts up again.  I don’t know why they do this, it doesn’t look like fun at all…toddlers are one of life’s greatest mysteries, and they are totally weird.

Ok, onto food…

You know how when you go out to a really good Thai restaurant and order that curry dish and it’s so amazing that you’re freaking out and telling everyone they have to go there and order it and you won’t shut up about how it’s the best thing you’ve ever eaten and everyone is getting really annoyed?

This is that dish…and you can make it at home!  Stop calling me a liar, it’s true!

This is easy, and it’s fast, and it’s healthy, and it will blow…your…mind.  Sorry, I’m being dramatic again…I just ate it and I’m on a pretty good food high right now.

Here are the ingredients you will need…

1 pound of shrimp (peeled and deveined), or you can use chicken, or you can leave out the meat if you are a veggie

1 – 14 oz. can light coconut milk
2 tbsp – red curry paste
2 tbsp – fish sauce
1 tbsp – brown sugar
1 – chopped red bell pepper
3 – diced green onions
2 cups – sliced carrots
1 – minced clove of garlic
bag of frozen peas
coconut oil
1 cup – uncooked Jasmine or Basmati rice
salt and pepper to taste
chopped cilantro for garnish

For the rice, just use 2 cups water to 1 cup rice and bring to a boil, turn down to a simmer, cover for about 15-20 minutes and it’s done.

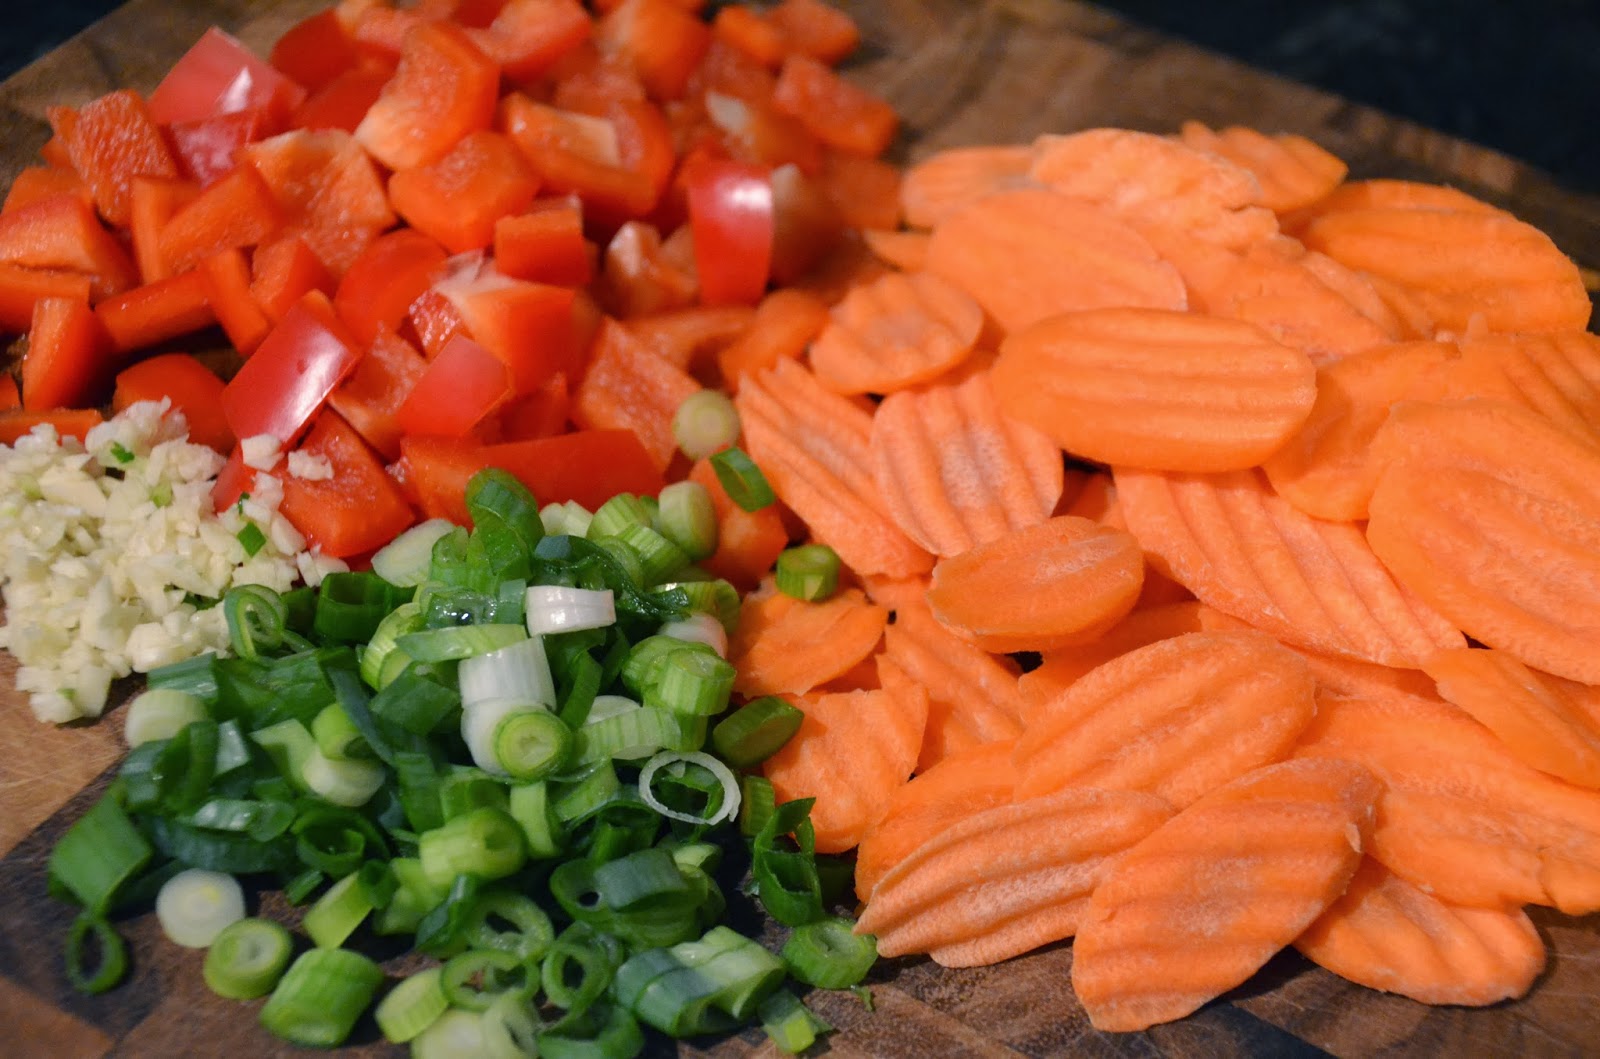
For the rest, chop up the veggies and set them aside…


I didn’t slice these carrots…someone at a carrot company did.

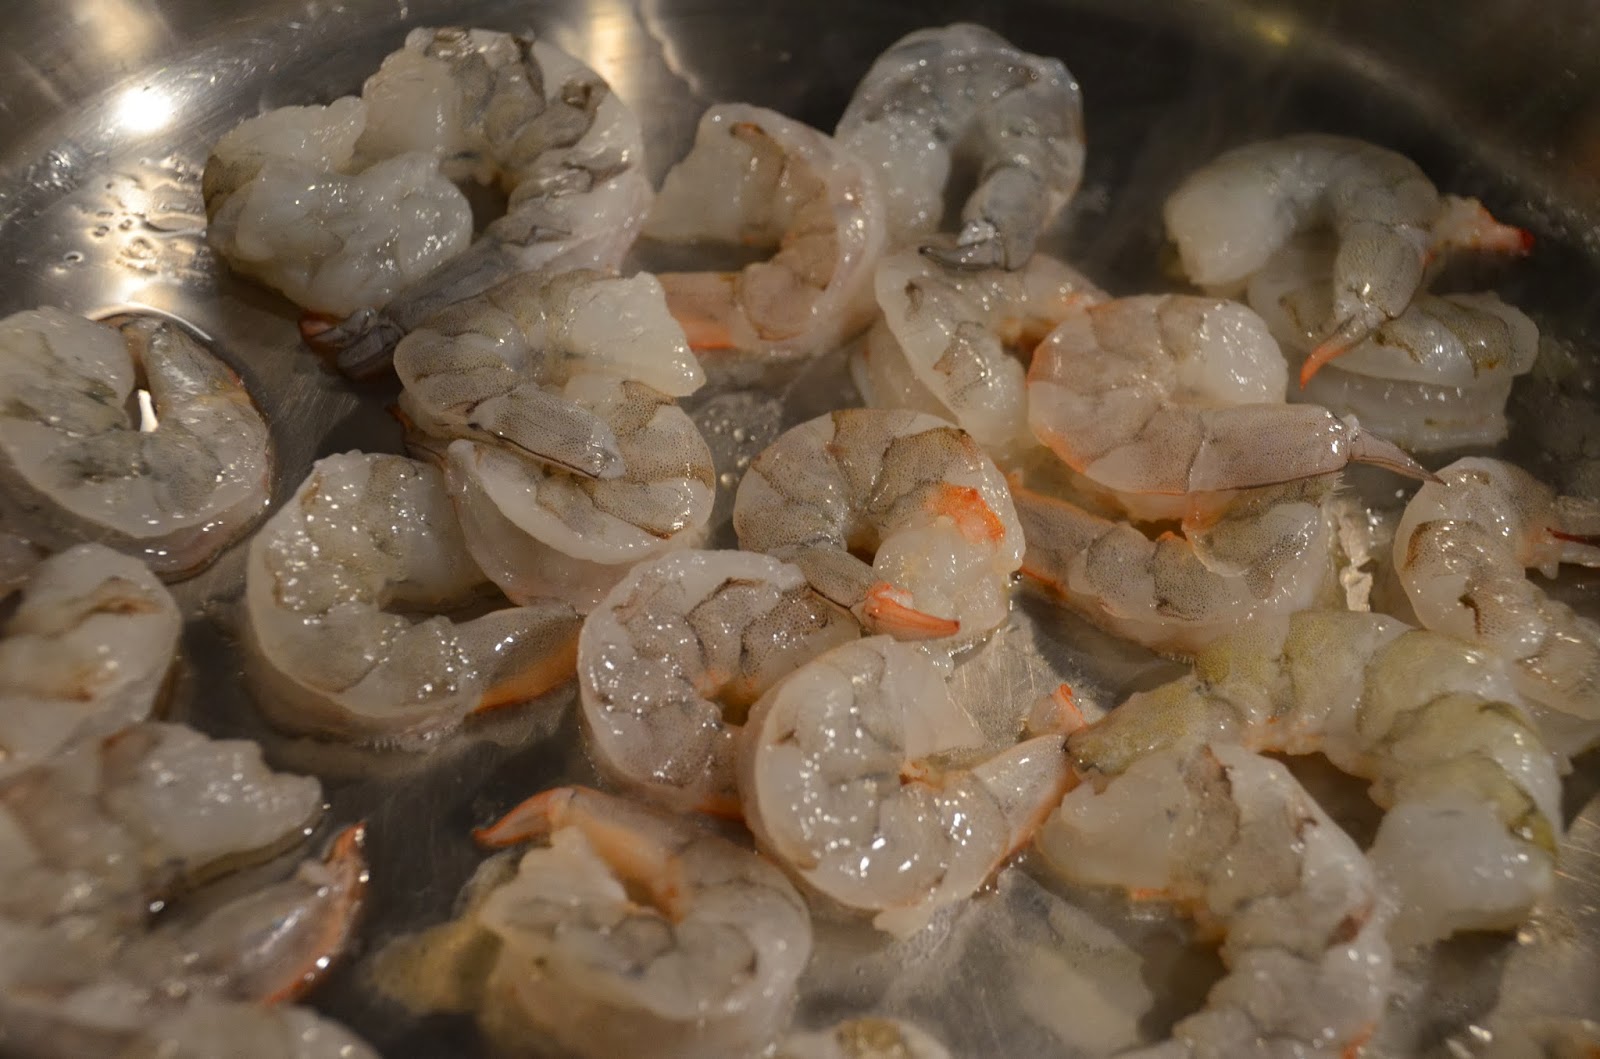
Put about one tbsp of coconut oil in a large skillet over medium/high heat.  Add the shrimp and cook on one side for 1 minute…


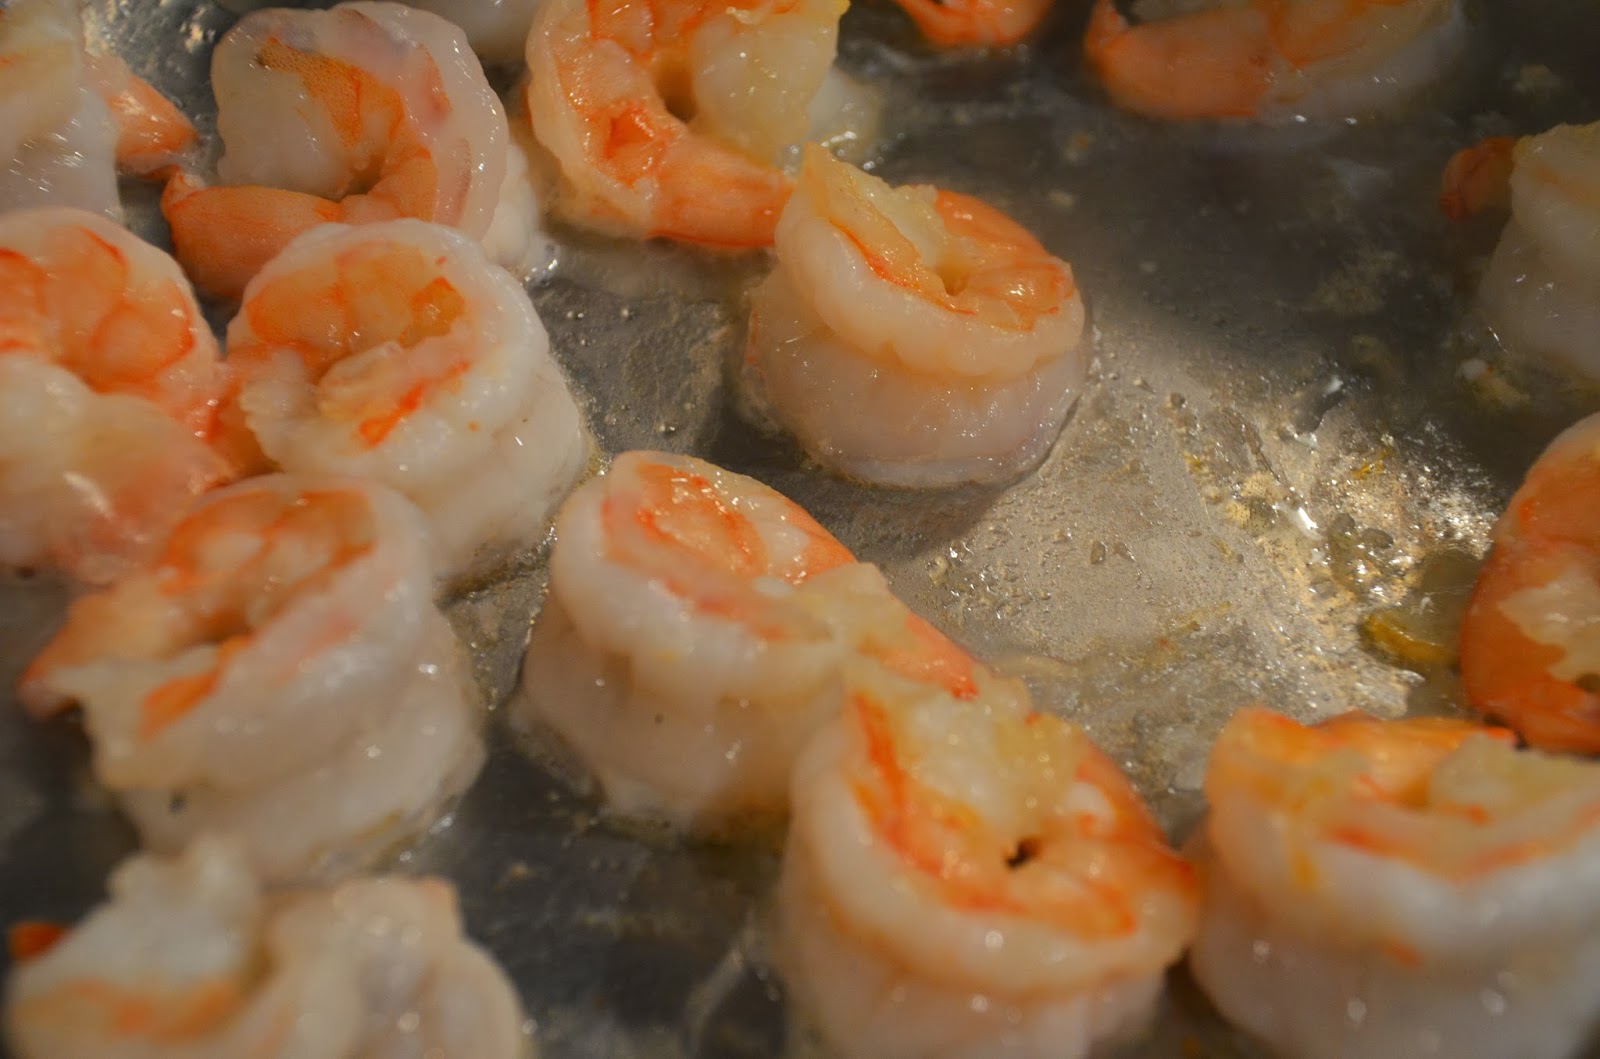
Then flip the shrimp and cook for 1 minute more…

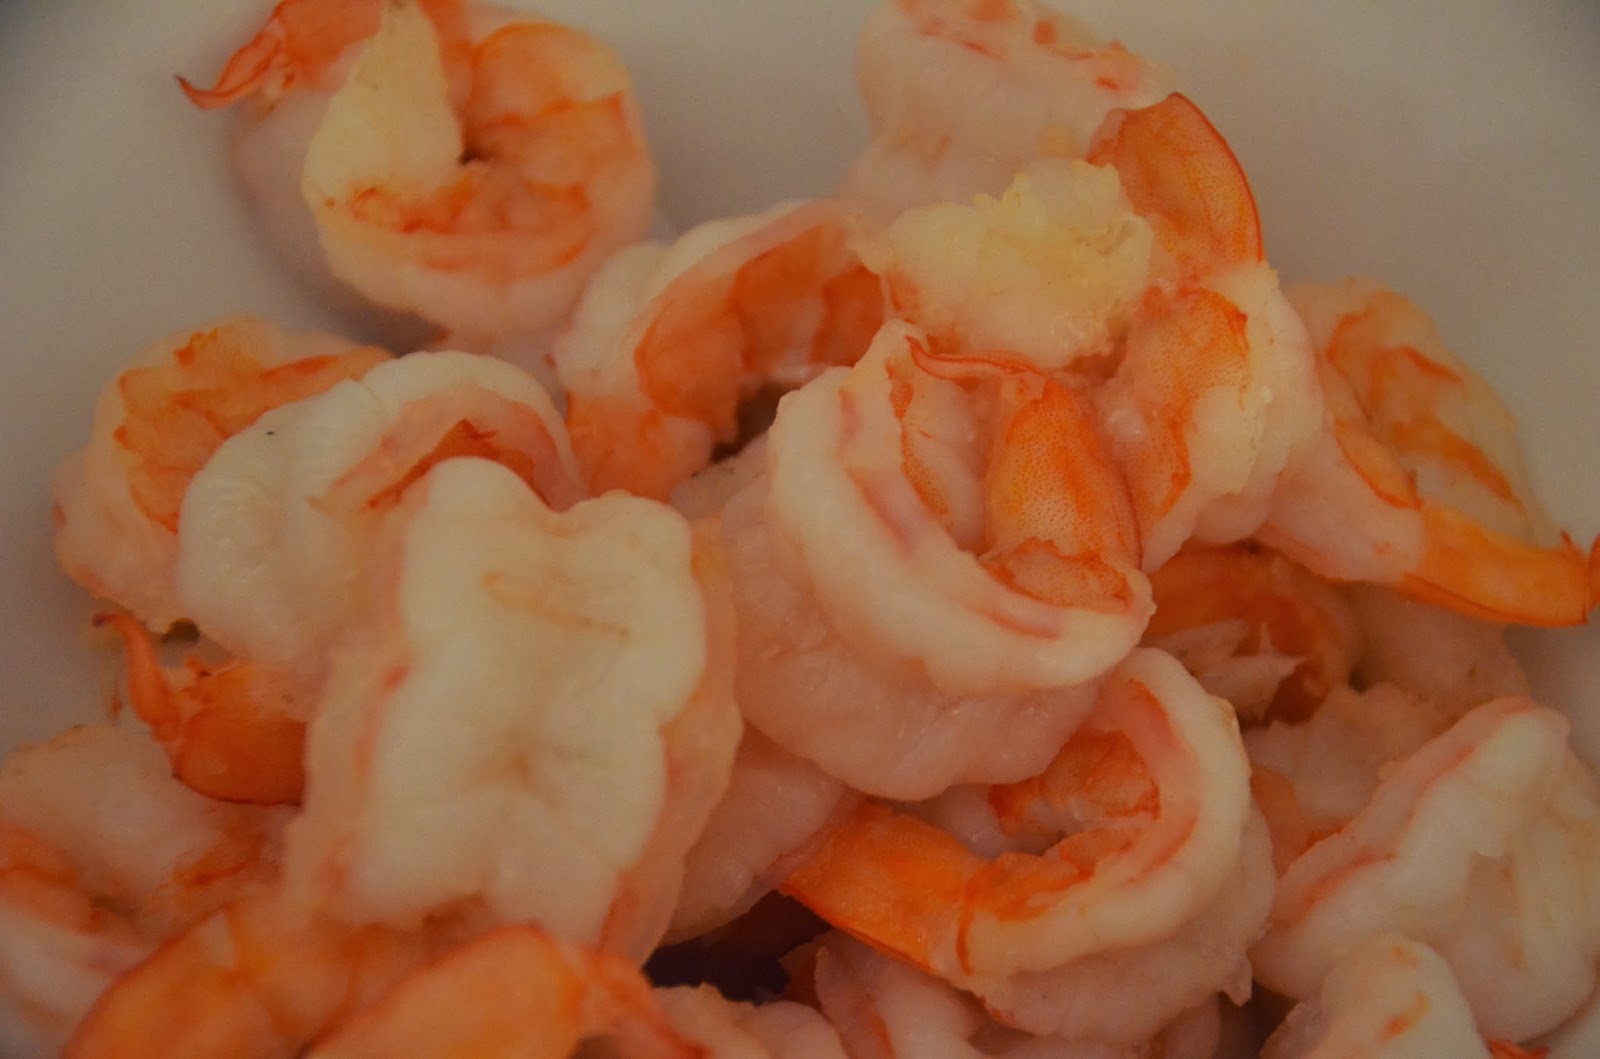
Now take them out and set aside in a bowl…

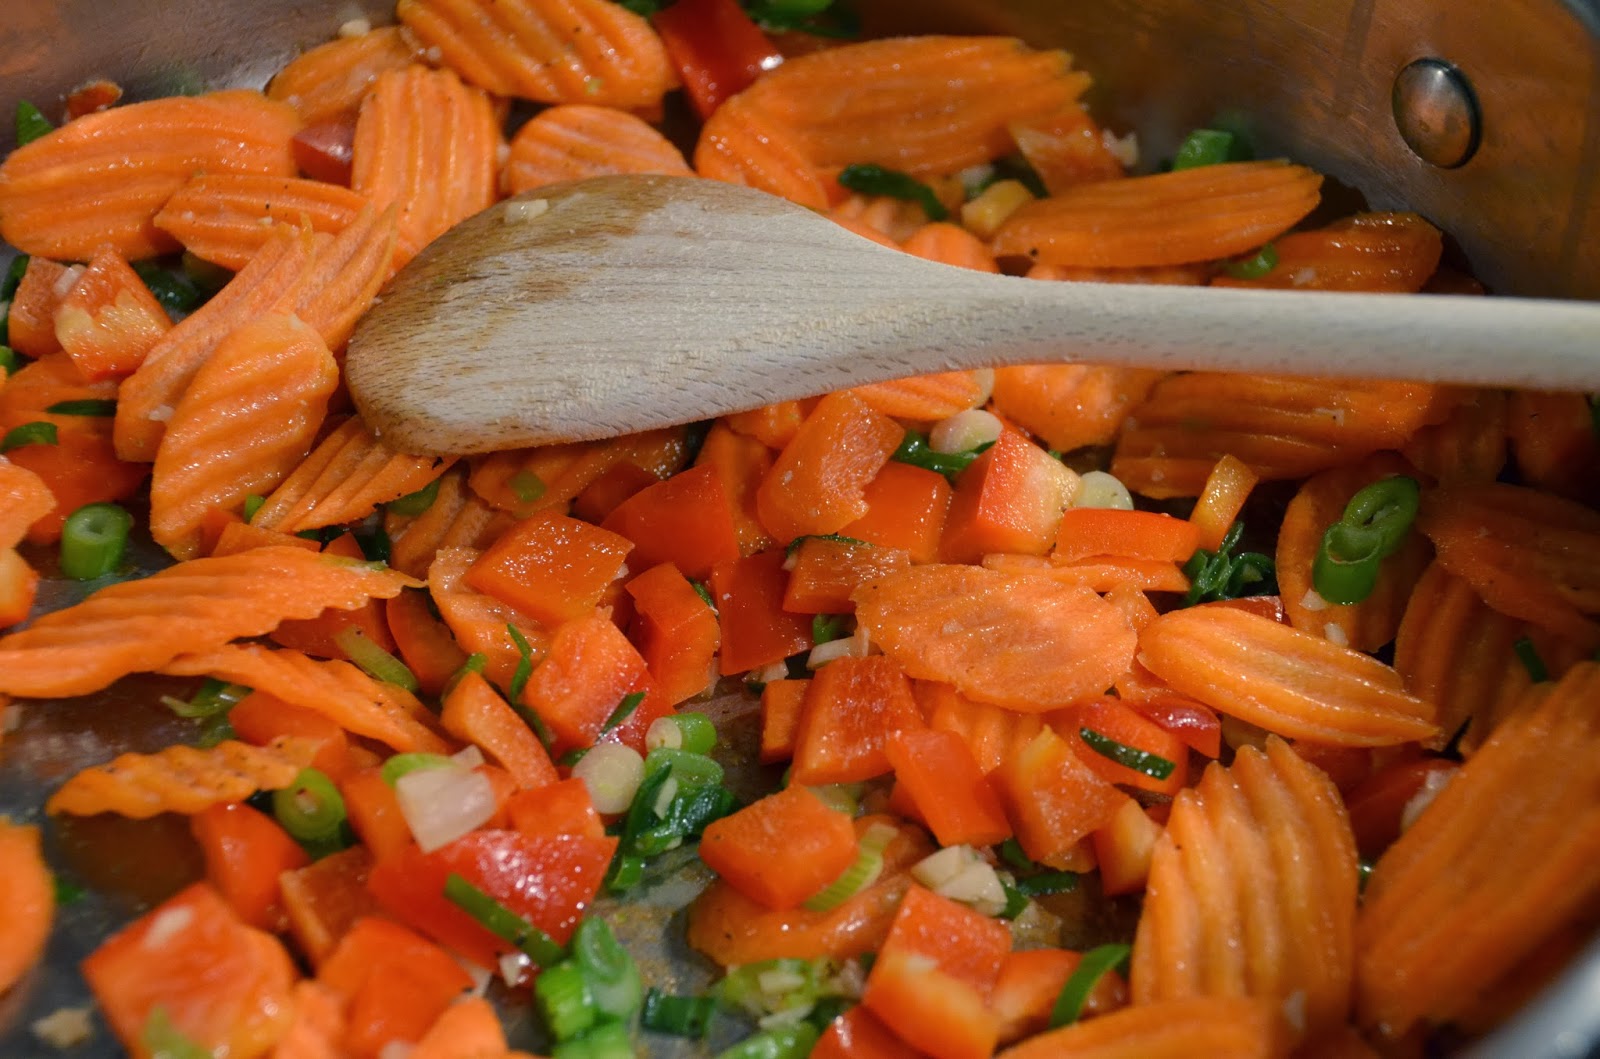
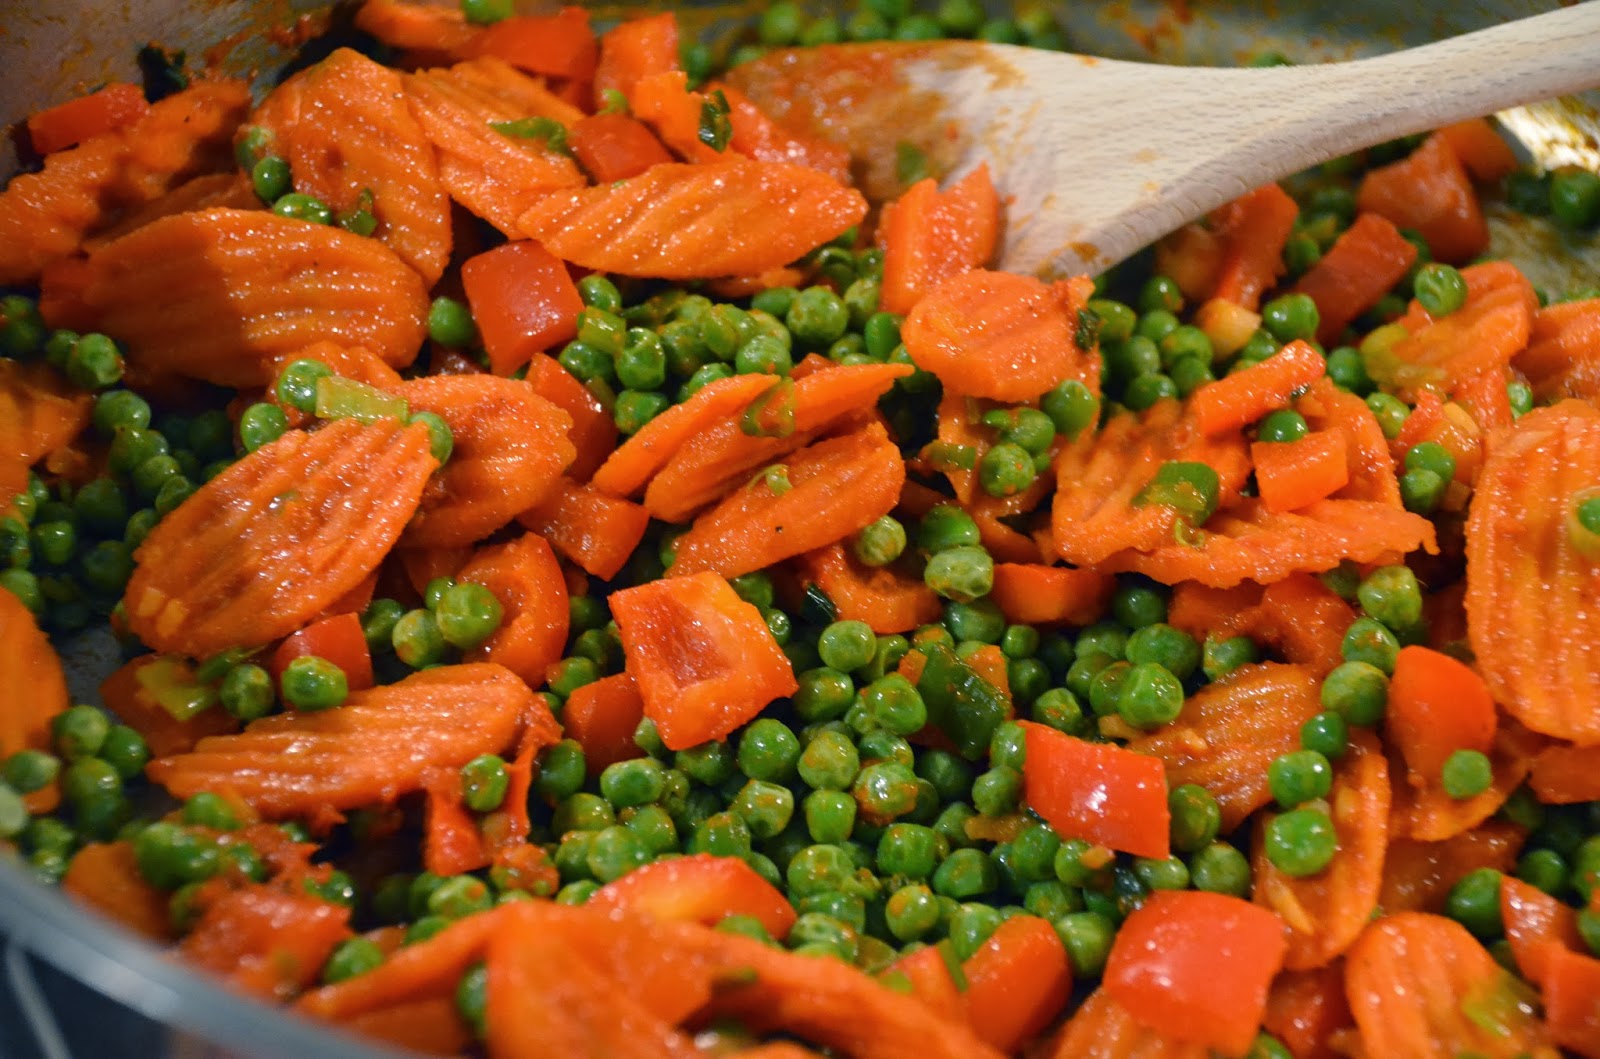
Heat a little more coconut oil in the same pan you used to cook the shrimp and add all of the chopped veggies (garlic, green onion, red pepper, carrots)


Then add the red curry paste and frozen peas…red curry paste is a glorious thing, I don’t know what’s in it besides curry but who cares because it tastes like you won the mouth lottery when you eat it.


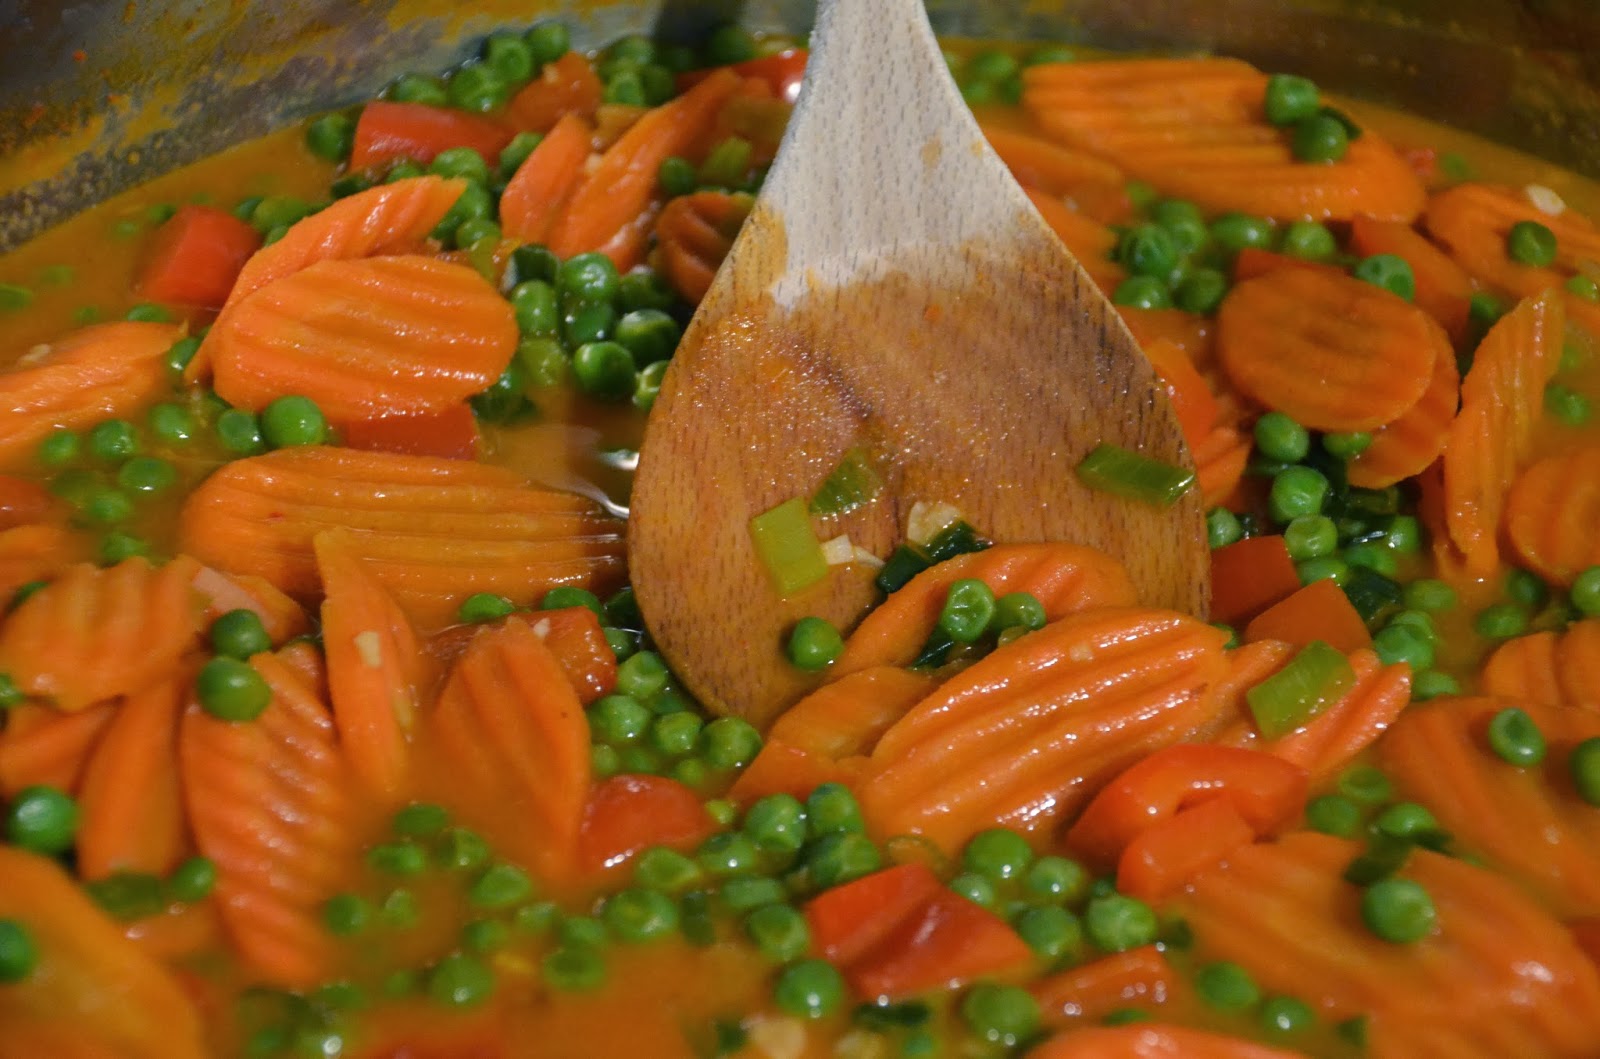
Next, pour in the coconut milk, fish sauce, and brown sugar and stir everything together…


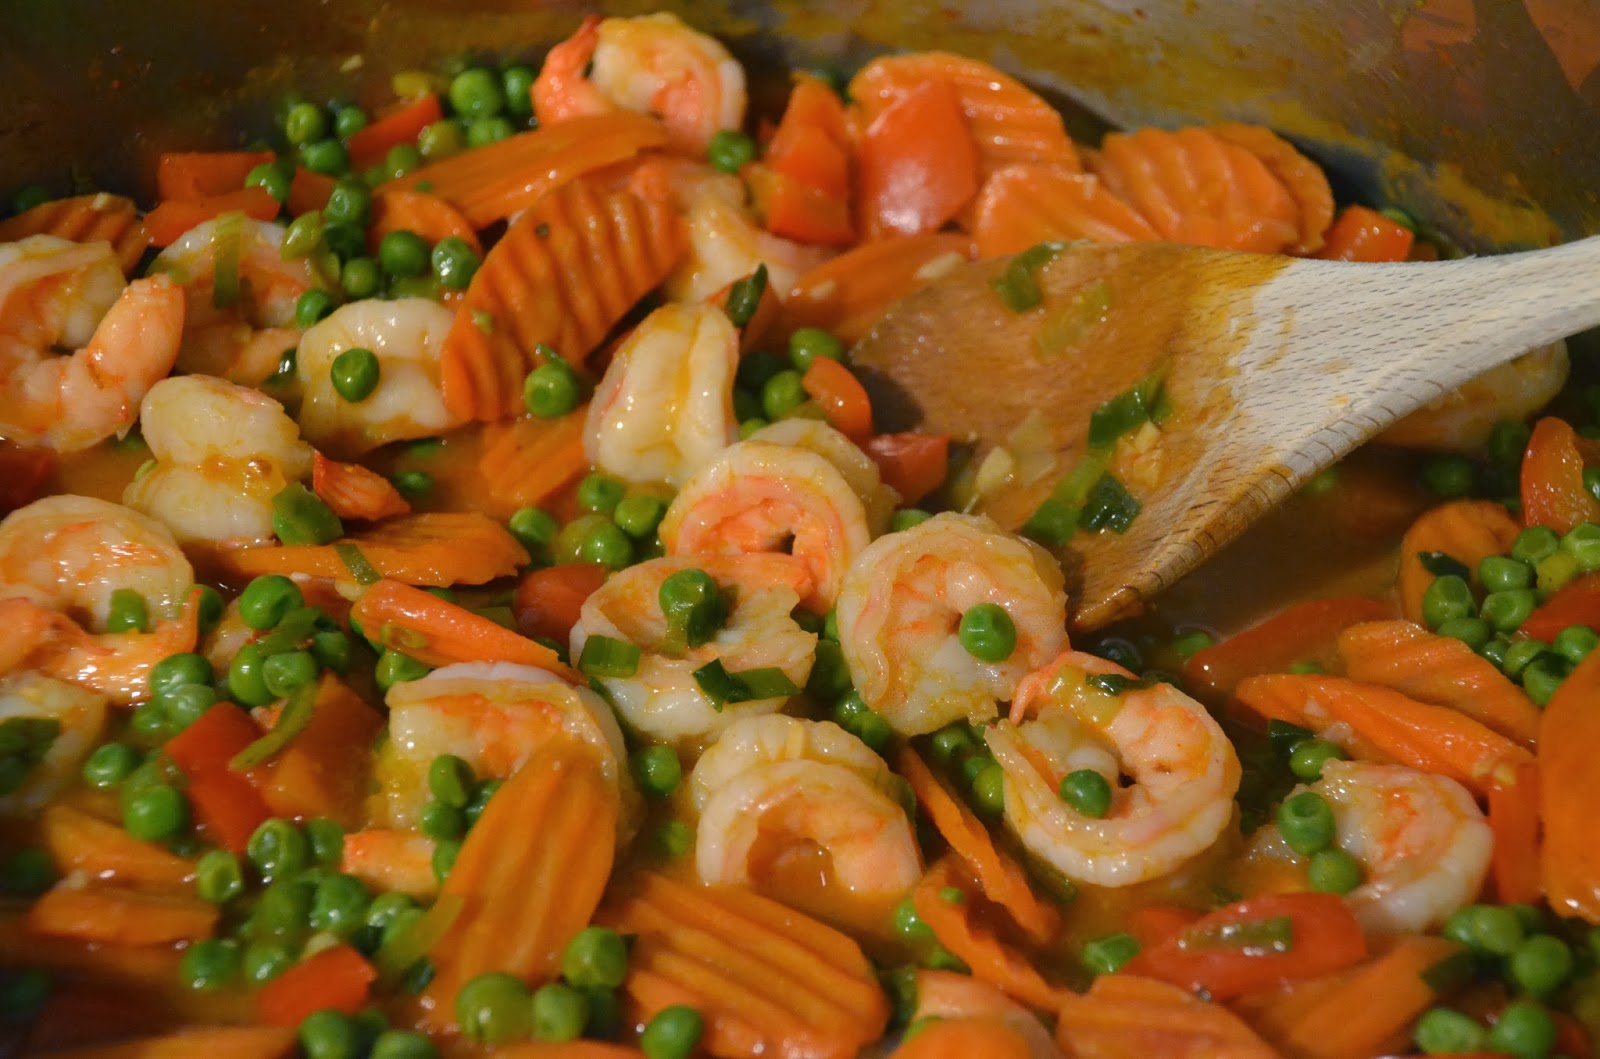
Let this simmer for about 7-10 minutes and then add your shrimp back in, stir it all together and simmer for about 1 minute more and then add some salt and pepper if you feel like it.


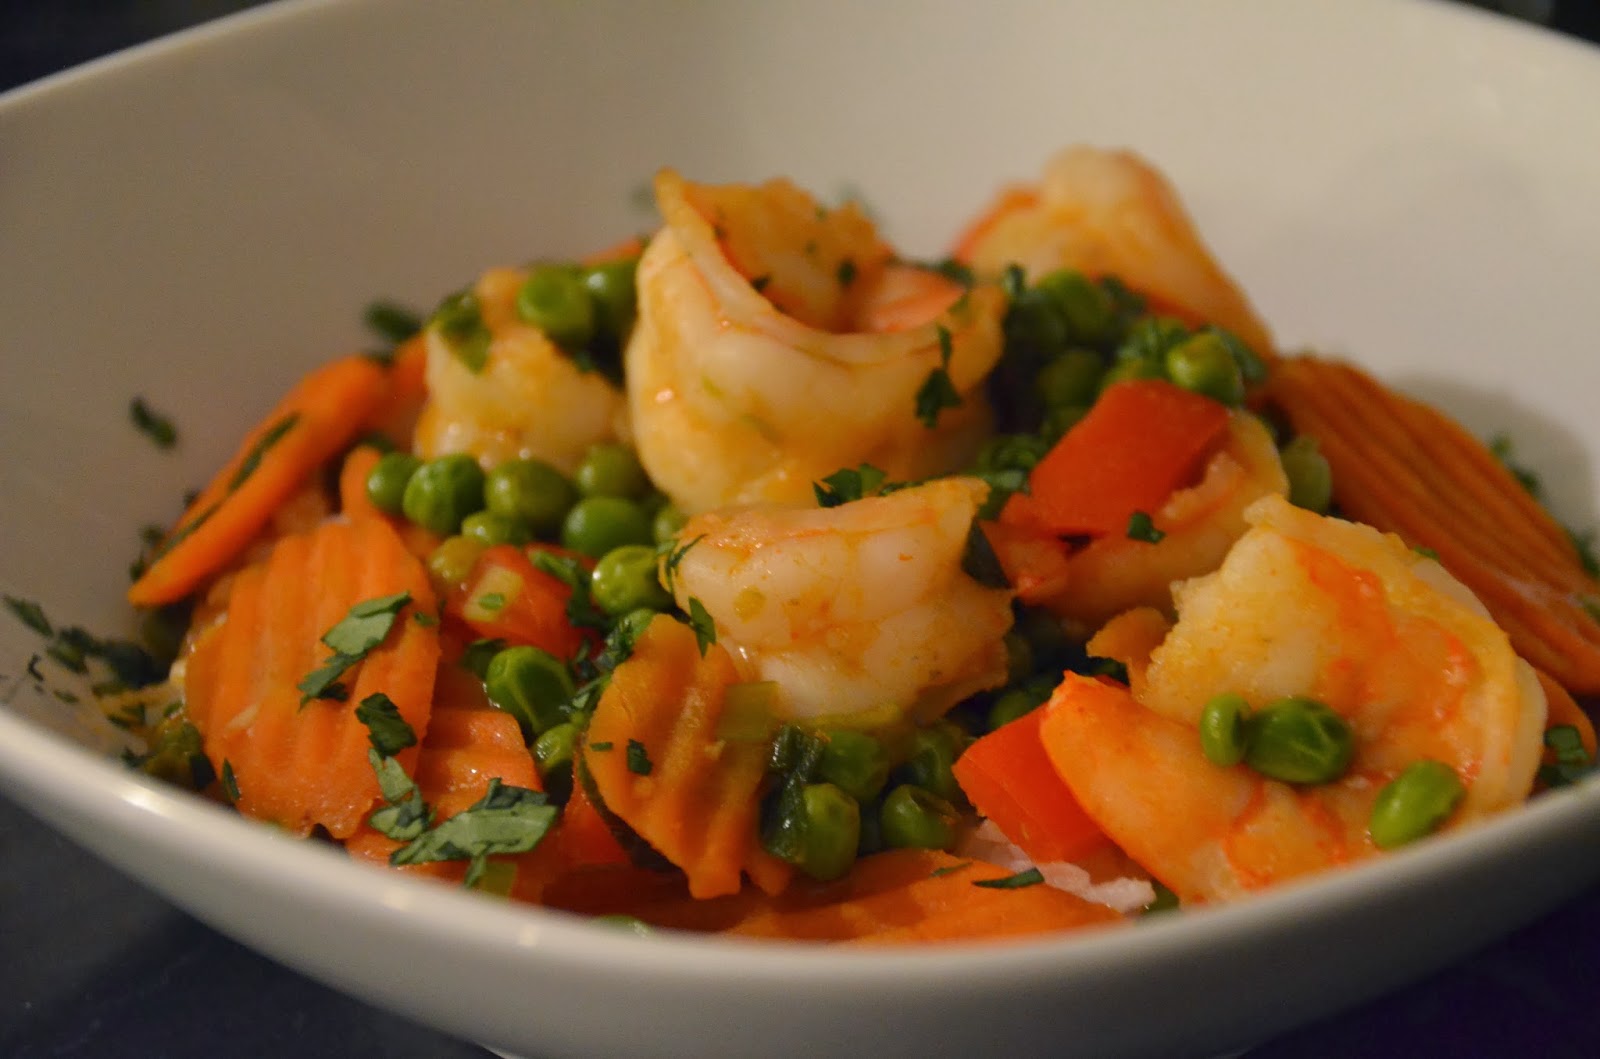
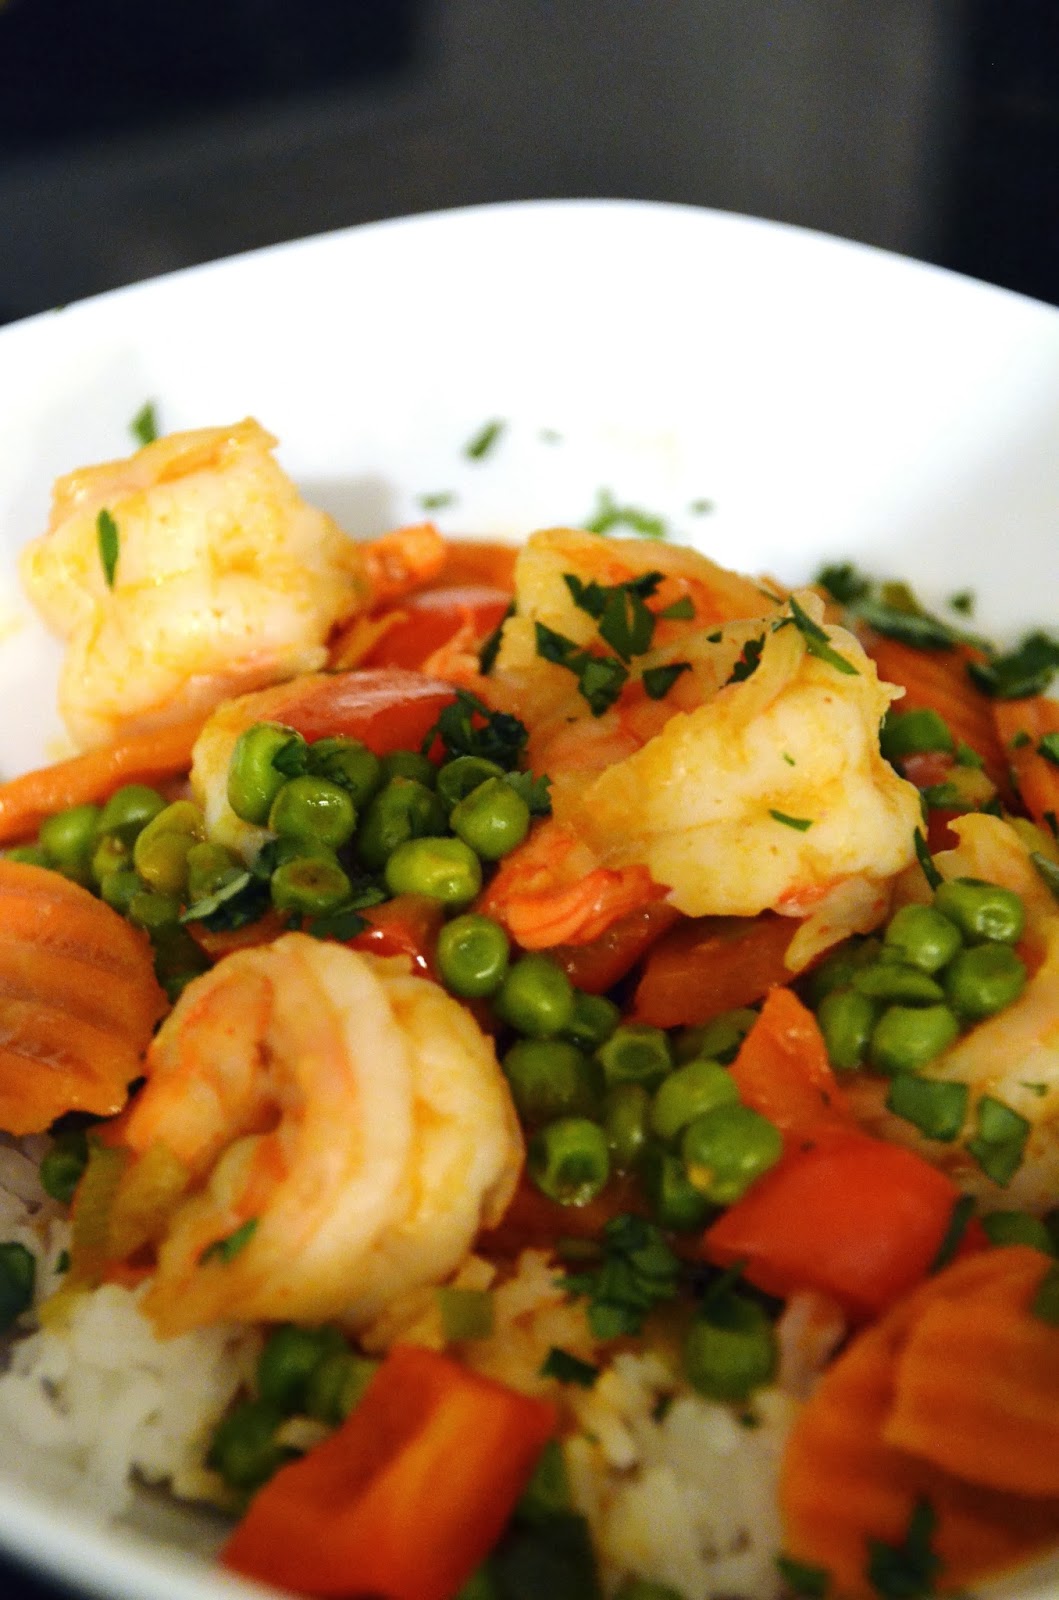
Boom, it’s done, throw some chopped cilantro on top (if you want to) and serve over the rice.


Sigh…what a treasure this recipe is, if you like curry I think you will definitely be a fan of this dish.  I’m trying to find more witty things to say but Olympic Figure Skating is on right now and I have to go watch it or I will die.

Cheers!

The Good Cooker

Pizza Casserole for Aunt Honora…


I did not invent Pizza Casserole…this dish and it’s variations have been floating around on Pinterest for a while now.  When I first saw it I sort of rolled my eyes and moved one.  I mean, pizza casserole…how good could that be.  Well, let me be the first to tell you all…I was so wrong.  I went to bed that night thinking about that casserole, it haunted my dreams.  I got up the next day now obsessed with this dish and with a burning need to learn more about it.

I embarked on my quest to find the perfect version of Pizza Casserole…easy, fast, healthy.  It was a challenge I was willing to take on.  I made it the next night with my revisions and I’m pretty sure I nailed it…I felt like Kerri Strug must have when she stuck that vault at the olympics after breaking her leg or whatever.  I’m pretty sure if you look up “nailed it” in the dictionary you will see a photo of Kerri right after that vault next to a photo of me holding the casserole.


Let’s go over the ingredients for my healthy, yet equally delicious, pizza casserole…

1 pound – tubular pasta (I used Ziti)
1 pound – Italian turkey sausage
1 jar – good pasta sauce
16 oz – regular or lowfat cottage cheese
8 oz – regular or reduced fat mozzarella
canned mushrooms
sliced black olives
diced green peppers (optional)
dried oregano 

Go ahead and get a large pot of salted water going on the stove.  When it starts boiling, throw your pasta in.

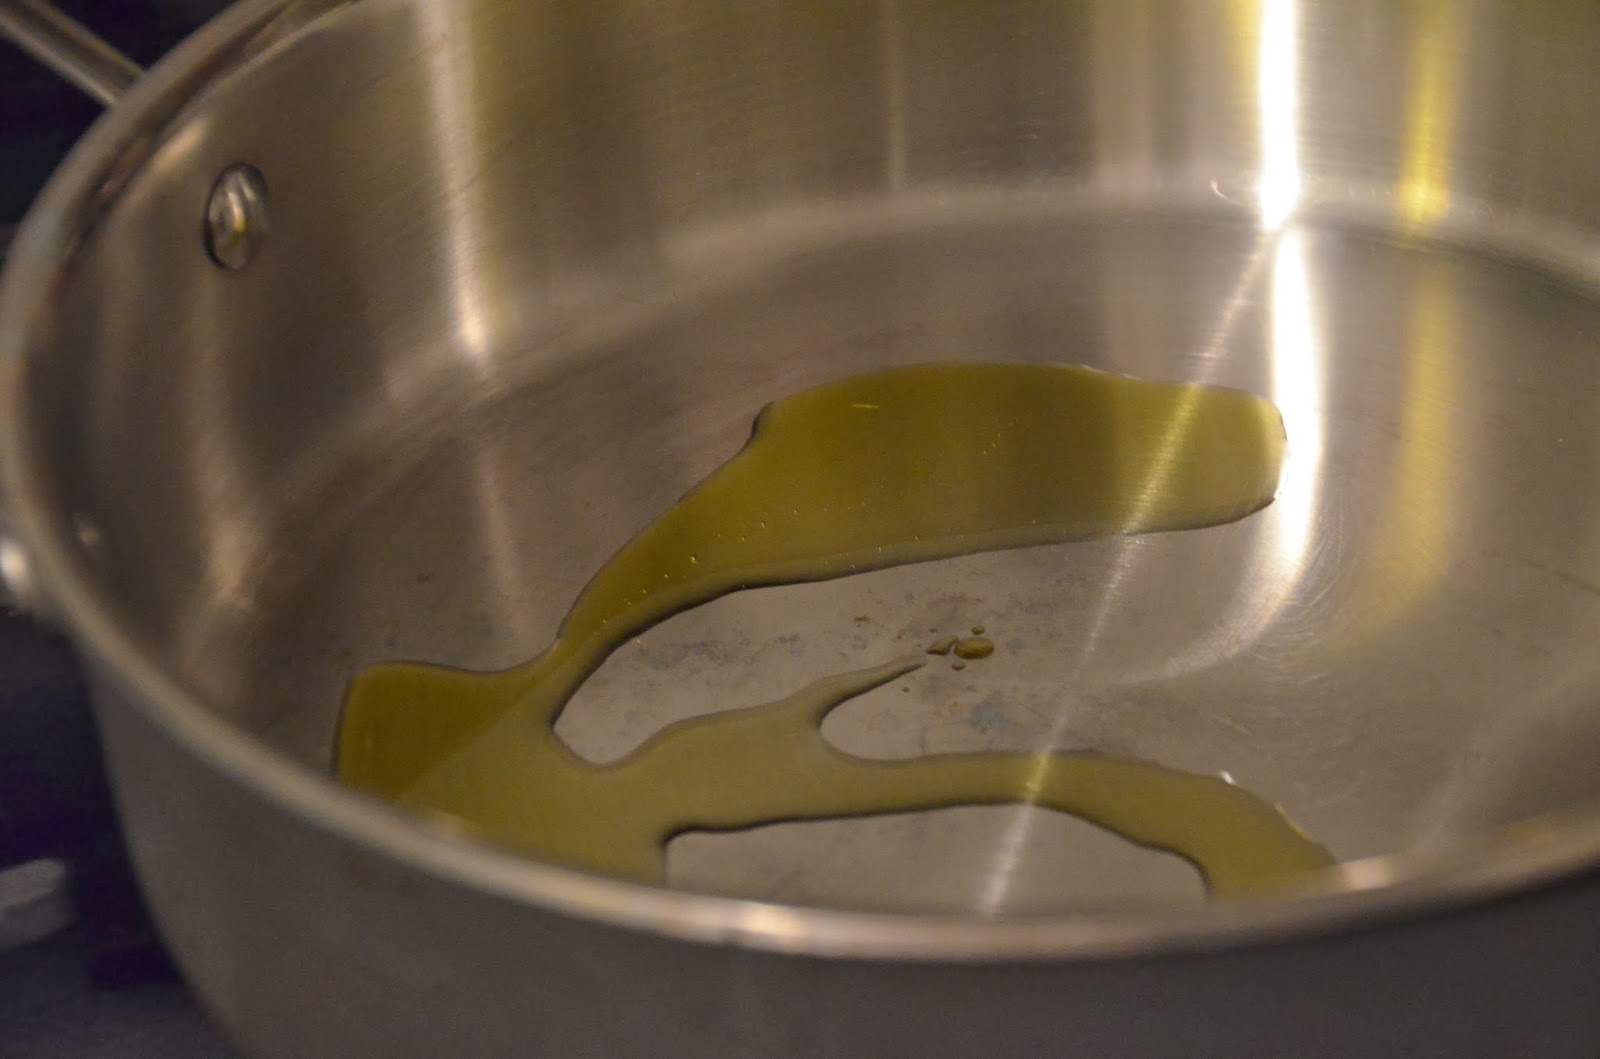
Put a small amount of olive oil in a pan


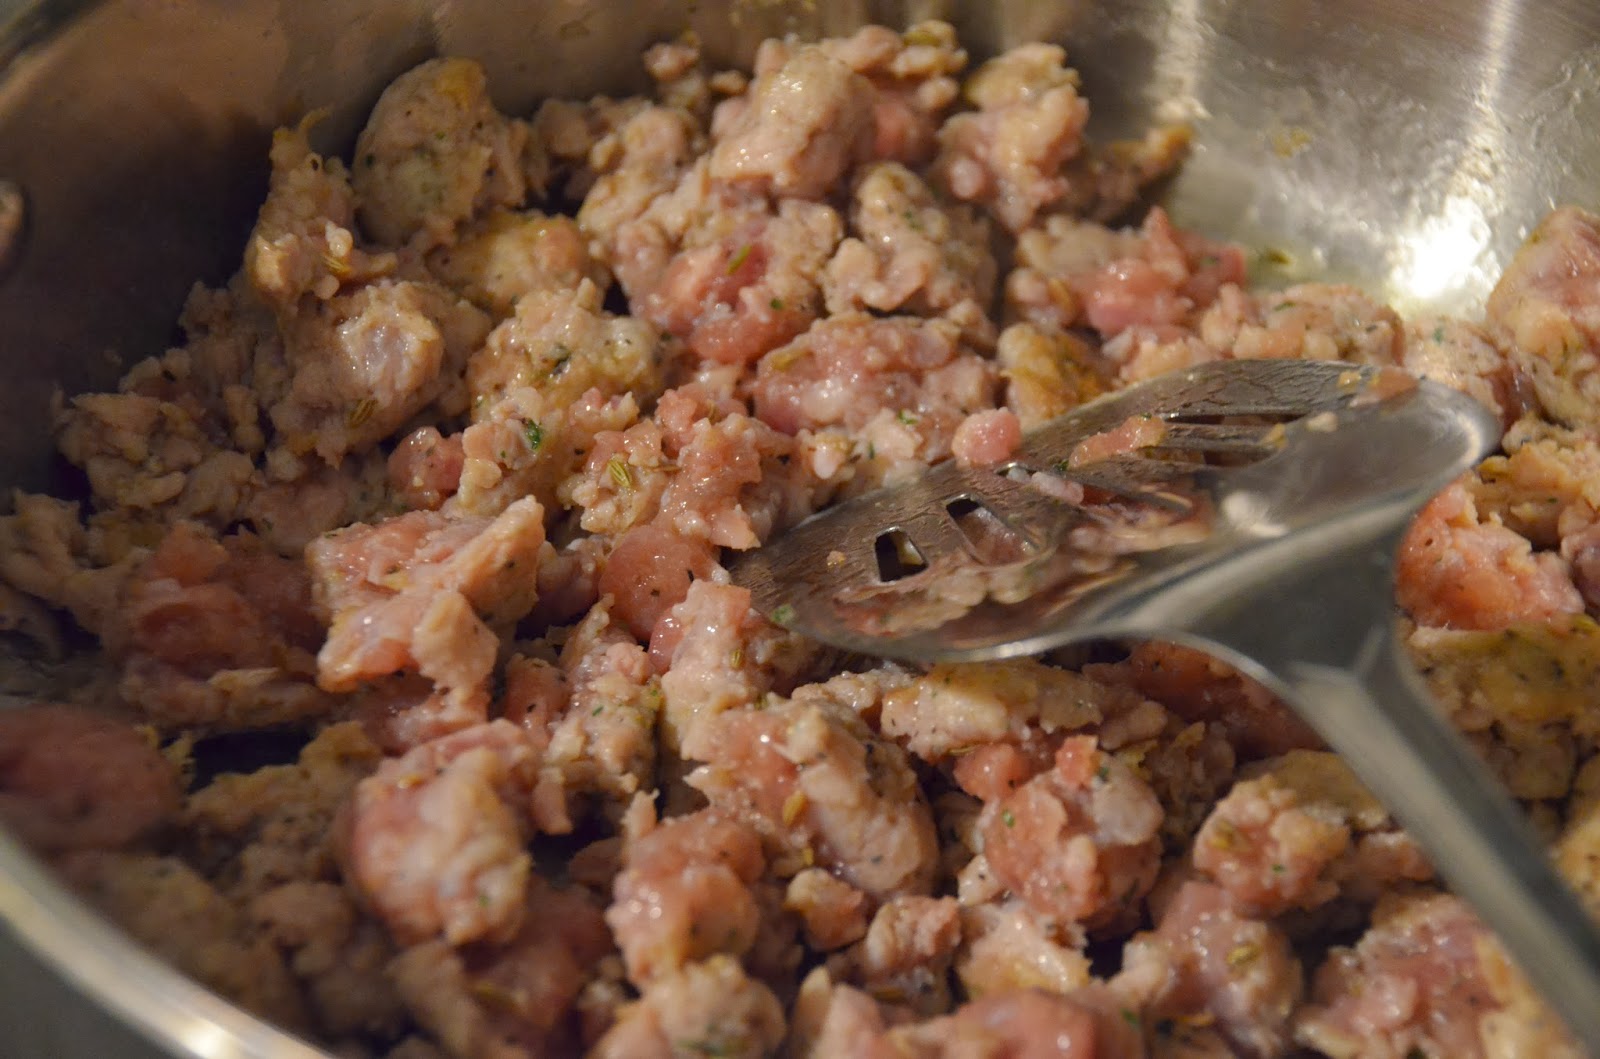
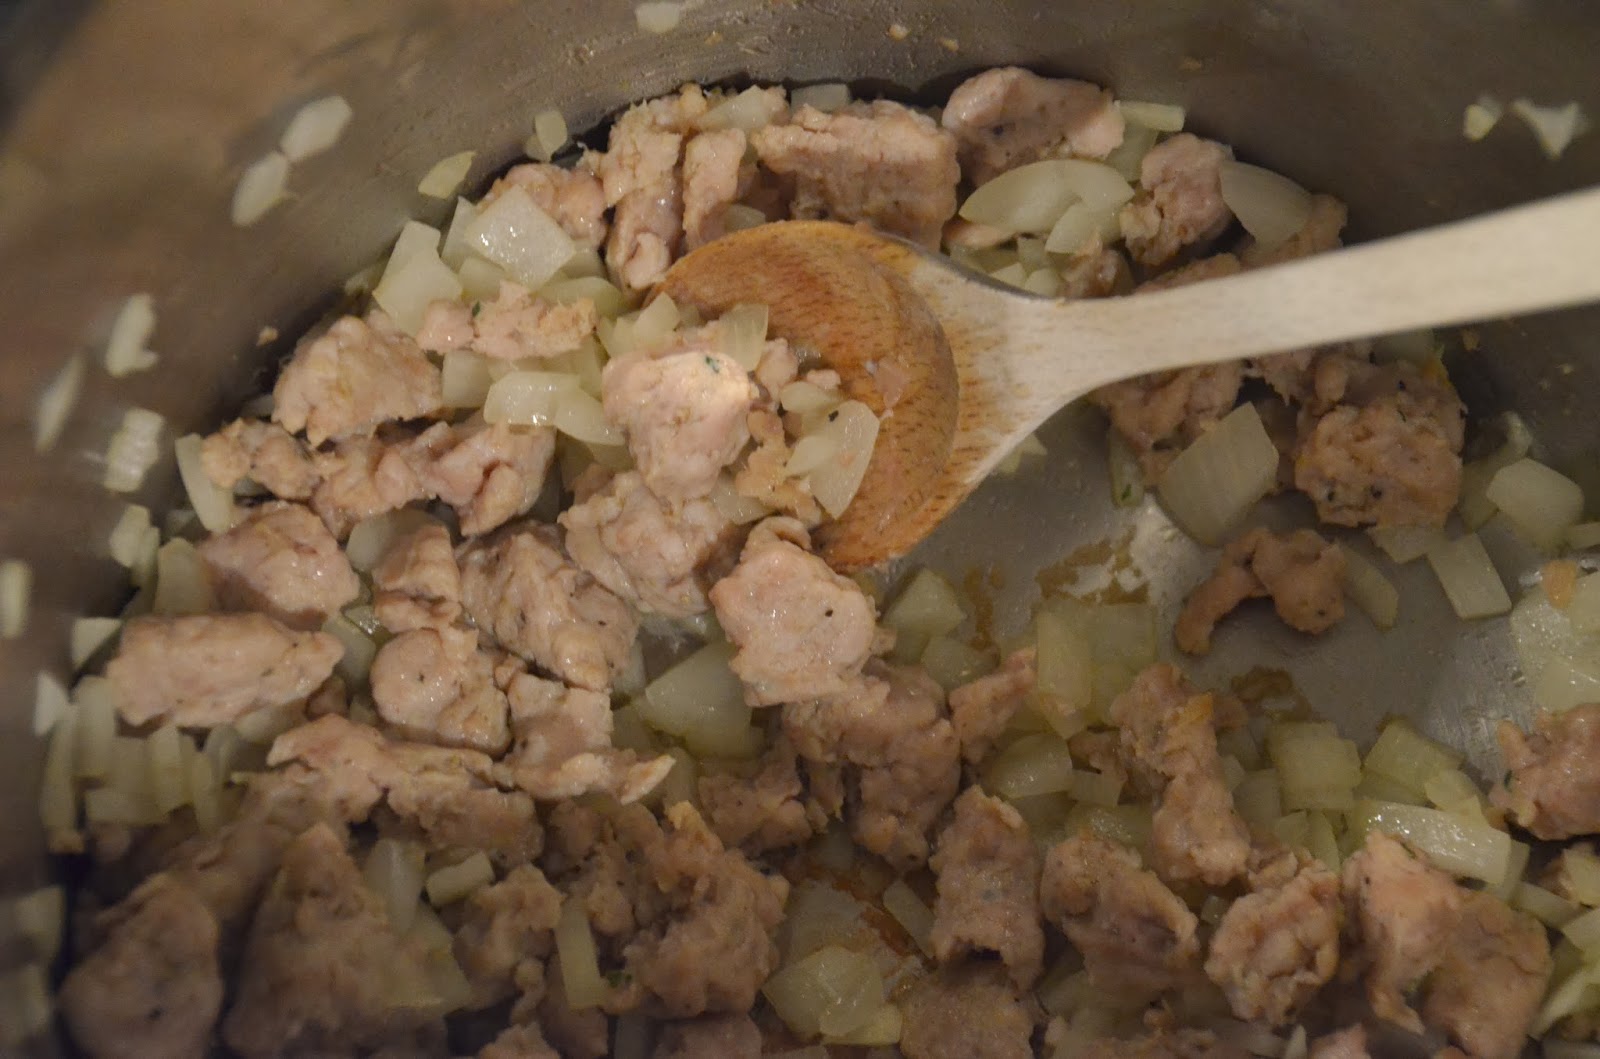
Add the turkey sausage in pieces and start browning, you can break up any large pieces with a wooden spoon or spatula.  


You may have noticed by now that I use Italian turkey sausage in a lot of my recipes, that stuff is a miracle worker in recipes.  It is full of great flavors and spices but it’s also a much leaner choice than pork.  Anyway, while that is browning you can assemble the cheese part.

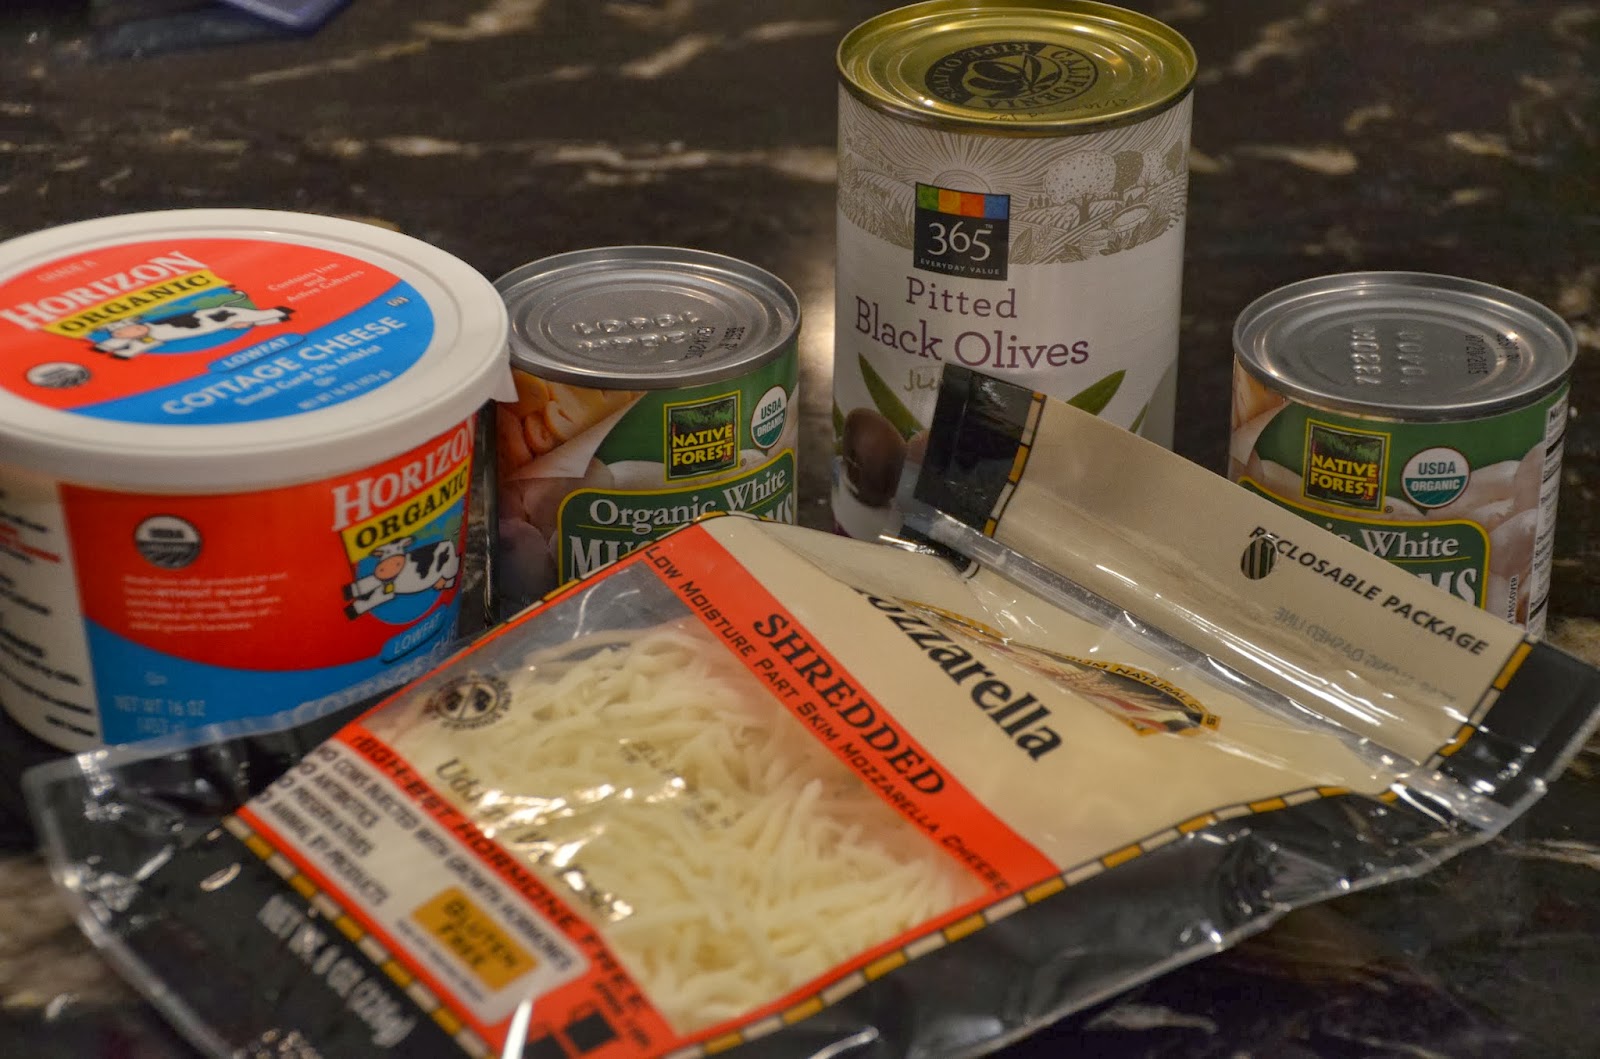
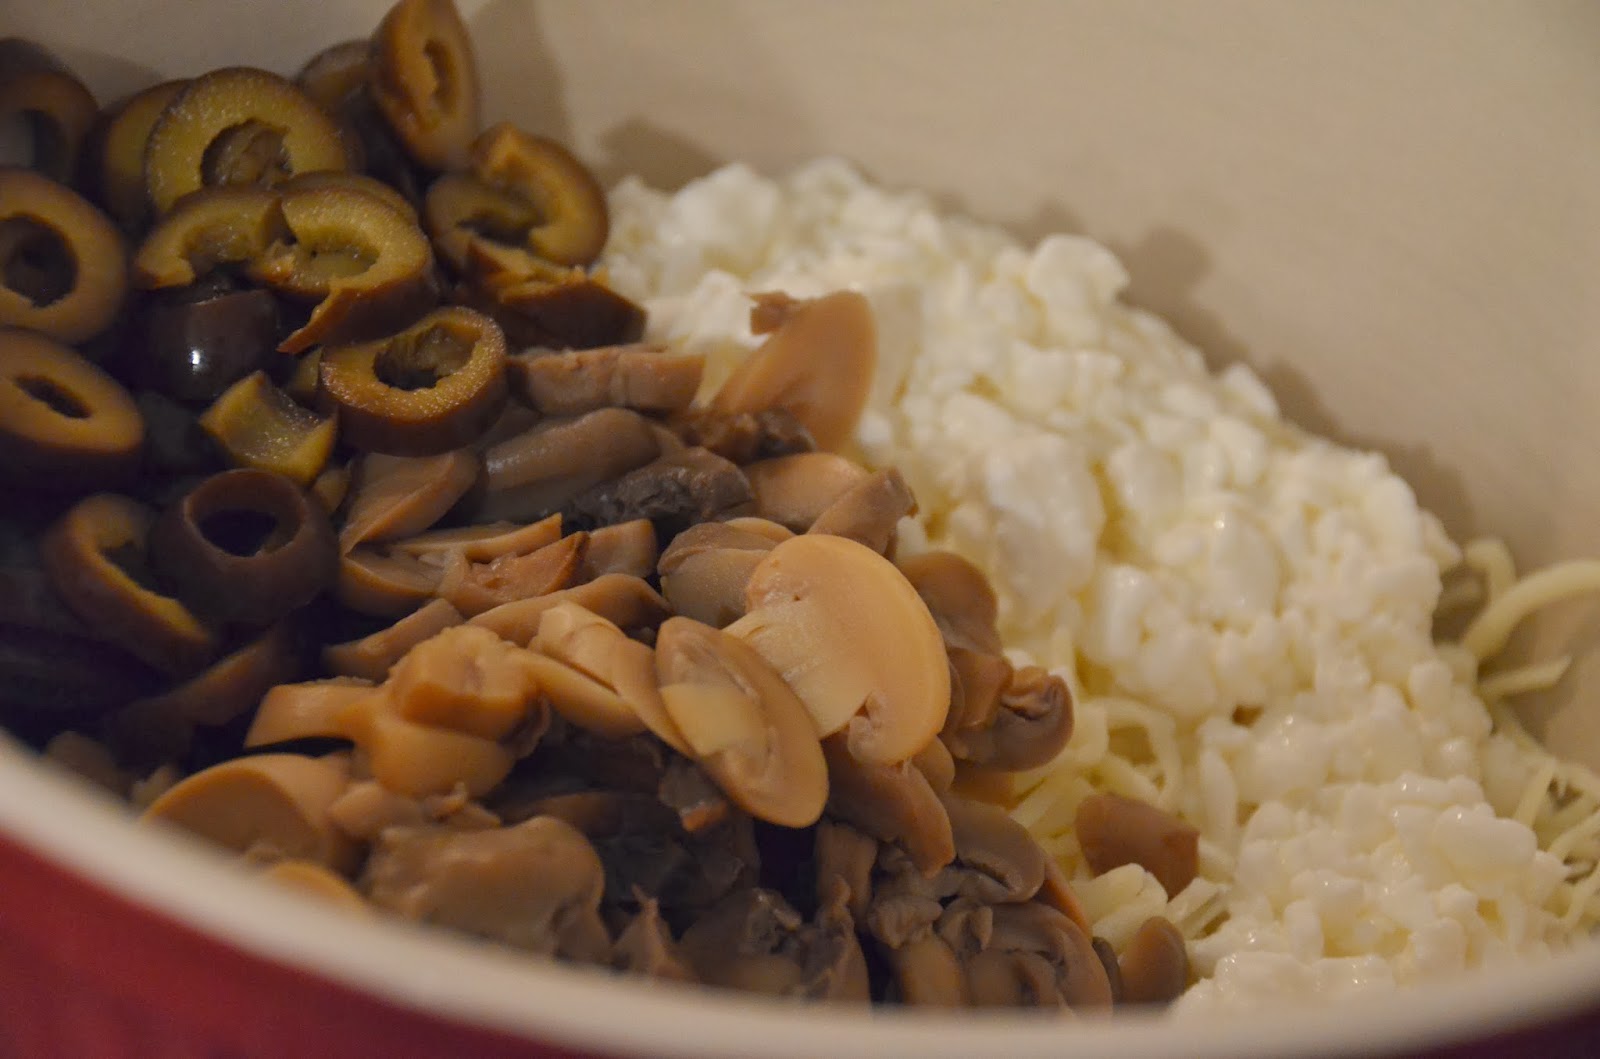
Here is what you need for that…


I am a huge fan of canned mushrooms but I realize you may not be and that’s okay.  You can leave them out if you want or you can add something else, like diced green peppers.

Put all of the above ingredients in a bowl and mix together.


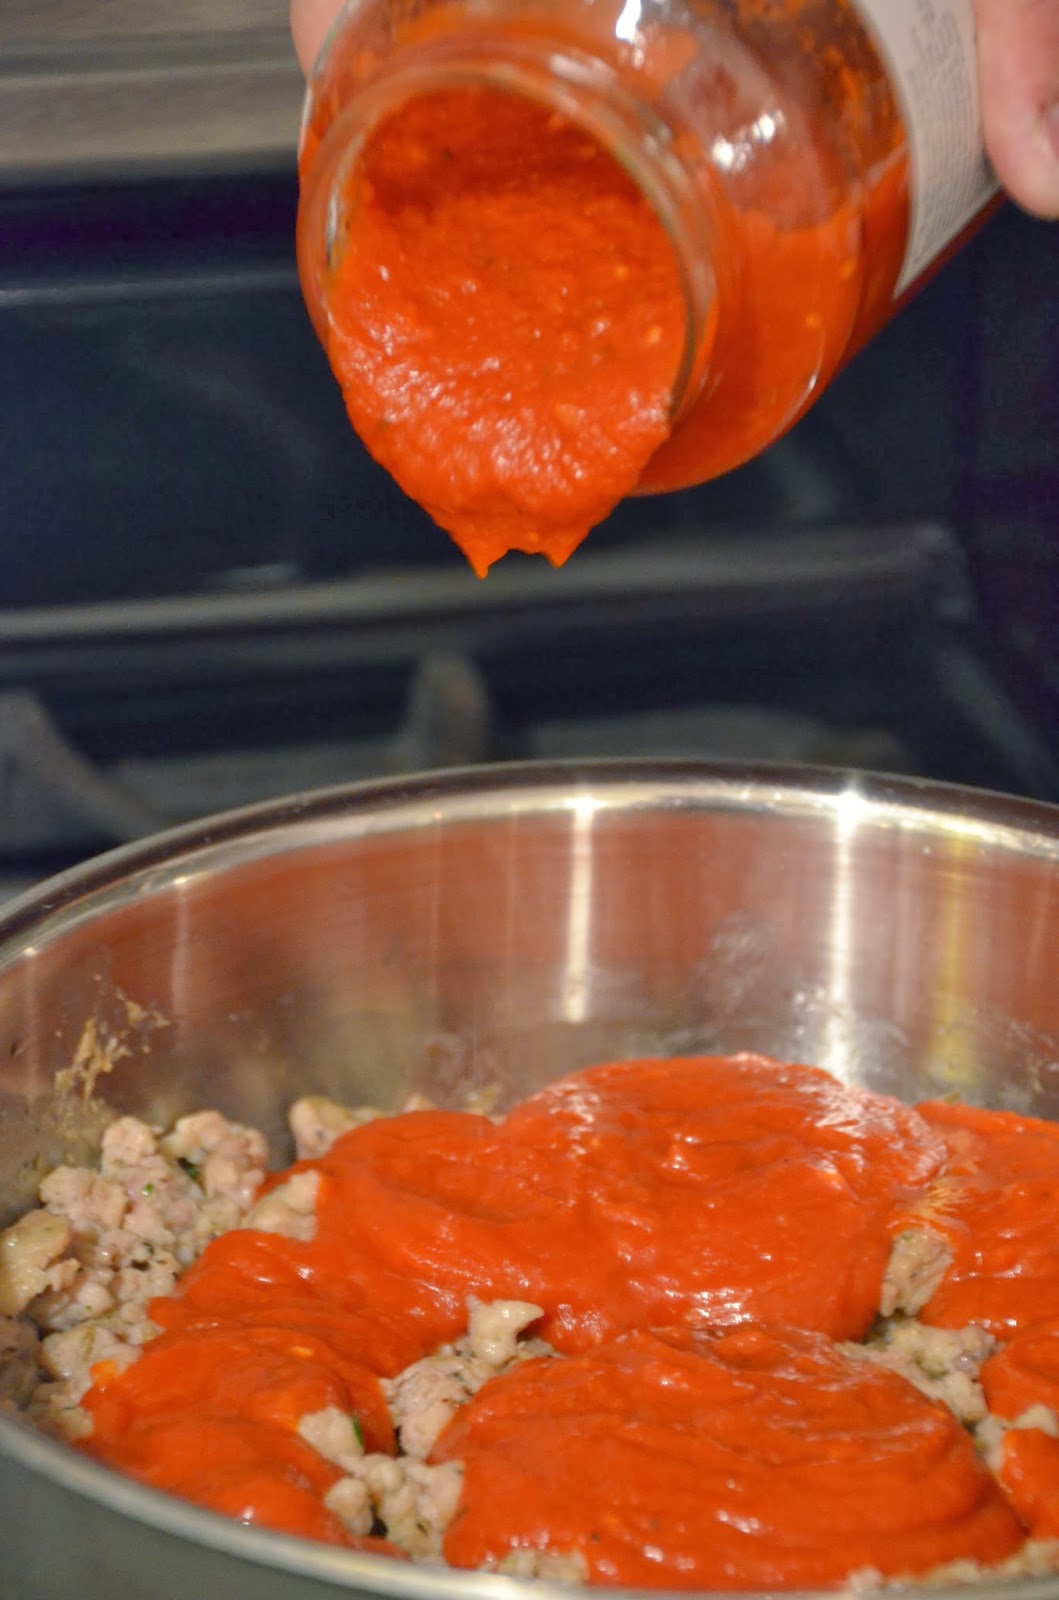
Once the turkey sausage has been fully cooked, turn the stove off and add your sauce to the meat..


Once the pasta is cooked to al dente (almost done) strain it and then add it back to the pot. 

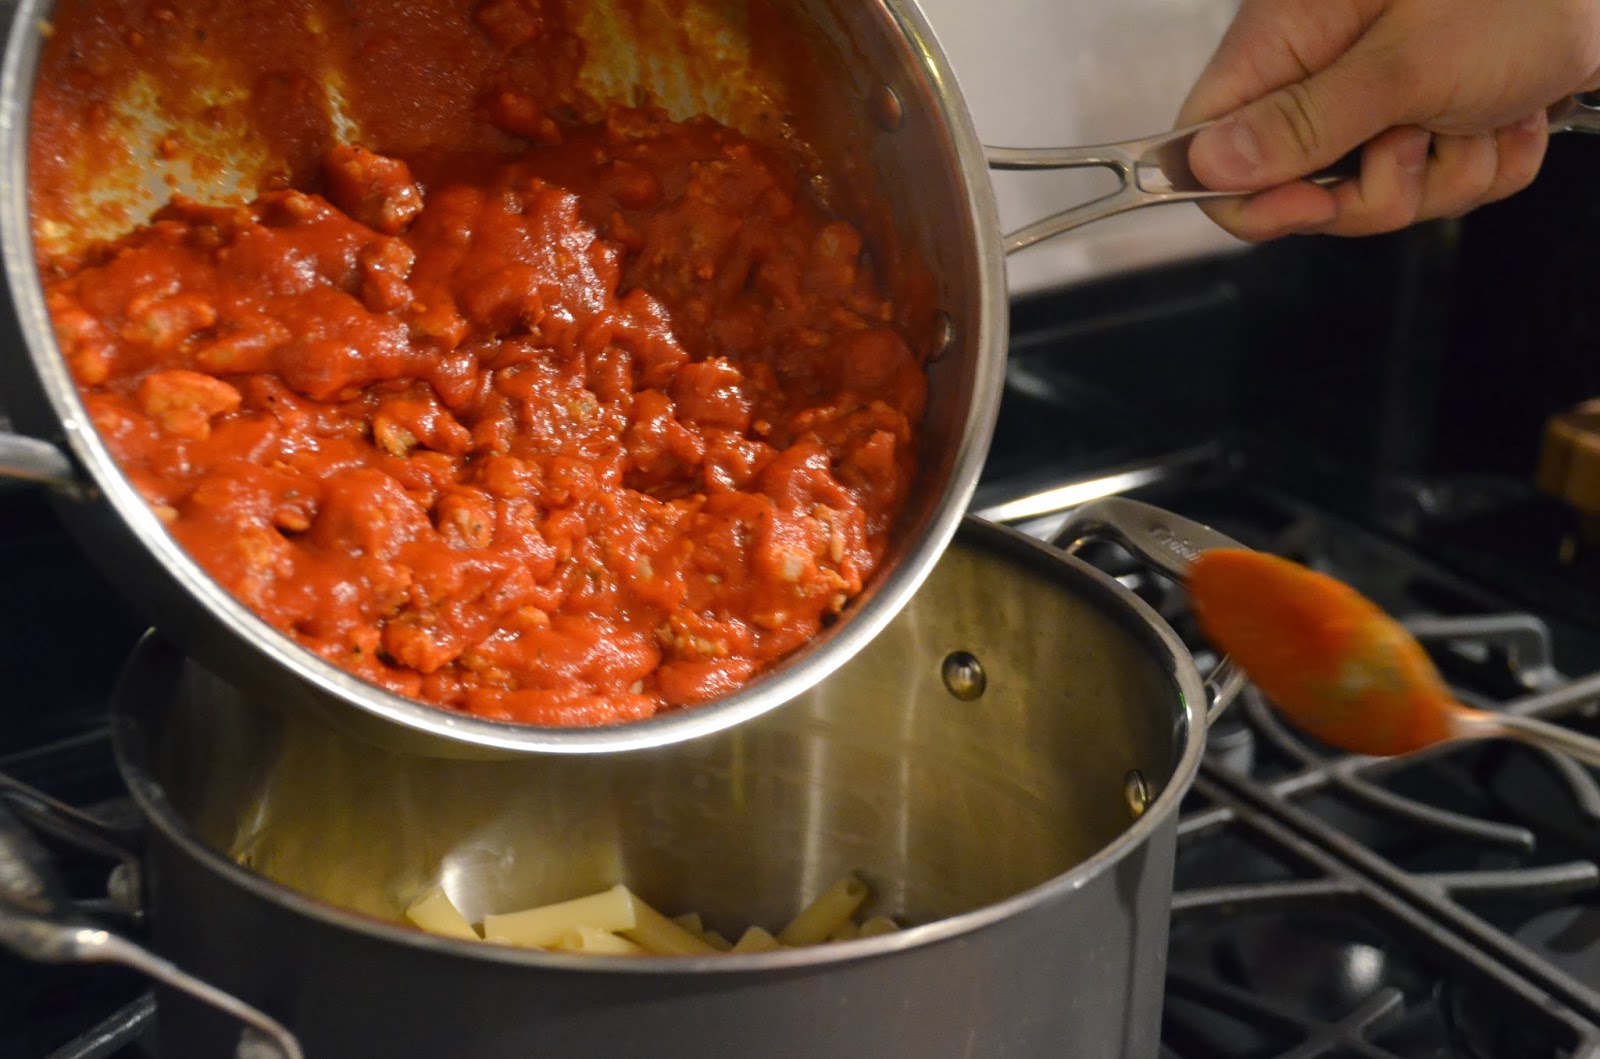
Now add your meat/sauce mixture to the pasta and stir it all together.


Get out a 9 x 13 baking dish and grease it with some olive oil.

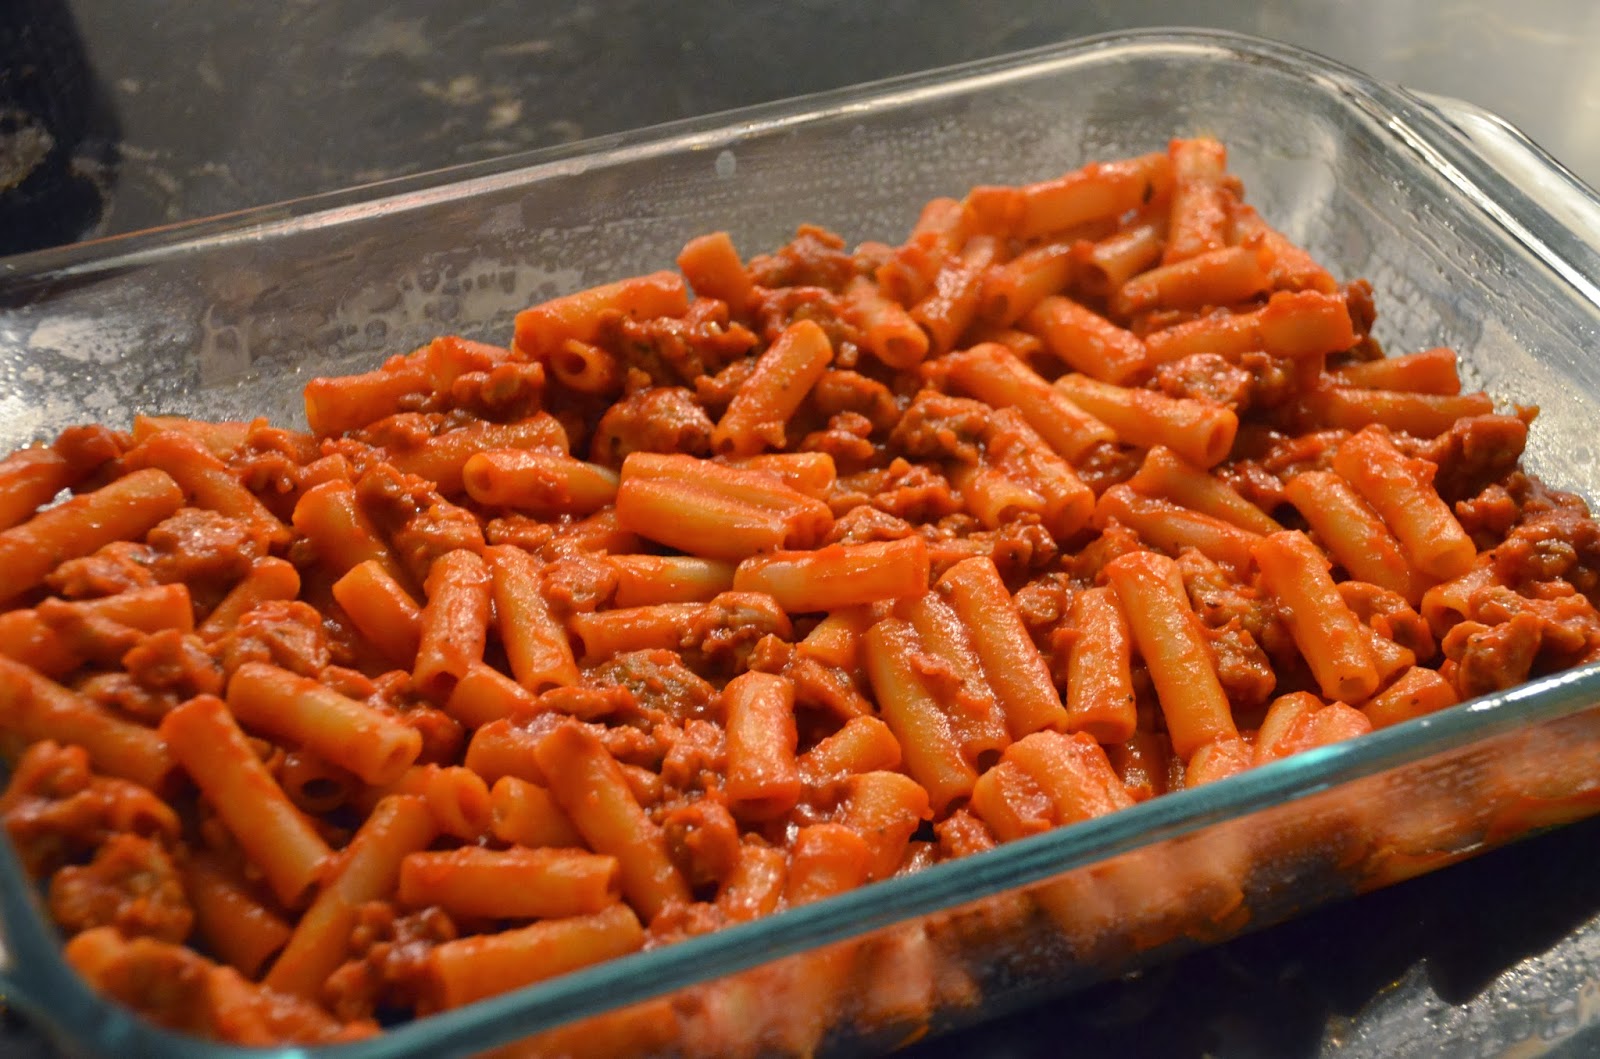
Put half of the meat/sauce/pasta mixture down in the bottom of the dish and spread it out.


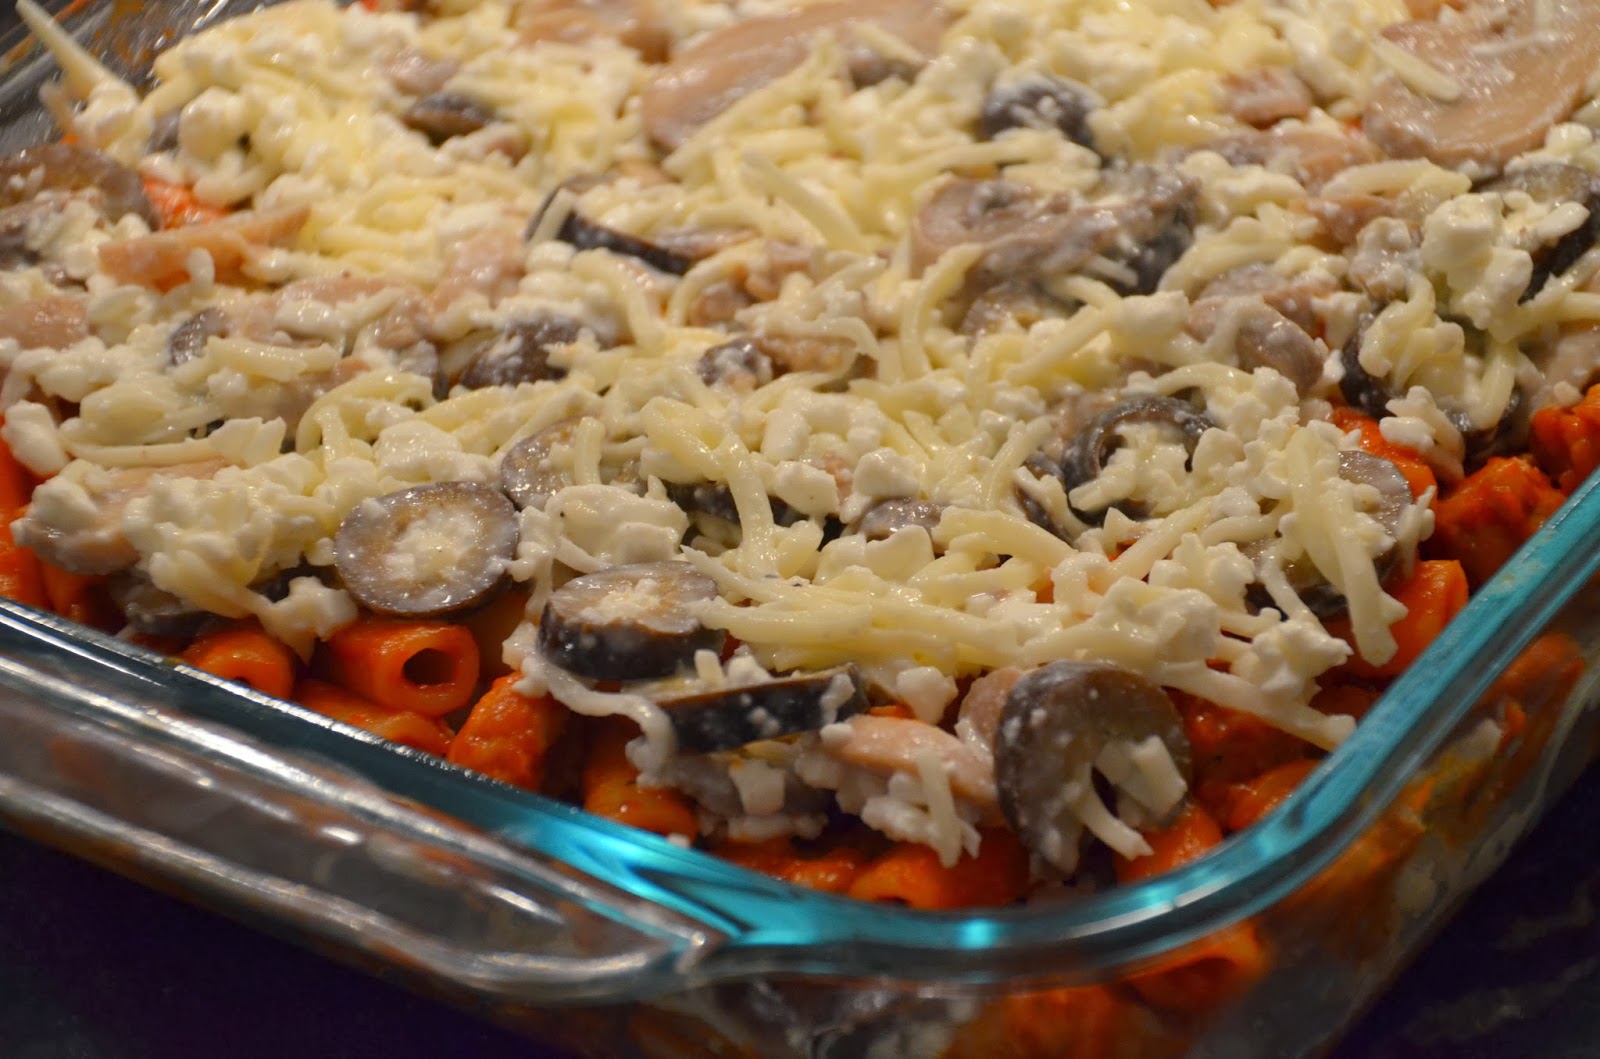
Now add half of the cheese mixture on top of that…and then repeat once more.


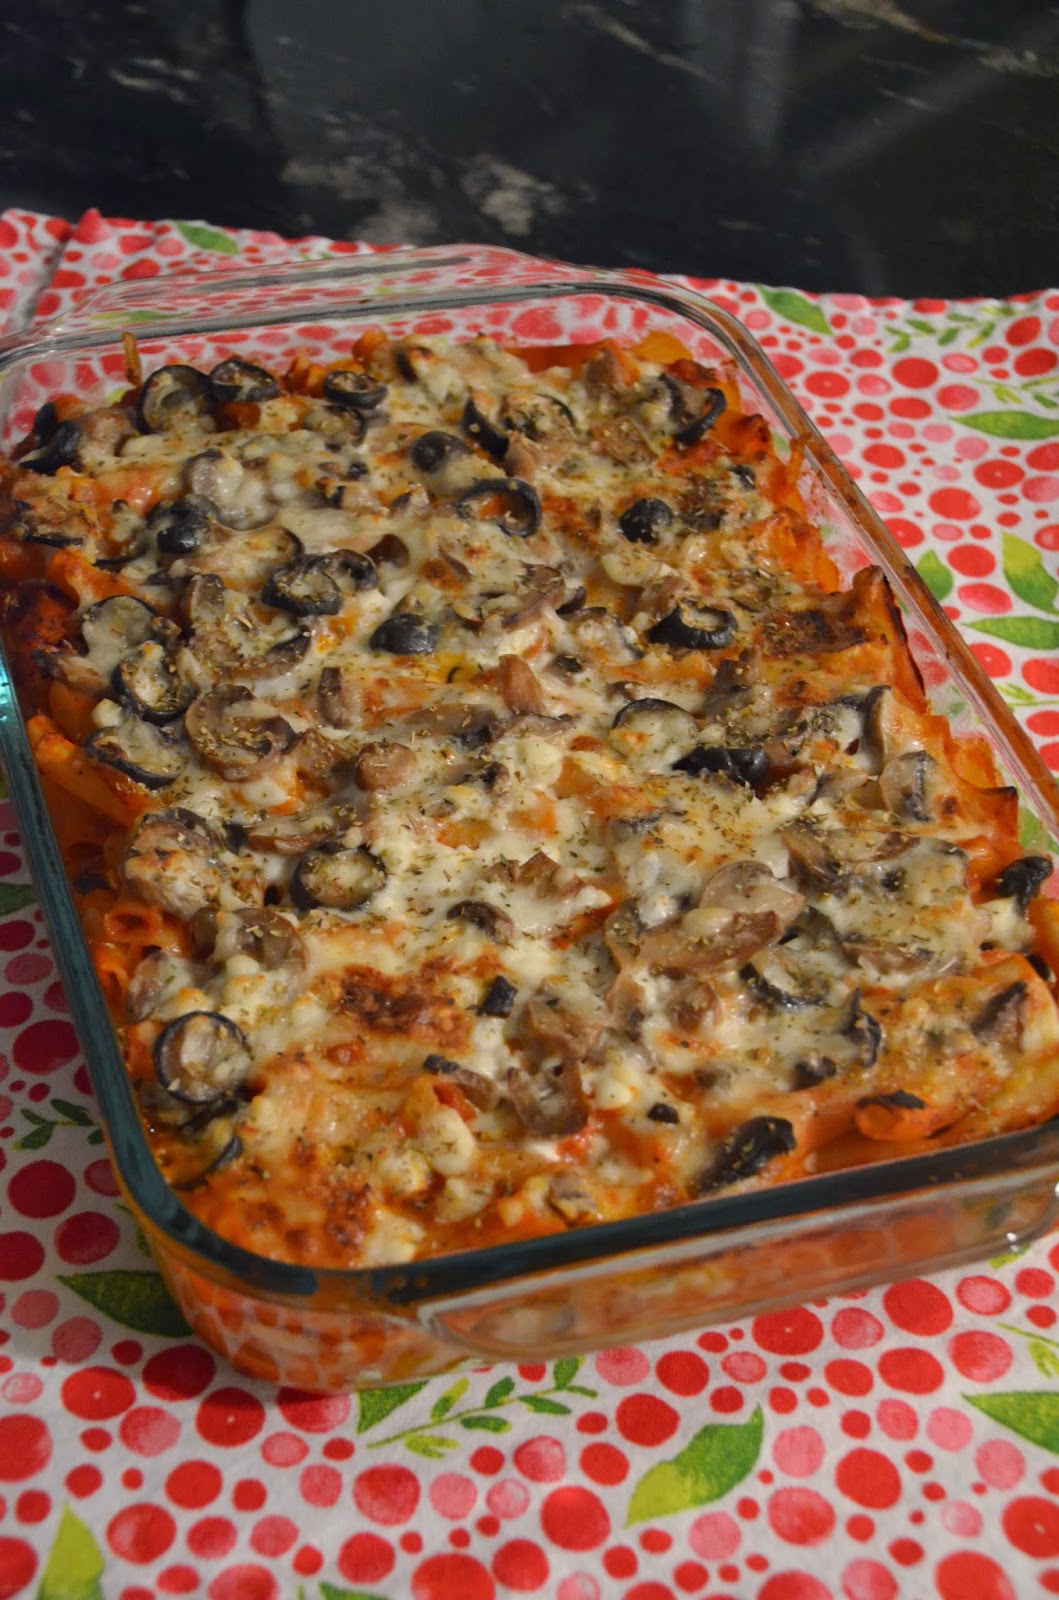
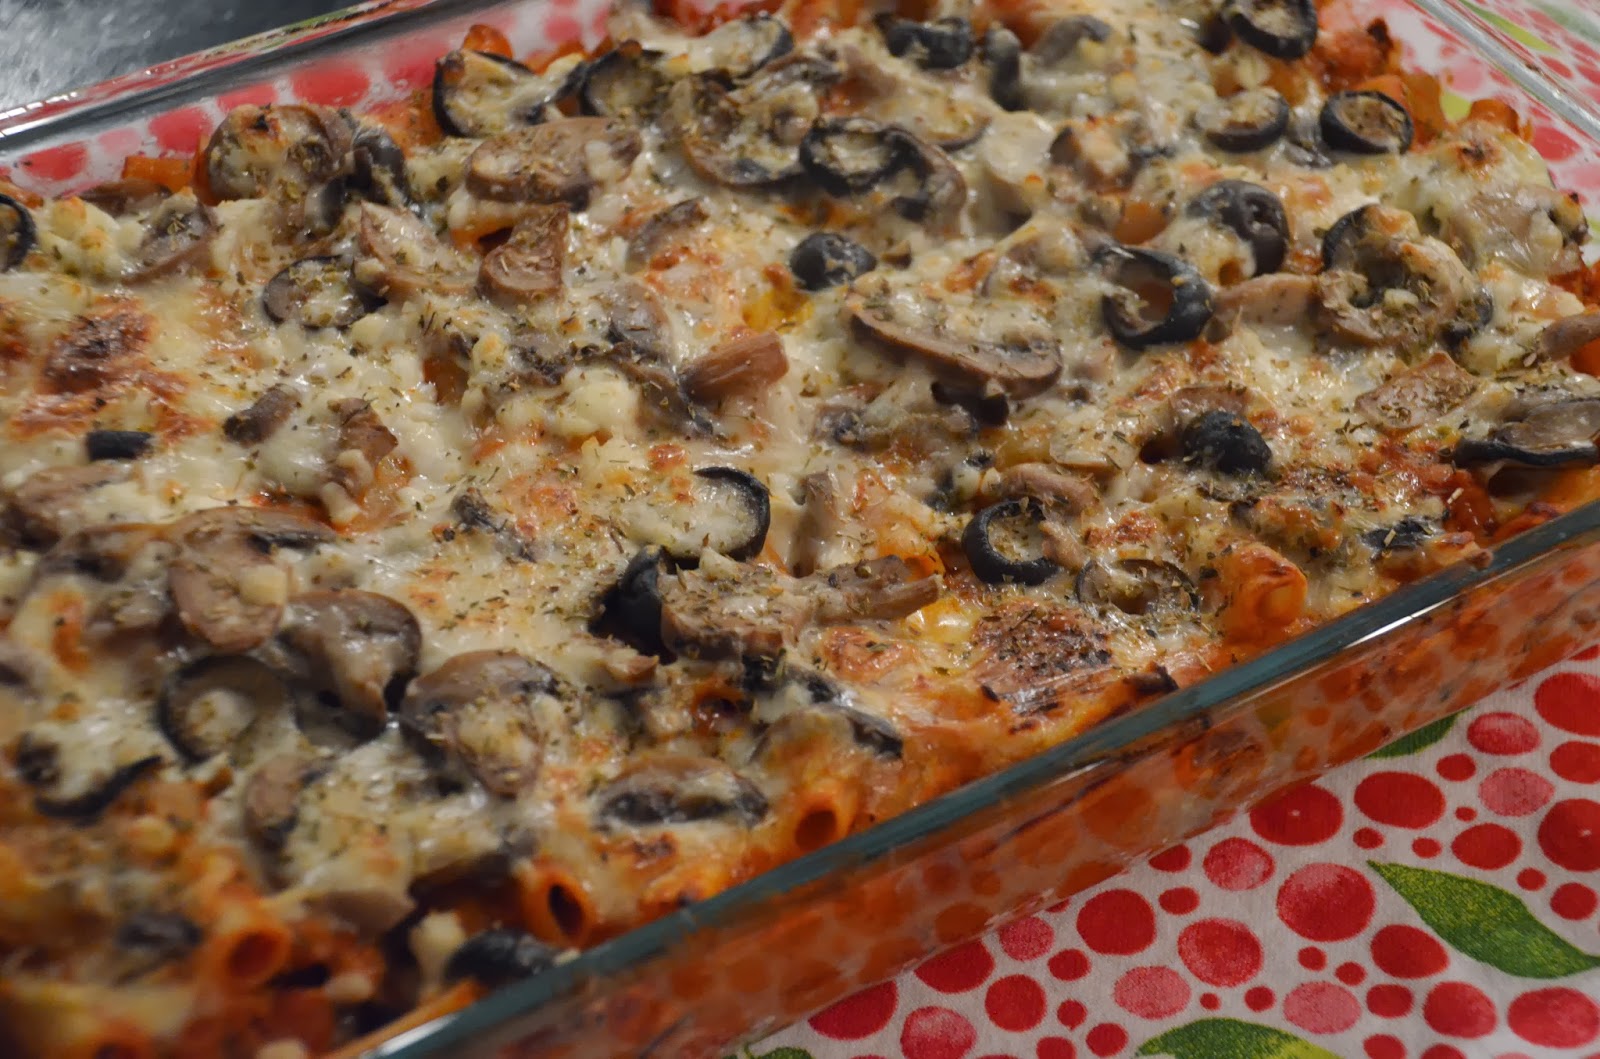
Sprinkle some dried oregano on top and then pop that baby in a 350° F oven for about 40 minutes and it’s done!


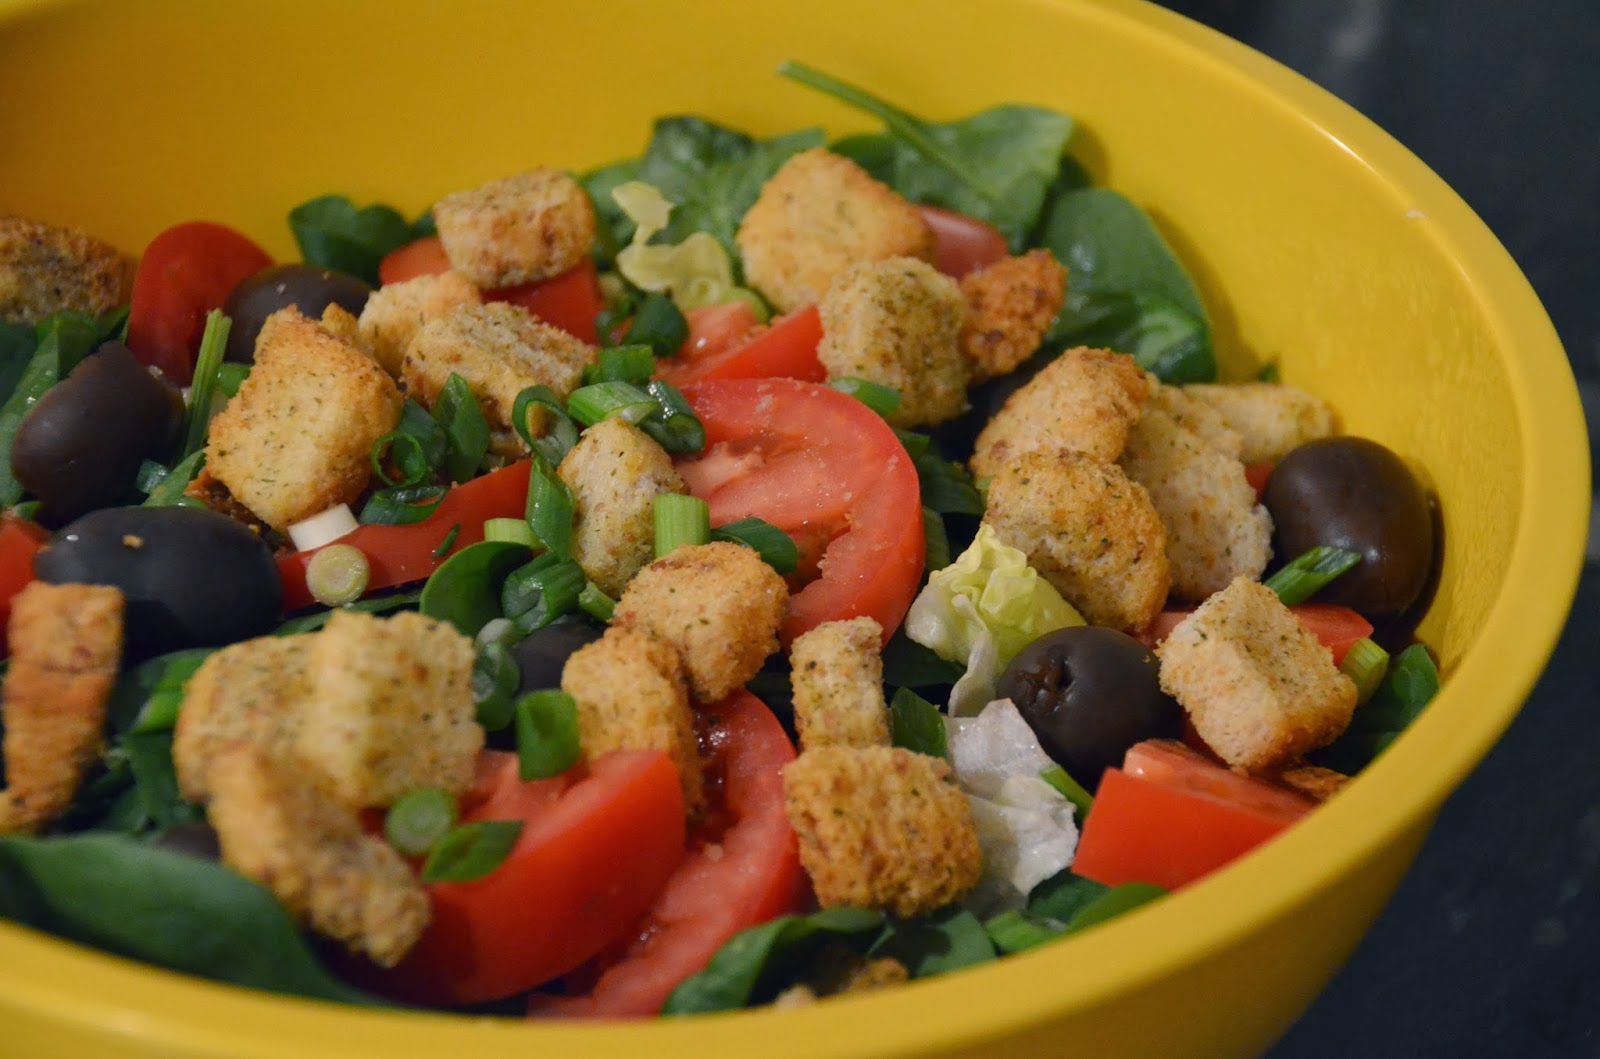
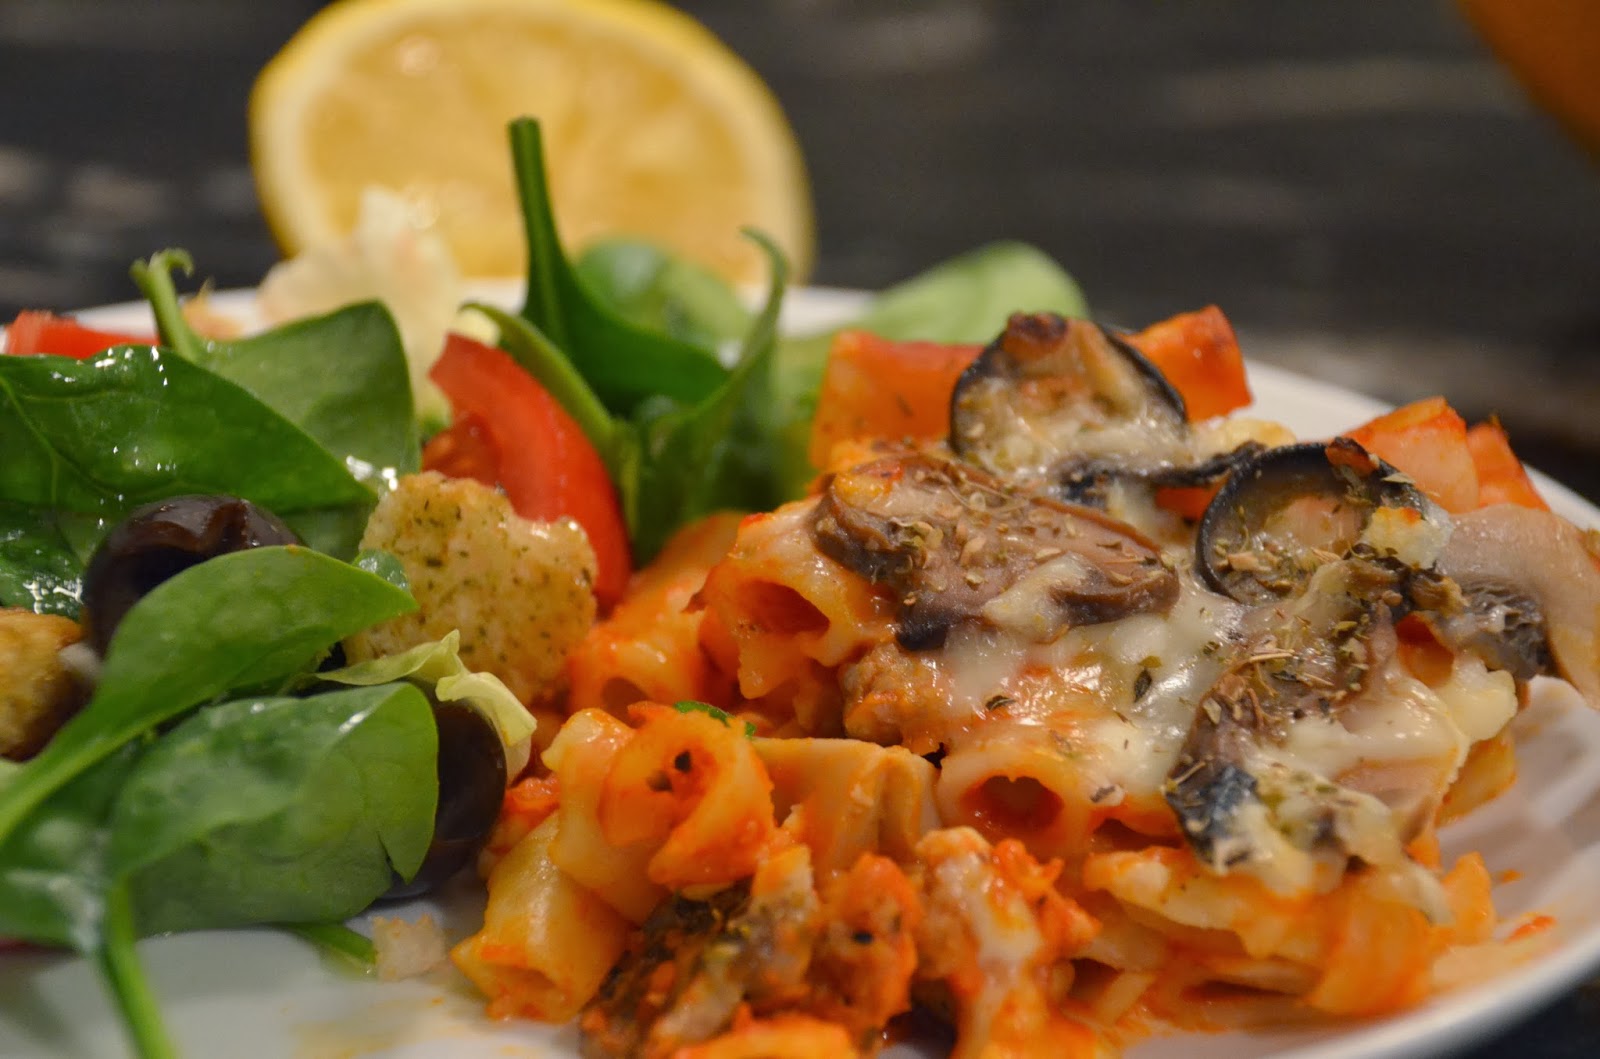
I like to make a salad while the casserole is cooking.  Eating the salad with the casserole may help prevent you from eating 5 pounds of the casserole but I’m not making any promises.


This is also something you can put together in the morning and refrigerate until you’re ready to bake it…or you can even freeze it for later.

I’m telling you, once your family sits down to eat this meal they will soon be getting back up to give you a full standing slow clap…you’re welcome.


When I first posted my finished product on facebook back in May my Great Aunt Honora asked for the recipe.  I had not seen my Aunt since my cousin’s wedding over a decade earlier but through the wonders of technology I was able to reconnect with her on facebook, thank you Mr. Zuckerberg for that.  I soon realized that Honora and I had A LOT in common, she totally got me and I started wondering when I could get out to Oregon to see her again.  But not long after reconnecting, Aunt Honora was diagnosed with cancer.  She of course handled the diagnosis with grace and a wonderful f**k you cancer attitude.  I’ve never witnessed someone be so brave, it was very humbling.  Honora left this world on January 10th, 2014 at 2:10 AM.  I’m sad that I didn’t get to see her again but I will always be so grateful that we were able to reconnect before she left, she taught me a valuable lesson that I will carry with me for the rest of my life. 

Aunt Honora, every time I make this recipe I think of you and I hope you remember me when you make it too…where ever you are.

Cheers…and screw you cancer!

The Good Cooker

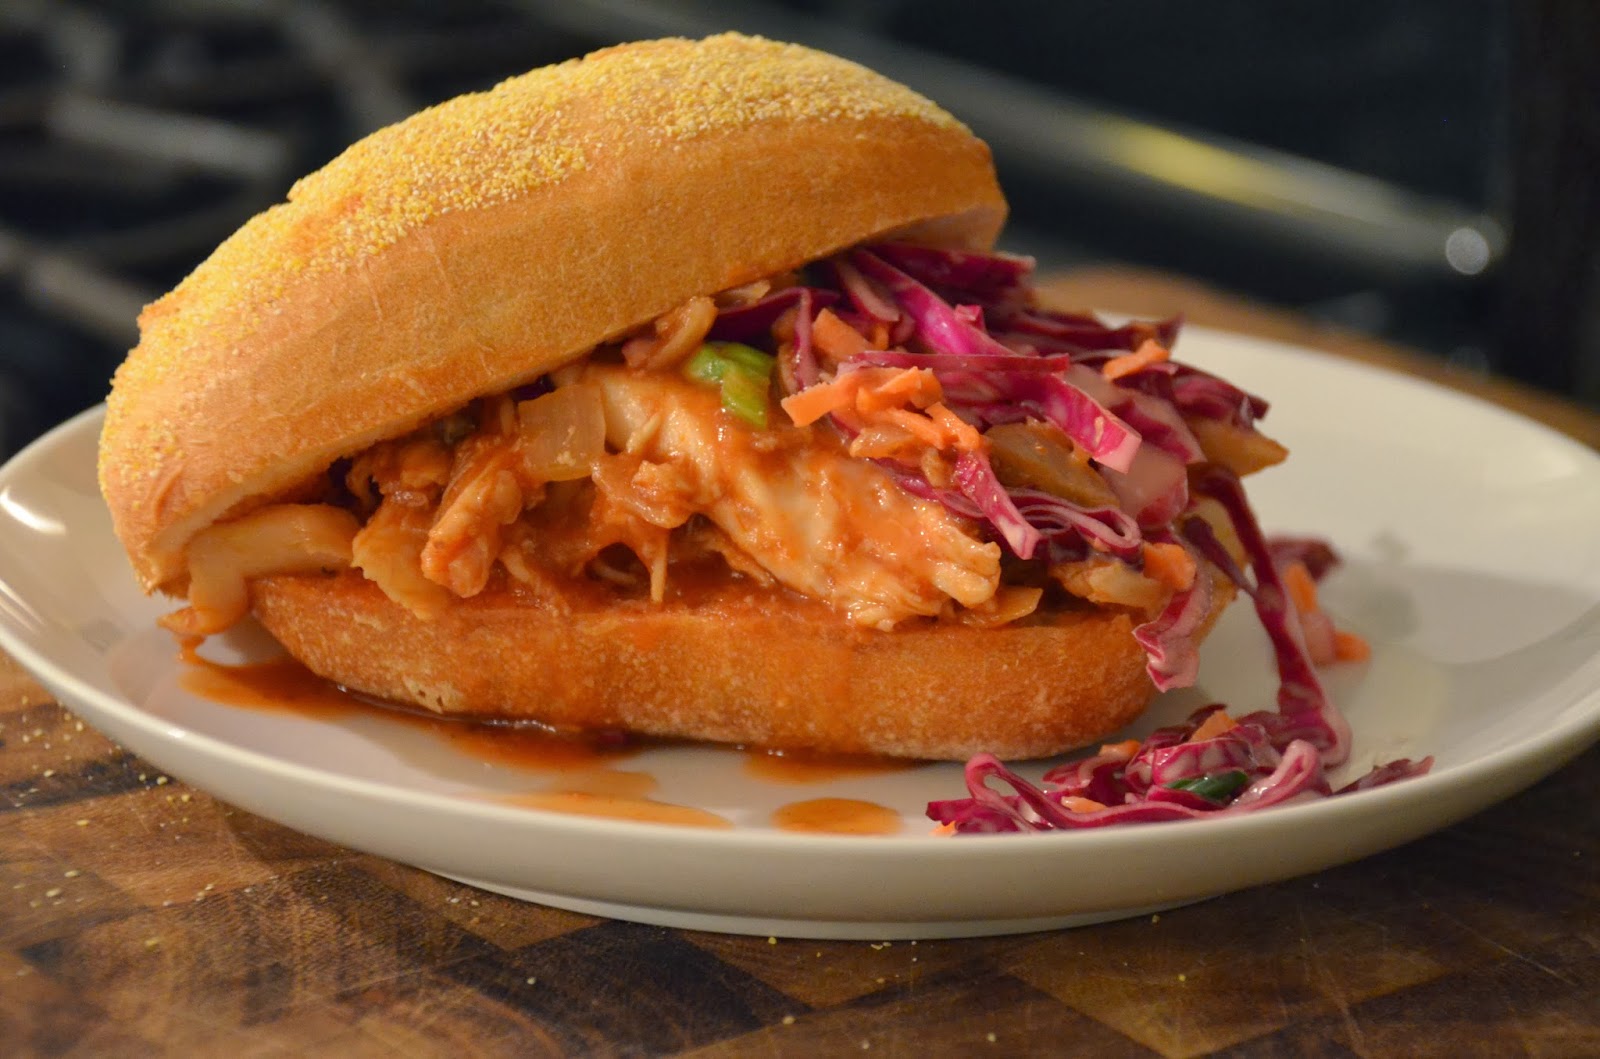
Badass Barbeque Pulled Chicken Sandwiches


Hey there!  Remember me???  I haven’t blogged all week and I have no good excuse for it…so let’s just move on shall we?  

Oh wait, I do have an excuse…my kids were home from school for 3 out of 5 days this week because of snow and sub zero temps so I was busy preventing them from killing each other pretty much the whole time.  I told my husband that it seemed they were actually starting to devolve into neanderthals or something.  There was grunting, hitting, biting…personal hygiene went out the window.  We’re under a winter storm warning right now but it’s 30° out so they were able to go outside and fall down in the 6 feet of snow we have.  This is Winter Storm Maximus…if The Weather Channel was smart they would start naming these storms something like “Melvin” or “Stuart” and then maybe they wouldn’t end up being so huge and crazy. They’ve already named the next one “Nika” which is supposed to hit on Tuesday.  Nika sounds like she’s a badass chick who knows how to do Kung Fu and will kick you in the face if you look at her wrong…good job weather channel.  

These BBQ pulled chicken sandwiches I’m making today are also totally badass, Nika would eat like 7 of them.

You will need your crockpot for these so go get it out.  

Let’s talk ingredients…

For the Pulled Chicken…

3 lbs – boneless skinless chicken breasts and/or thighs
1 – onion
2 – tsp. liquid smoke 
salt and pepper

For the BBQ sauce…

2 cups – ketchup
1 cup- water
1/2 cup – GOOD apple cider vinegar (like Bragg’s)
6 tbsp – brown sugar
1/2 tsp – black pepper
2 tsp – onion powder
2 tsp – ground mustard
Juice of one lemon
2 tbsp – worcestershire

For the slaw…

half head of cabbage (red or green) sliced thin
3 shredded carrots
2 chopped green onions
1/2 cup – GOOD apple cider vinegar (like Bragg’s again)
3/4 cup – light mayo
1 tbsp – sugar
1/2 tsp – salt
1/4 tsp – black pepper

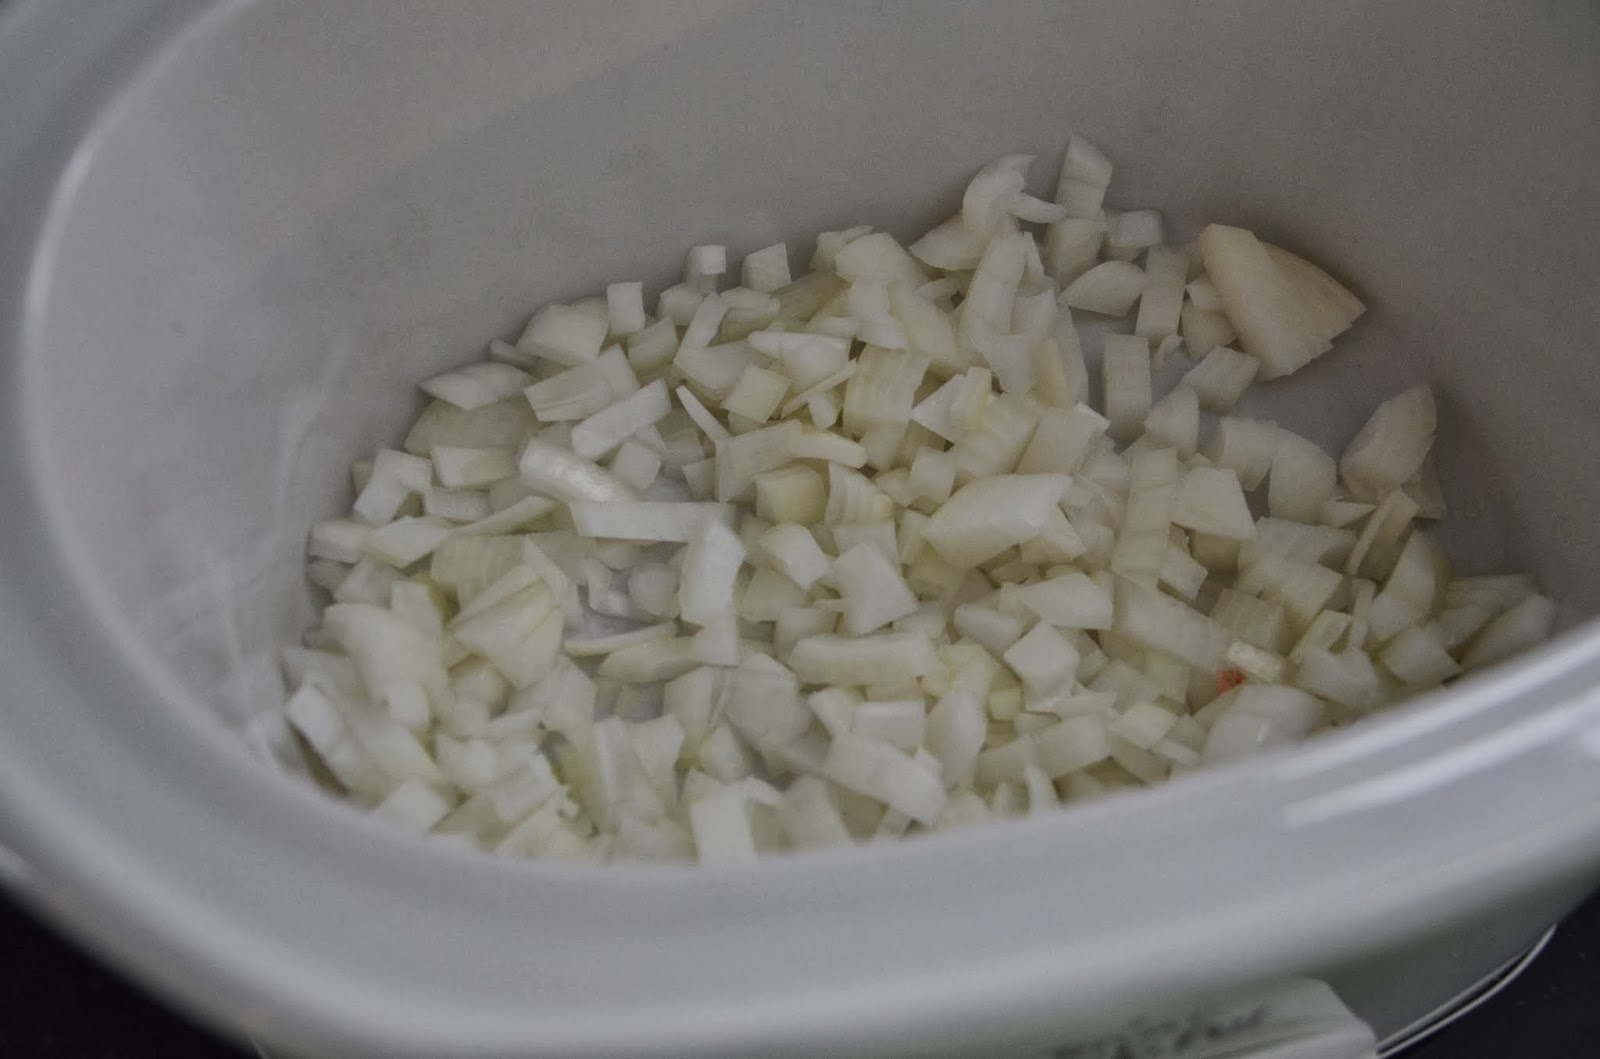
Ok, we are ready to roll.  Chop the onion and put it in the crockpot…


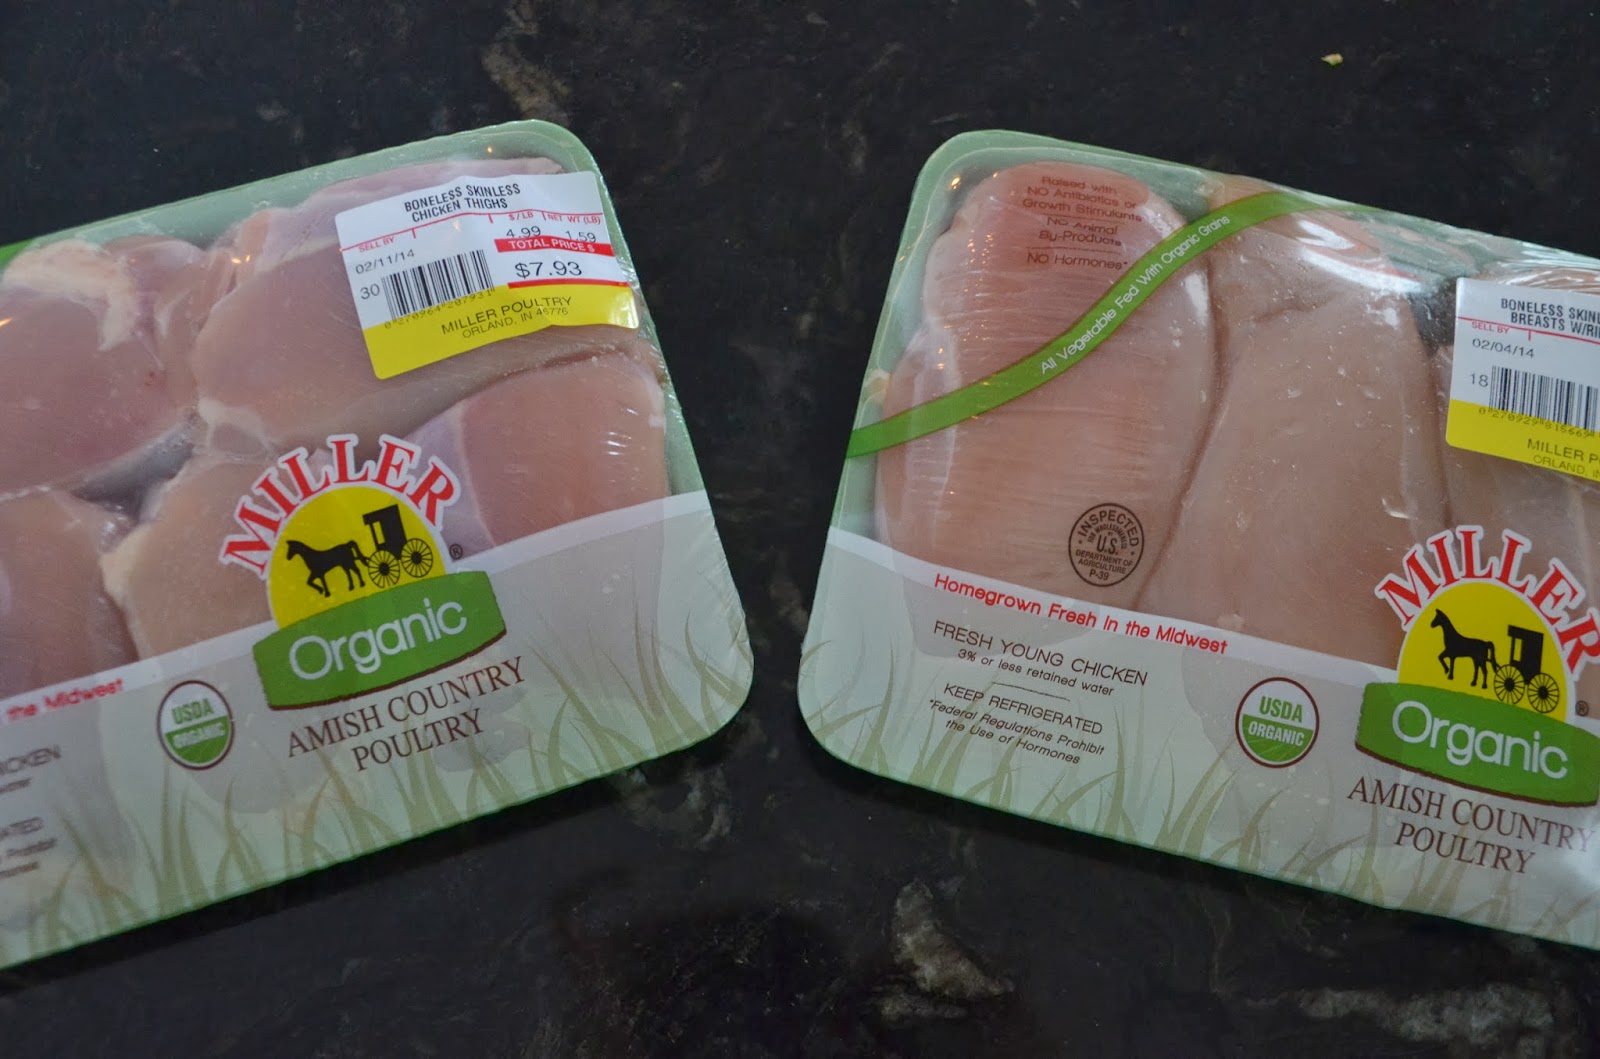
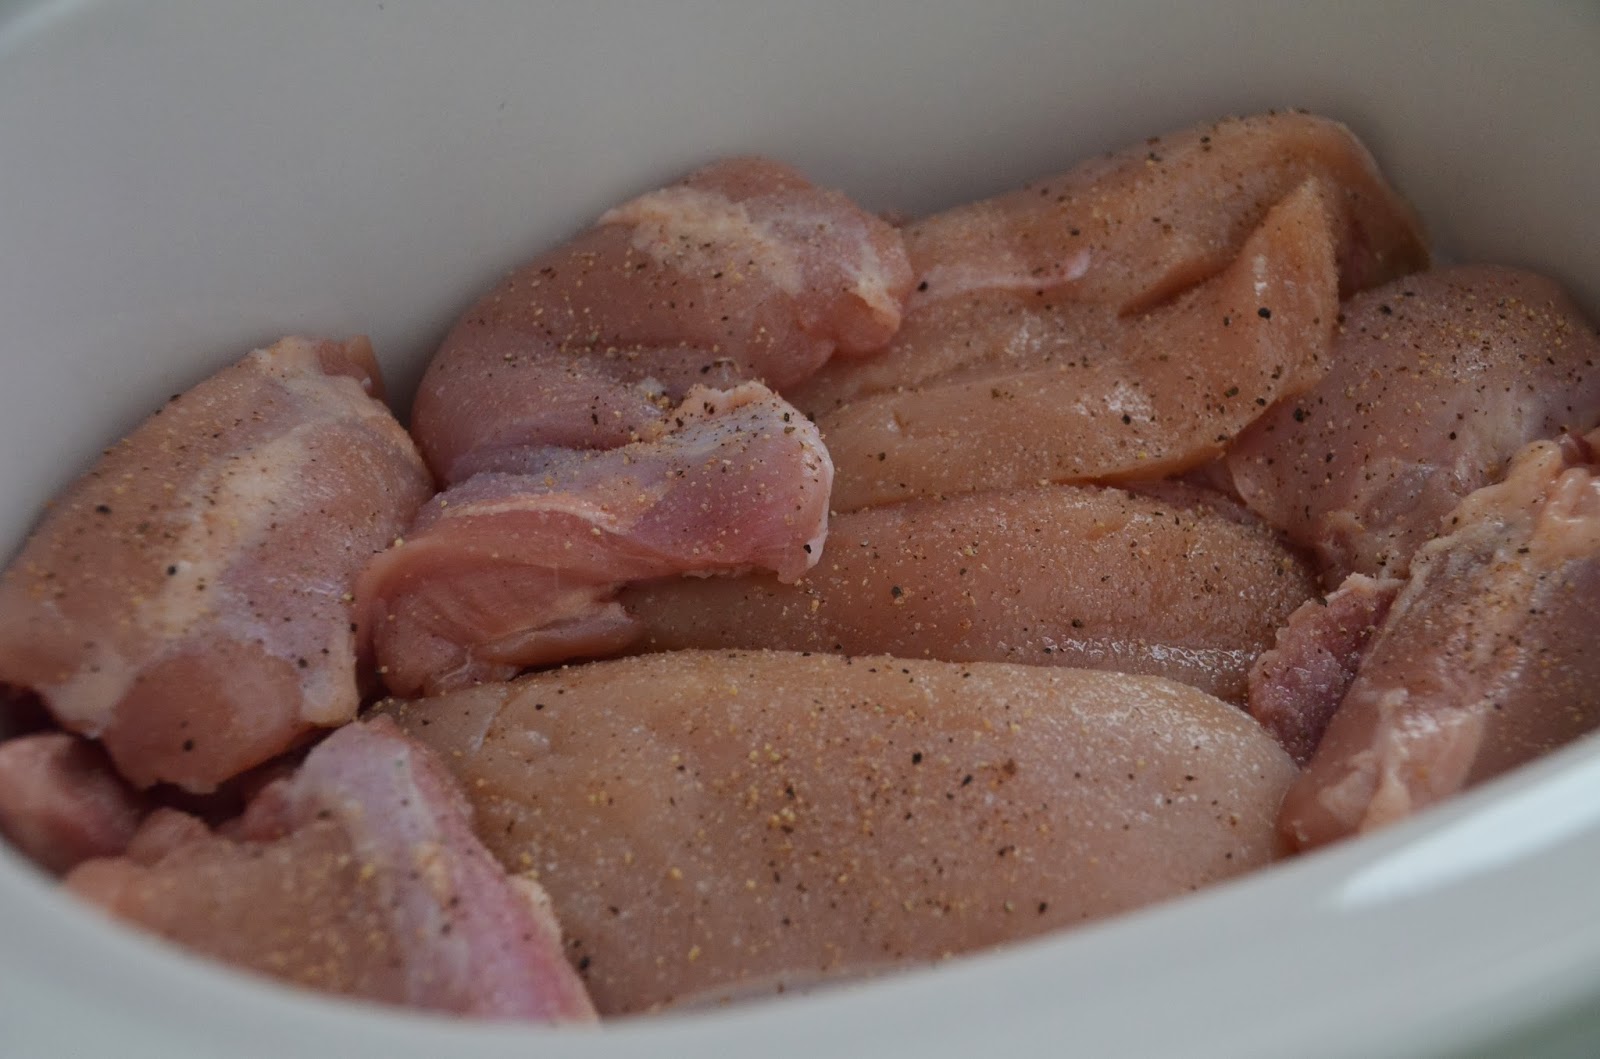
Now put the chicken in…I use about 1.5 lb of boneless skinless breasts and 1.5 lb of boneless skinless thighs but you can do any combination.  You can also do bone-in which will save you some money, I did the boneless skinless because of that Cancun thing coming up.  


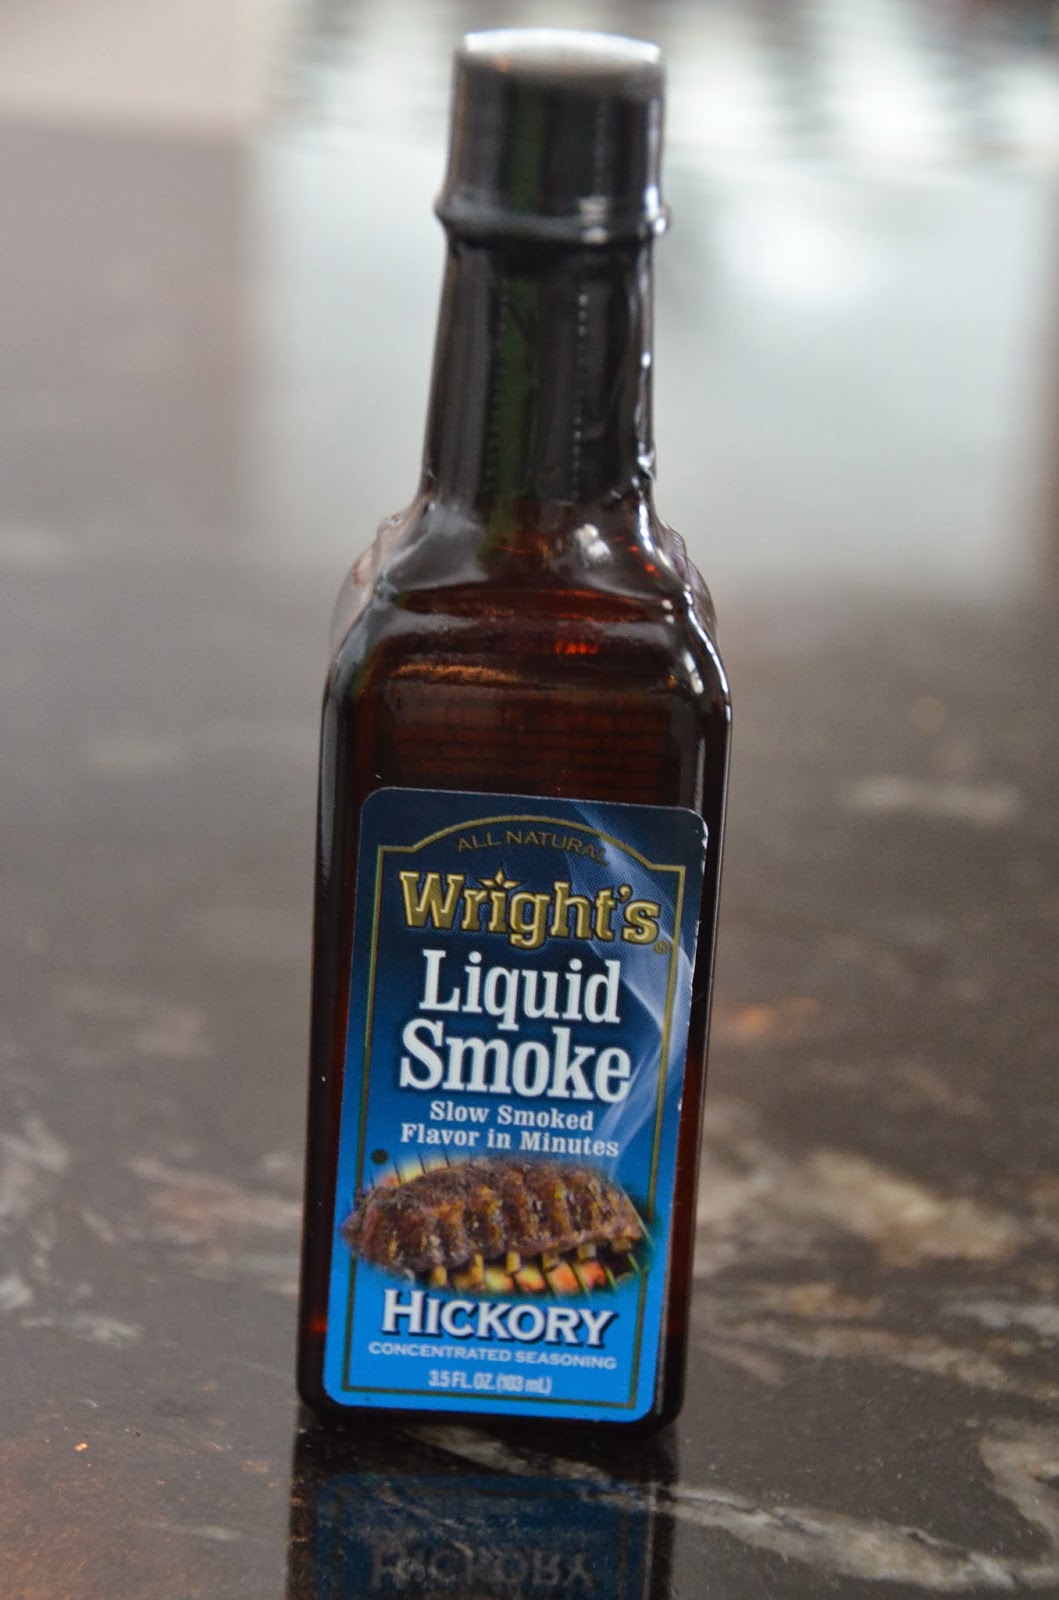
Add about 1/2 tsp. salt and 1/4 tsp black pepper and then add two tsp of liquid smoke.


Liquid smoke is AWESOME.  It sounds like it might be some gross artificial flavoring but it’s not, there are only two ingredients…water and natural hickory smoke concentrate.


This stuff makes everything taste like you’ve been smoking it for days…it’s outta this world I swear.

Now turn on your crockpot…you can cook this on high for 4 hours or low for about 6-7.

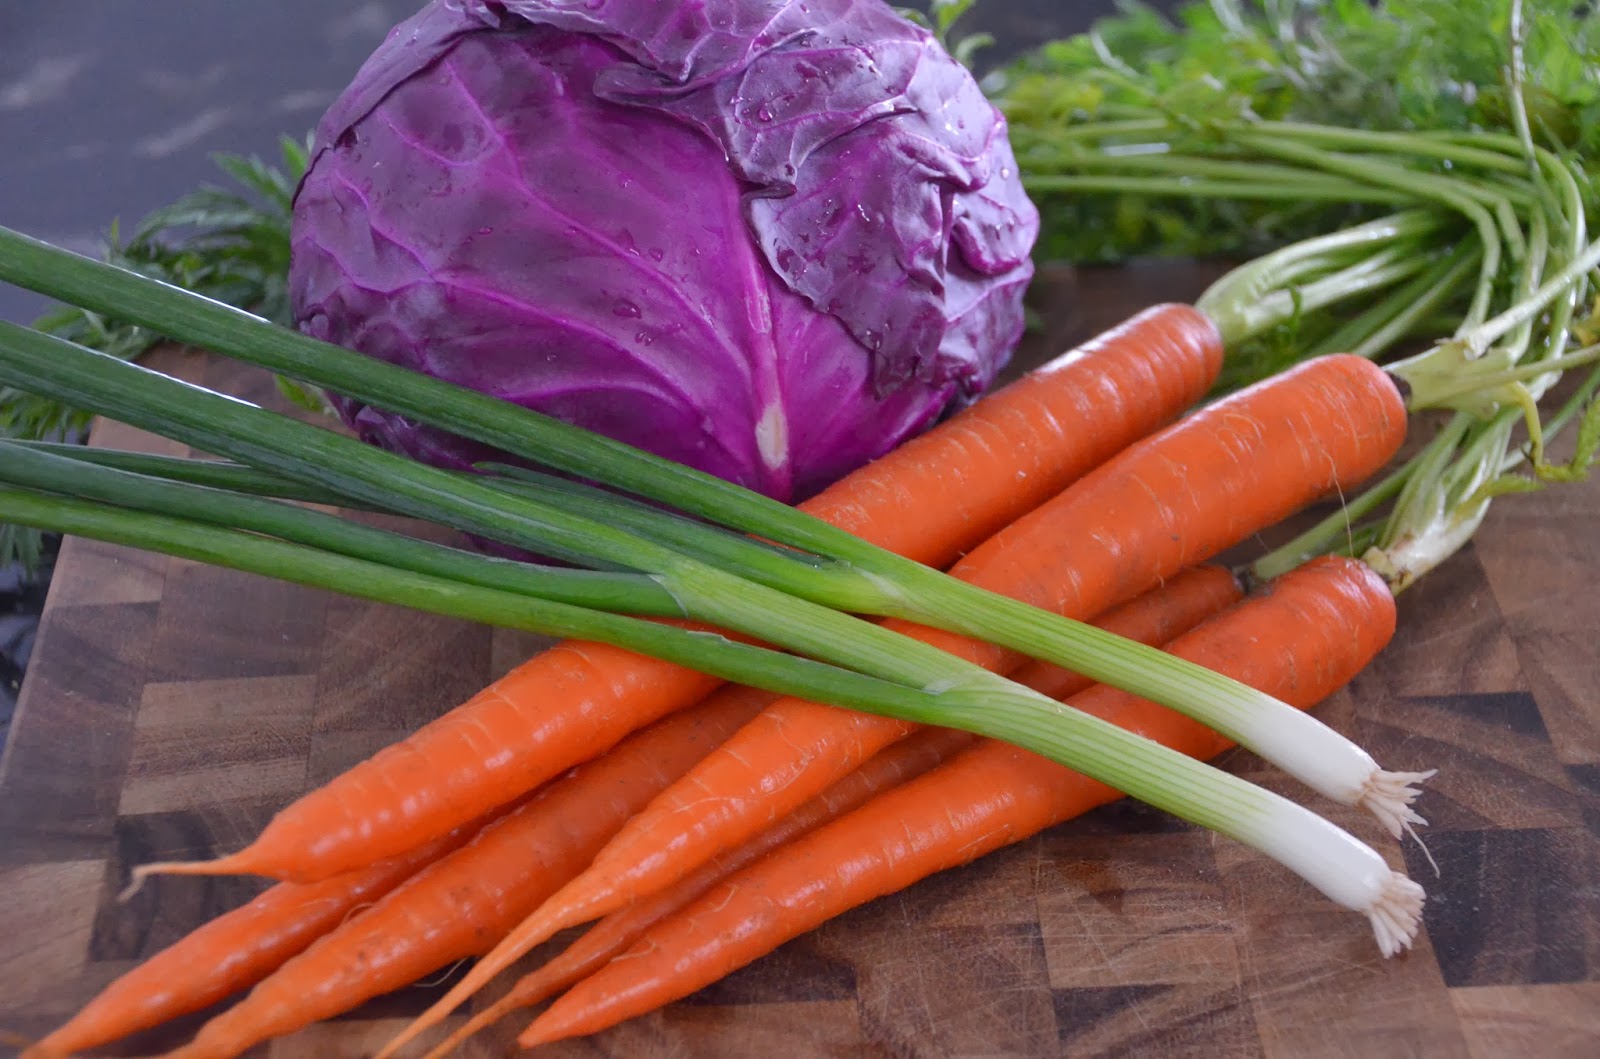
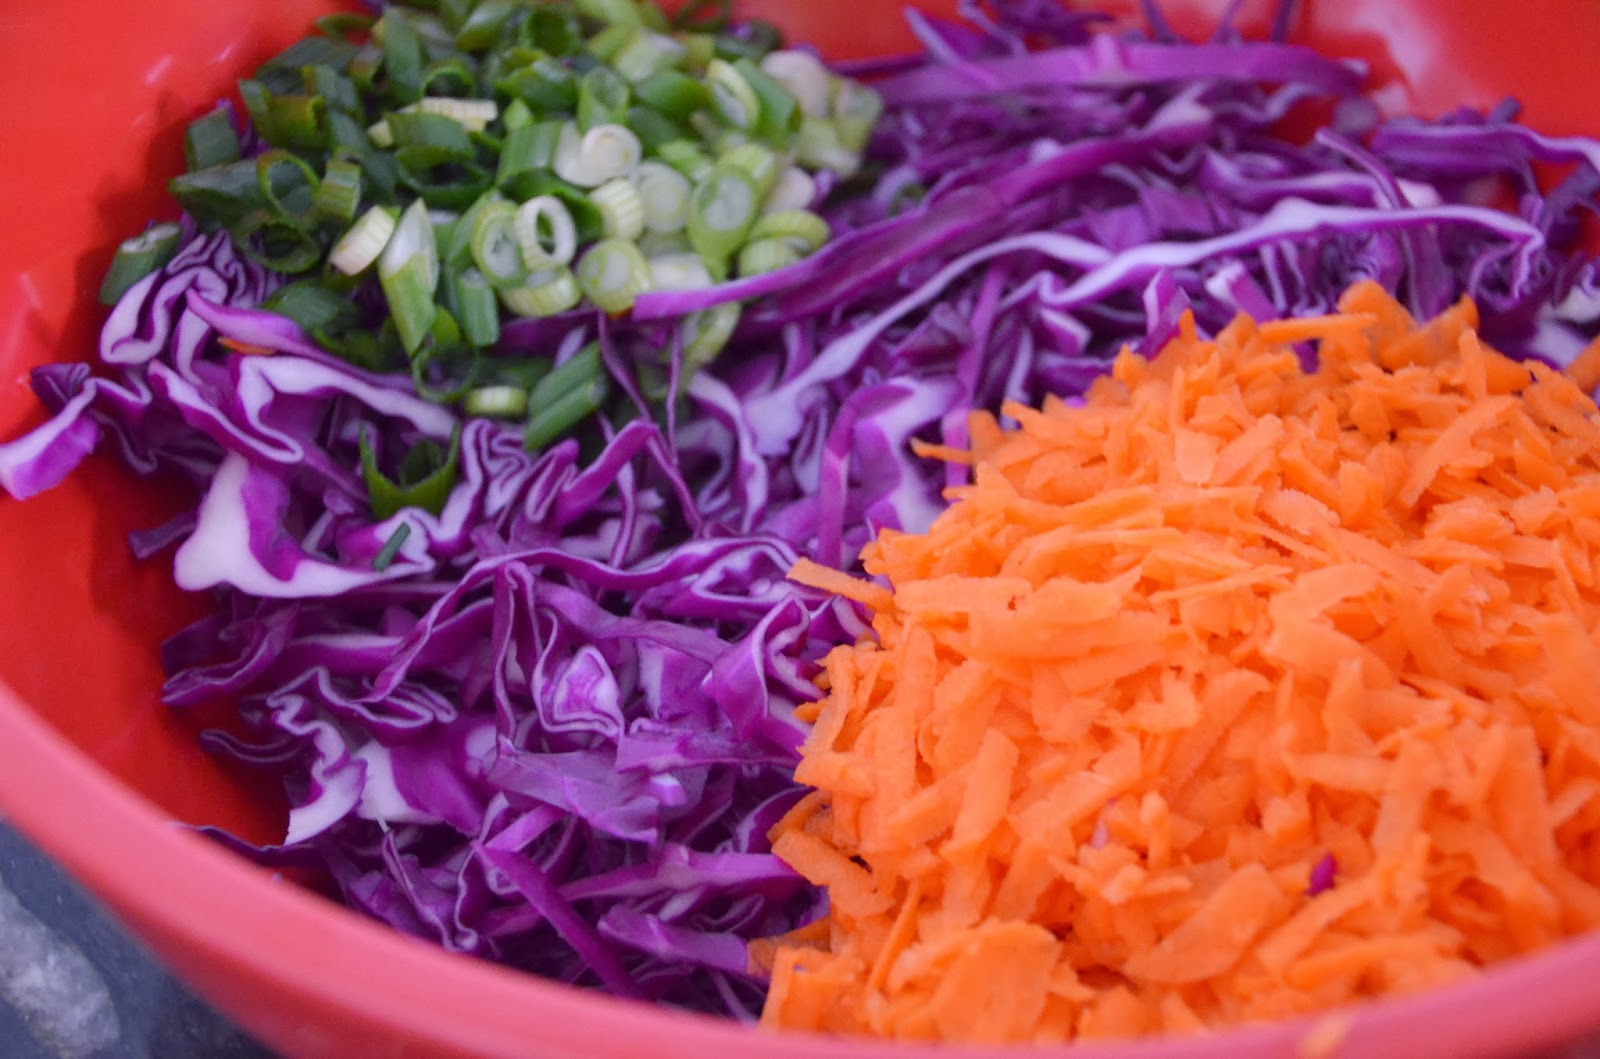
Time to make the slaw…here’s the veggies you will need…so pretty!


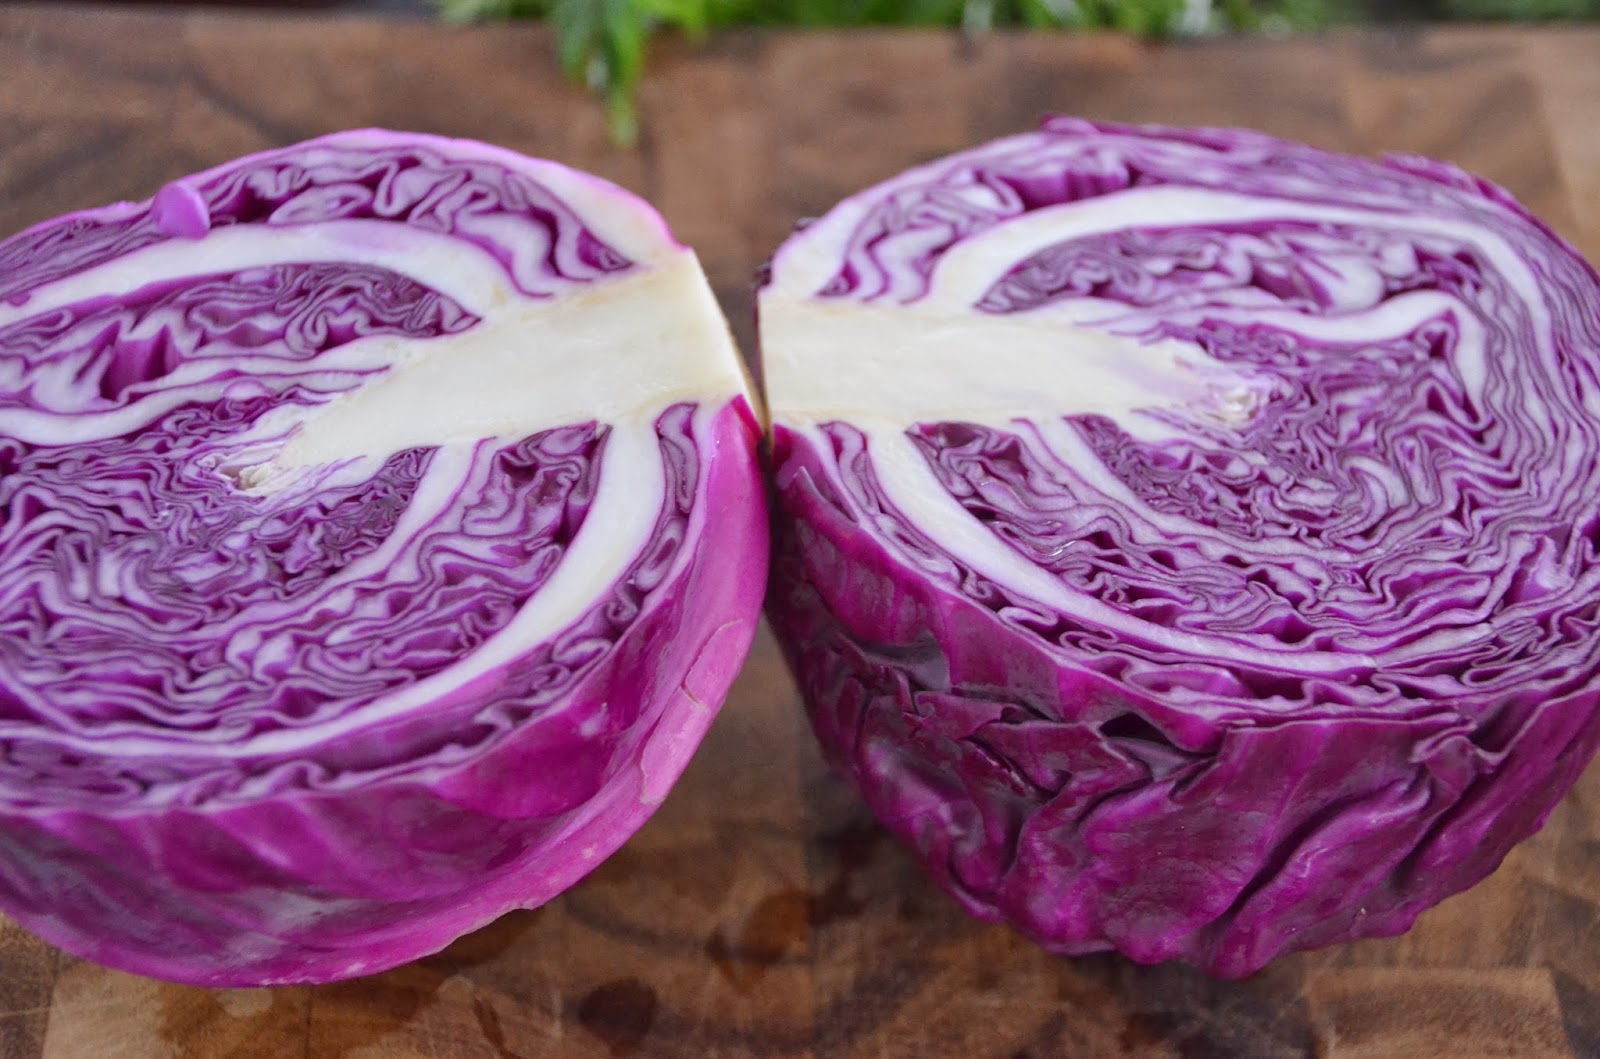
I used purple cabbage today but you can use whatever you want.  Cut the cabbage in half…


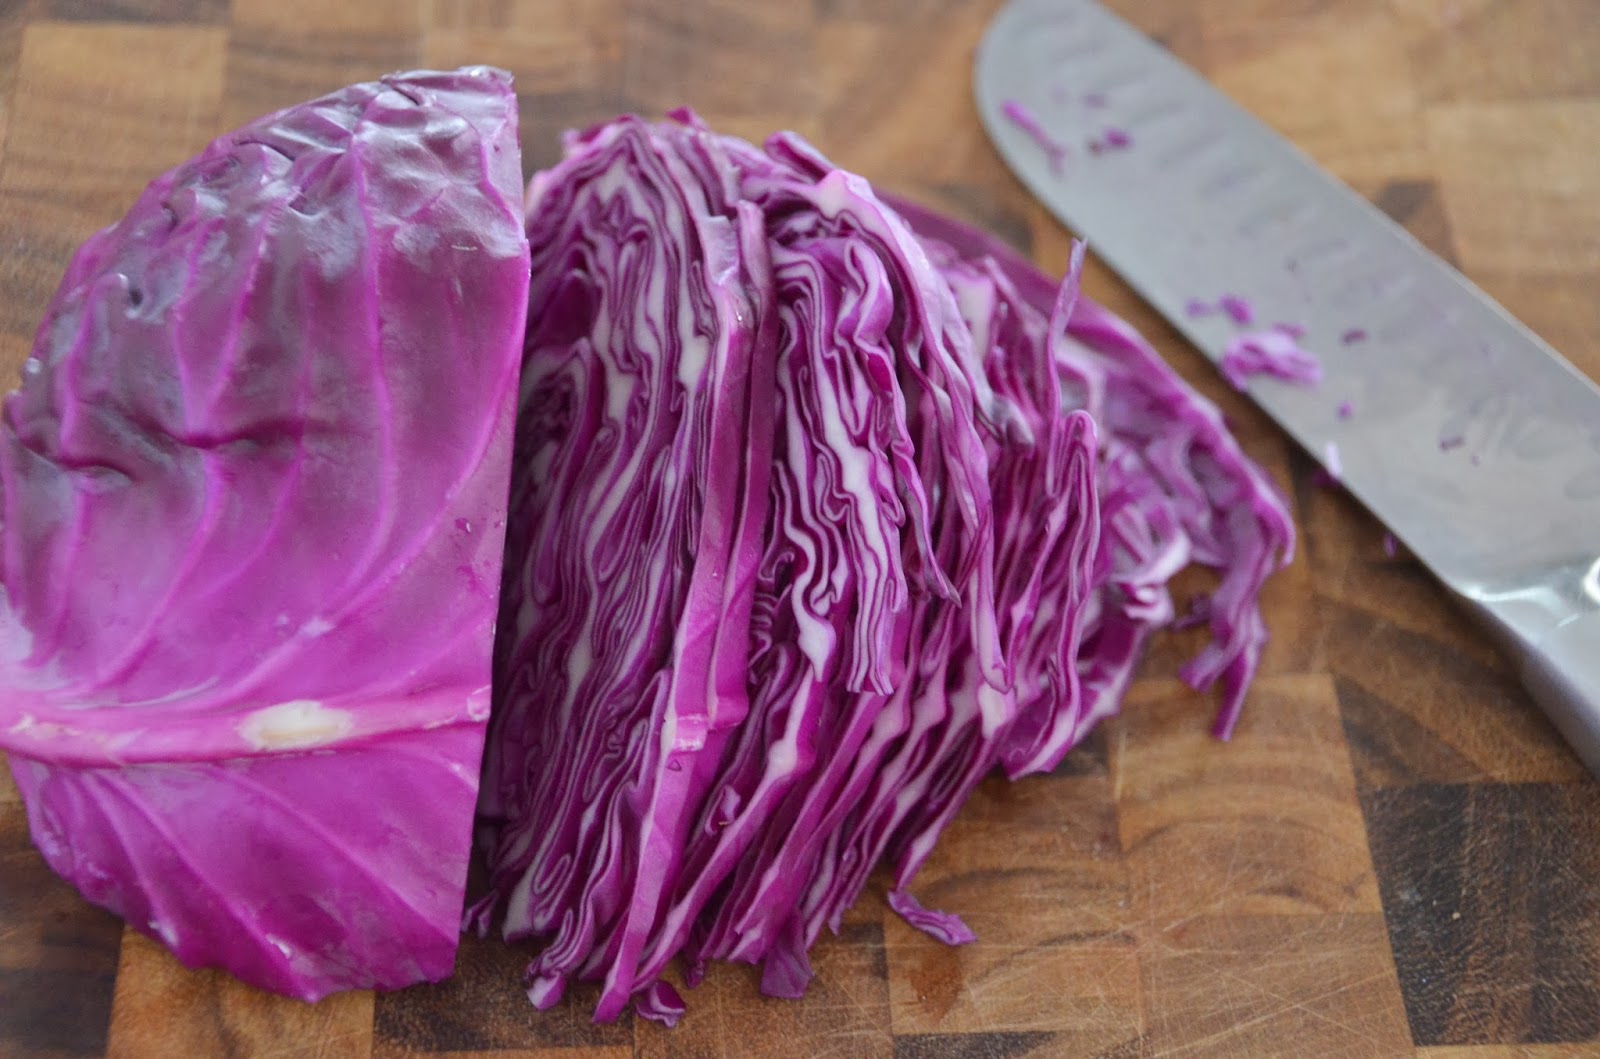
Remove the white stalk part and then slice it very thin…you only need half of the head so save the rest for another time, sauteed cabbage is amazing FYI…


Put the shredded cabbage in a large bowl and then add 3 shredded carrots and two chopped green onions…


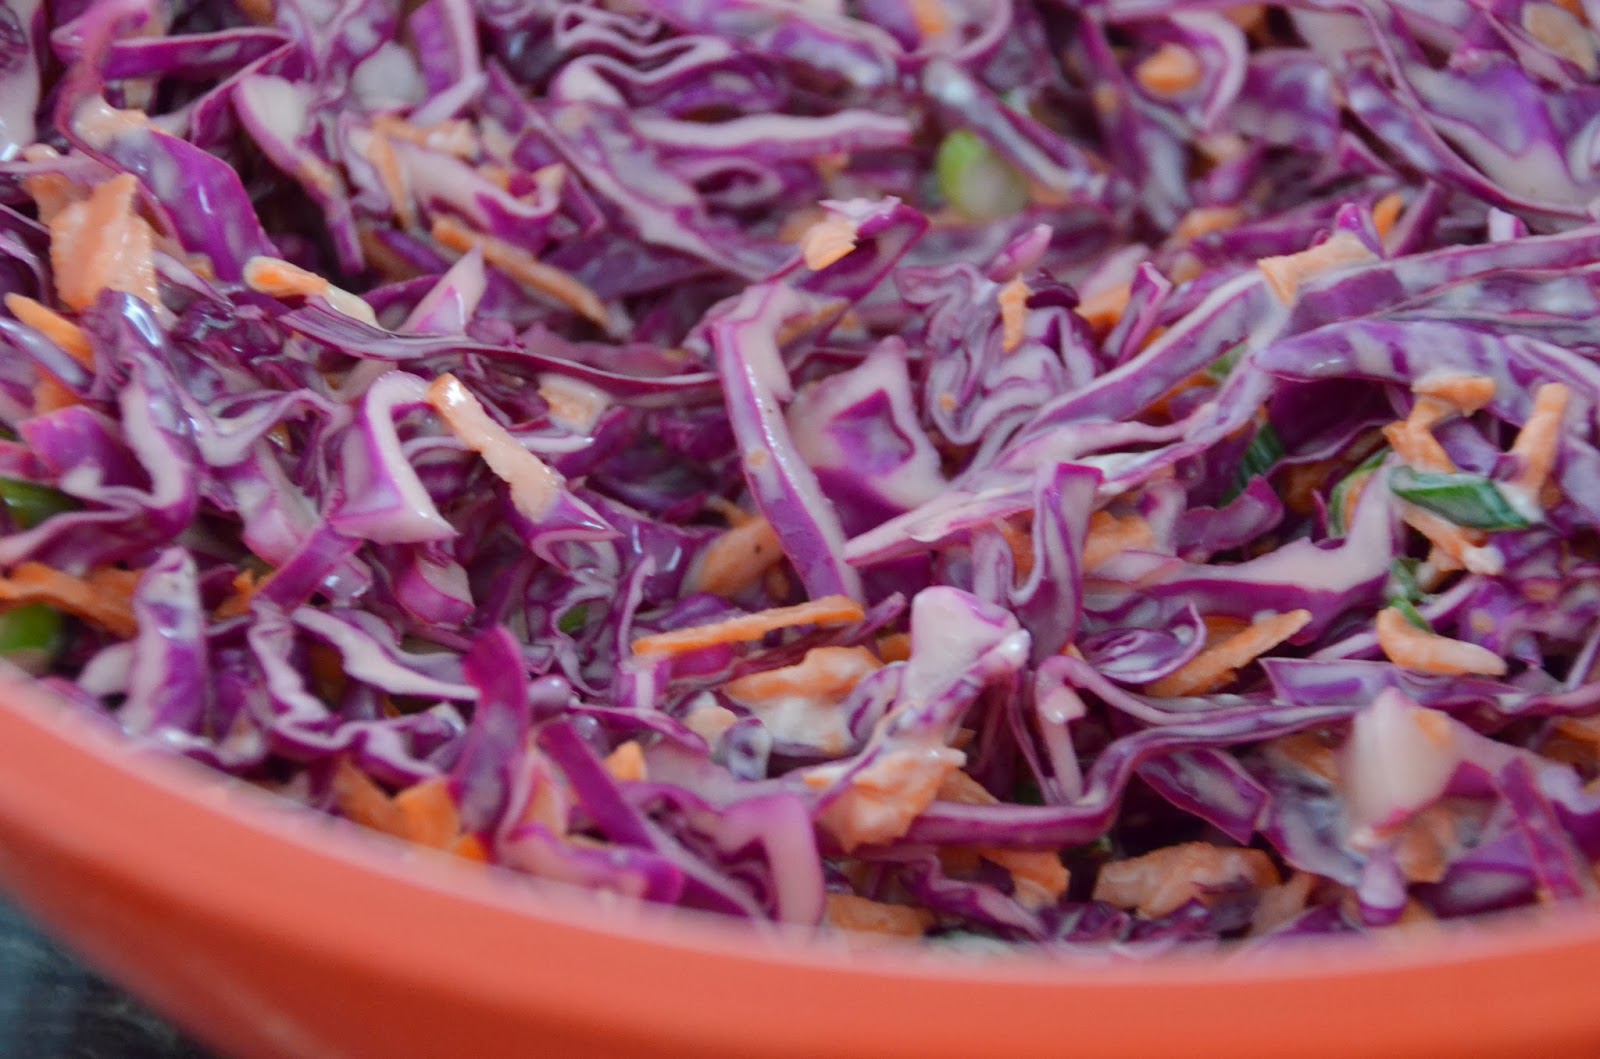
Now add the apple cider vinegar, light mayo, sugar, salt & pepper, and stir everything up…


Put a lid on it and get it in the fridge…it needs to chill for a while.

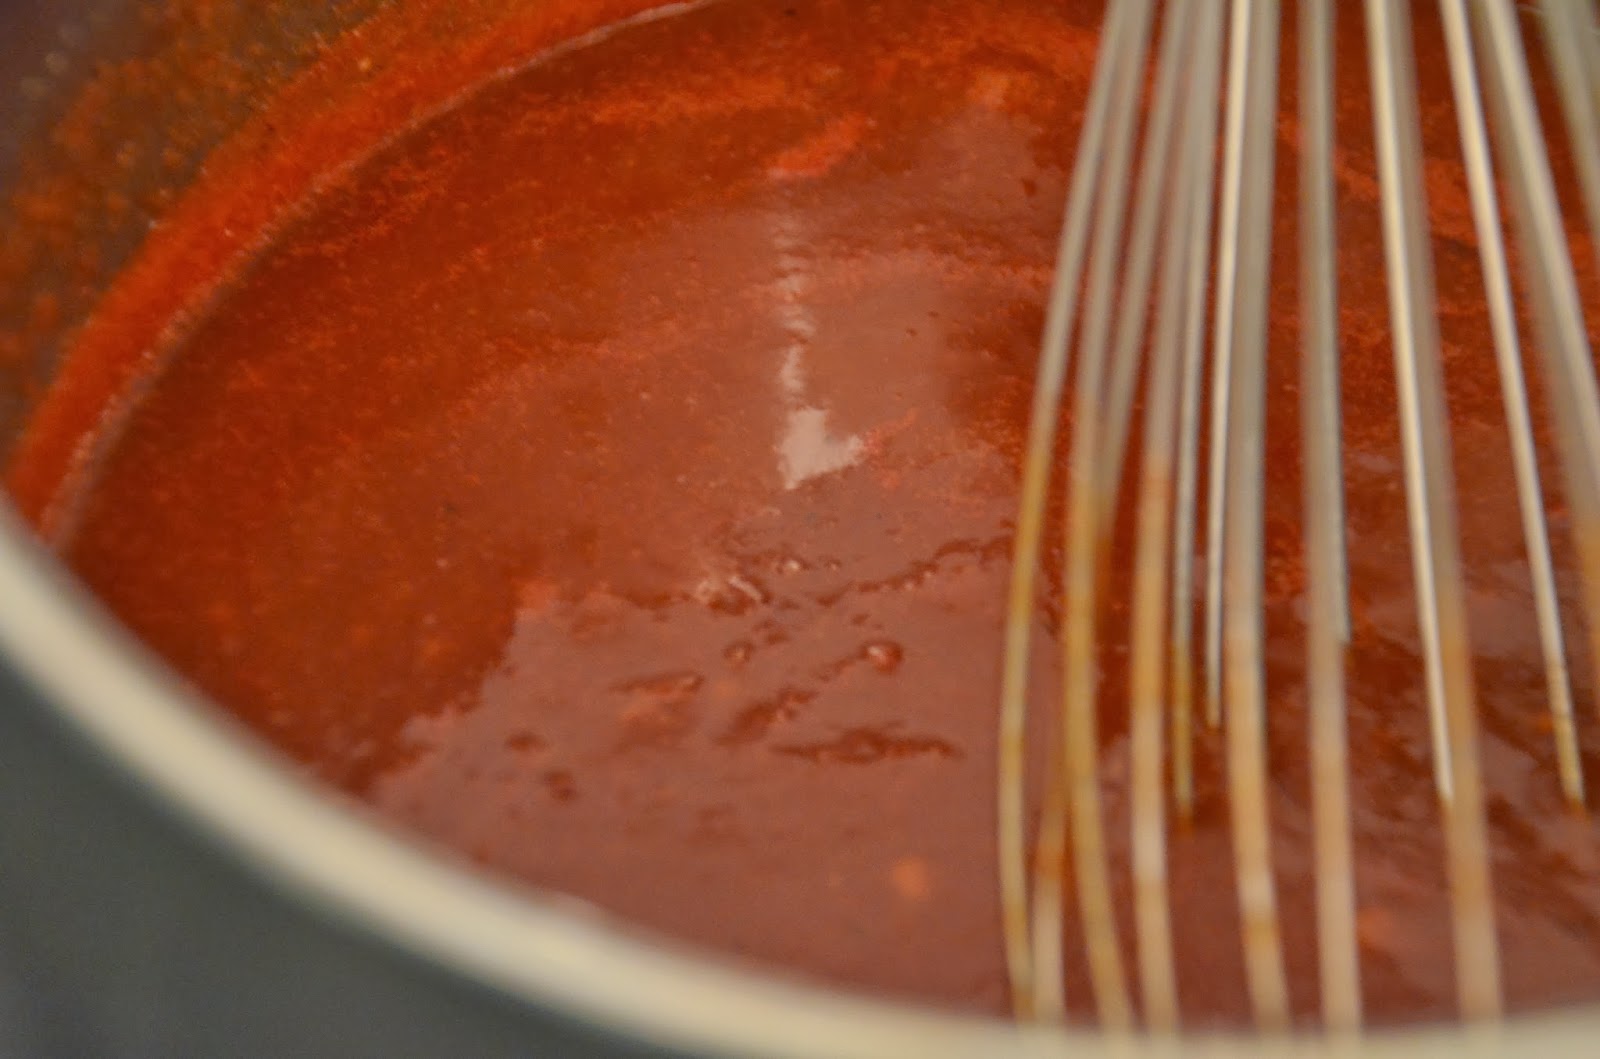
About an hour before the chicken is done, put all the ingredients for the BBQ in a saucepan, bring it to a boil and then lower it to a simmer.  Whisk it often over low heat for an hour.


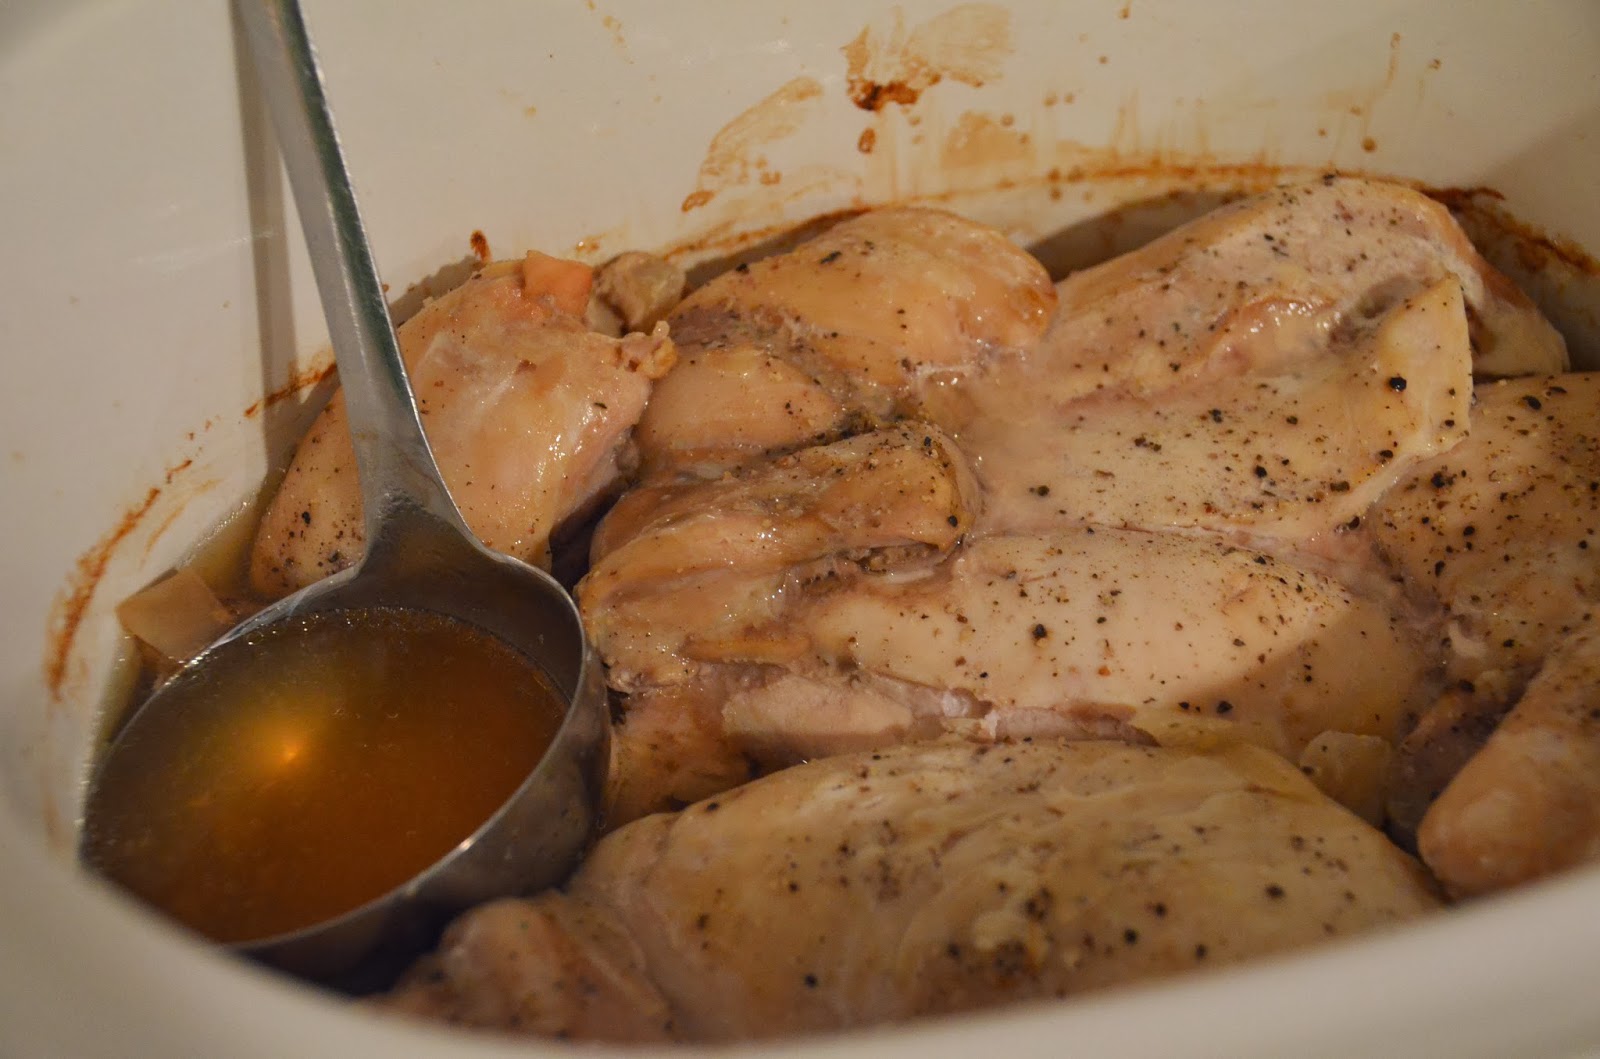
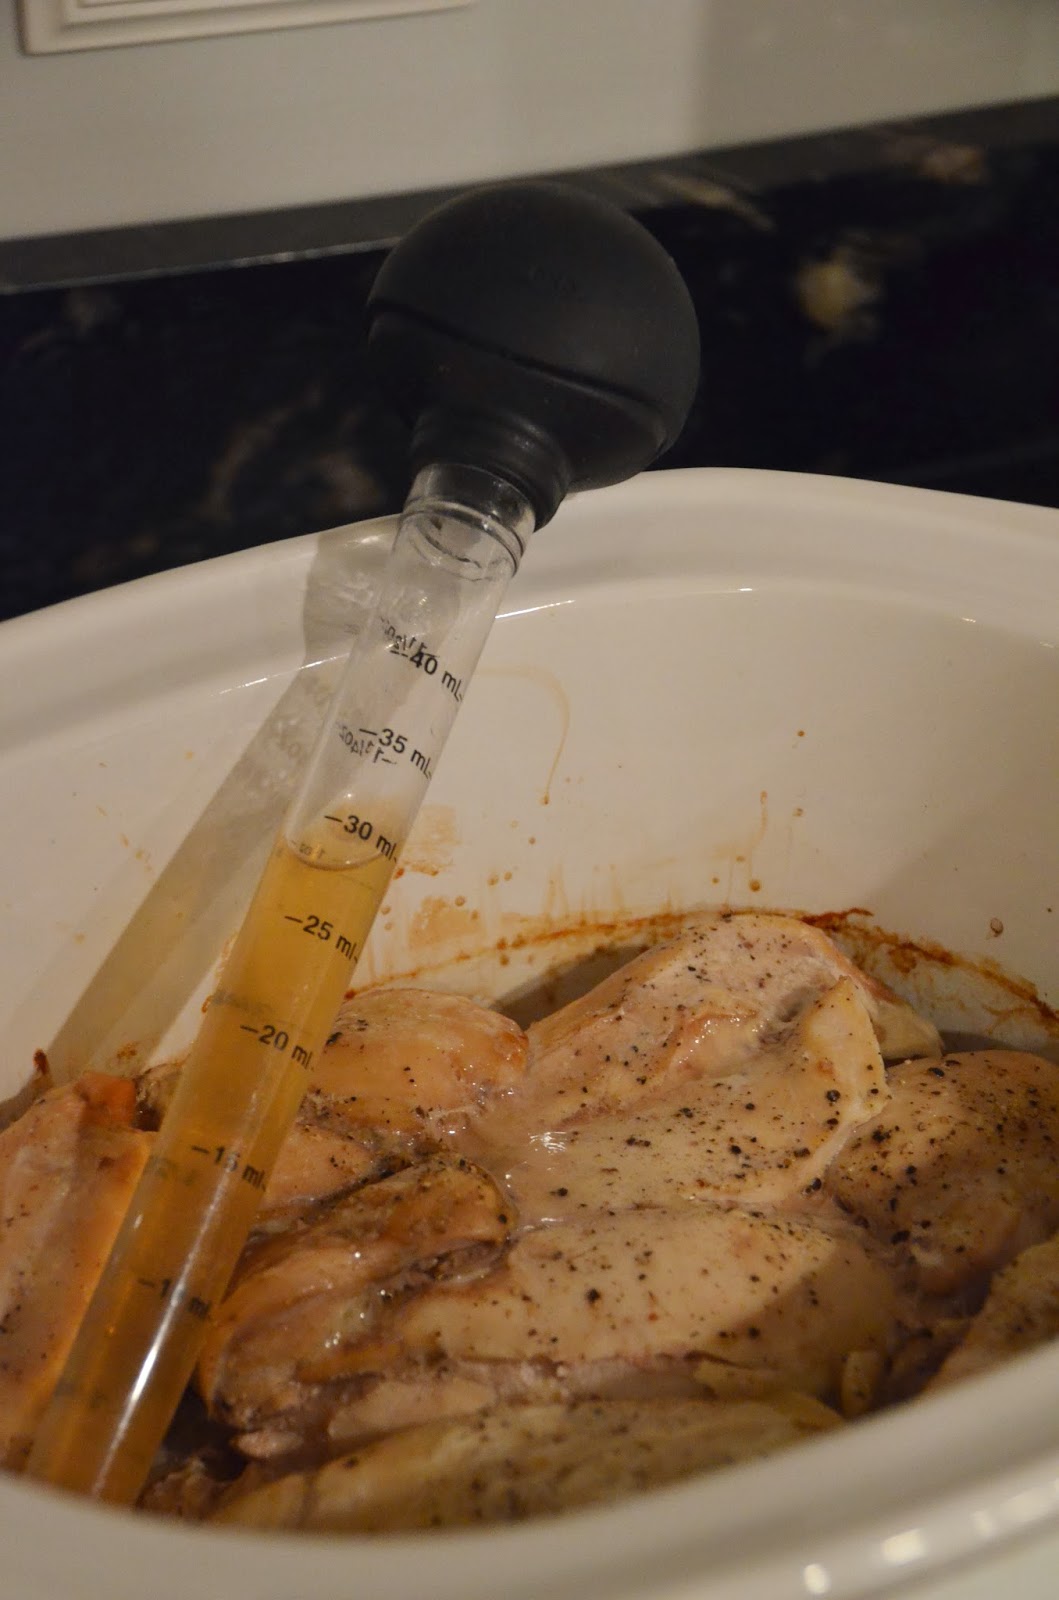
When the chicken is done, you need to shred it.  You also need to get most of the liquid out of the crockpot.  Chicken releases a lot of water when you slow cook it and you really don’t want to water down that amazing BBQ sauce when you add it in.  You can remove all the pieces and then drain most of the water (try to keep most of your onions).  Or you can use a ladle or turkey baster to remove most of the liquid before you begin shredding.

I couldn’t find my baster so I used a ladle...


And then I found my baster so I started using that…


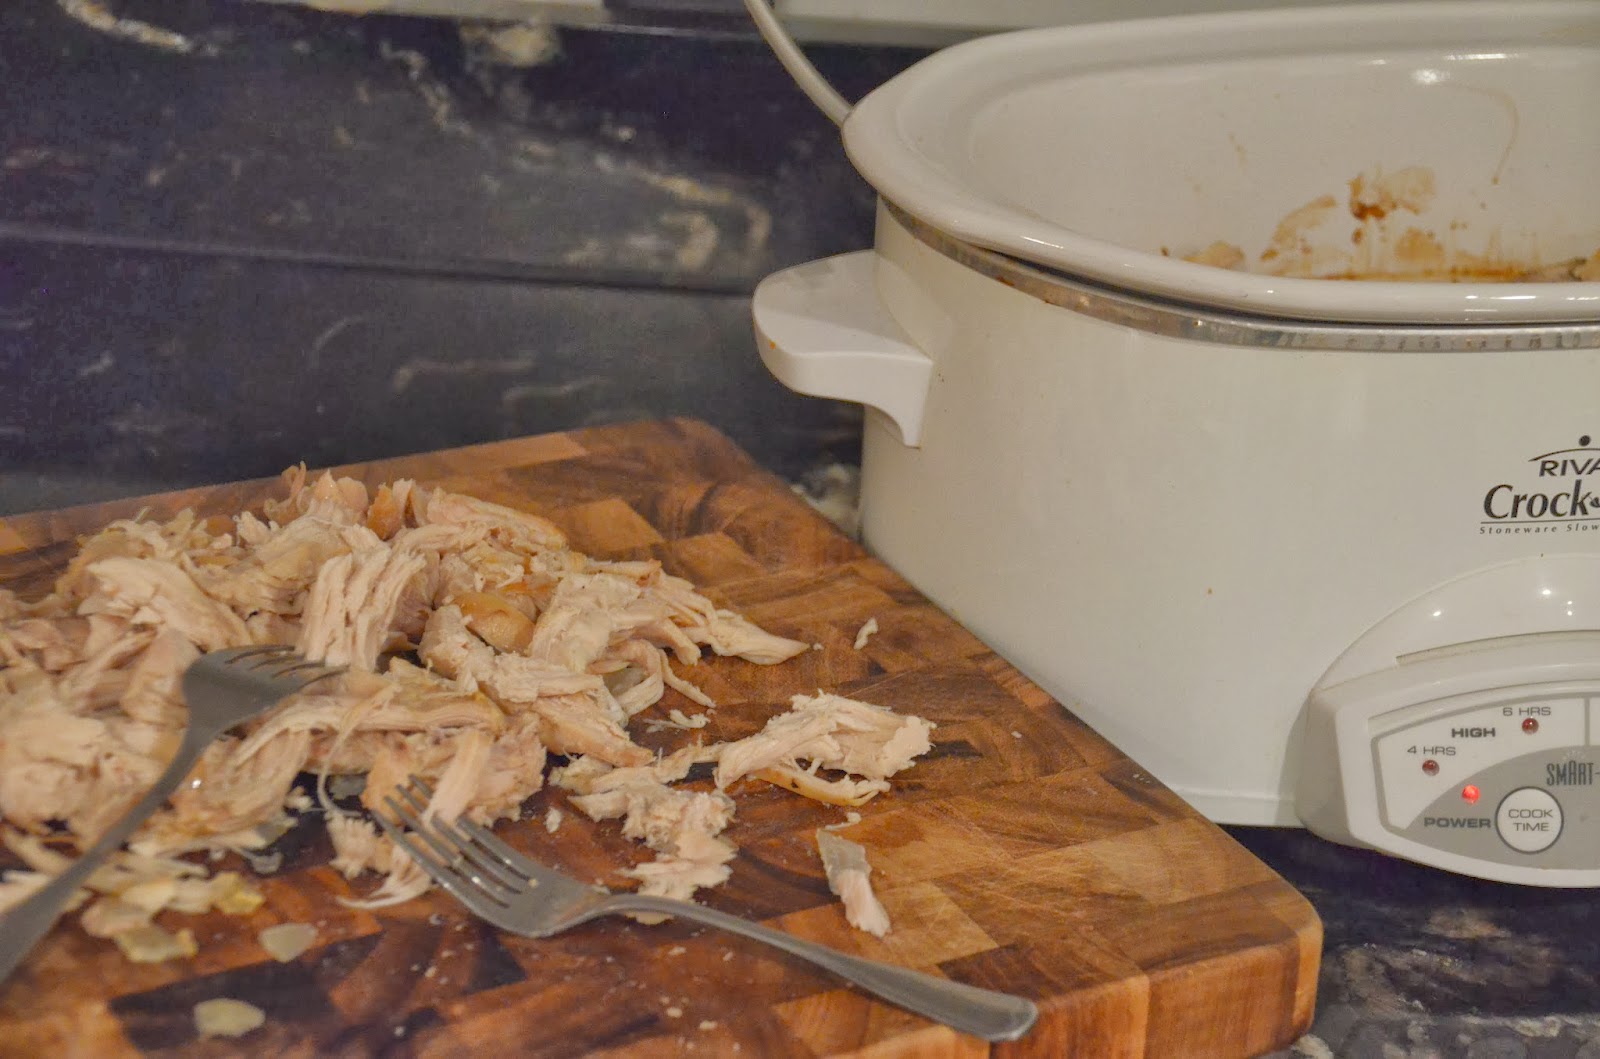
Go ahead and shred your chicken…


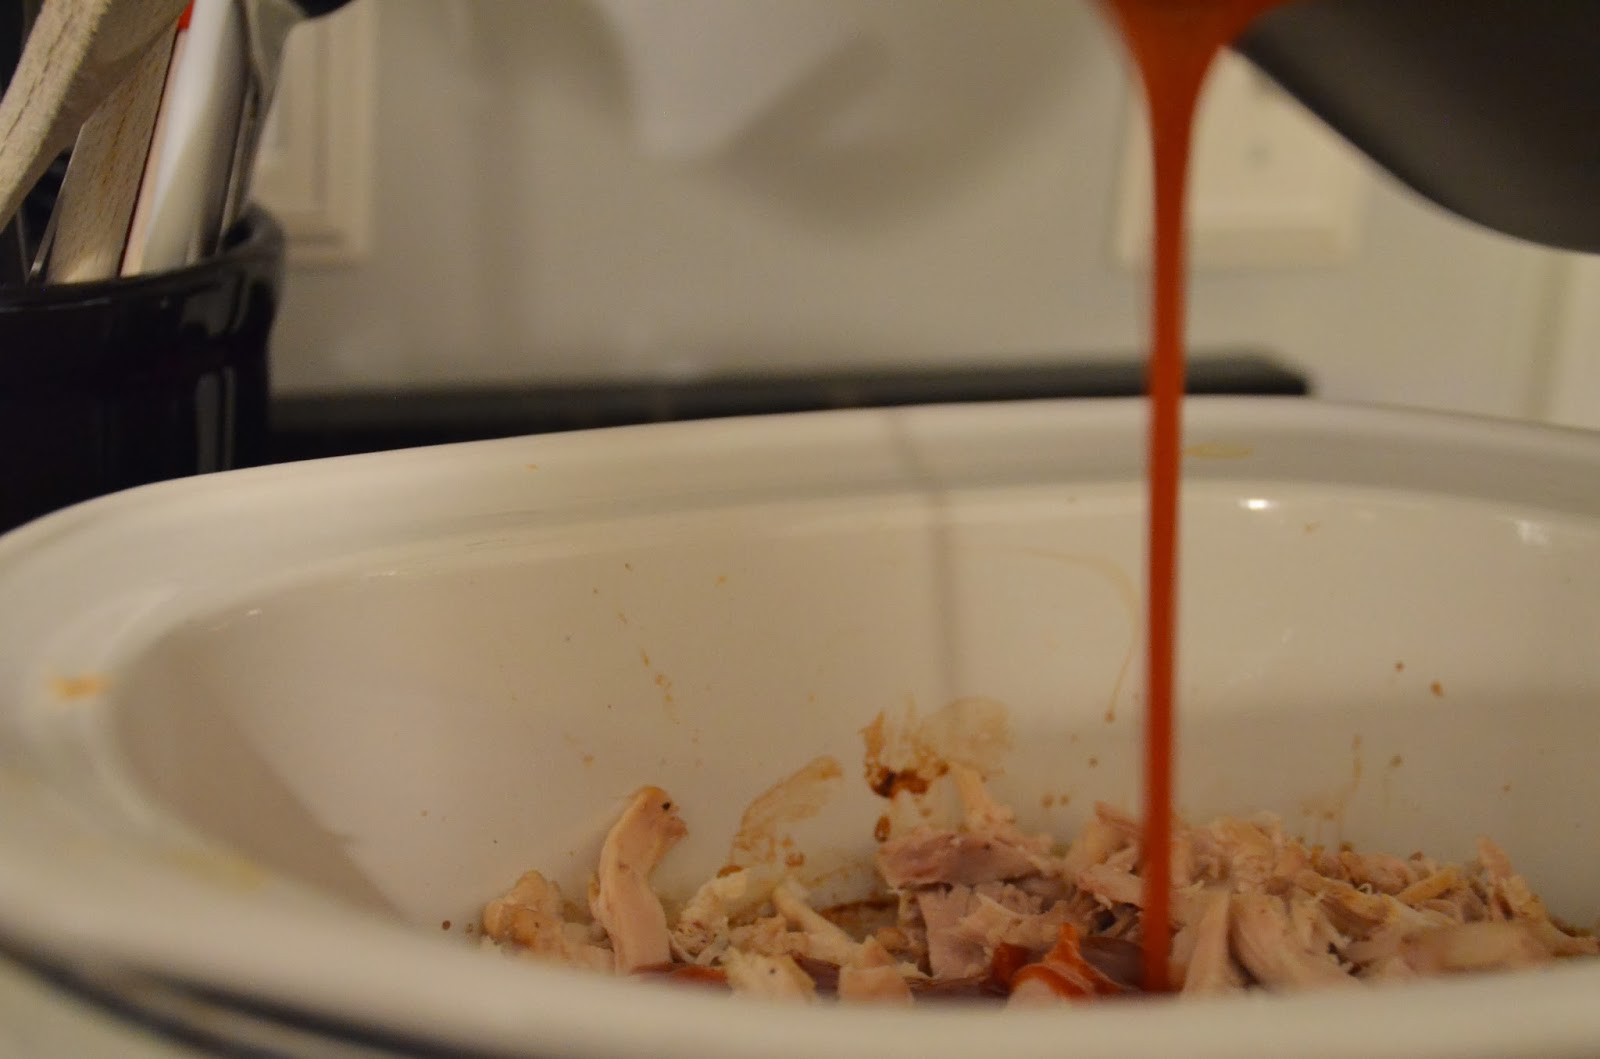
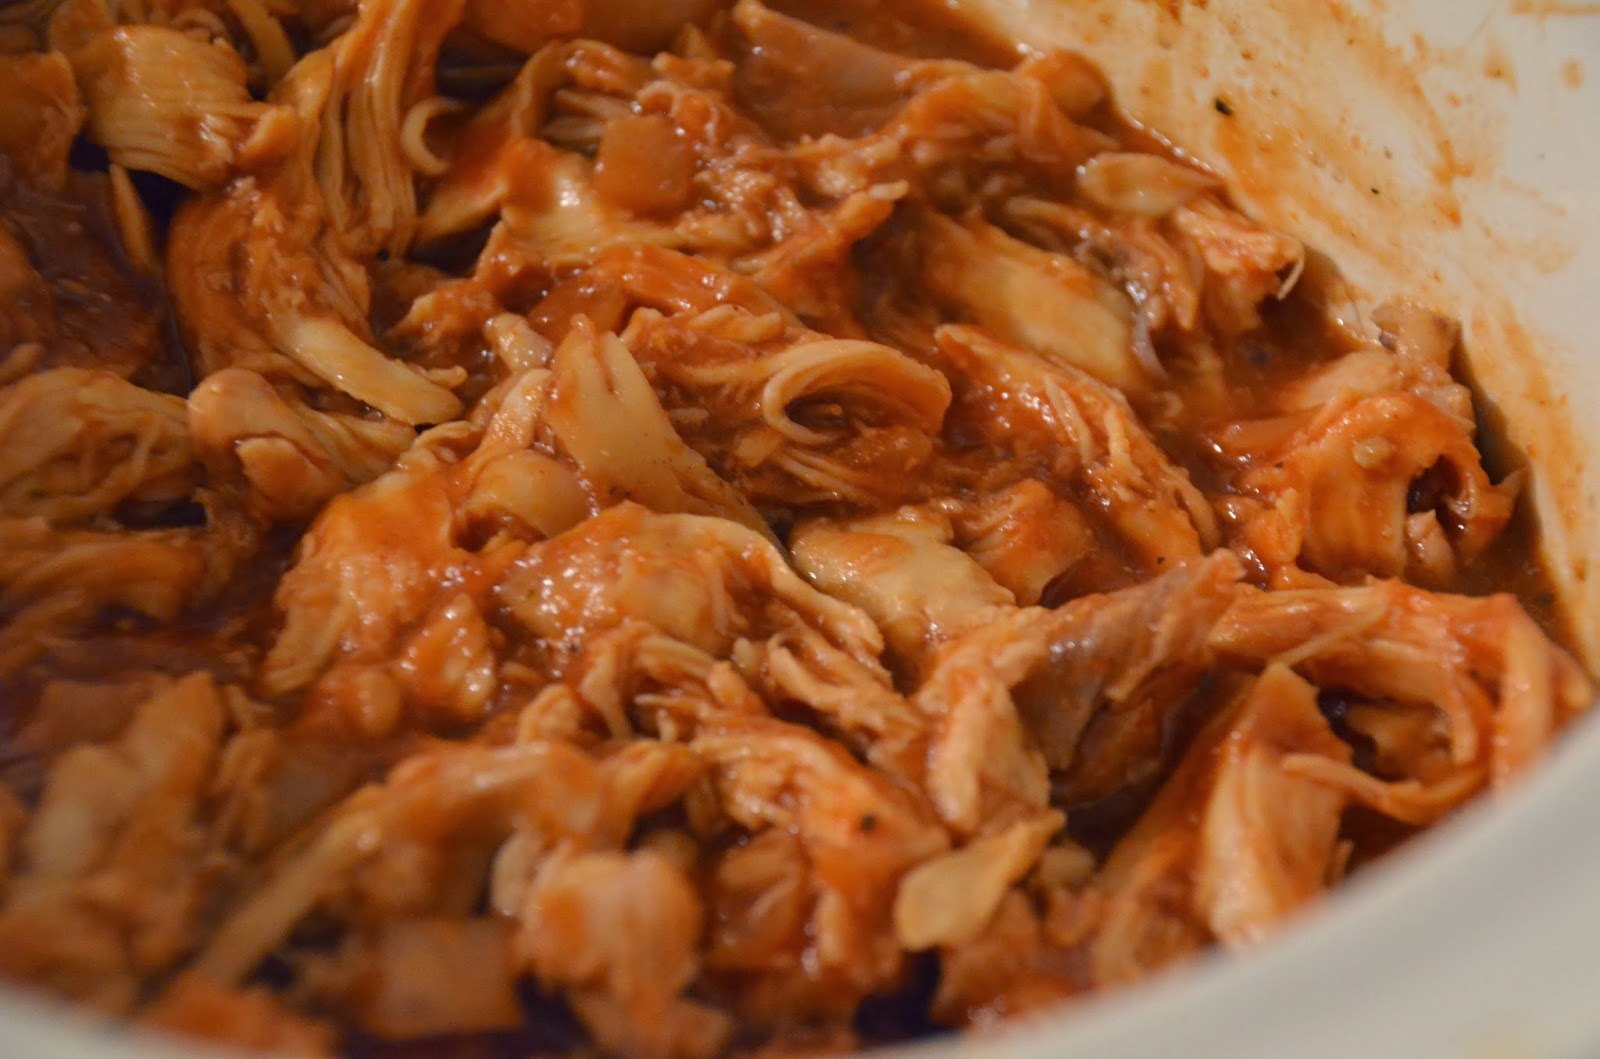
And then get it all back in the crockpot, pour the sauce over the chicken and mix it all up.


Time to eat!  My boys don’t love cole slaw (I know, shocker!) so I always get out some provolone so they can melt that on top of their sandwiches.

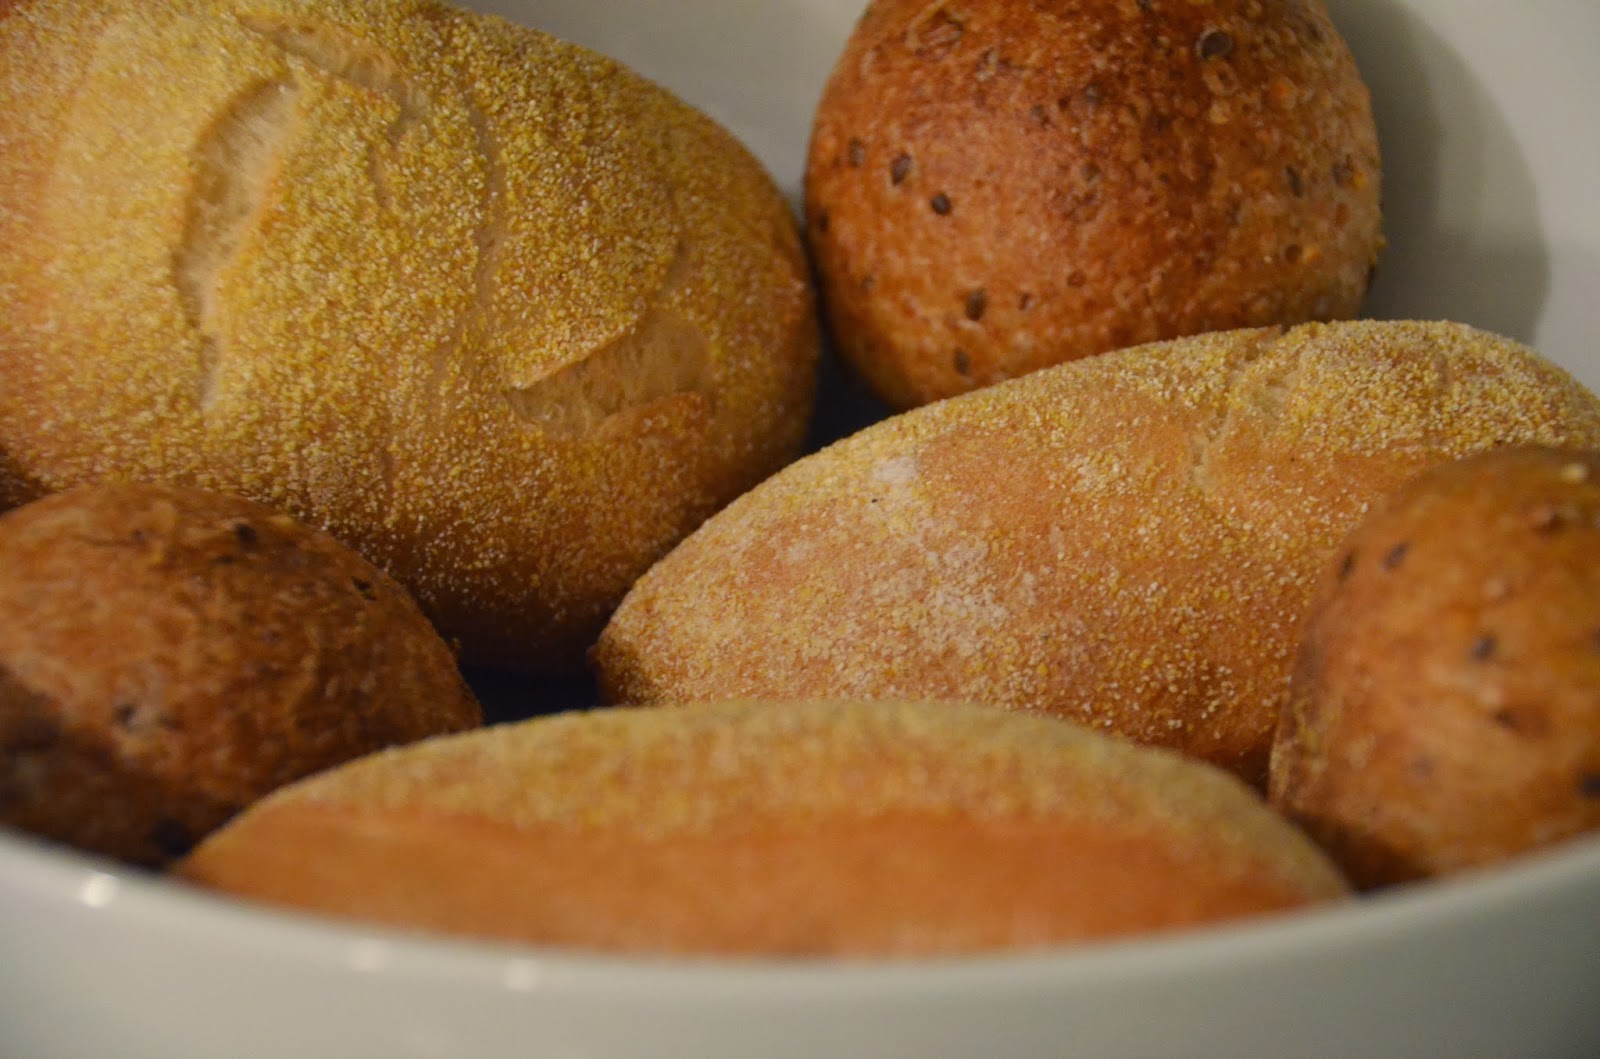
That amazing coleslaw has been marinating in the fridge for hours and it’s ready to meet the meat, you just need to get your rolls out now…

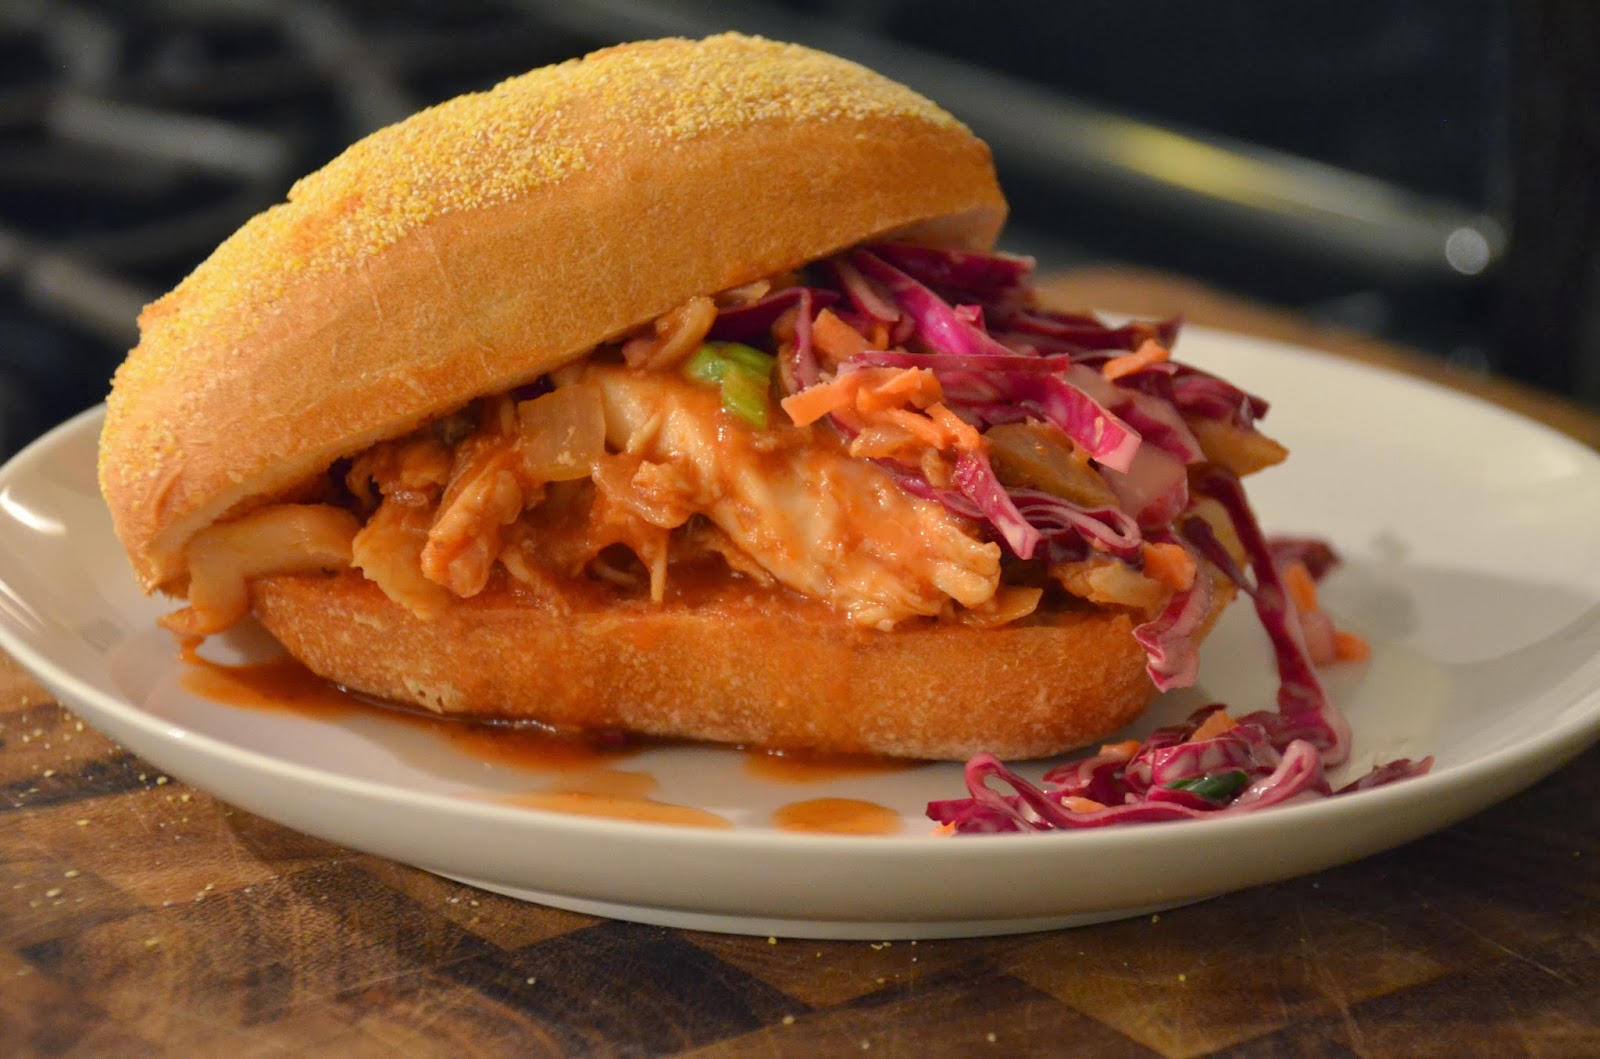
A crusty roll, a good helping of BBQ chicken, and a topping of cole slaw…perfection.


My husband LOVES this sandwich, he bathed all the kids and got them ready for bed after eating one of these…my evil plan has worked.

Make these sandwiches for someone the next time you need them to do you a favor…ask for the favor right after they take the last bite, it works.

Cheers!

The Good Cooker
Sally’s Grandma’s Fruit Cobbler


I baked something today, and if you’ve read some of my other posts you know I’m not big on baking…but if I know I’ve got a recipe that can’t fail, I will bake.  This fruit cobbler is one of those recipes.  I’ve been making this for years, the recipe also came out of The Woods…if you want some background on what “The Woods” is, you can read about it here.  The Svoboda’s lived a few houses down from us, Sally and my mom were good friends…and Mickey and I were good friends.  He was my only guy friend at the time so he must have been pretty cool.  Anyway, my mom got this recipe from Sally and Sally got it from her grandmother, Mae Ridnour.

Let me just say, if Pinterest had existed in the early 1900’s Mae would have been an internet sensation with this recipe alone.  It has all the makings of a star dish…it’s the most delicious cobbler I’ve ever had, it’s so simple to make, it’s low fat, and it has a twist that you will never see coming…see, now you’re hooked.

As always, this dish is easy peasy lemon squeezy.  I was even able to make the cobbler while a two year old was glued to my left leg screaming the whole time.  He was fine, that little angel baby just gets angry when he’s not the center of the universe 24 hours a day.

Ok, enough talking…here’s the recipe…

Fruit Mixture
3 cups fresh fruit (you can use peaches, blueberries, or apples depending on the season)
1/2 cup sugar

Batter
2 cups flour
1 cup sugar
2 tsp. baking powder
1 tsp. salt
1/2 tsp. cinnamon
1/2 tsp. vanilla extract
1 cup skim milk
2 tbsp. melted butter
2 cups water

Start by pre-heating your oven to 425° F and then begin boiling about 3 cups of water on the stove.


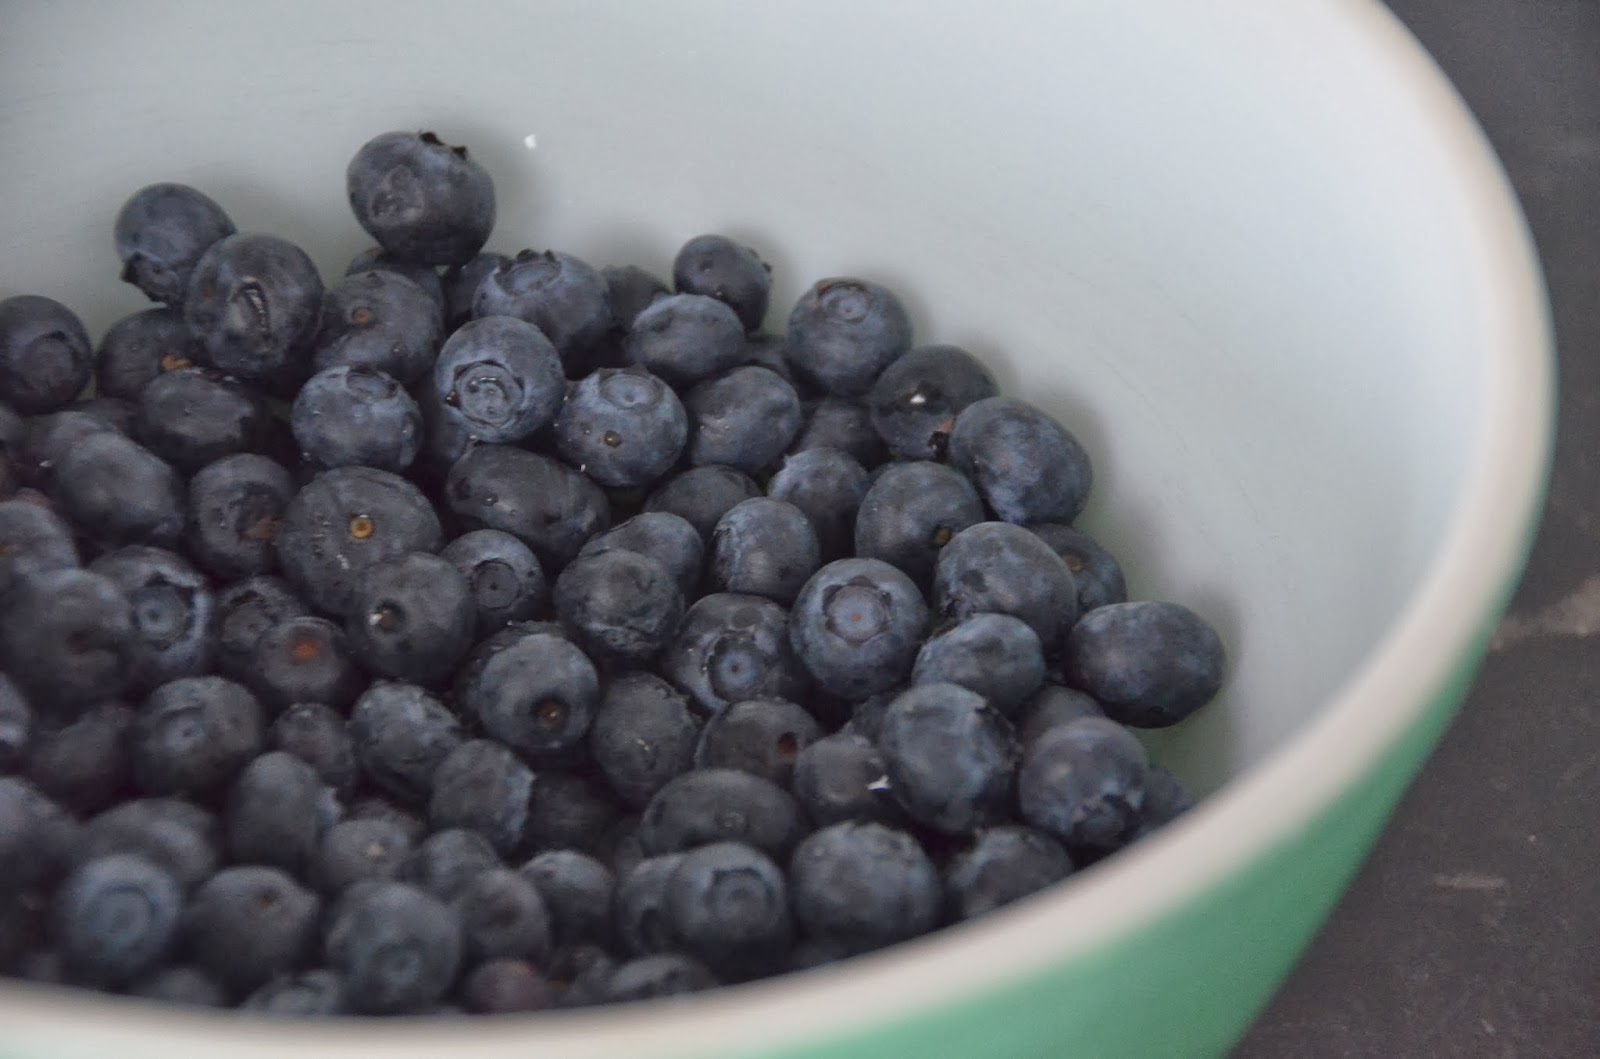
Now put your fruit in a large bowl…I used blueberries today.

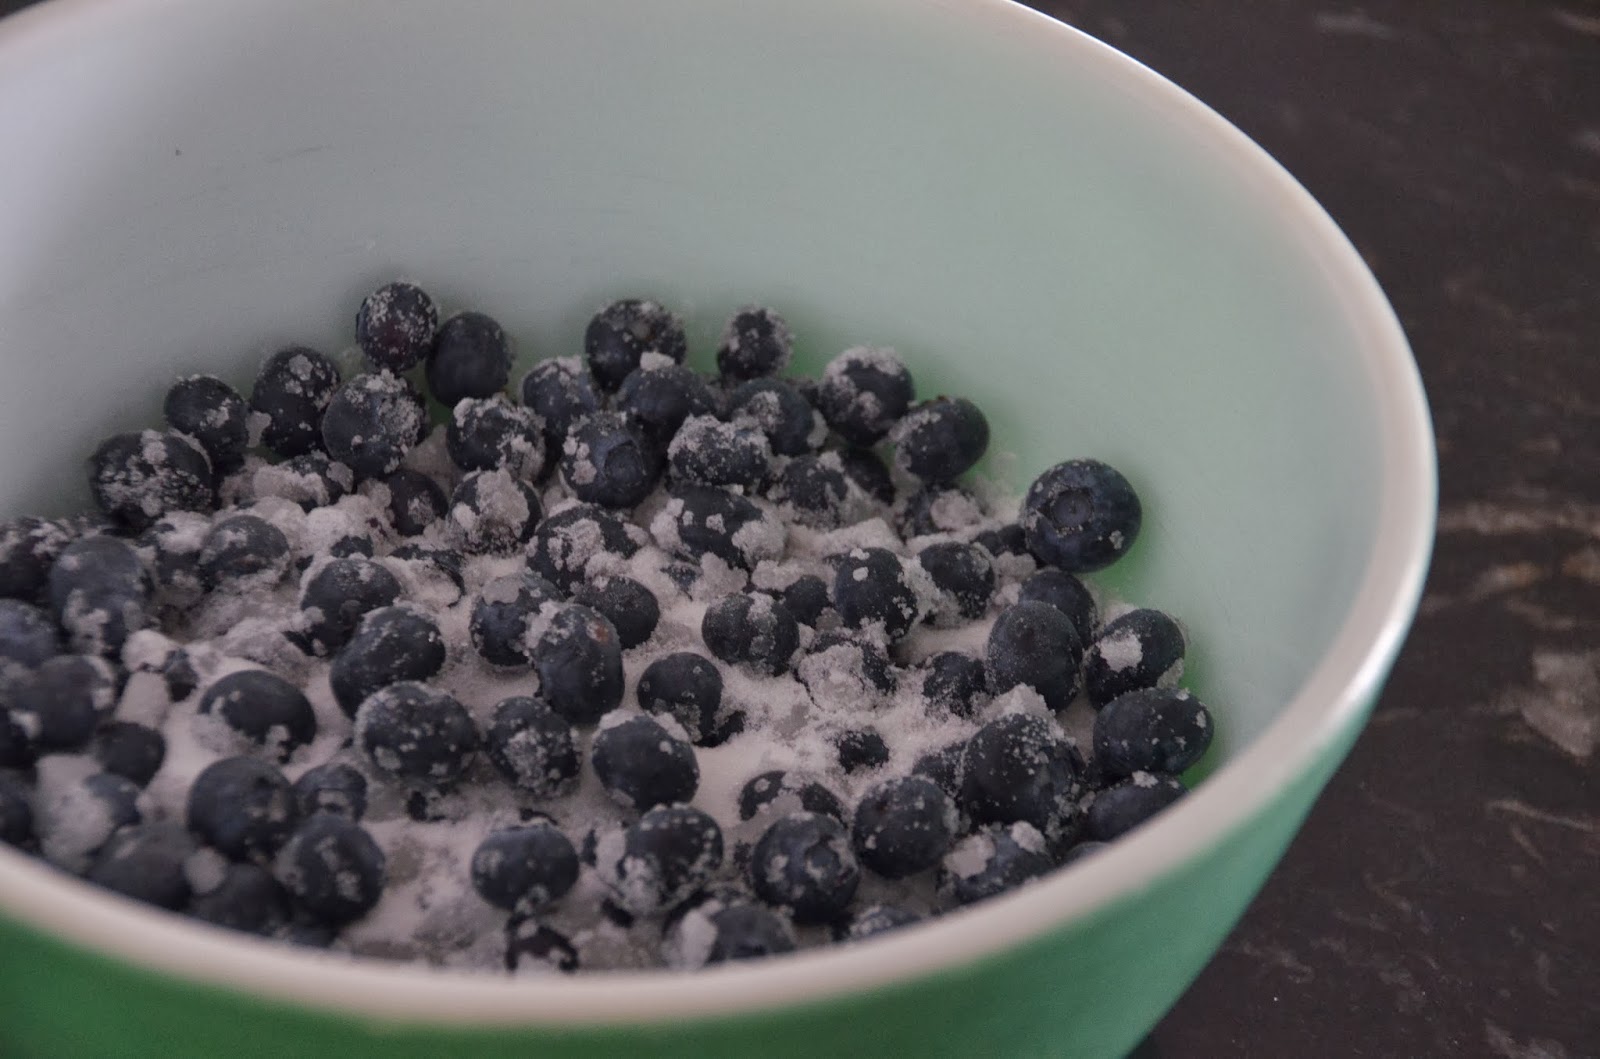
Cover the fruit with 1/2 cup sugar, stir it together and set it aside…


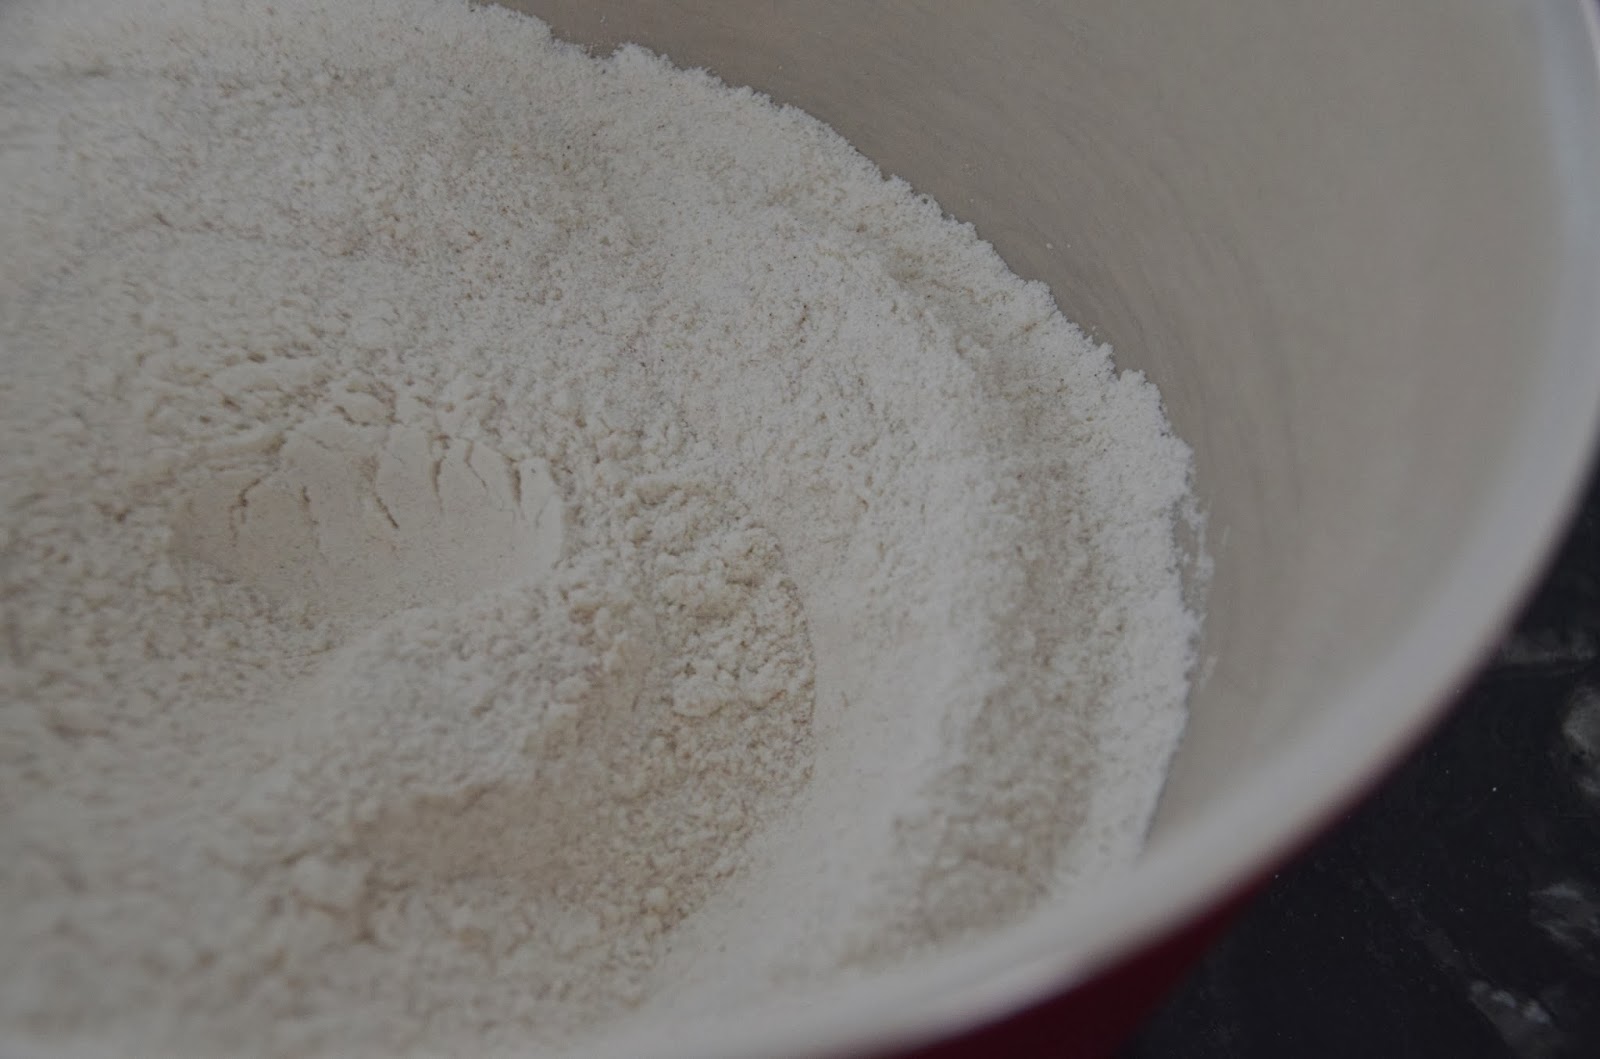
Now combine all of the dry ingredients in a large bowl (flour, sugar, baking powder, salt, cinnamon).


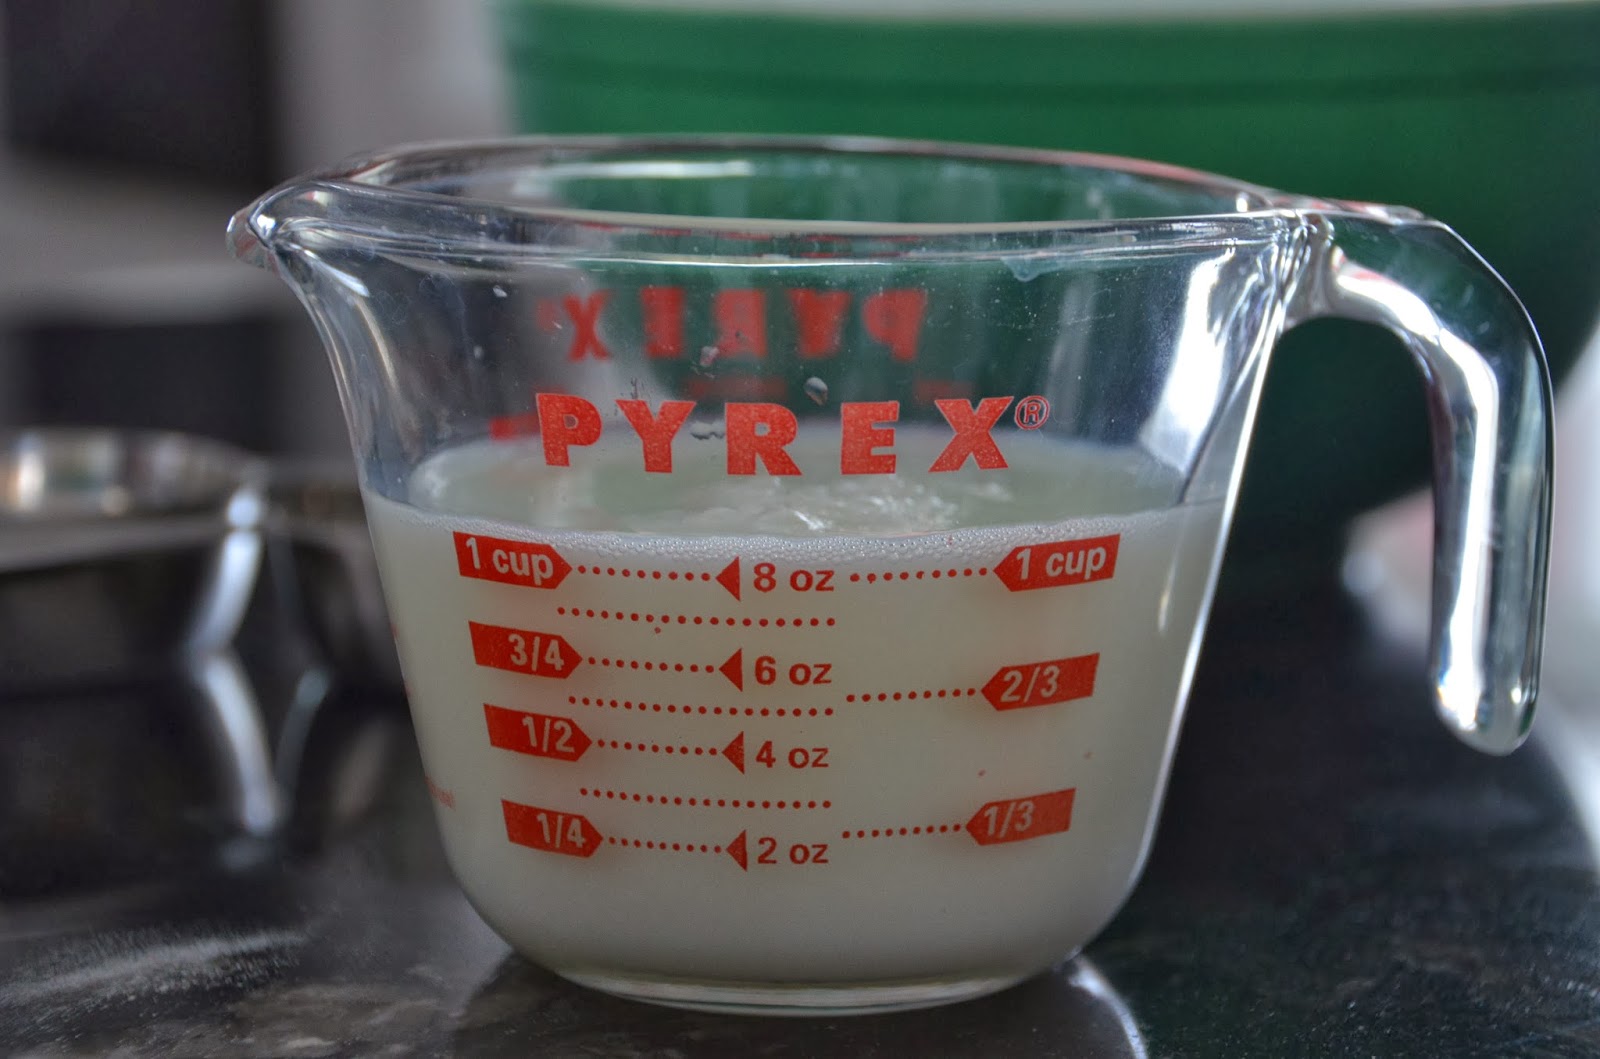
Measure out 1 cup of skim milk in a liquid measuring cup…

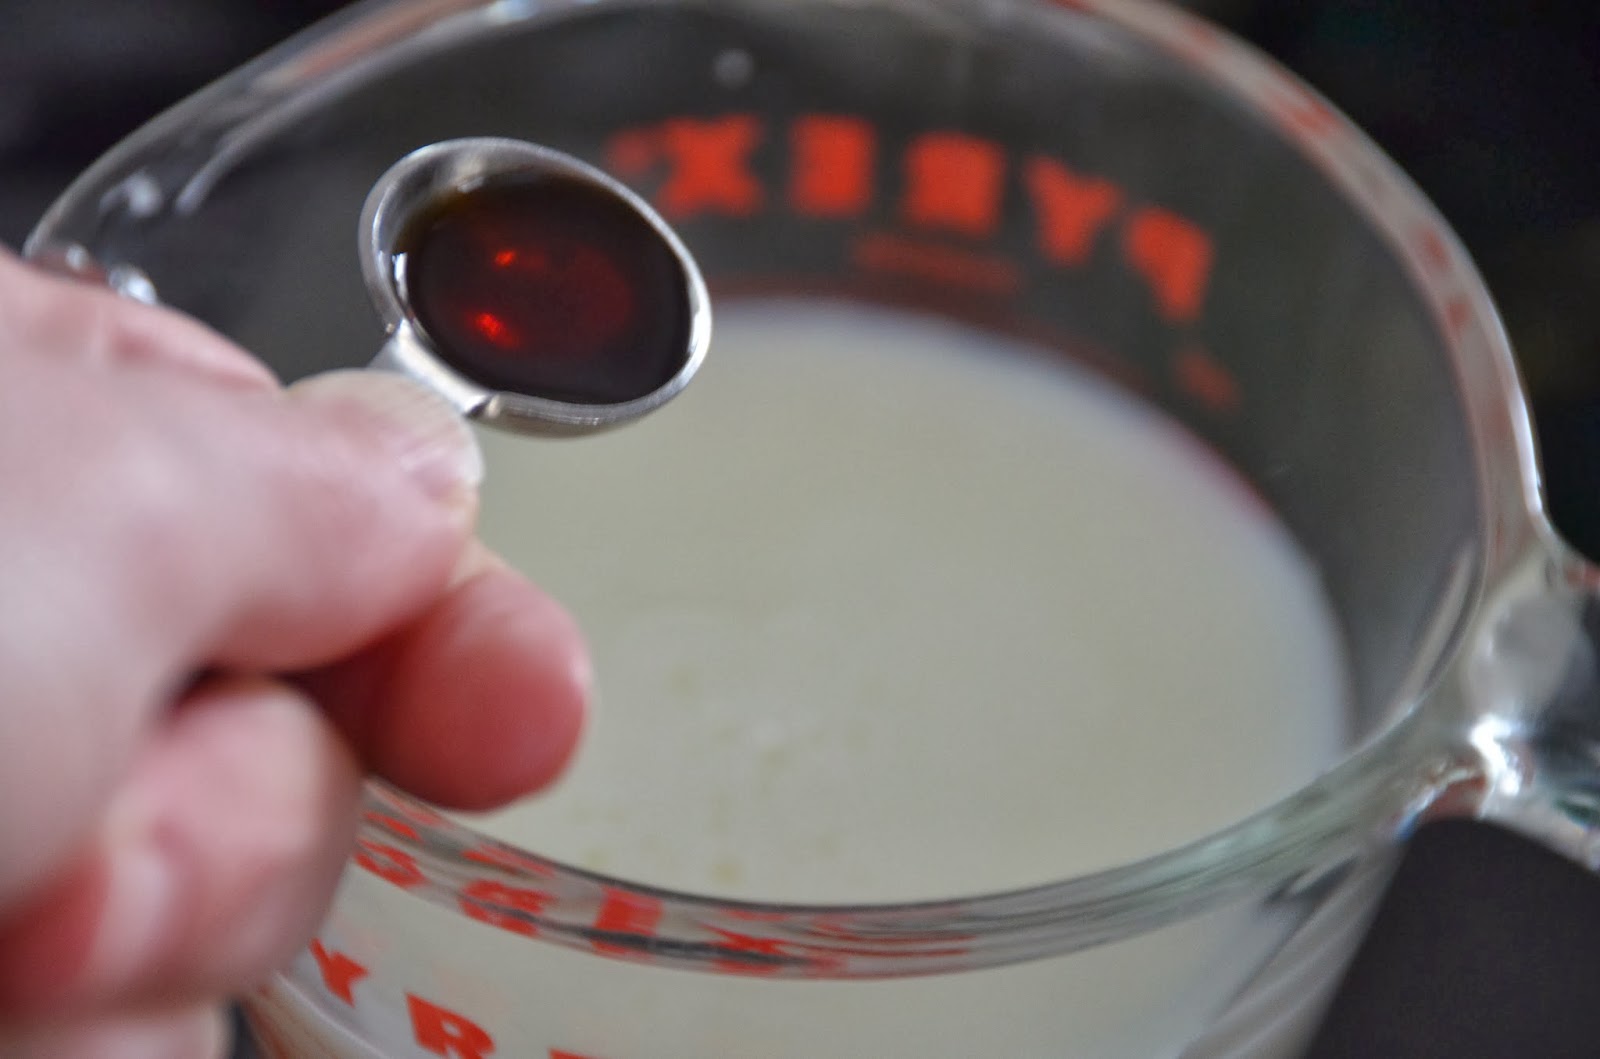
Add the vanilla to the measuring cup…


I somehow managed to take this photo while pouring the vanilla in…I’m still not sure how it was possible…

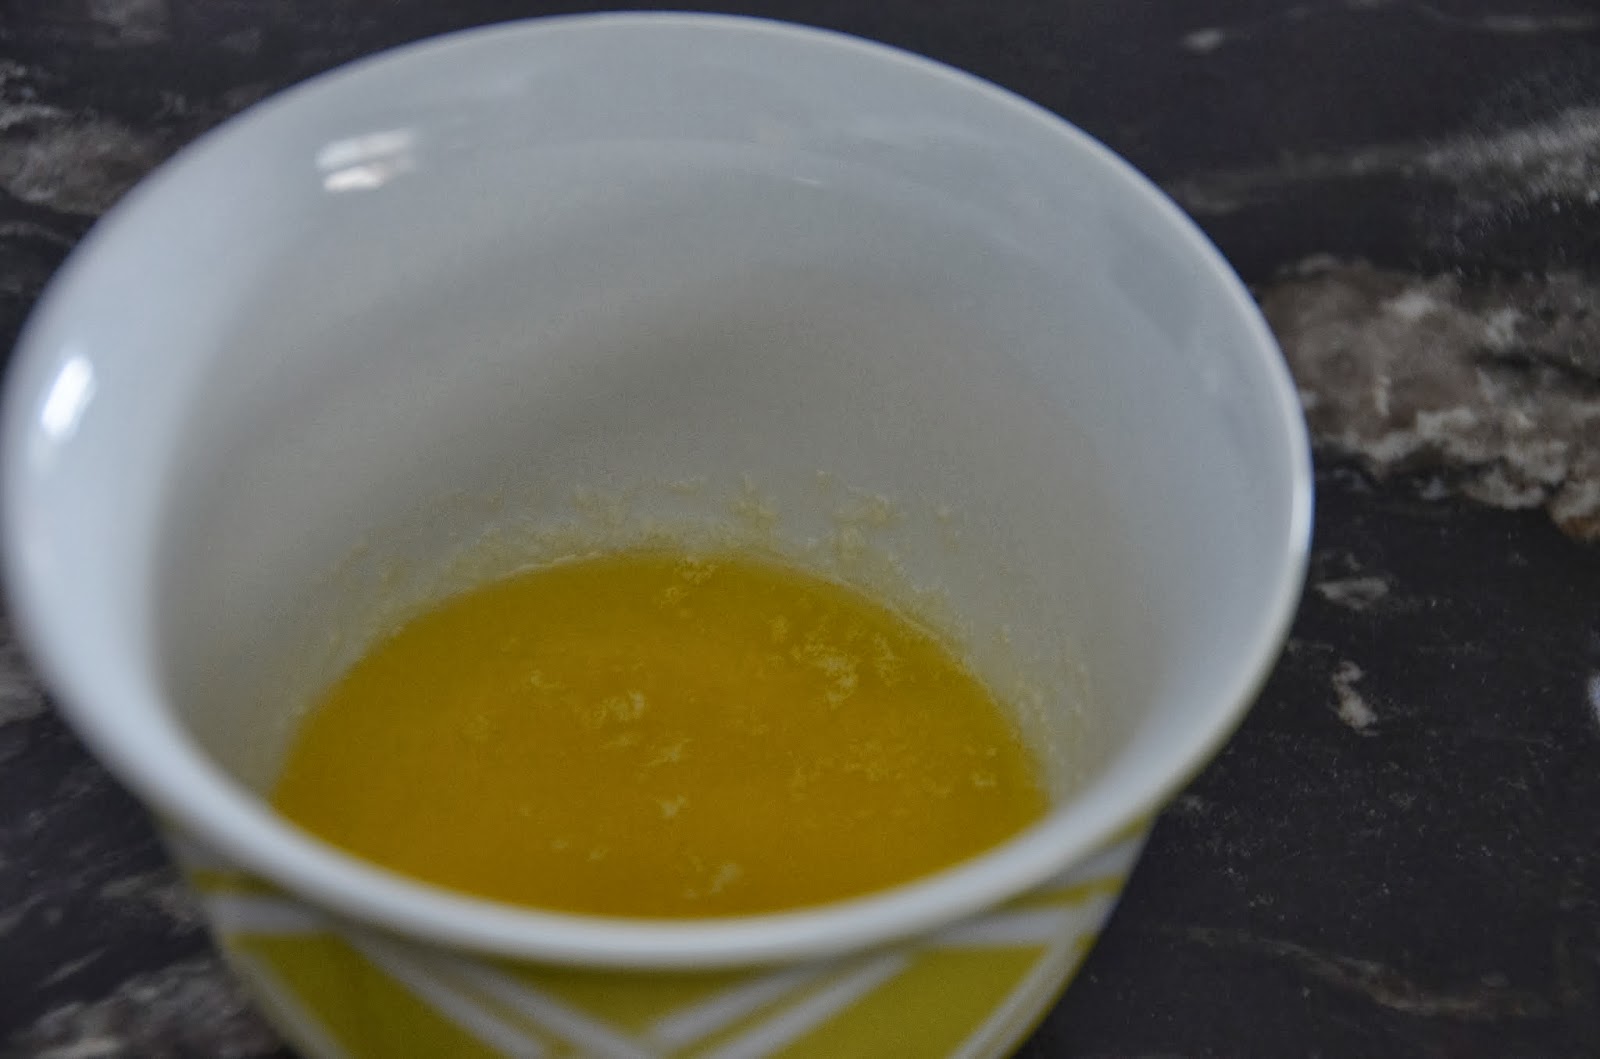
Now, melt the butter in the microwave for about 30 seconds…

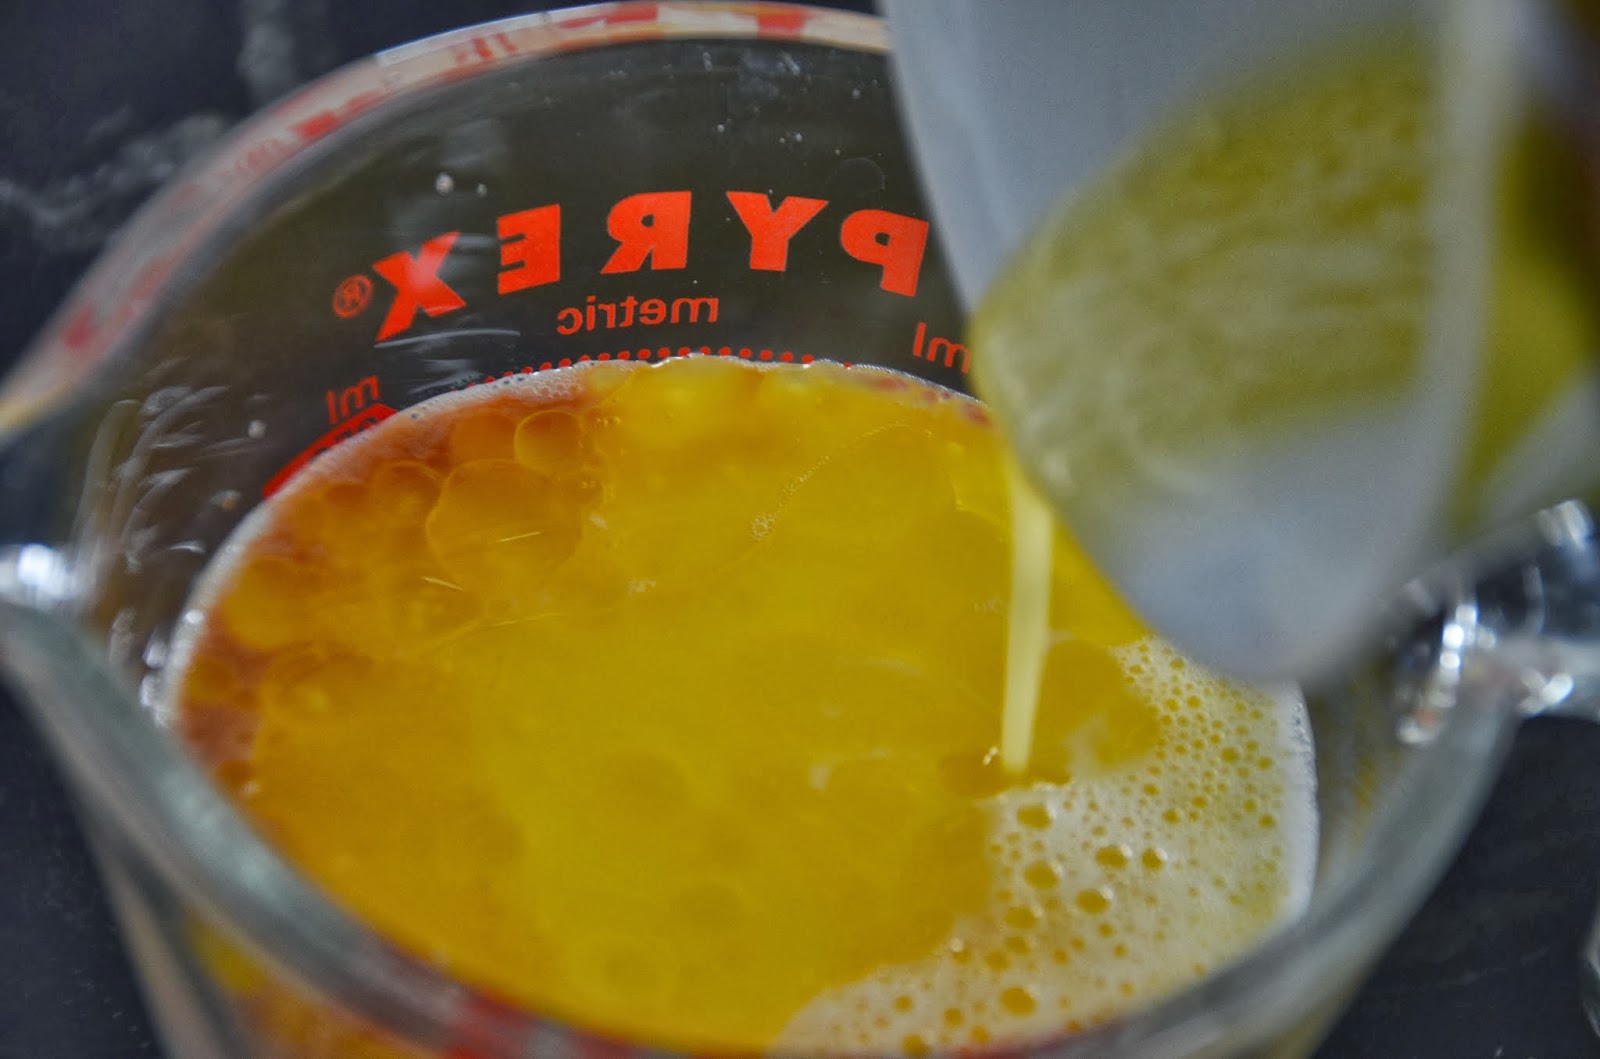
And pour that in the milk too (again, not sure how I got this photo)


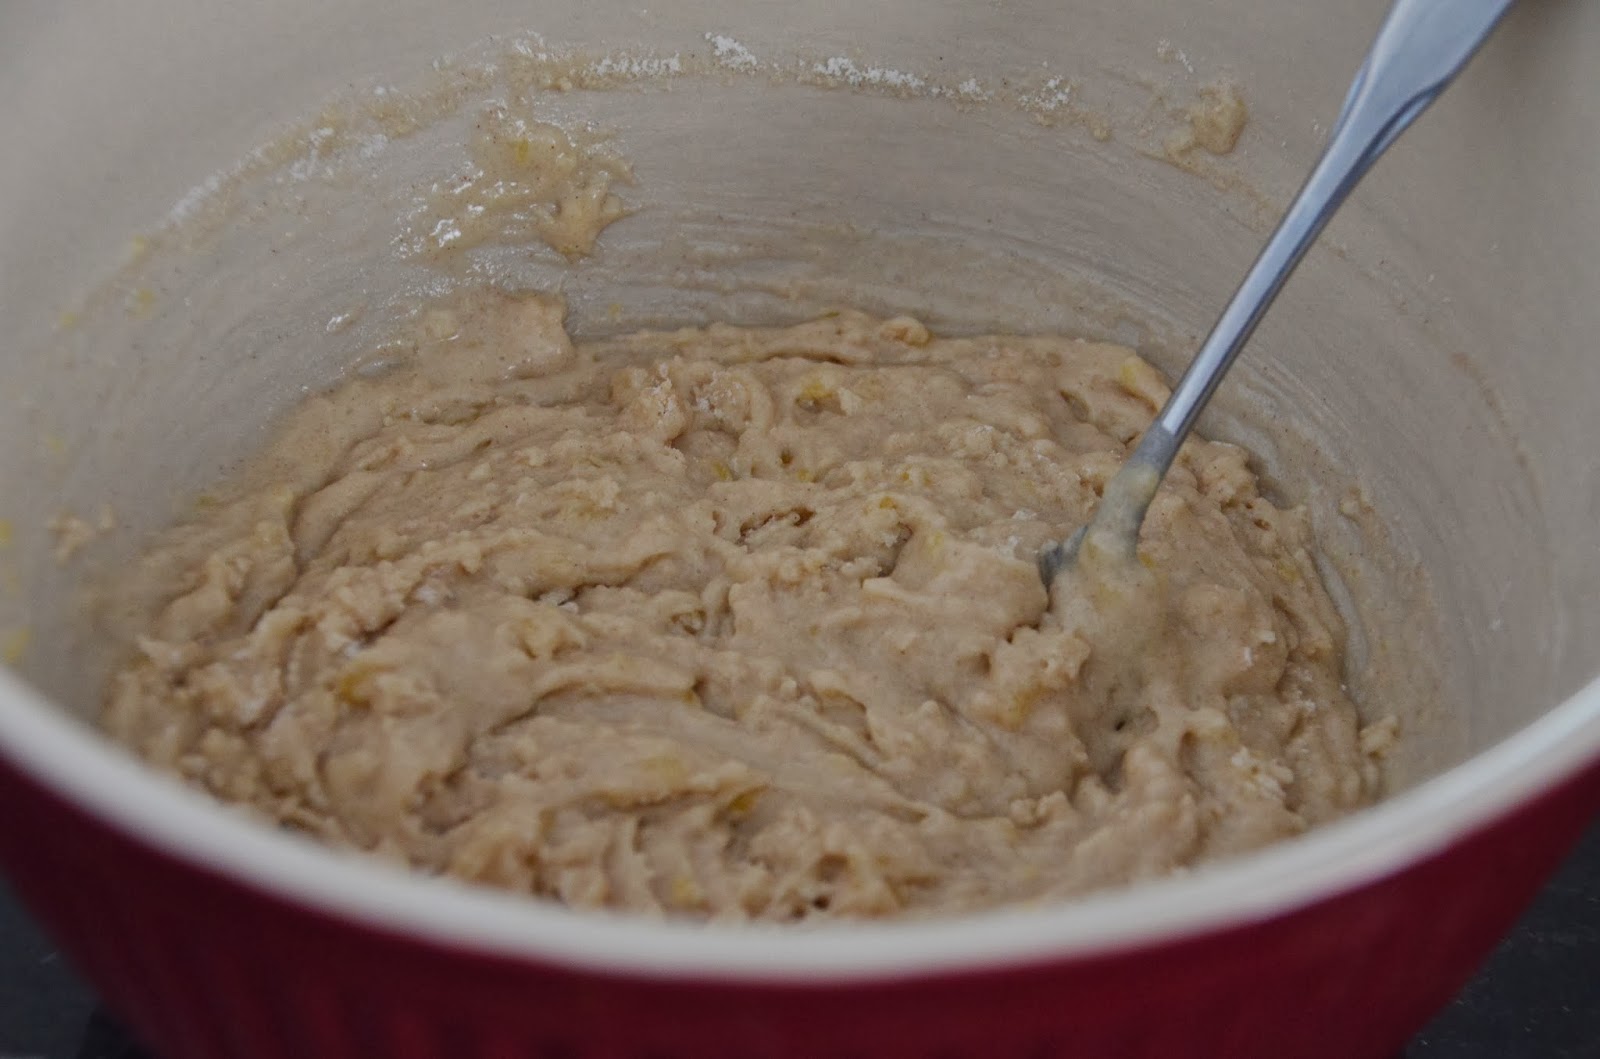
Now pour the milk/vanilla/butter mixture into the dry ingredients and stir it all together…

I use a fork for this because I think it does a good job of mixing everything without over mixing but use whatever works for you…

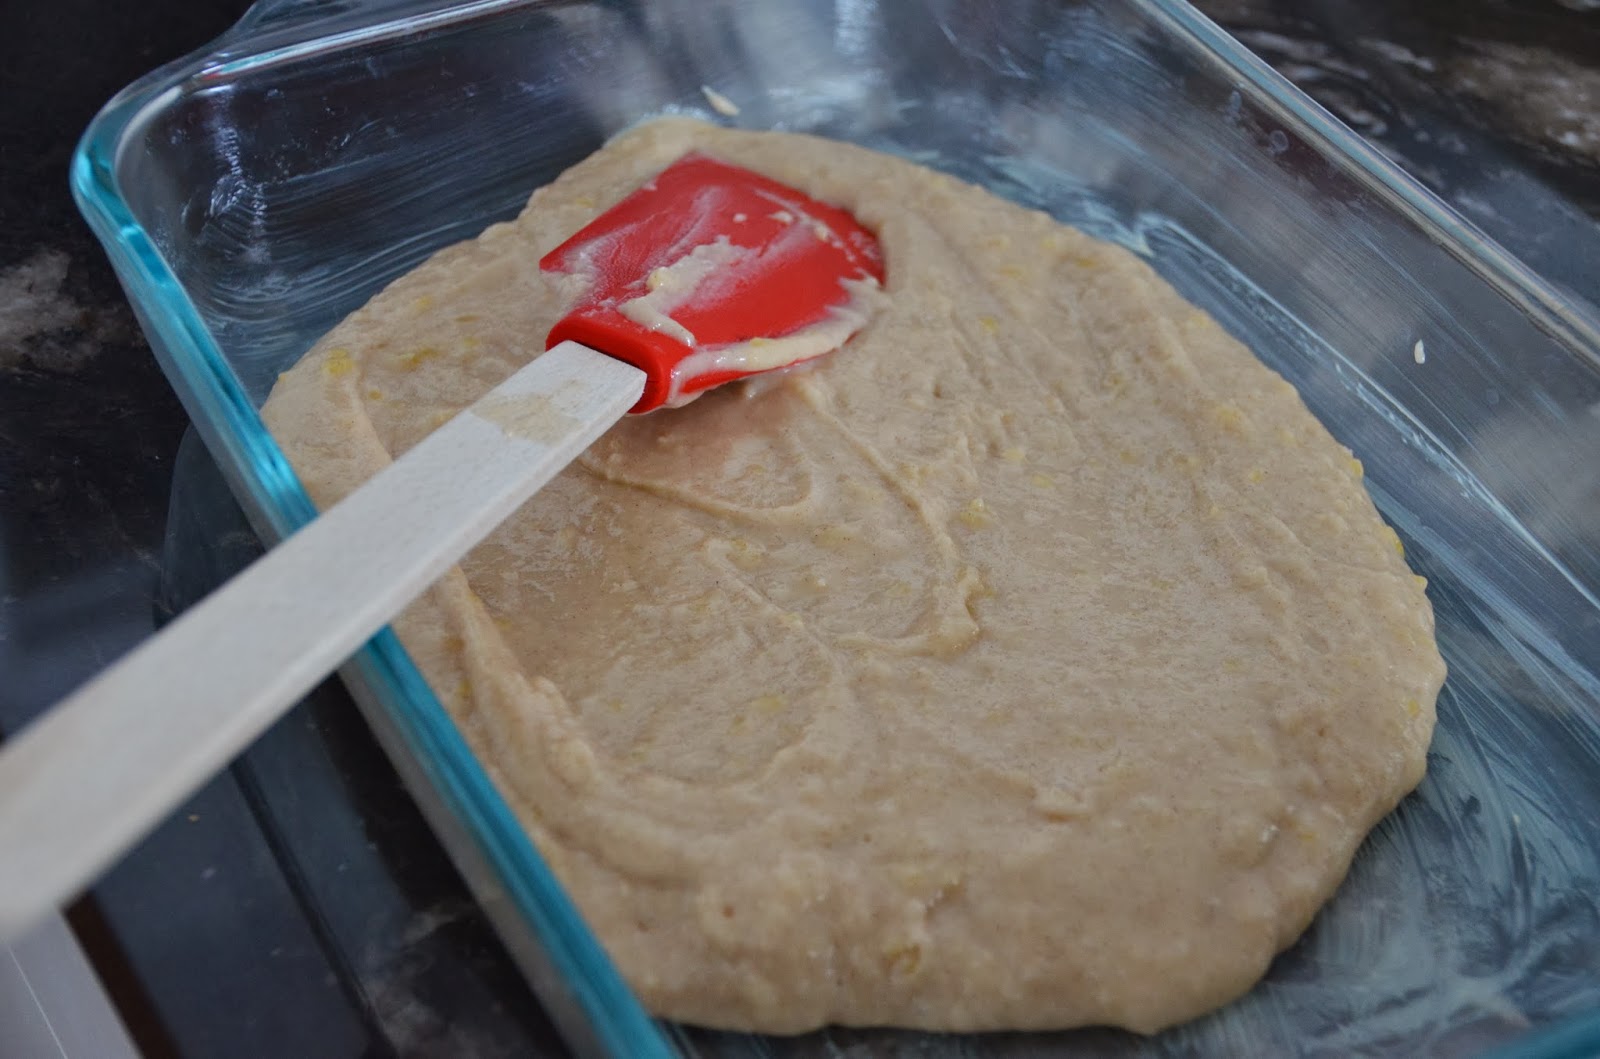
Now pour the contents of the bowl into a buttered 9×13 baking dish and spread it out.  I use a rubber spatula so I get every last bit out of the bowl and because it works well for spreading everything out…it’s a real multitasker that spatula!

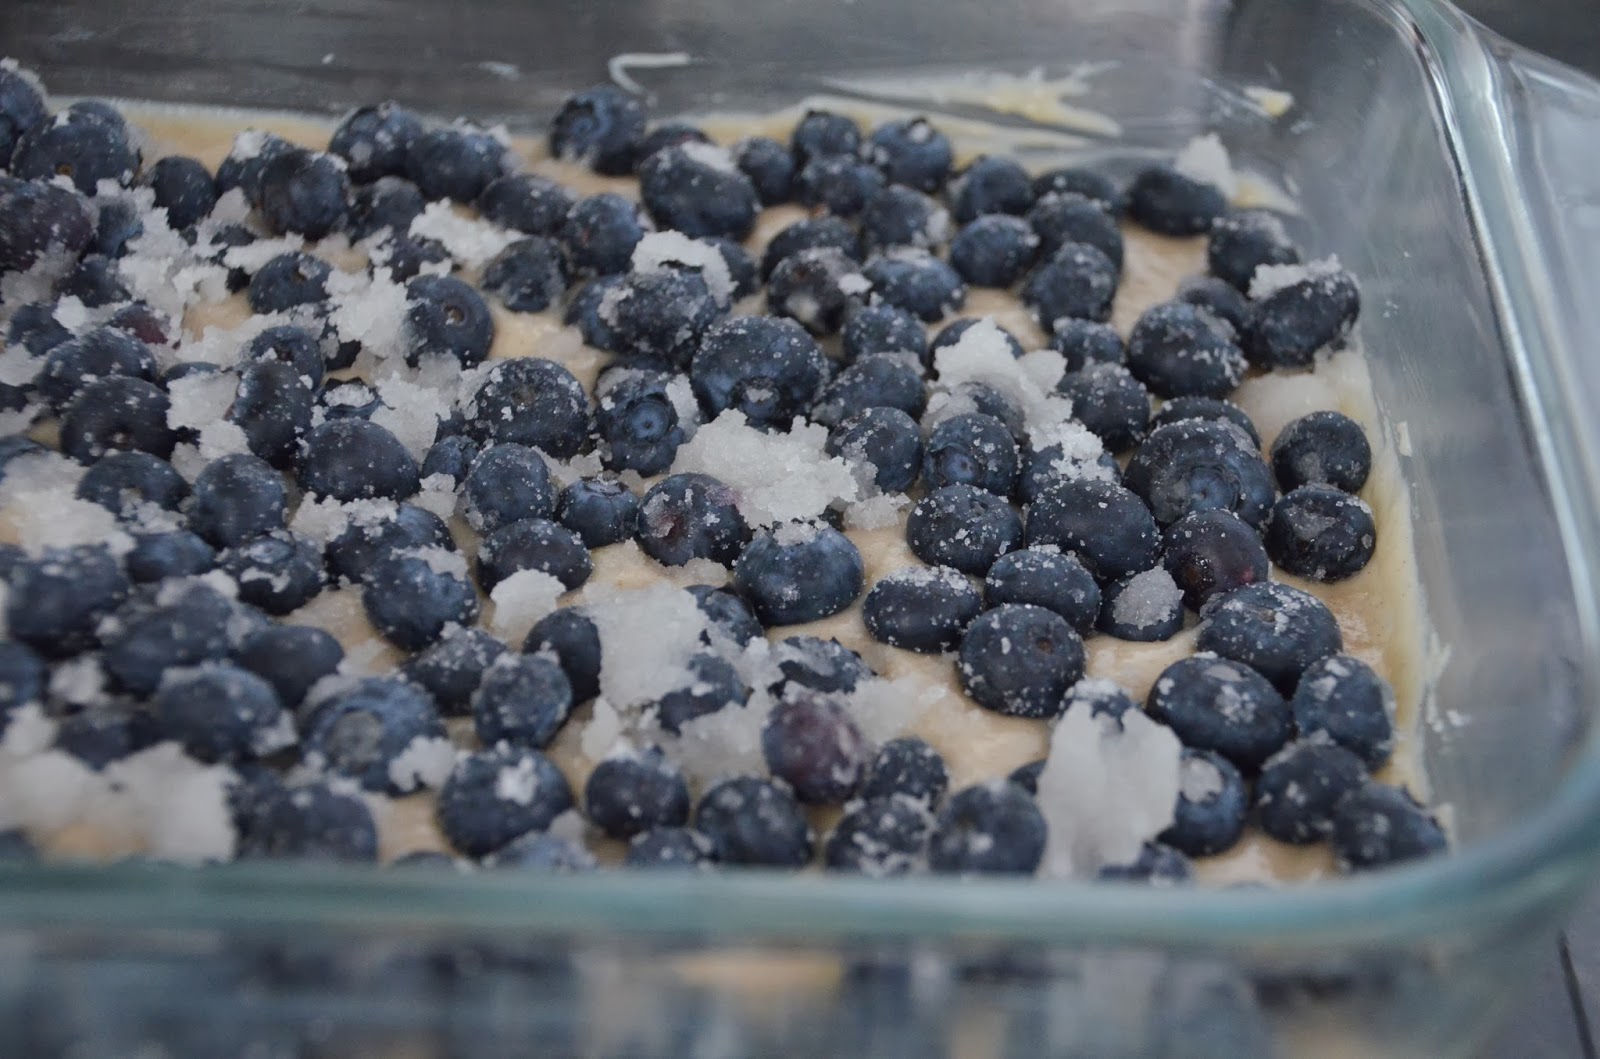
Now remember that sugary bowl of fruit…it’s time to pour that on top of the batter…

Now doesn’t that look like it’s ready to pop in the oven…well it’s not.  We have one more step to complete (this is the twist I was talking about).  

Just be warned, when I tell you what to do next you’re all going to think I’m playing some sort of sick baking joke on you…but I’m not.  You will just have to trust me and do what I say without hesitation, got it?!

Remember that water on the stove that should be boiling by now…you need to take it off the stove now and measure out two cups of it in a liquid measuring cup.

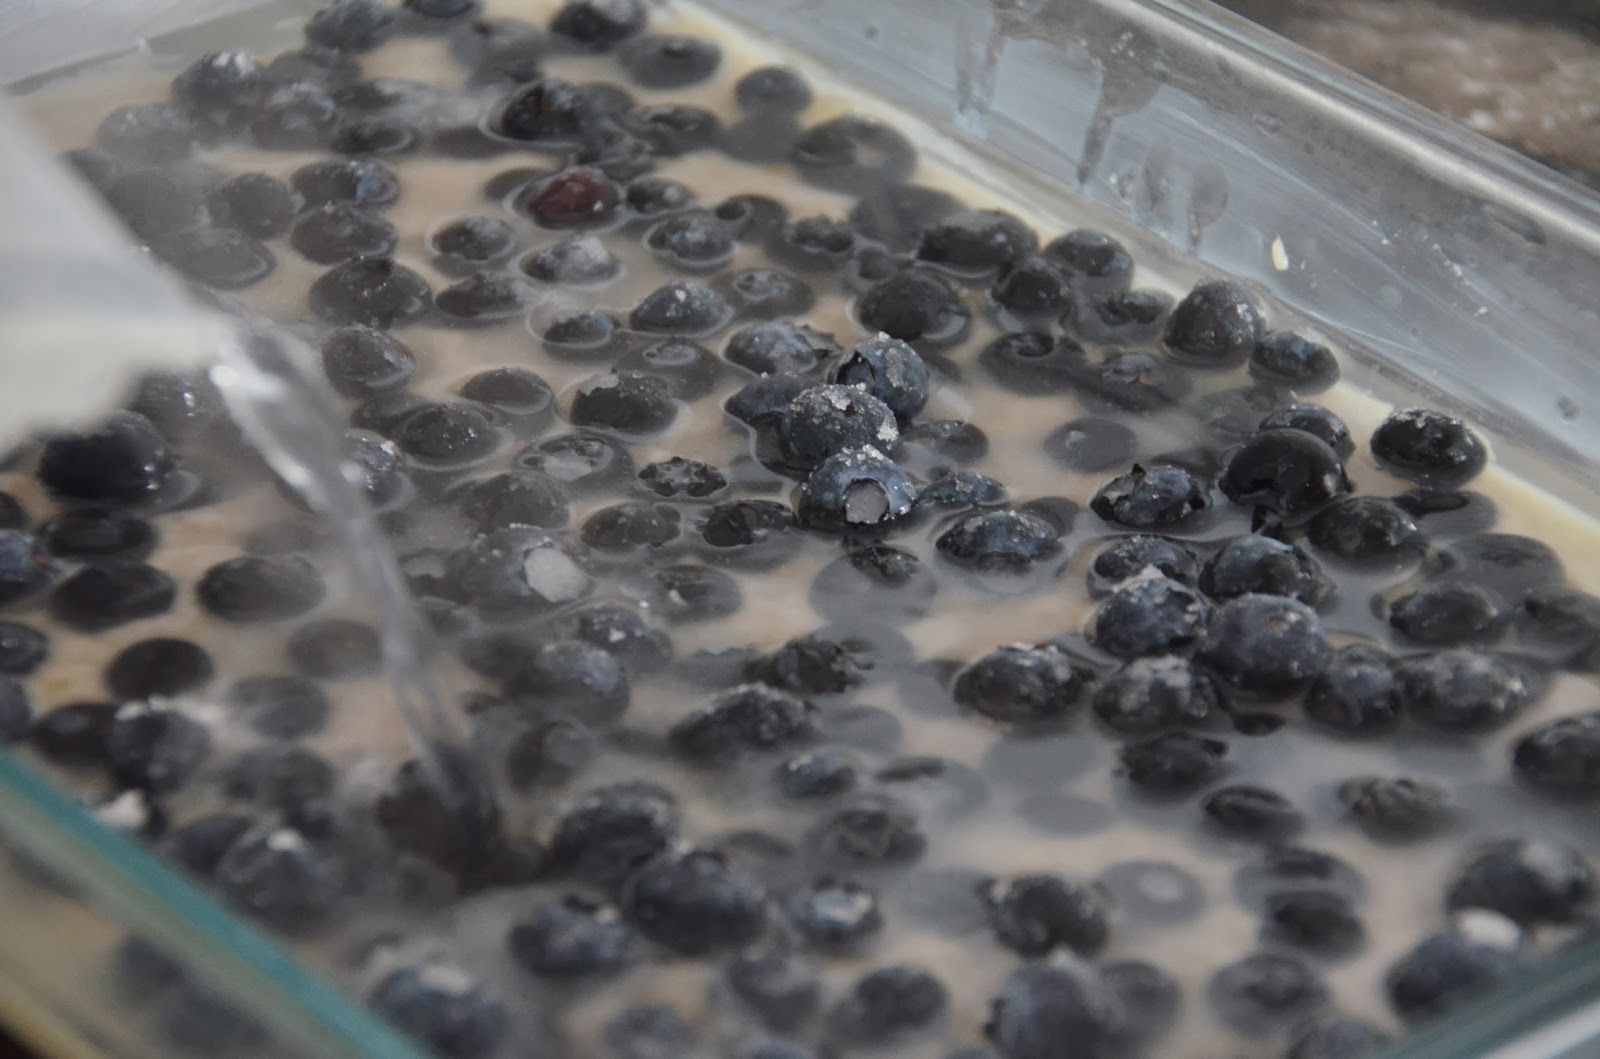
And then you have to pour it all over the cobbler…say whaaaaa???

Yes, you heard that right…here is a photo of it actually happening.


Ok, you can stop screaming now…everything is going to be fine I promise.  The only thing you need to do now is to get that water logged cobbler into the oven STAT!

Now it’s time to stop crying and go collect yourself…this thing needs to bake for 40 minutes and you should probably not be around it right now.

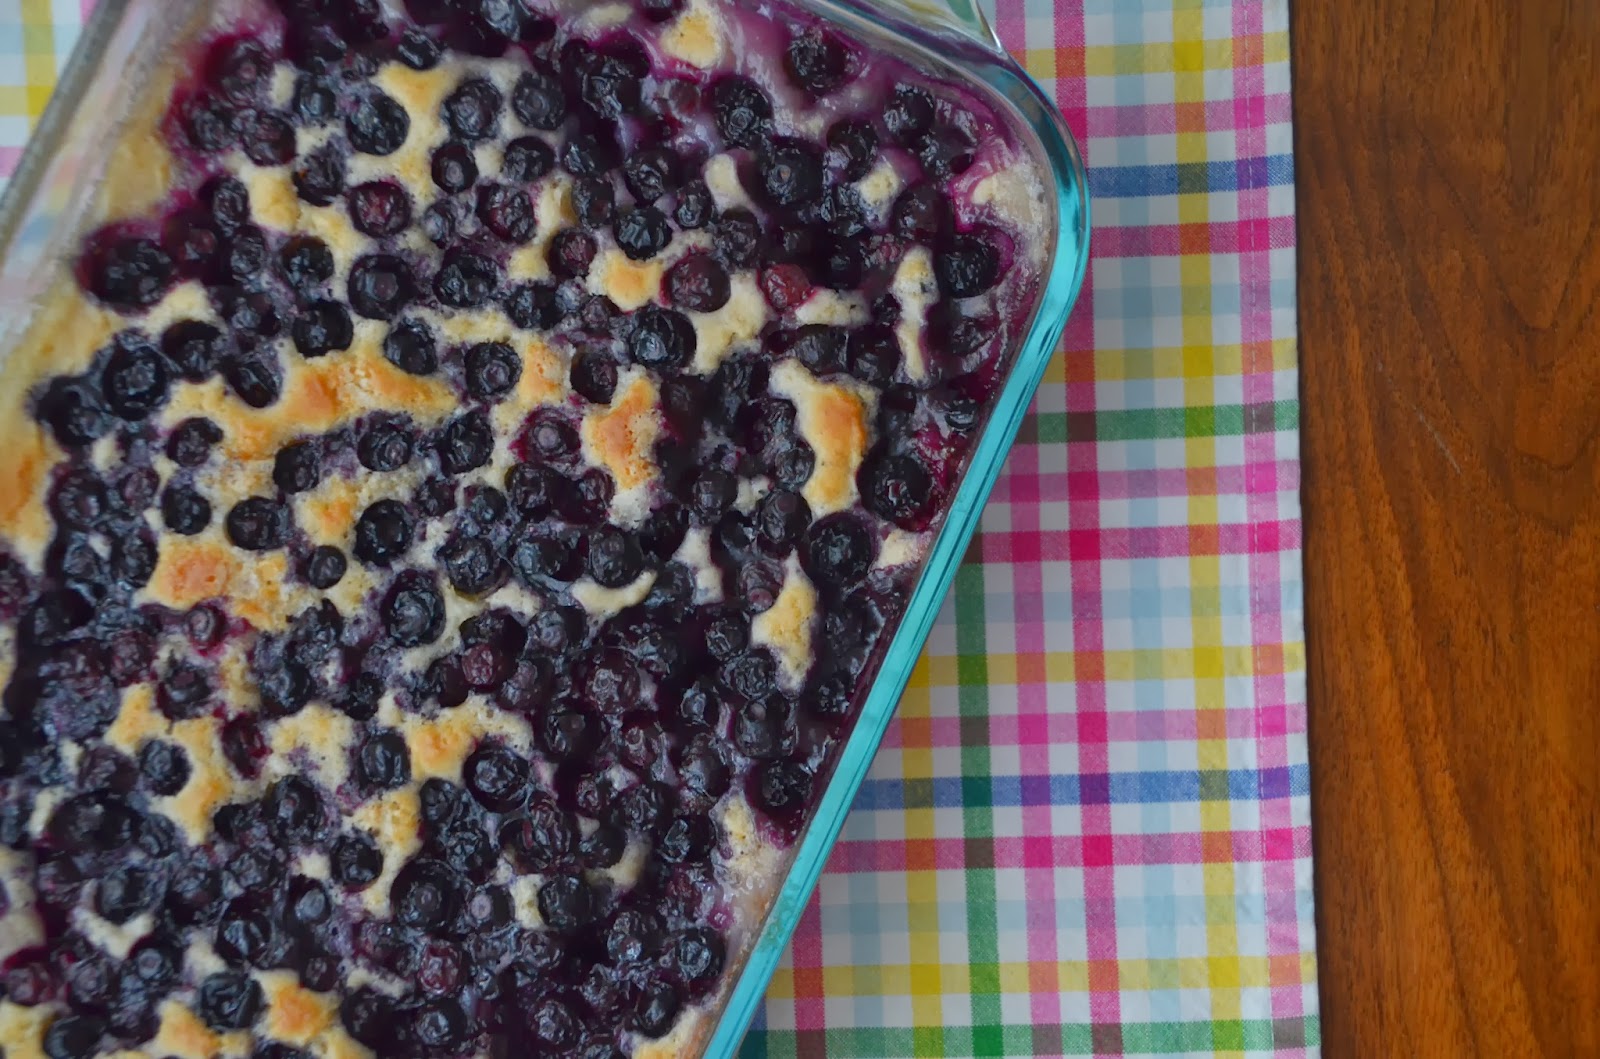
After 40 minutes, go get it out of the oven…you might think it’s not done but trust me it is.

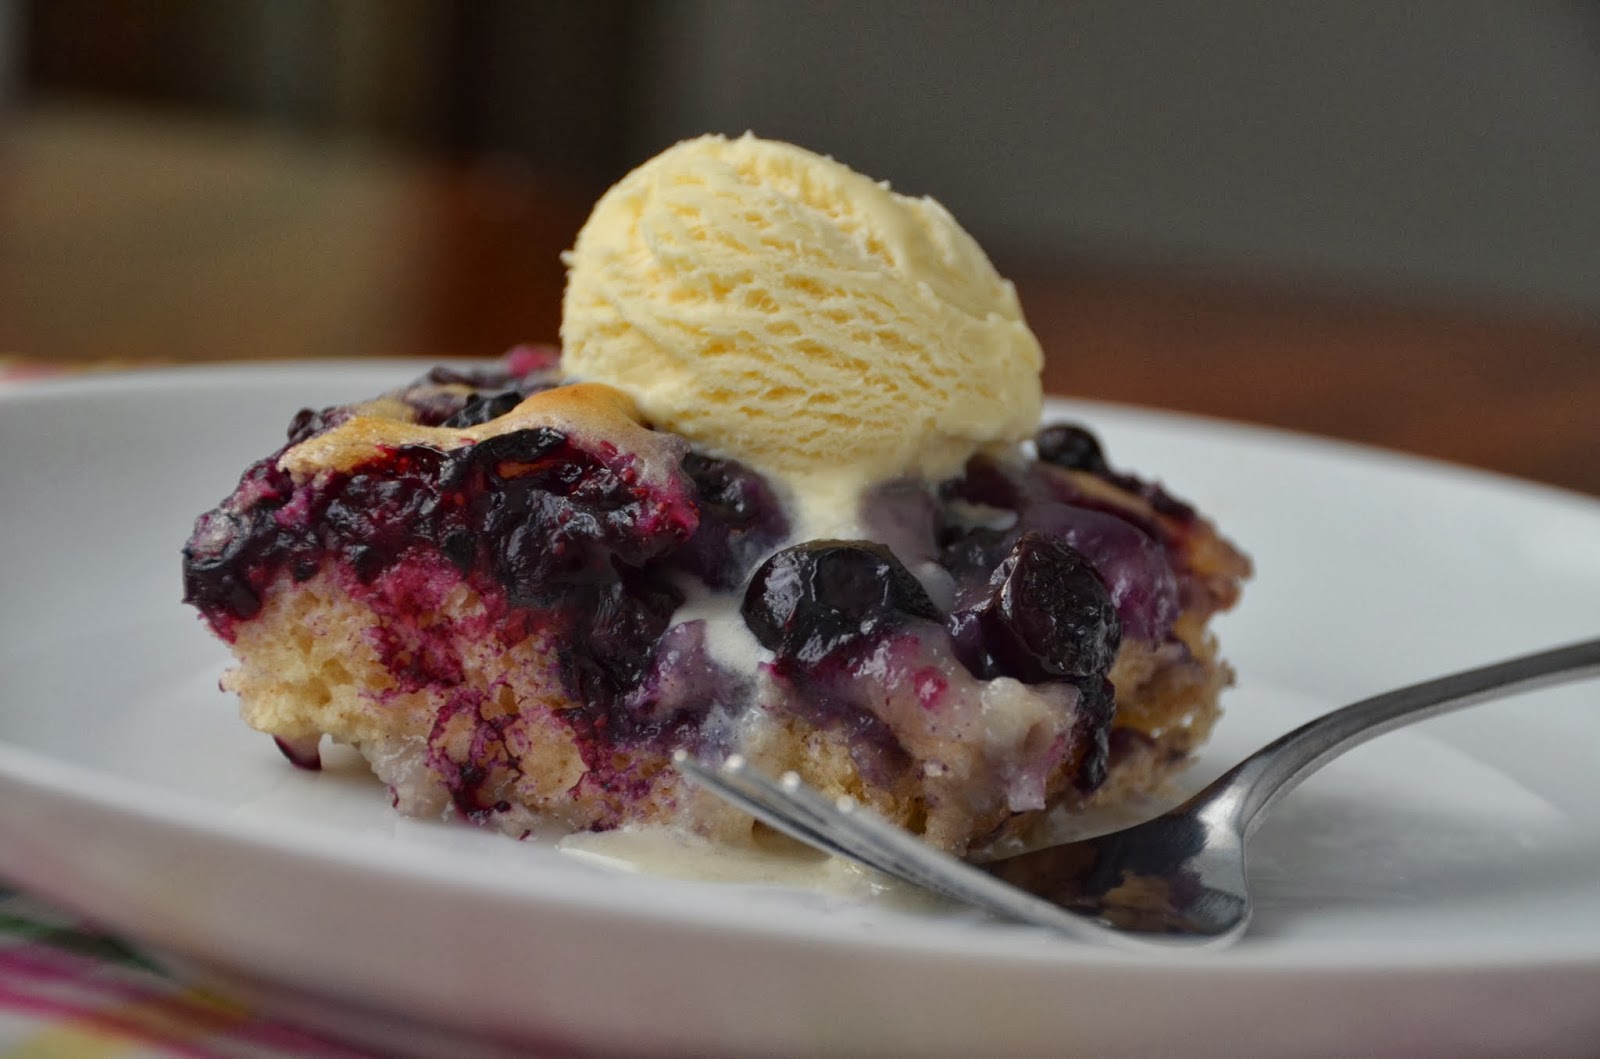
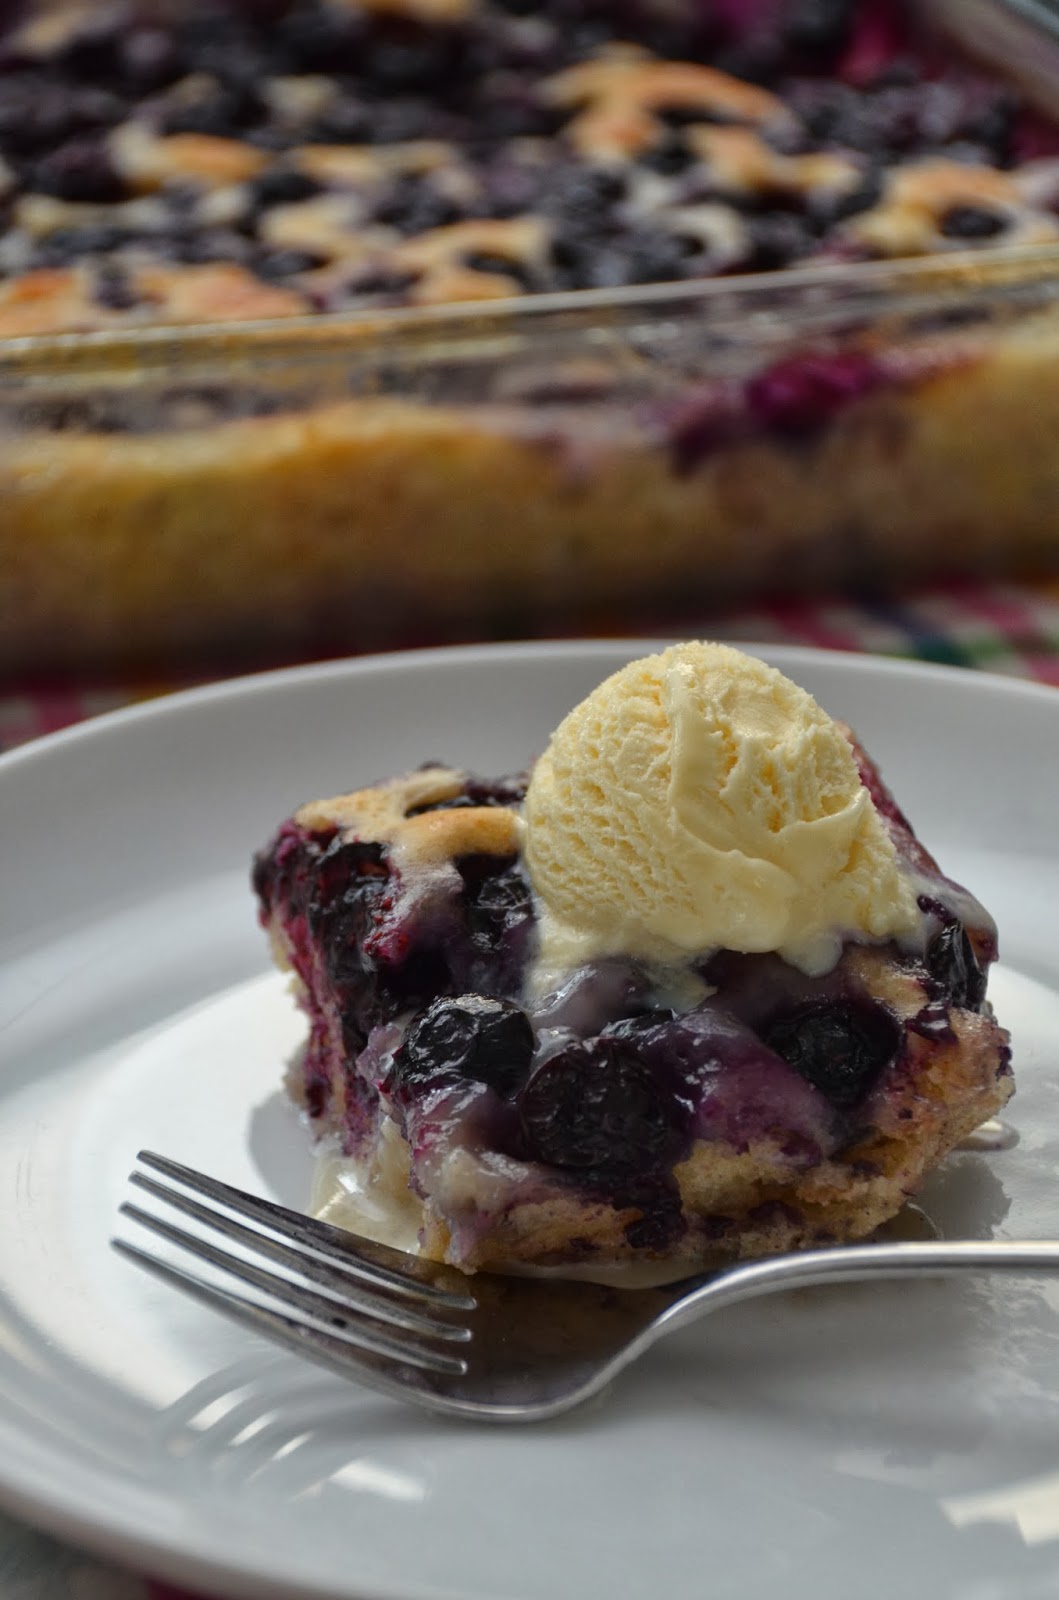
Here is your cobbler…isn’t she so pretty!


Let her cool down for a little while and then have a piece!

This cobbler stands alone just fine but I love love love to eat it with a scoop of vanilla ice cream on top…I get the Edy’s Vanilla Slow Churn because it’s low fat but doesn’t contain any artificial ingredients, you obviously go ahead and use whatever you want…


Don’t ask me how in the heck Grandma Ridnour came up with this recipe but she was obviously a culinary genius.  I suggest the next time you make cobbler, you do it this way.

Cheers!

The Good Cooker

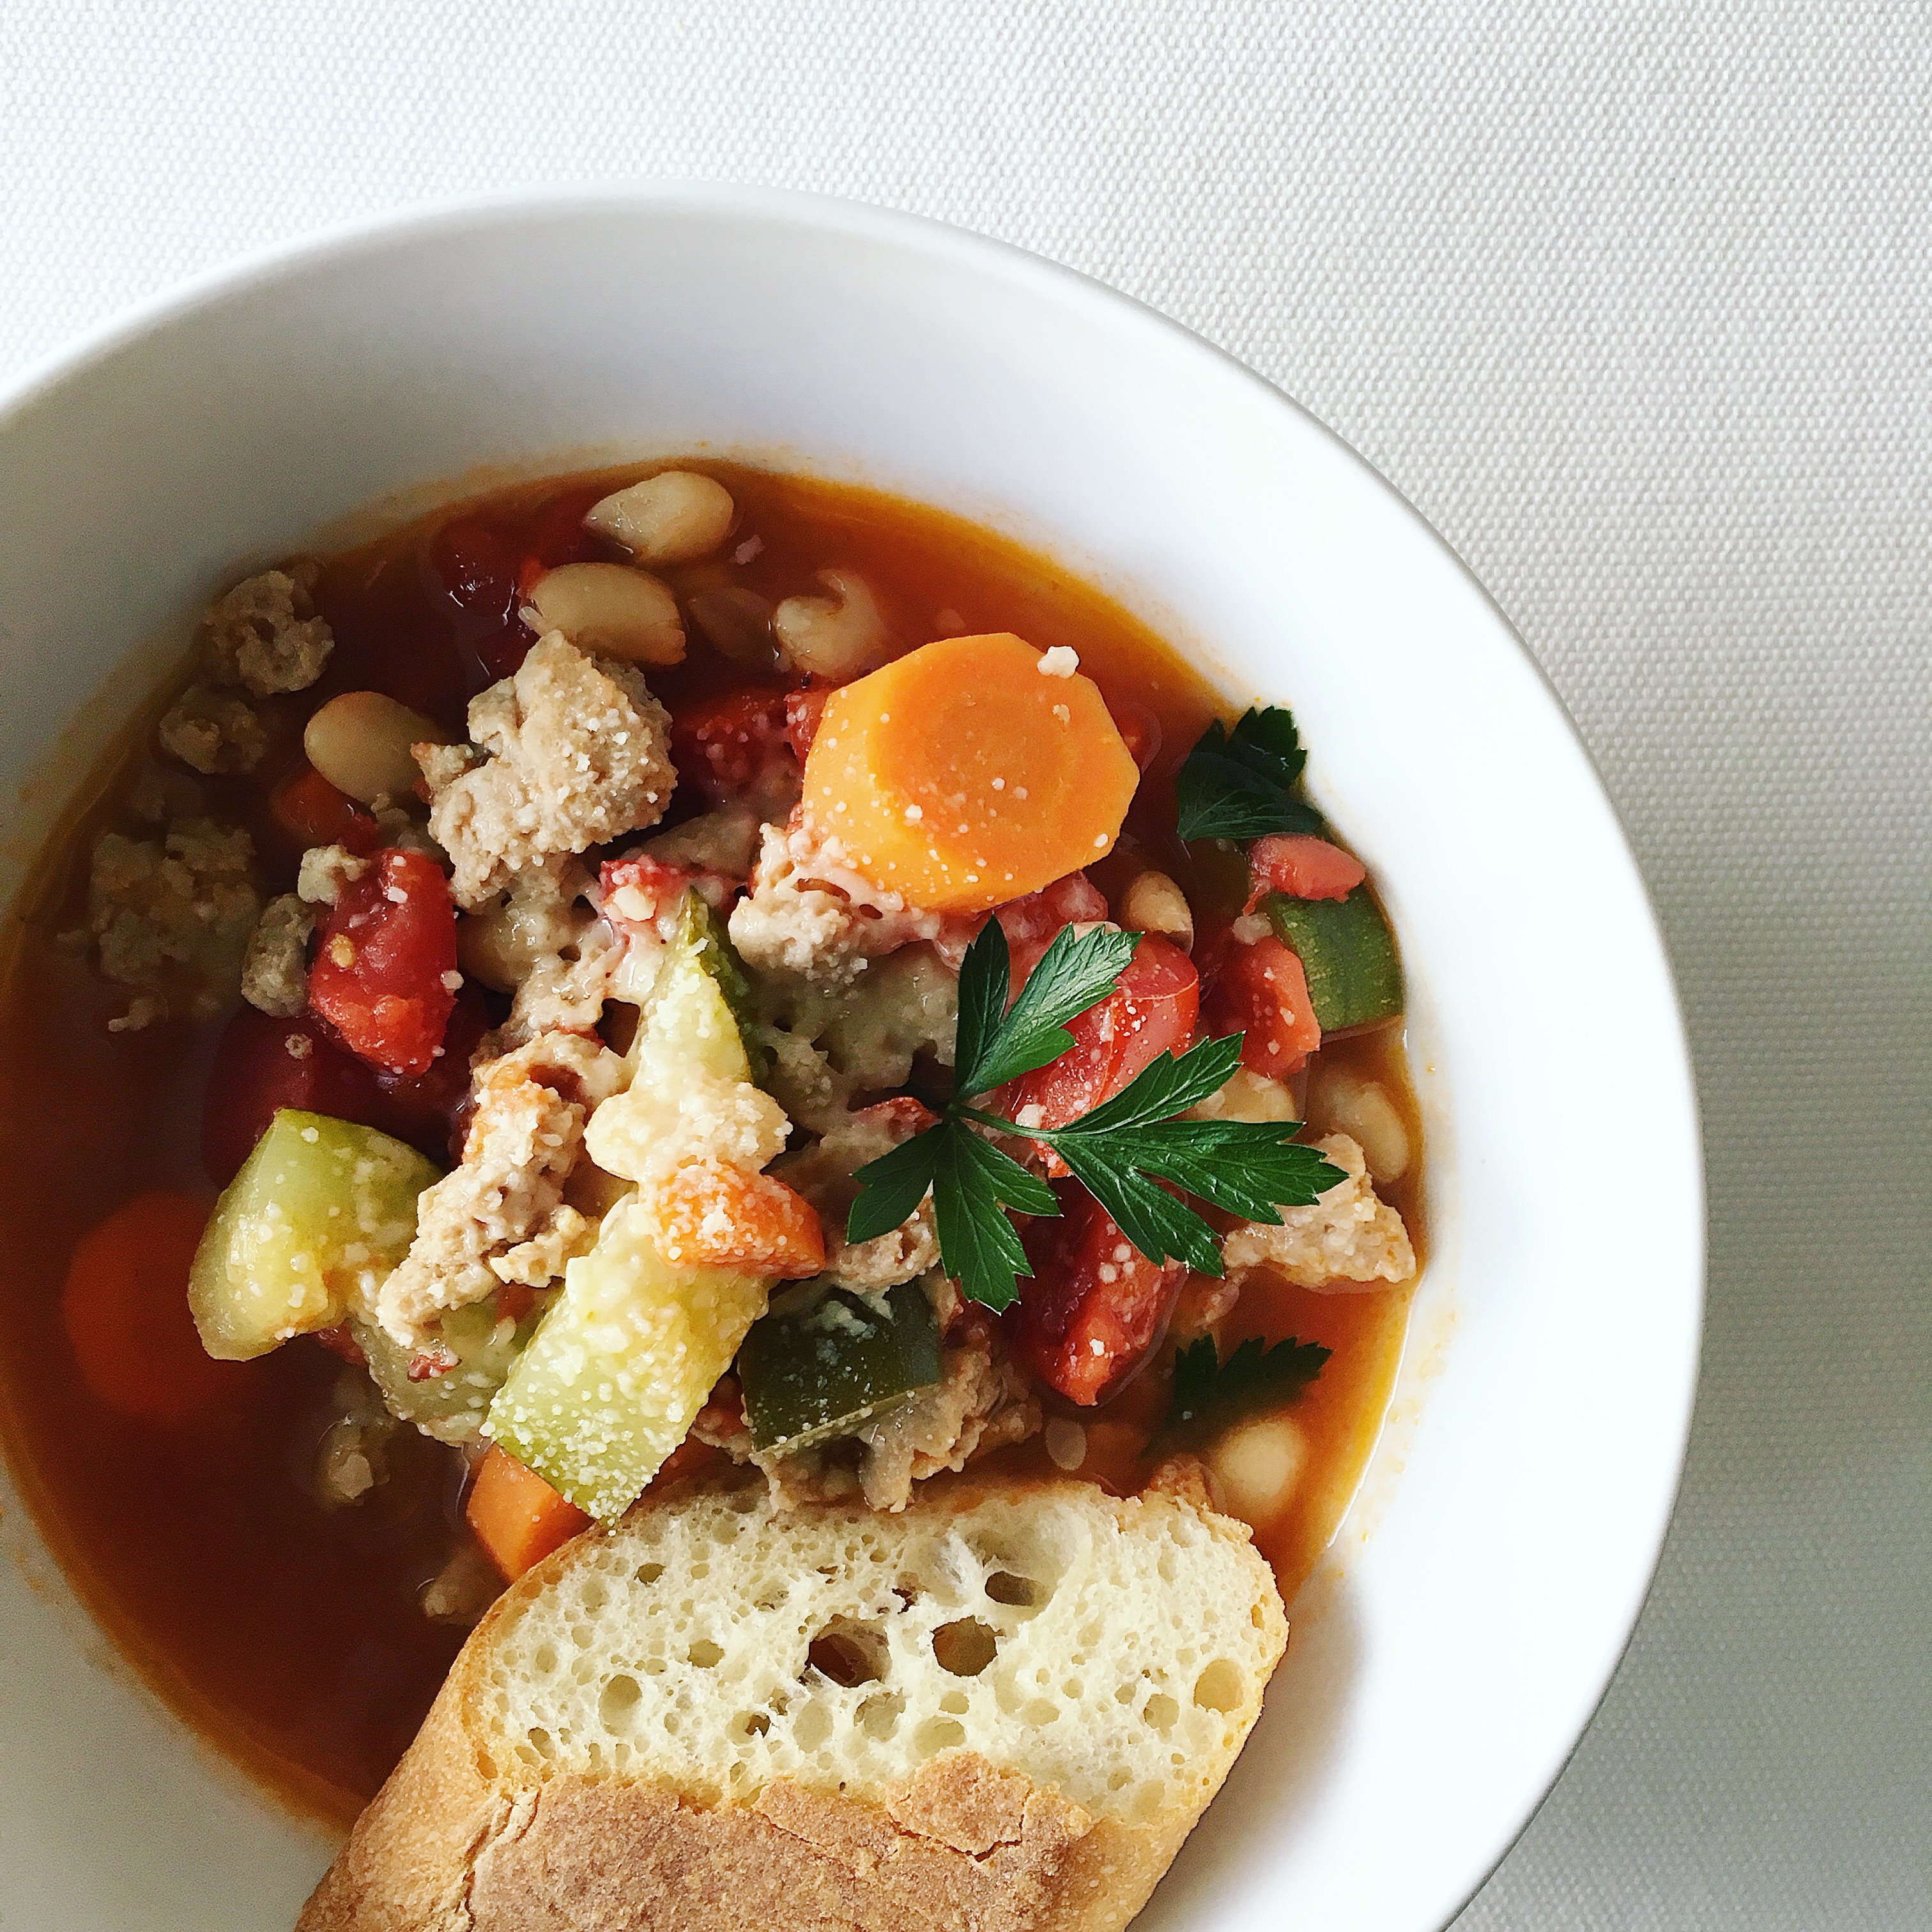
White Bean and Turkey Sausage Soup


It’s snowing…I can’t remember a time when it was not snowing. 

I actually got stuck in our driveway this morning when I was trying to leave.  I would not usually go out in this weather but this definitely qualified as essential travel…I had zumba class to get to.  I managed to get the car (which is actually a large SUV) un-stuck after pulling forward and back a few times…then I said a little prayer, gunned it, and I was on my way!
Now onto more important things…soup.  This soup meets all of my criteria…easy, fast, healthy, and delicious.  This is also a one pot wonder which I LOVE because it means less dishes to clean…booyah!

Here’s your ingredient list…

1 pound – turkey sausage (hot, sweet, or mild)
28 oz. – great northern beans (preferably Randall’s)
2 – 14 oz. cans italian style stewed tomatoes (or regular stewed if you can’t find italian)
1 – 32 oz. carton of chicken broth
1 – small onion
2 cups – carrots (chopped)
2 – small zucchinis (chopped)
1 – clove garlic (minced)
grated parmesan 
large bunch of baby spinach
1/8 tsp. ground nutmeg (optional)
salt and pepper to taste

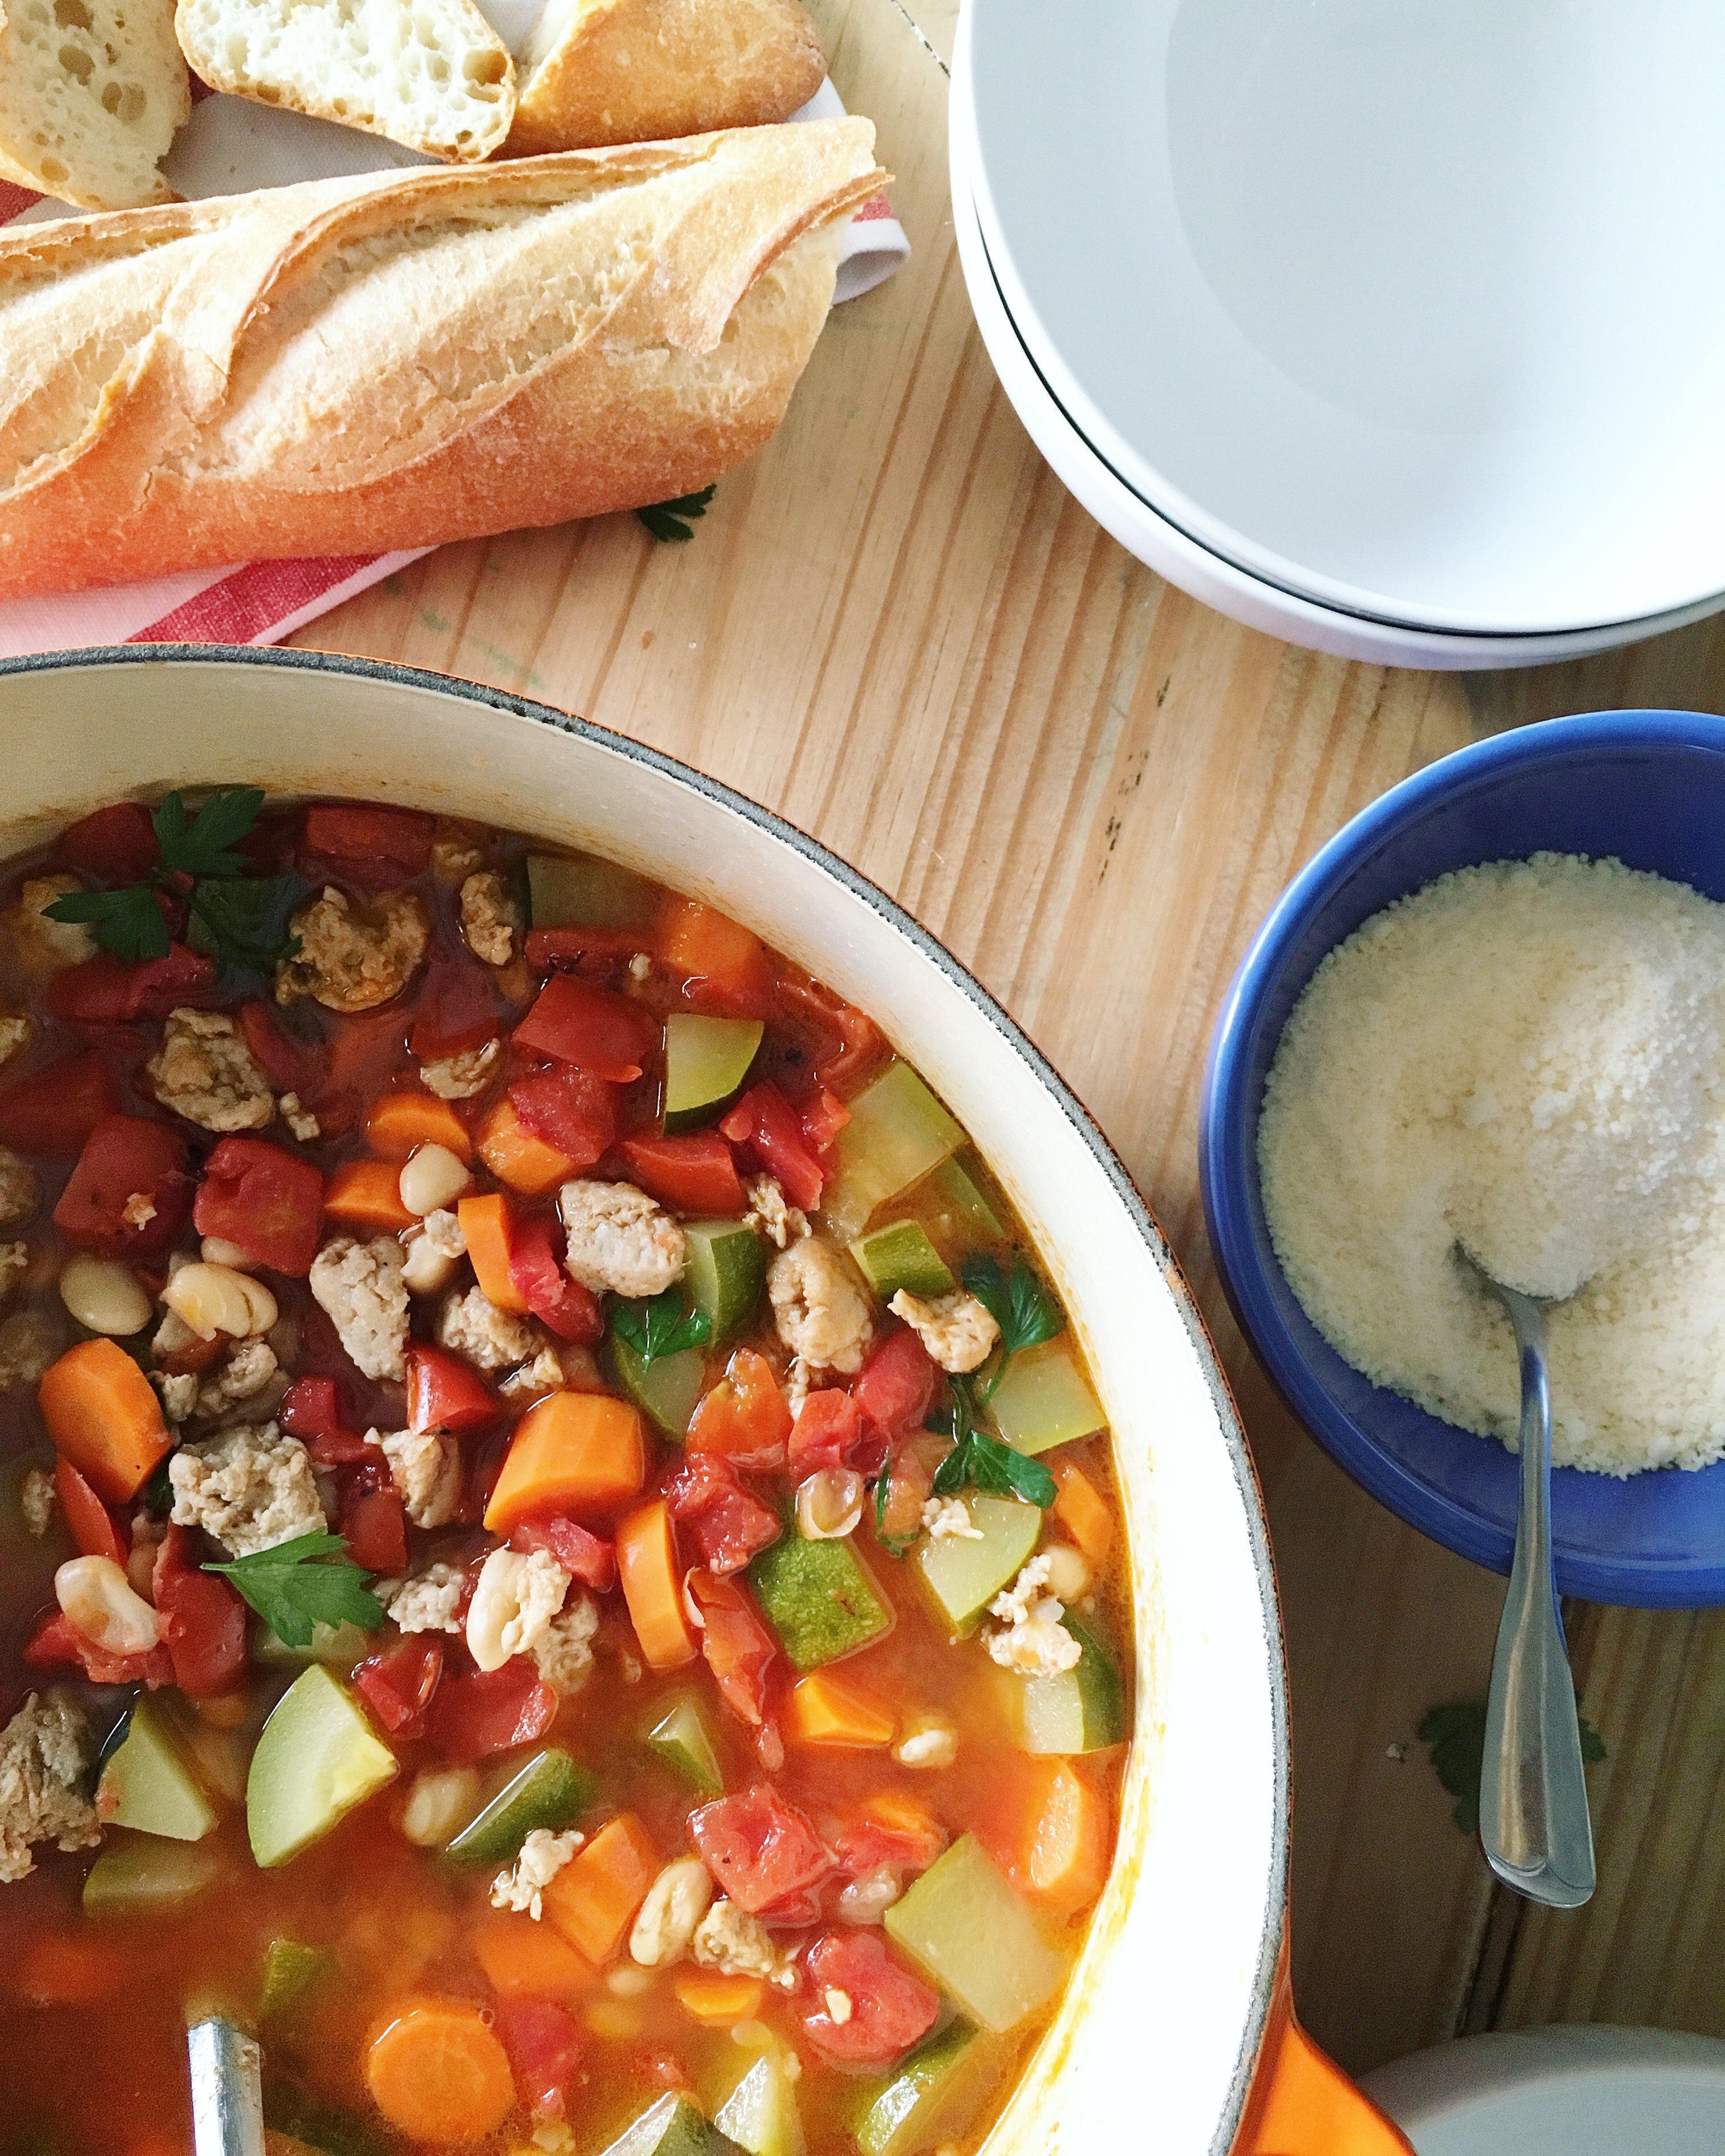
You will need a large stock pot or dutch oven to make this.

Put the pot over medium/low heat on the stove and add a little olive oil.
Then add the turkey sausage.  Turkey sausage is so great to cook with because it’s full of great seasonings but not full of fat.  There are several brands out there, Honeysuckle is good but I was at WF so I just got it from the meat counter.

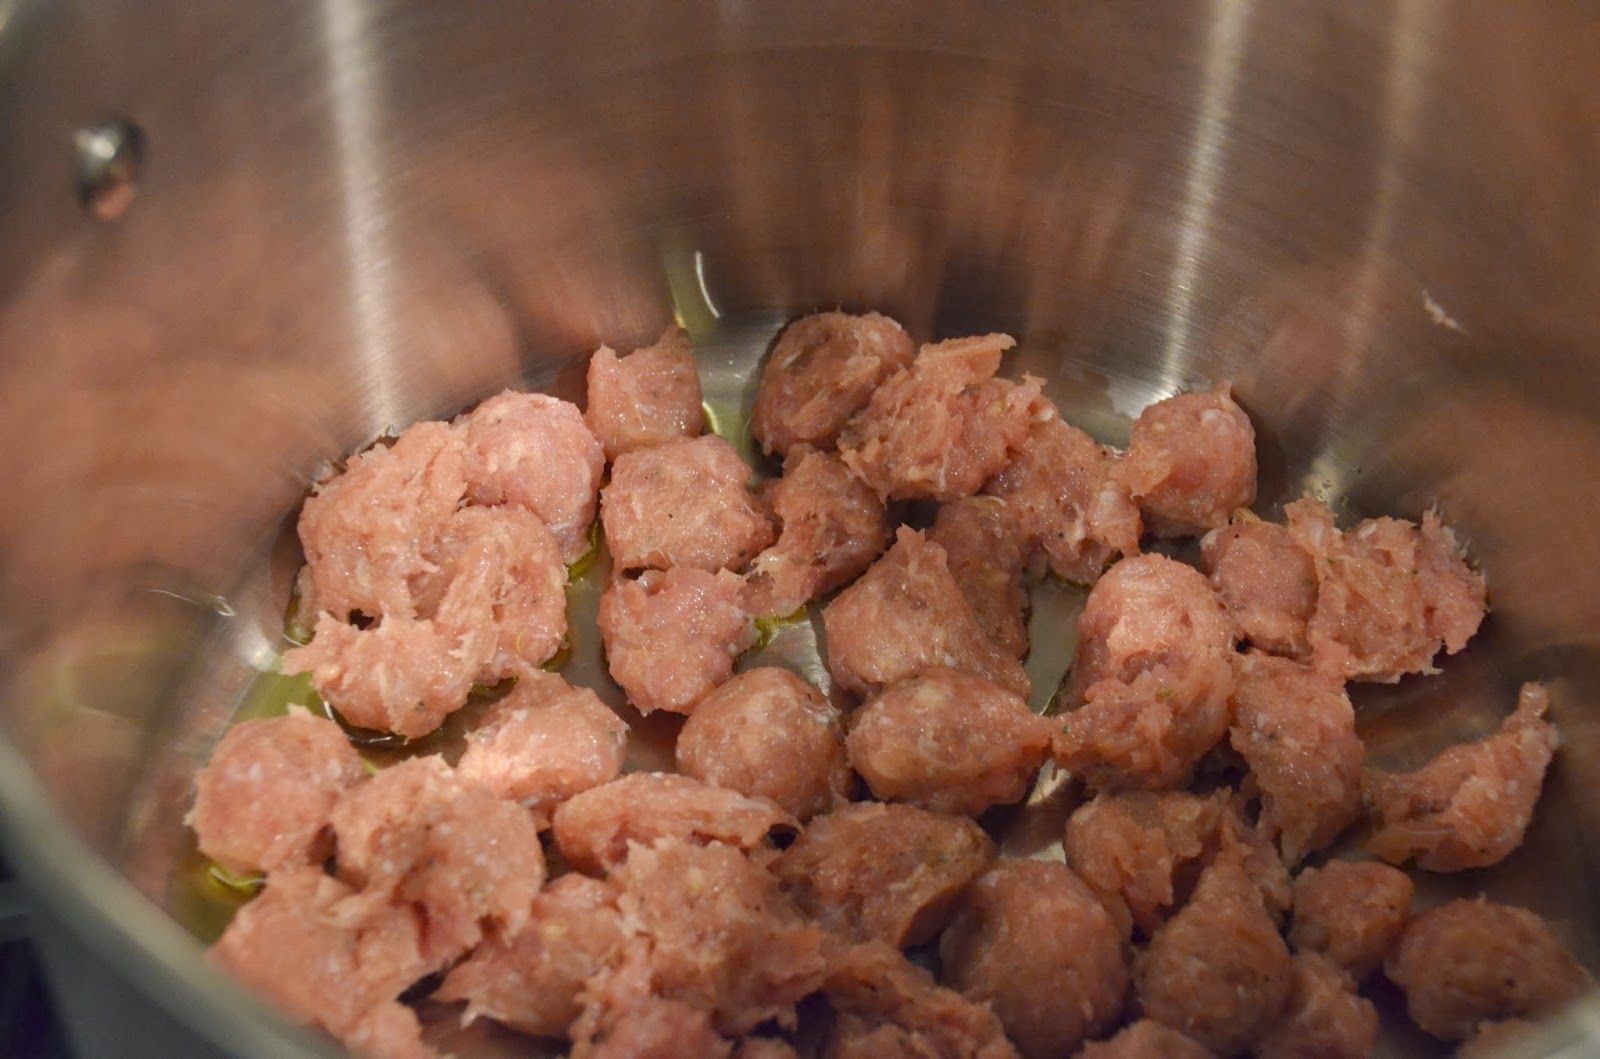
Add the turkey sausage in small pieces to the pot, you will just have to use your hands and push it out of the casing a little at a time….it should resemble something like this when you’re done..


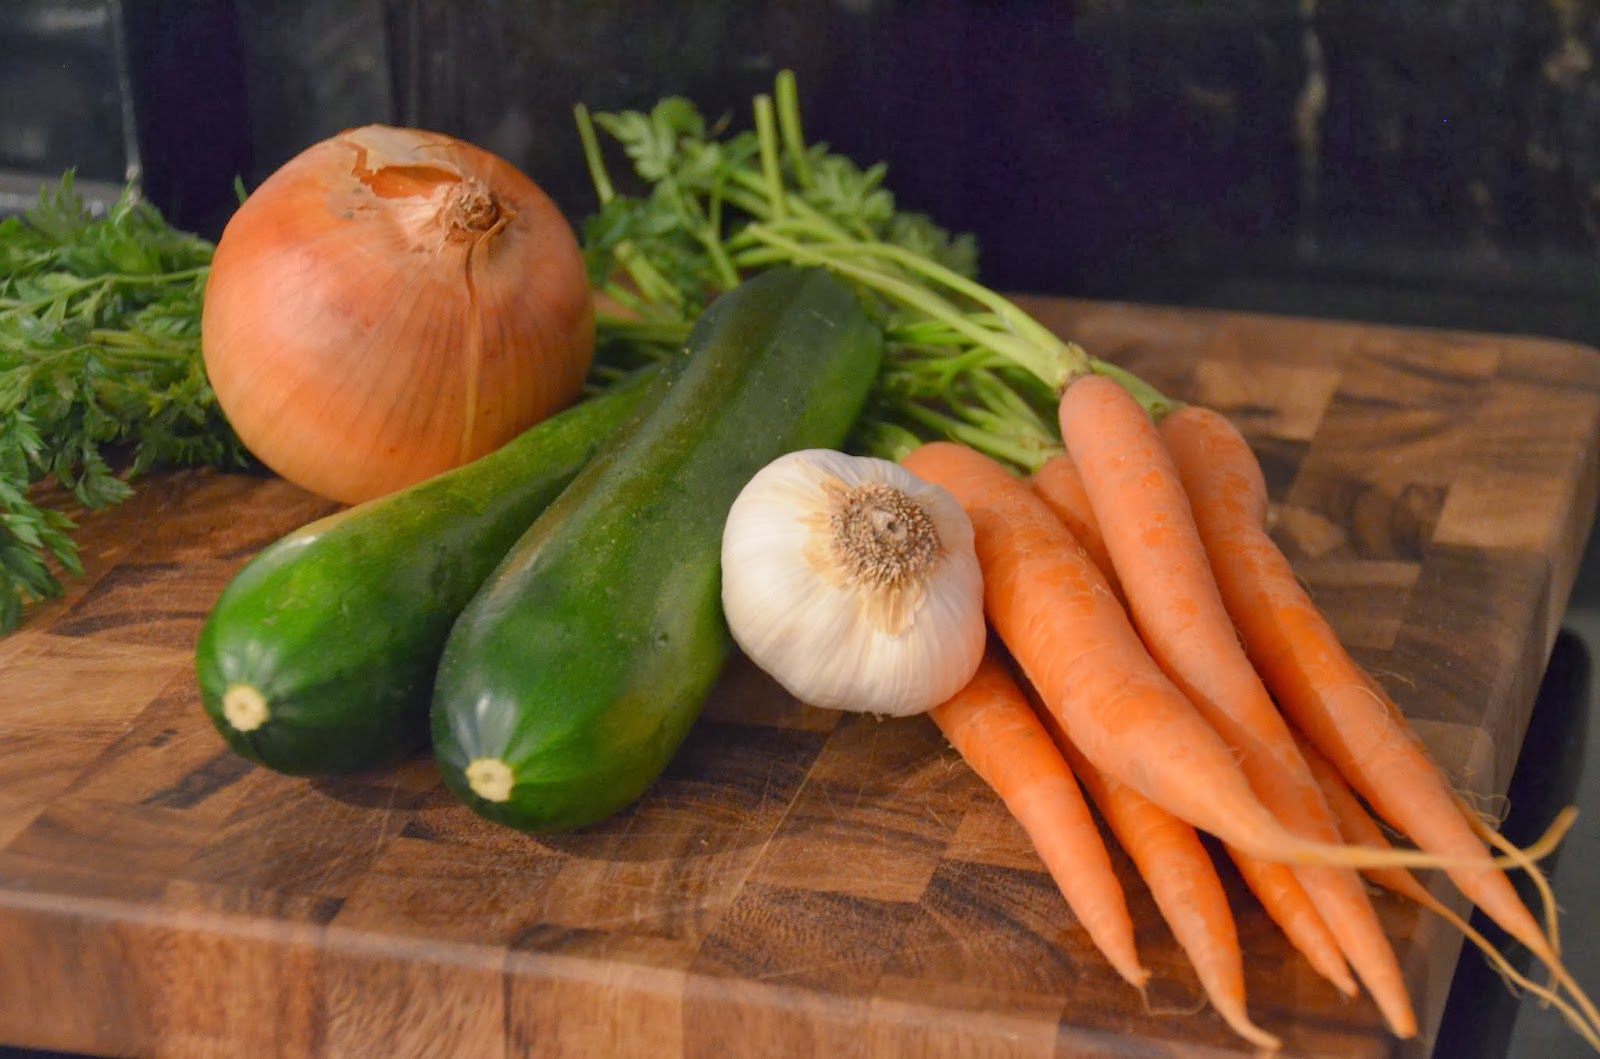
Here are the fresh veggies we are going to use…


While the sausage is browning, chop up an onion and mince a clove of garlic and throw it all in with the meat…


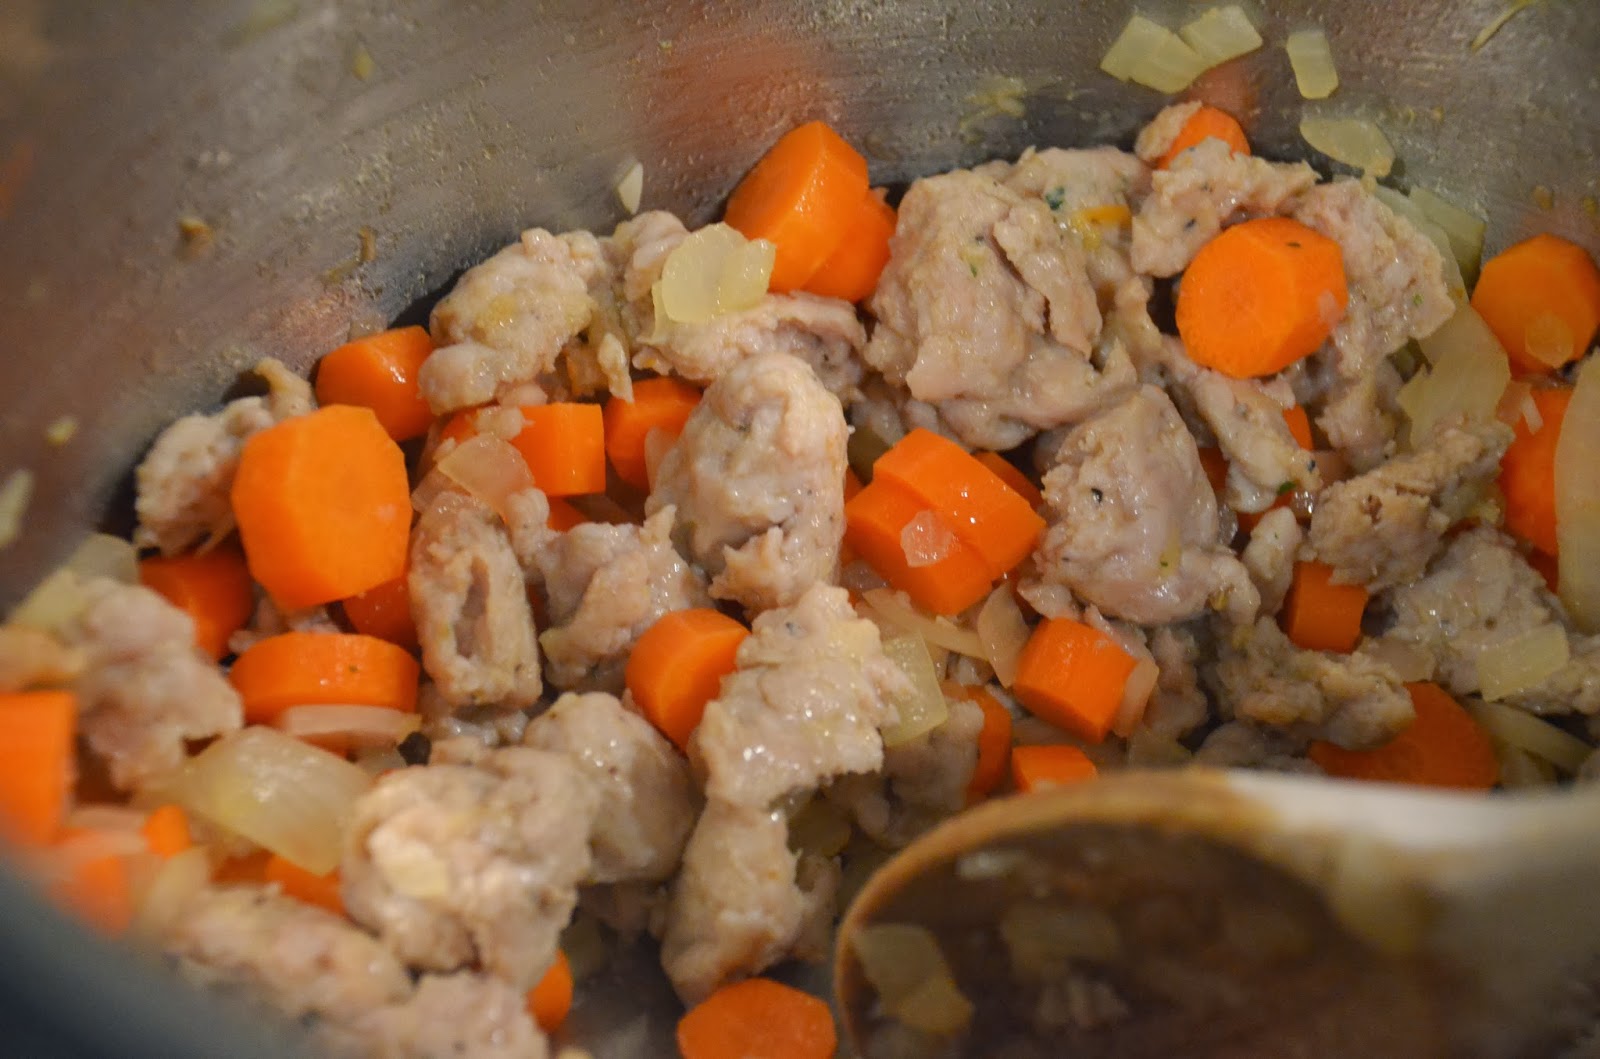
Then add your chopped carrots and let everything cook for a little bit longer…


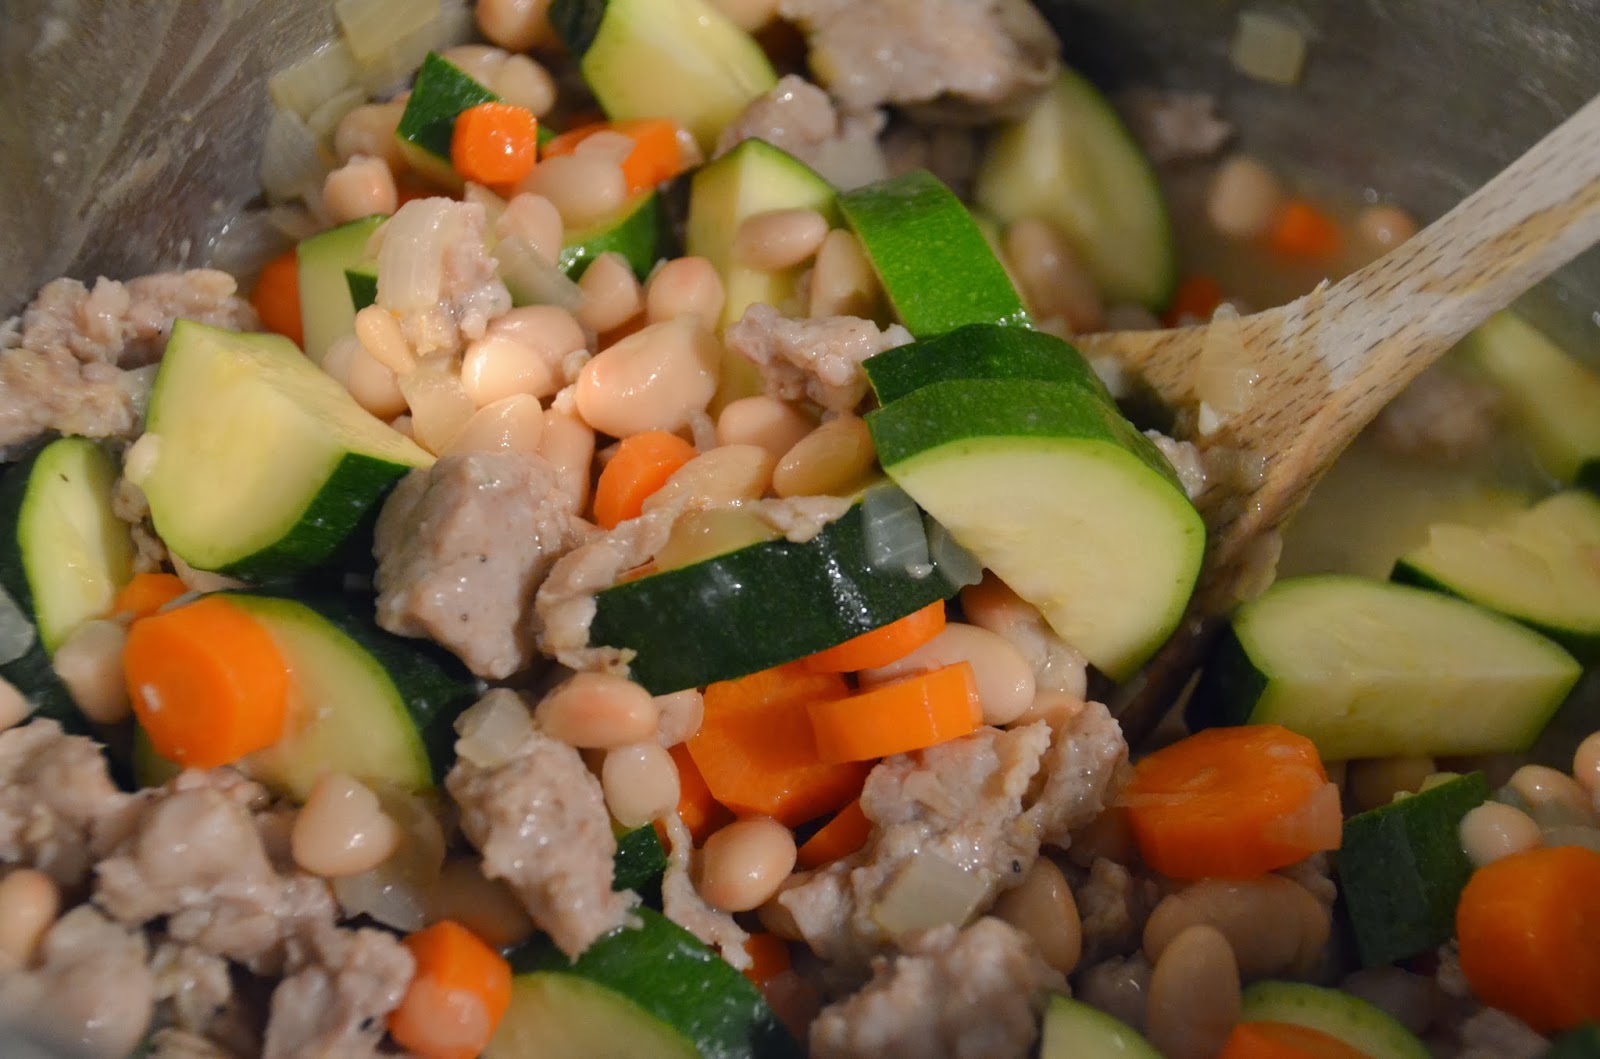
Then add your chopped zucchini and great northern beans...any brand of beans is fine but I am obsessed with Randall’s brand (they come in a glass jar).  I love Randall and I love his beans…yikes!

I


If you don’t like zucchini you can always leave it out but I would not suggest leaving out those glorious carrots…they just belong in there, trust me.

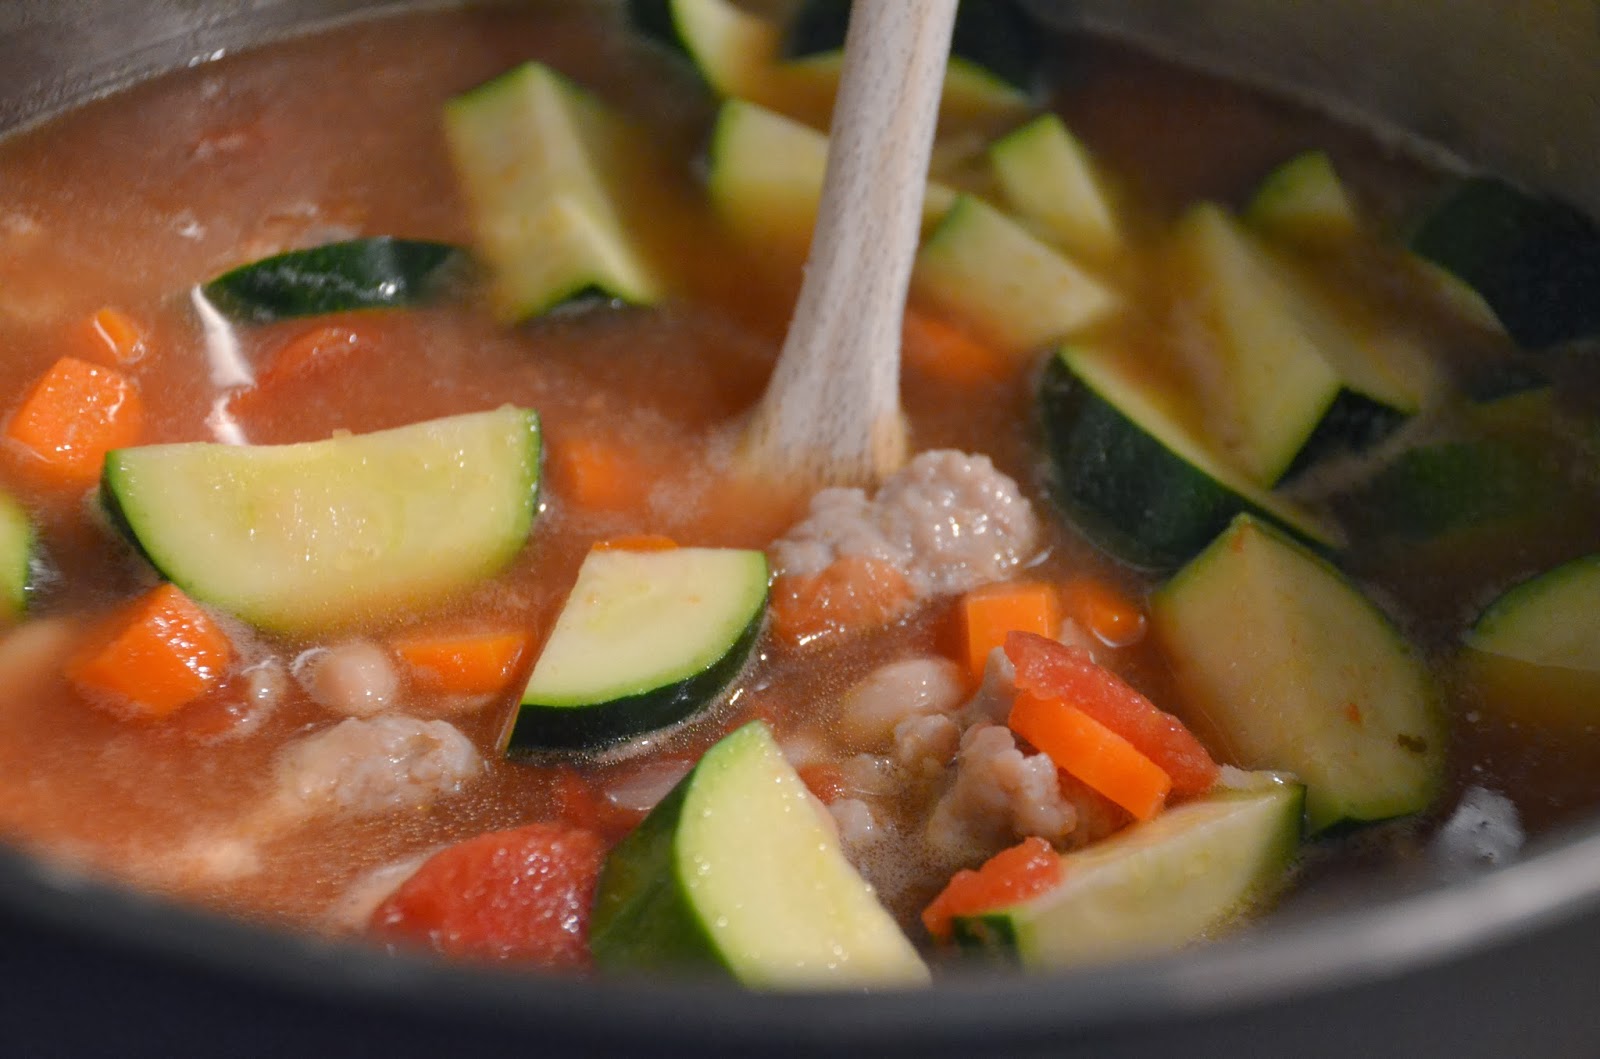
Now it’s time to add two cans of stewed tomatoes and one carton of good chicken broth or stock…


Now it’s time to lower the heat to a simmer, put the lid on, and walk away for 15 minutes.  If you need something to do during this time I would suggest having a glass of wine but that’s just me.

Your soup is pretty much done after those 15 minutes of wine time but you can let it simmer as long as you want.  I would give it a taste to see if it needs any salt and pepper, I usually don’t add much, if any, because that glorious turkey sausage gets the job done for me with all it’s wonderful seasonings.  The one thing I have been adding to pretty much every soup I make lately is a little bit of nutmeg…nutmeg is the magical seasoning, it’s that thing that when put in dishes everyone keeps asking, what is that spice I’m tasting and why is it so crazy good?!


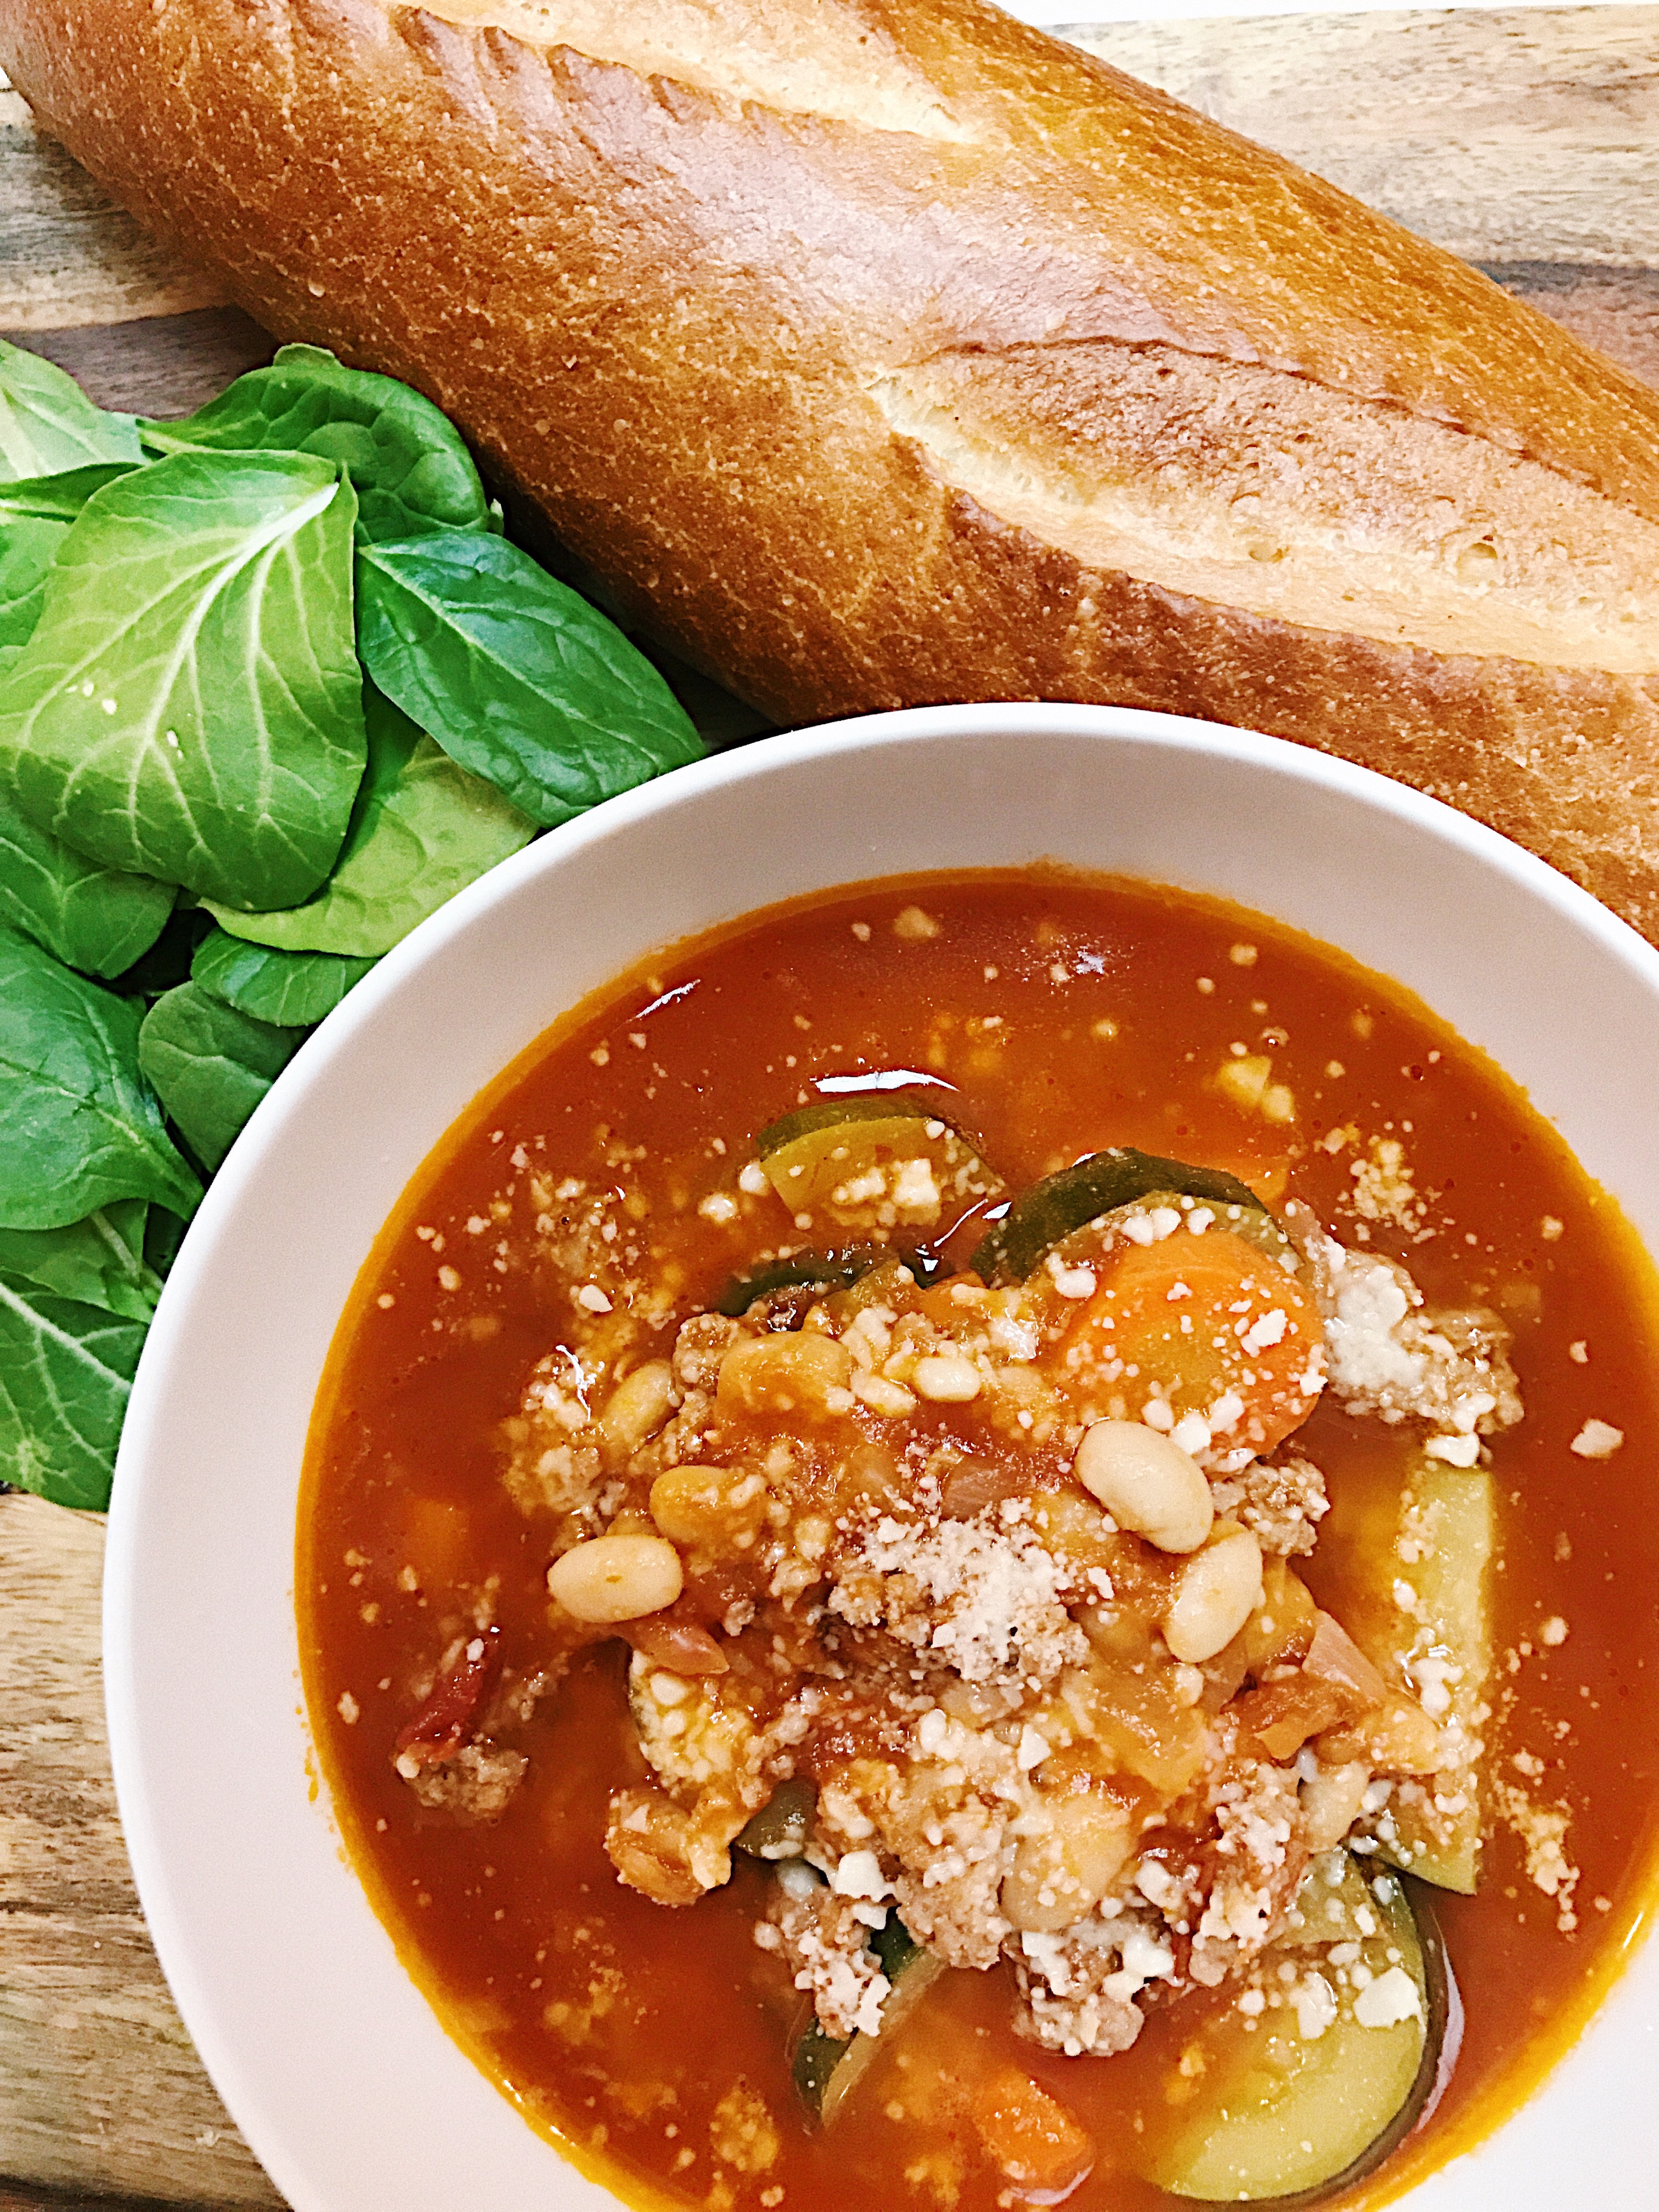
I always serve this soup with some good grated parmesan and baby spinach on the side. 

It might sound strange to add the spinach directly to your bowl but it really doesn’t need to be cooked in the pot, it will cook in about 5 seconds when you add it to your bowl of piping hot soup…and that way if people don’t care for spinach in their soup they can leave it out.


The other thing that I feel very strongly about serving with this soup is a really good crusty baguette with a side of extra virgin olive oil…heaven.

Now everyone can eat!  They are all standing in the kitchen drooling already…trust me.

This batch will feed about 6 people at least…last night it fed 3 grown men, 3 boys, and me…to say I’m outnumbered is a complete understatement.

I hope you guys try this soup out, I definitely think it will be a winner with your family and friends…

Cheers from the frozen tundra!


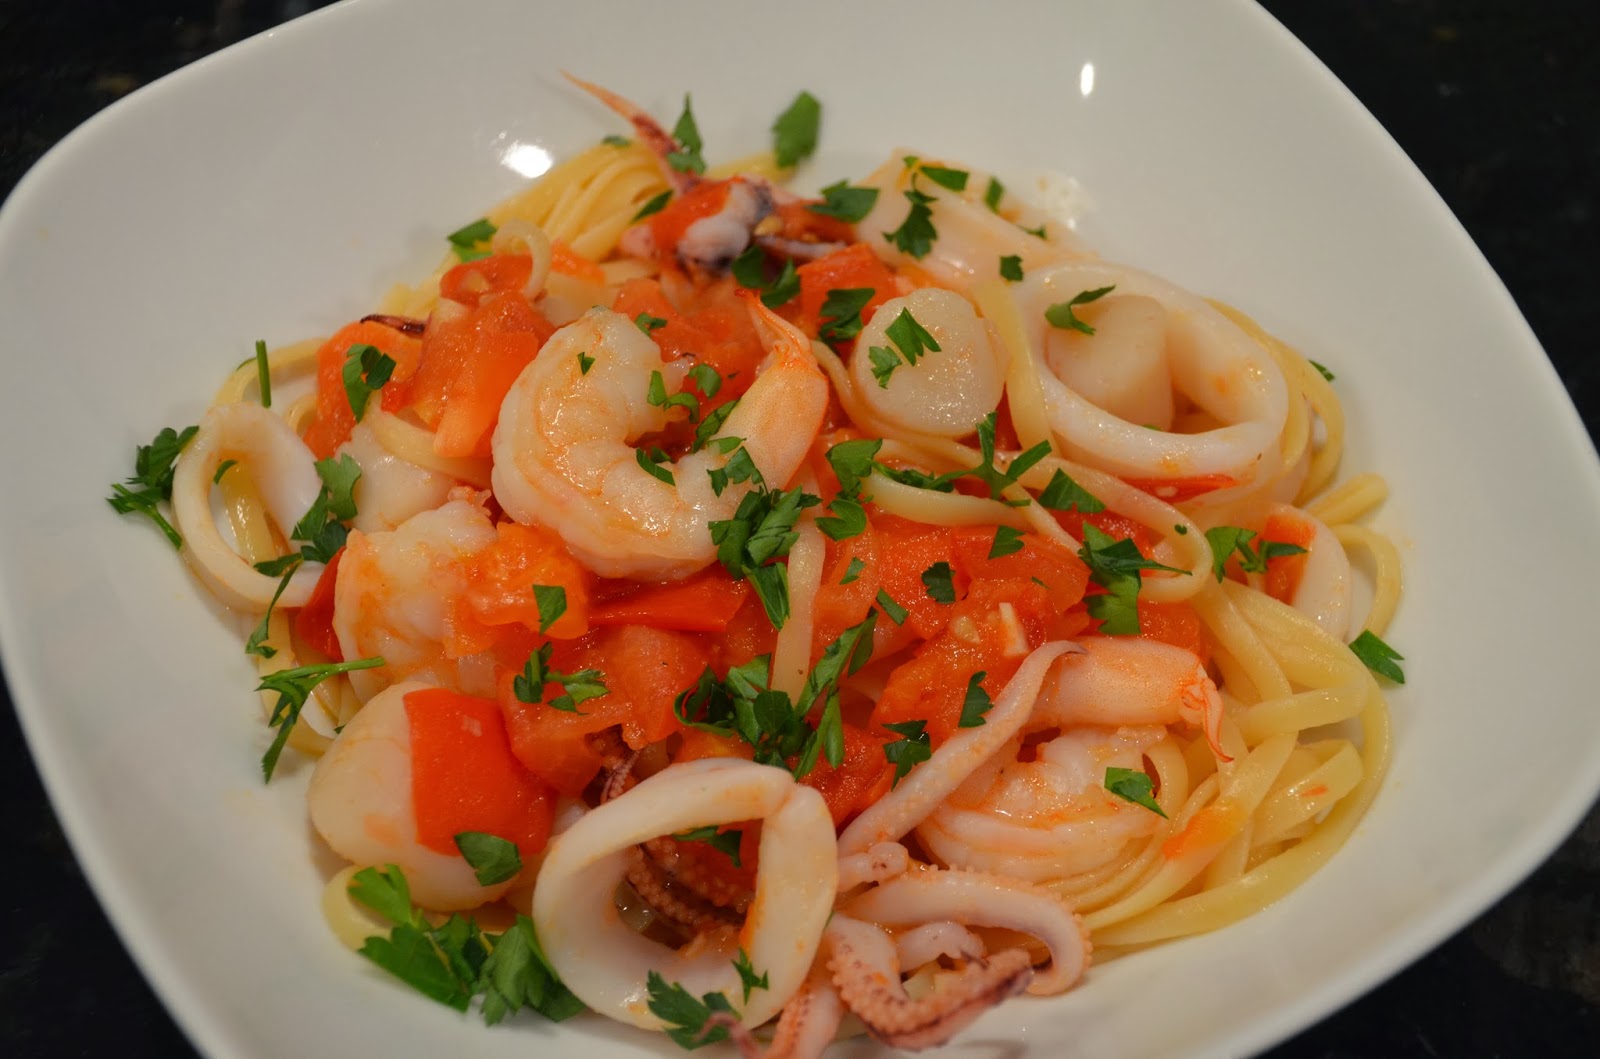
Linguine Pescatore aka Fisherman’s Linguine


Well I went roller skating on Monday night and I had a blast…a video has surfaced of me skating around the rink and completely ignoring my kids, it was great.  But then I woke up in the middle of night with the worst sciatica of my life…I highly doubt those two things are related though.

And thank heavens it did not snow 2 feet last night…we didn’t even get a flake.  Without going into too much detail, part of my job has to do with participating in several phone calls at all hours of the night when it snows too much…can you say, ANNOYING!  No, I don’t work at a 24 hour pizza delivery place in a college town…but I bet they have the same issues.

I’ve really had to start budgeting my time lately in order to keep up with blogging, working, parenting, exercising, and drinking wine as much as I would like.  My dad and I are also playing hot potato with his camera, I had that thing in my possession for 2 weeks and he didn’t even know it was missing and now all of the sudden he needs it practically every other day.  He must have picked up a photog gig on the side or something…at least tonight is my night, he said he would drop it off soon…shared custody is really hard.

I’m so freaking excited to share this recipe with you guys…it’s the bomb diggity.  My inspiration for this came from a dish I used to order at a tiny little Italian restaurant in my home town…the dish was called Linguine Pescatore.  Pescatore is Italian for fisherman which makes total sense because I love a fisherman and I love linguine.

This dish is sort of romantic, and people will definitely think you’re a fancy pants if you make it for them.  But of course like everything else I make, it’s a piece of cake to throw together.  You could probably make this dish AND bake a cake without breaking a sweat.

Here is what you need in the way of ingredients…

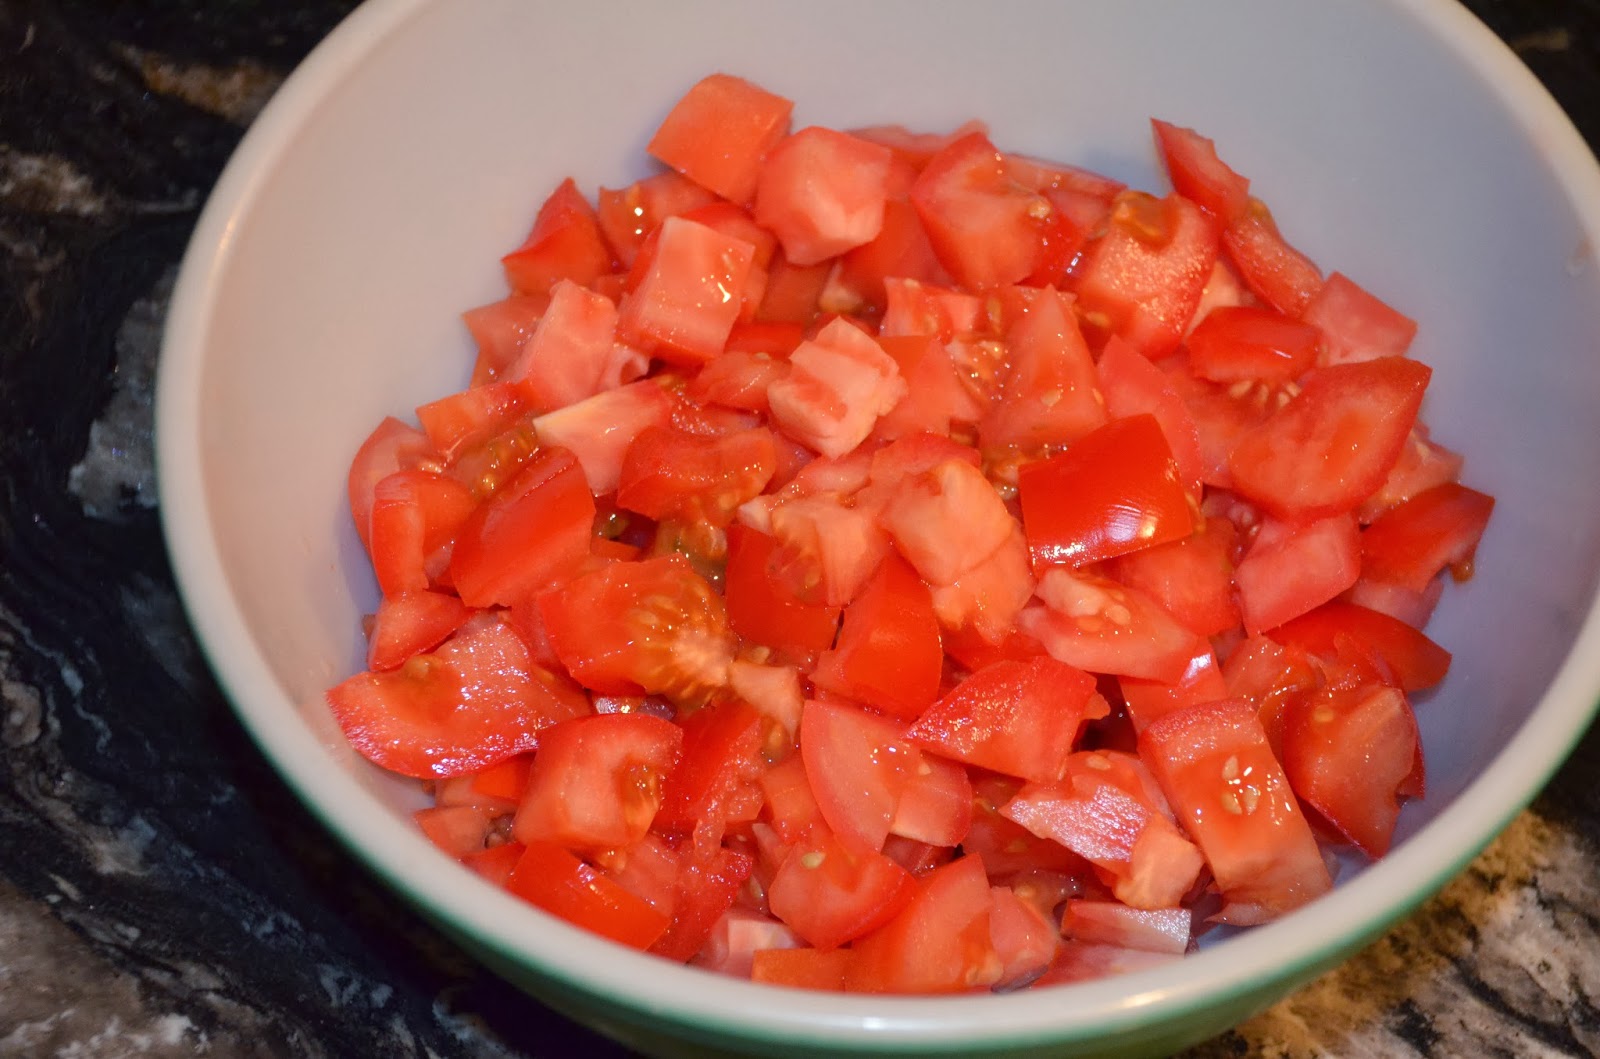
4 cups chopped roma tomatoes (about 10 tomatoes)
1 cup white wine (chardonnay or sauvignon blanc)
2 cloves chopped garlic
1/4 tsp red pepper flakes
1 pound shrimp (peeled and de-veined)
1/2 pound calamari
1/2 pound bay scallops
1 bunch flat leaf (Italian) parsley
salt and pepper to taste


Start by chopping up a boatload of roma tomatoes, at least 4 cups worth..and get a large pot of salted water going on the stove.


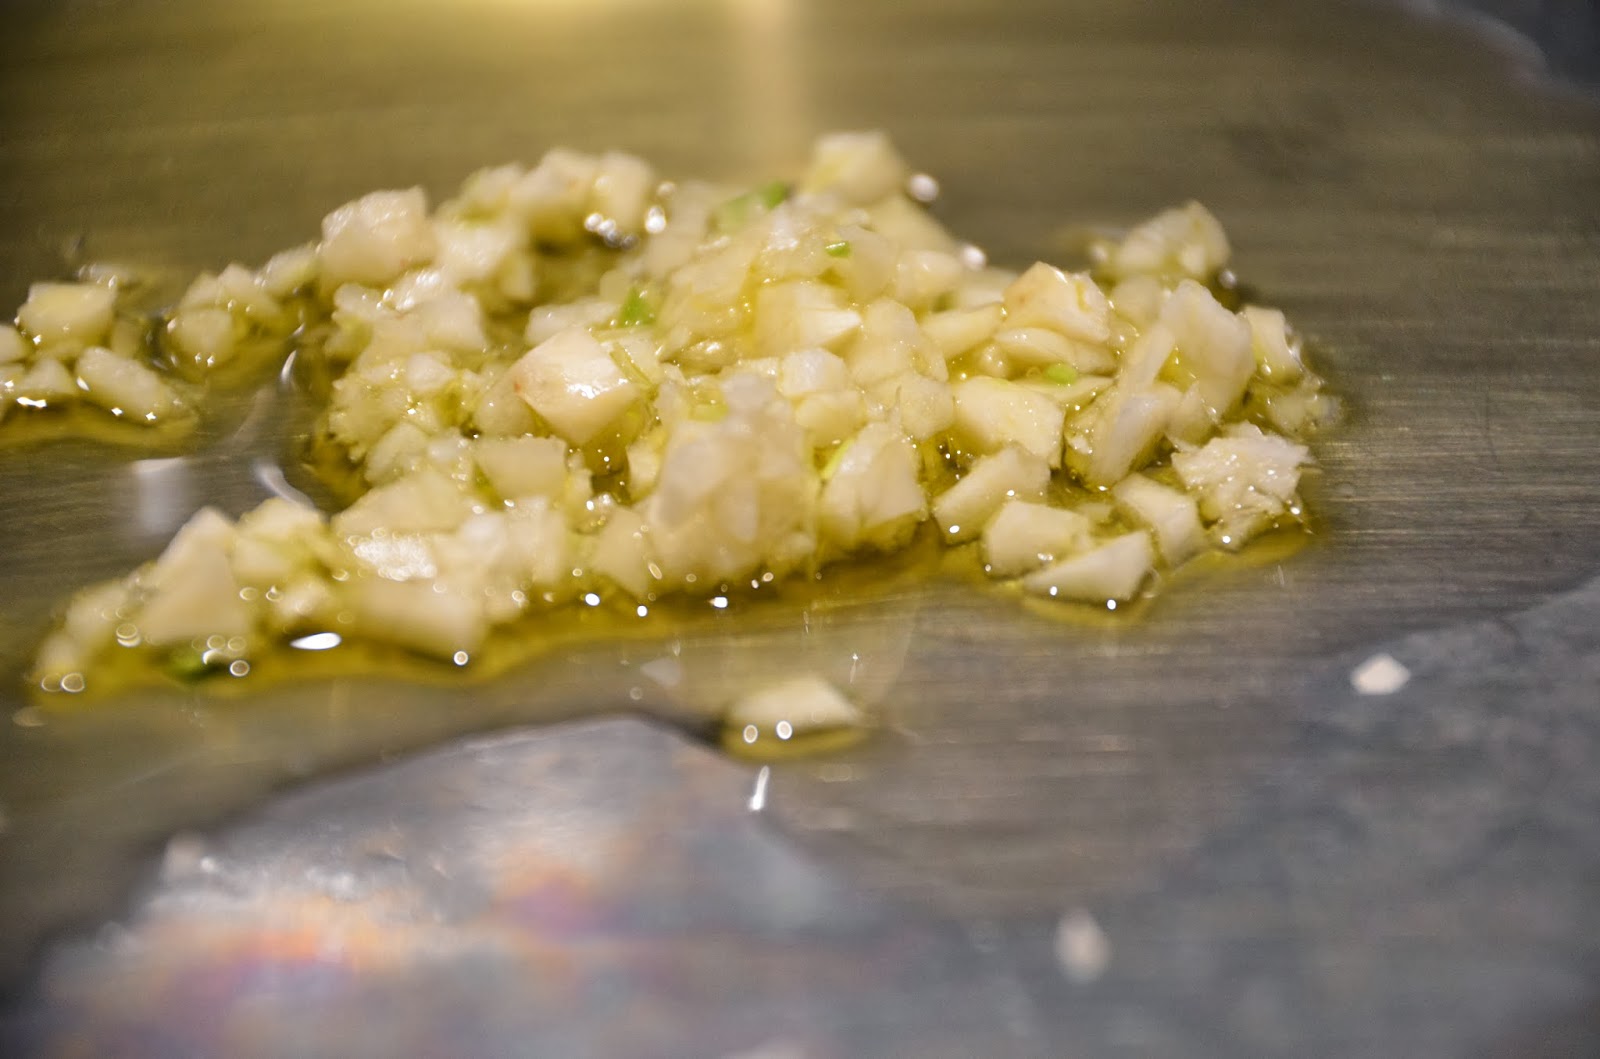
Then sauté some chopped garlic in olive oil over medium/low heat, like this…


After about a minute or so, add the 4 cups of chopped Roma tomatoes to the garlicky oil…


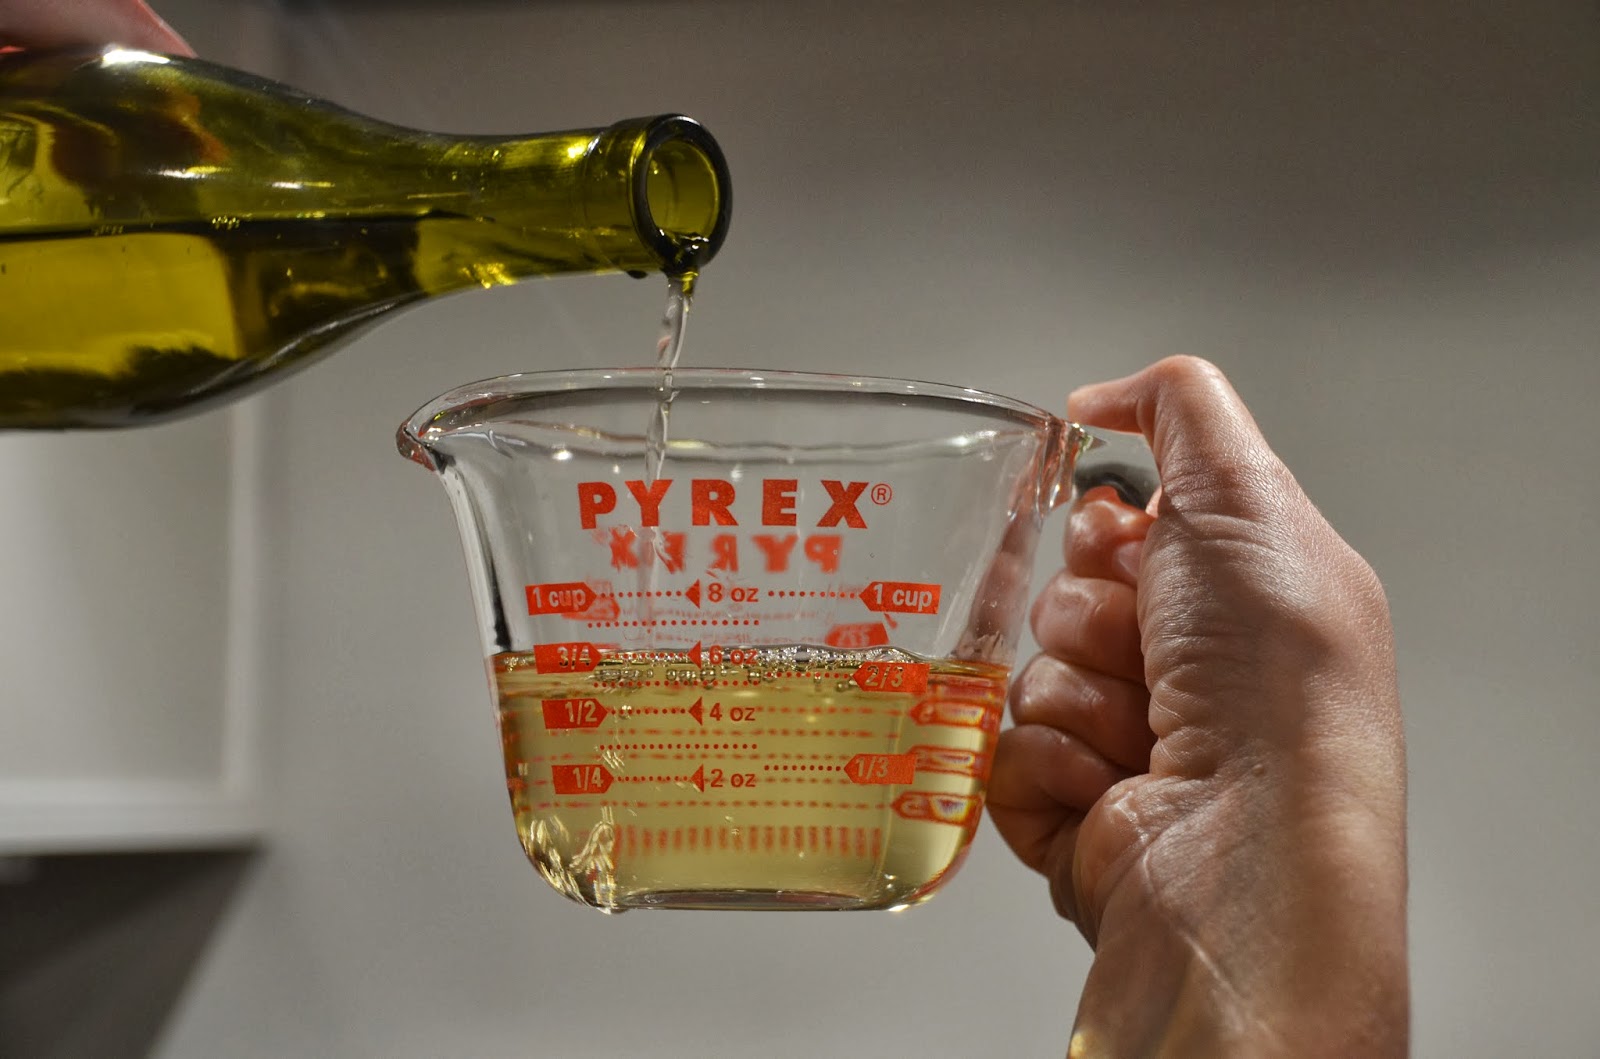
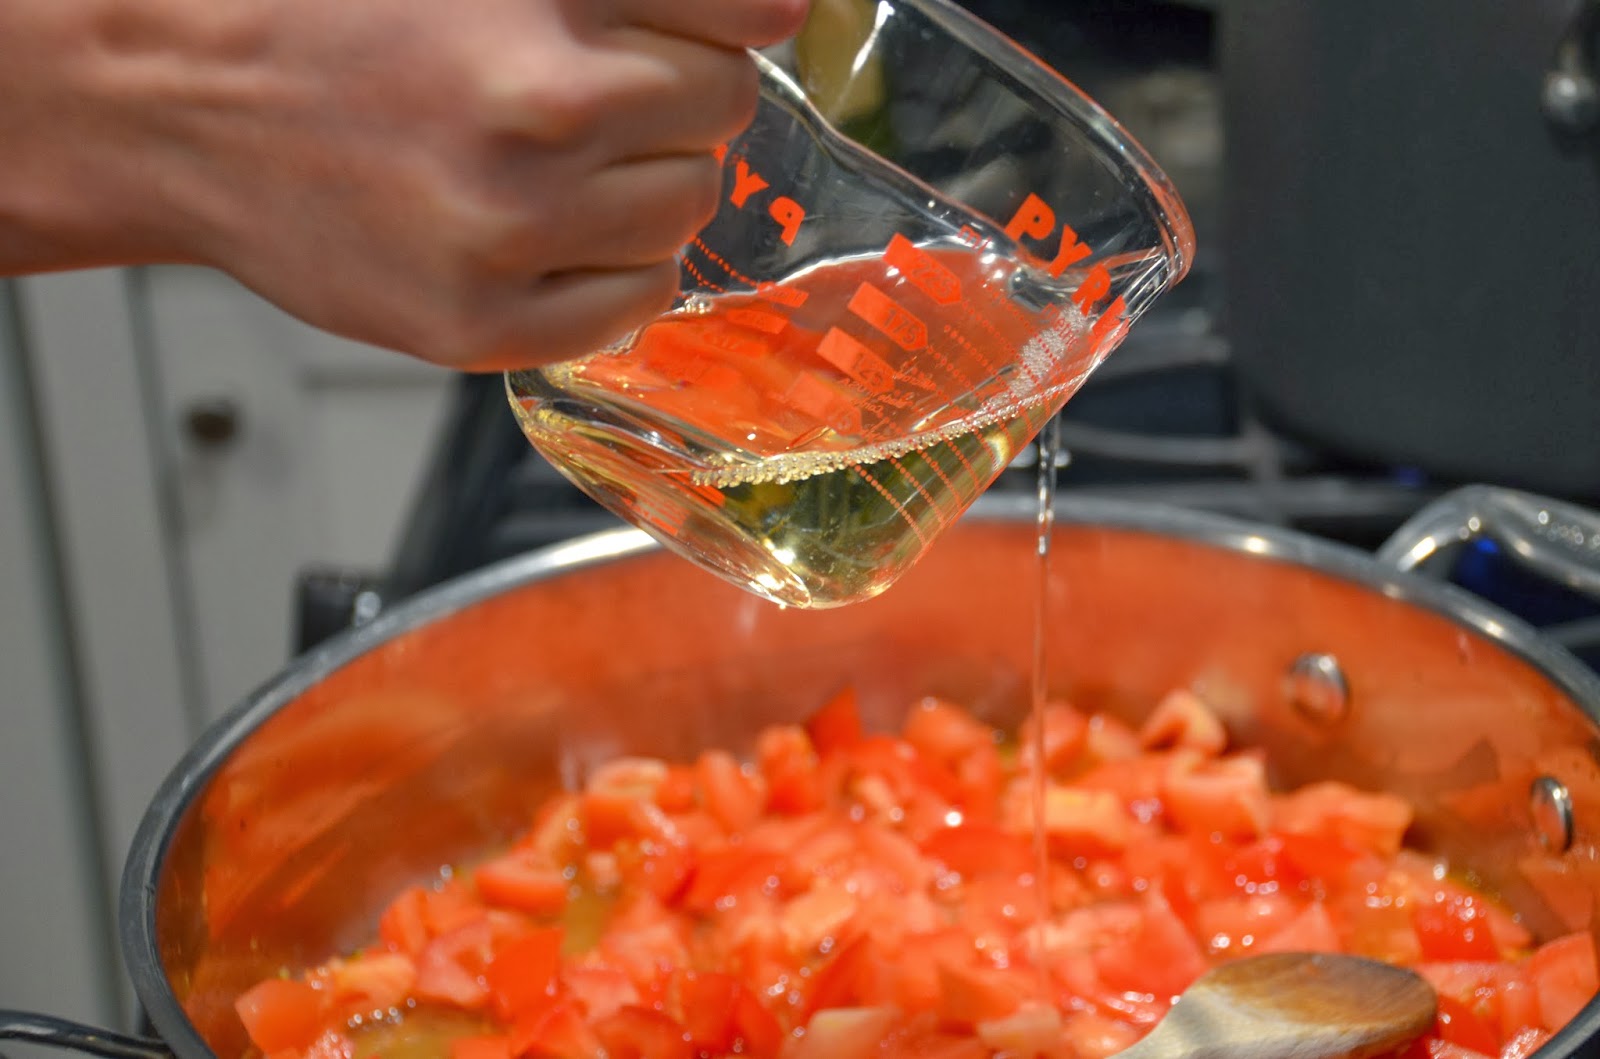
Then add 1 cup of good white white (chardonnay or sauvignon blanc works well)…yes, 1 whole cup of wine, see… 


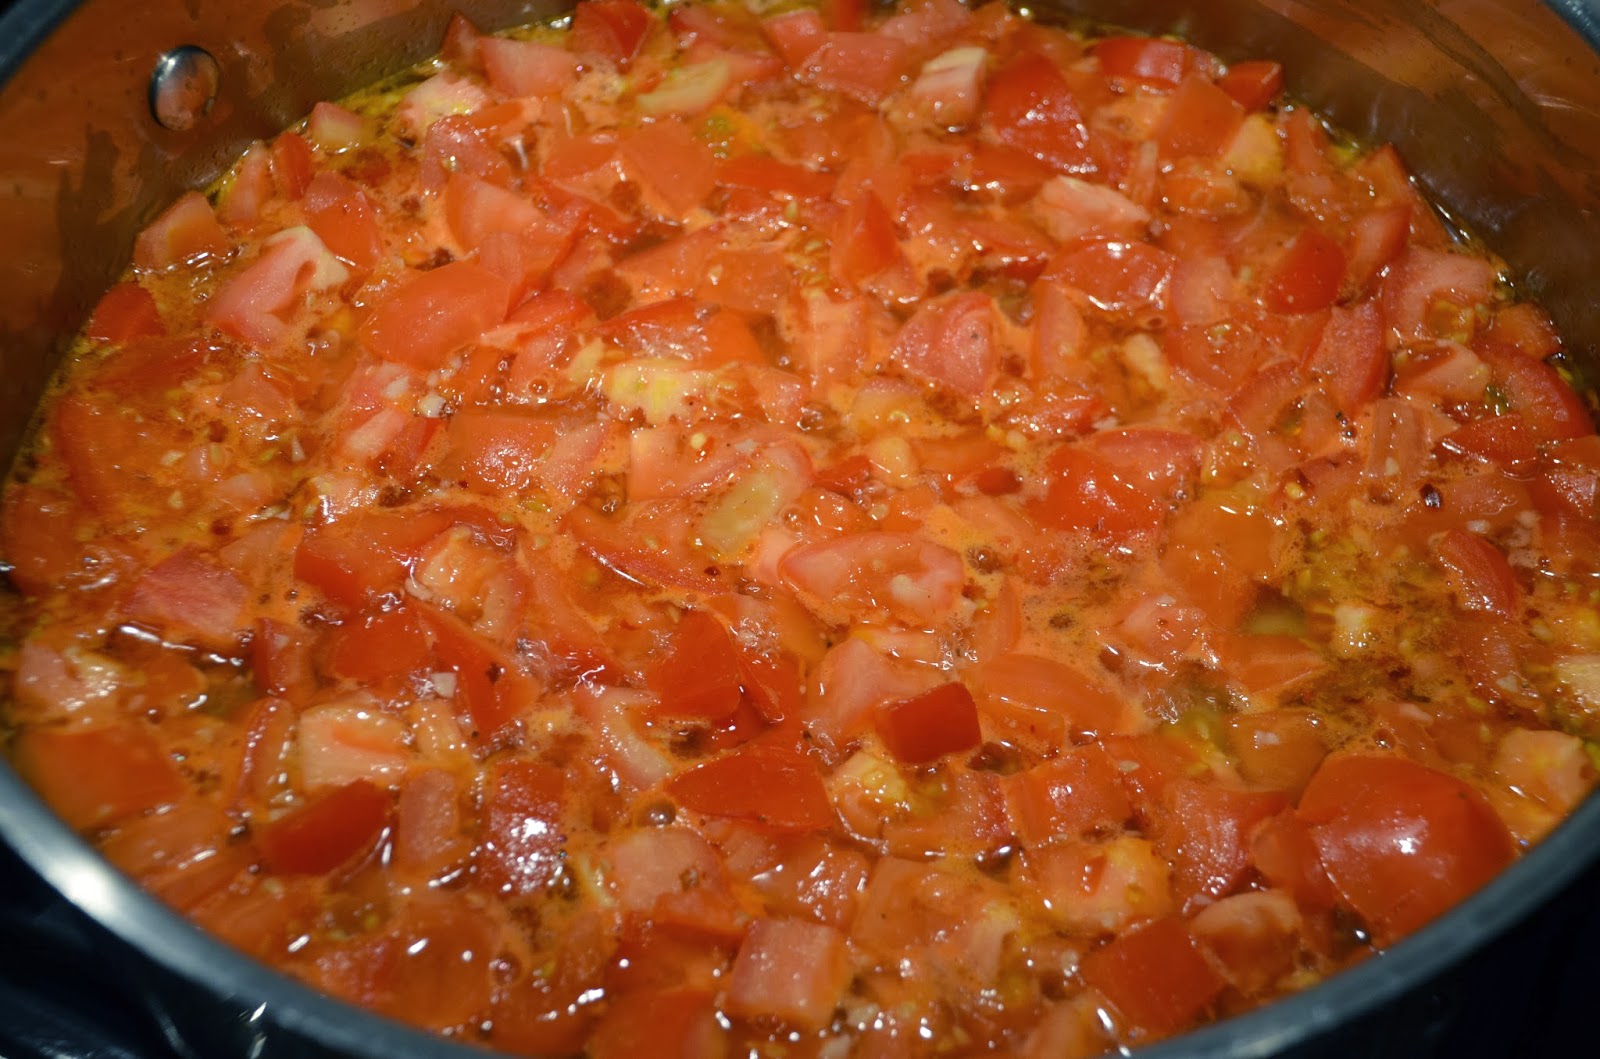
Now add some salt & fresh ground black pepper, and then add some red pepper flakes for heat (anywhere from 1/8 to 1/4 tsp depending on your spice tolerance level) and then let that all cook over medium/low heat for a good while…


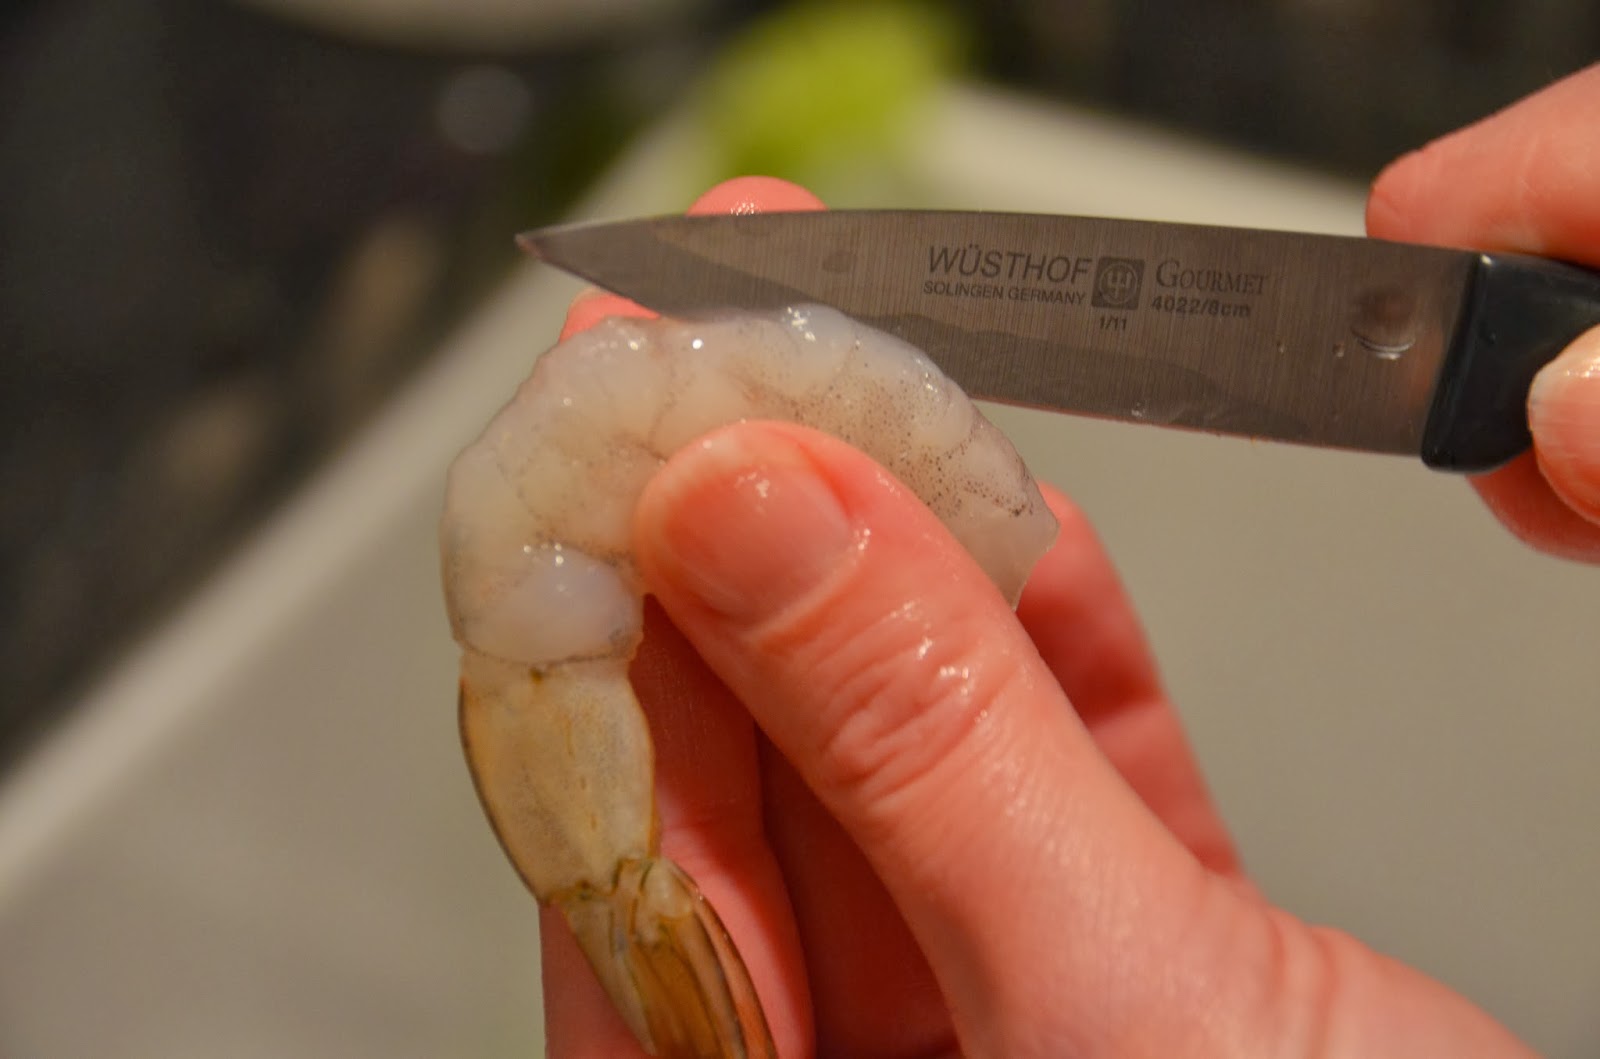
Next for the shrimp…it should be peeled and de-veined (you can leave tails on if you want).  You can obviously buy shrimp that has been peeled and de-veined for you but I got an awesome deal on some that weren’t yet ready for the party.  De-veining shrimp is about the easiest thing to do on the entire planet…you just take a small sharp knife down the back of the shrimp and remove the vein, like this…


I do it over the sink with the water running…put the shrimp under the running water to help remove the vein, the water does most of the work for you.


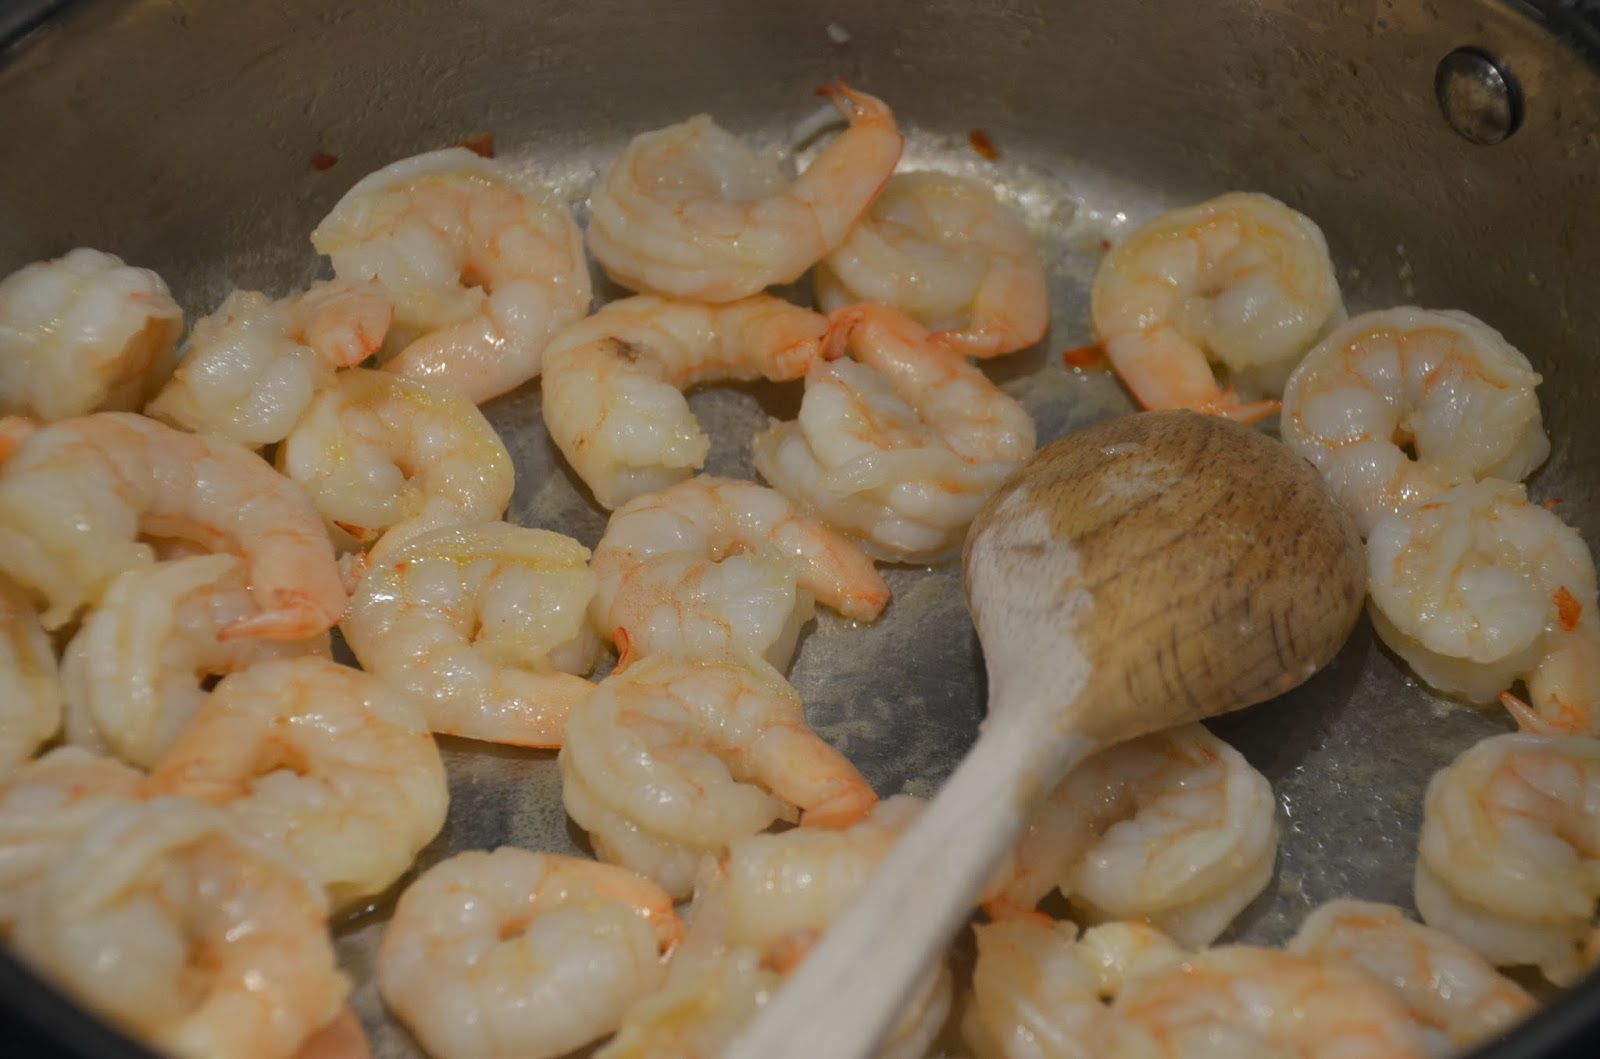
While the sauce is cooking away, use a separate pan to sauté the shrimp in some olive oil over medium/high heat, like this…


Most people overcook shrimp, it’s nobody’s fault it just happens.  Shrimp take abut two minutes to cook in a pan on the stove.  When you think it might be getting close to being done, guess what…it’s done.  Even if it’s not completely done, it will continue to cook after you get it out of the pan.


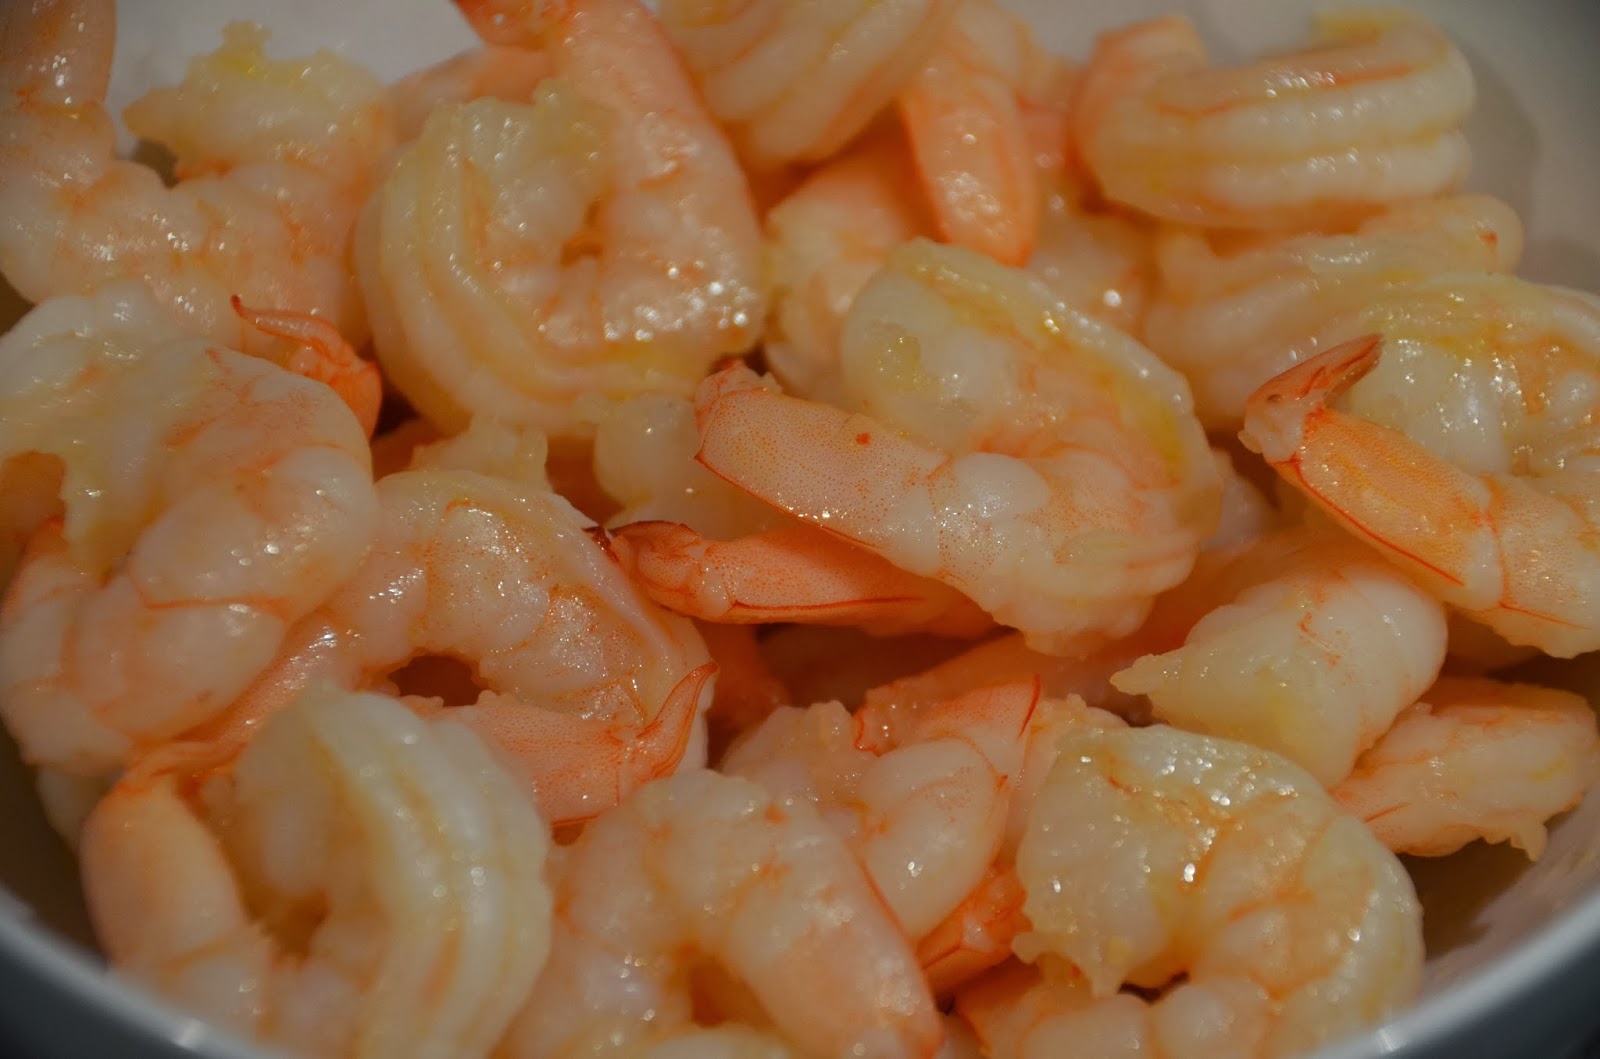
Set the shrimp aside in a bowl, like this…


If this photo doesn’t get your mouth watering, something is wrong with you…just look at it!
The sauce should be smelling pretty freaking good by now, you may want to taste it and add a little more salt if you feel the need but remember that the seafood has salt in it so please don’t go overboard.


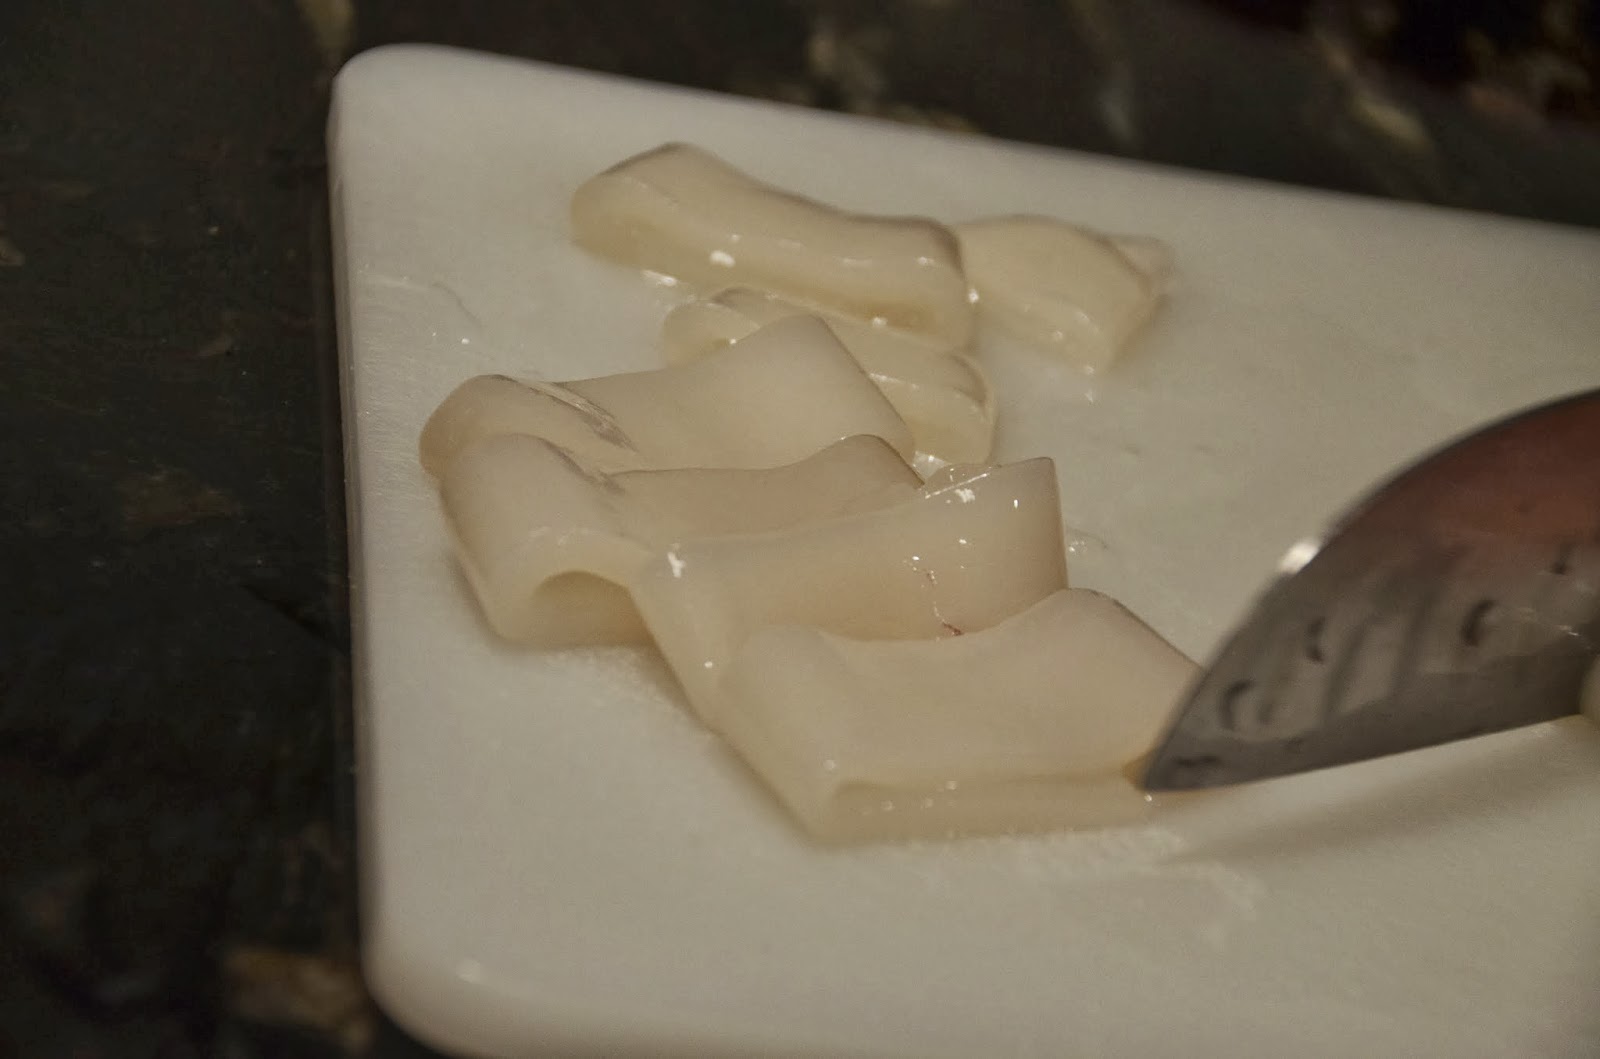
Now it’s time to prepare the calamari…you can buy packaged calamari that has already been cut into rings, or you can cut it yourself.

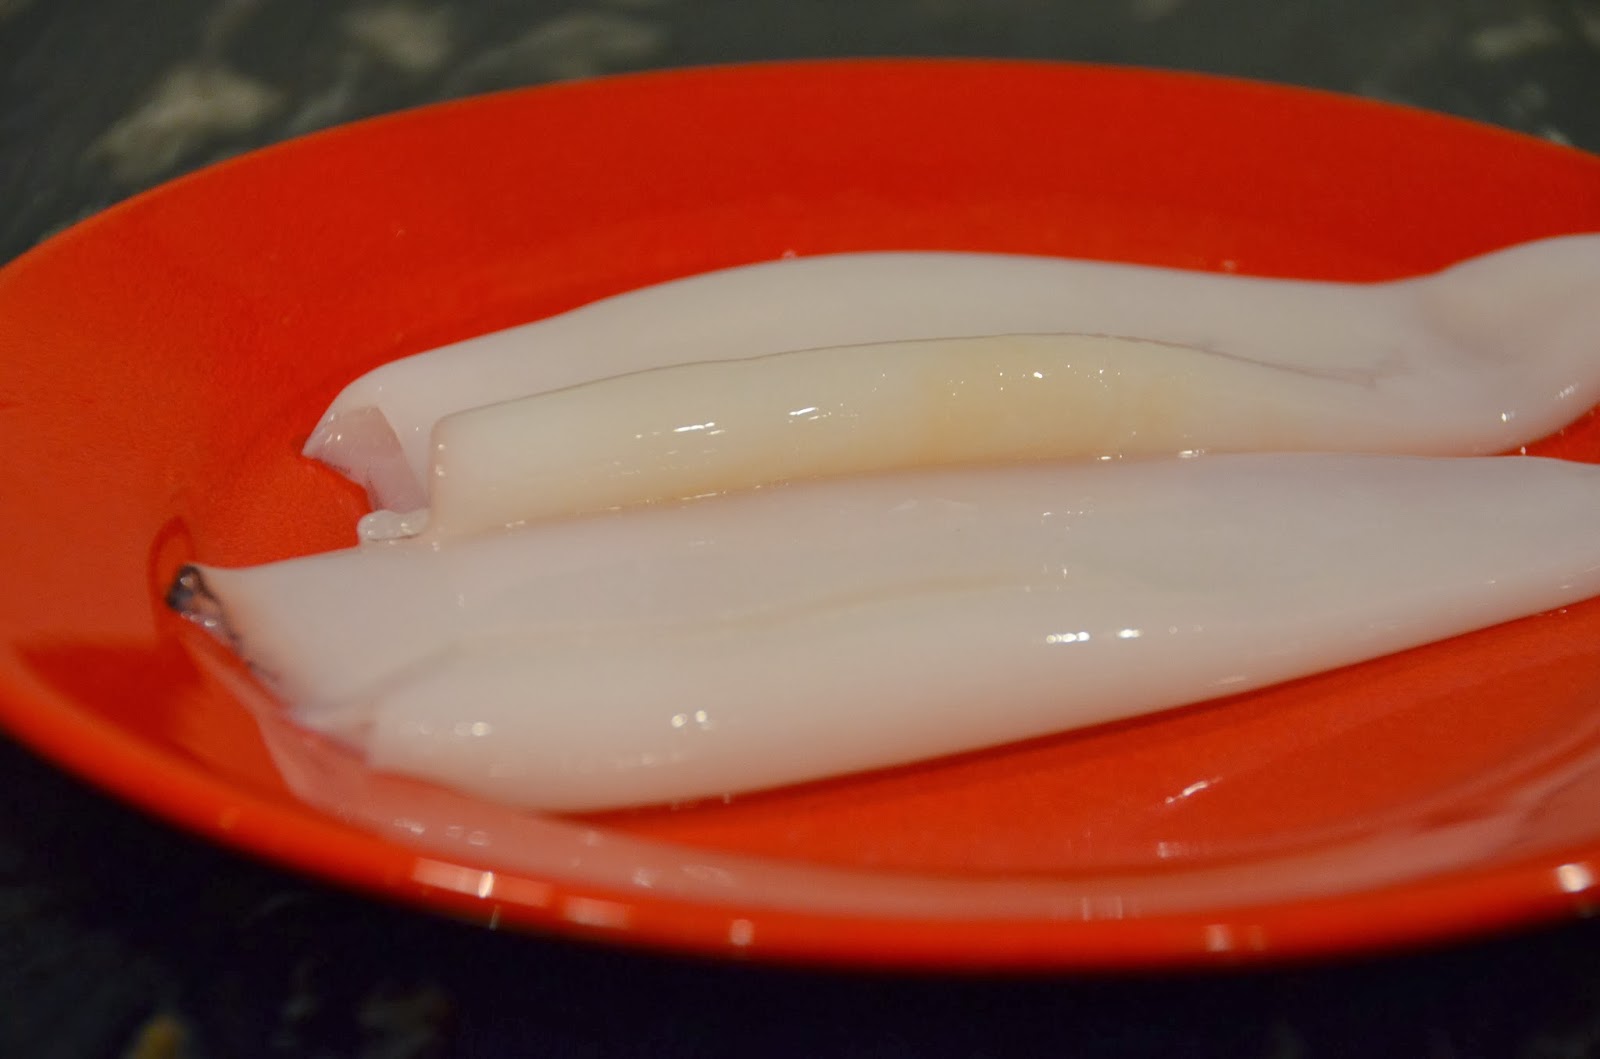
This is what a calamari “tube” looks like…


I bought this at whole foods, I usually get mostly tubes and a few tiny octopus looking guys.  If you don’t care for the tentacles, just get the tubes…and if you don’t care for calamari then leave it out of the recipe all together.  Here’s another little known fact, calamari is cheap.  I got 1/2 pound (which is alot) for under 5 bucks…holler!

I cut them into 1/2 to 1 inch rings, like this…


It’s now time to throw your pasta in the boiling water, I used about 2/3 of the package but you can use the whole package if you would like…cook it for about 8 minutes (or until al dente).

If you’re using fresh linguine that’s even better…and if that’s the case I’m going to stop cooking this right now and just head on over to your house for dinner.

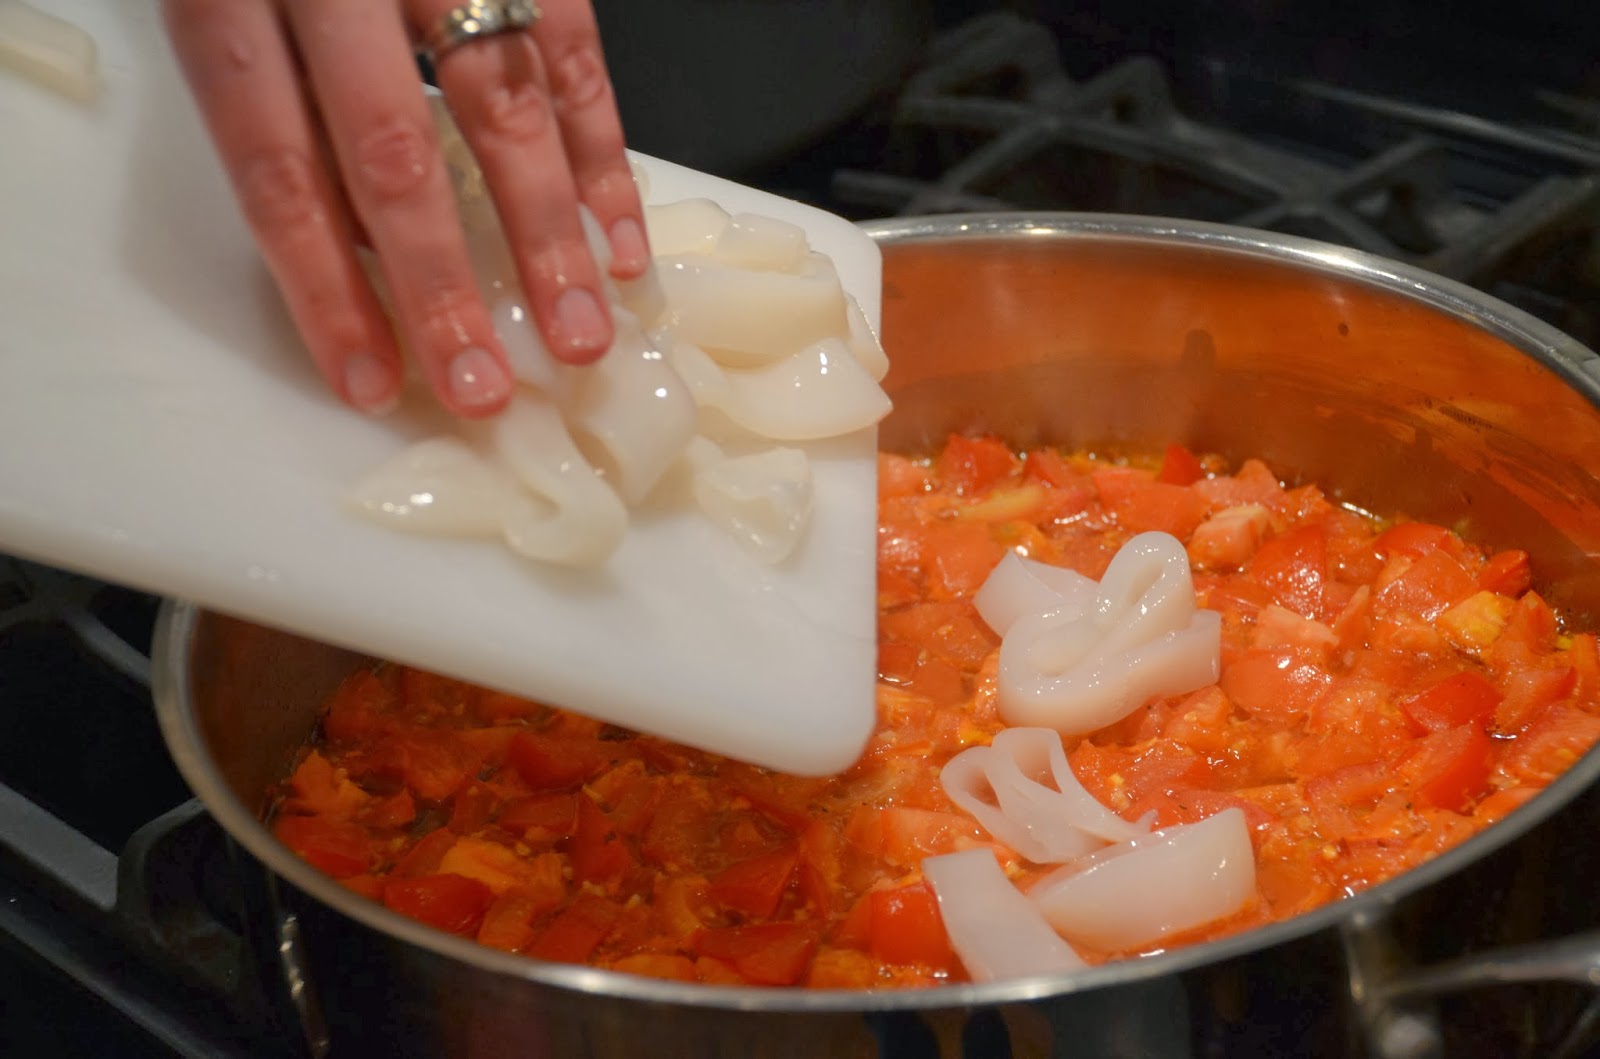
Now just add the calamari (rings and tentacles) right into your simmering sauce on the stove…


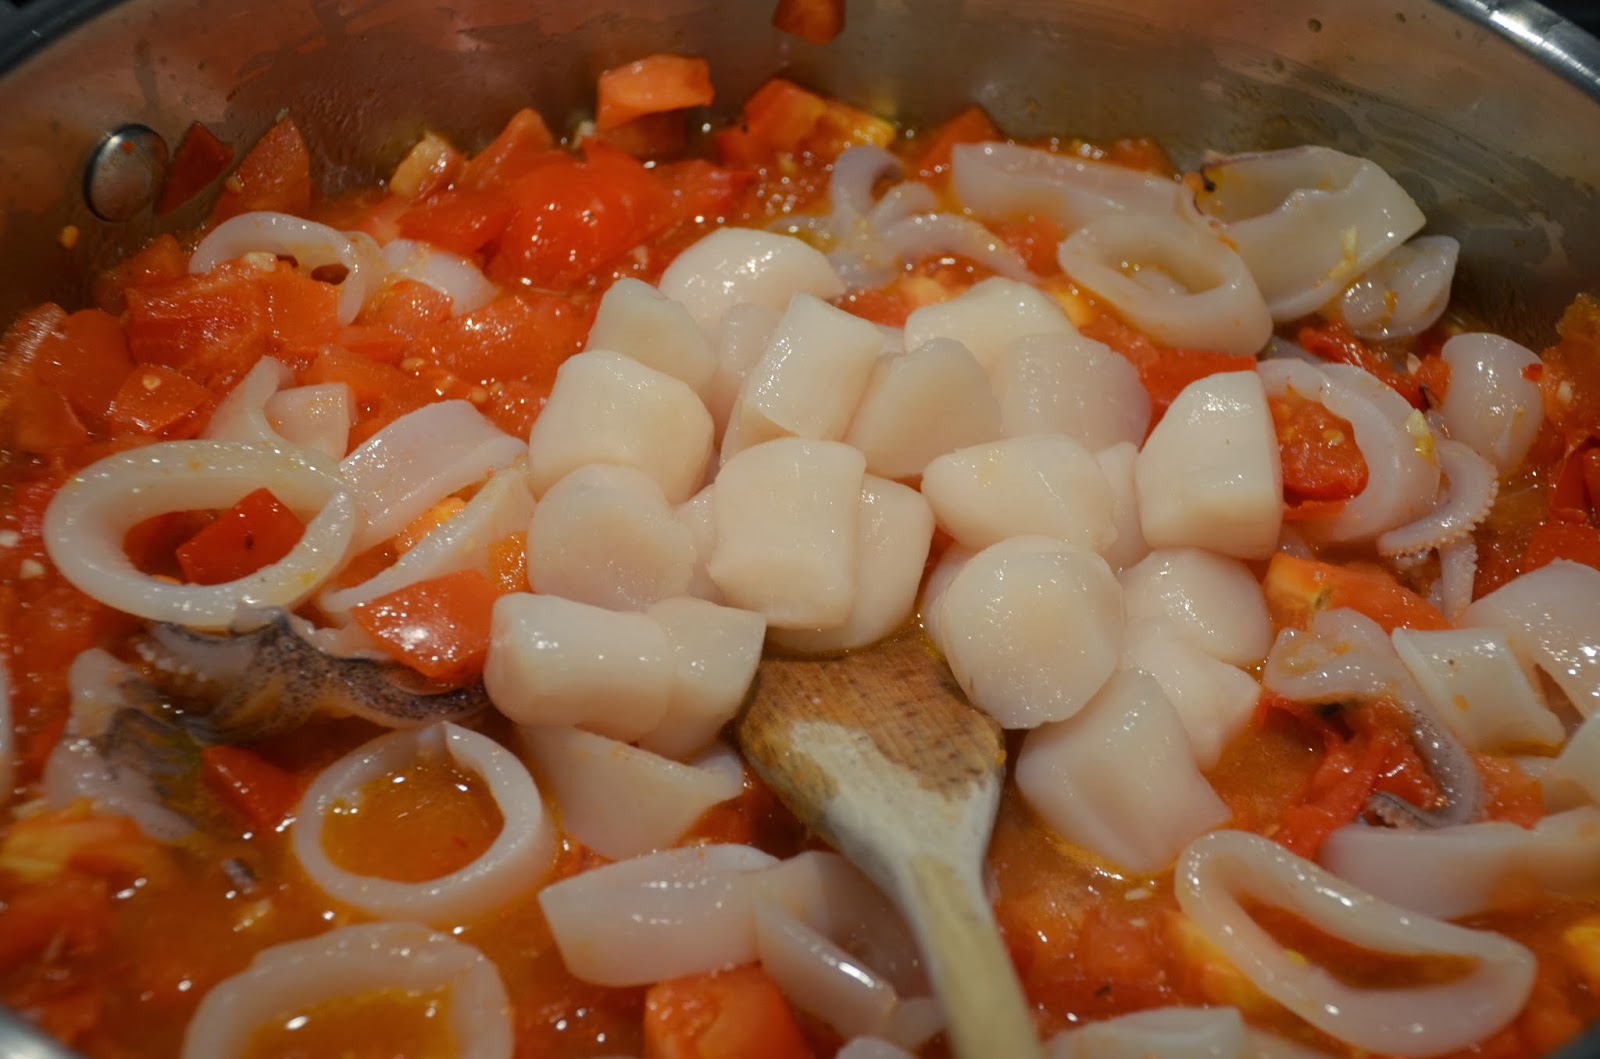
Now add about 1/2 pound of bay scallops (these are the small ones, also not expensive)…  


The sauce is going to cook both the calamari and the scallops perfectly in about 8 minutes which is about the same time it takes to make the pasta…this is good news.

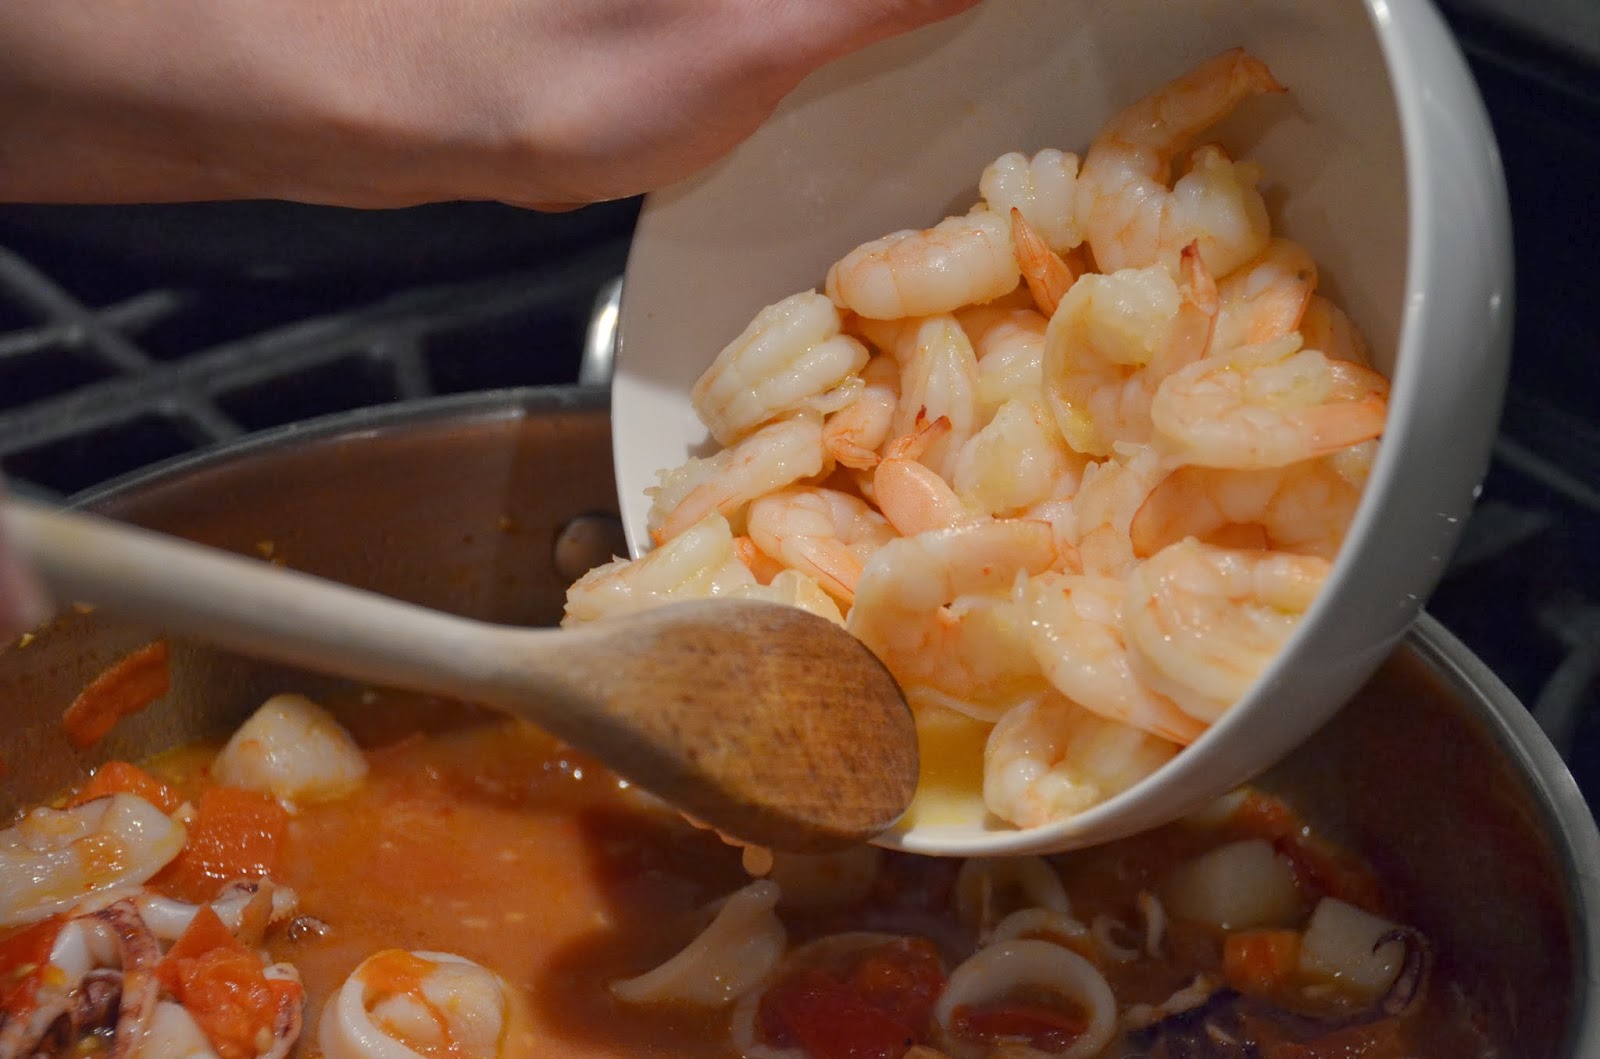
At about the 7 minute mark, add your shrimp back into the pan…


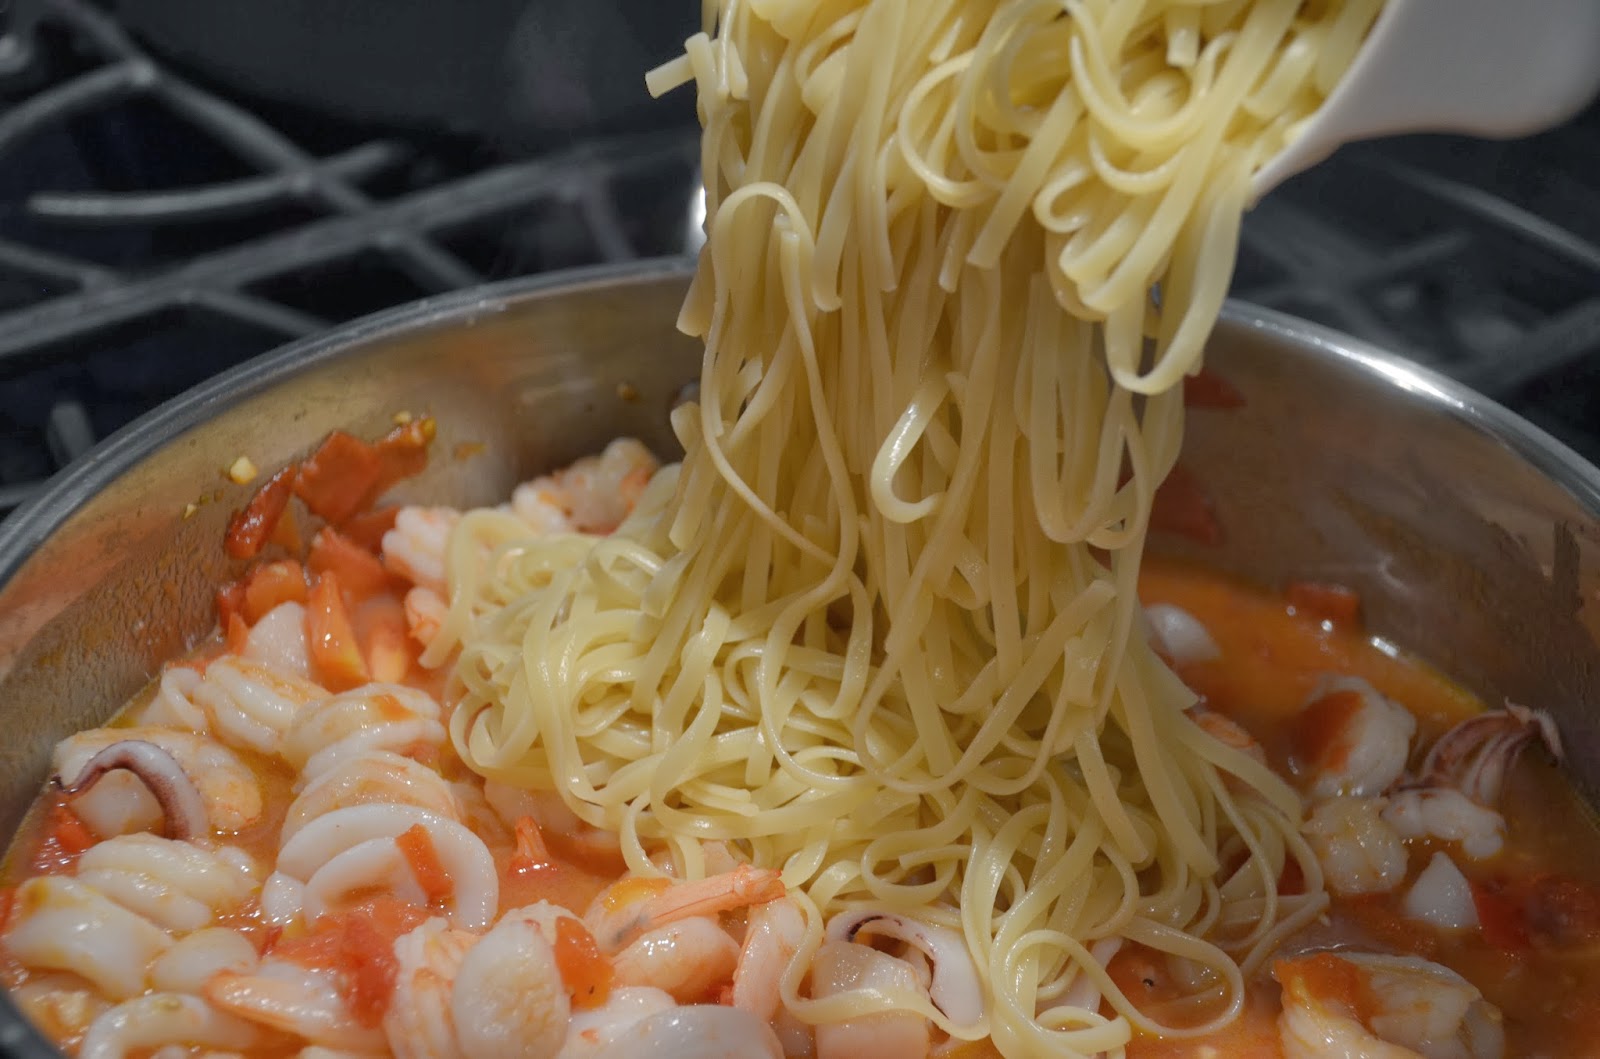
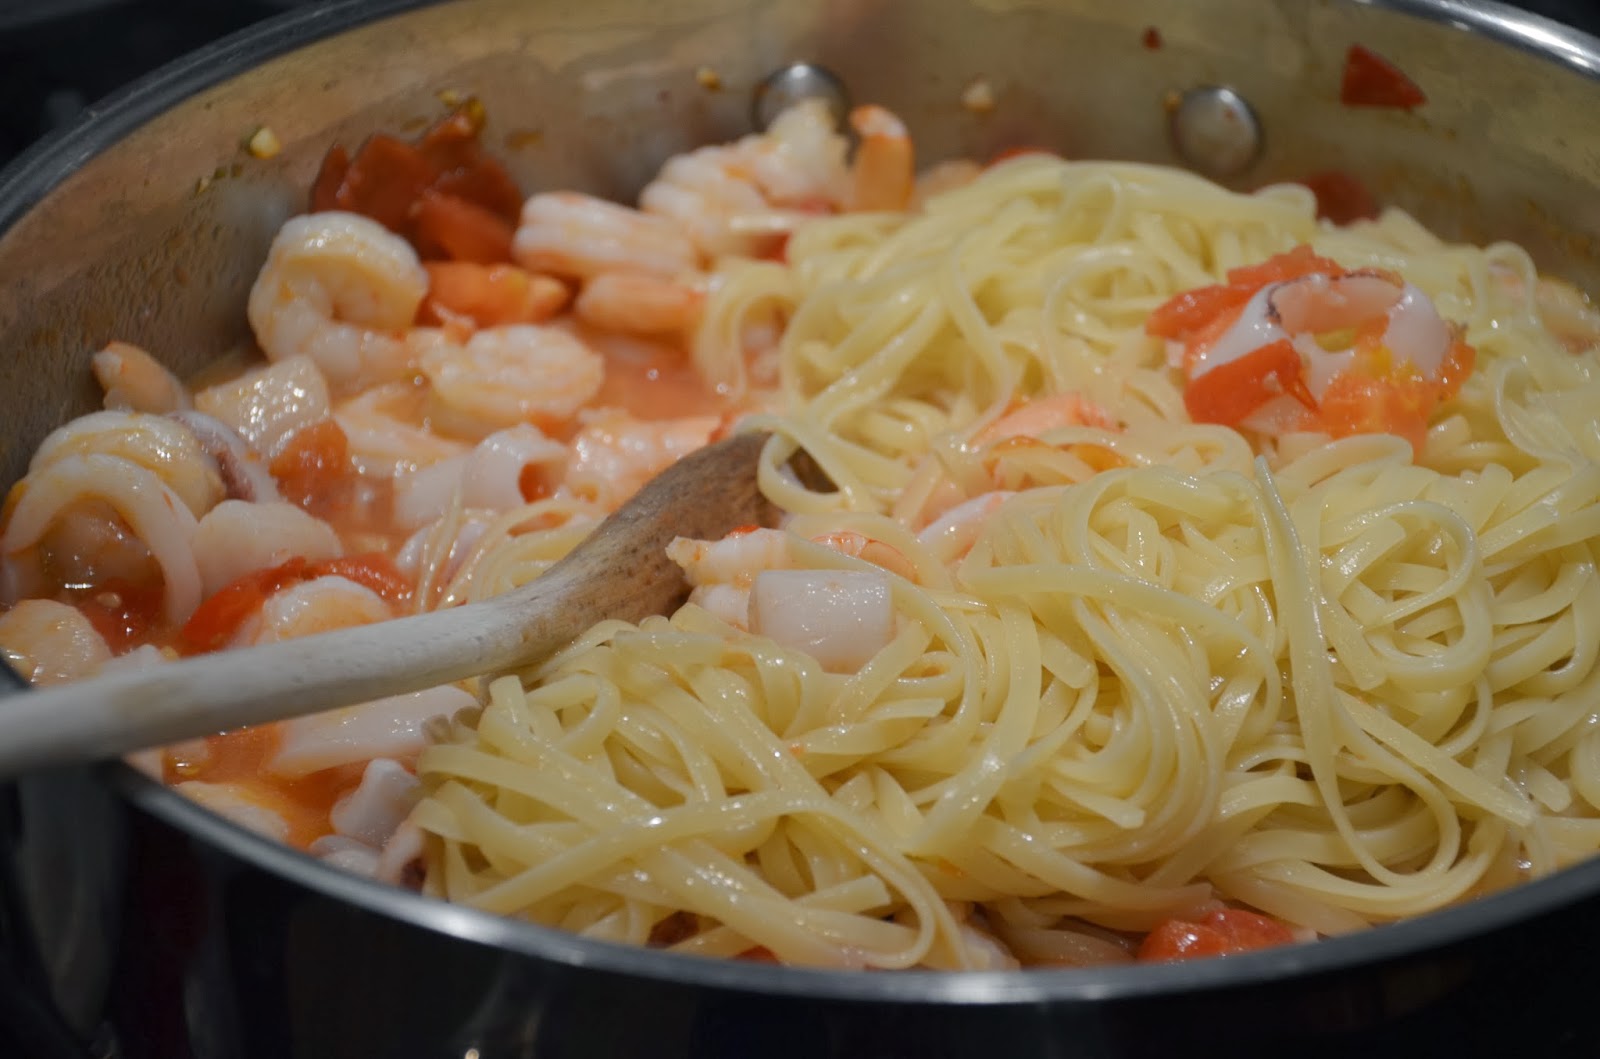
and stir it around in the sauce and then drain your pasta and throw that in too.  


Toss it all together and it’s ready!


The last thing I do is add some chopped flat leaf parsley, it gives it a nice freshness and it looks pretty.


I don’t know if I’ve ever had anything that tastes better than this dish…there’s just something about tomatoes cooked in white wine, it’s hard to put into words other than to say…it’s a party in your mouth.

Cheers!

The Good Cooker
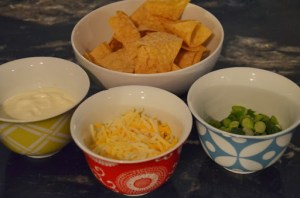

Photo Credit: Ariel Slabach