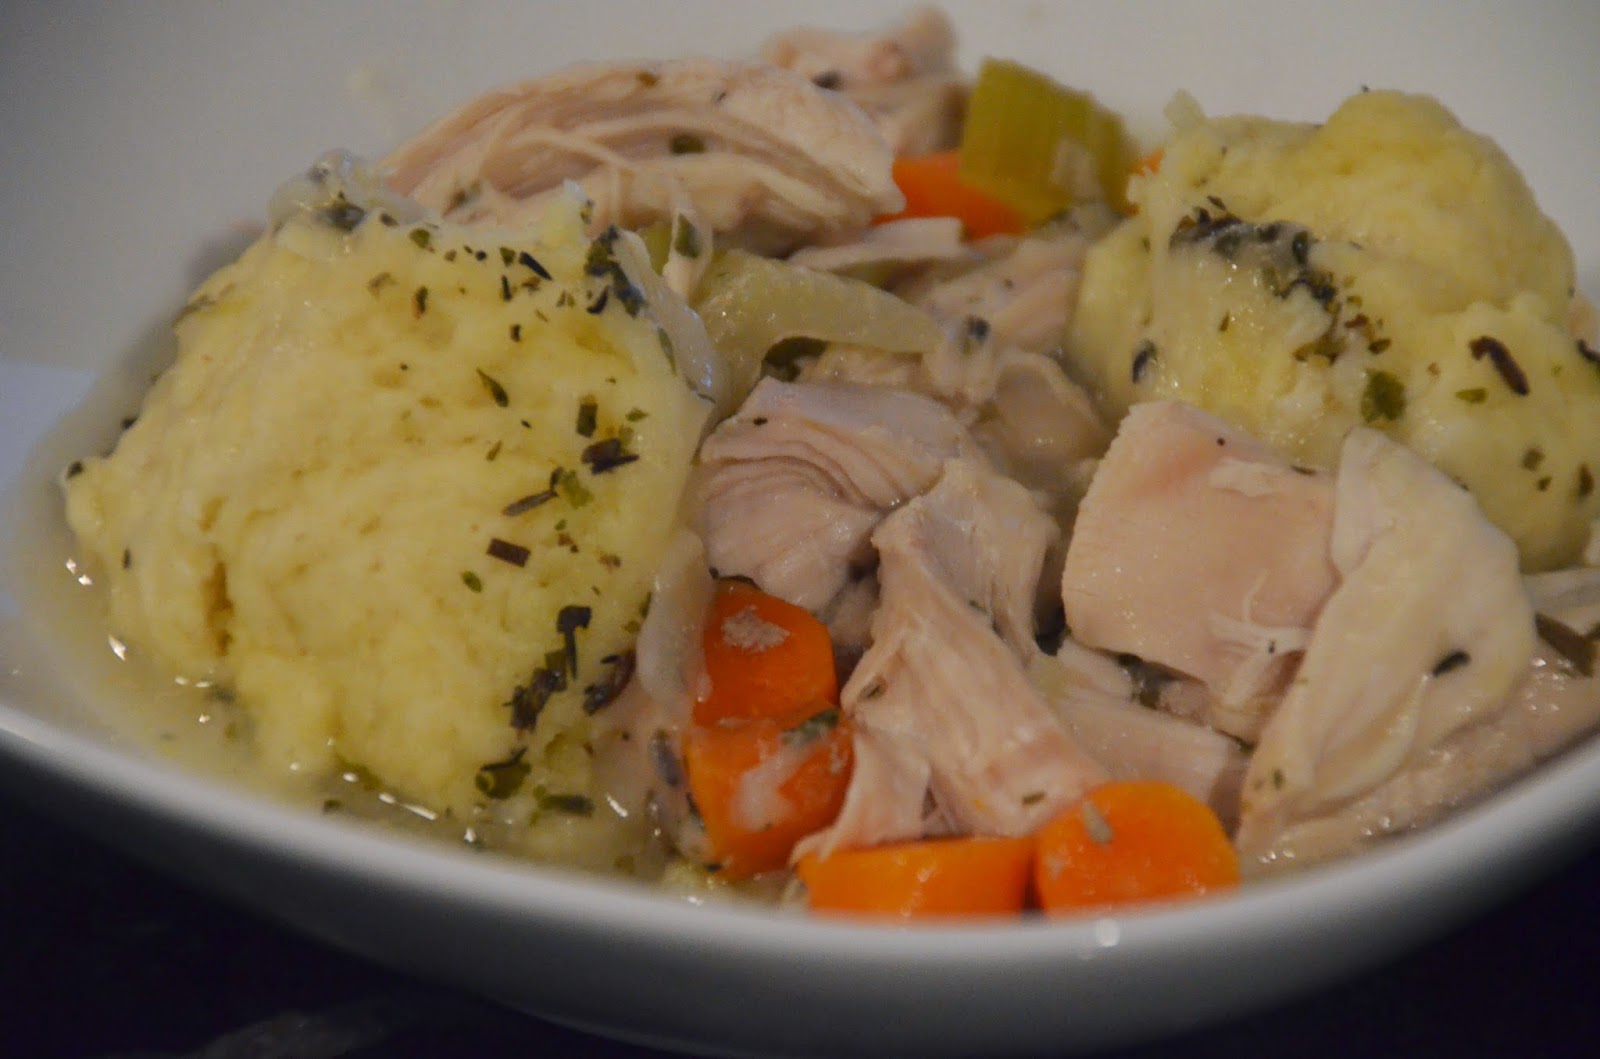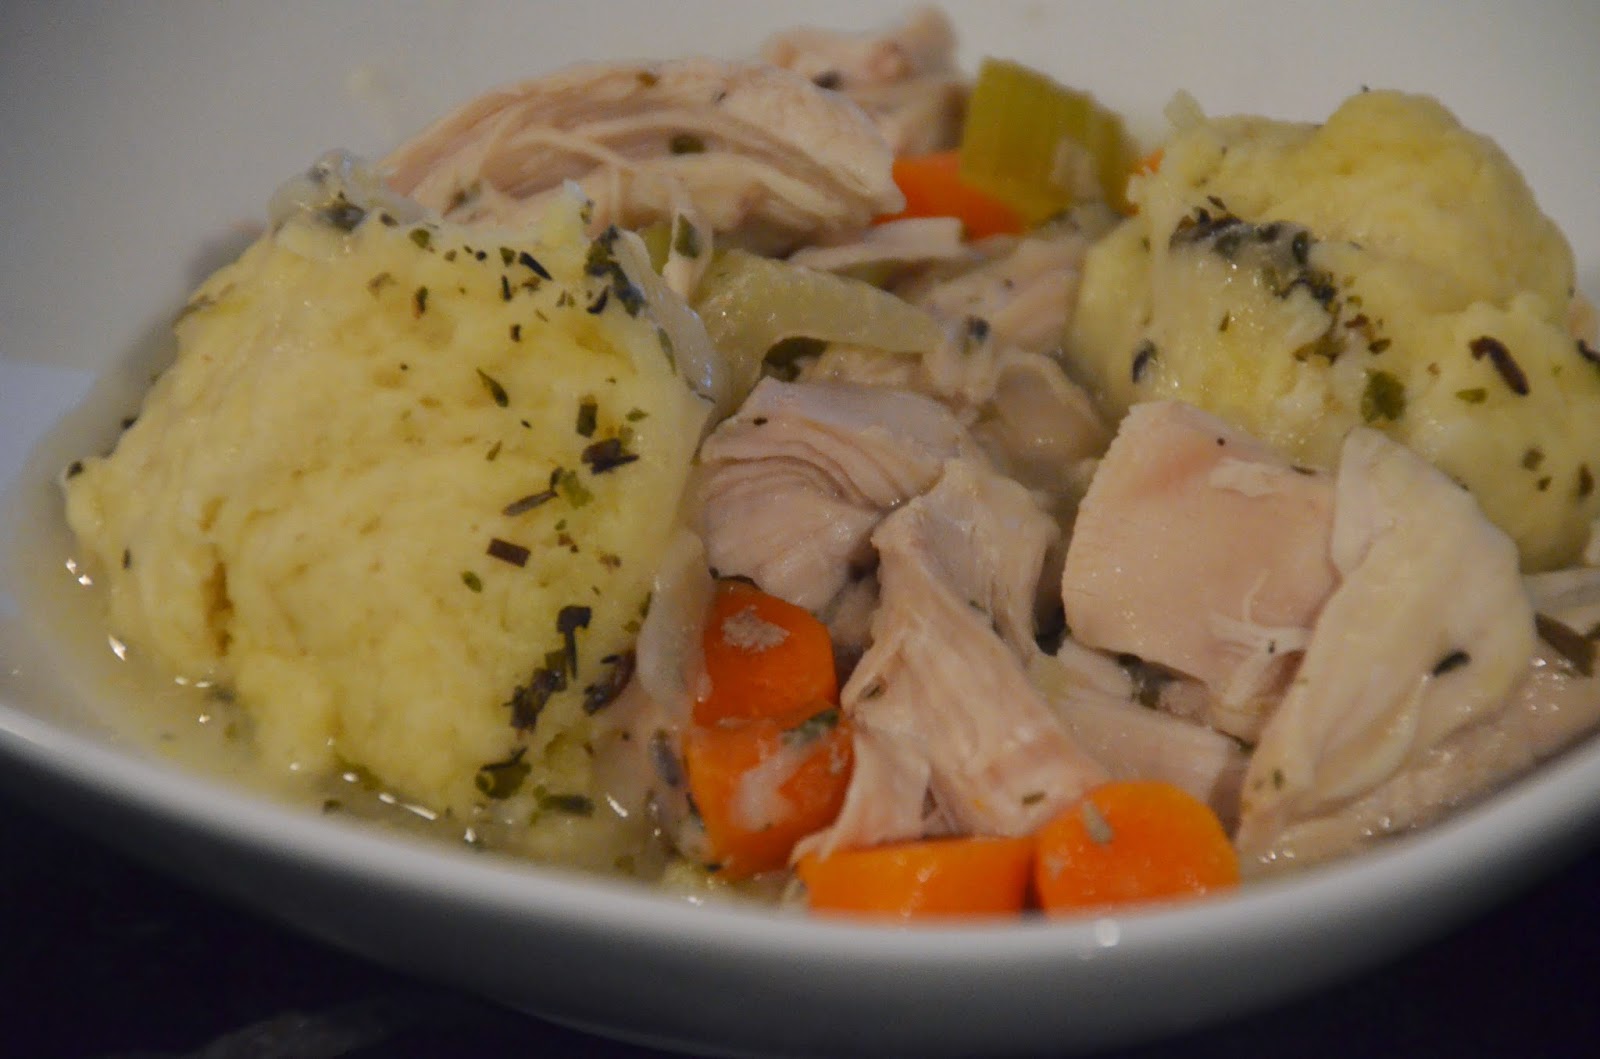
Skinny Chicken and Dumplings


So we all know that Chicken and Dumplings are a hit with any crowd, it’s one of those dishes that everyone can get on board with.  But like many old fashioned recipes that are made from scratch, people get the idea that it’s difficult to make…it’s not.

If you have fond memories of your grandmother slaving away in the kitchen making this meal while you played outside or watched TV, let me be the first to tell you that she was probably drinking a martini and playing cards at the same time…KIDDING!  But who knows…

Bottom line is, this is SO easy to make…yes even the dumplings…yes, even from scratch.  My version is on the healthy side too, hence the “skinny” part.  I don’t want people to think this recipe calls for an emaciated chicken, because that would be no good.

Here is what you need…

  • 4 chicken breasts, skin on and bone in (from fat chickens preferably)
  • 4 celery ribs, sliced
  • 4 carrots, sliced 
  • 1 medium onion, diced
  • 32 oz of chicken stock
  • 1 tablespoon dried parsley
  • 1 tablespoon herbs de provence 
  • 2 tablespoons corn starch (optional)
  • 1 tsp salt
  • 1/2 tsp ground black pepper
For the dumplings…
  • 2 cups flour
  • 4 teaspoons baking powder
  • 1/2 teaspoon salt
  • 3/4 cup milk
  • 4 tablespoons oil (I used olive oil)

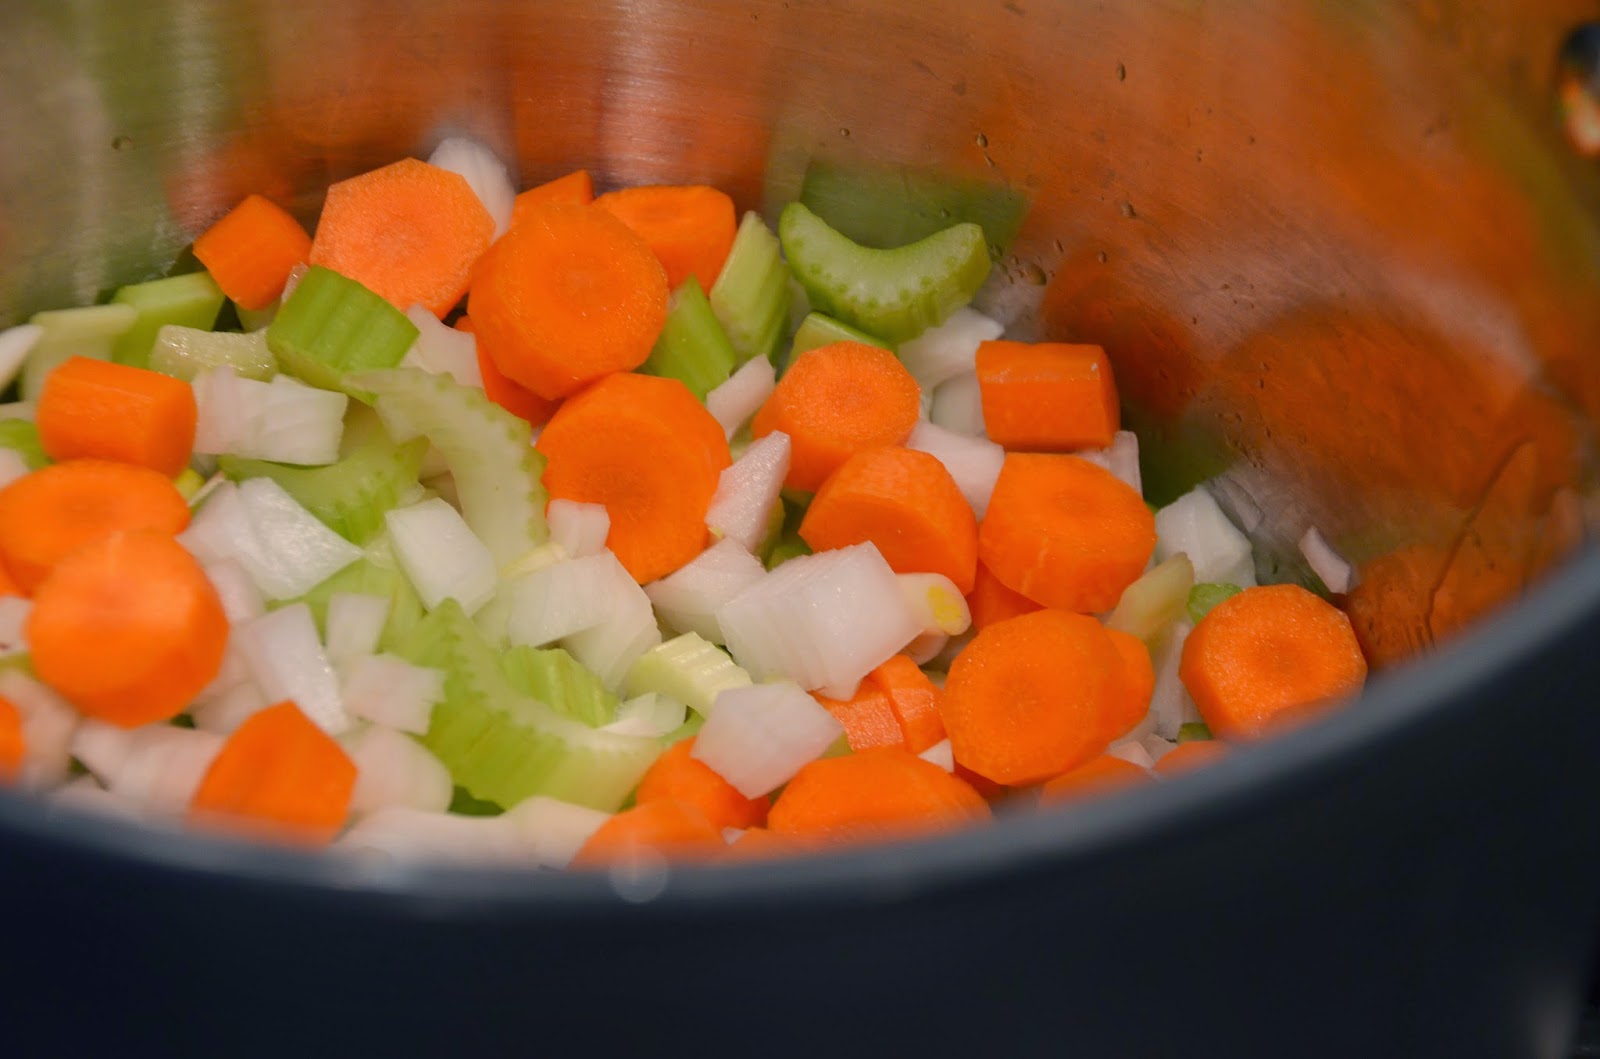
Start by chopping up your holy trinity (onion, celery, and carrot).  I’ve always called this combo “the holy trinity” and I never knew why.  I thought maybe I made it up in my head but turns out this is a real term for any soup/stew base veggie combo.  It took me about 15 years to google that.  
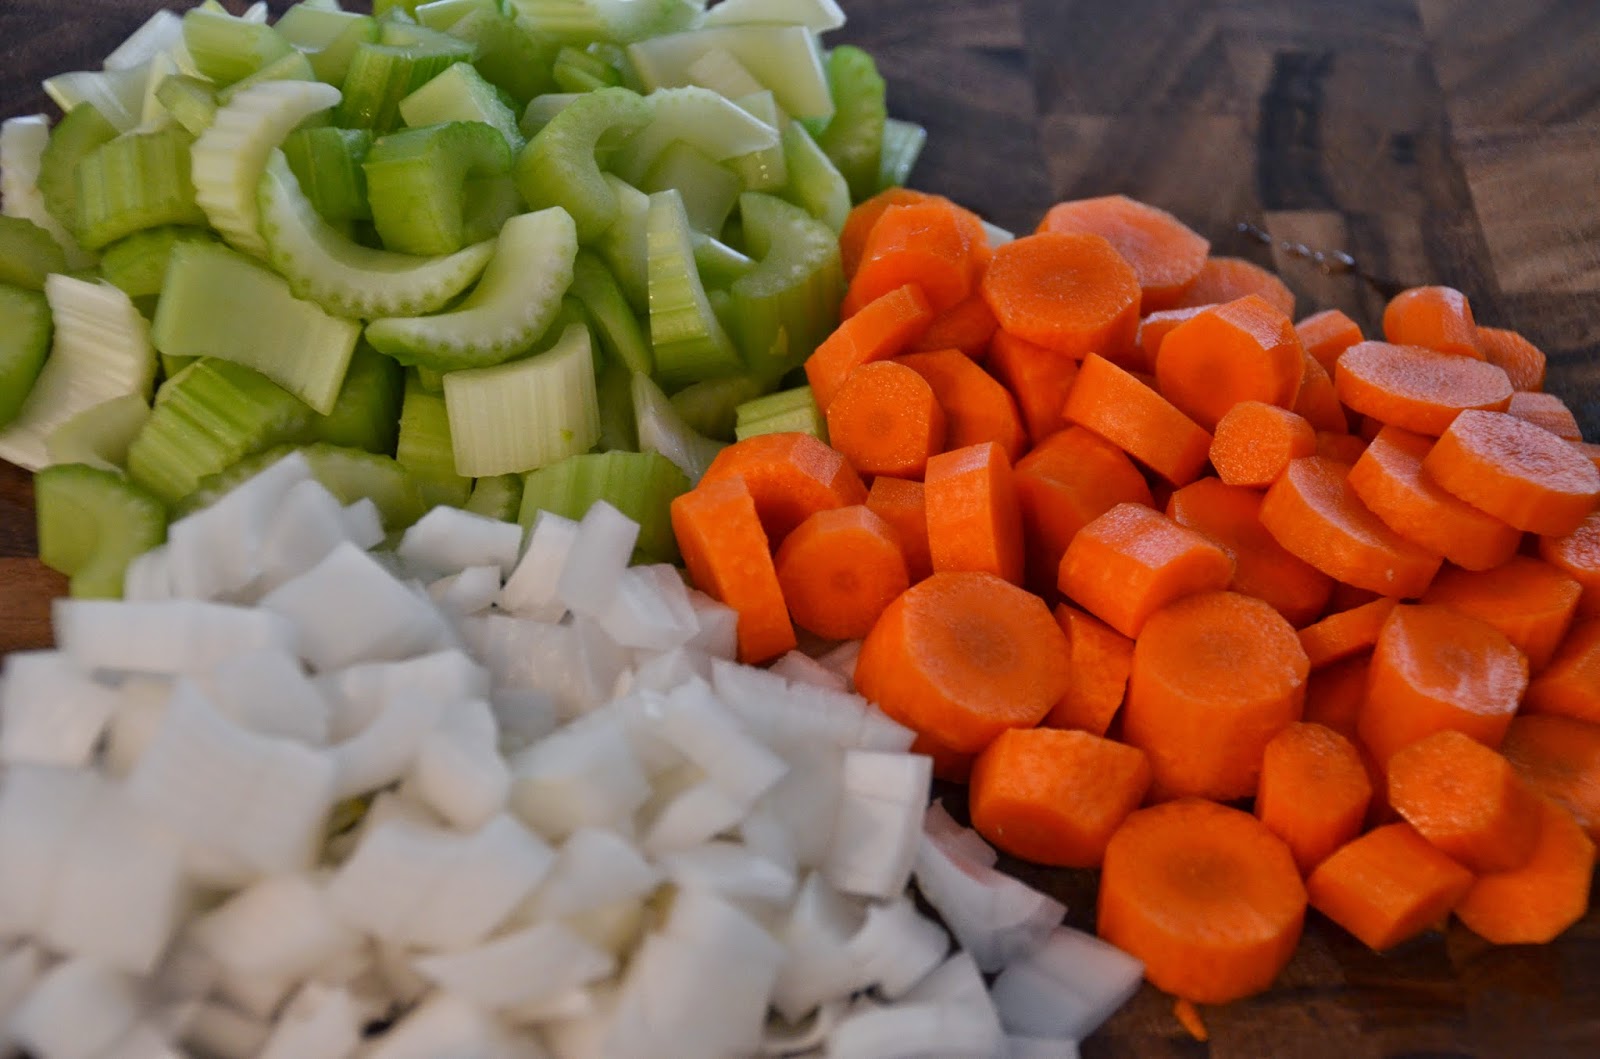

Throw the veggie combo into a large stock pot or dutch oven with some olive oil…

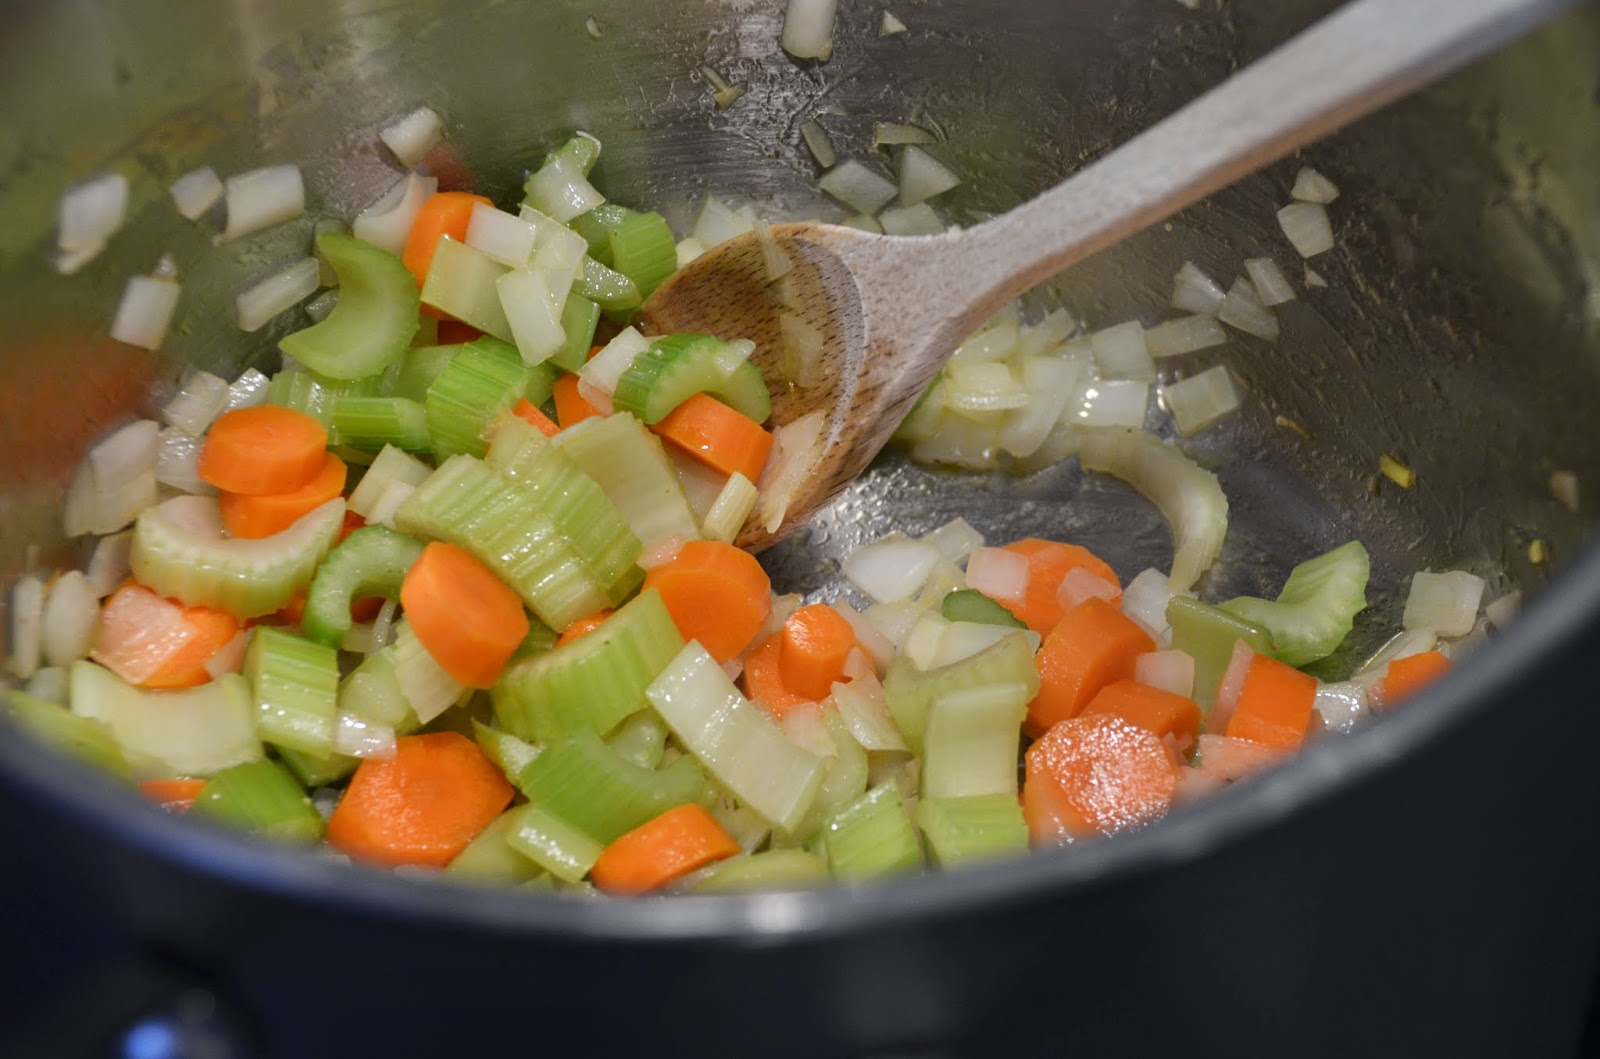
And saute everything until it starts to soften…

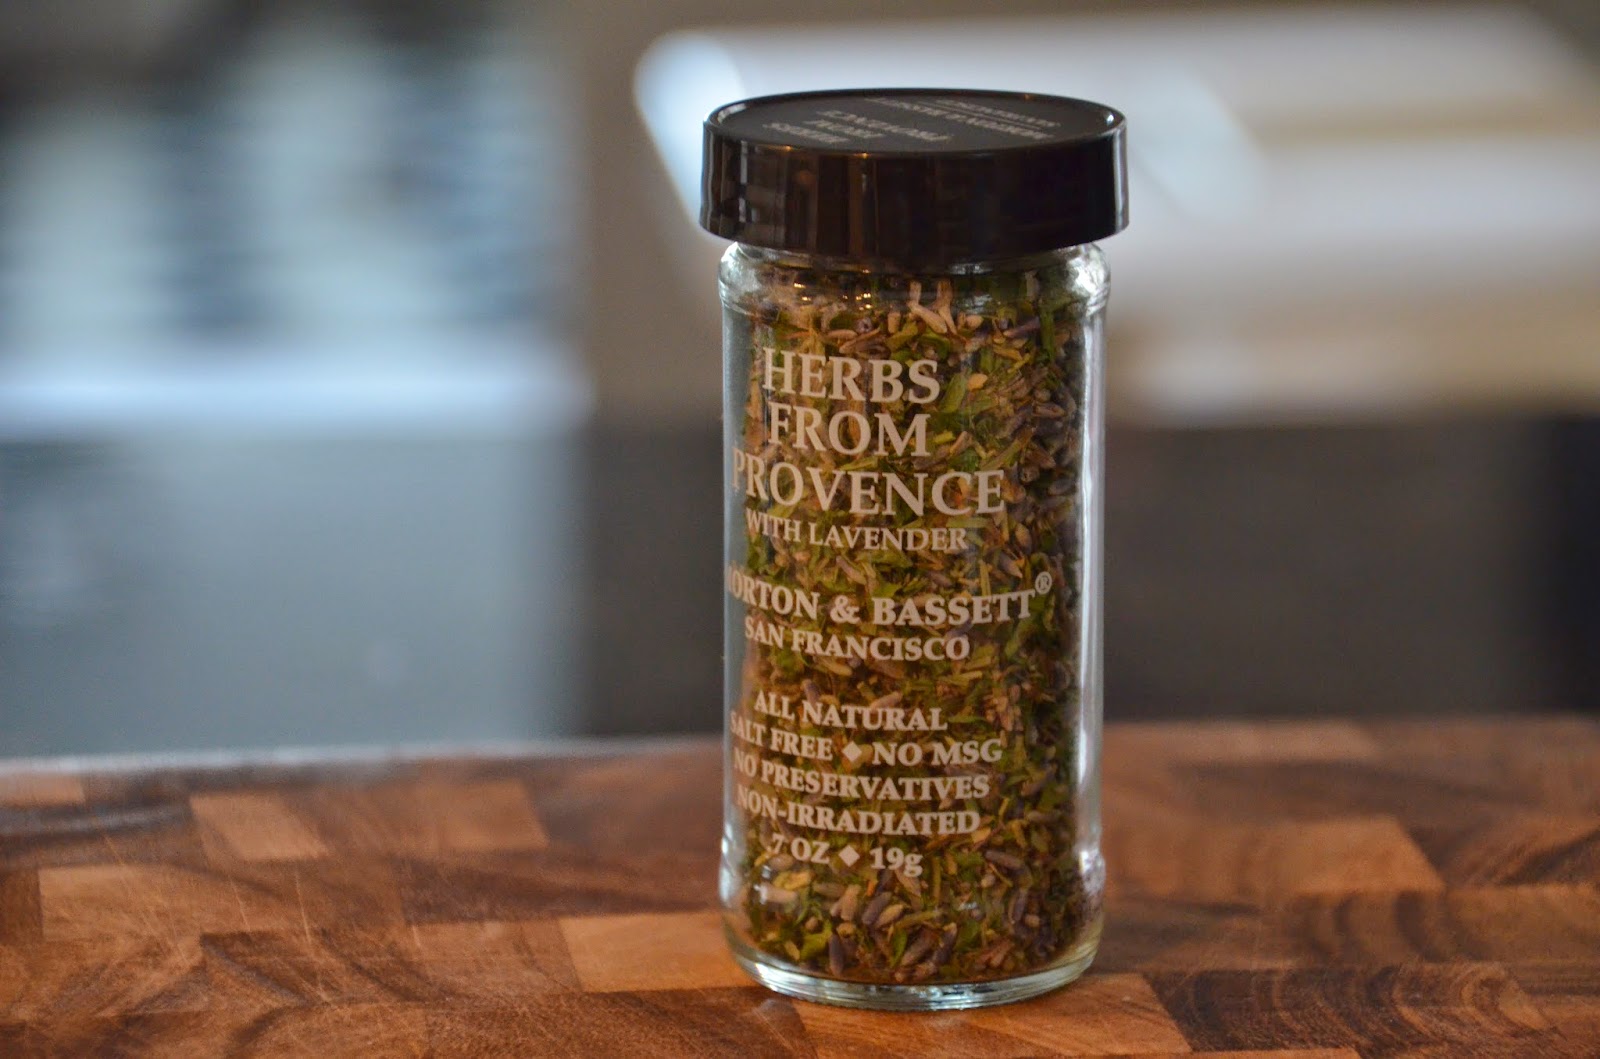
Now add your spices and herbs…salt/pepper, dried parsley and herbs de Provence.  I love this stuff!

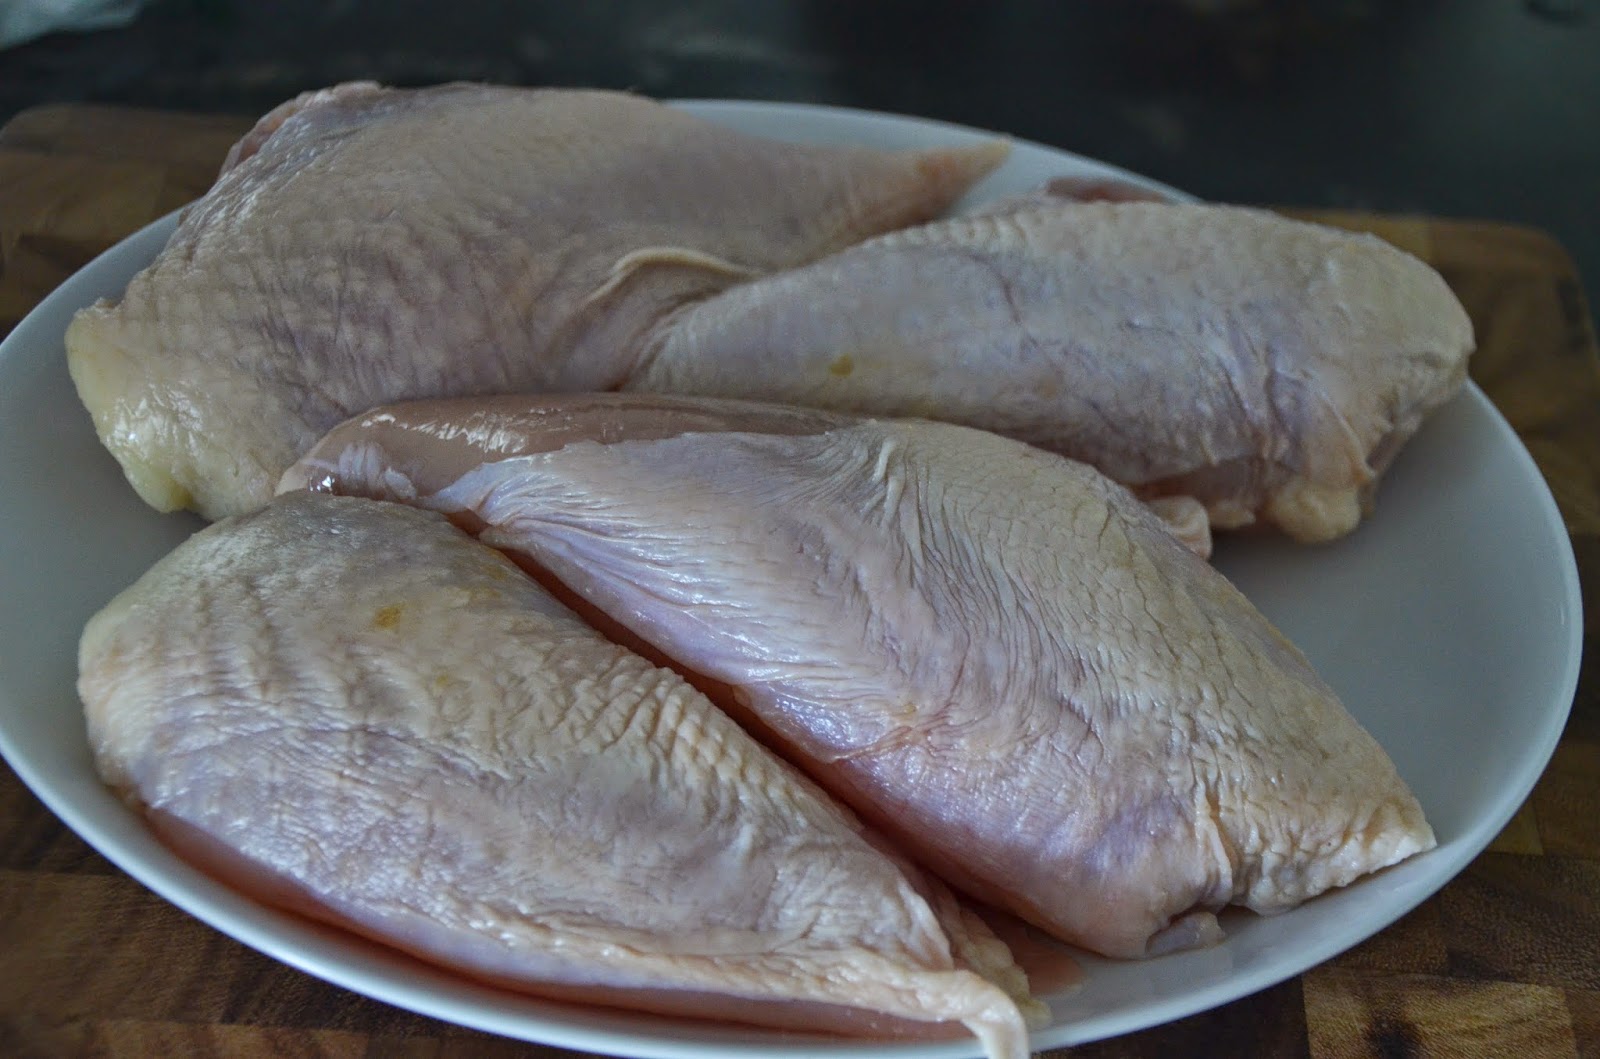
Now add your chicken, you really want to use the skin on/bone in kind in order to get the best flavor…and this stuff is WAY cheaper than the boneless variety.

These things were HUGE, definitely not skinny.
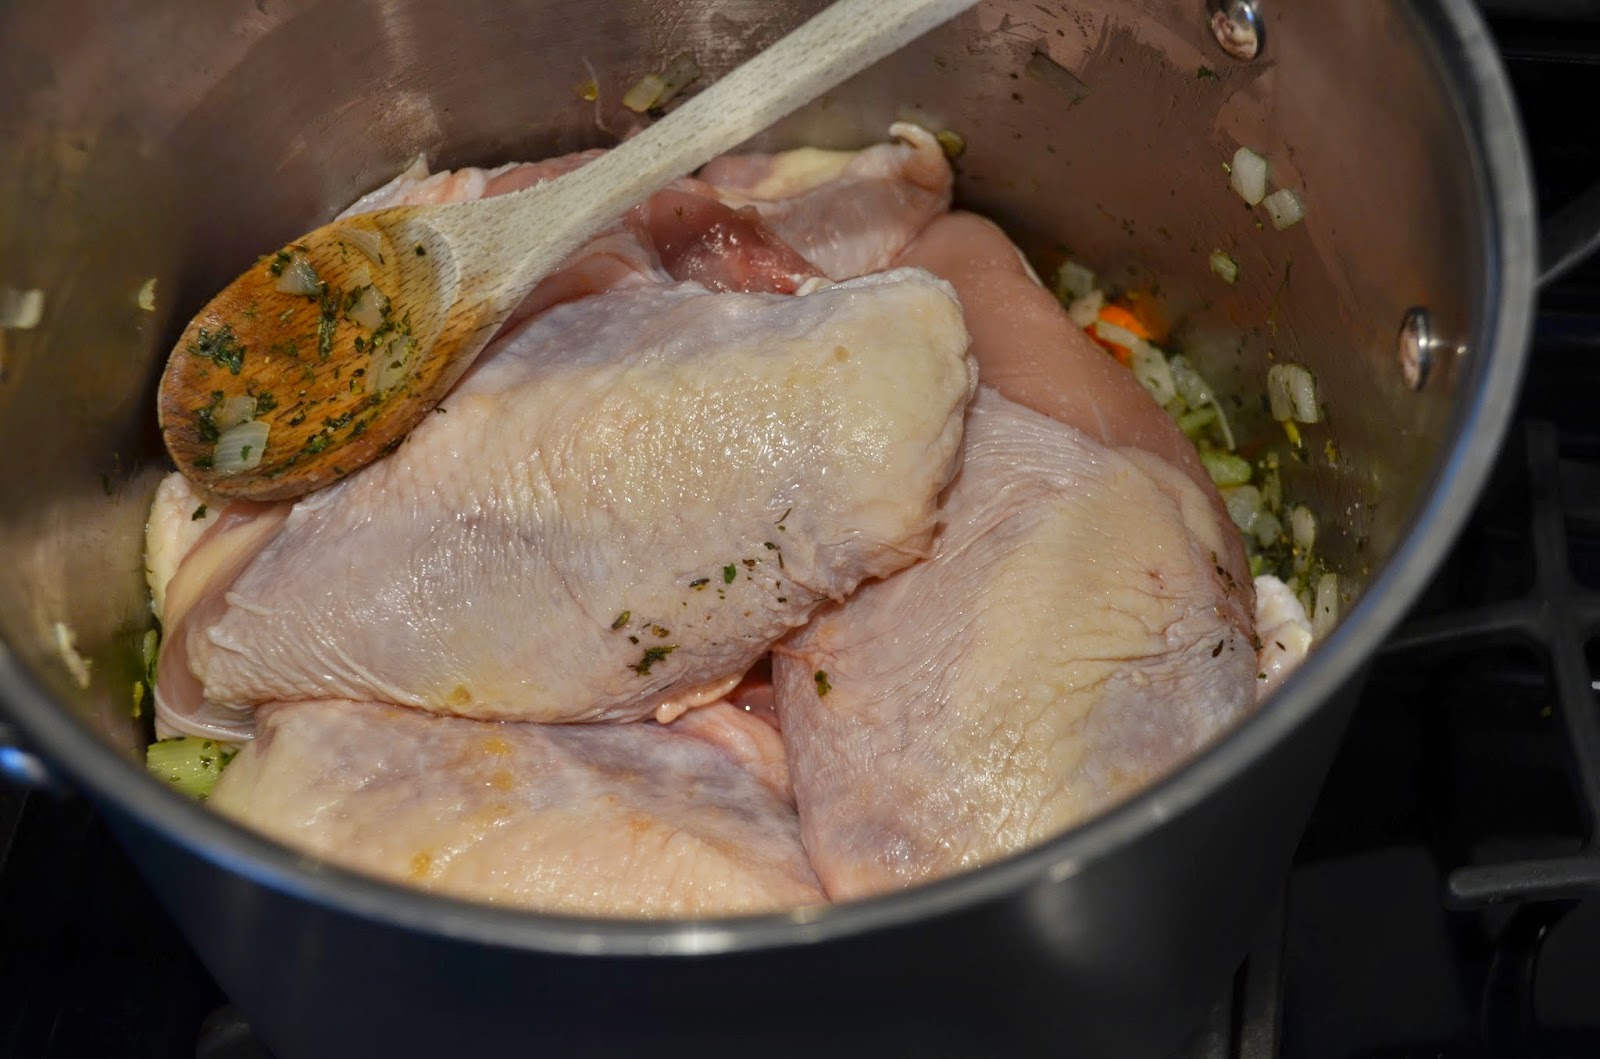
Arrange the chicken so it’s tucked down in there and then add your stock…
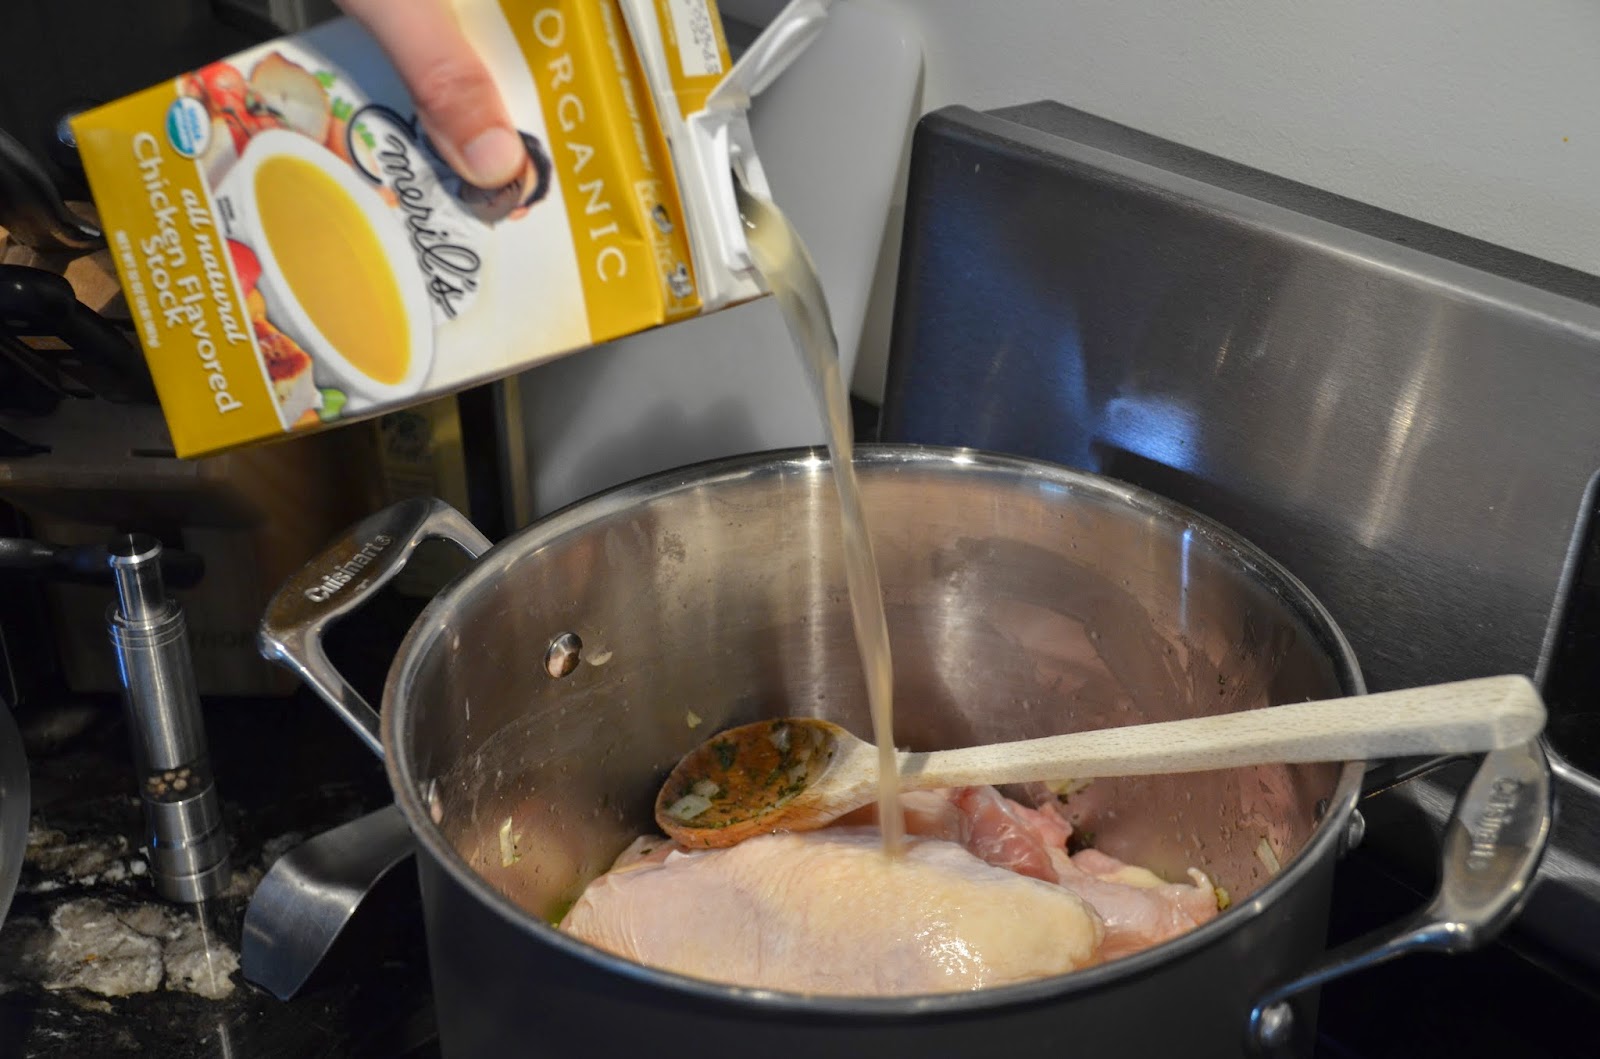
You want the stock to pretty much cover the chicken…
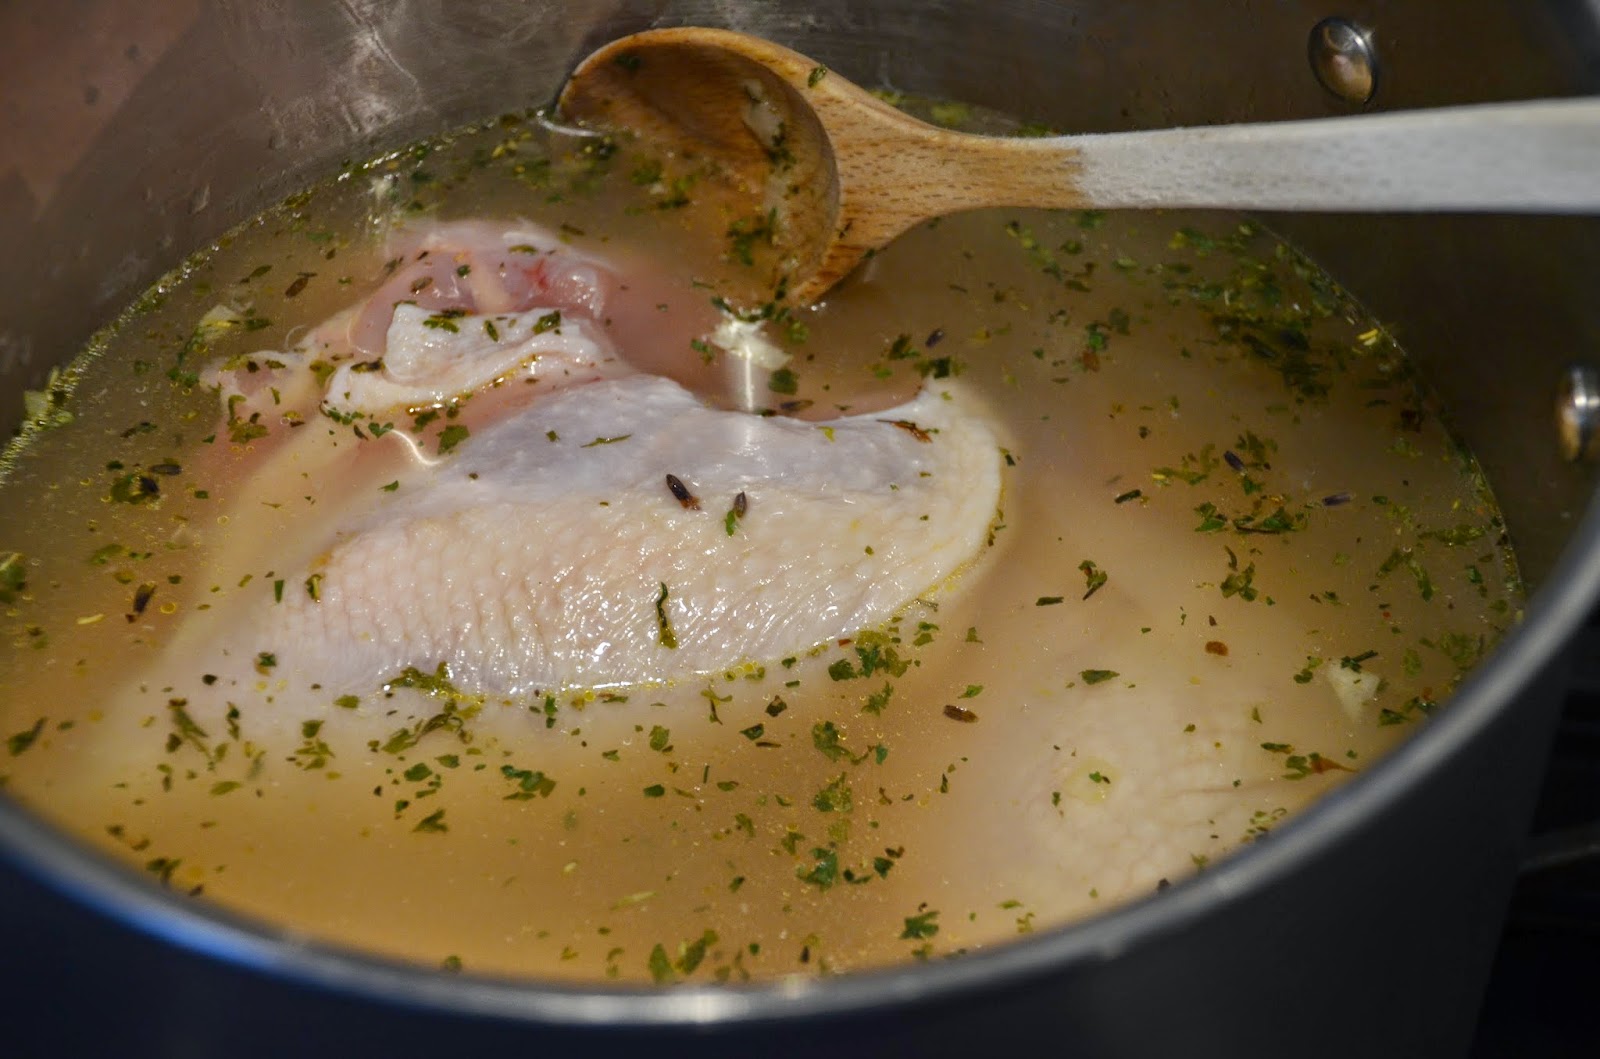
Now Bring this to a boil and then reduce the heat, cover it and simmer for about 45 minutes.

Now remove the chicken and put it on a plate or cutting board to cool before handling it…
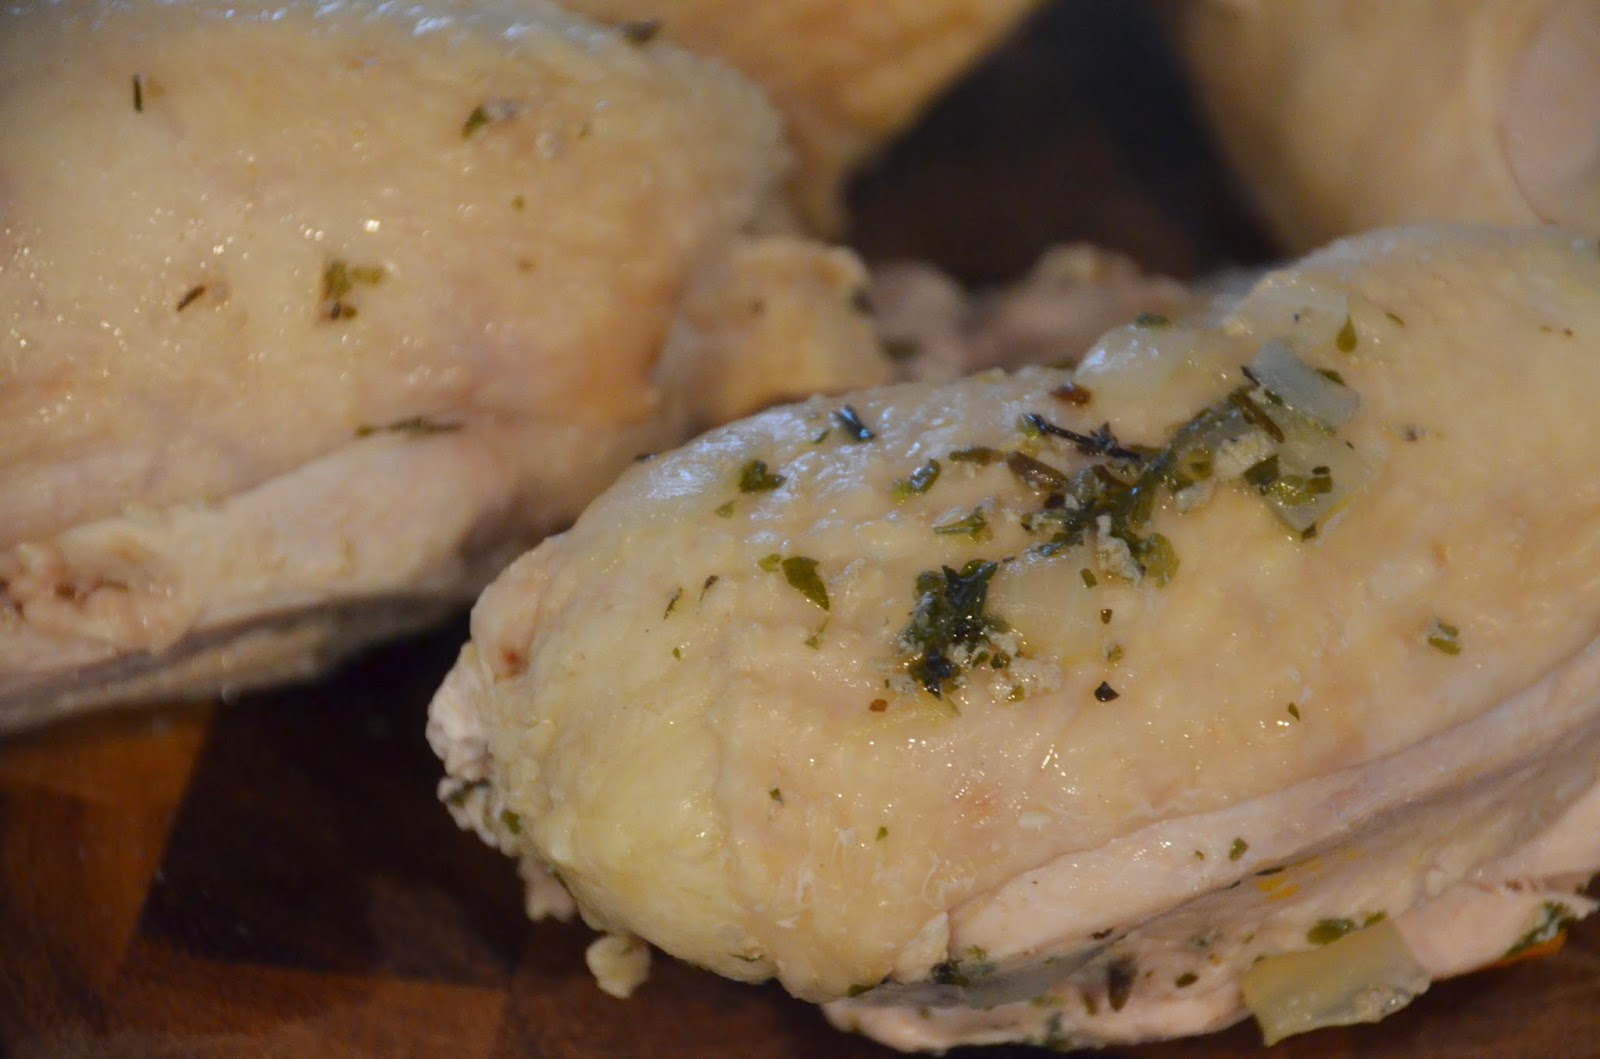
Now it’s time to PICK THAT CHICKEN!  This just means you’re going to tear the meat from the skin and bones.  Discard the skin and bones, I love crispy chicken skin but rubbery skin not so much!

When you’re picking the chicken you will find that animals and small children will begin to gather ’round.  You will need to keep them at bay with a broom or something.

Here is my two year old coming in for the steal…
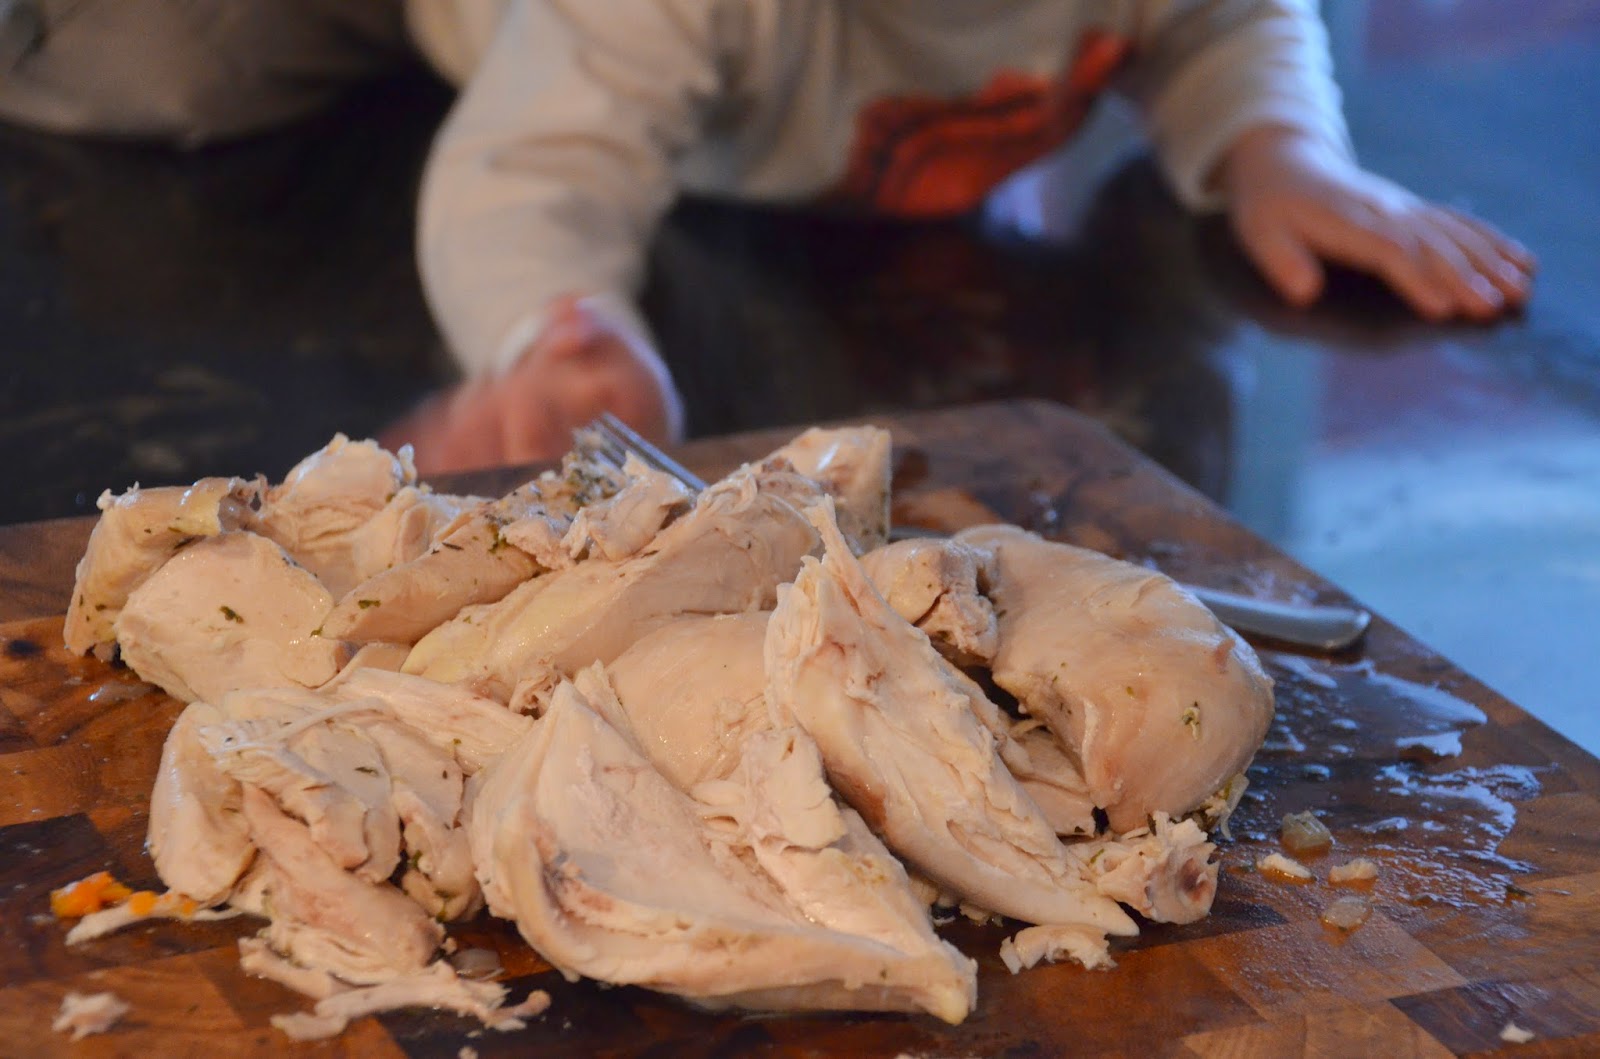
I know, WHO in the world let’s a two year old on the counter!  Or if you have a two year old you understand that they actually live on the counter.  I gave him some chicken just to keep him happy and off the counter.

Now you can just tear it apart into eatable pieces or even use a large knife to cube it up.

Next, return the chicken to the simmering pot.
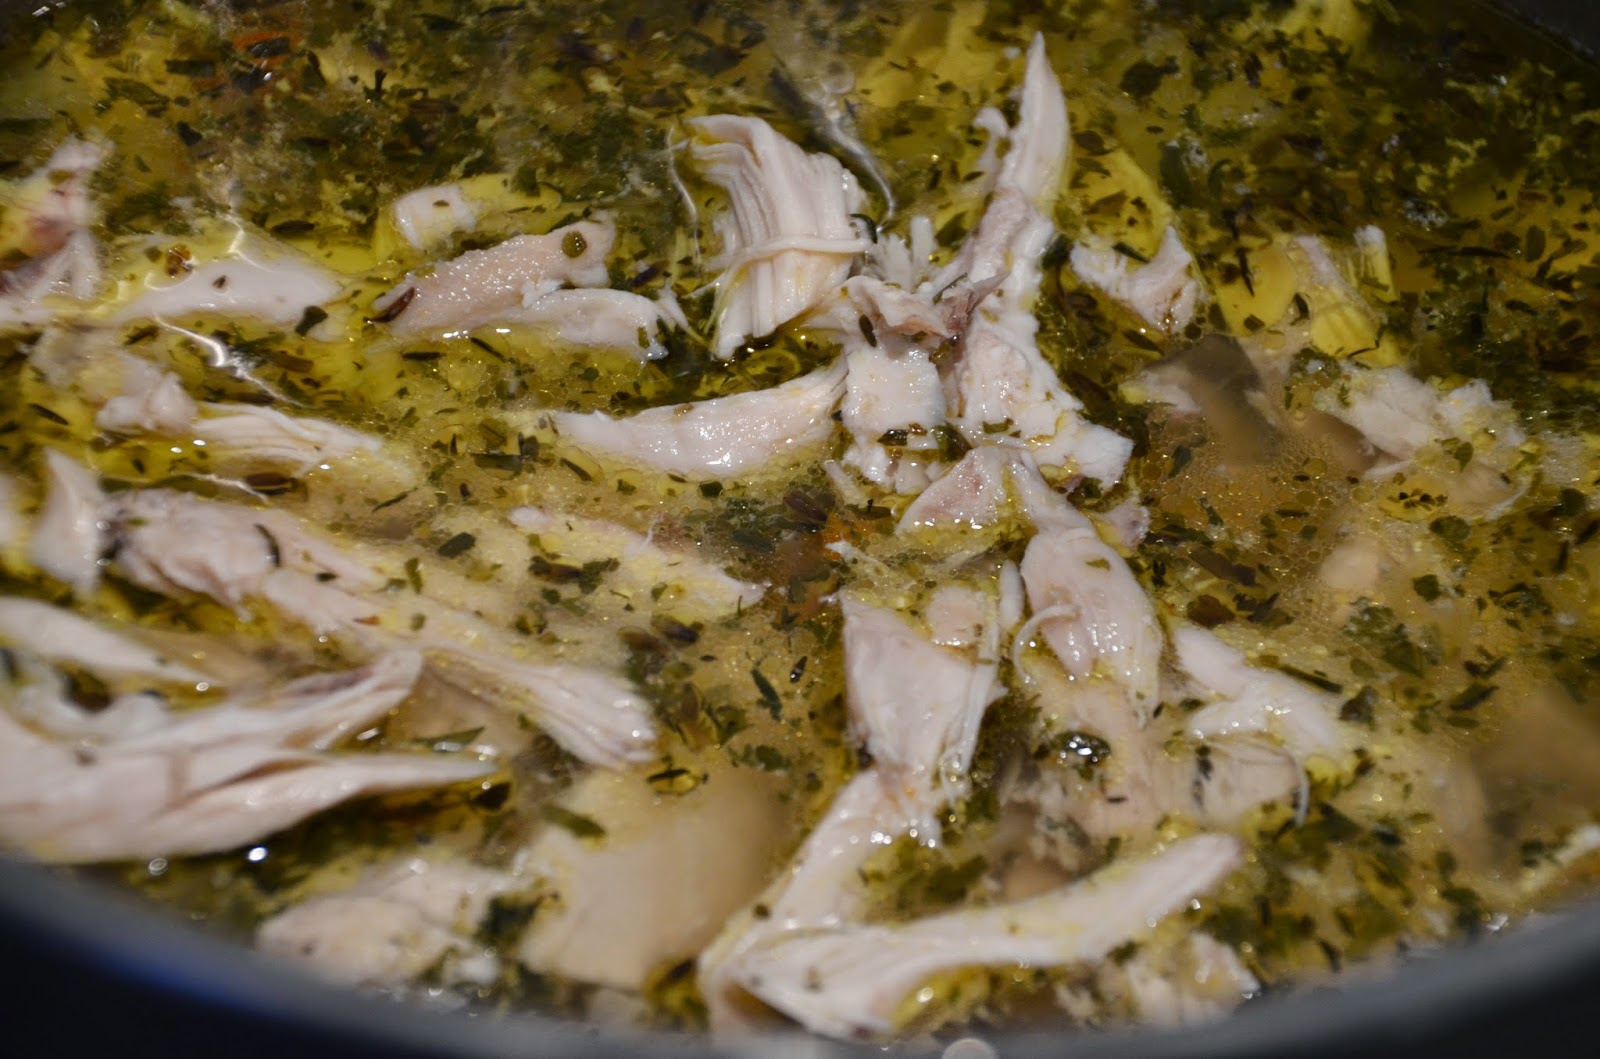
At this point you can add some corn starch that has been mixed with a small amount of cold water, this will thicken your liquid easily but won’t affect the taste.

Now it’s time to make the dumplings!

Get a large bowl out and throw all of your dumpling ingredients in it…start with the flour, baking powder, and salt…and then add the milk and oil.

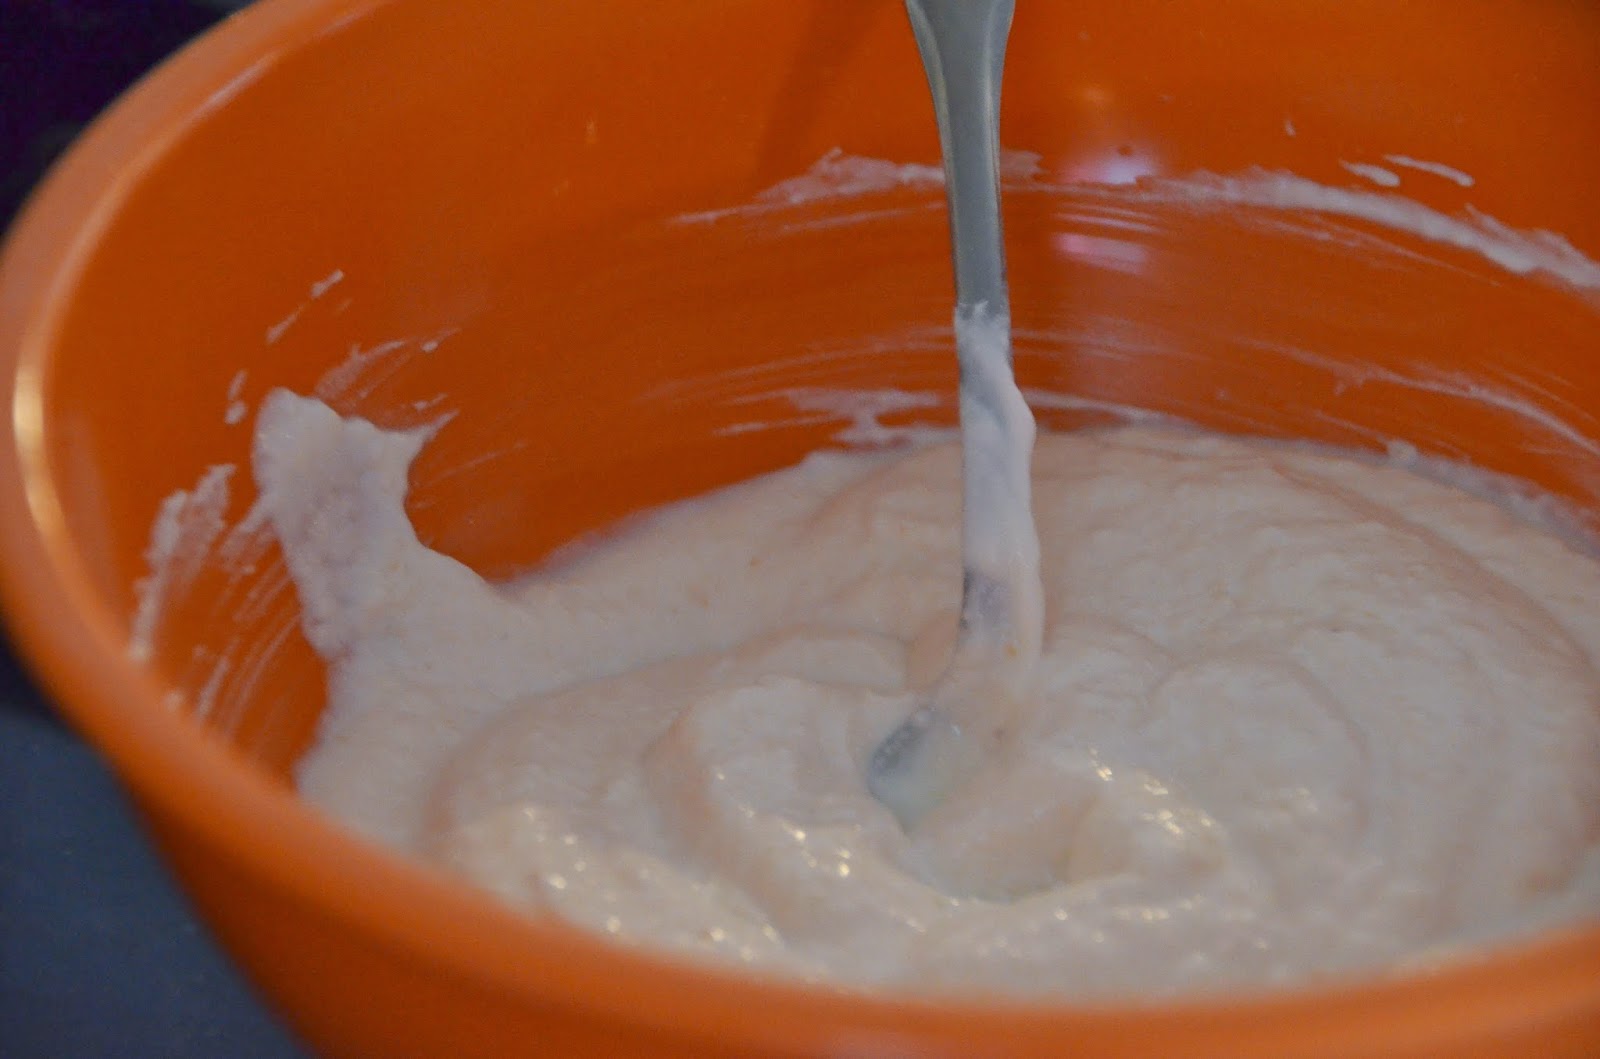
Mix it all together…at first it will look like this.
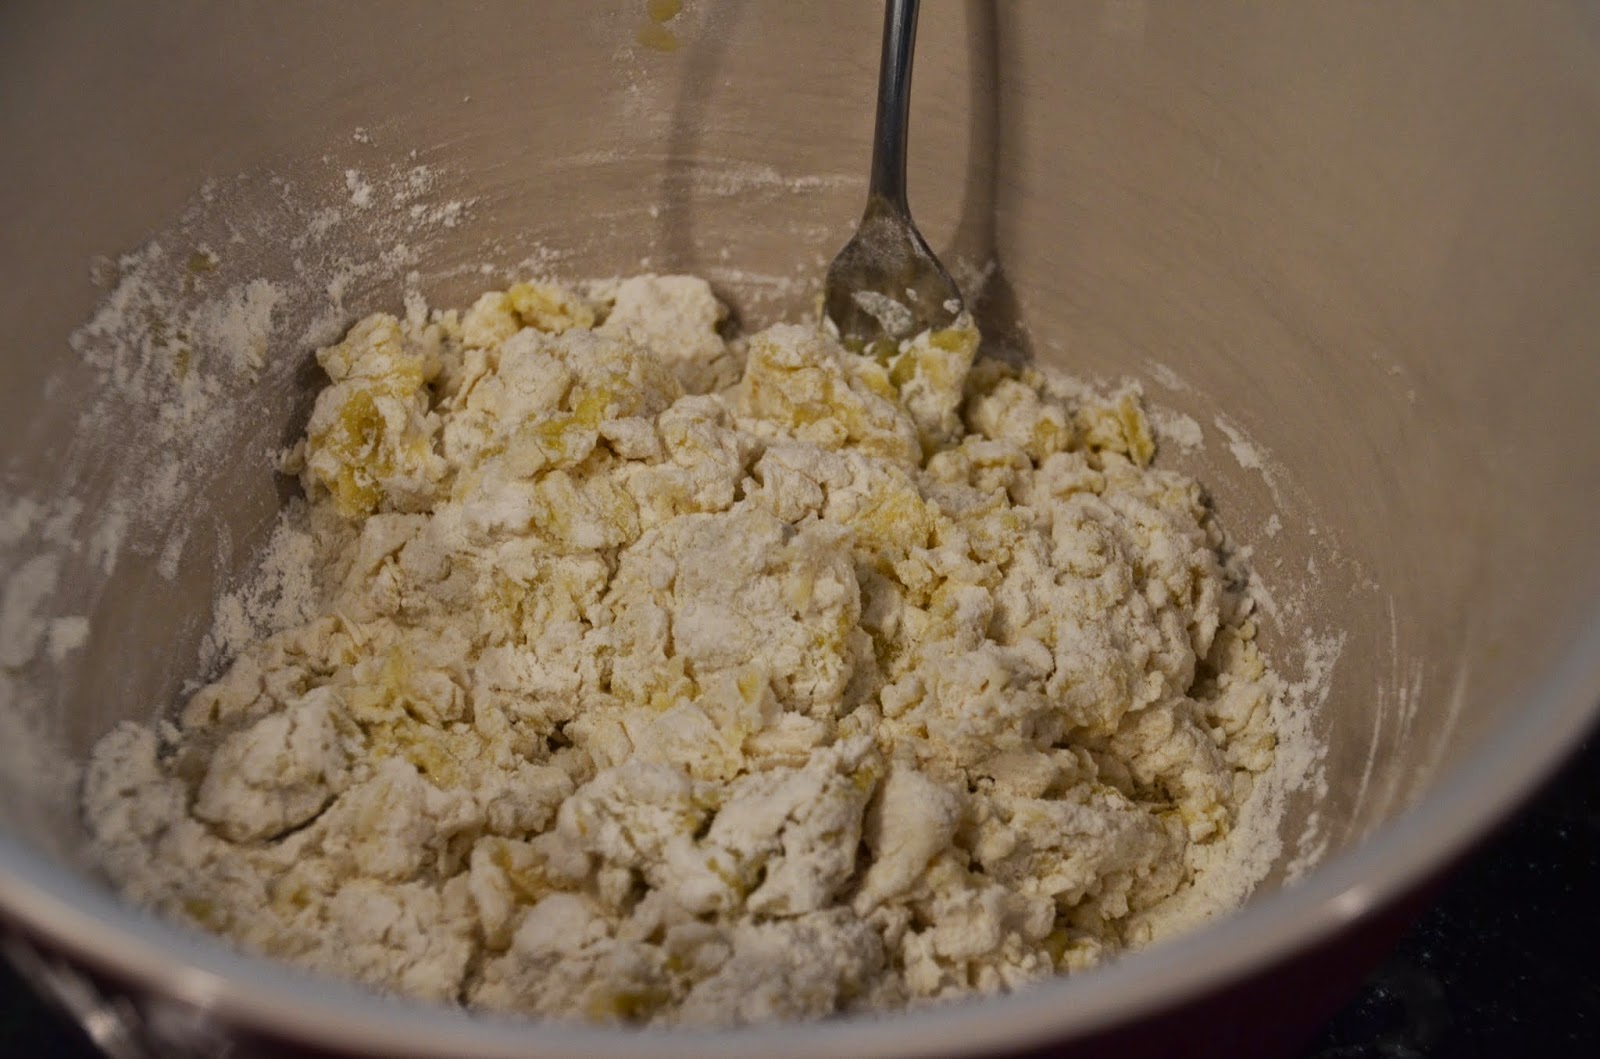
Keep mixing until you form a ball of dough, you can use your hands to help it along.
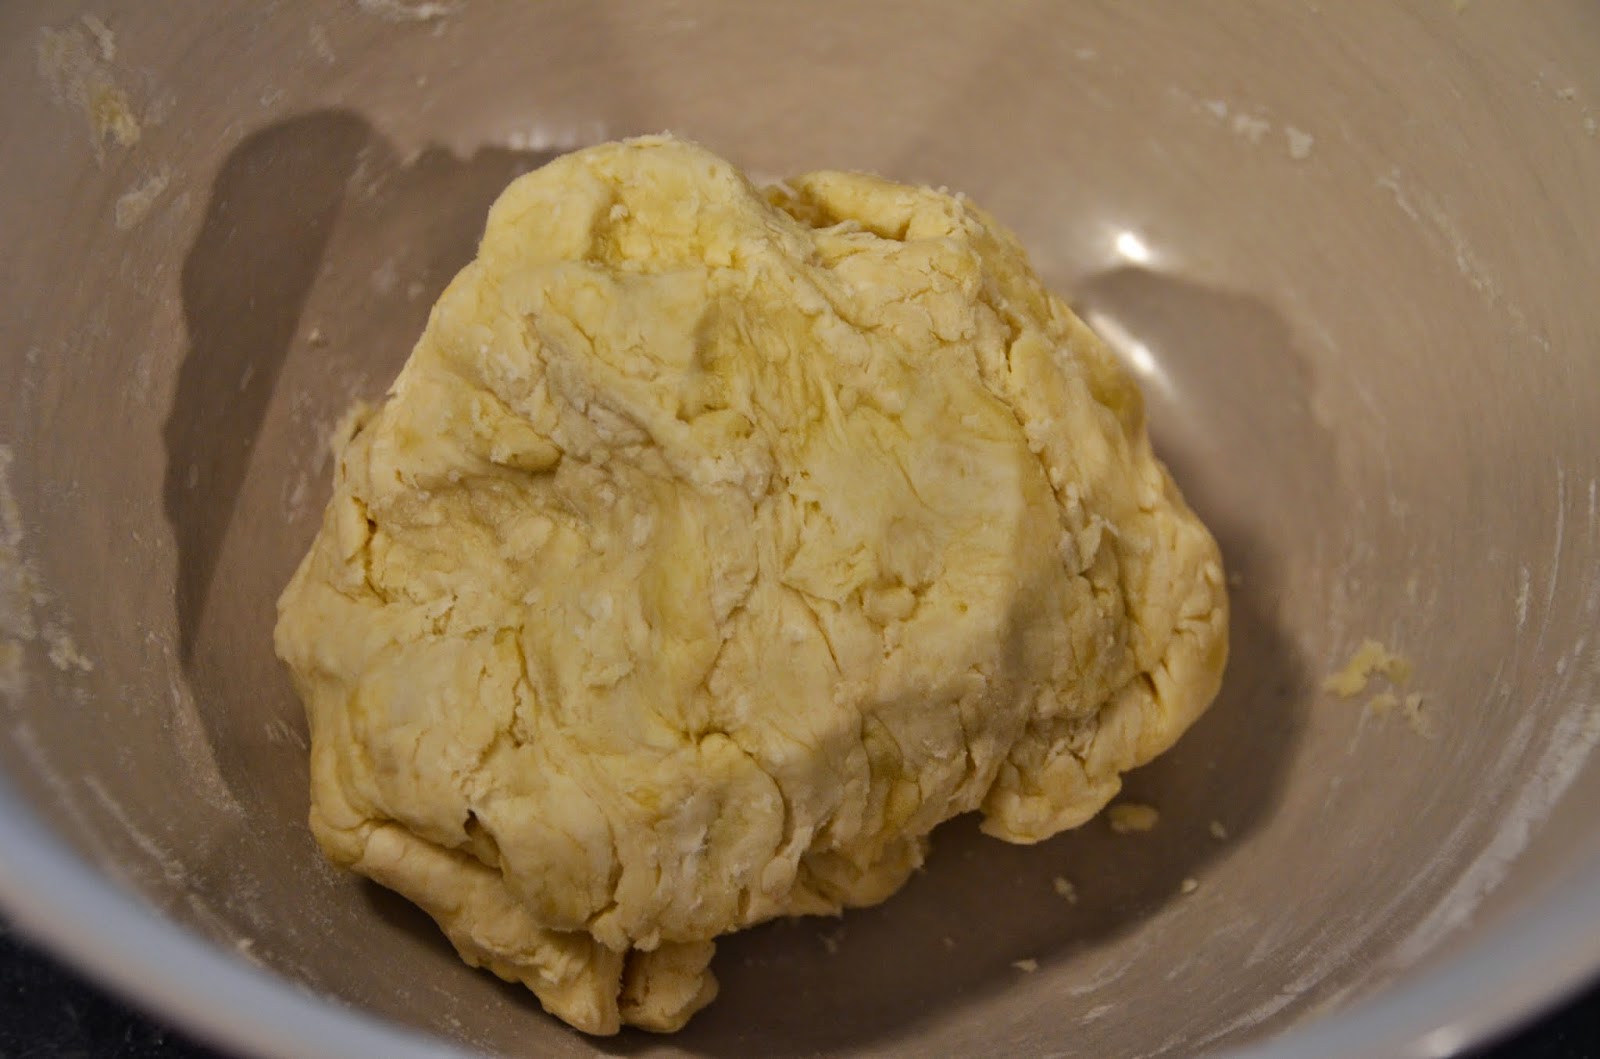
Now you’re just going to tear off 1-2 inch around blobs of dough and gently put them in the pot.
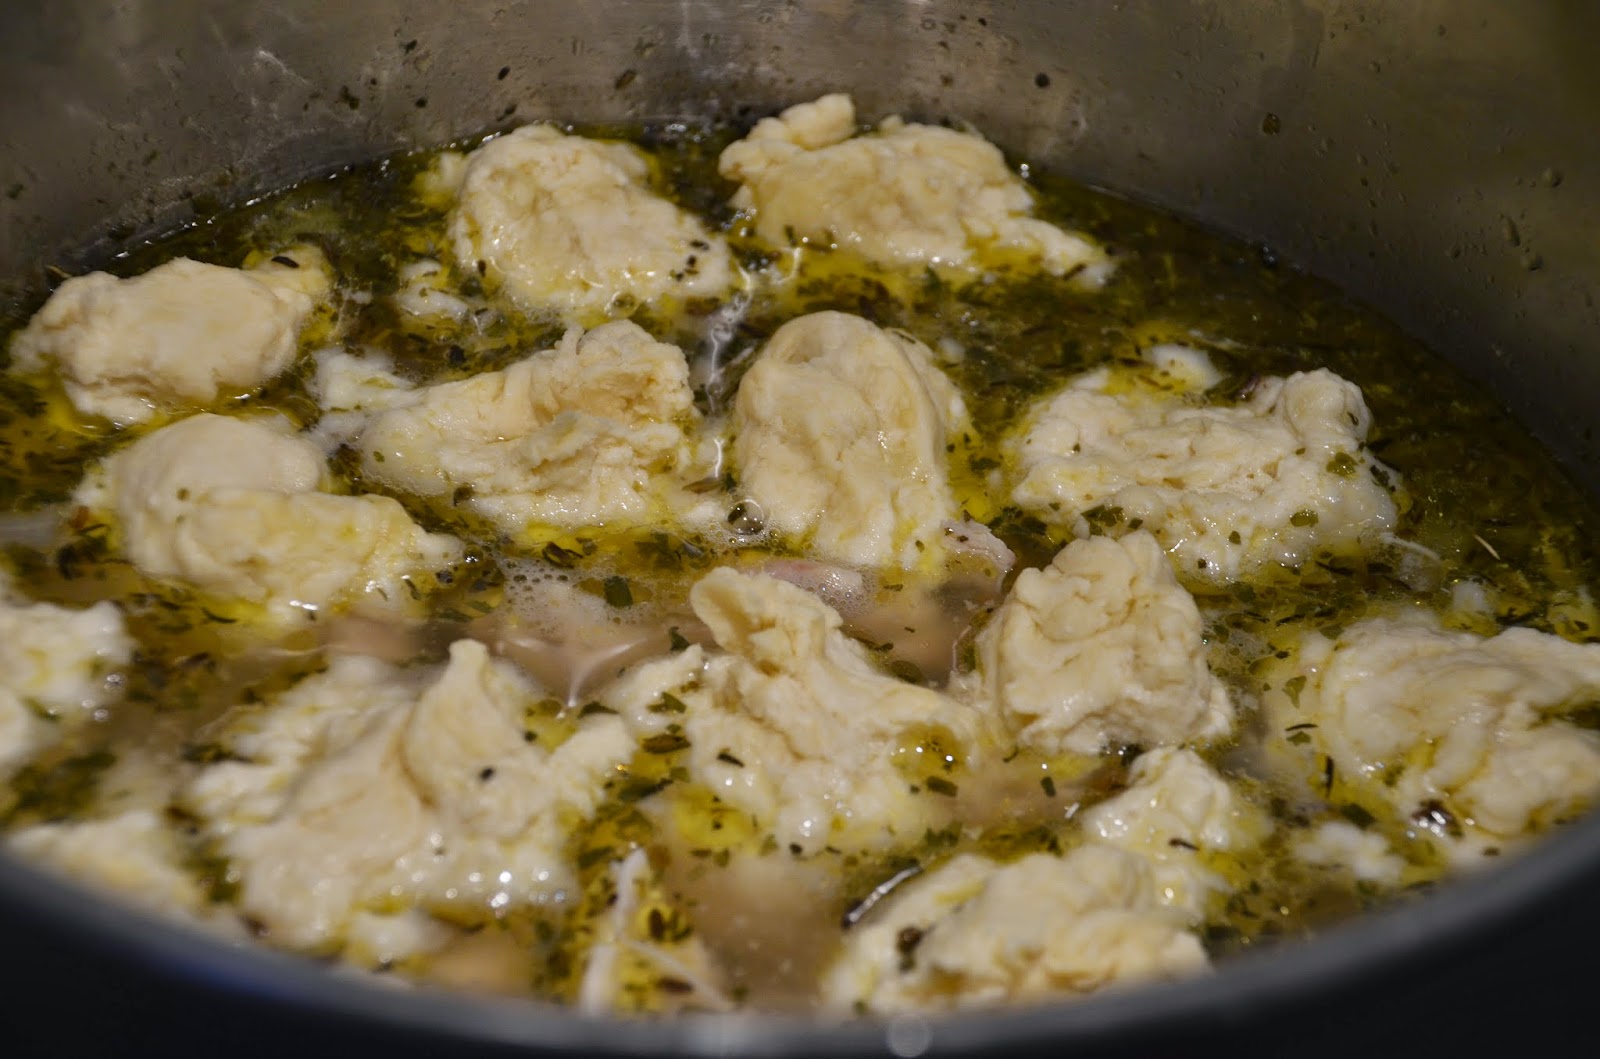
Now put the lid on and walk away for about 20 minutes…when you come back you will have this!
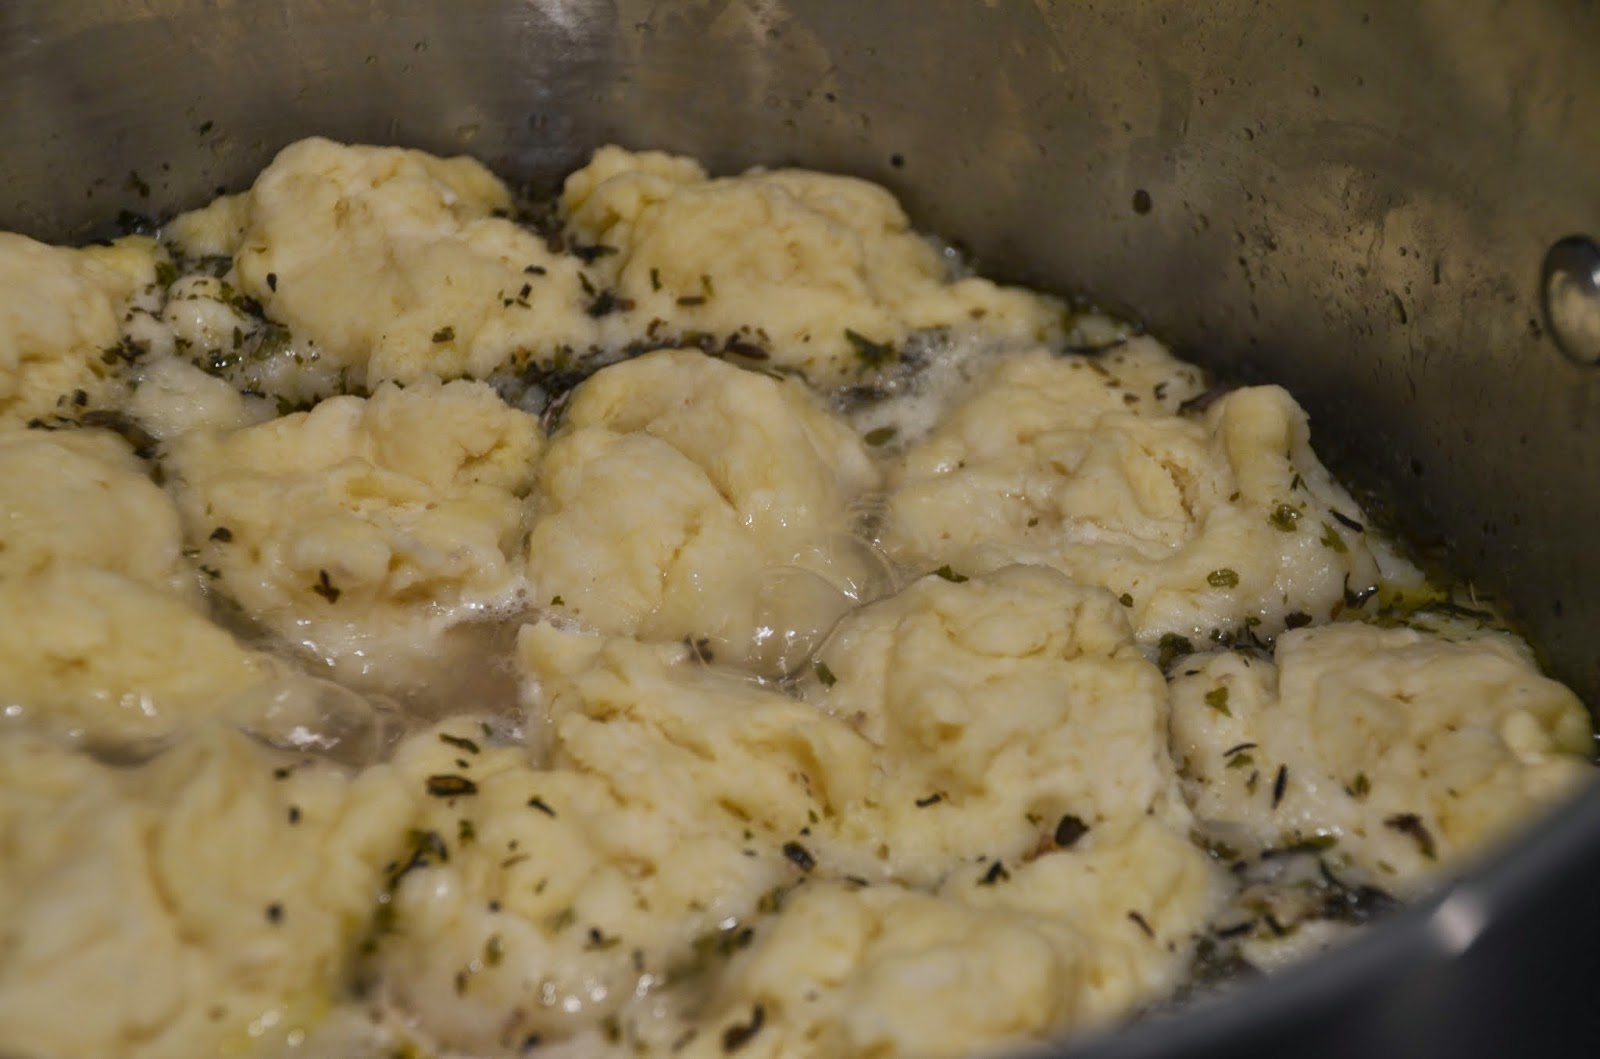
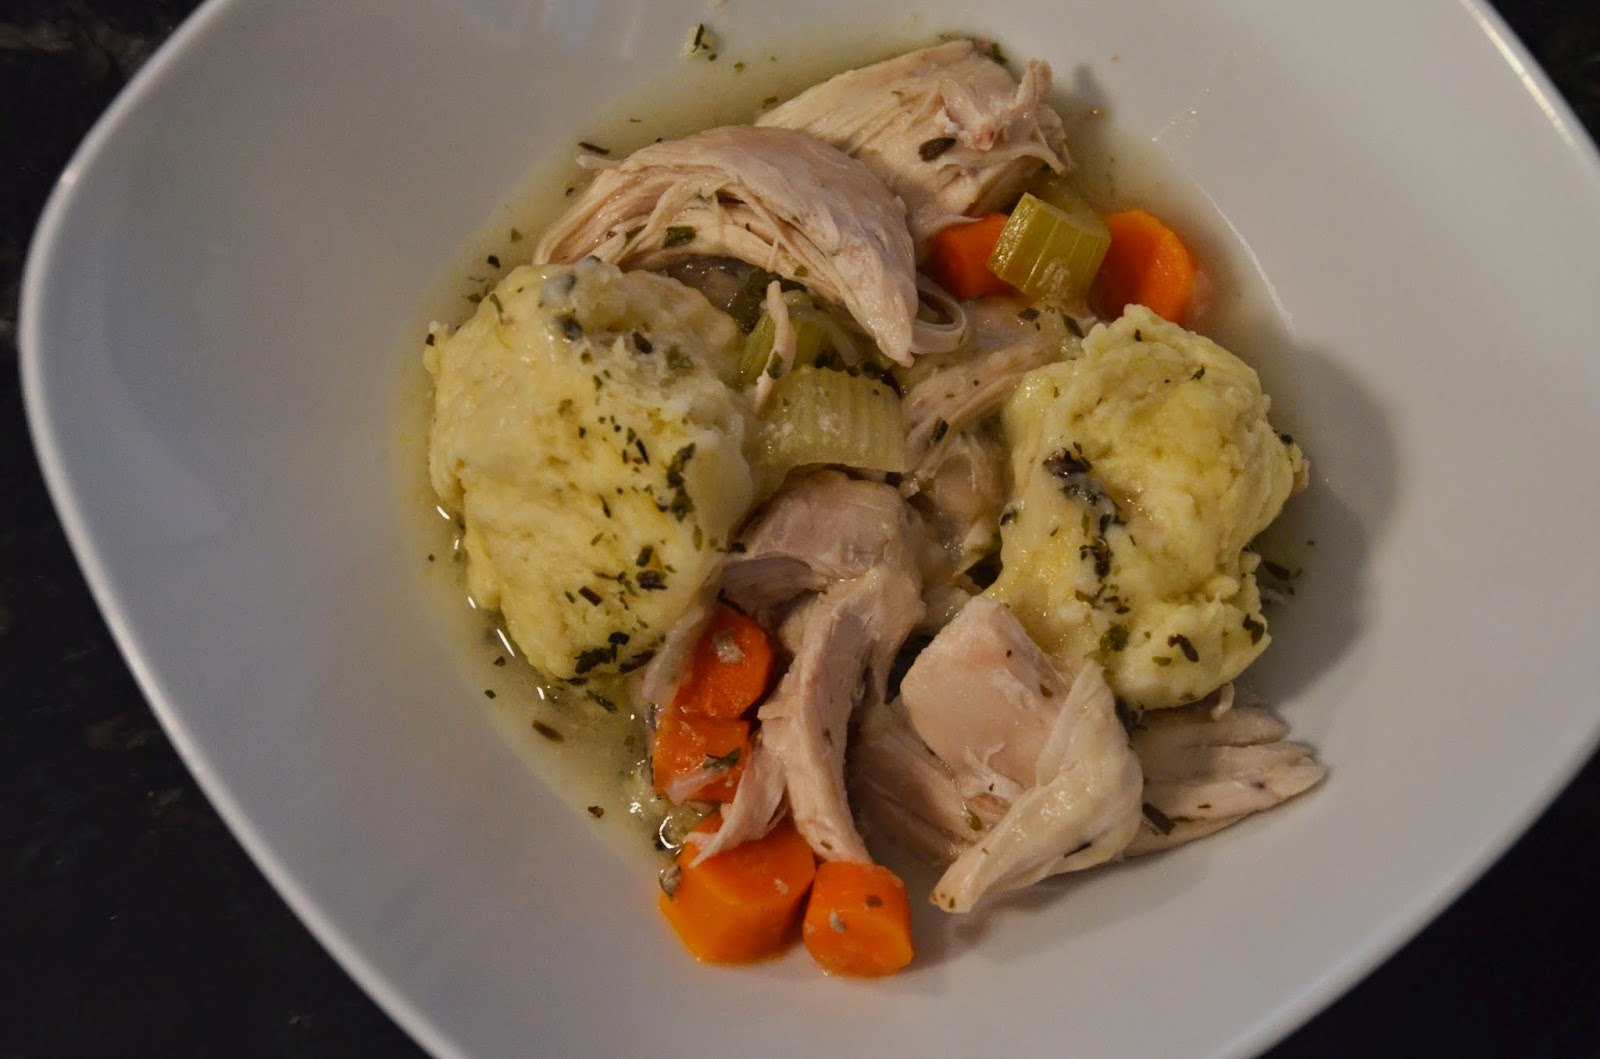
Guess what, it’s done…and everybody loves you now.

These dumplings blow my mind because they are so easy but they turn out perfect every time, they always taste just as a dumpling should!

And it doesn’t hurt that this dish is on the healthy side either, because you’re going to eat a lot of it…trust me.

Try it out and let me know what you think!  Also, tell your family it’s really difficult to make so they need to just stay out of the kitchen (or even the house) until it’s ready…and then have some wine and cherish the silence.

Cheers!

The Good Cooker
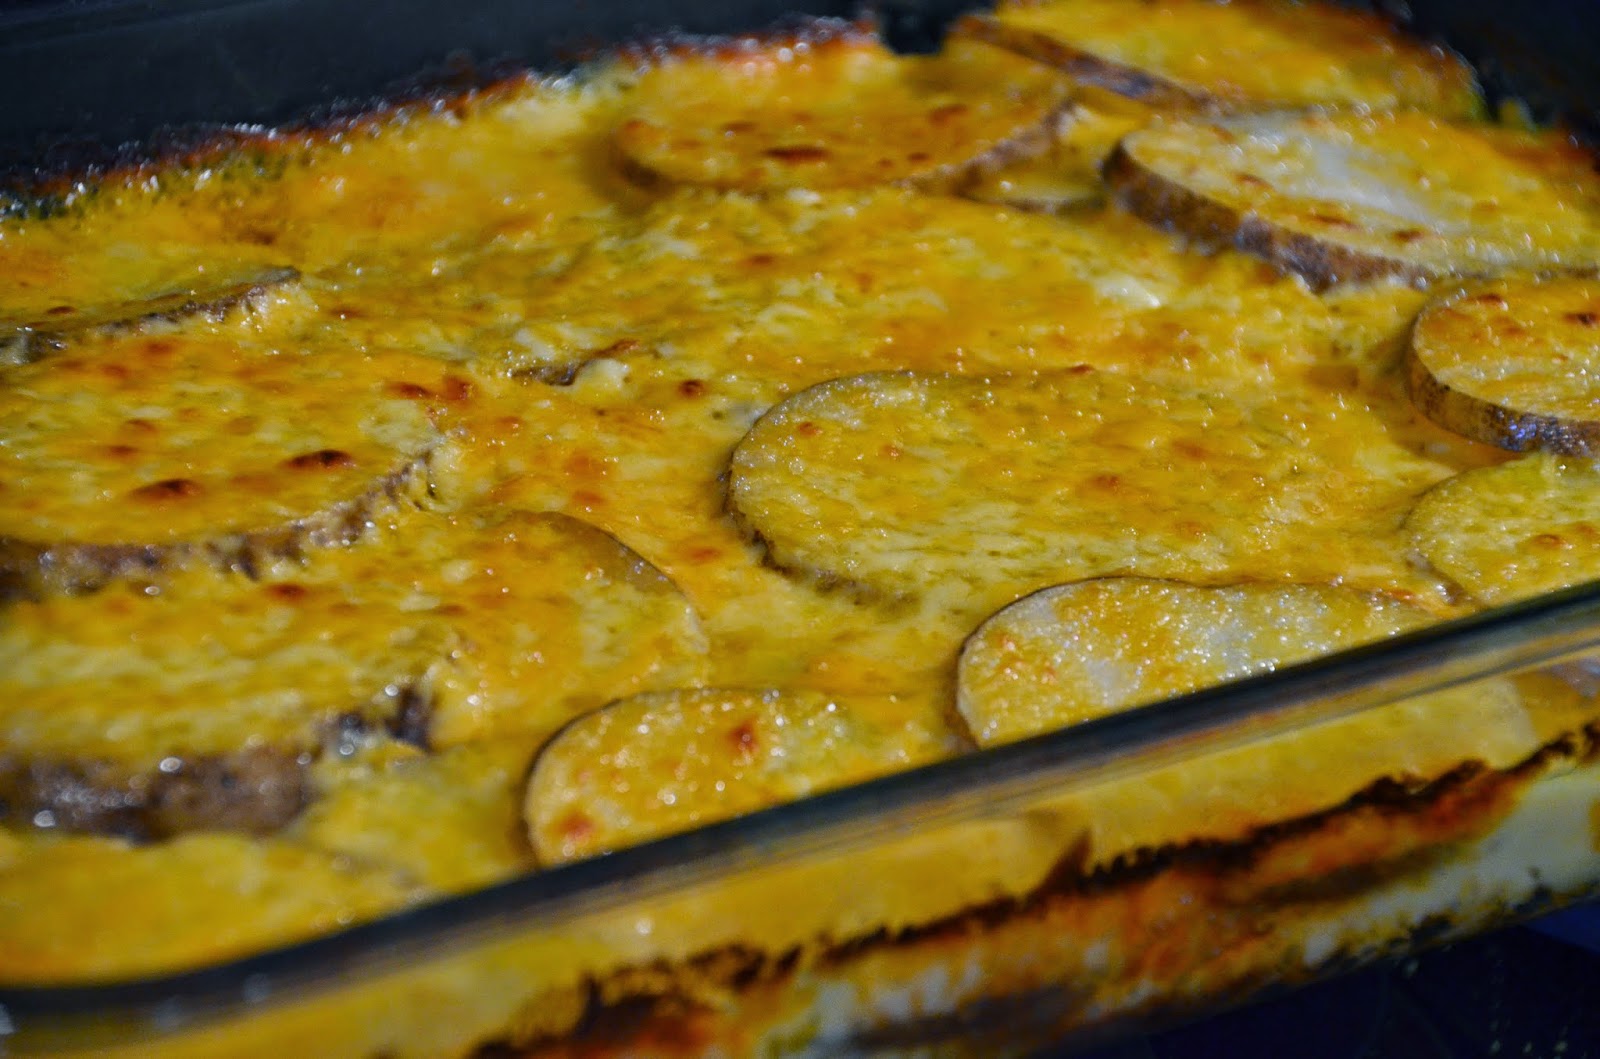

Cheesy potatoes…enough said


Here comes another great side dish for any occasion.  Cheese and potatoes have been friends for a really long time…let’s do some analogies about the cheese/potato combo because I’m a nerd and I think it’s fun…cheese is to potatoes like hairspray is to the 80’s…cheese is to potatoes like snow is to the Midwest…cheese is to potatoes like Ryan Gosling is to me (that dude is always all over me!).

That was fun…

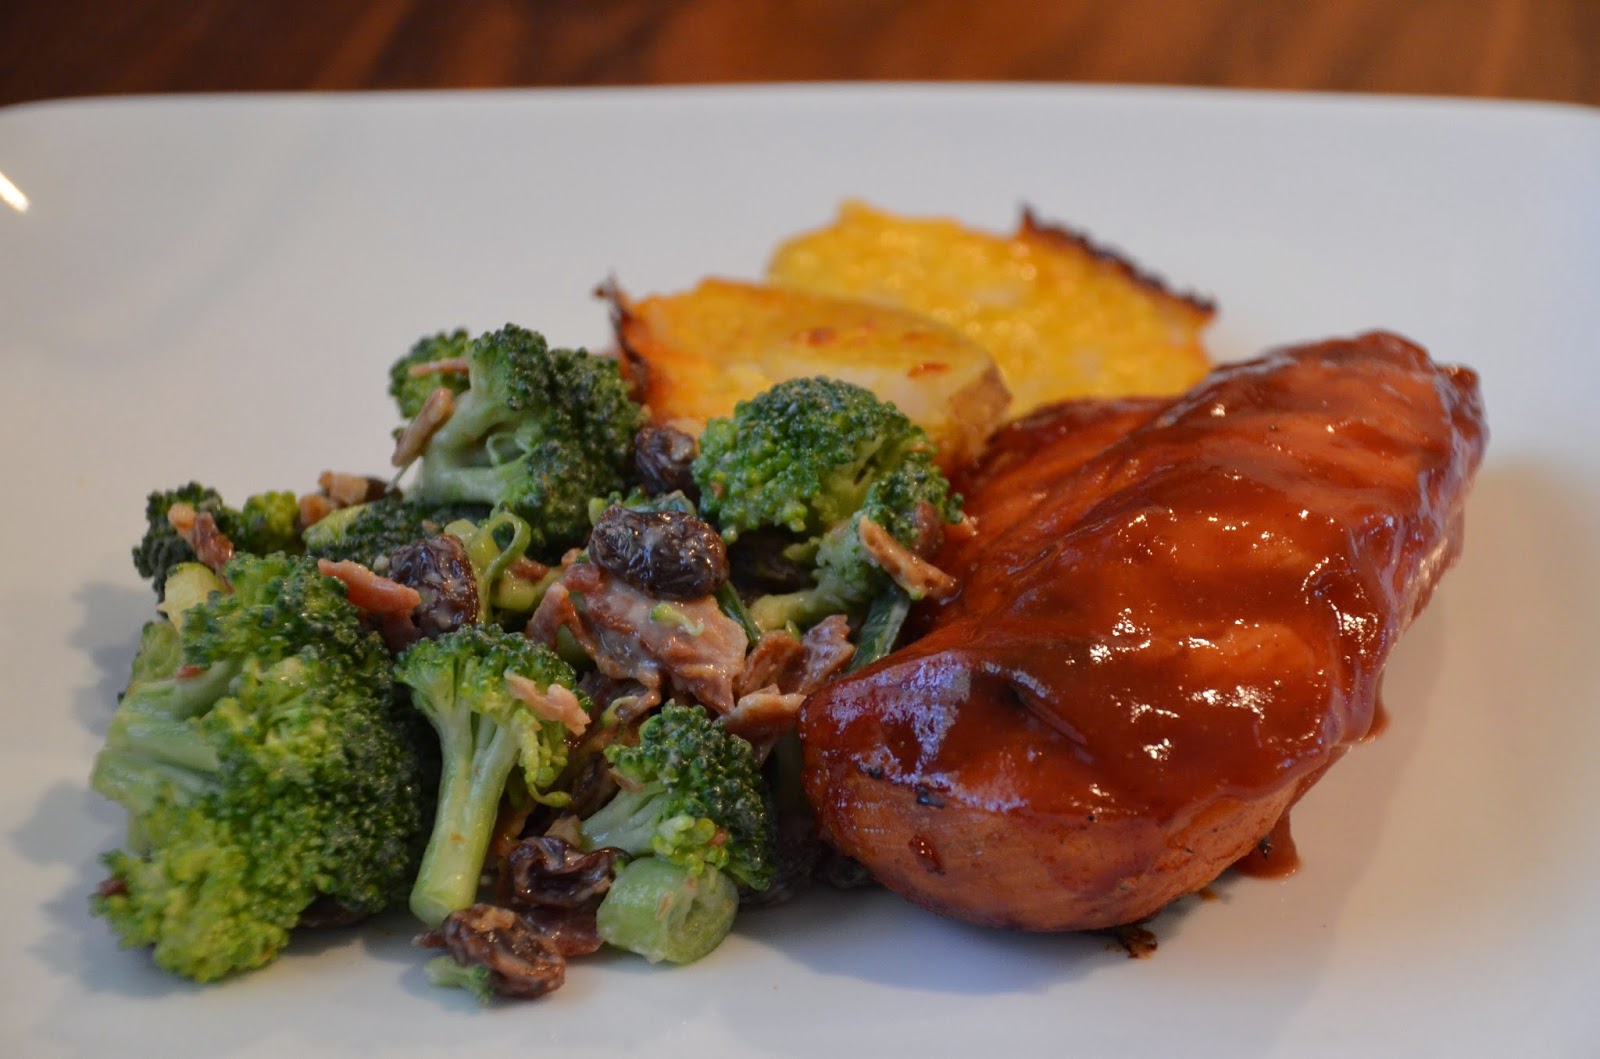
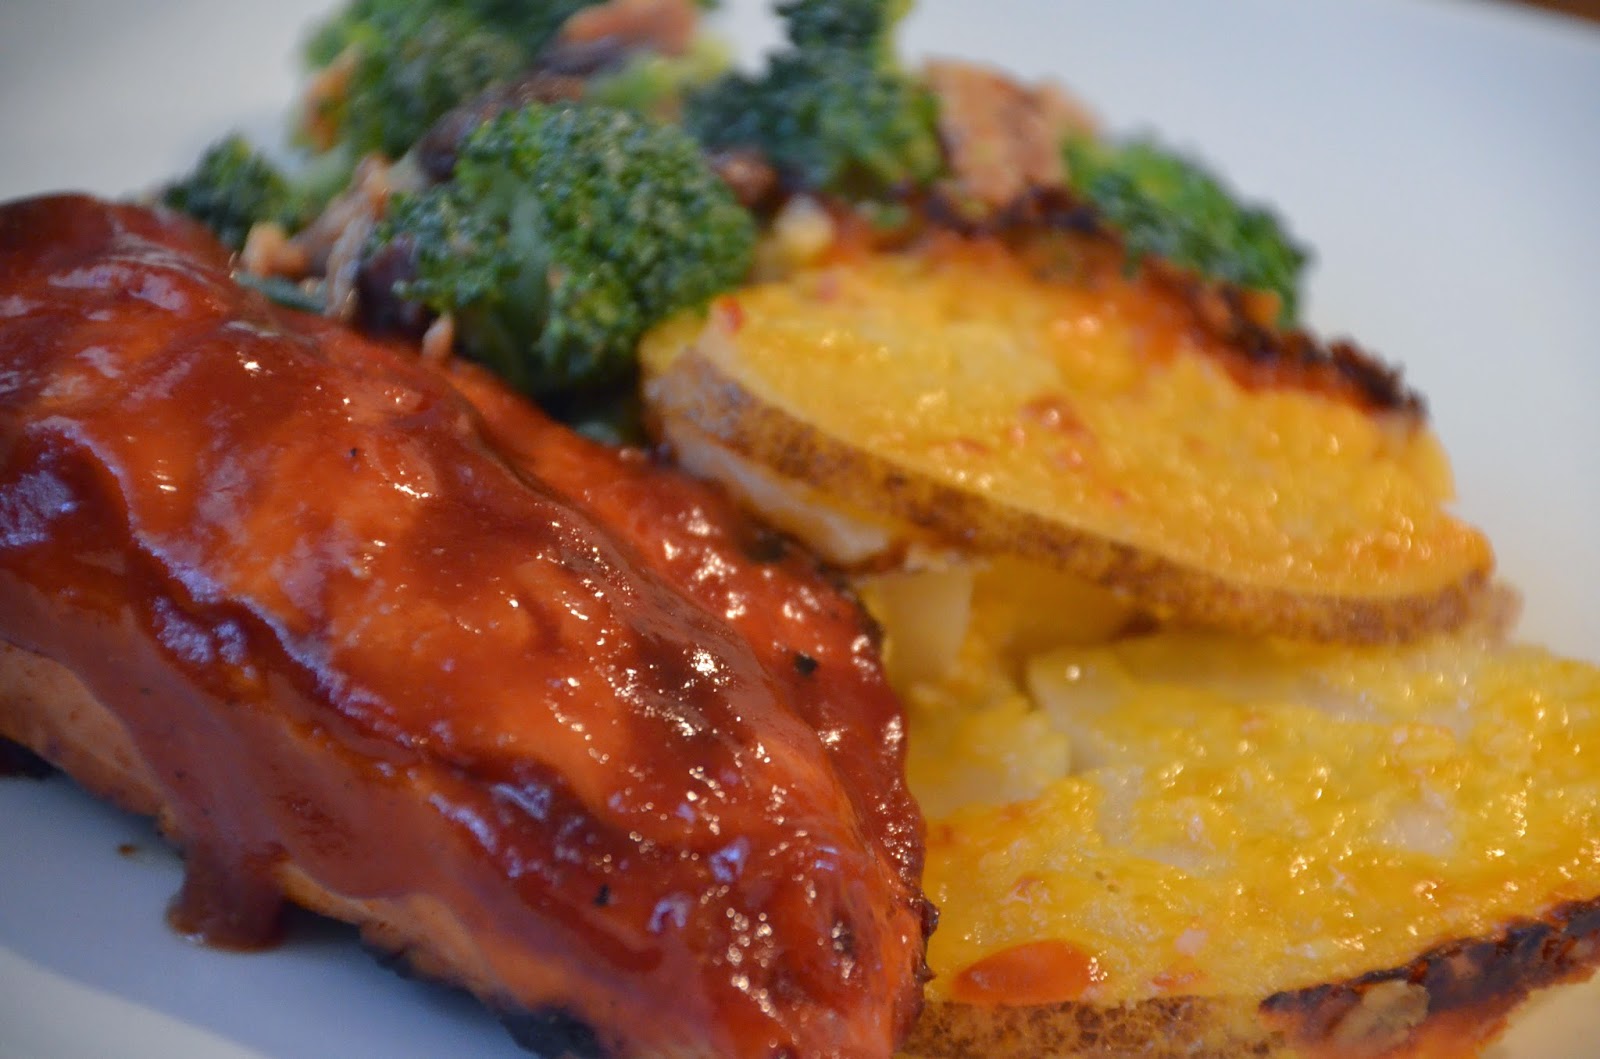
I made this side dish along with the broccoli salad (recipe here) for our BBQ chicken dinner last weekend.  This is a cinch to prepare and cooks in the oven so it’s perfect if your main course is going on the grill or being cooked on a spit (in other words, anything that doesn’t require the oven).

Here are the ingredients…

4-5 large russet potatoes
3 tbsp – butter
3 tbsp – all purpose flour
2 cups milk (skim or 2% work fine)
1/2 tsp salt
1/4 tsp black pepper
1/8 tsp nutmeg 
12 oz. cheese (cheddar, colby jack, etc.)


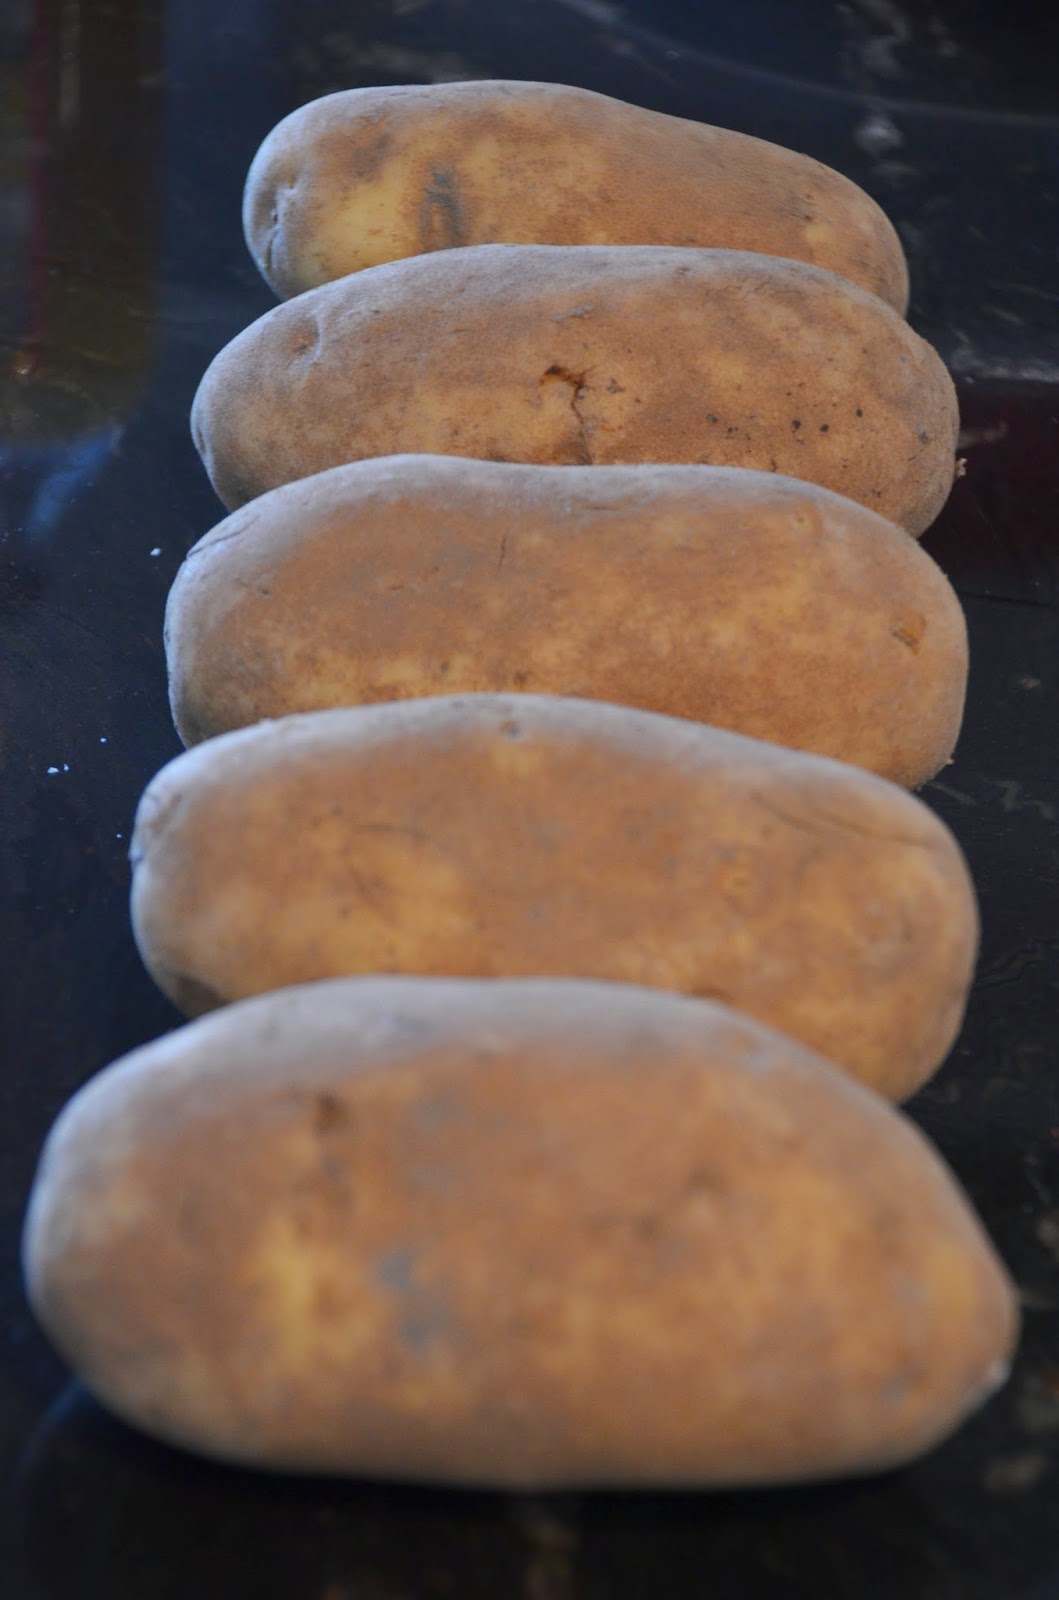
Start with about 5 good sized russet potatoes…


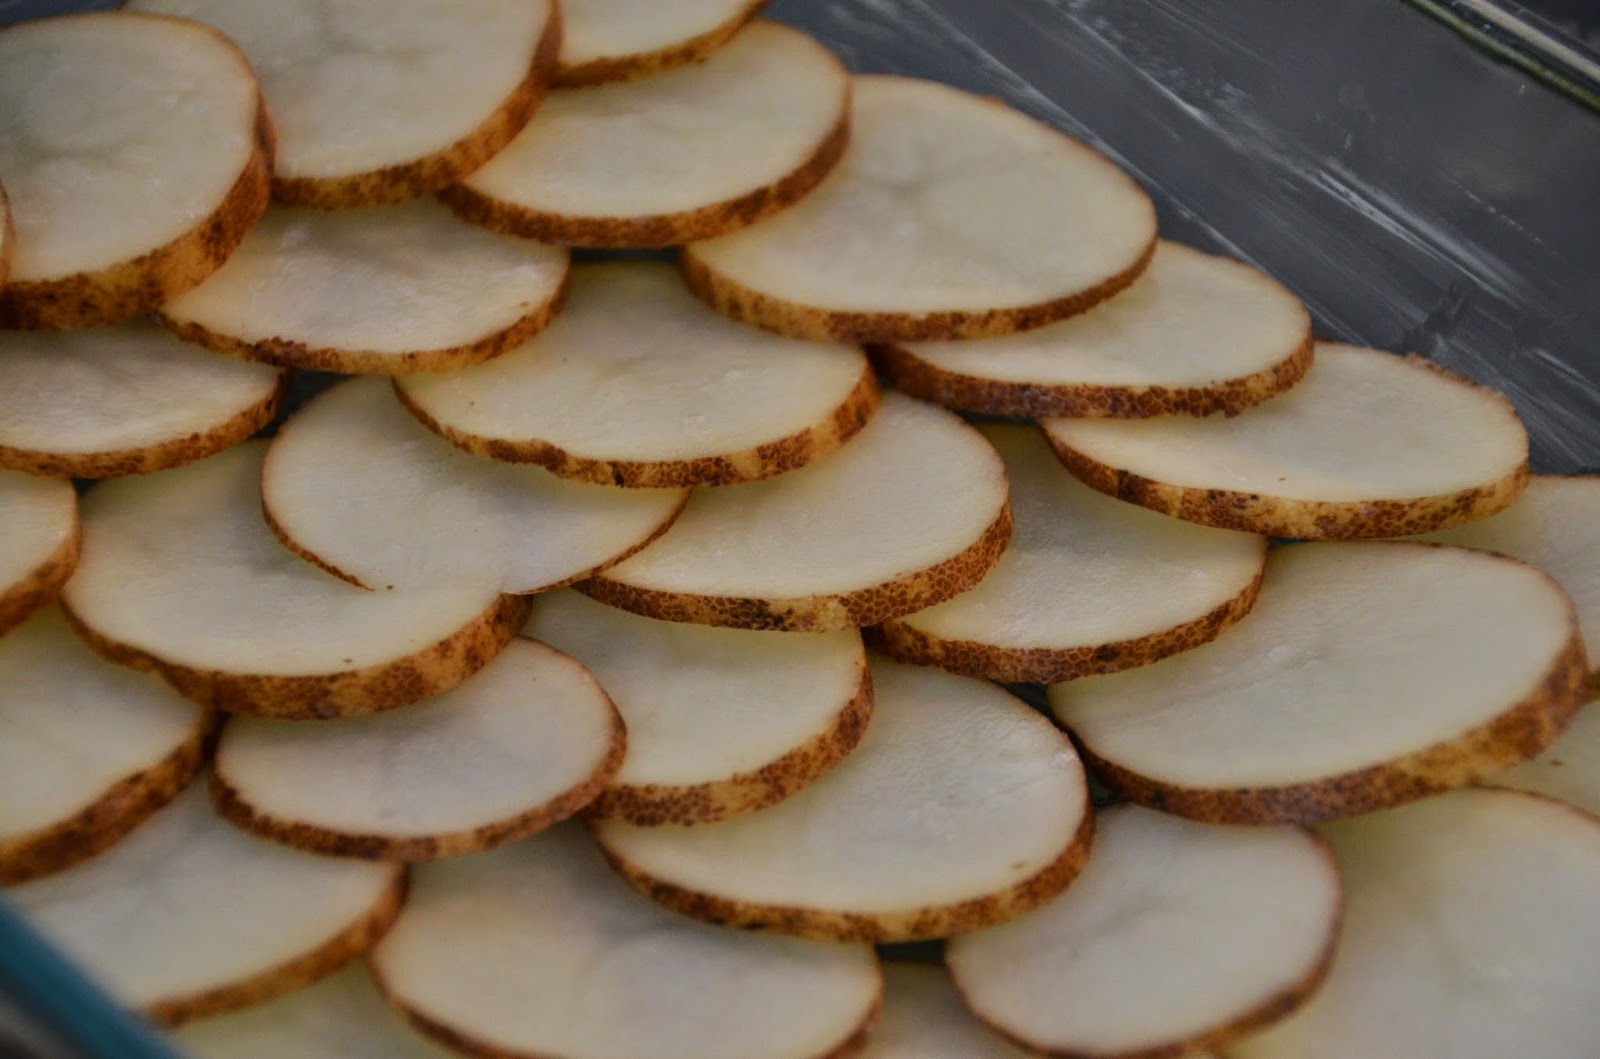
Cut them into about 1/4 inch slices and place one layer down in a buttered 9 x 13 glass dish in what I call a “fish scale” pattern…


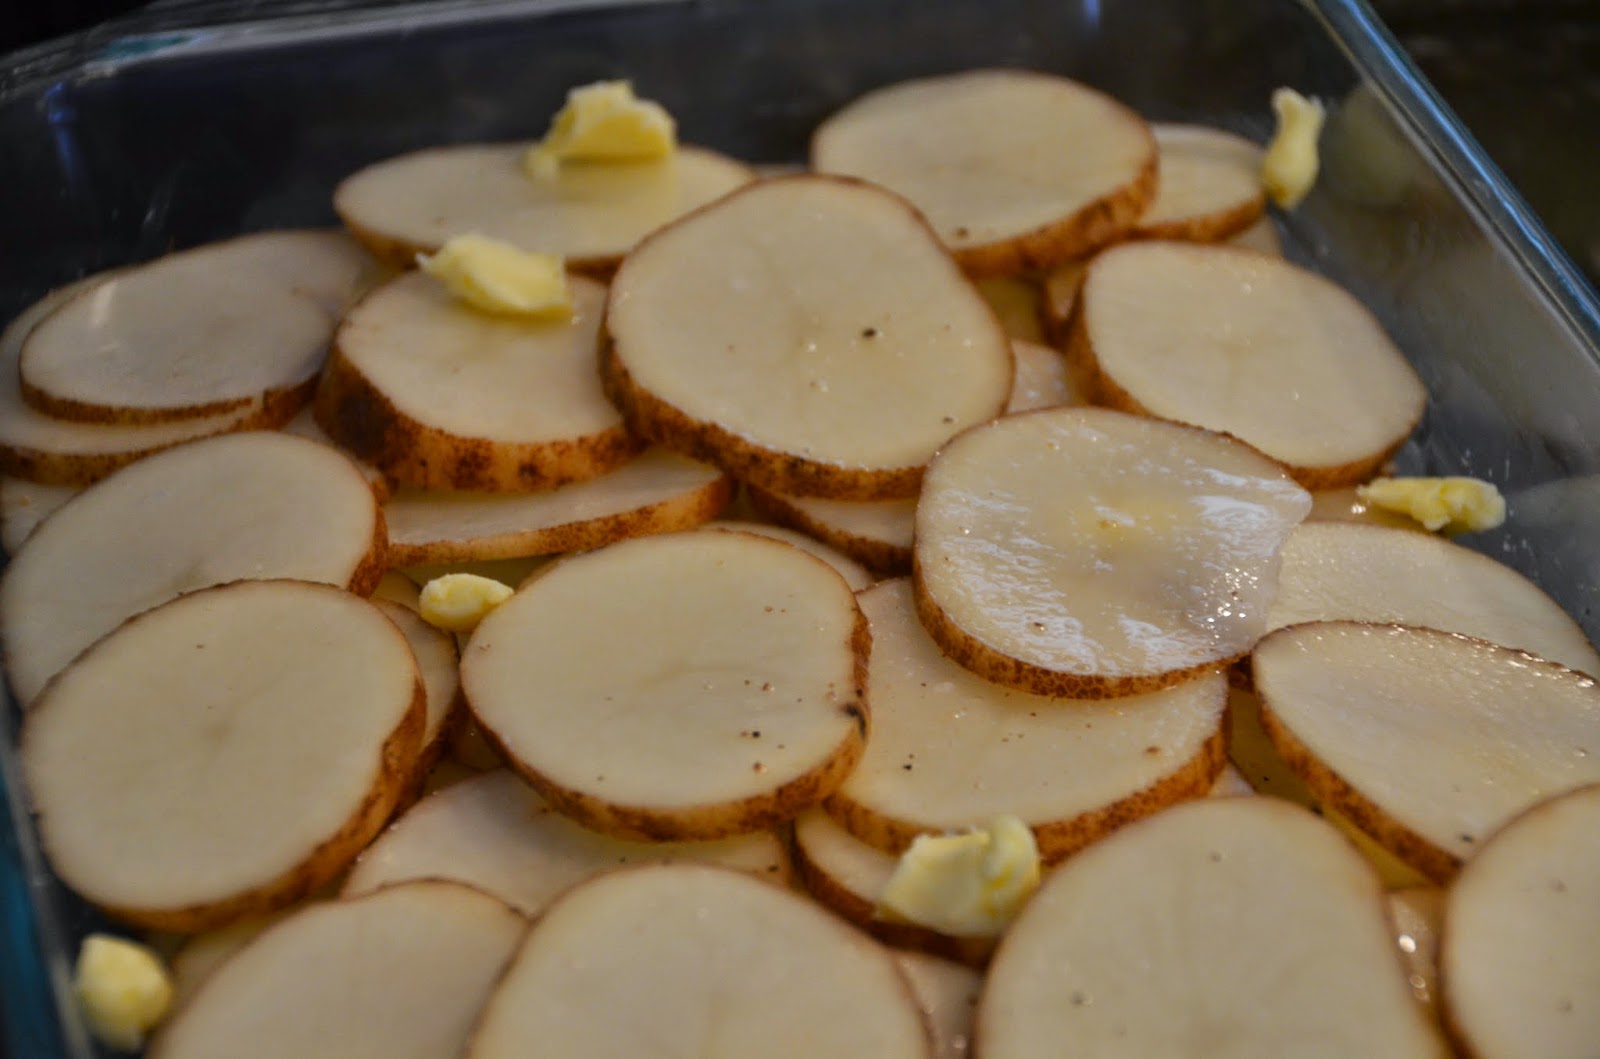
Now sprinkle some salt and pepper over this layer and then keep putting down potato slices in a nice pattern…or just plop the rest on like I did…


I threw some dabs of butter on top that I had left over from greasing the dish, there is no sense in wasting butter, am I right?

Now we’re going to make a Béchamel sauce…that sounds so fancy, it’s not.  Béchamel just means “white sauce” and all it consists of is butter that is cooked with some flour and then milk is added.  The result is magical.

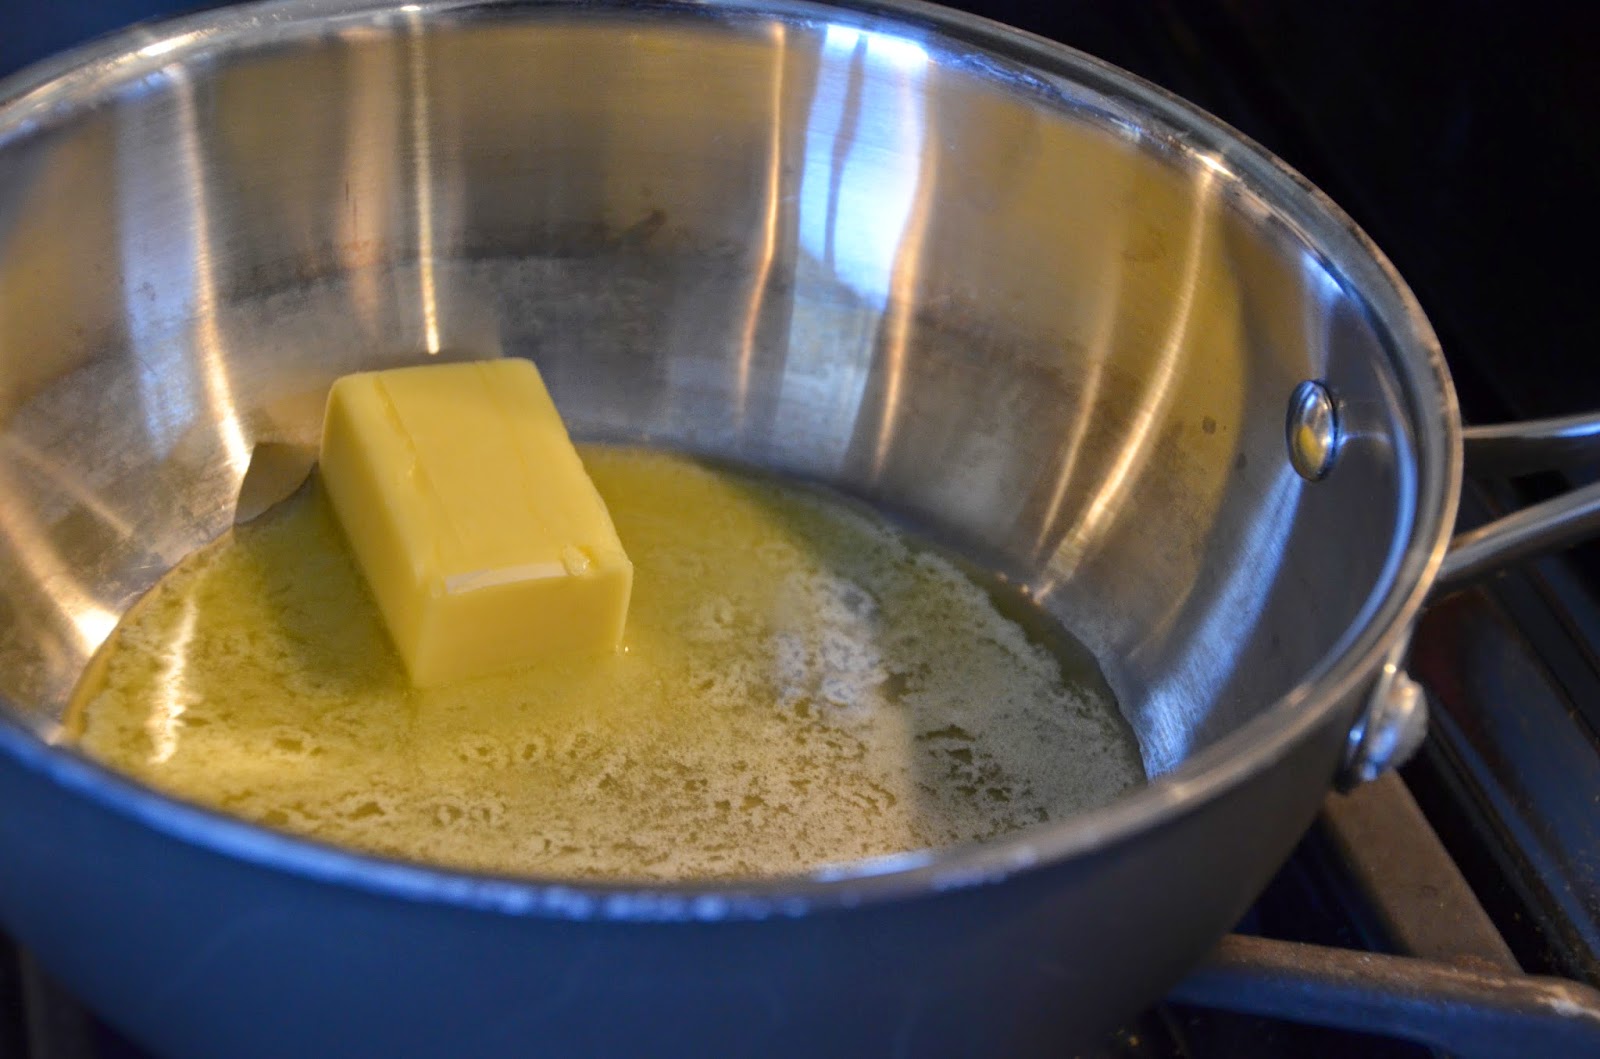
So start by melting your butter in a sauce pan…


For some reason I don’t have any pics of me adding the flour and whisking it for a few minutes, but that’s what you need to do to make the roux (another fancy word that just means cooking flour in butter).

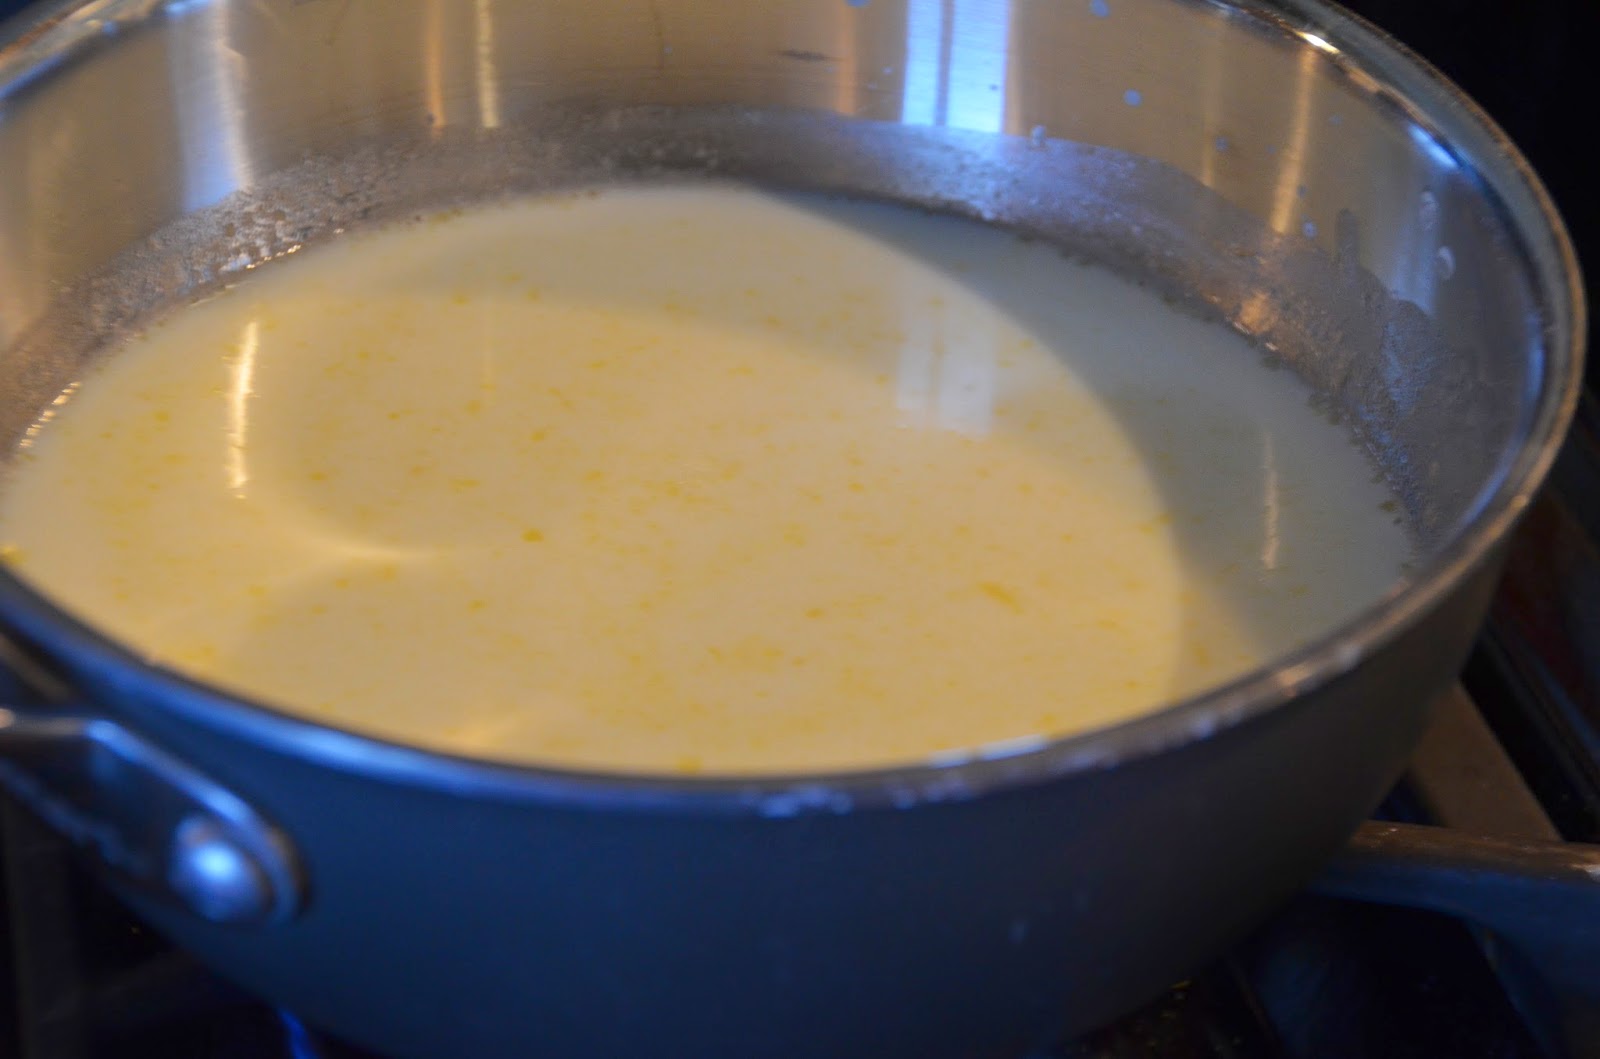
After you cook the flour/butter mixture for a minute or so, add your milk…


Now it looks like a big soupy mess…which is just perfect.


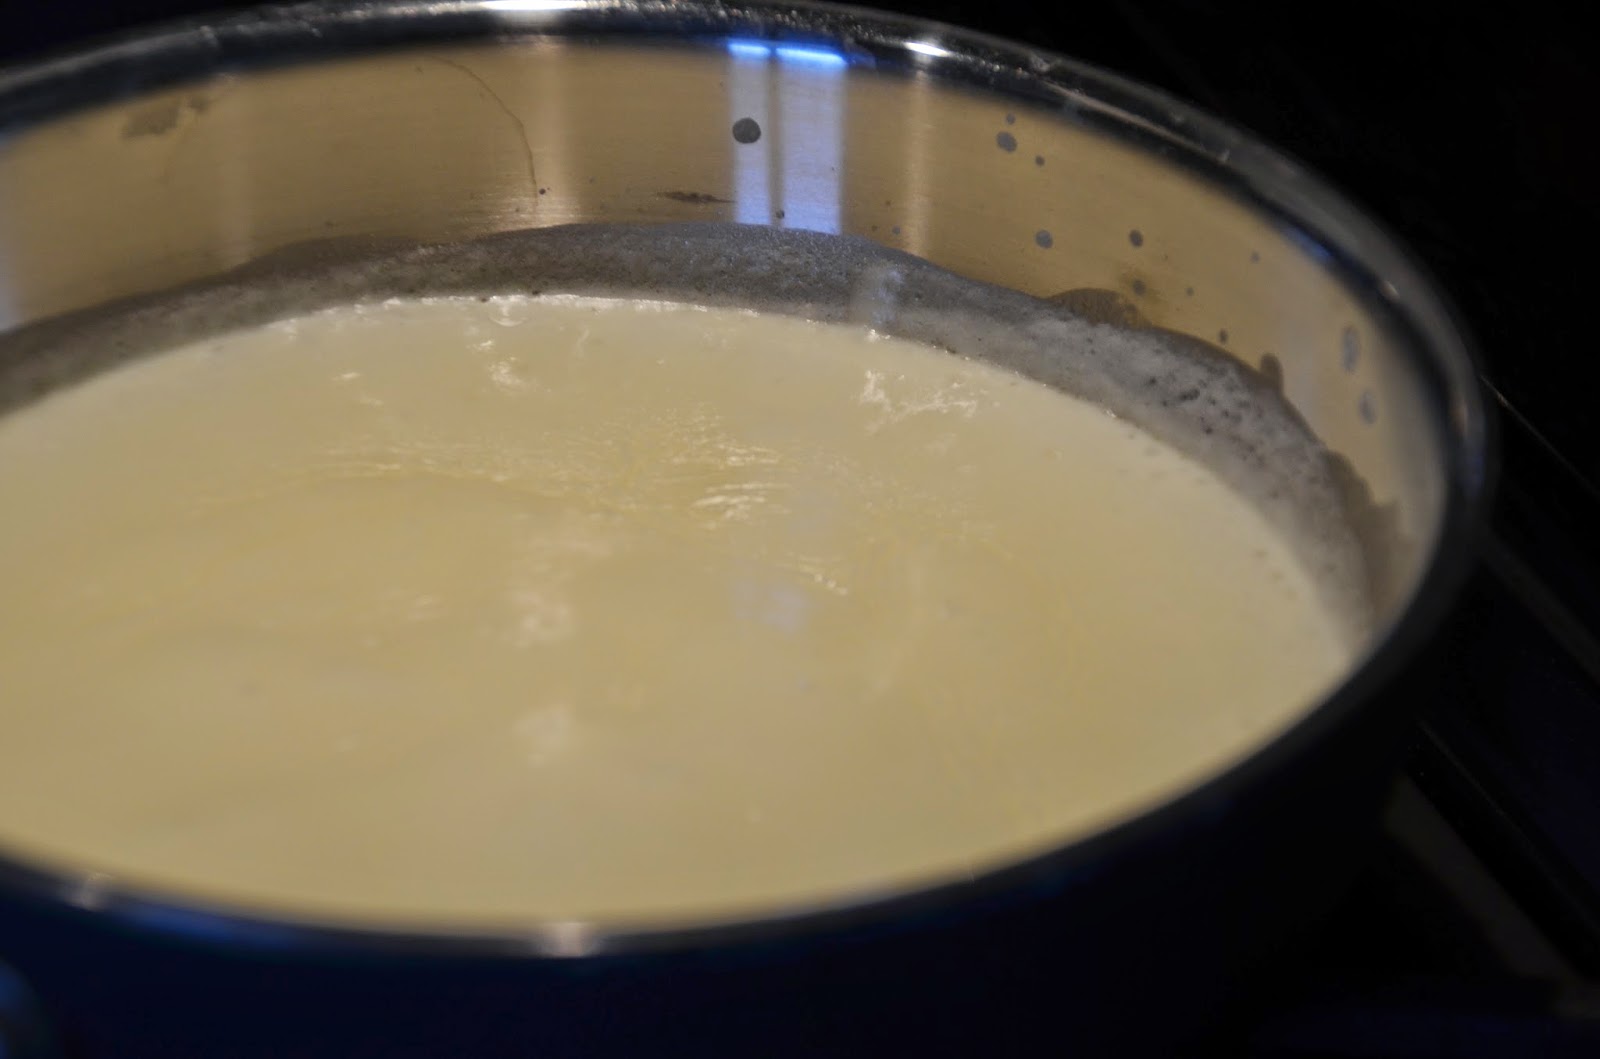
Cook this mixture over medium low heat, stirring frequently with your whisk…after about 7 minutes you will end up with a wonderful thick sauce called…say it with me, “Béchamel!”


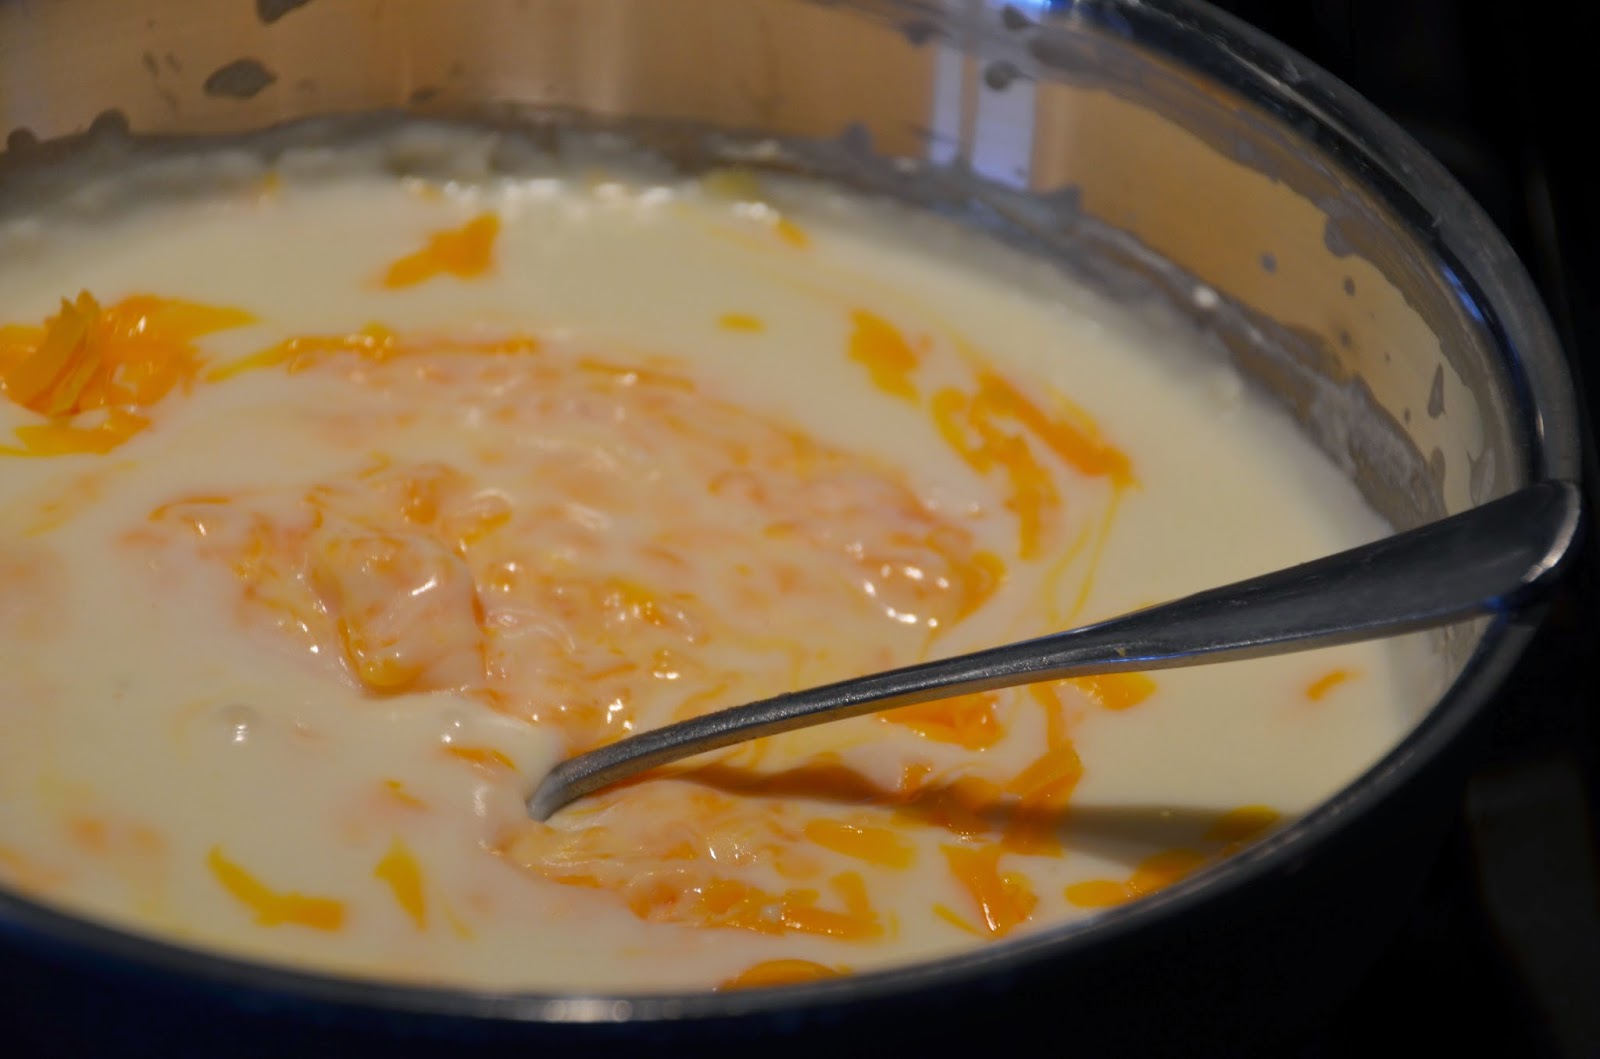
This sauce is already the bomb but we are going to take it to the next level…by adding some grated cheddar cheese…

Ohhhhh, my lord…that’s the stuff dreams are made of.

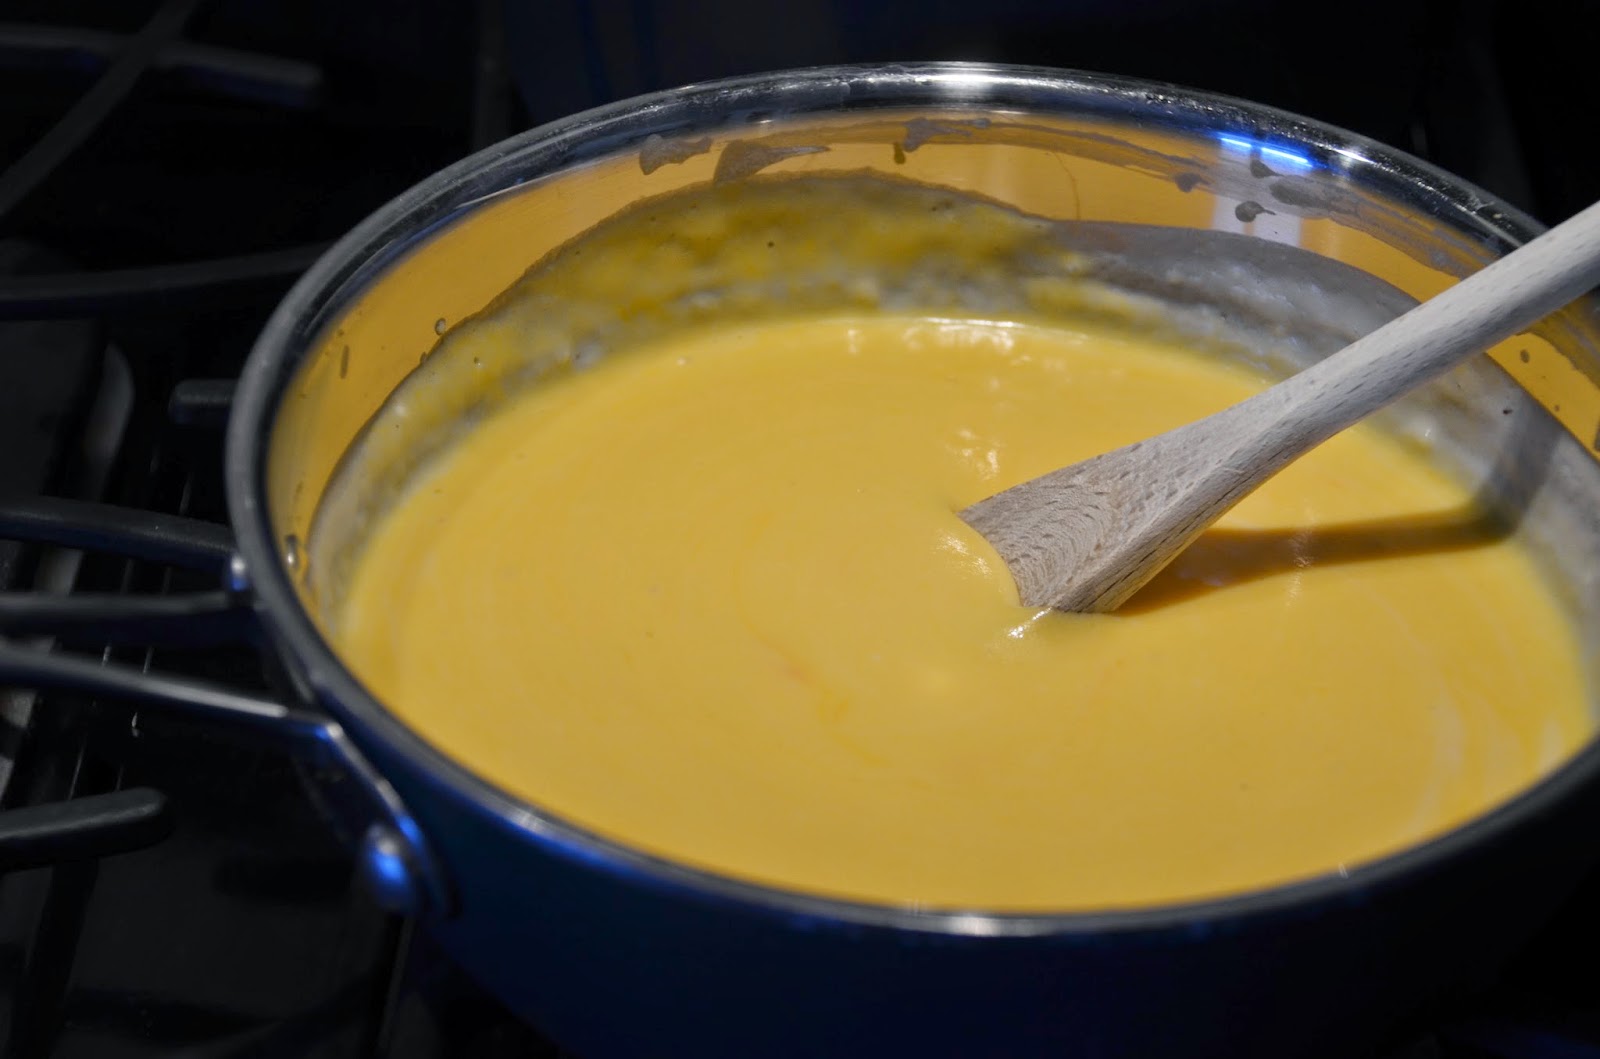
Once it’s melted in, you have this…


 This looks like liquid gold because it IS liquid gold.  Go ahead and taste this amazingness and add some salt and pepper if you would like.  This is also when I add the nutmeg, you are under no obligation to add nutmeg but in my personal experience it’s the right decision.

This cheese sauce can be used for a multitude of culinary delights…perfect for homemade macaroni, or dipping sauce for soft pretzels…or even soup if you want to add some broccoli or beer!

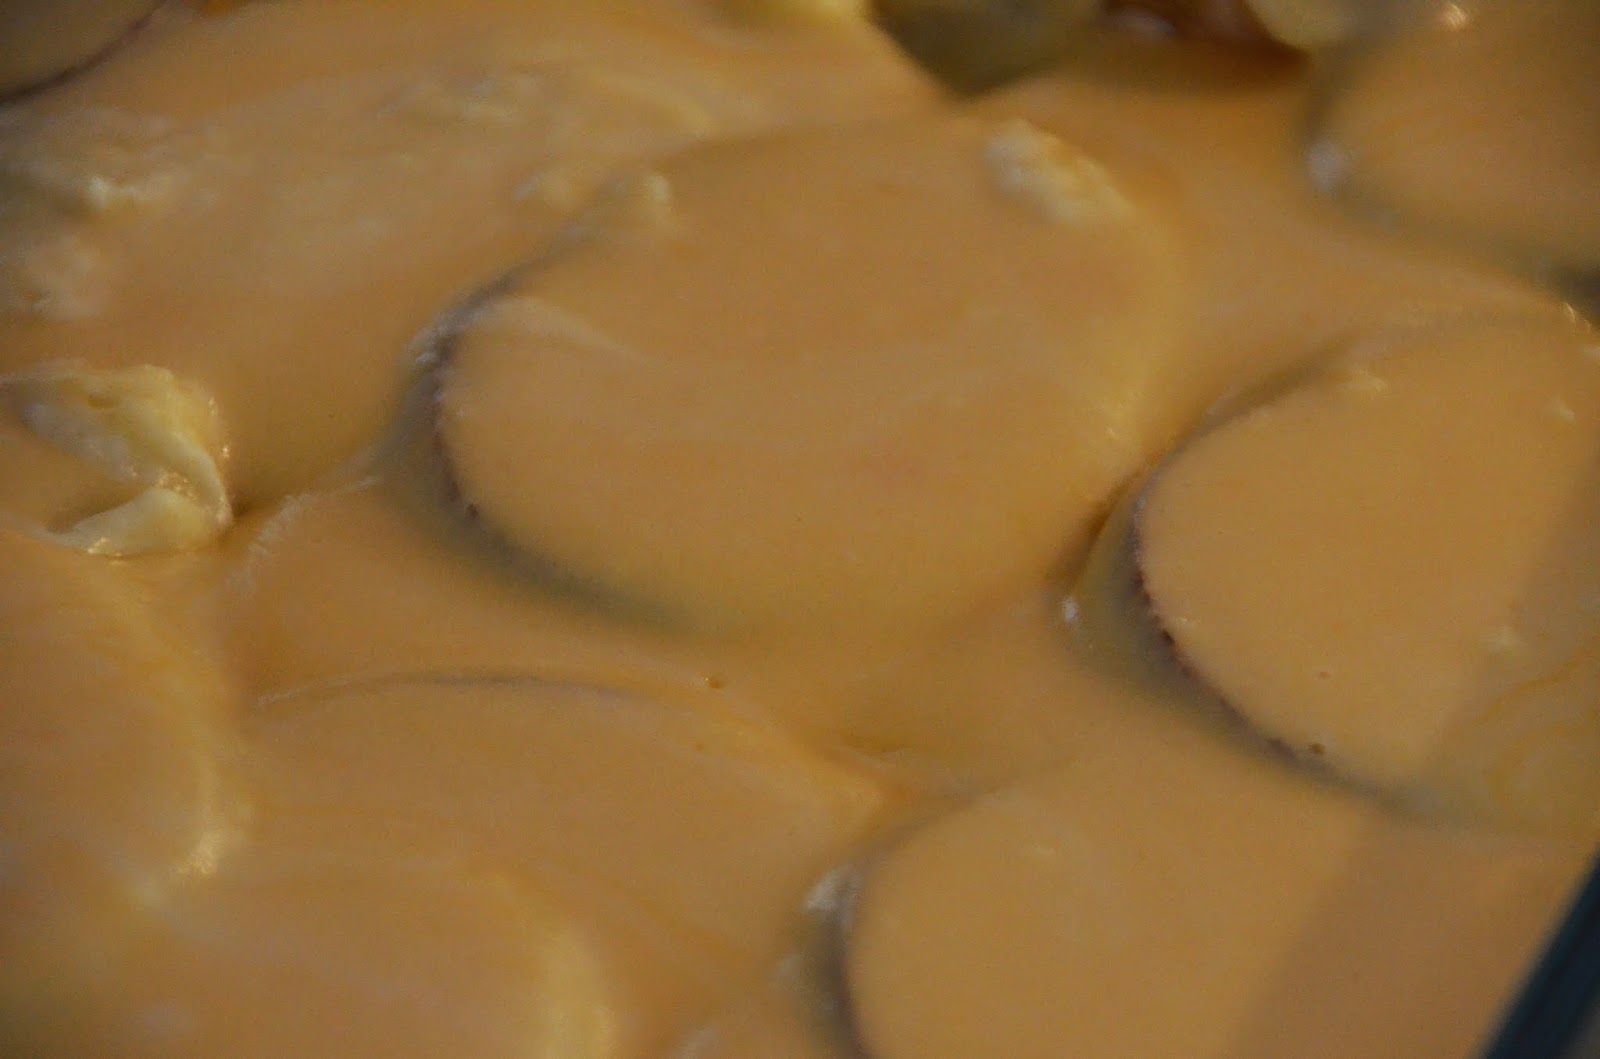
Now pour this all over the potatoes!


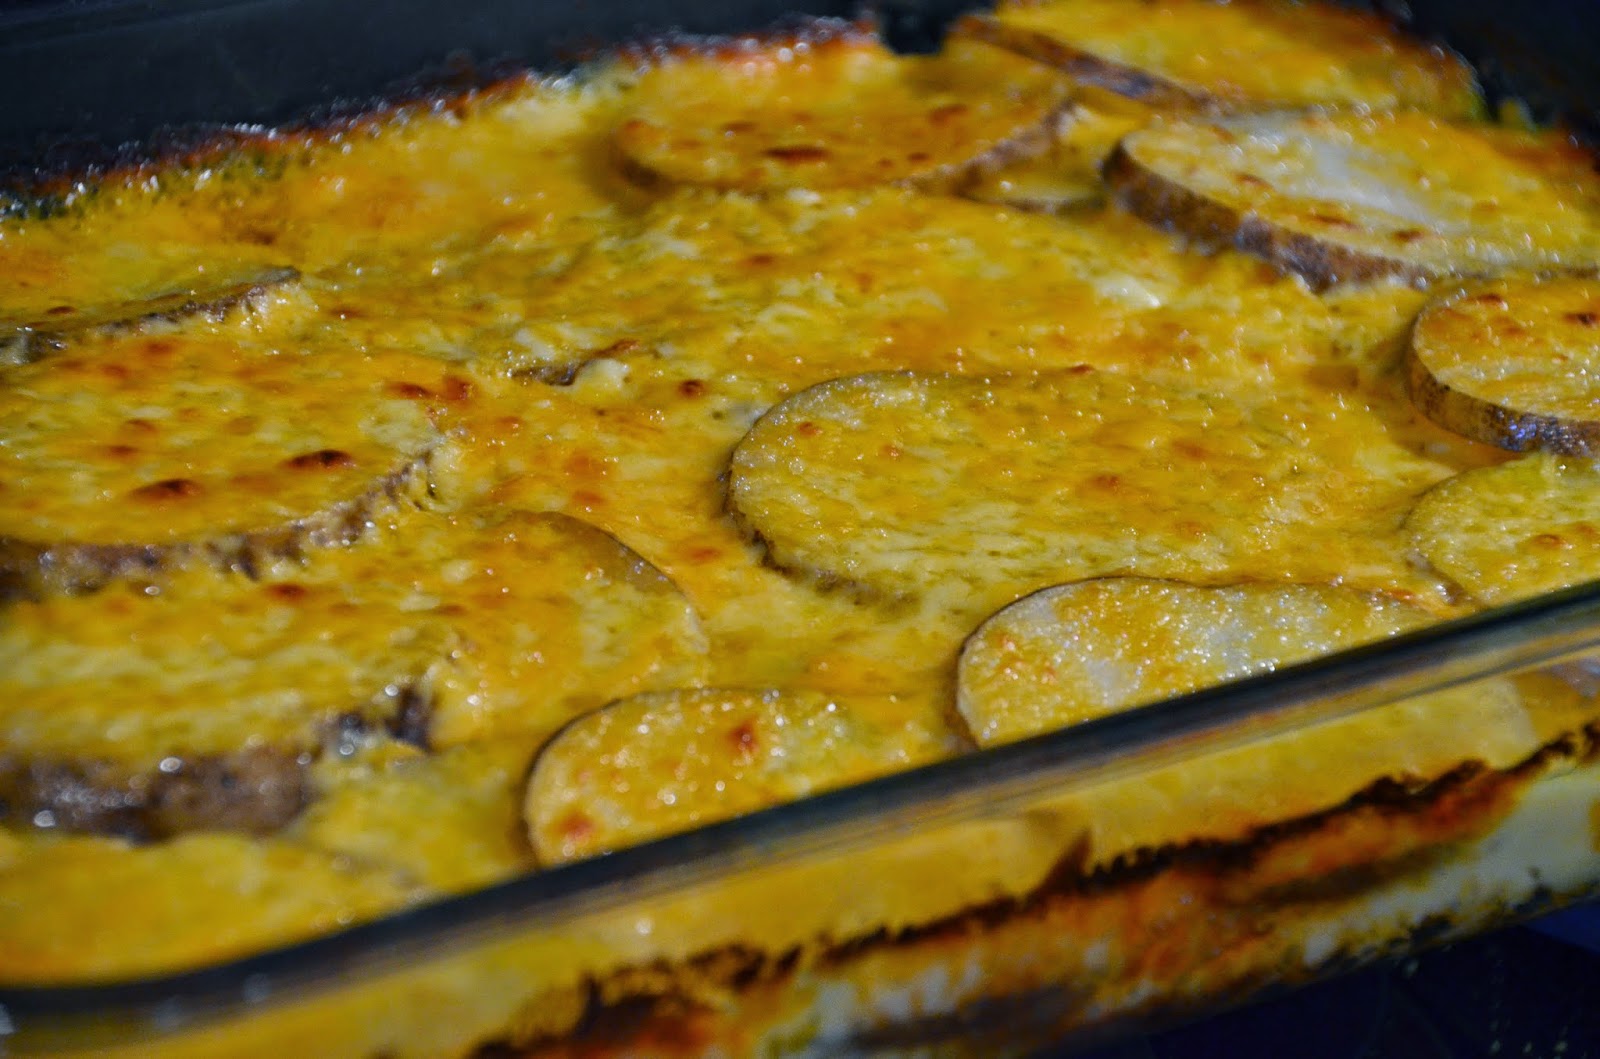
Gorgeous, isn’t it?

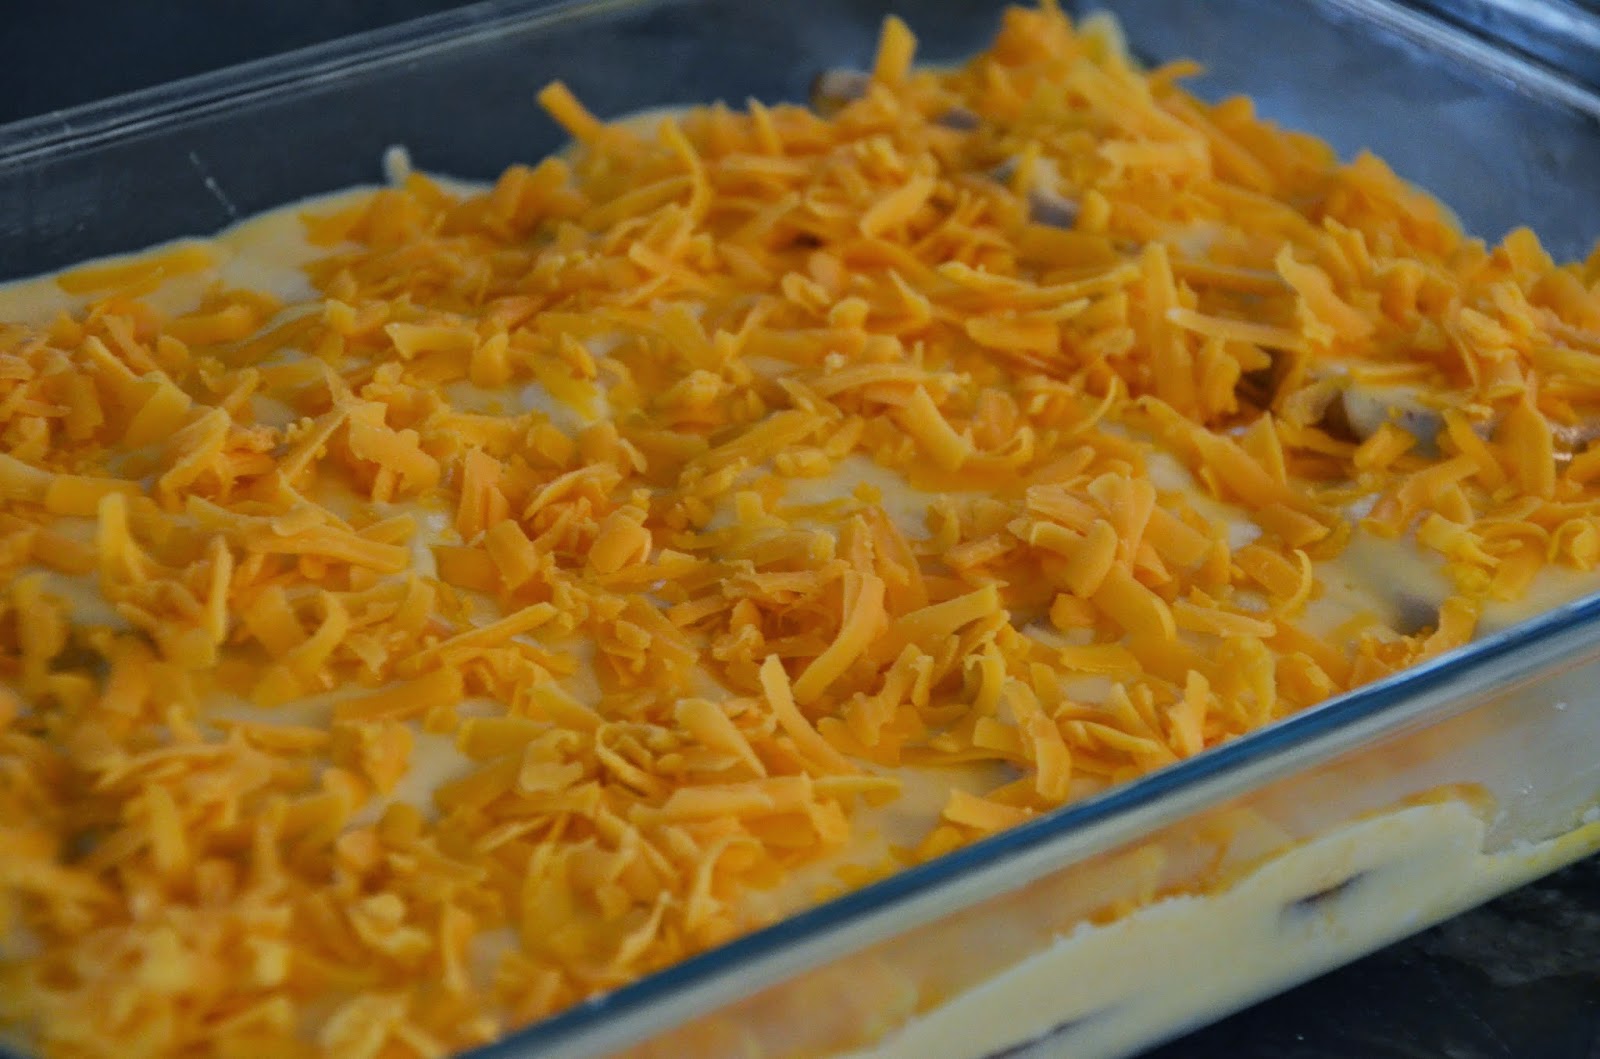
I had some left over cheese so I added that on top (I highly recommend this part!)


Now put some foil over the whole thing and throw it in your oven at 400°F oven for about an hour.

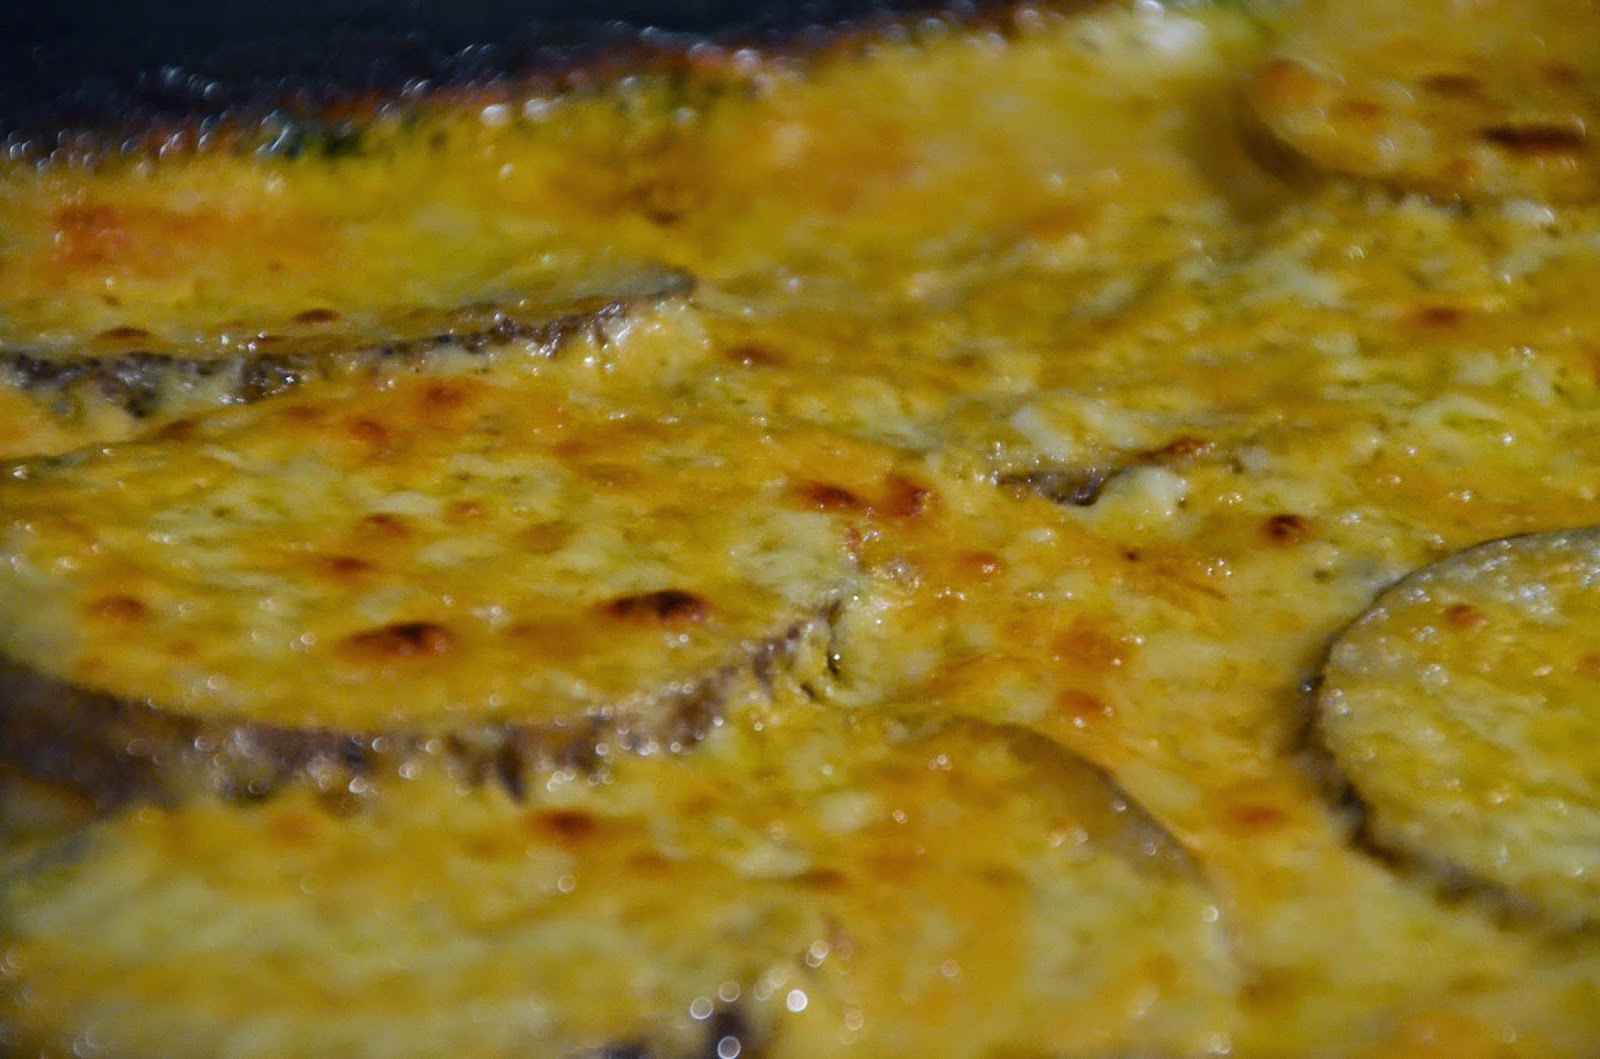
Take the foil off about 15 minutes before so you can get that bubbly-ness that we all adore so much.


Oh hey there cheesy potatoes…I’m going to eat you now.

This dish is GOOD with a capital G and a capital O and…you get it.


Cheers to cheese and other wonderful things!

The Good Cooker

Broccoli Salad (that people will eat)


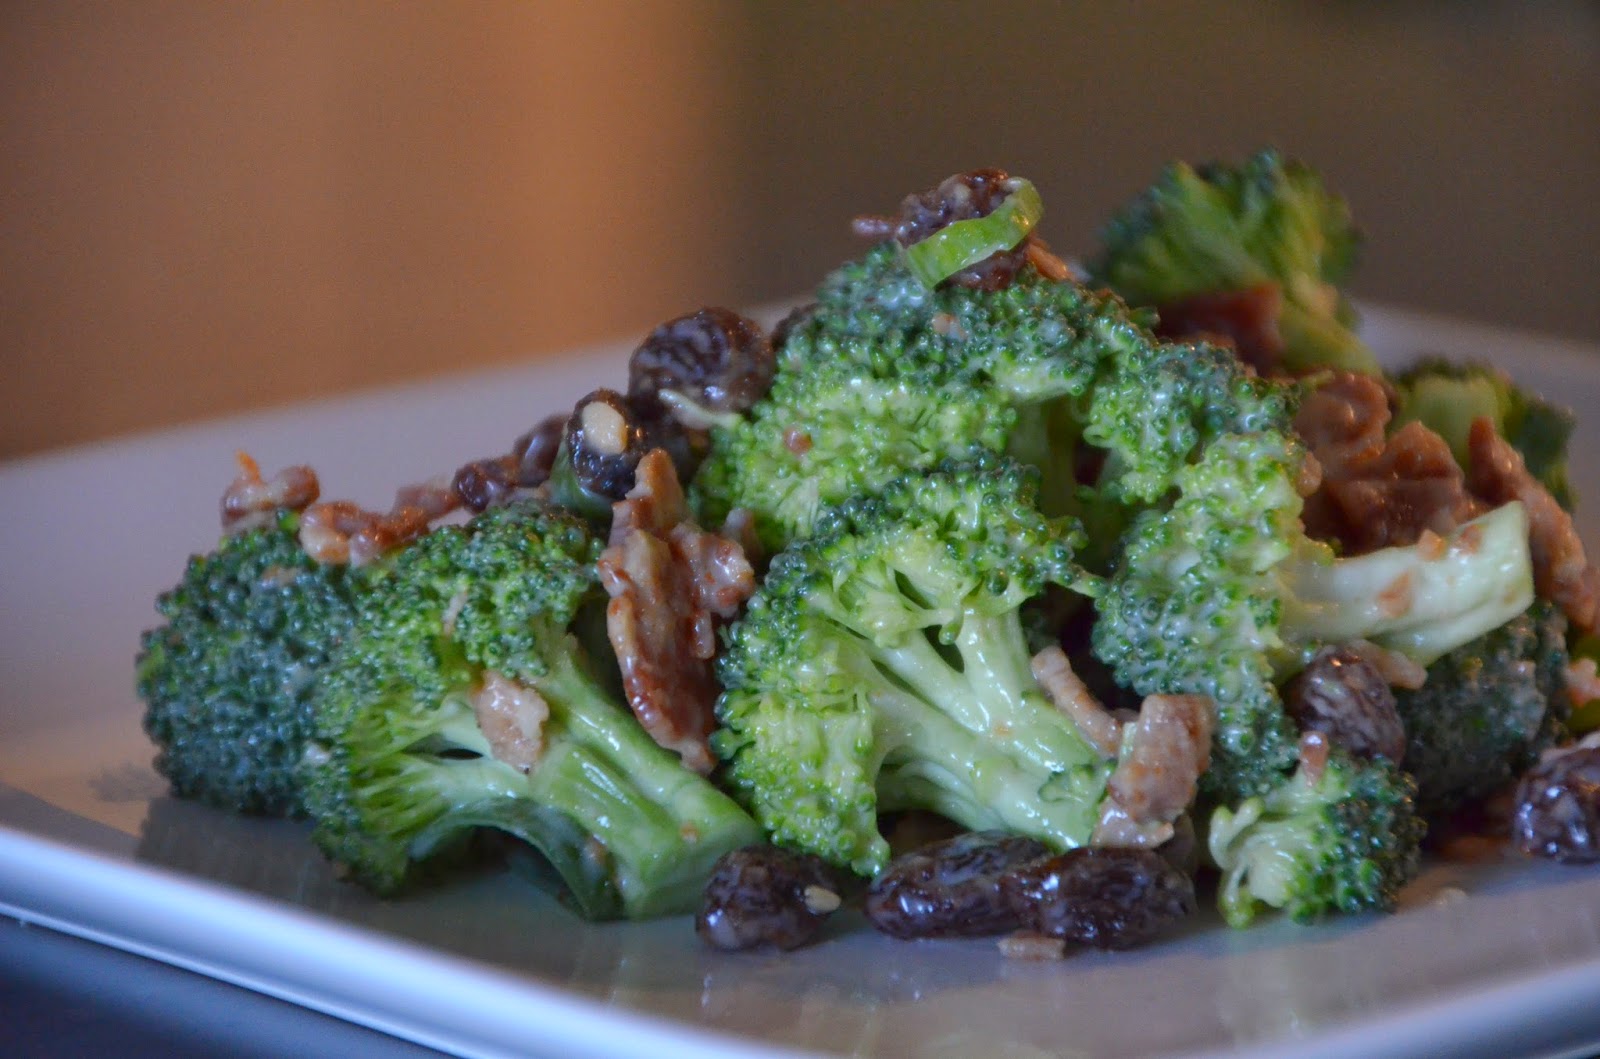
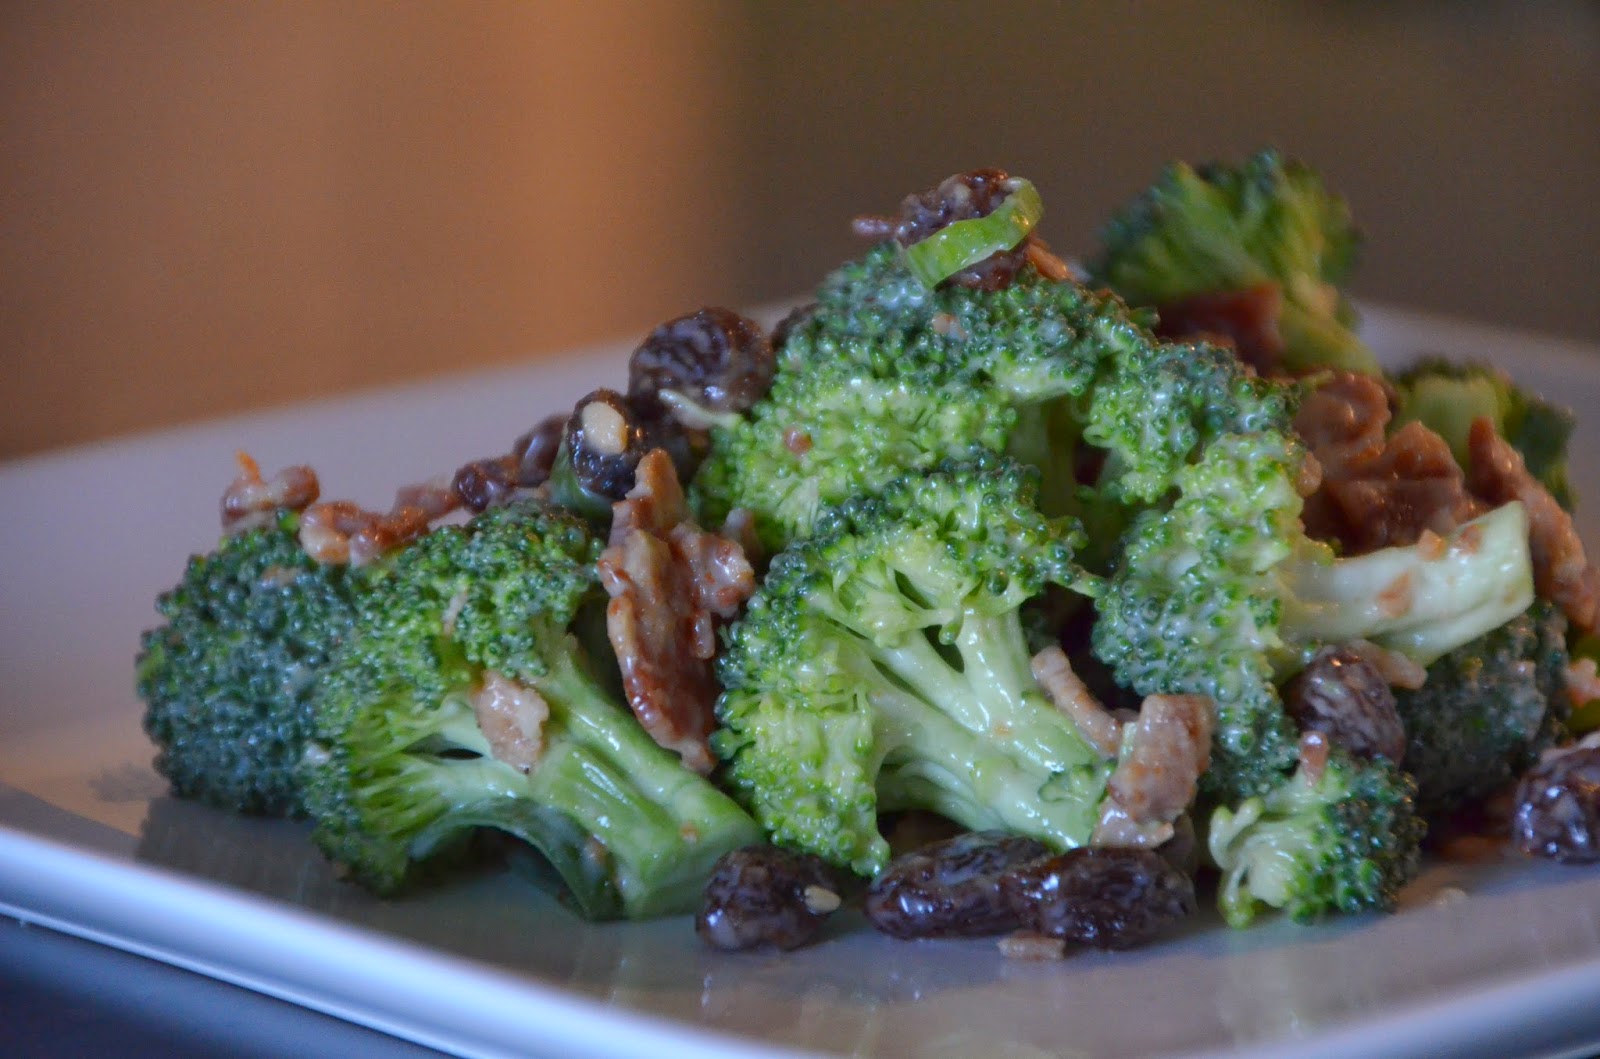
Raise your hand if you love broccoli!  Wow, that’s a lot of you…if you love broccoli you will also love this broccoli salad.  It’s sort of a copy cat recipe from a grocery store in my hometown, that was way back when they used to actually MAKE the deli salads instead of having them delivered in plastic tubs (yuck!).  Whole Foods does make an in-house version but if you come close I will tell you a little secret…mine is better.

This broccoli salad has the whole sweet and salty thing going on which I go completely ga-ga for…and the longer it sits the better it gets (also a win in my book).

Here’s what you need…

2-3 large heads of broccoli
1 package of bacon, preferably center cut
2 cups raisins
2 chopped green onions
3/4 cup light mayo
1/4 cup apple cider vinegar
1-2 tbsp sugar
salt and pepper

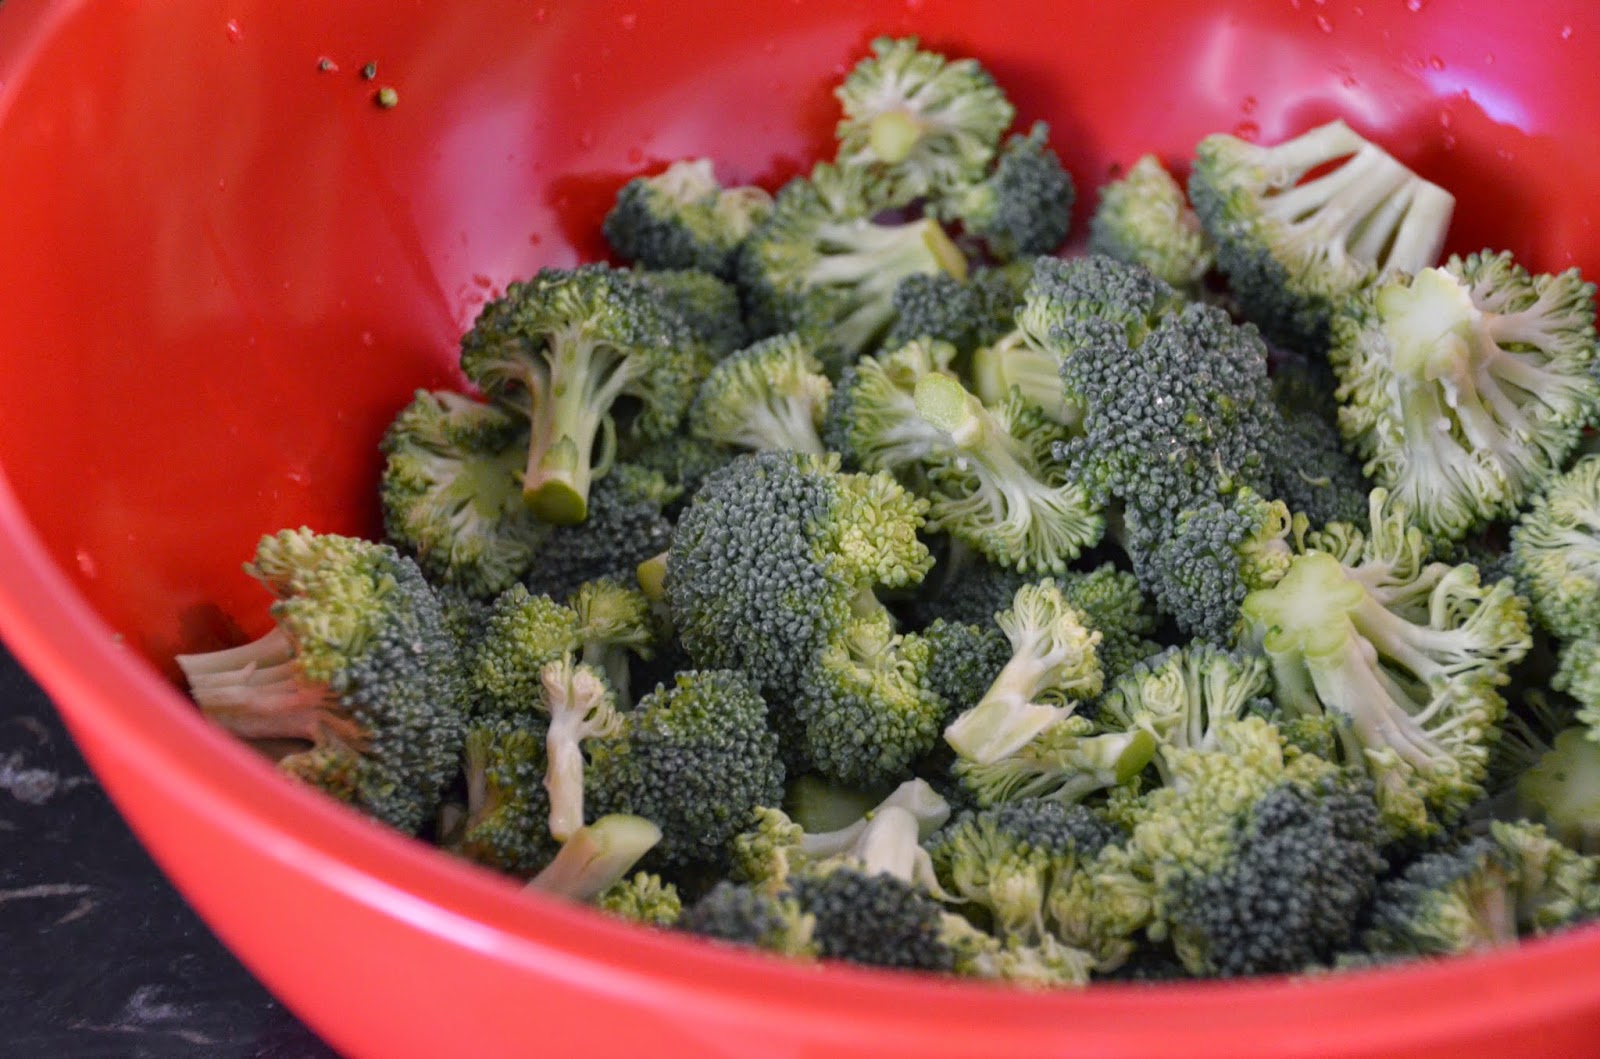
First, rinse your broccoli and chop off the large stalk.  Then keep cutting away at the stalks to separate the broccoli into tiny bite-sized trees.

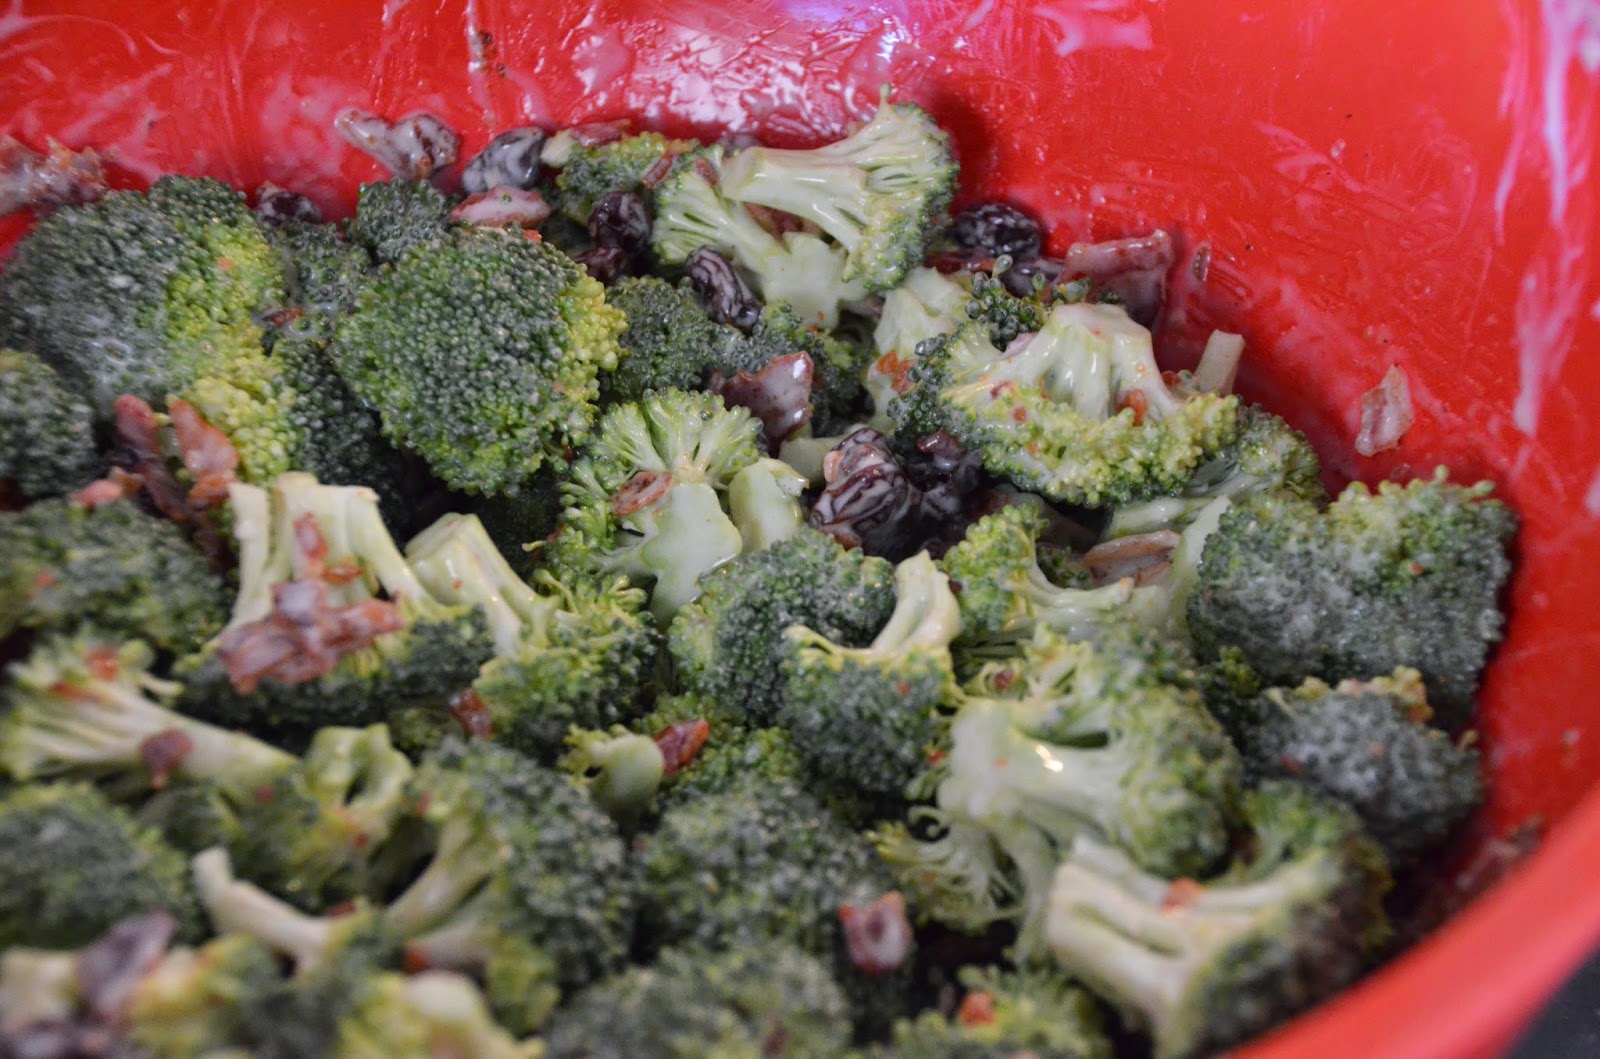
Then throw it all in a big bowl, preferably a red one because look at how pretty that is!


Now you need to cook some bacon.  Notice I said to use a “package” of bacon, this is because I don’t believe in telling people how much bacon to put in things.  I used a package that had about 8 slices but if you want to use more or less then you go ahead and do that. You like thick cut?…use that.  You a fan of turkey bacon?… go for it!  Bacon is freedom.    

I do have some advice on HOW to cook your bacon…do it in the oven.  Stick it on a tray and throw it in at 400°F for 15 minutes.  Maybe a little longer for thick cut and maybe a little less for the turkey variety.  You want it to get nice and crispy (DUH!)

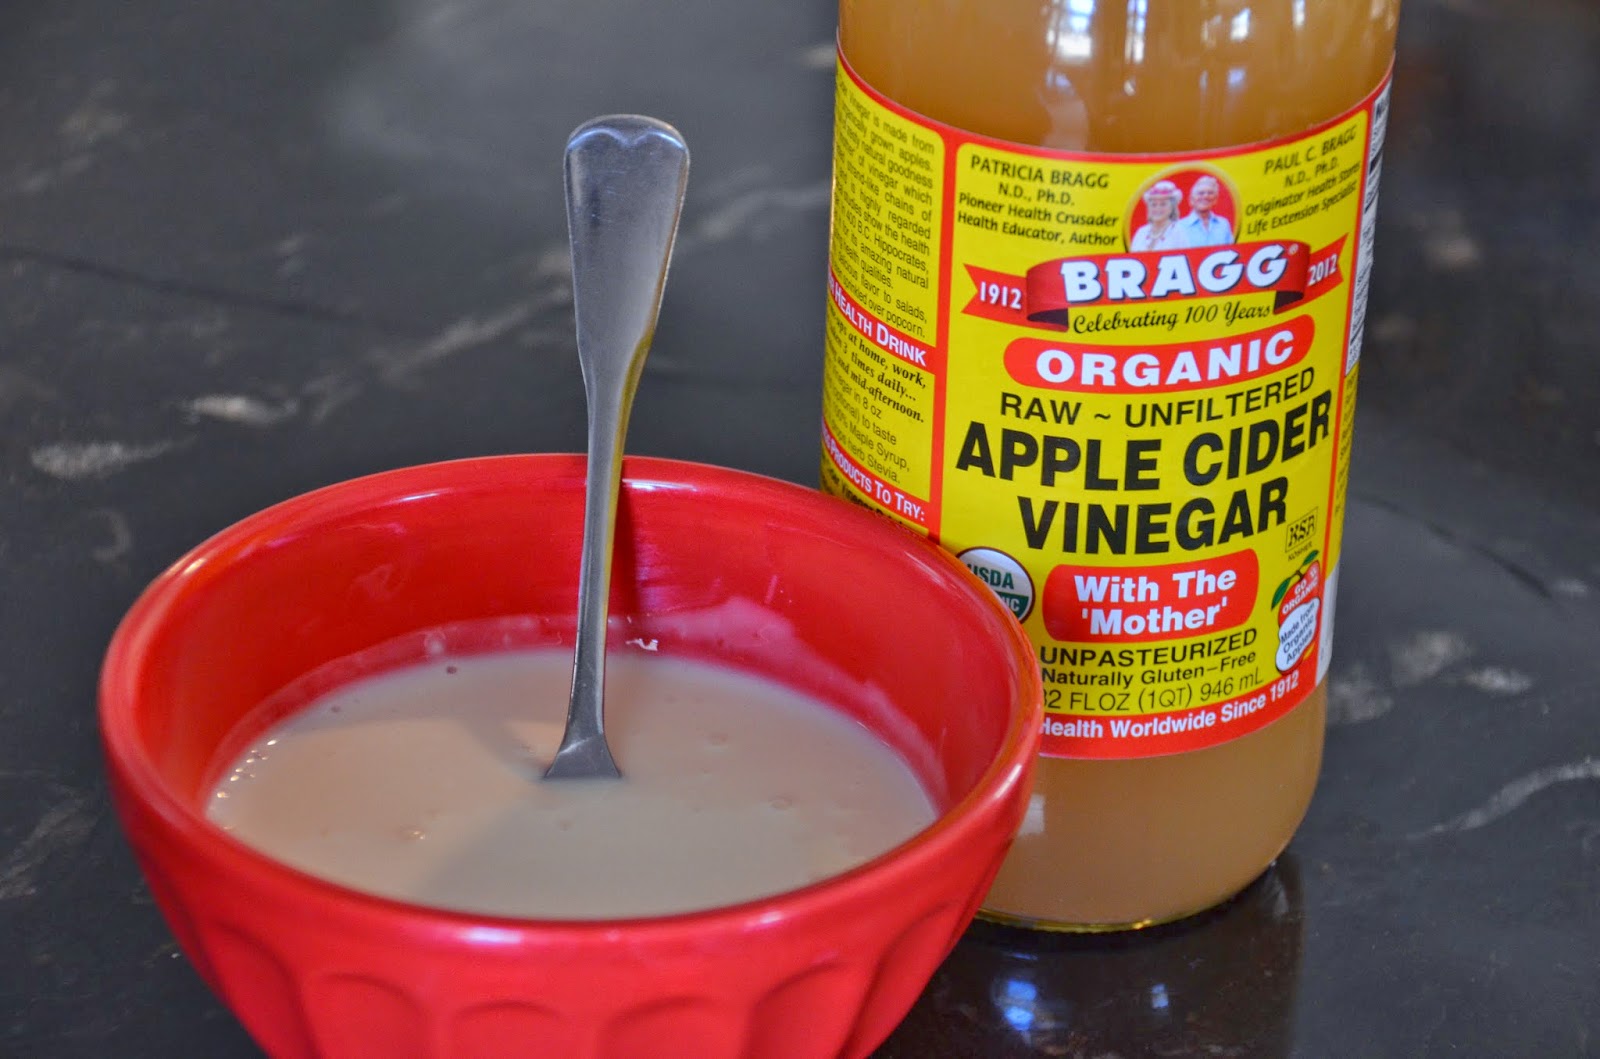
While the bacon is bakin’ (that’s a homophone!) go ahead and prepare the dressing.  It’s so easy, just mix 3/4 cup of mayo with 1/4 cup of good apple cider vinegar.  

Then add some sugar, between one and two tablespoons is good…add one tbsp, taste it, and then go from there.

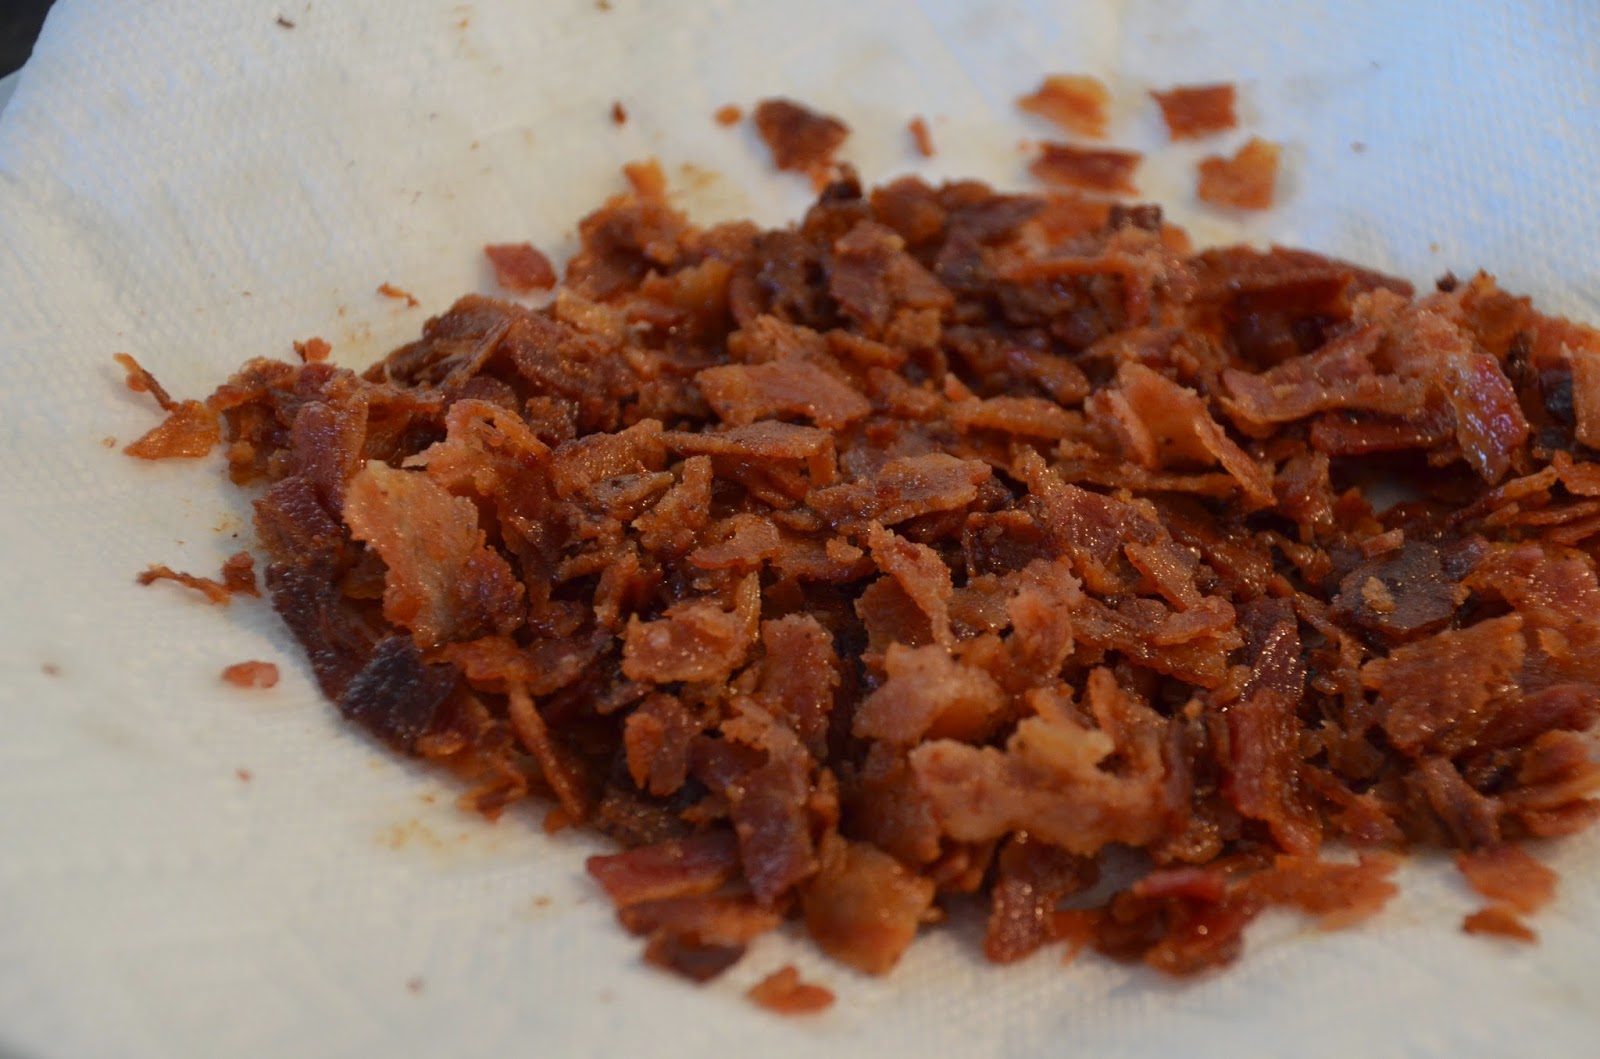
Once the bacon is ready, use tongs to remove it from your baking sheet and place it on paper towels to soak up any excess oil…in other words, do what you’ve always done with bacon when it’s done.

Once it’s cooled, use your hands to break it up into pieces…

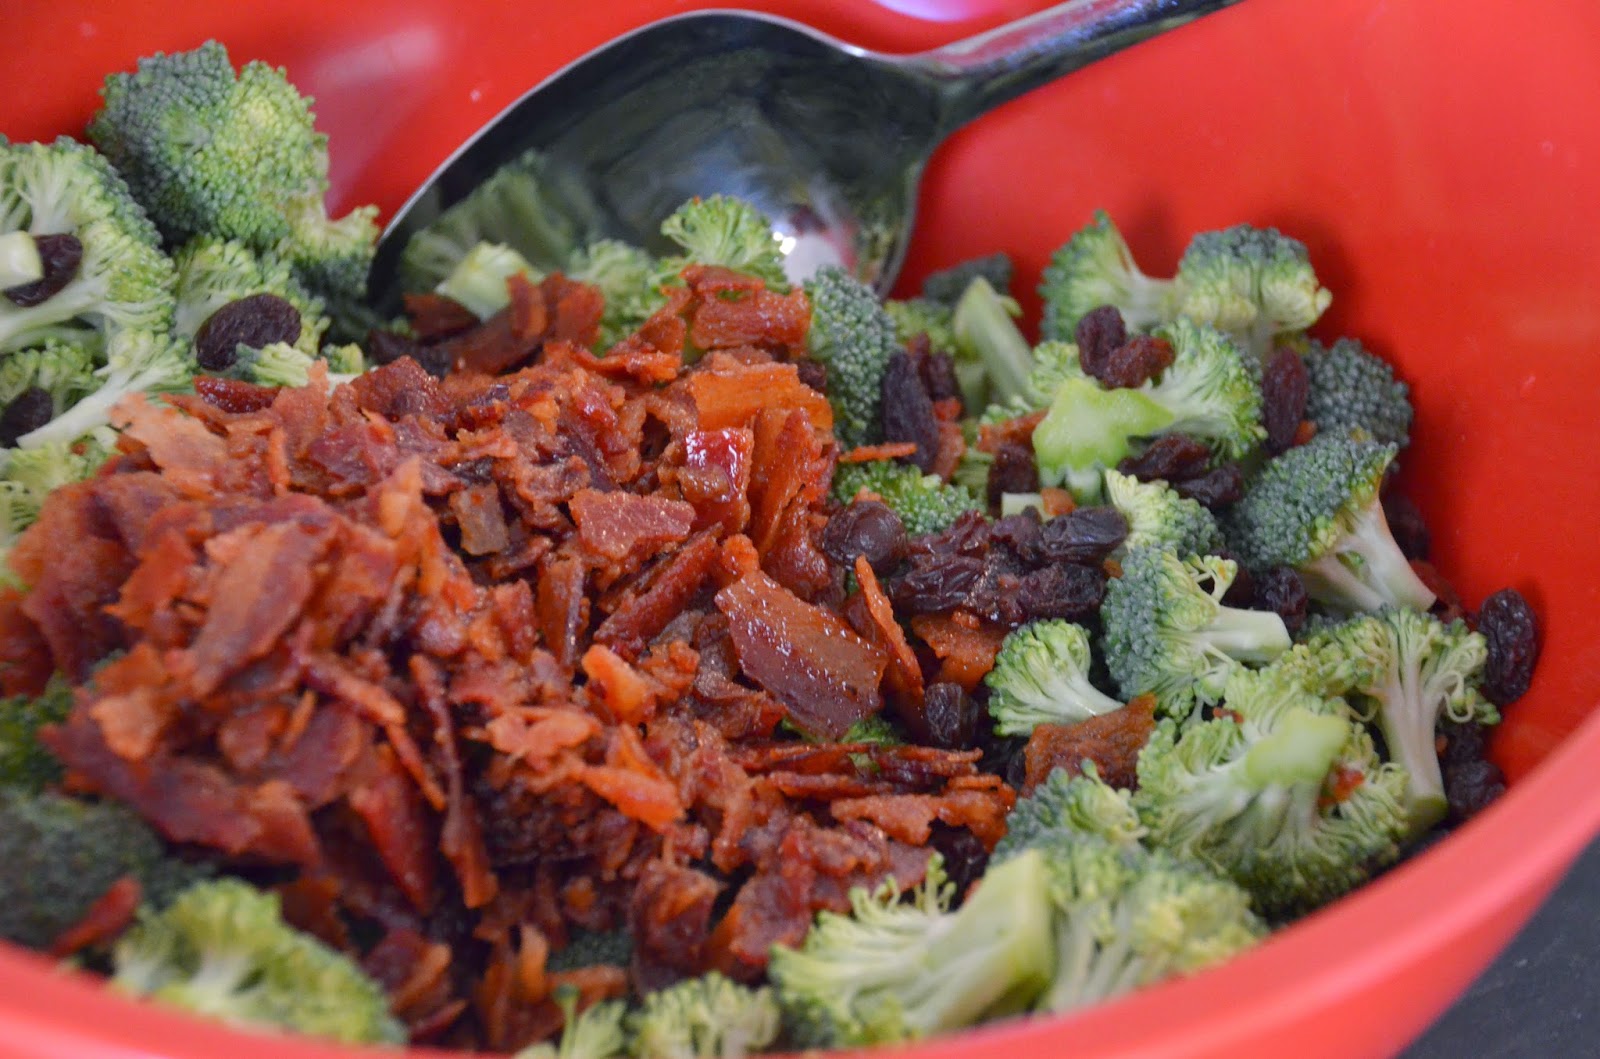
Now dump your bacon in the broccoli bowl and then add the raisins…

Then pour your dressing over the whole thing and stir it all together…


Now stick it in the fridge and let it hang out, the dressing will help to slightly soften the broccoli while it sits.

When you’re ready to serve it, chop up some green onions and throw those in…

Now give it a taste and add some salt and pepper to your liking.

It’s done!  


This is a perfect side dish for your backyard BBQ…


Stay tuned for the recipe on how to make those cheesy potatoes in the background…I’m such a tease!


Cheers!

The Good Cooker

A night in with the Women Who Wine…


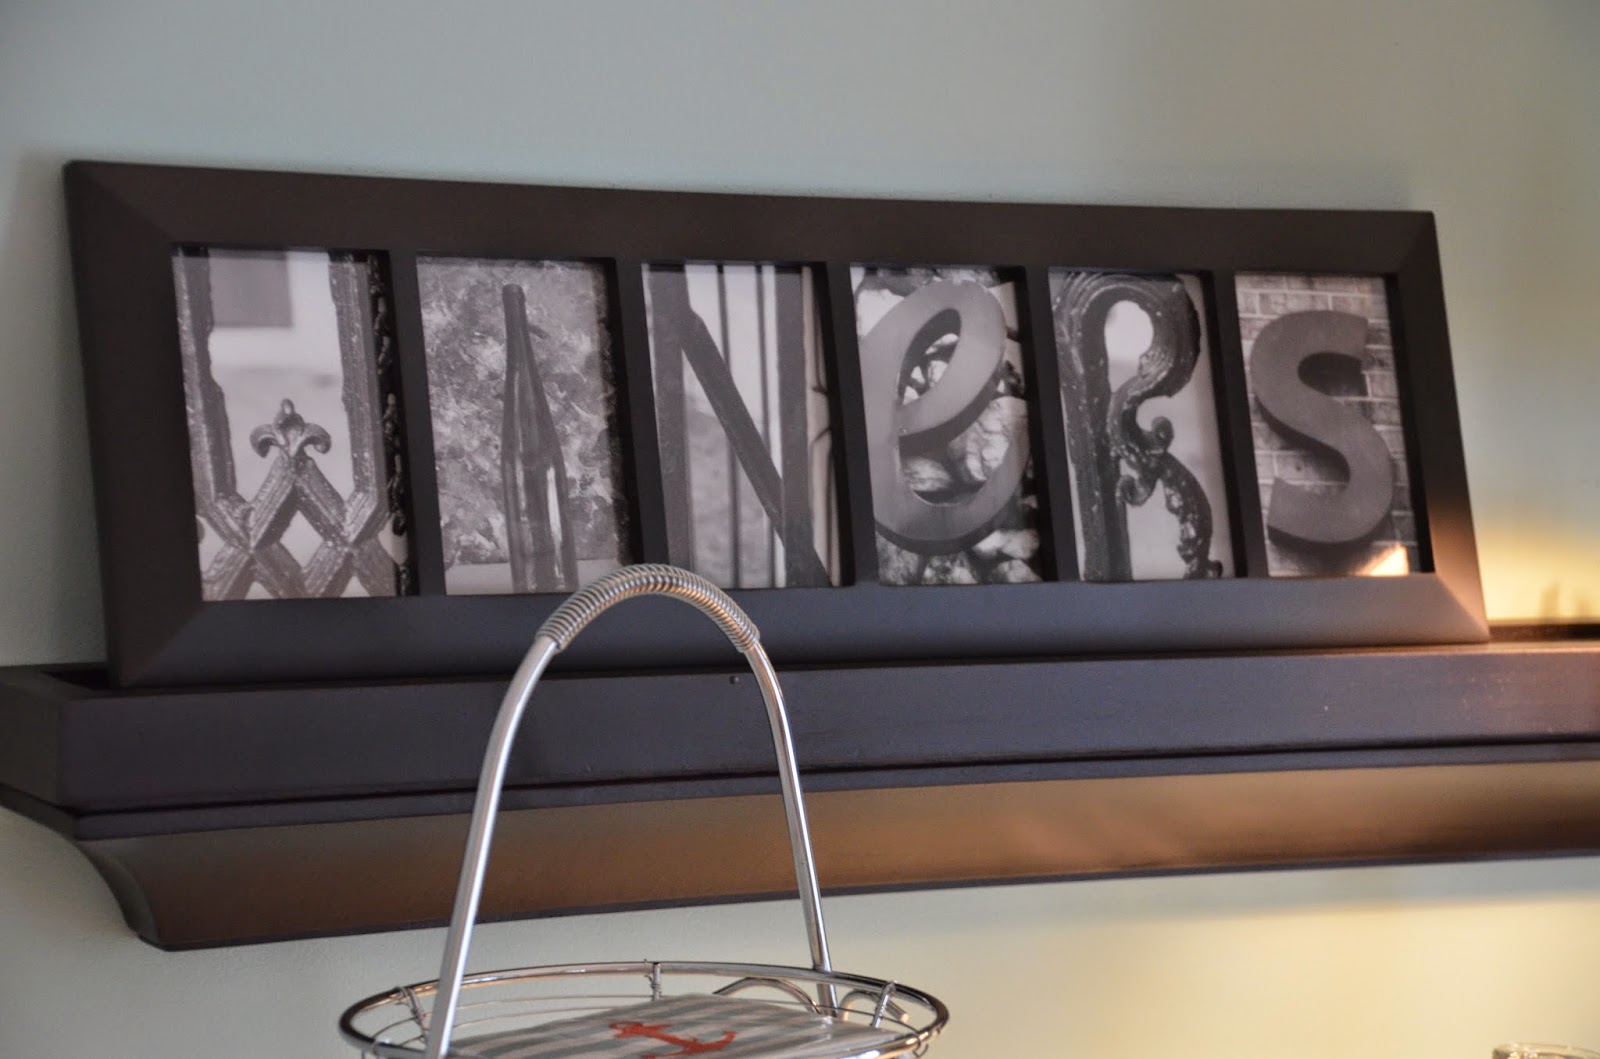
First things first…when I am my mother’s age I can only hope and pray that I have friends who are as kind and funny and wonderful as my mom’s cohorts are.  Every month, a group of women from my parent’s neighborhood get together and drink wine and eat food and talk about everything from education issues to fashion trends.  I know these ladies know the value of this time they get to spend together but being on the periphery of this crew I can really see how truly lucky they all are to have each other.  They are as different as they are the same, they listen to other view points and they’re even patient with me when I get “passionate” about a topic.  Did I mention there’s wine involved?  

My mom was hosting “winers” (that’s what they call it) this month so I asked if I could prepare the menu.  It’s a dream of mine to be a personal chef however living in Northern Indiana I don’t know too many people wanting to hire a chef for their “dinner party”…so this was a great chance for me to cook for a (small) crowd.  

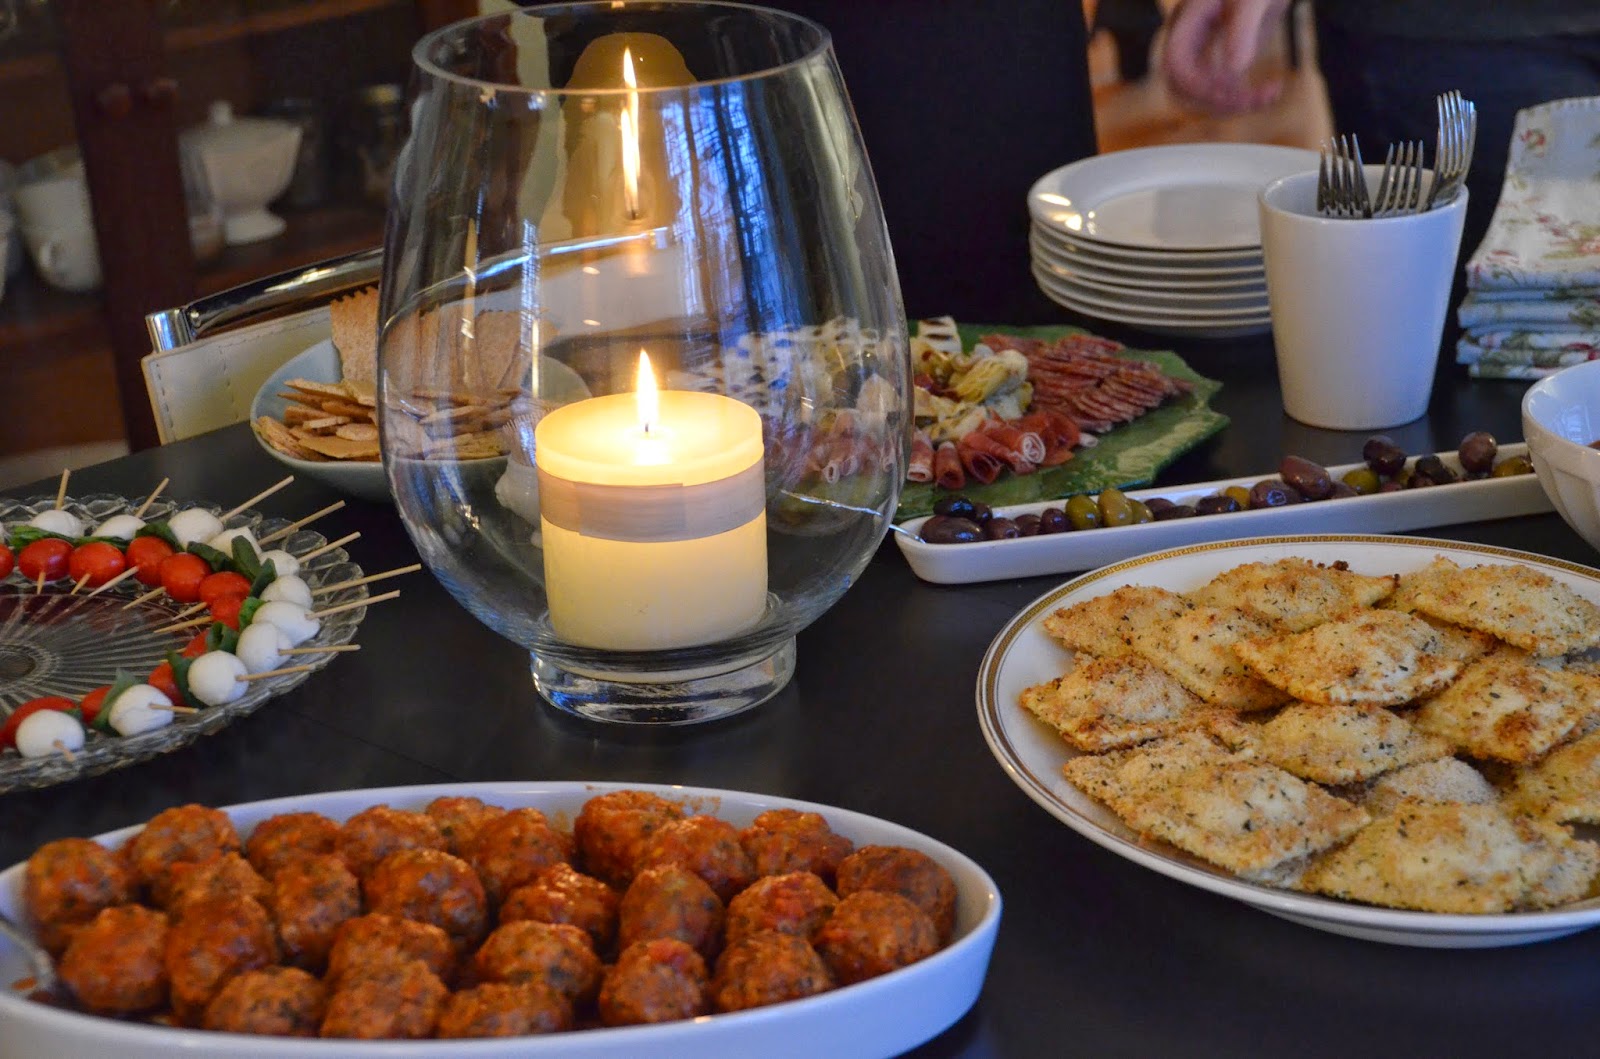
My mom was thinking Italian and I was totally on board.  I already knew I would do my meatballs, recipe here.  I just made the meatballs slightly smaller and served them with toothpicks.

Speaking of my mom…here she is bringing in the wine!


No, I am not 13 and no, she didn’t have me when she was 13.  The woman must possess the same anti-aging DNA as Christy Brinkley…I’m sure it skips a generation, actually I know it does.

So not only do we indulge in amazing wines (all under $20)…they also do a signature cocktail for each get together.  Being that this was an Italian theme, we decided to go with an Italian Greyhound.  I think it’s traditionally made with Gin but we decided Vodka was the way to go, it’s just…

2 cups vodka
4 cups red grapefruit juice
1/4 cup campari
rosemary sprigs

Just mix together the liquid ingredients and pour over ice…then snap a sprig of rosemary to release the oils and throw that in.  Heaven in a glass…


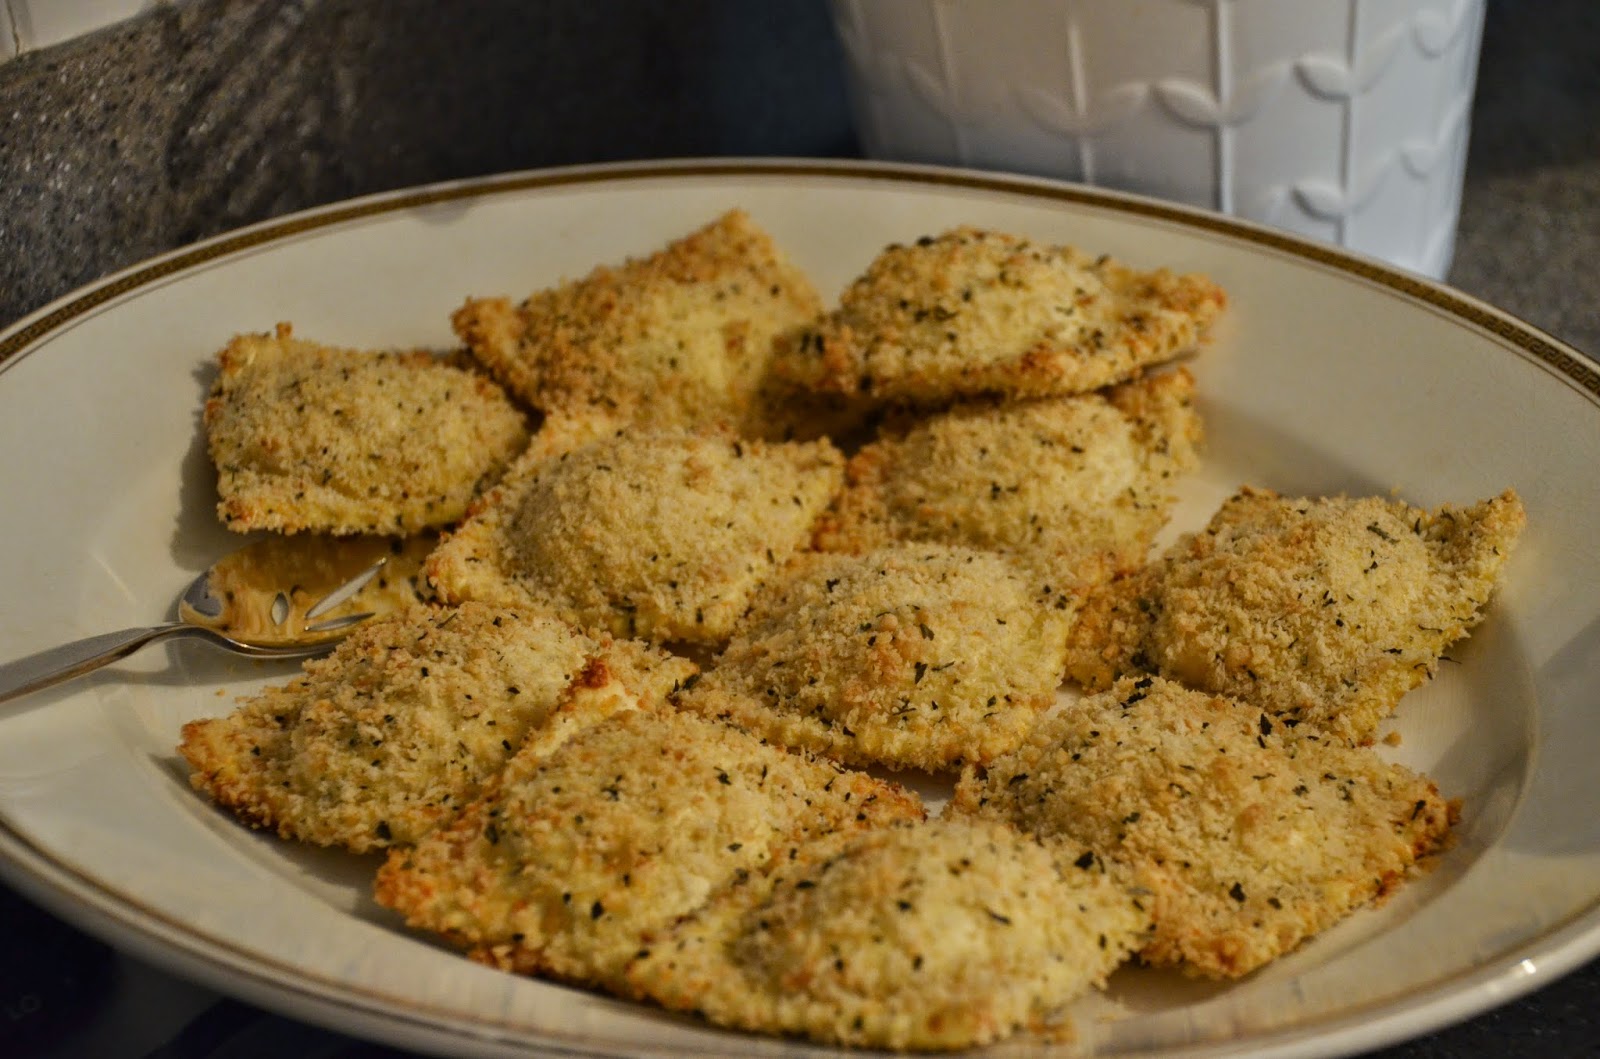
Back to the food…besides the meatballs, mom thought that toasted ravioli would be great…I agreed (who isn’t going to agree that toasted ravioli is a good idea?)

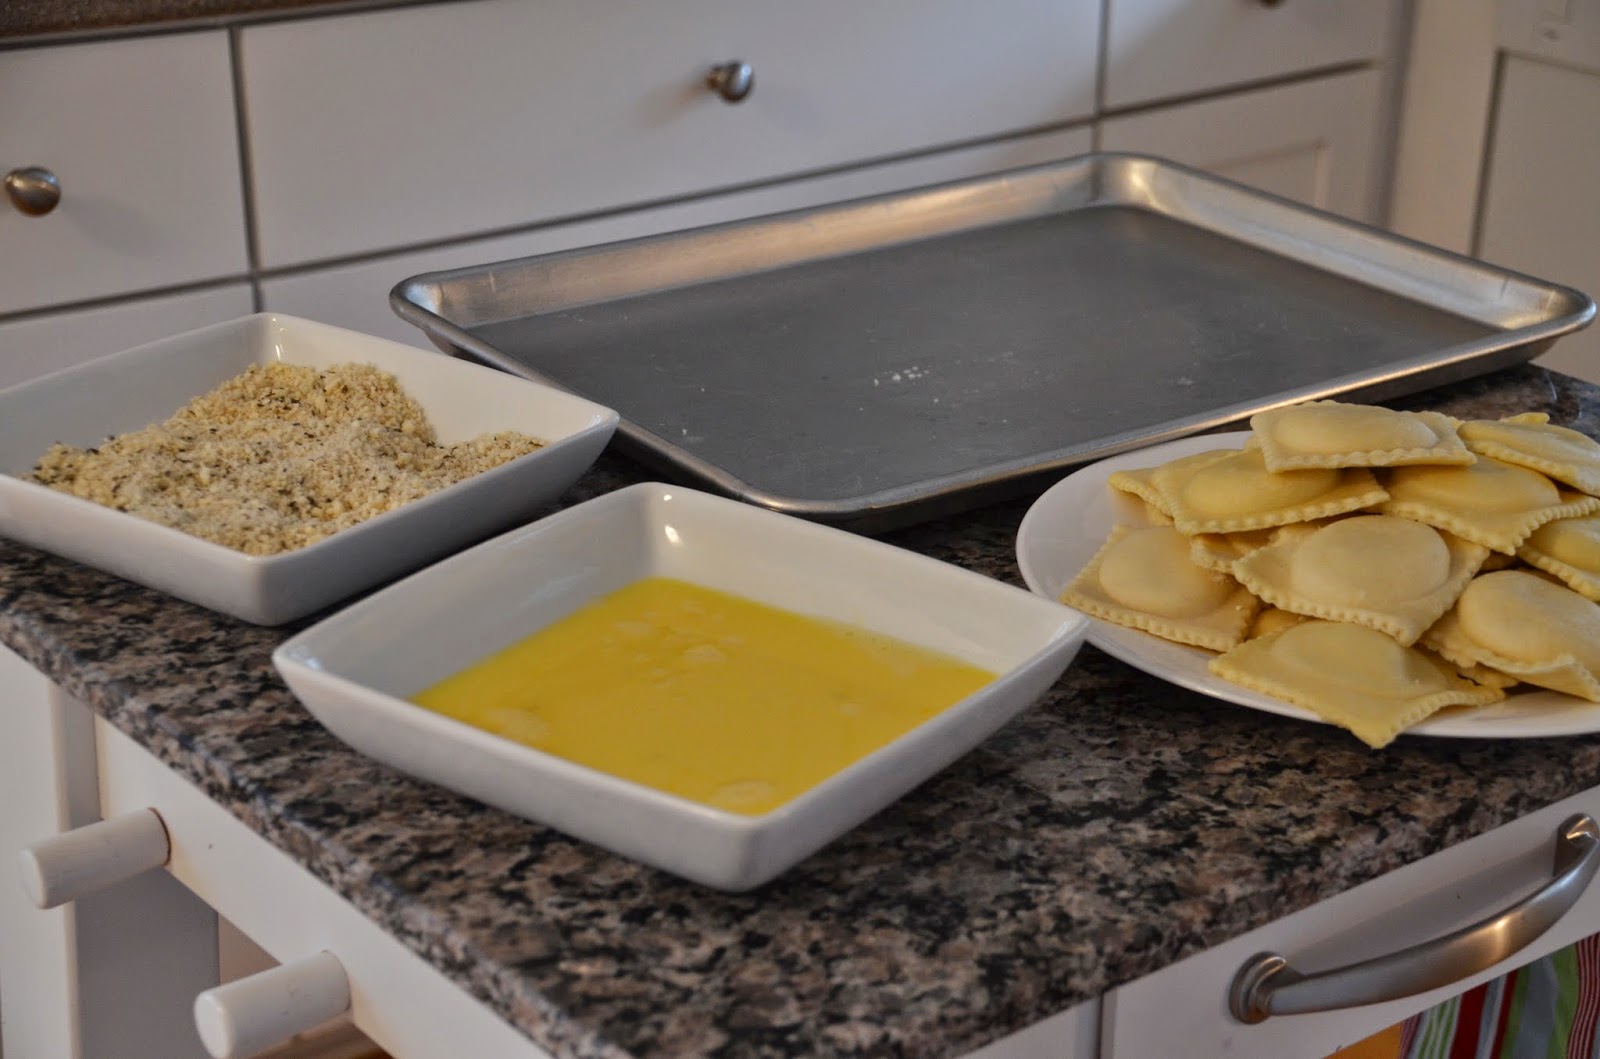
I used a recipe from The Six Sisters, click here for the post.  It worked great because I was able to find fresh ricotta stuffed ravioli at Bamber’s Superette in South Bend.

How we have access to an authentic Italian grocer in Northern Indiana is beyond me but Bambers is just that, click here for information about their amazing market…and to see how cute the owners are.

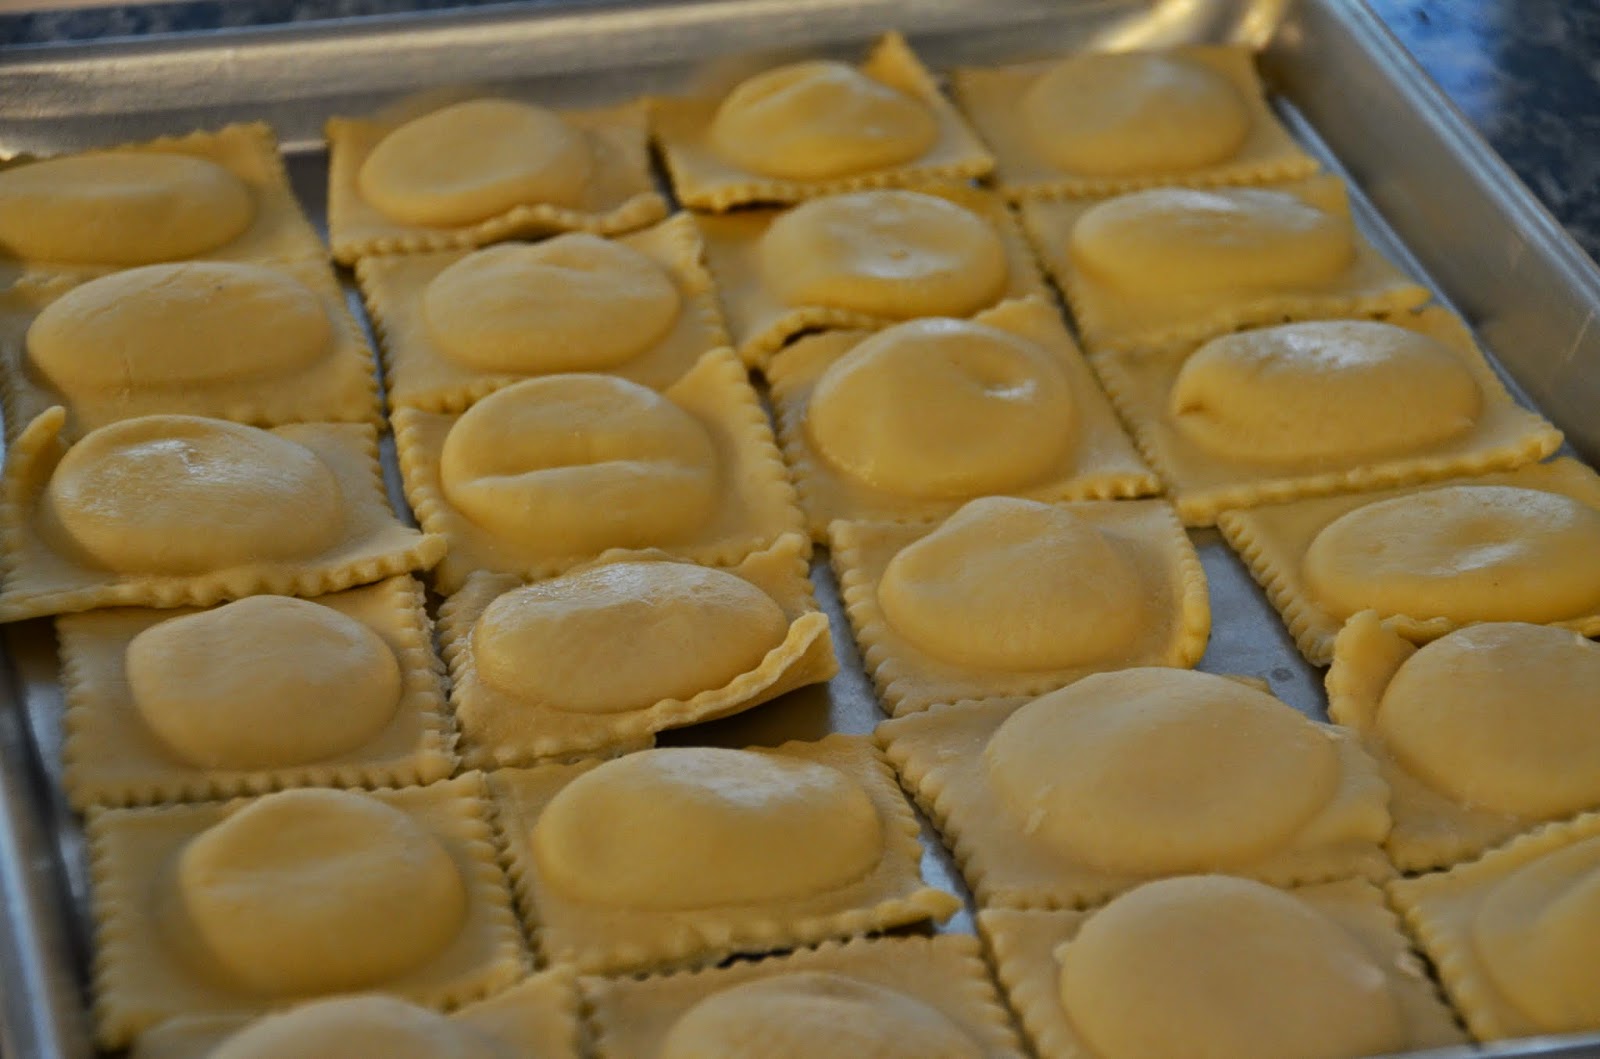
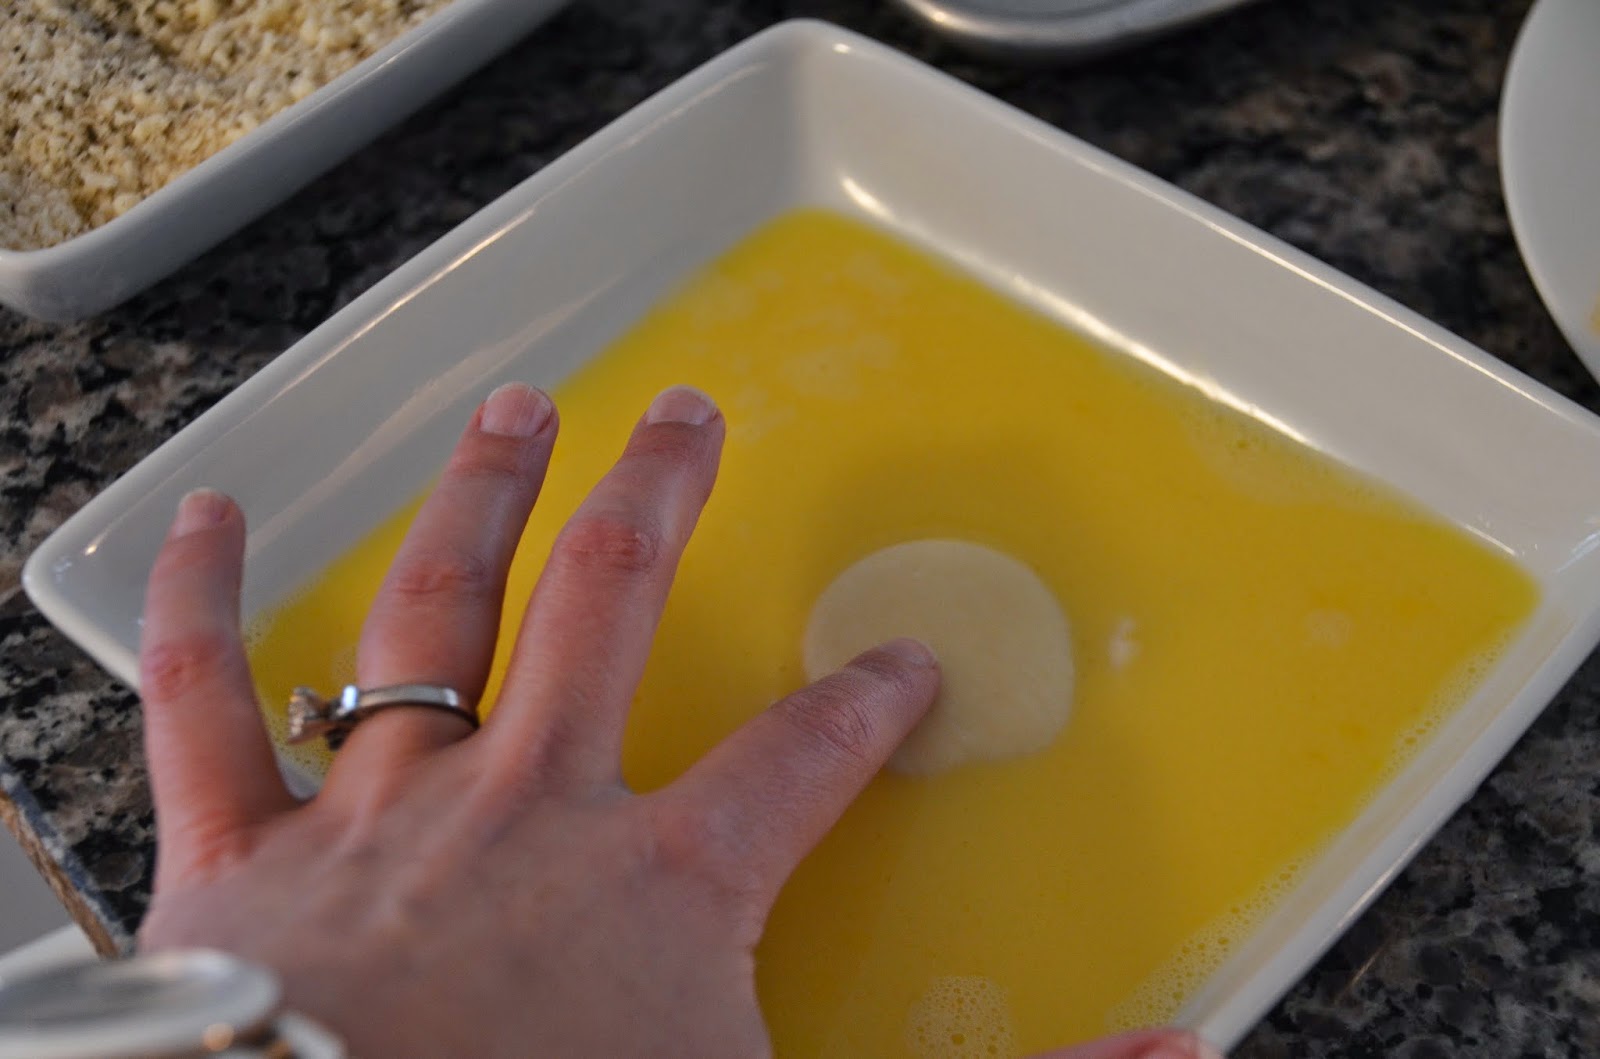
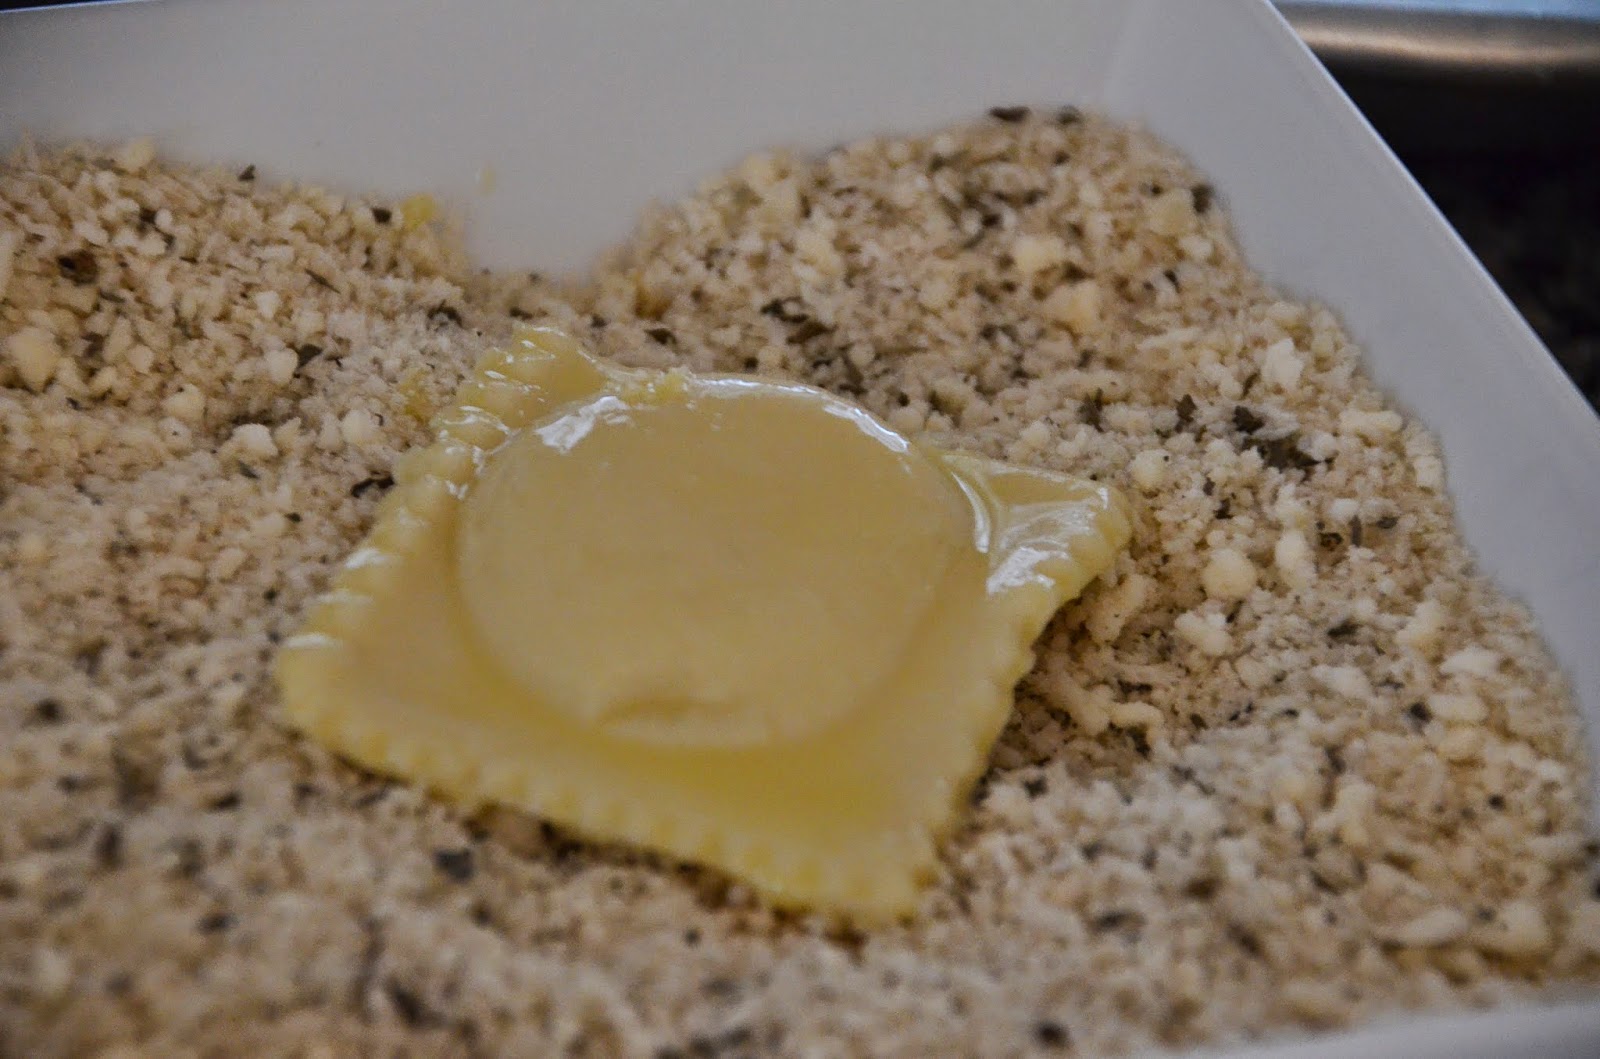
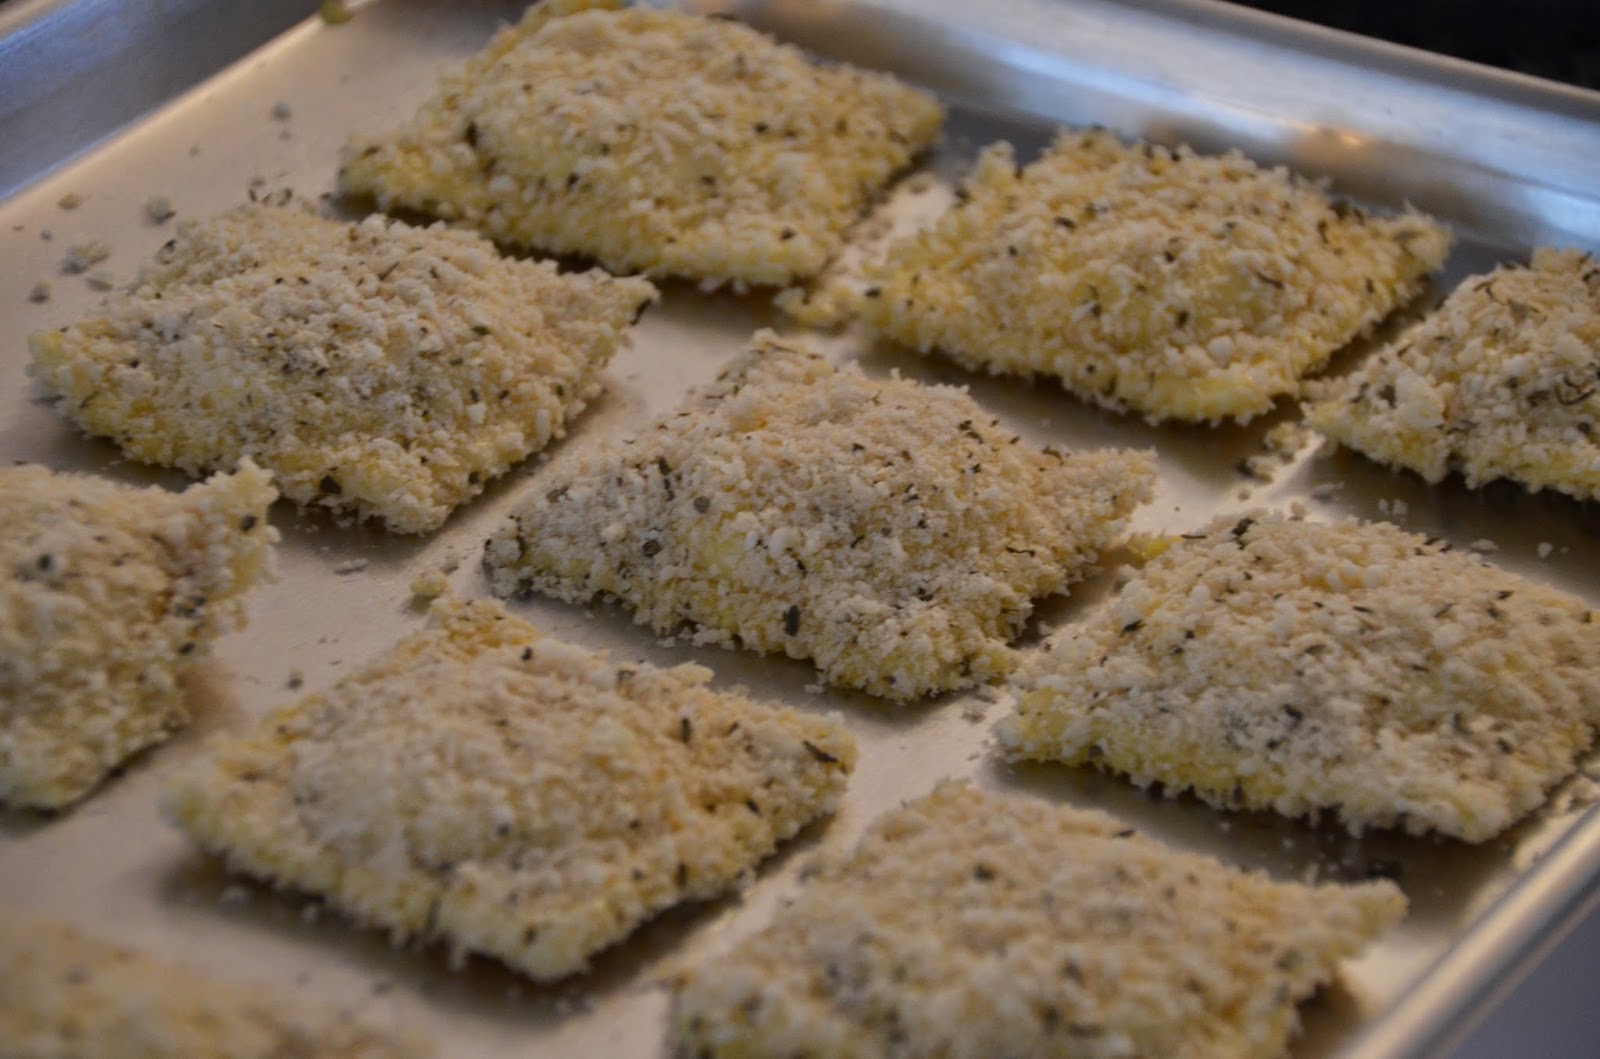
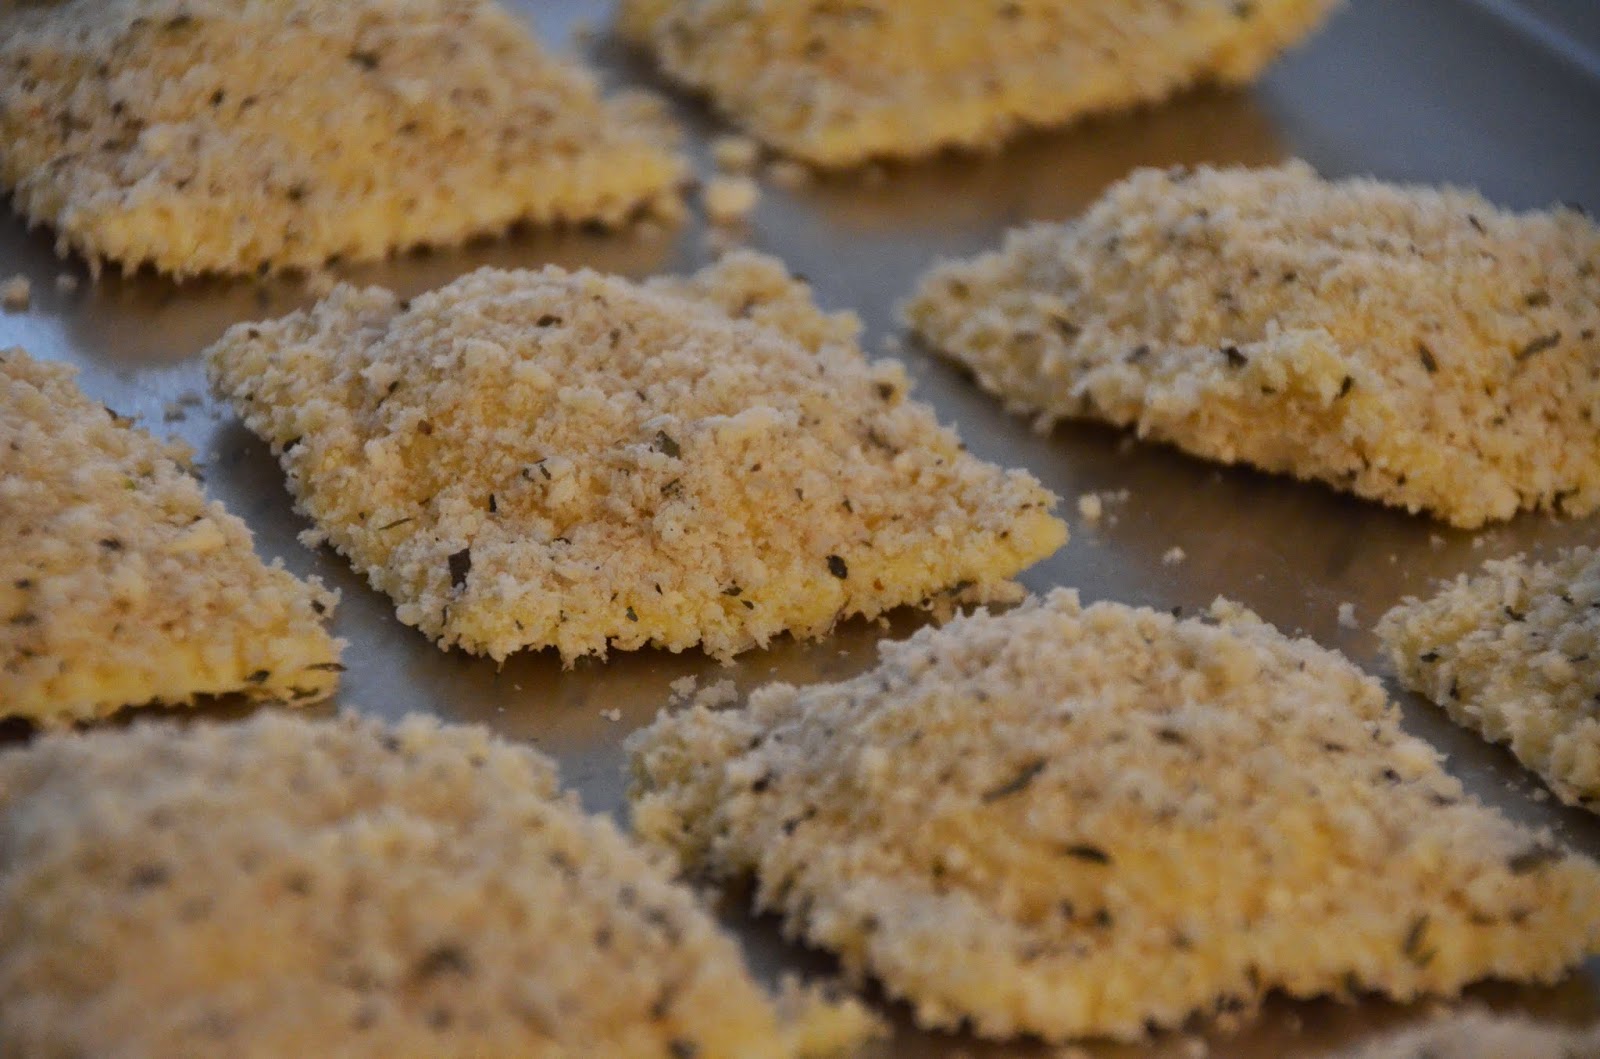
Here are some photos I snapped when preparing the toasted ravioli…


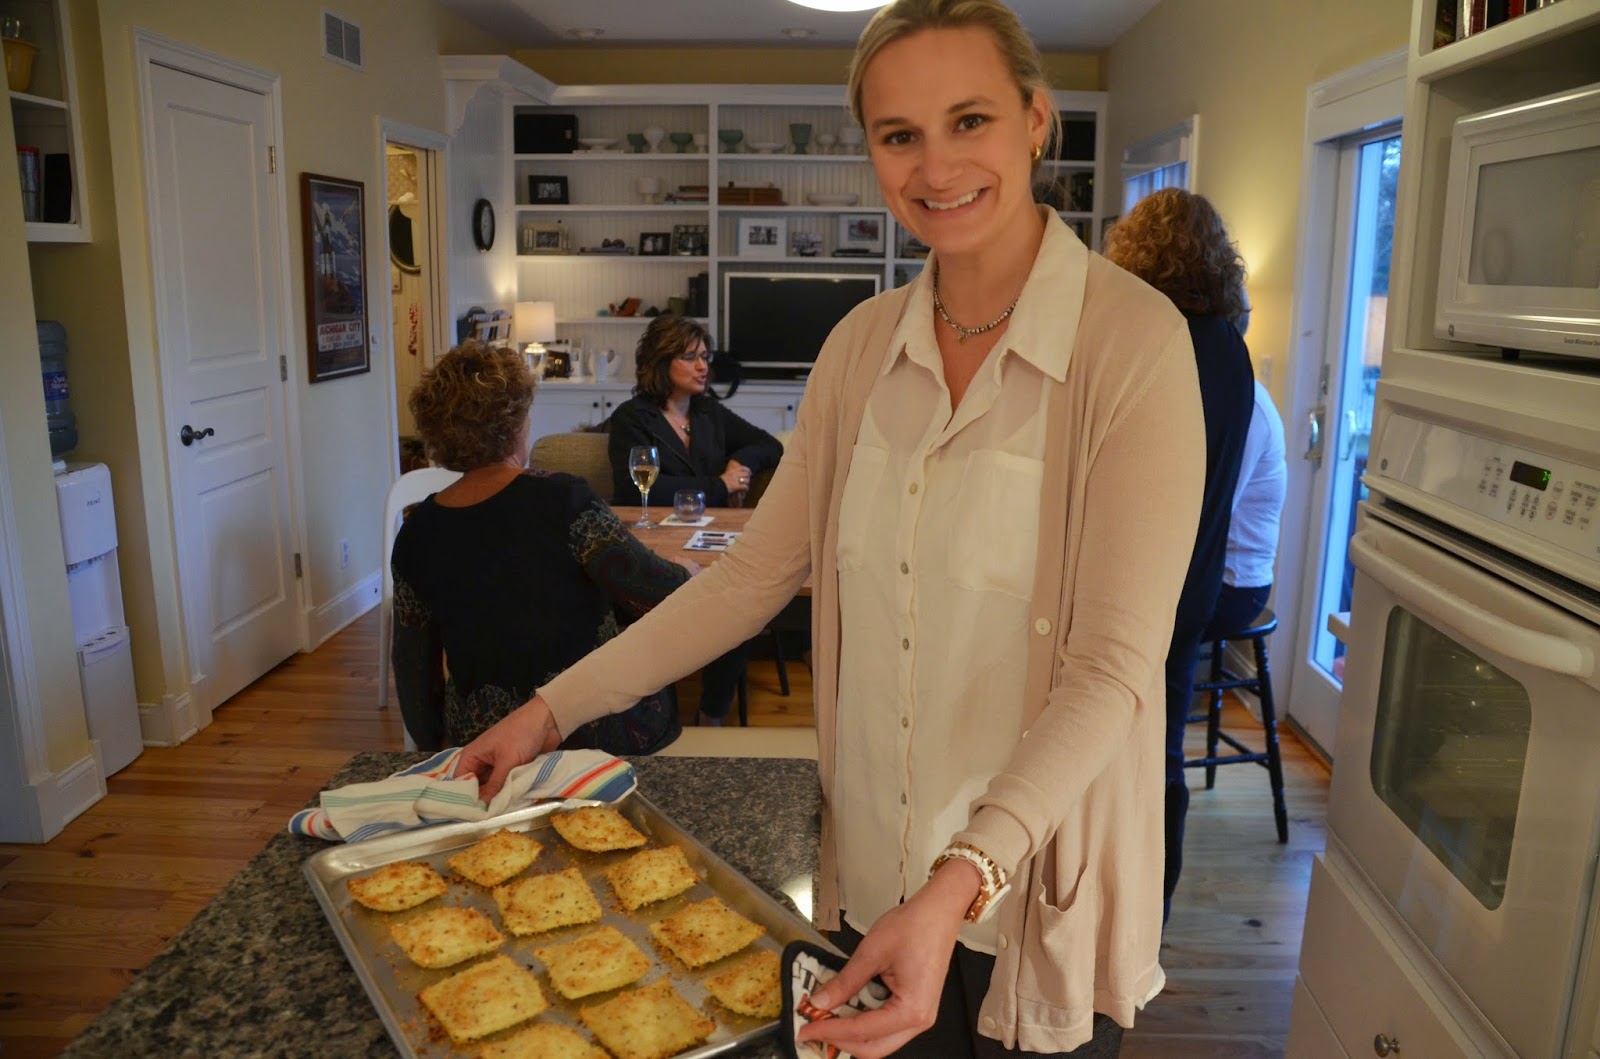
And here I am with the ravioli fresh out of the oven!

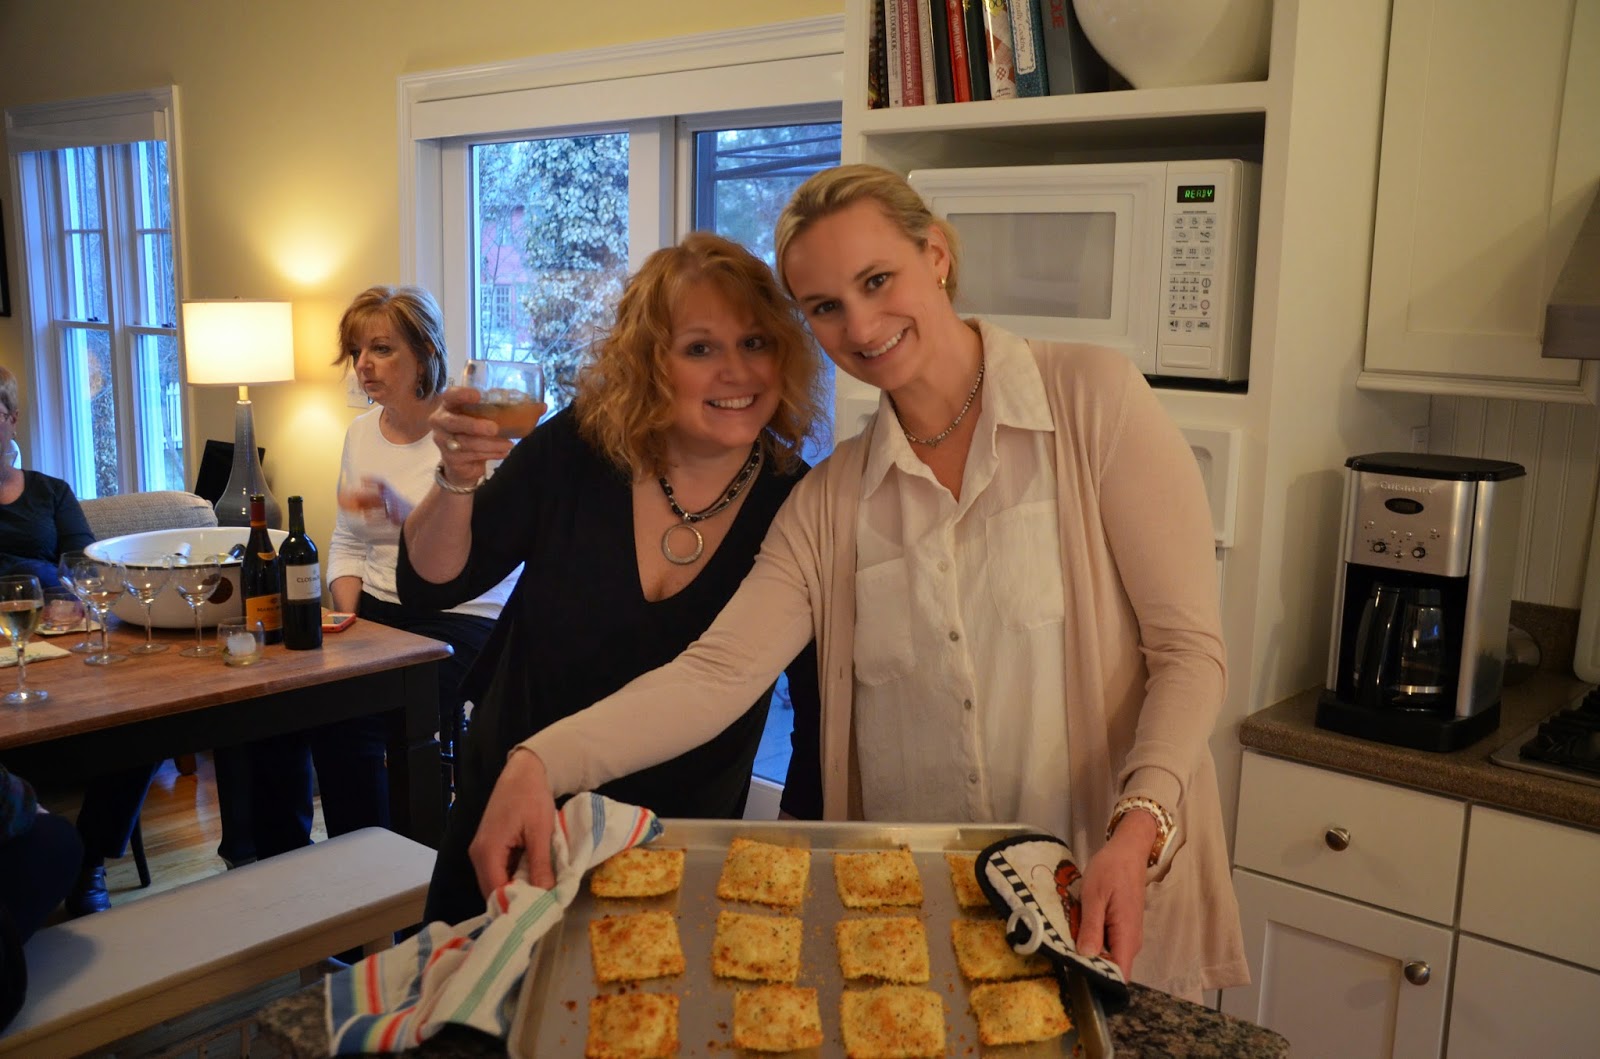
And here I am with my BFF Meg…

And here’s the end result…Ta Da!!!!


My mom got a marinara from Bambers to dip these in…toasted raviolis plus good marinara equals angels singing.

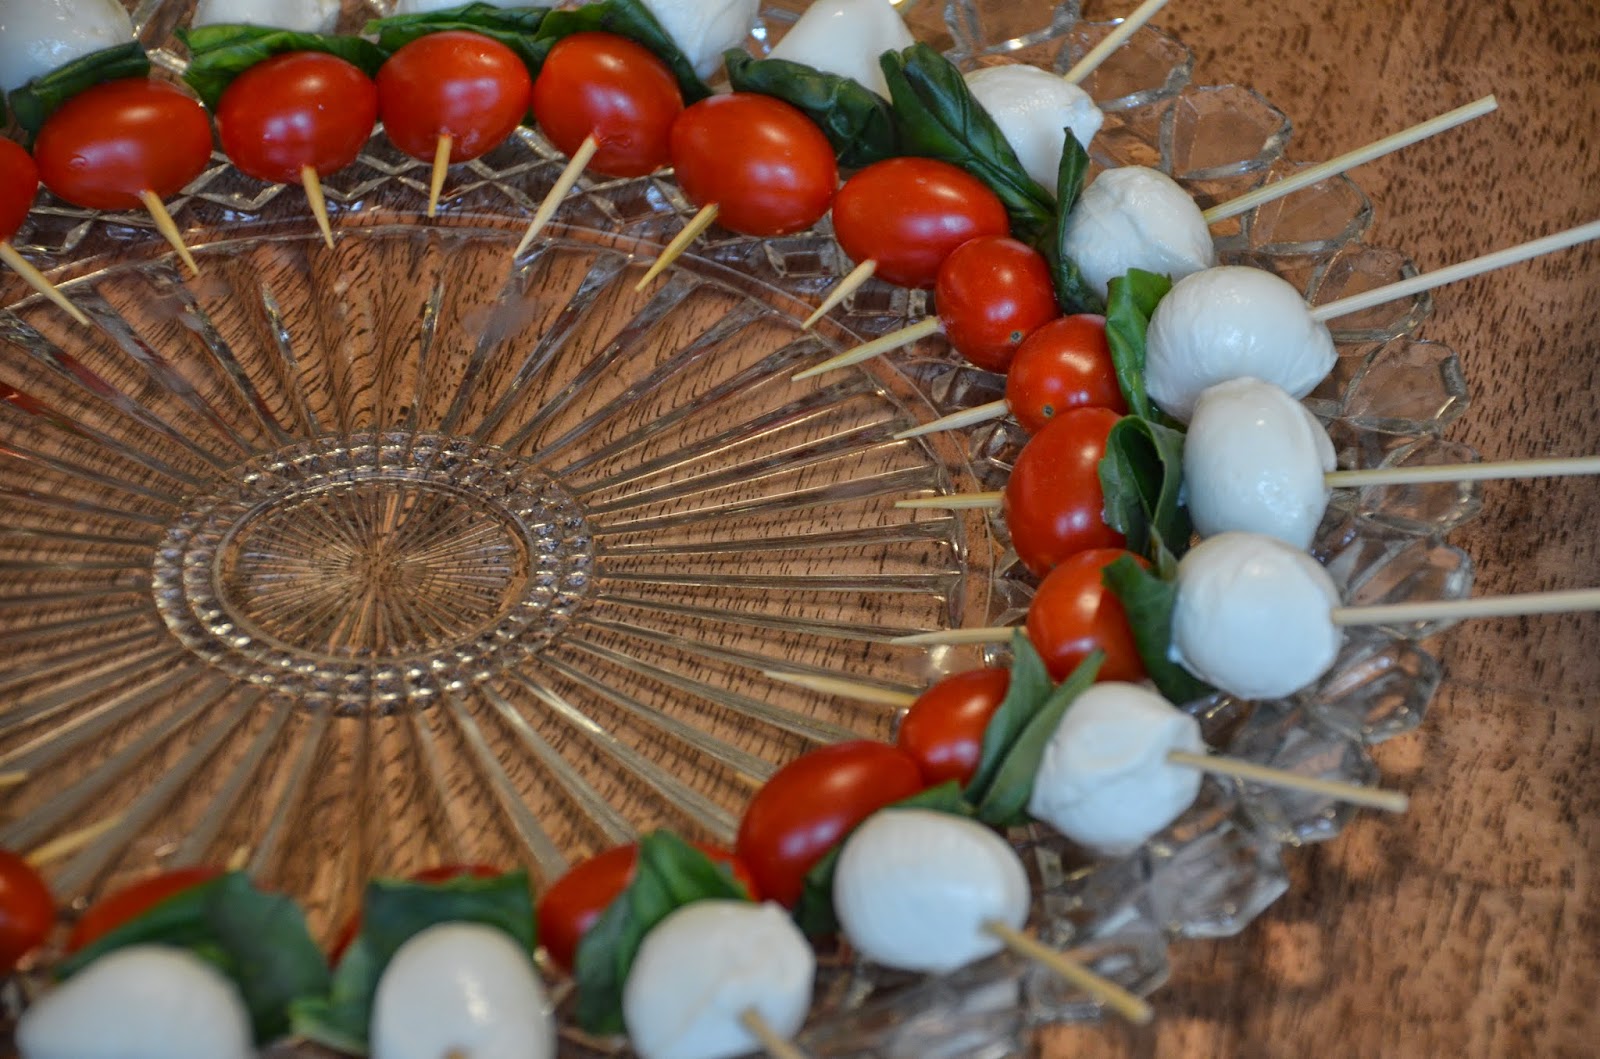
We also did some caprese skewers…just fresh mozzarella, fresh basil, and a grape tomato on a small skewer. 


You can drizzle some extra virgin olive oil on these if you would like…I call this “tastefully stupid easy”.

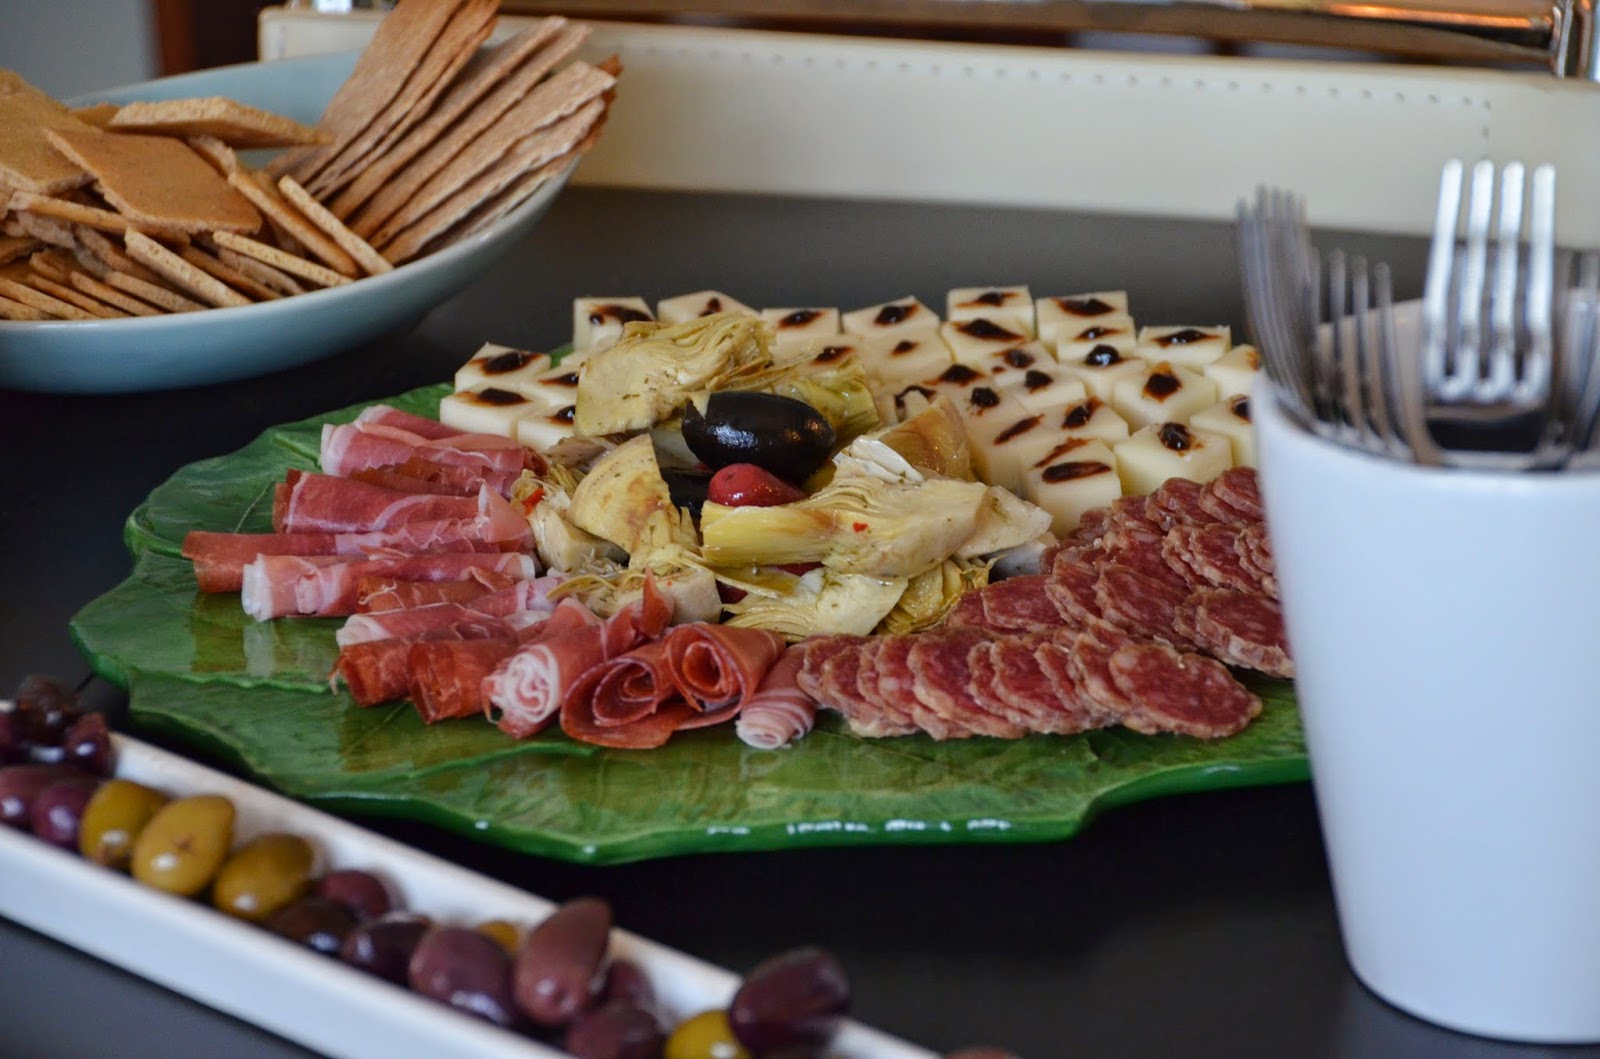
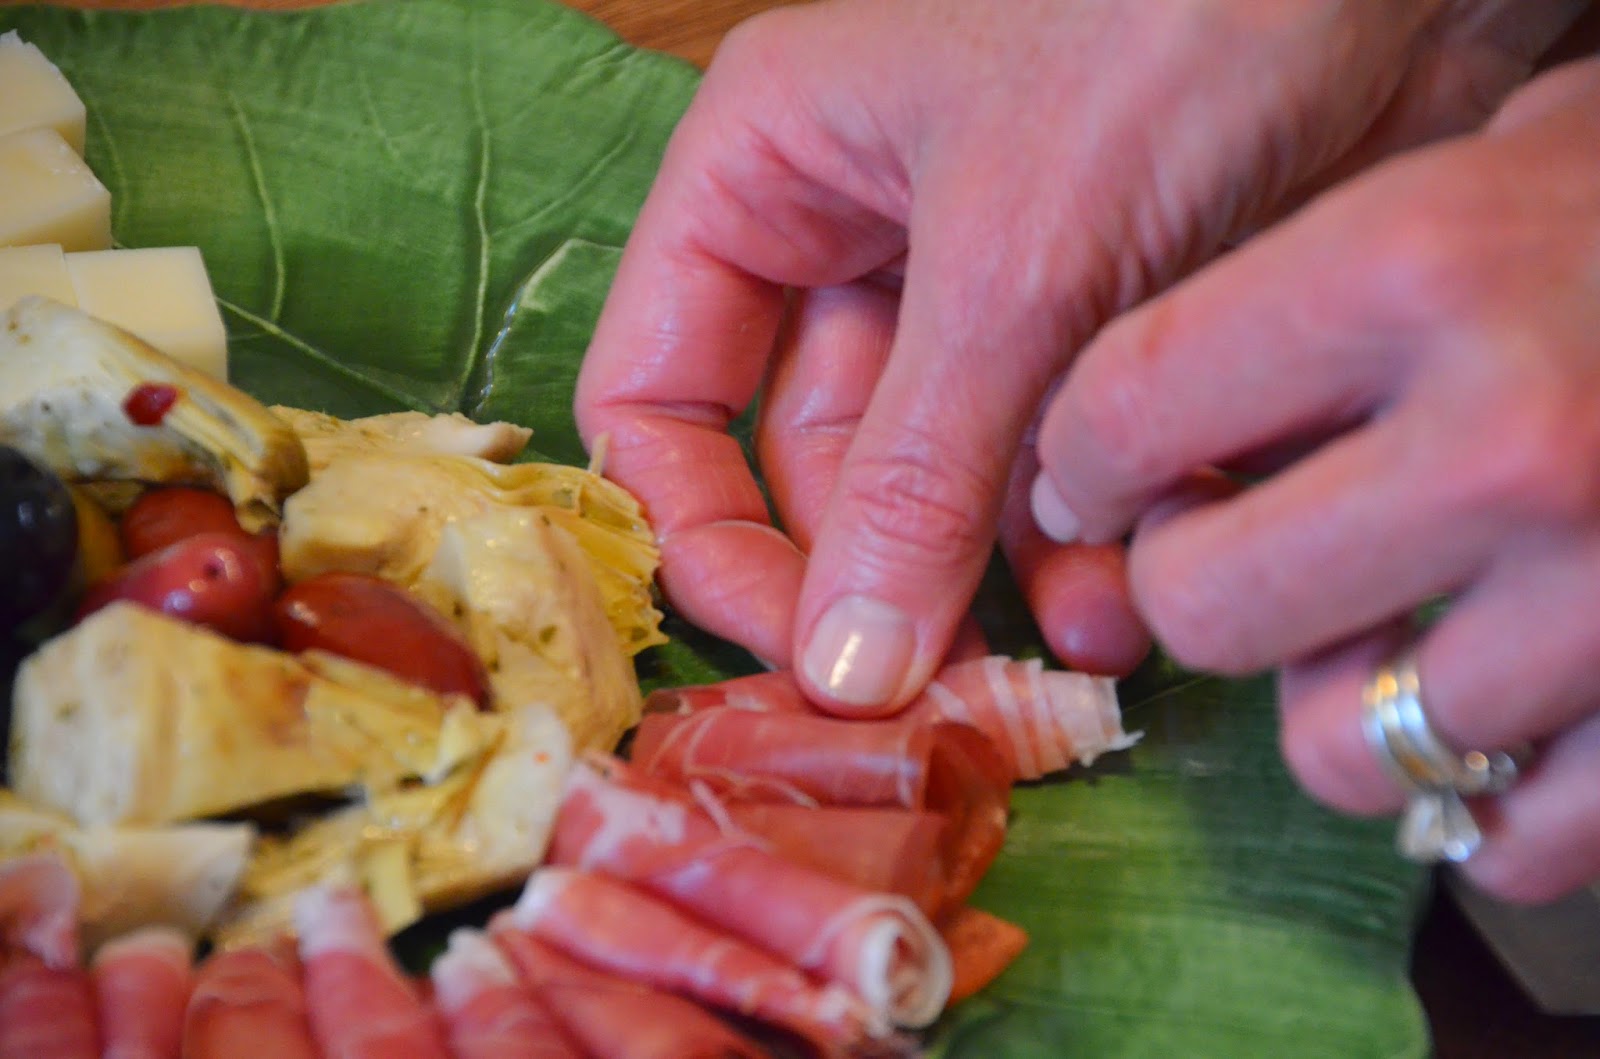
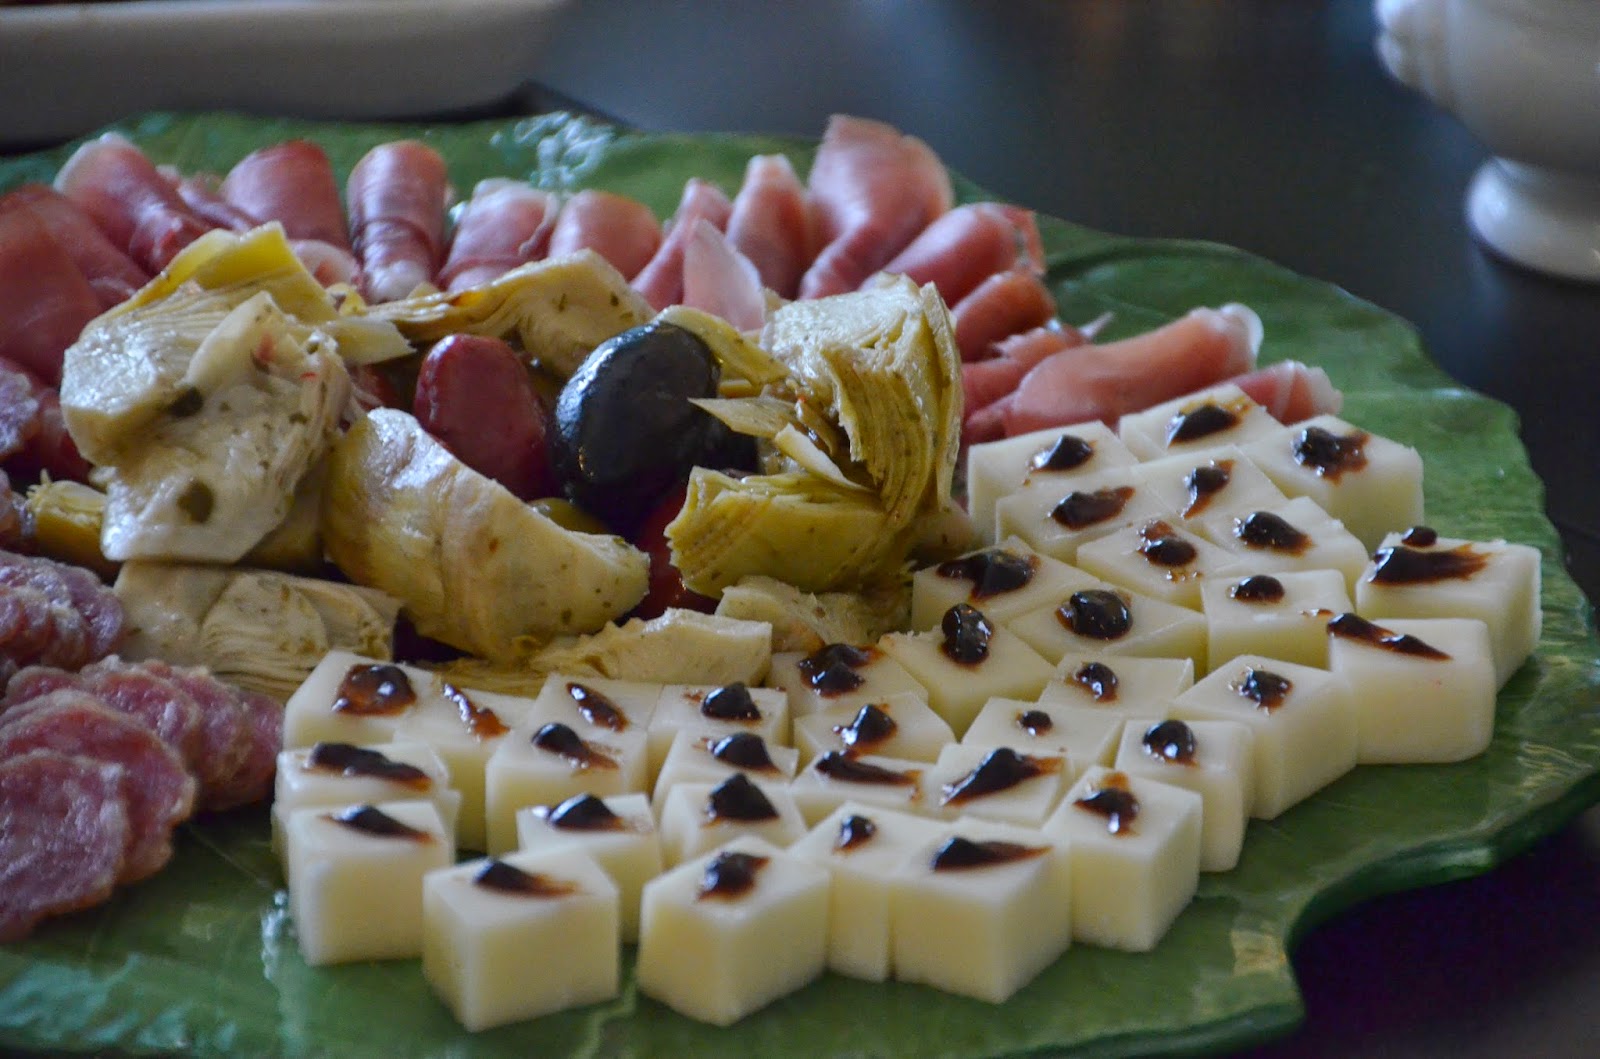
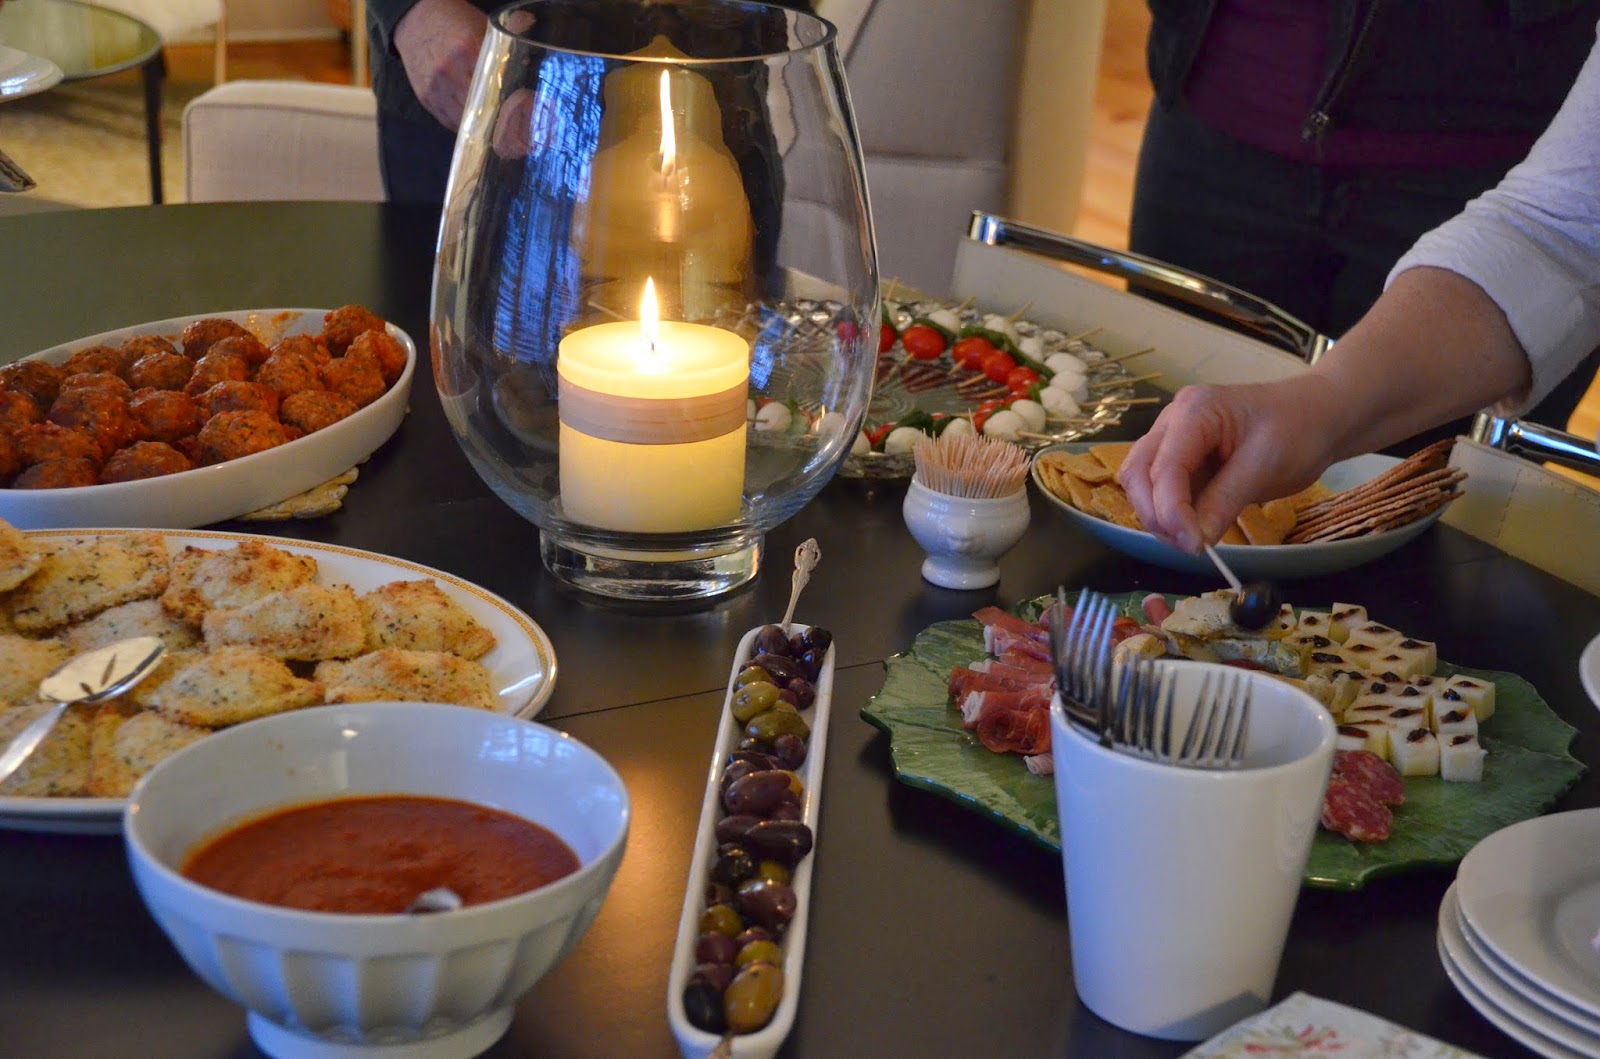
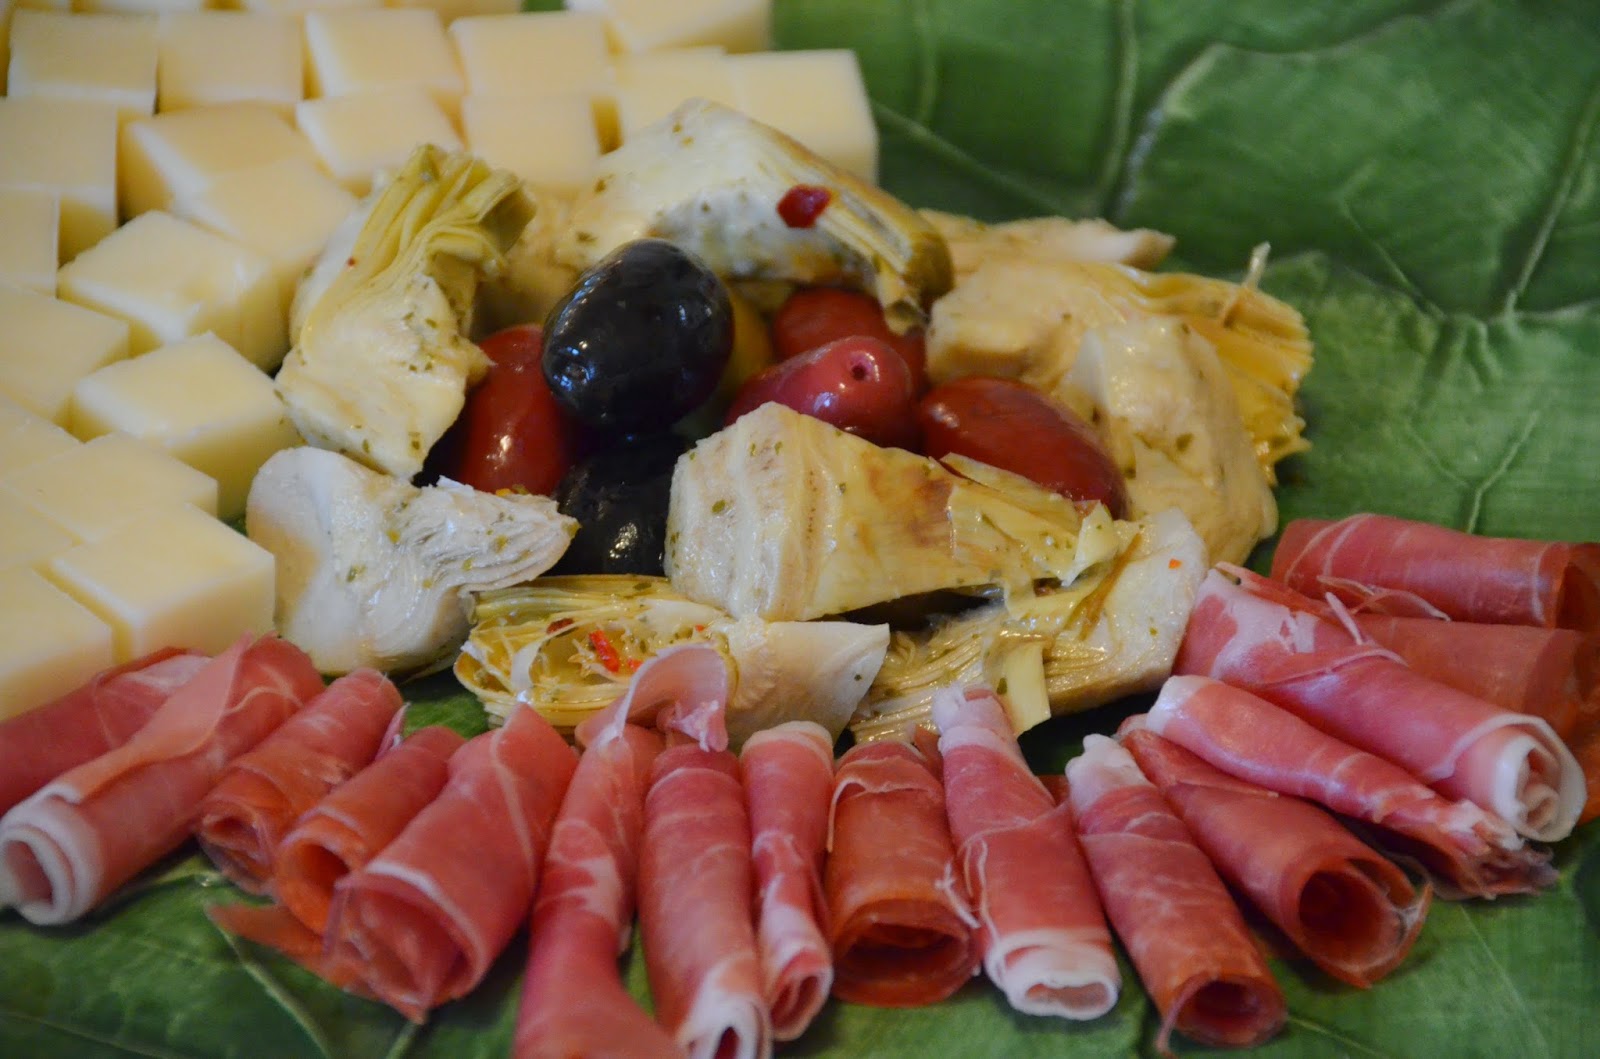
We also did an antipasti plate filled with authentic Italian meats, cheeses, olives, and marinaded artichokes…

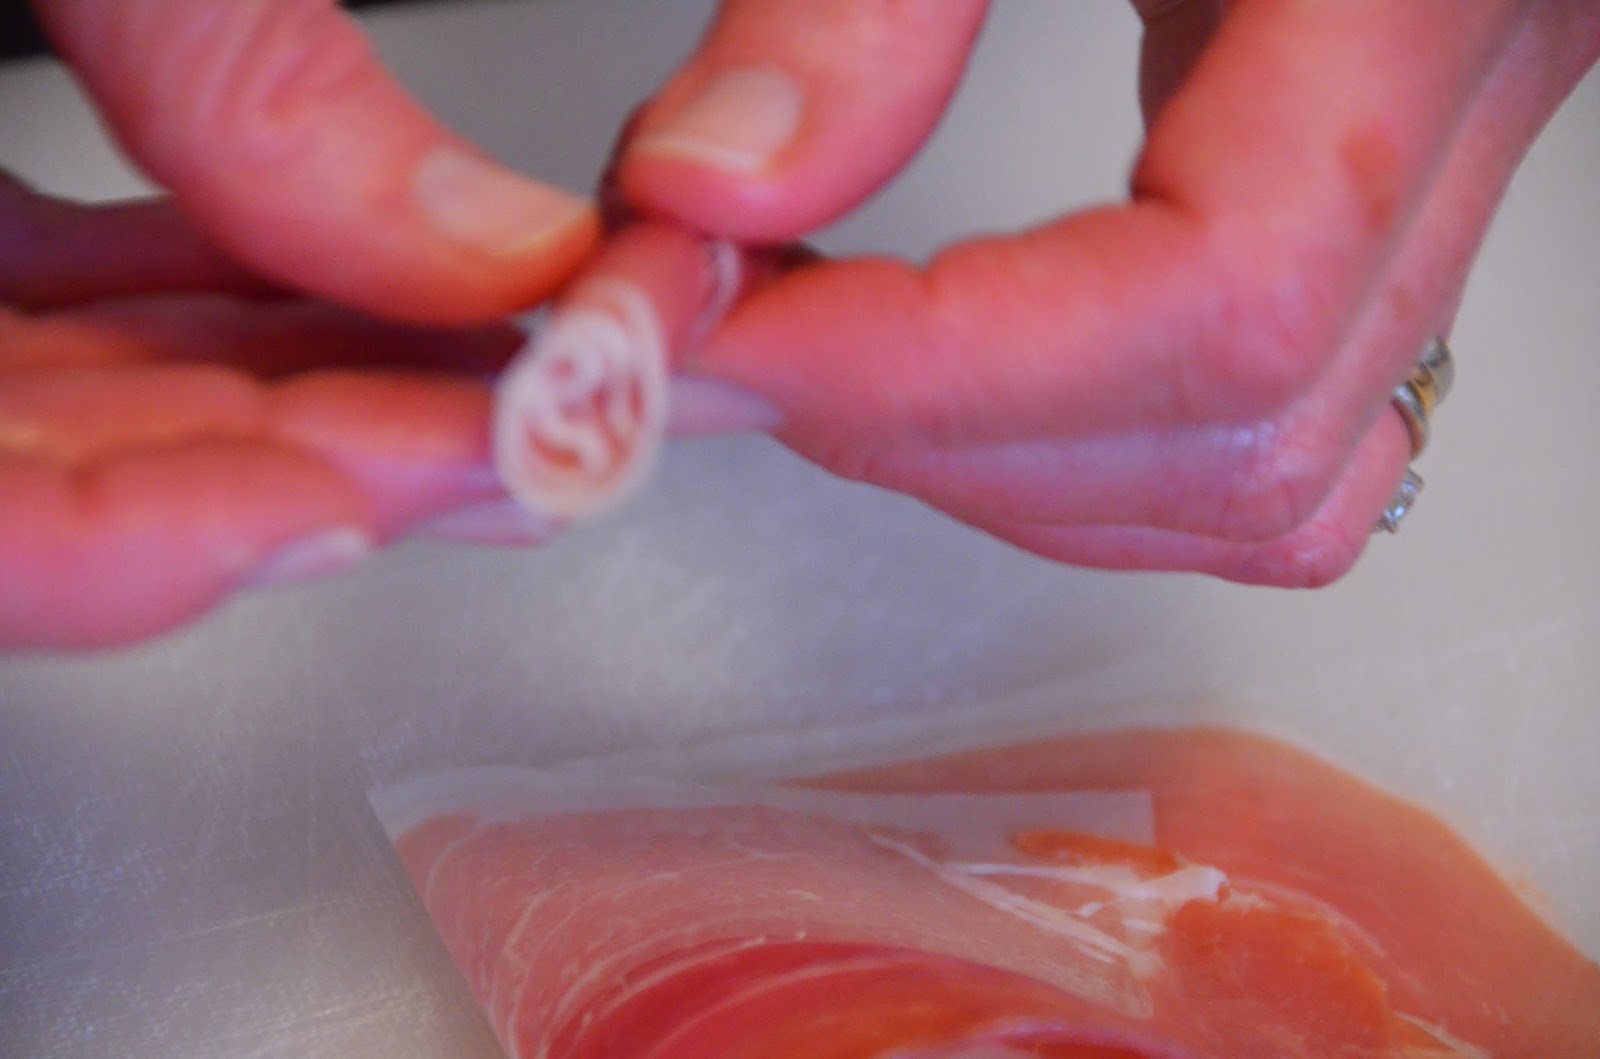
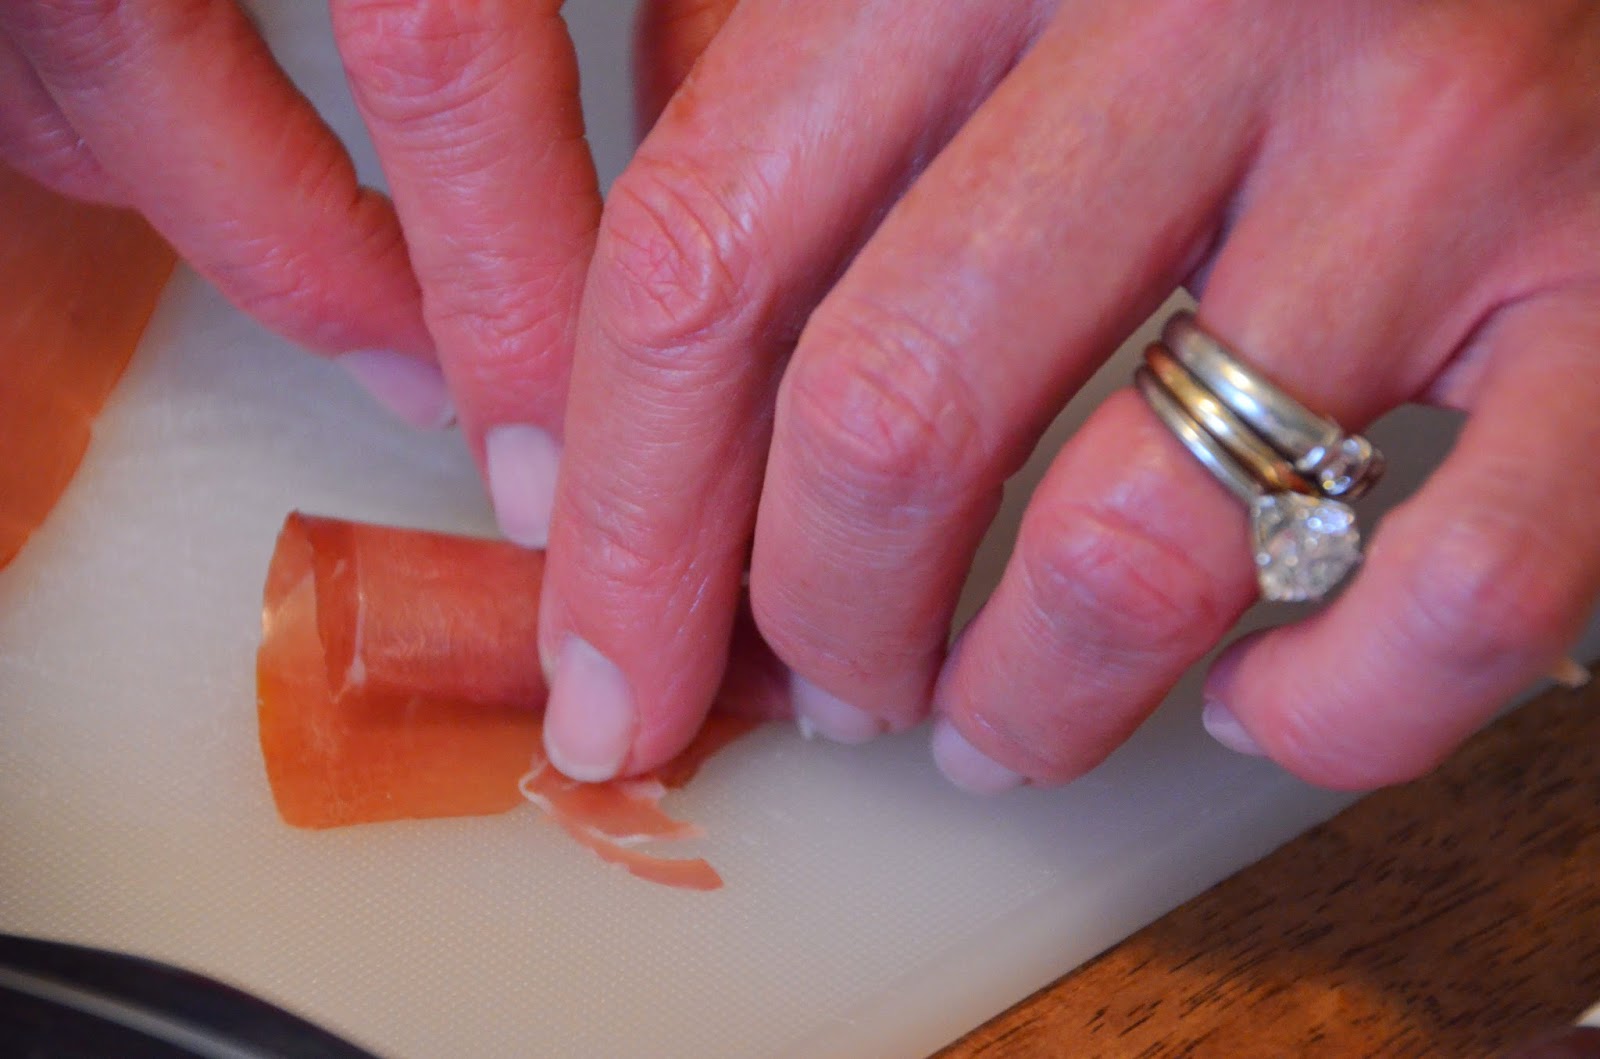
 Paula (mom) can roll a mean prosciutto…


That black substance on the sharp Italian cheese that I can’t remember the name of is a balsamic jelly…there are no words to explain the epicness that is balsamic jelly.  We added some crackers on the side as well.

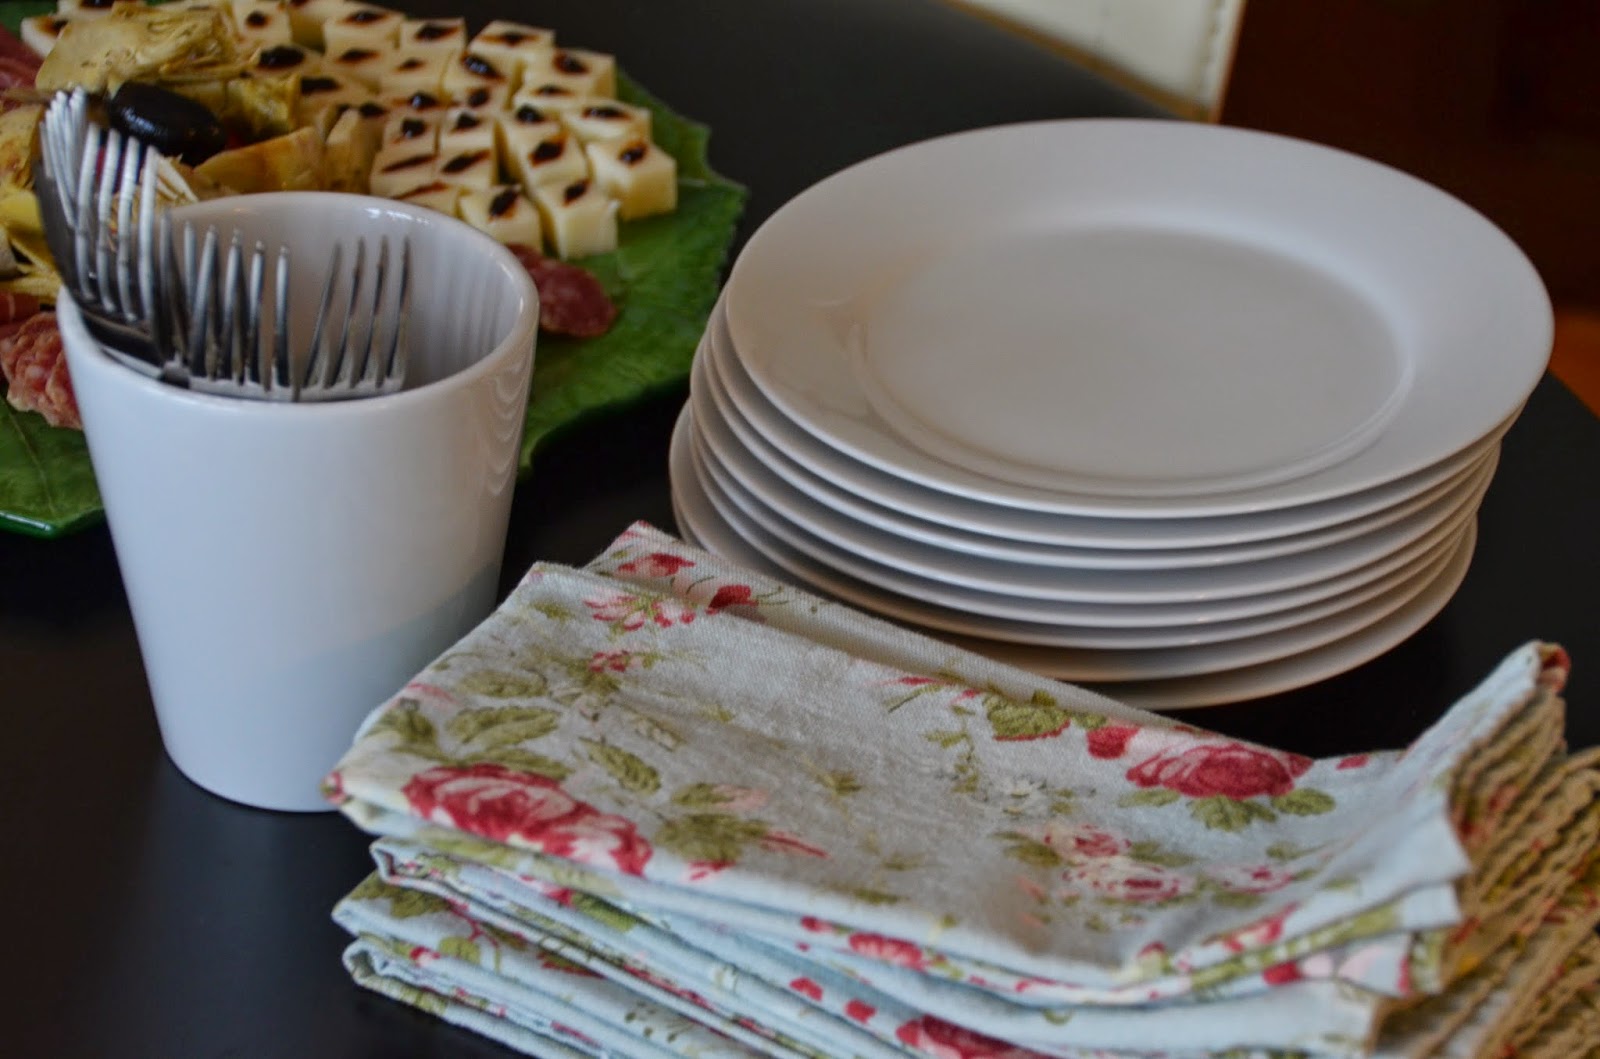
Here are some photos of the spread…


And here is a photo of my mom’s living room, because it’s awesome…


She buys most of her furniture at junk shops…feel free to pin this, I would.

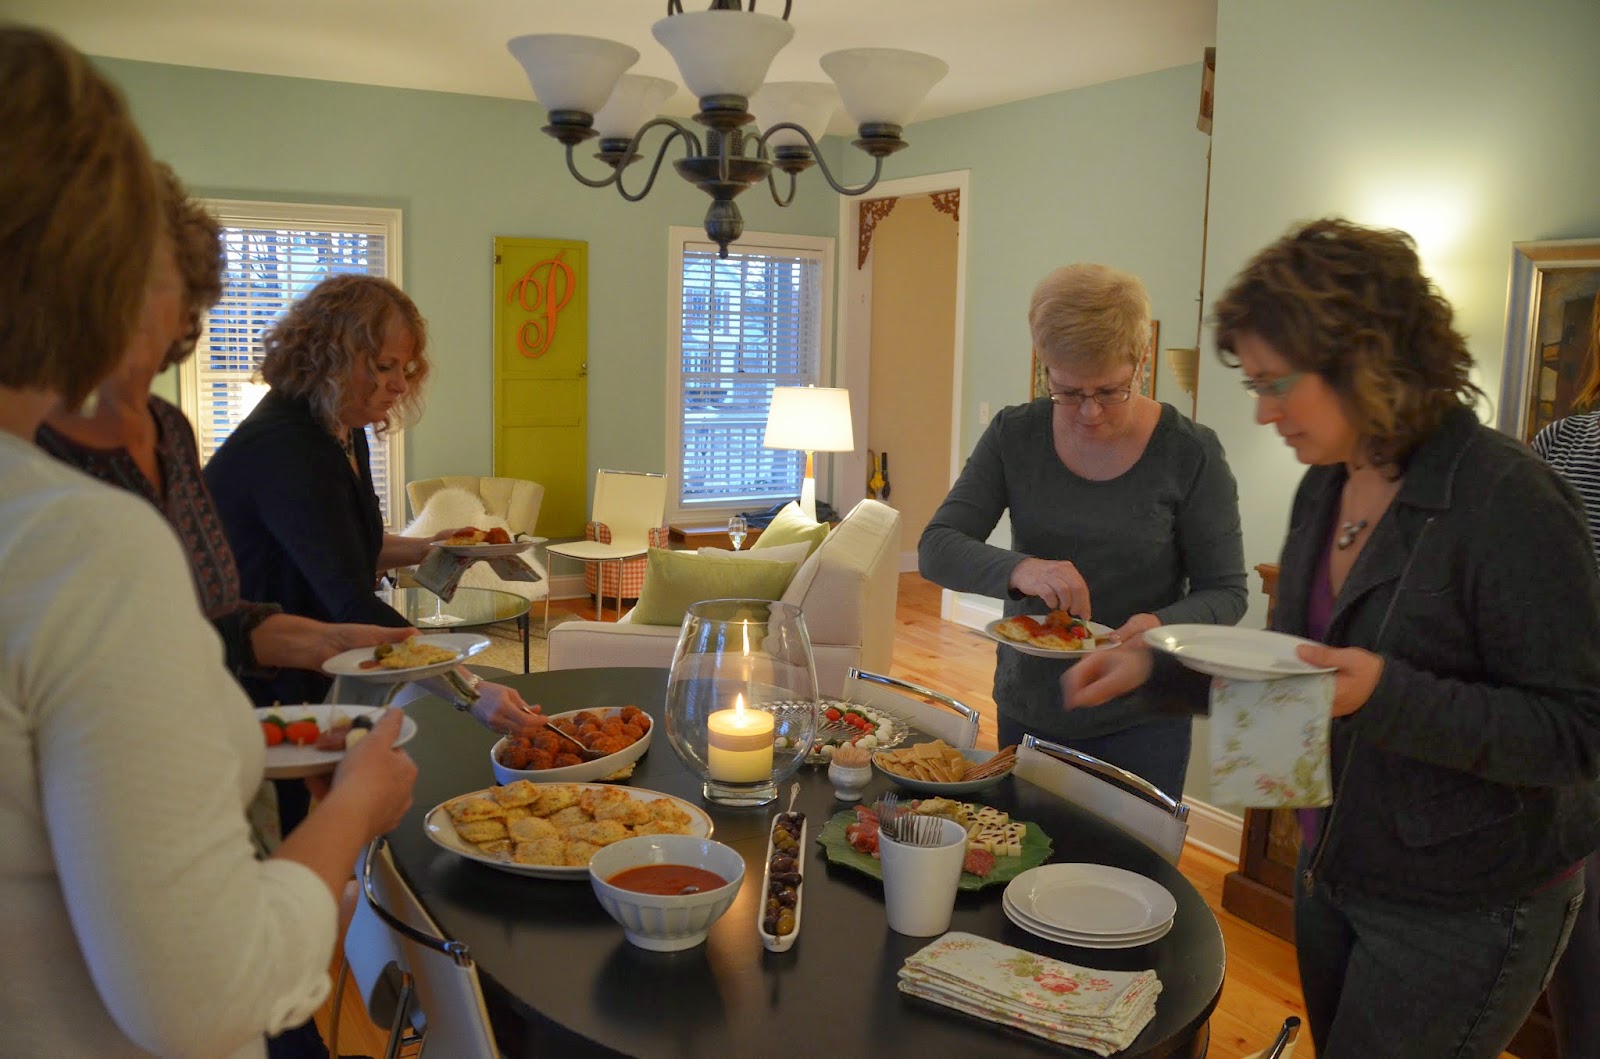
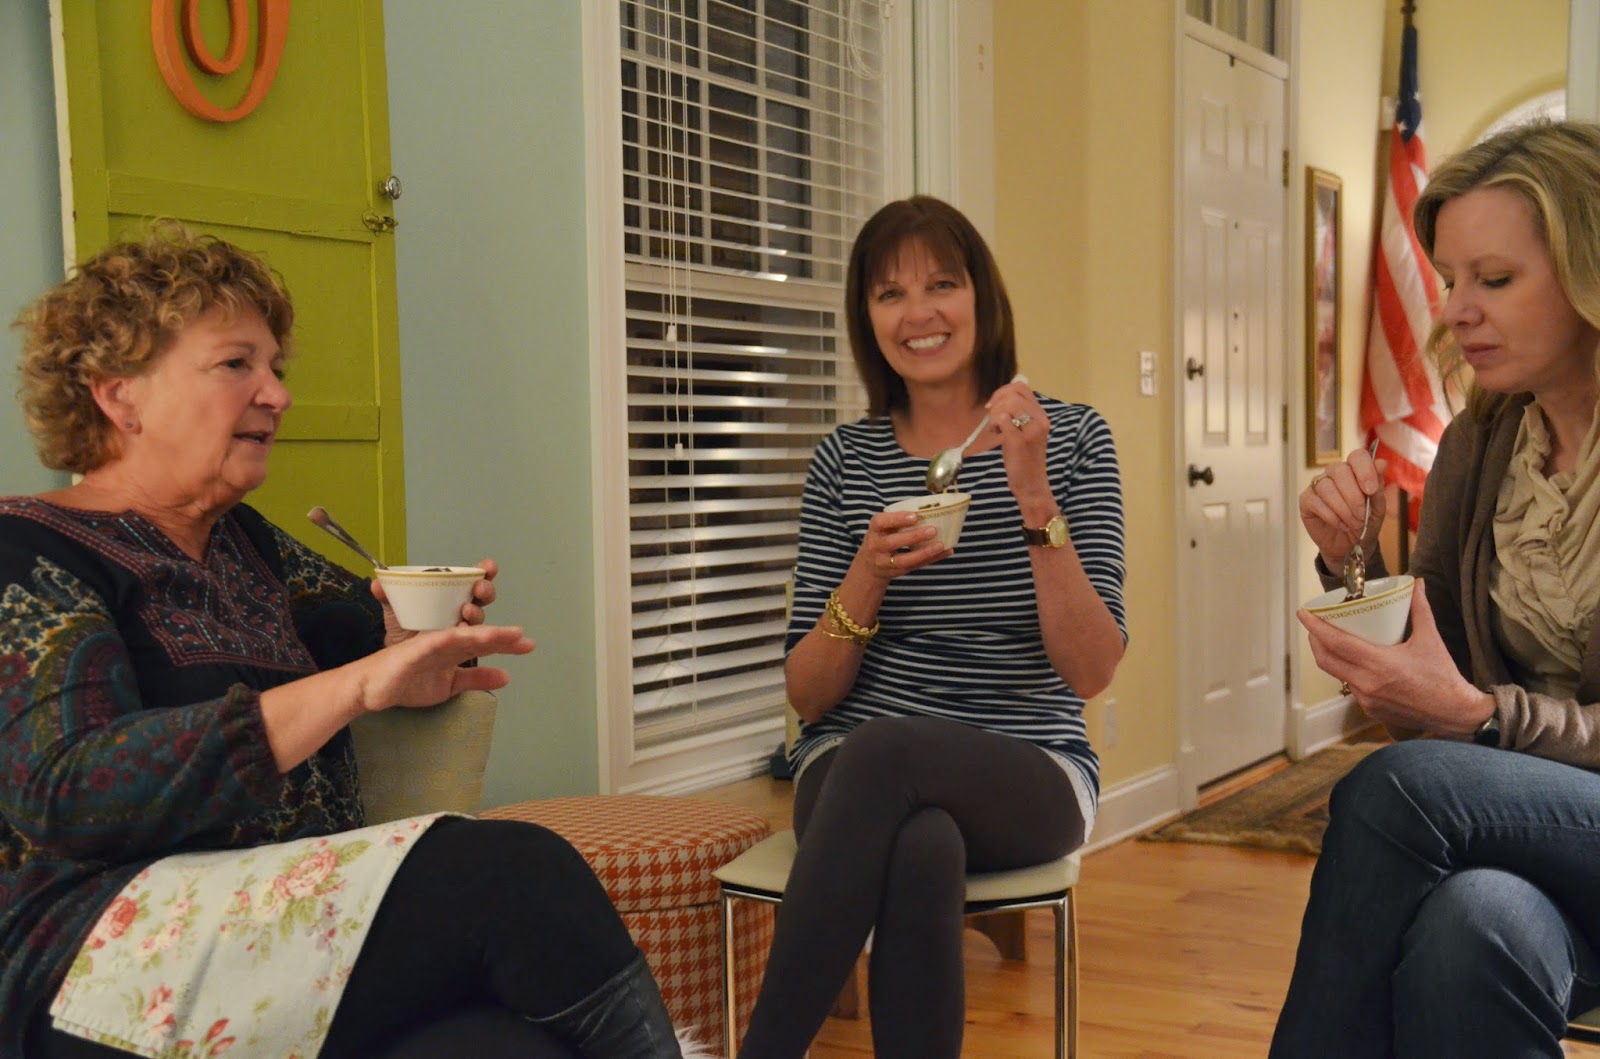
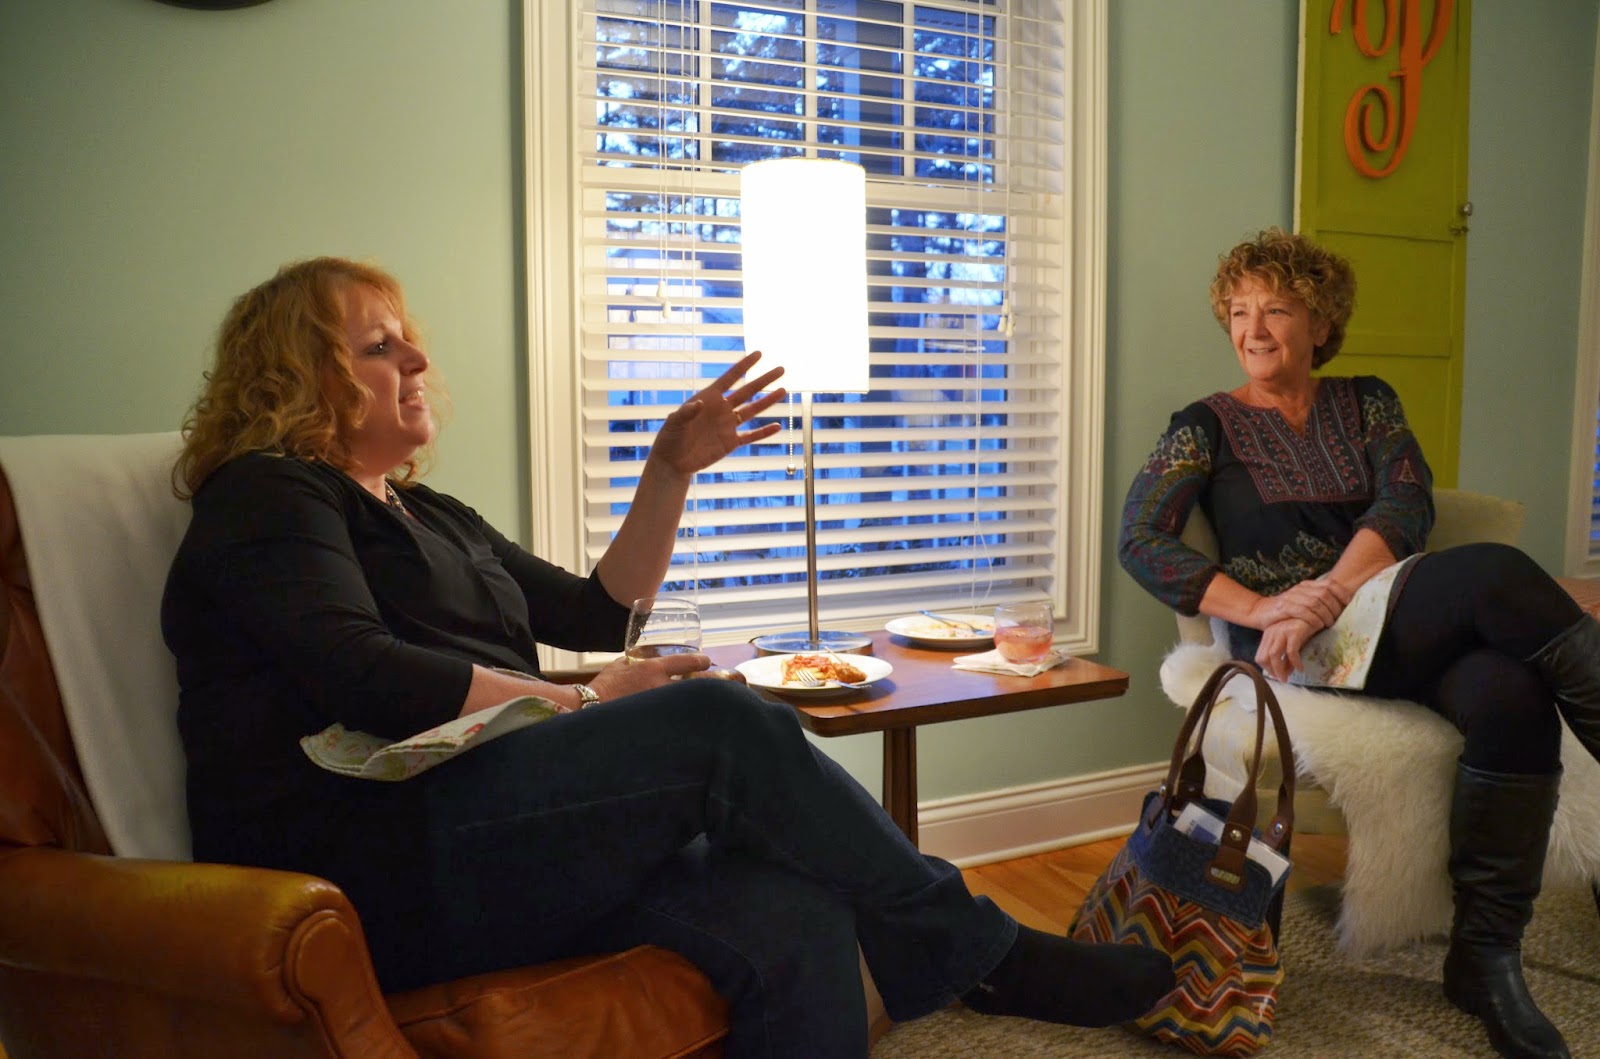
And here are some photos of the winers having a good time…

To say that I am fortunate to know these ladies is a gross understatement, they all freaking rock…and I have no friends around here so it’s pretty cool that they let me hang out with them.

I hope this inspires you to get together with your friends and eat some good food and just be yourself.  I’m all about a judge free zone and let me tell you, this is it!  Oh, and maybe try some of these recipes too…


Cheers from the winers!

The Good Cooker


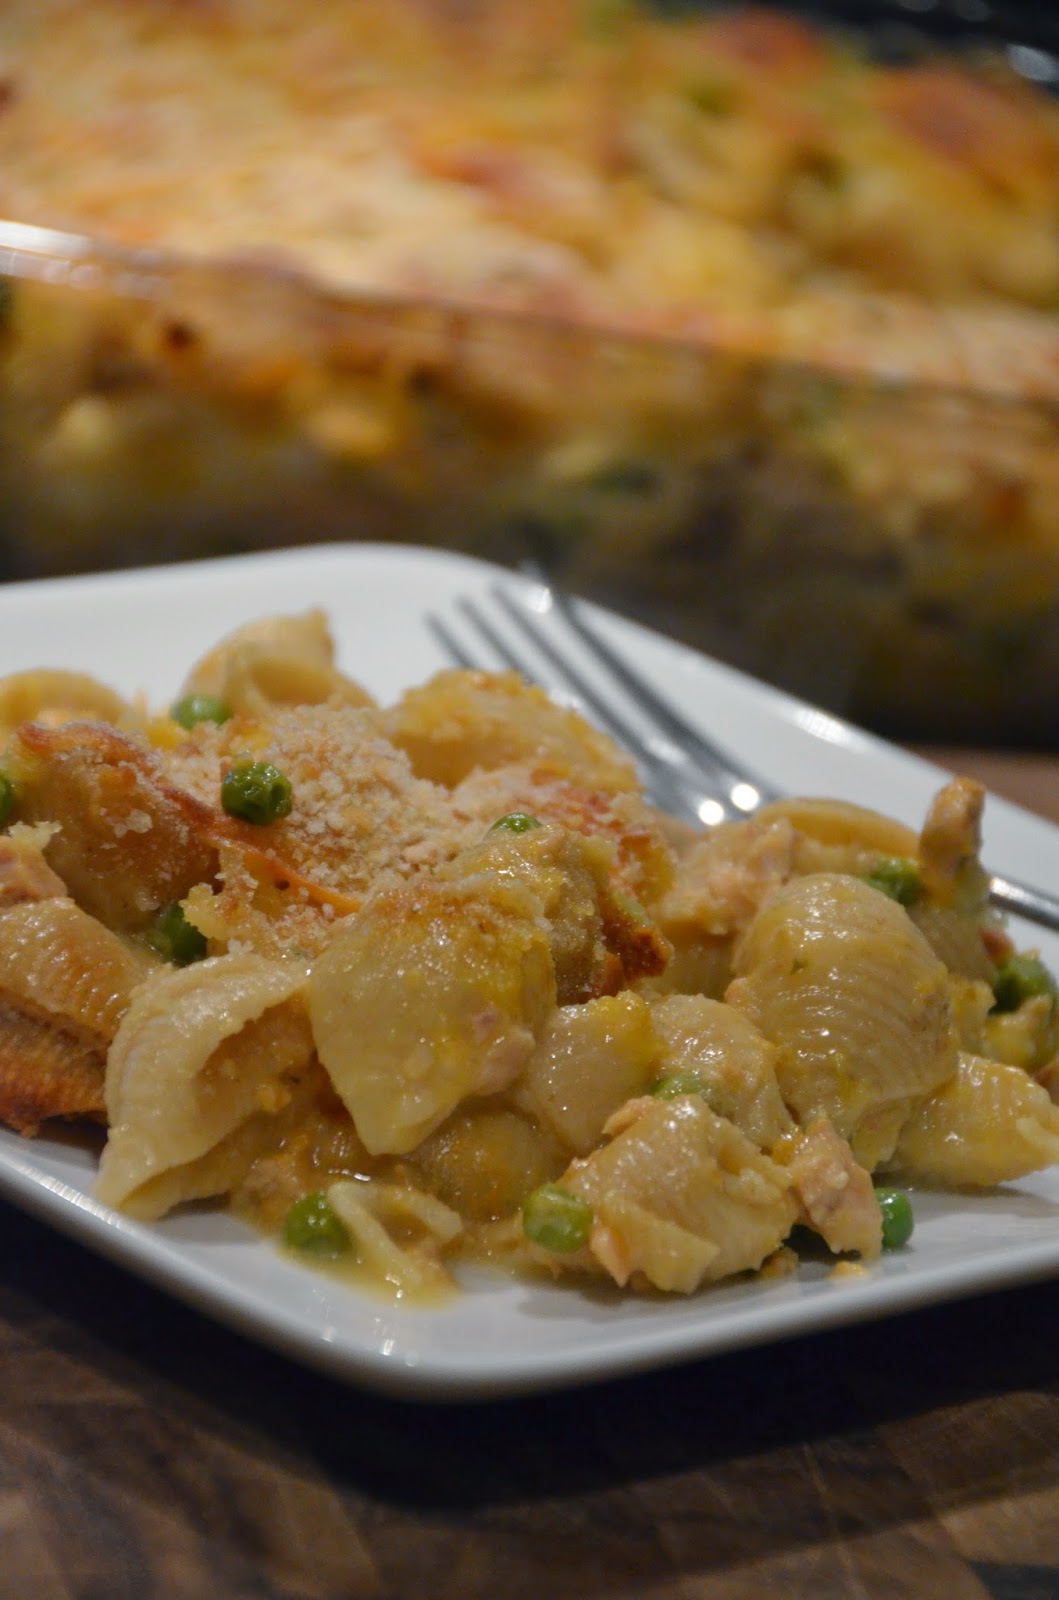
Mighty Tuna Casserole


I was going to name this “Healthy Tuna Casserole” but that sounded boring, “Mighty” is a much cooler word and I think it sort of means the same thing.  If you are healthy you are also mighty, that’s just a fact.  Okay, moving on…I love me some tuna casserole for dinner and I had been craving it for weeks, the stars finally aligned and the rest is history (wow, I’m getting pretty dramatic over this casserole already…I can’t help it.)

This dish is what you should eat before going to battle at the DMV or the Social Security office…it will sustain you.  Here’s why…

1 pound – whole wheat shell pasta
2 cans – cream of celery soup
2 – 12 oz. cans of tuna in water
1 bag – frozen peas
1 cup (2 small cans) – canned mushrooms
8 oz – shredded cheese (optional)
5 slices cheese (optional)
1/2 cup – bread crumbs
olive oil
salt and pepper

This is one of those “dump it all in a bowl and stir” recipes…I LOVE those.  This recipe also feeds like 10 people no joke, so cut it down by half if you want to.

Start by boiling the water for the pasta…


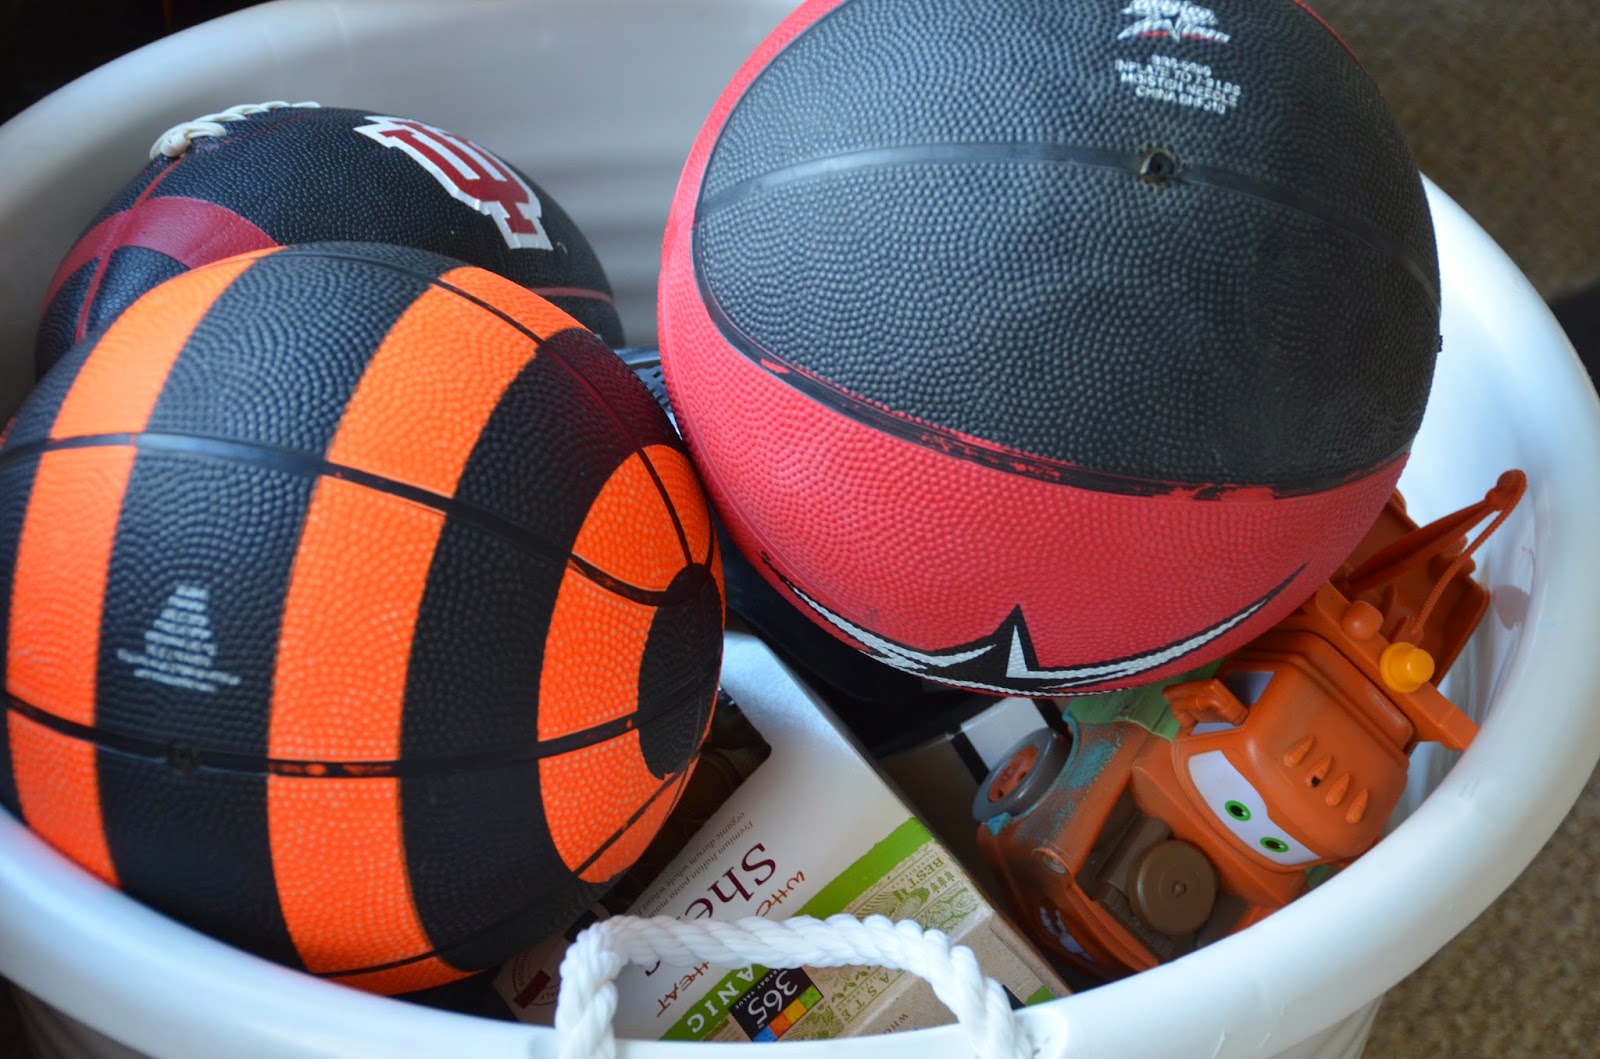
I used whole wheat pasta for this because I felt like it, and because I’ve done it before and it works well in this dish.  I ran into a small hiccup when I went looking for my whole wheat shells in the pantry but could not locate them, this was strange because I had bought them earlier that day and specifically remember putting them in the pantry.  I looked everywhere, scanning every shelf (of my very small pantry).  I then enlisted the help of my husband, he knows that I have a gift for not being able to see things that are right in front of my face.  So he looked…still no shells.  Now I knew they weren’t in that pantry…but where the heck did they go!  I was super annoyed, so I poured myself a glass of chardonnay which helped to bring my annoyance level down (slightly).  I scoured the kitchen, even checking the fridge multiple times…finally I threw my hands up and asked the sky (sort of loudly) “where are the damn shells?!”.  My oldest must have heard my cries for help because he yelled from the playroom that he knew where they were.  I went back there and he pointed to a large bin that holds balls and other random crap…here is the bin…


See anything weird in there?  I didn’t even have to ask who the culprit was, my two year old was to blame.  Of course he was no where to be found, I’m guessing he was hiding in a corner somewhere laughing at me.

Anyway, back to the casserole.  When the water is boiling throw in some salt and then the pasta.  Cook it for about 7 minutes and then drain it and throw it in a large bowl.


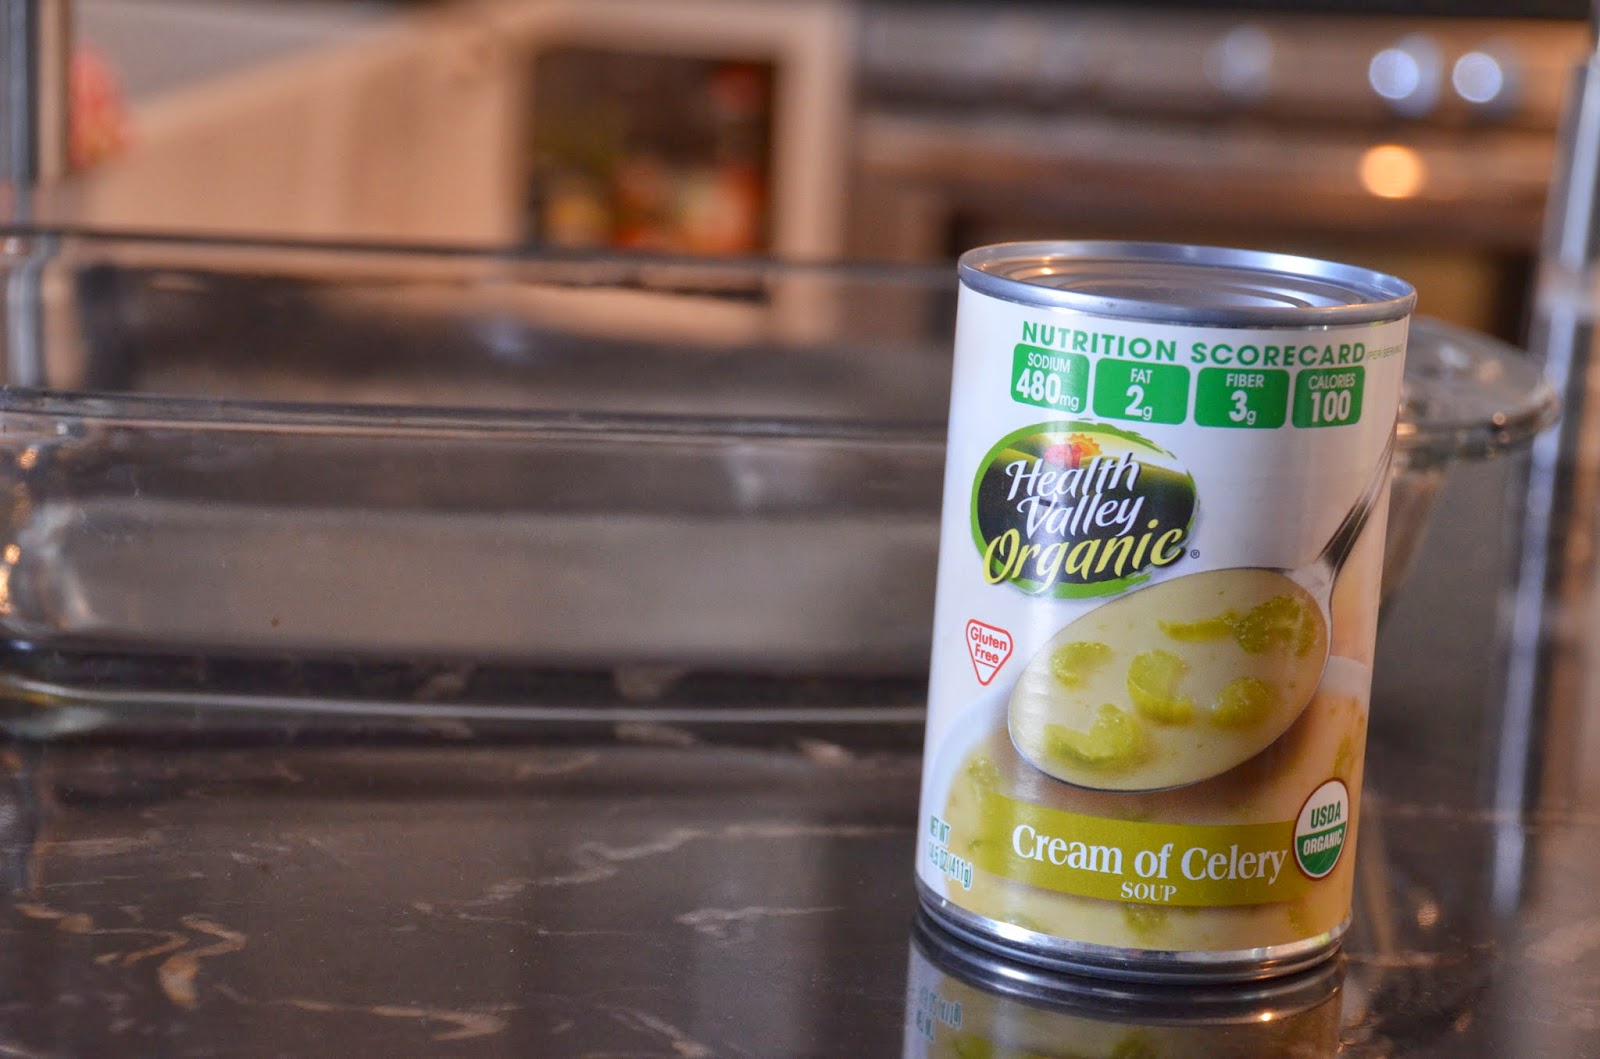
Now throw in two cans of cream of celery soup…I used this stuff.


It’s not condensed and it only had 2 grams of fat per serving…and it tasted good!  

You can totally use the old fashioned campbell’s condensed soup, just add a half can of milk for each can of soup if you do that.

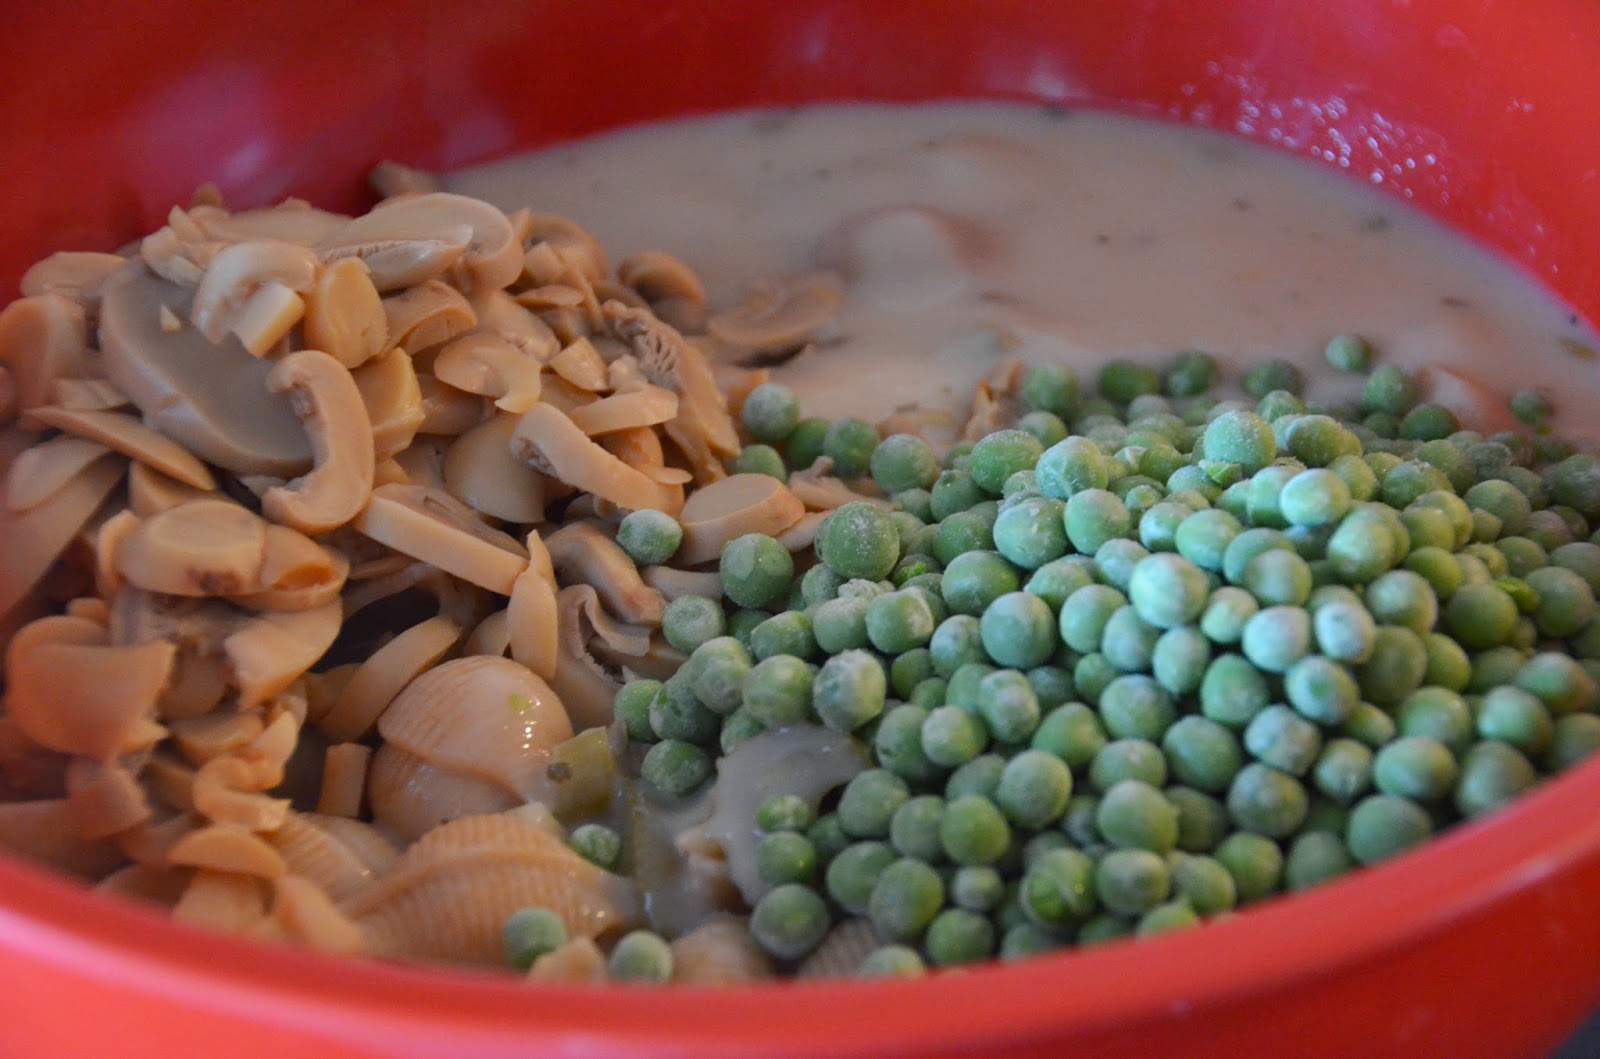
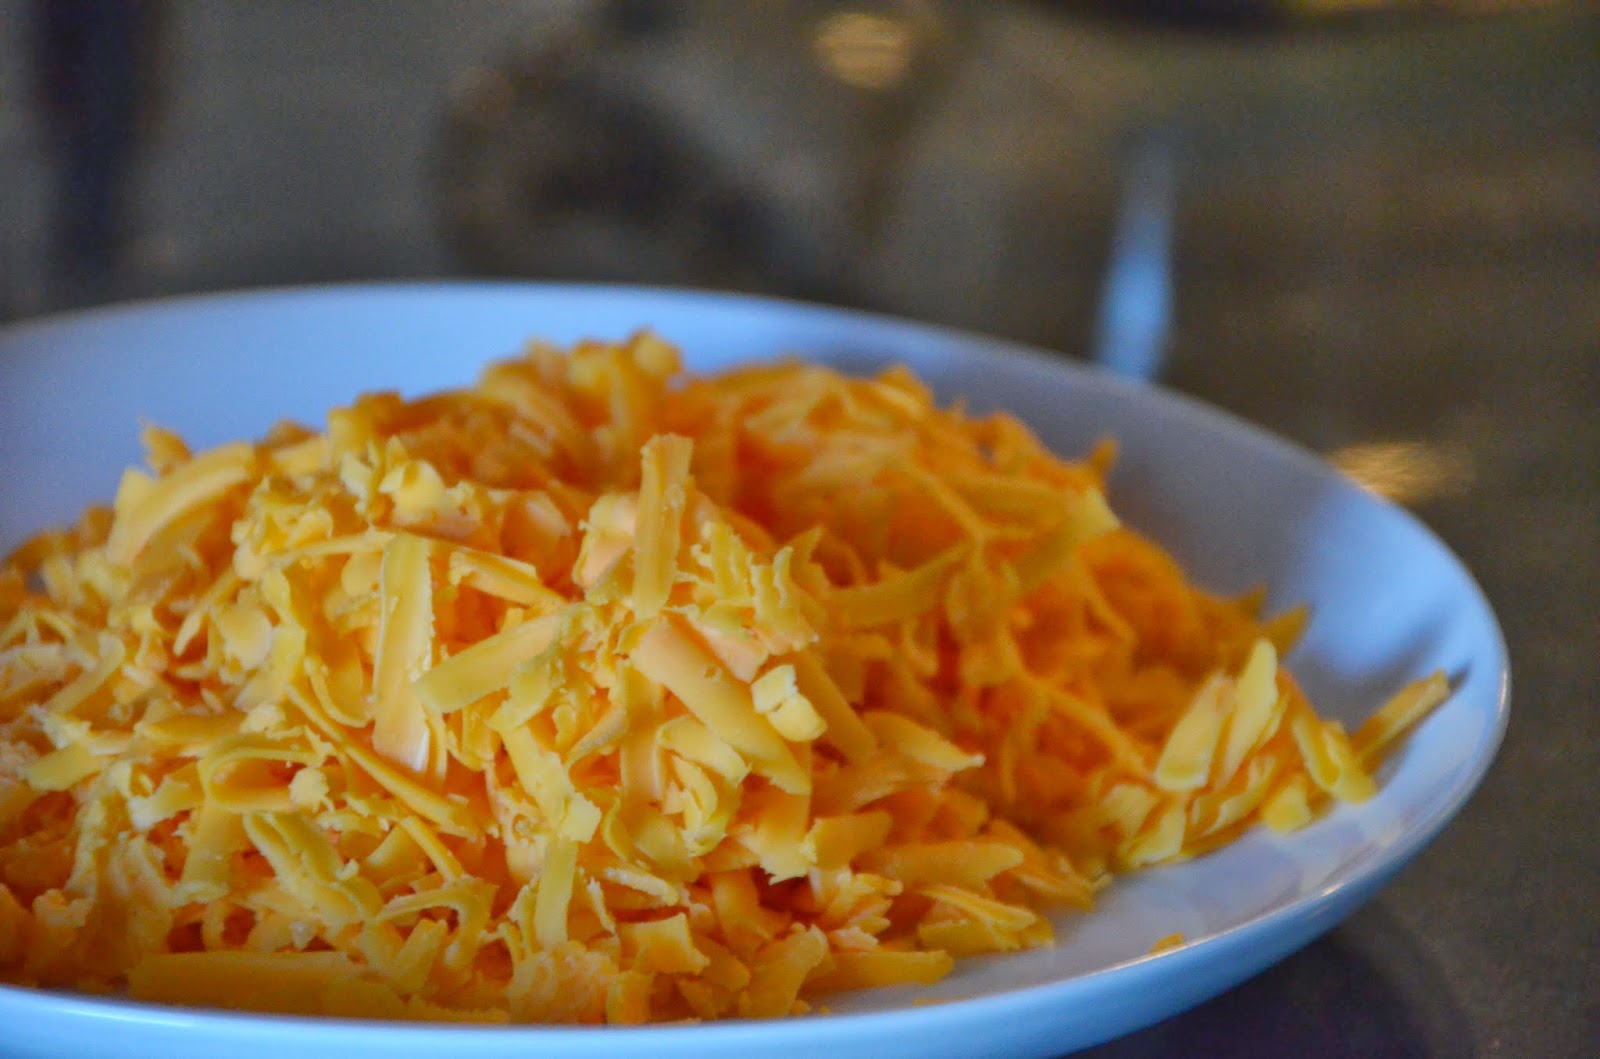
Now add a bag of frozen peas, the mushrooms, and 2 cups of shredded cheese (optional!)  I actually don’t usually put cheese IN the casserole but I had a block that was burning a hole in my fridge so I threw it in.


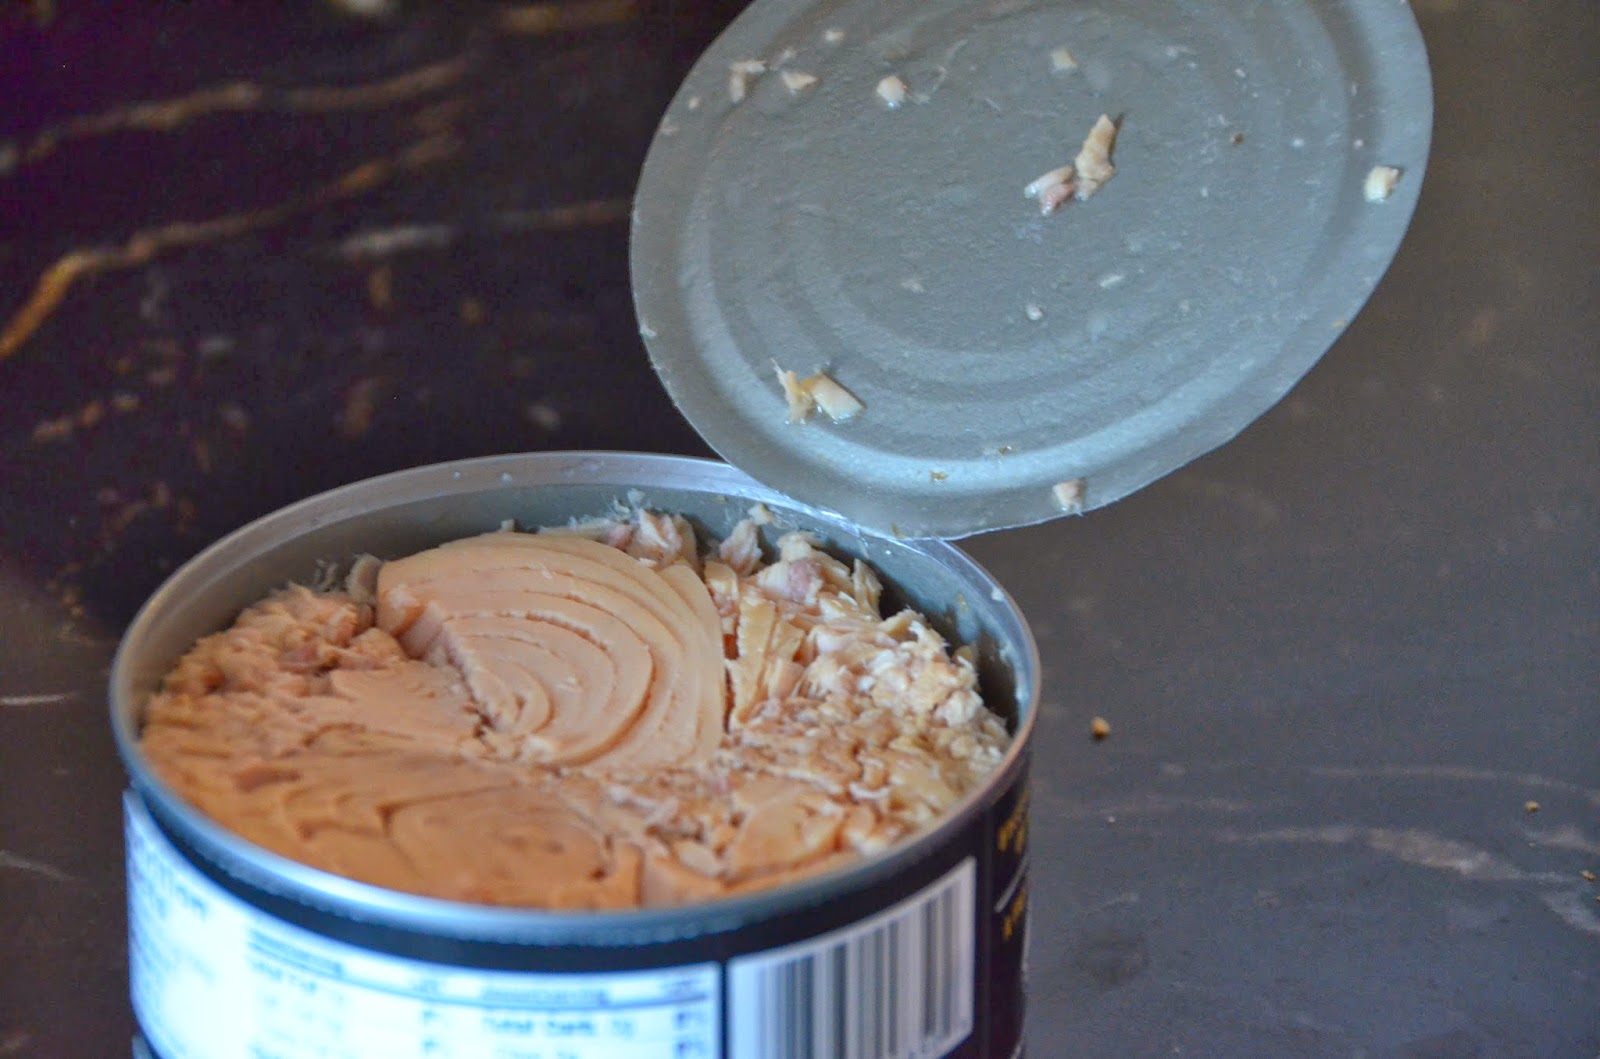
I stir that all together and then add the tuna last.  I do this so that the tuna doesn’t break down too much…however this albacore I got at whole foods looked like one big slice of tuna!


This is a very good thing but it goes against my theory of why it needs to go in last…I had to work to get this all distributed!  Obviously it’s going to depend on what you buy…you’ll figure it out.

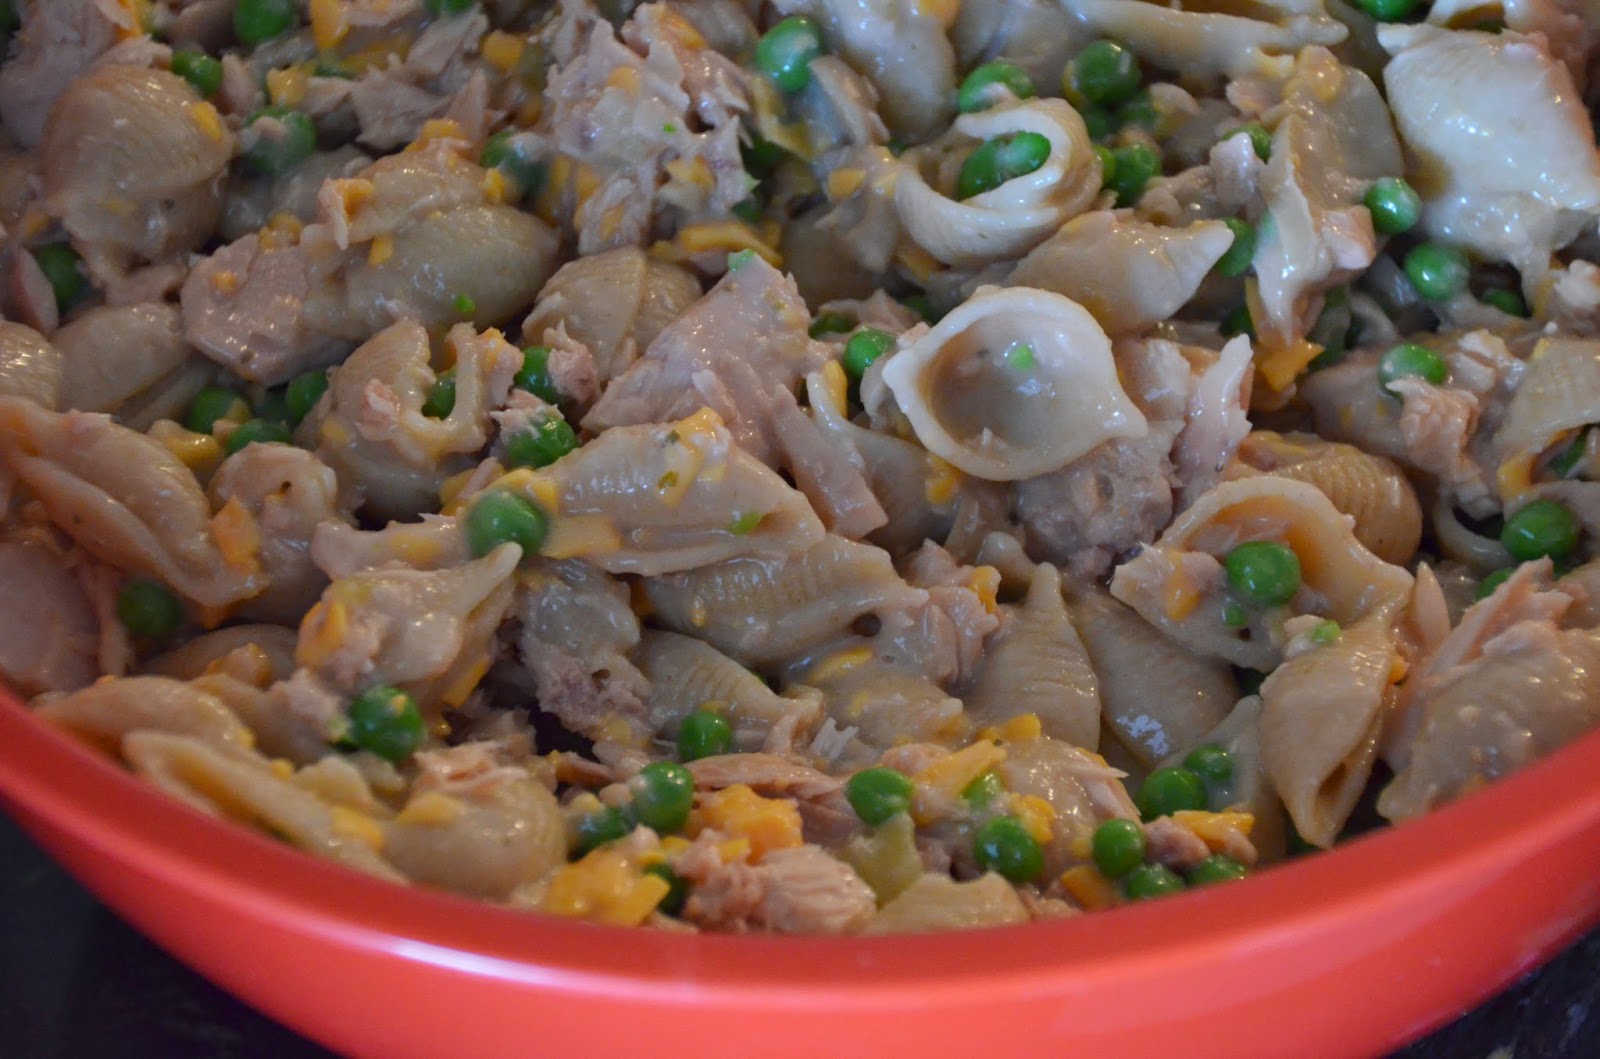
So after everything is incorporated, taste it and then add salt and pepper to your liking.  I added about 3/4 tsp. salt and 1/4 tsp. pepper.  


Then dump the whole thing into a buttered 9 X 13 glass dish.

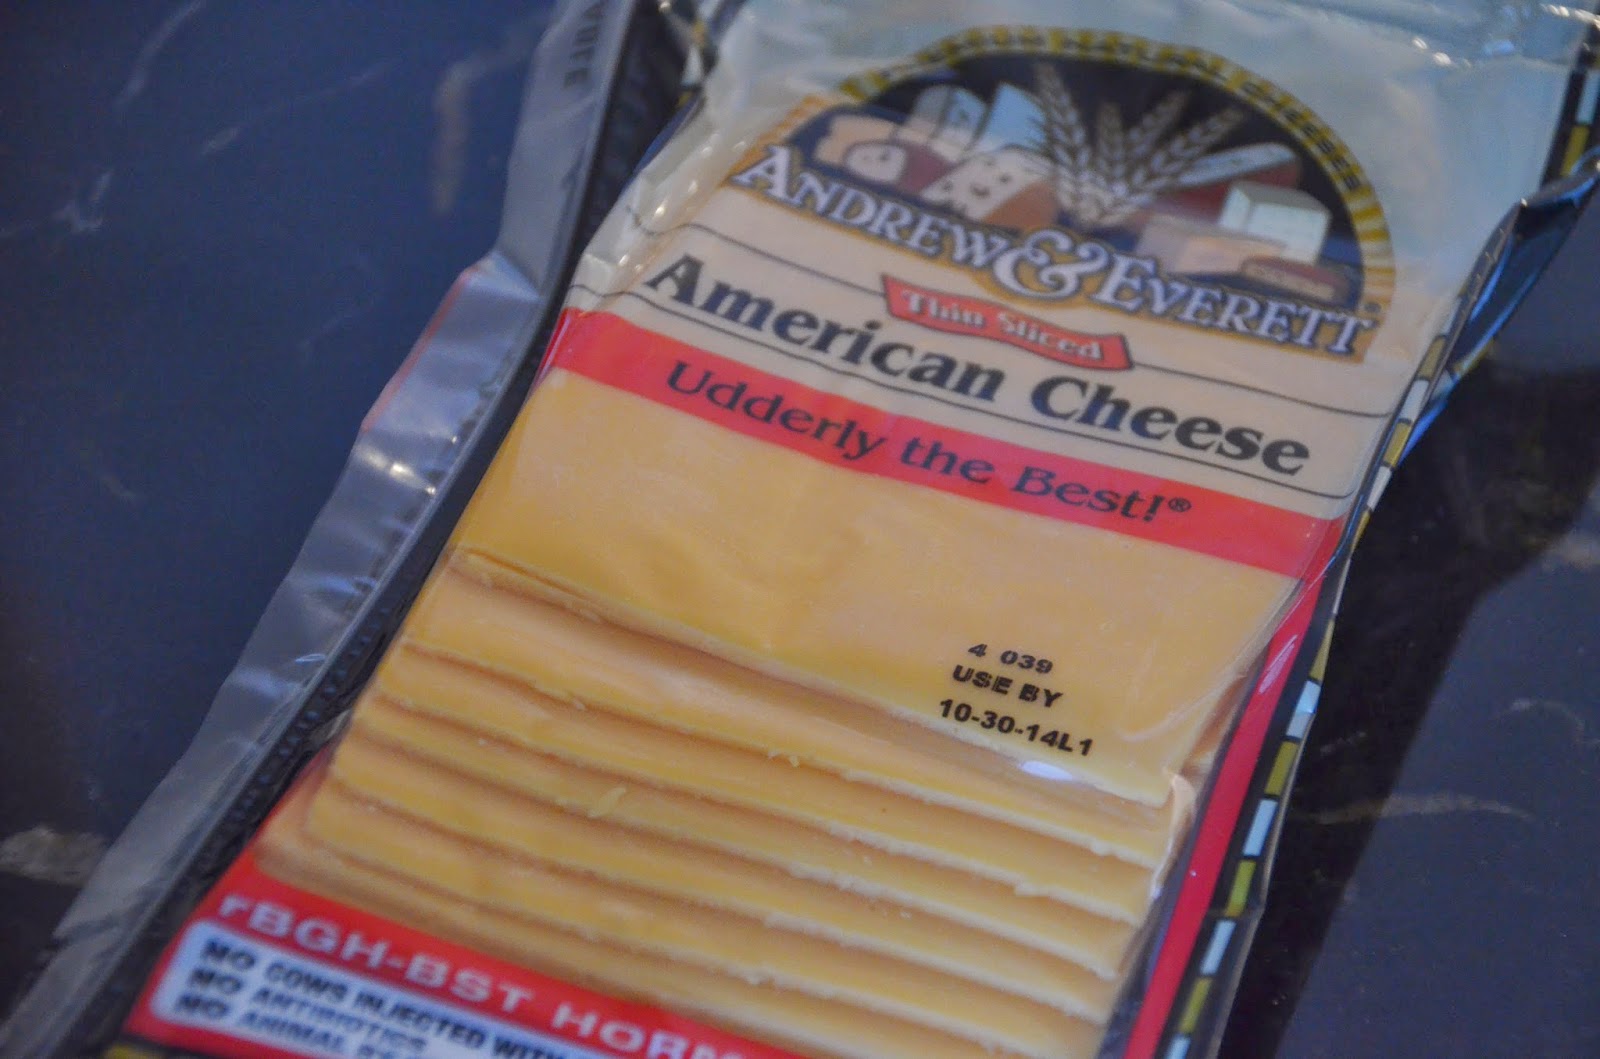
Then top it with some cheese (optional!)…I like to stay true to my roots on this part and use american slices like my mom used to.  You can buy american cheese that is actually real cheese at whole foods, that’s what I did…


But Kraft works too, or any other sliced yellow cheese for that matter.

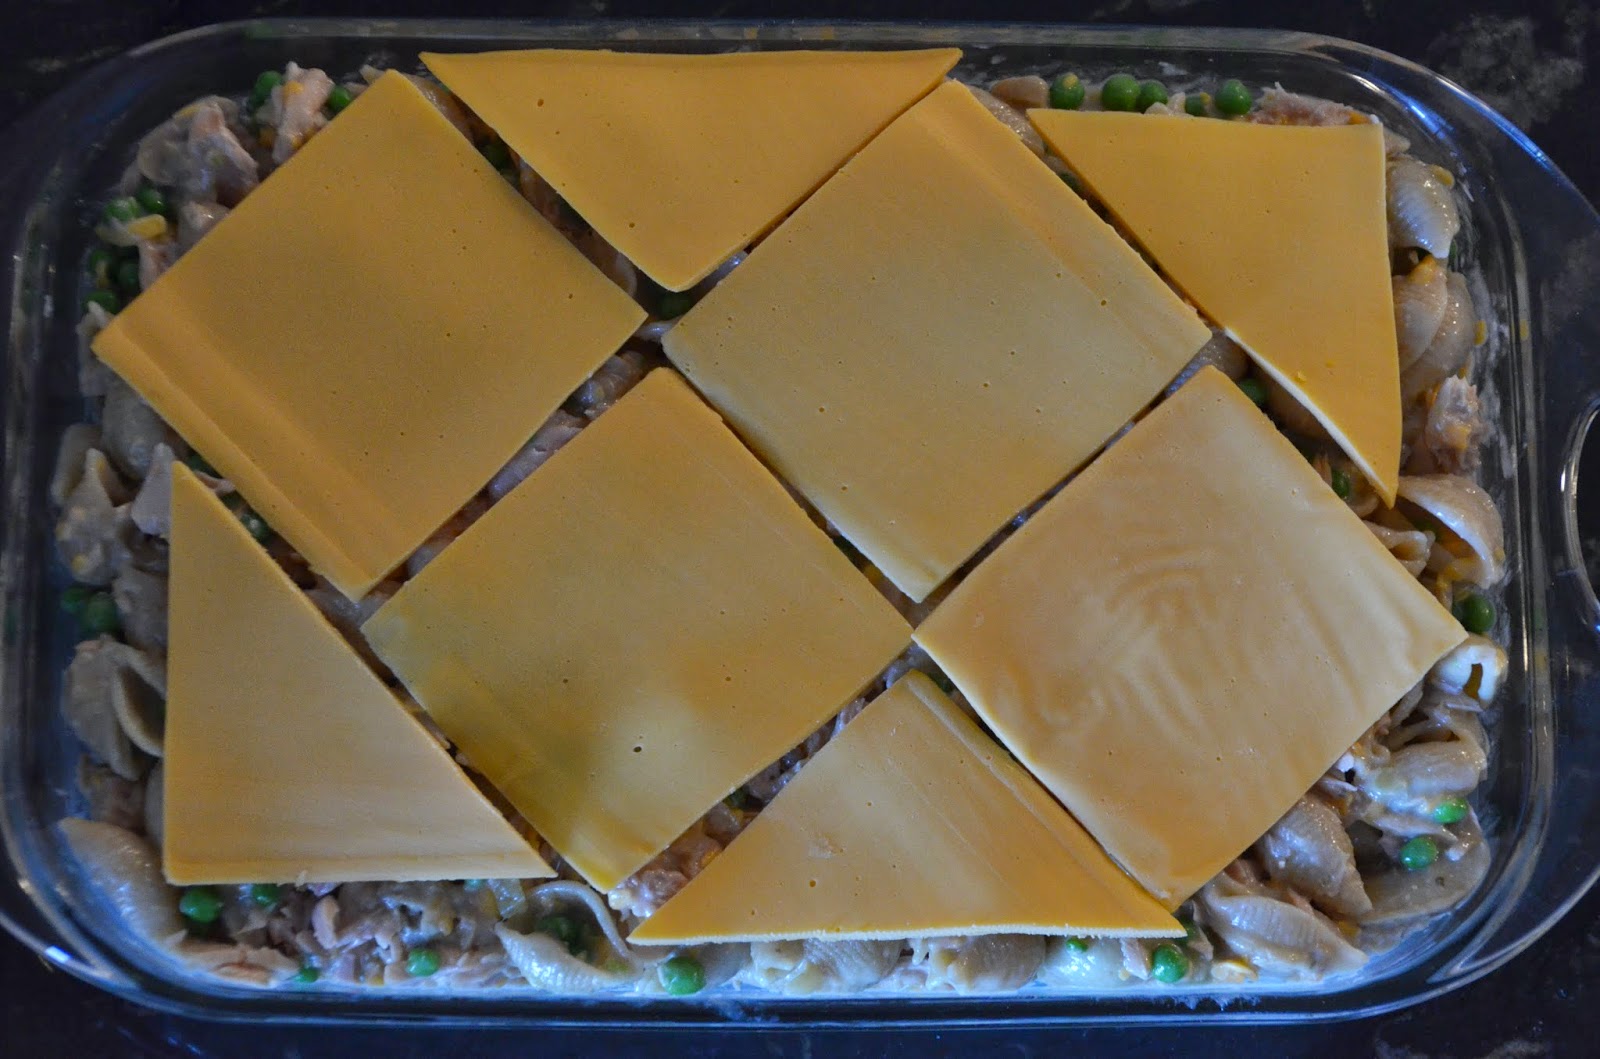
Now lay the slices down in a pretty geometric pattern, see…


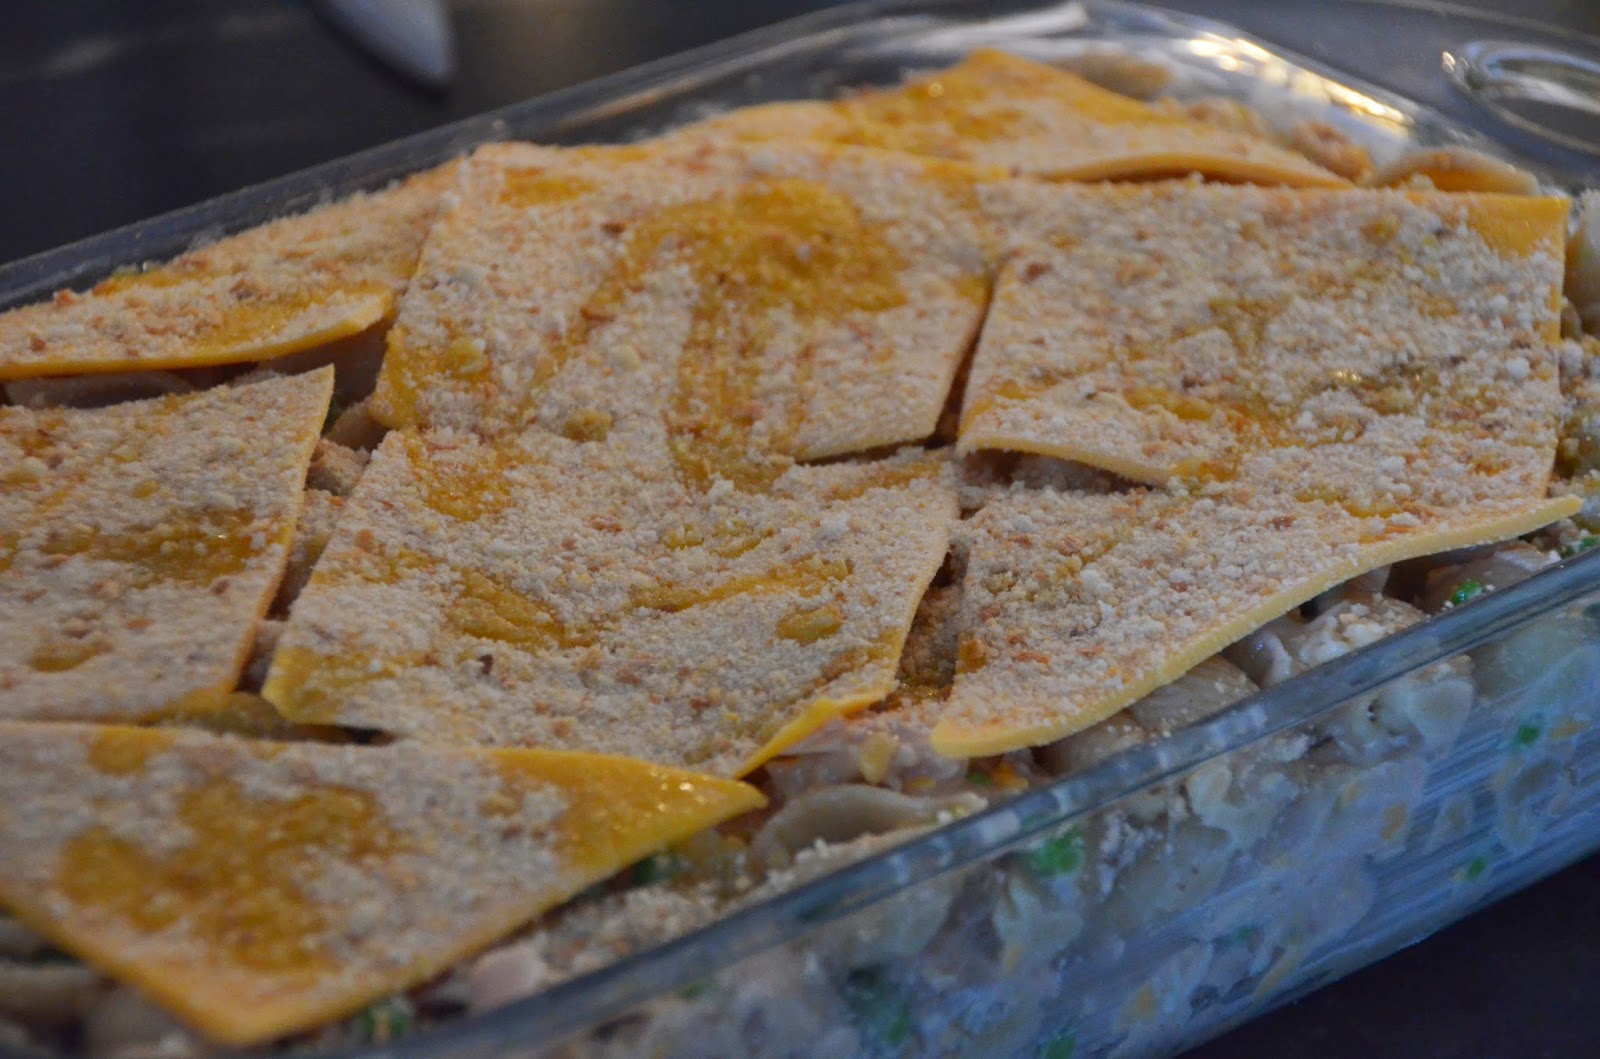
Or just plop them on…and then cover the cheese with the bread crumbs.  If you’re forgoing the cheese, just put the bread crumbs on top of your casserole.


Then drizzle some olive oil over the whole thing, you can also use dollops of butter if you’re going for decadence.

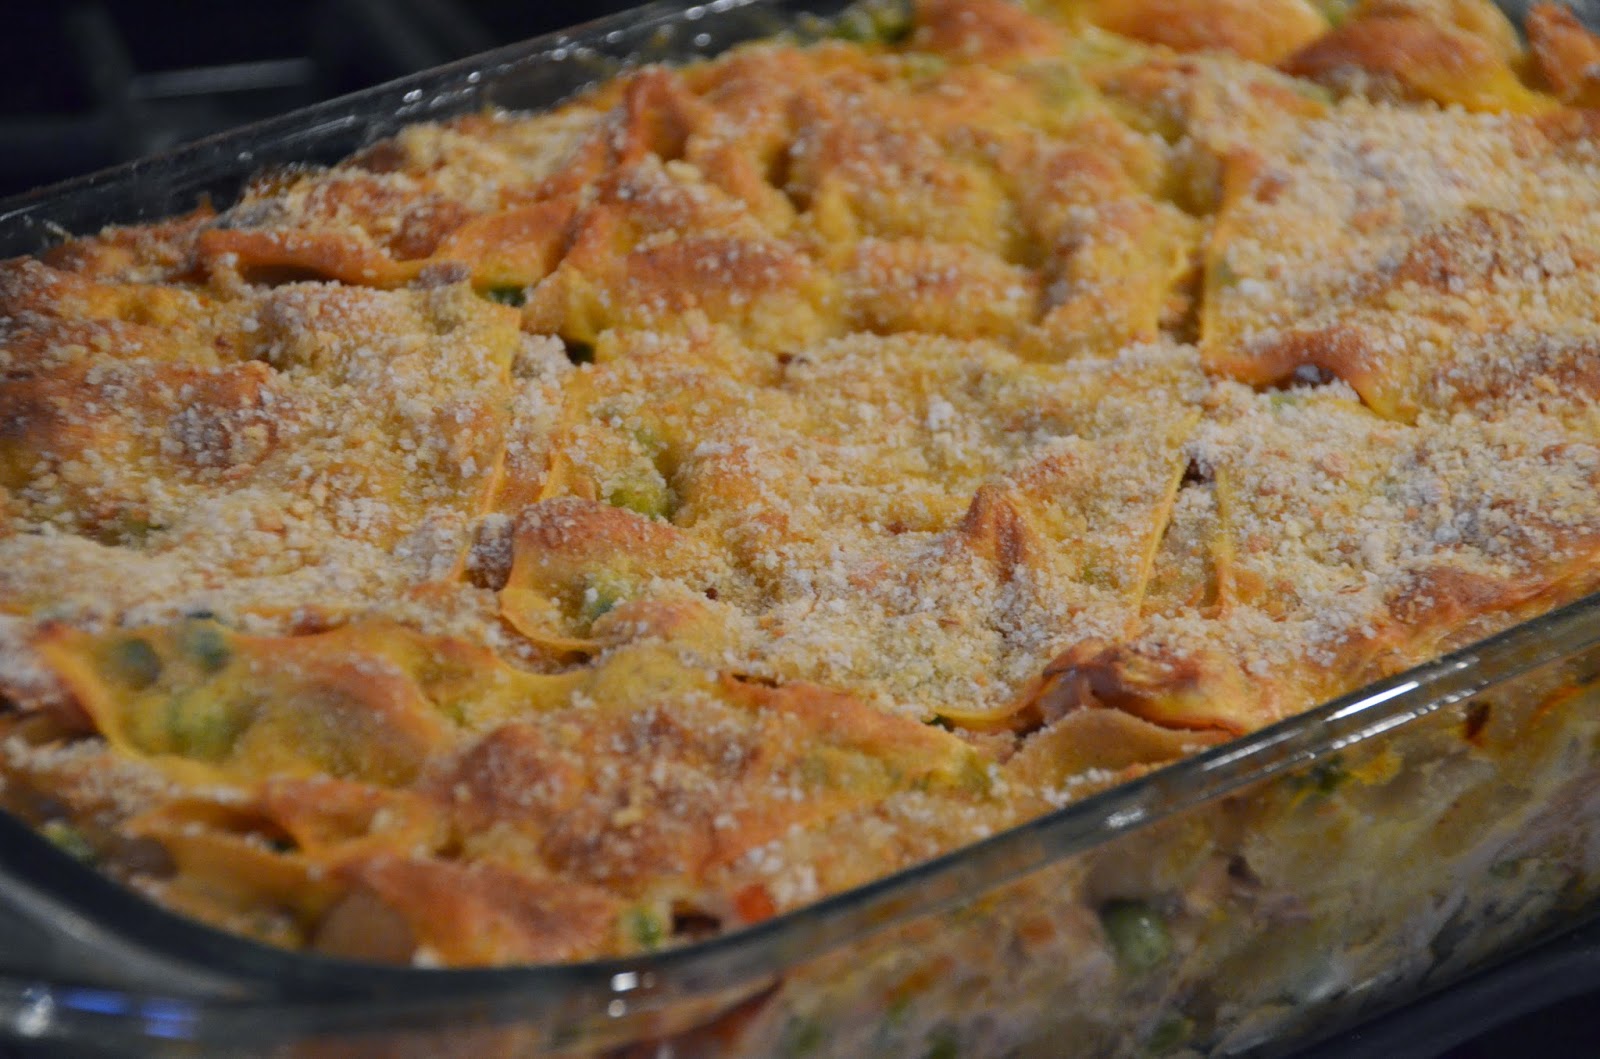
Now cover your casserole with foil being careful not to let the cheese meet the foil or it will stick to it and that’s a crime.  Then use your muscles to get that dish full of goodness into a 350°F oven.  Cook it for 45 minutes and then remove the foil and let the top get nice and golden.


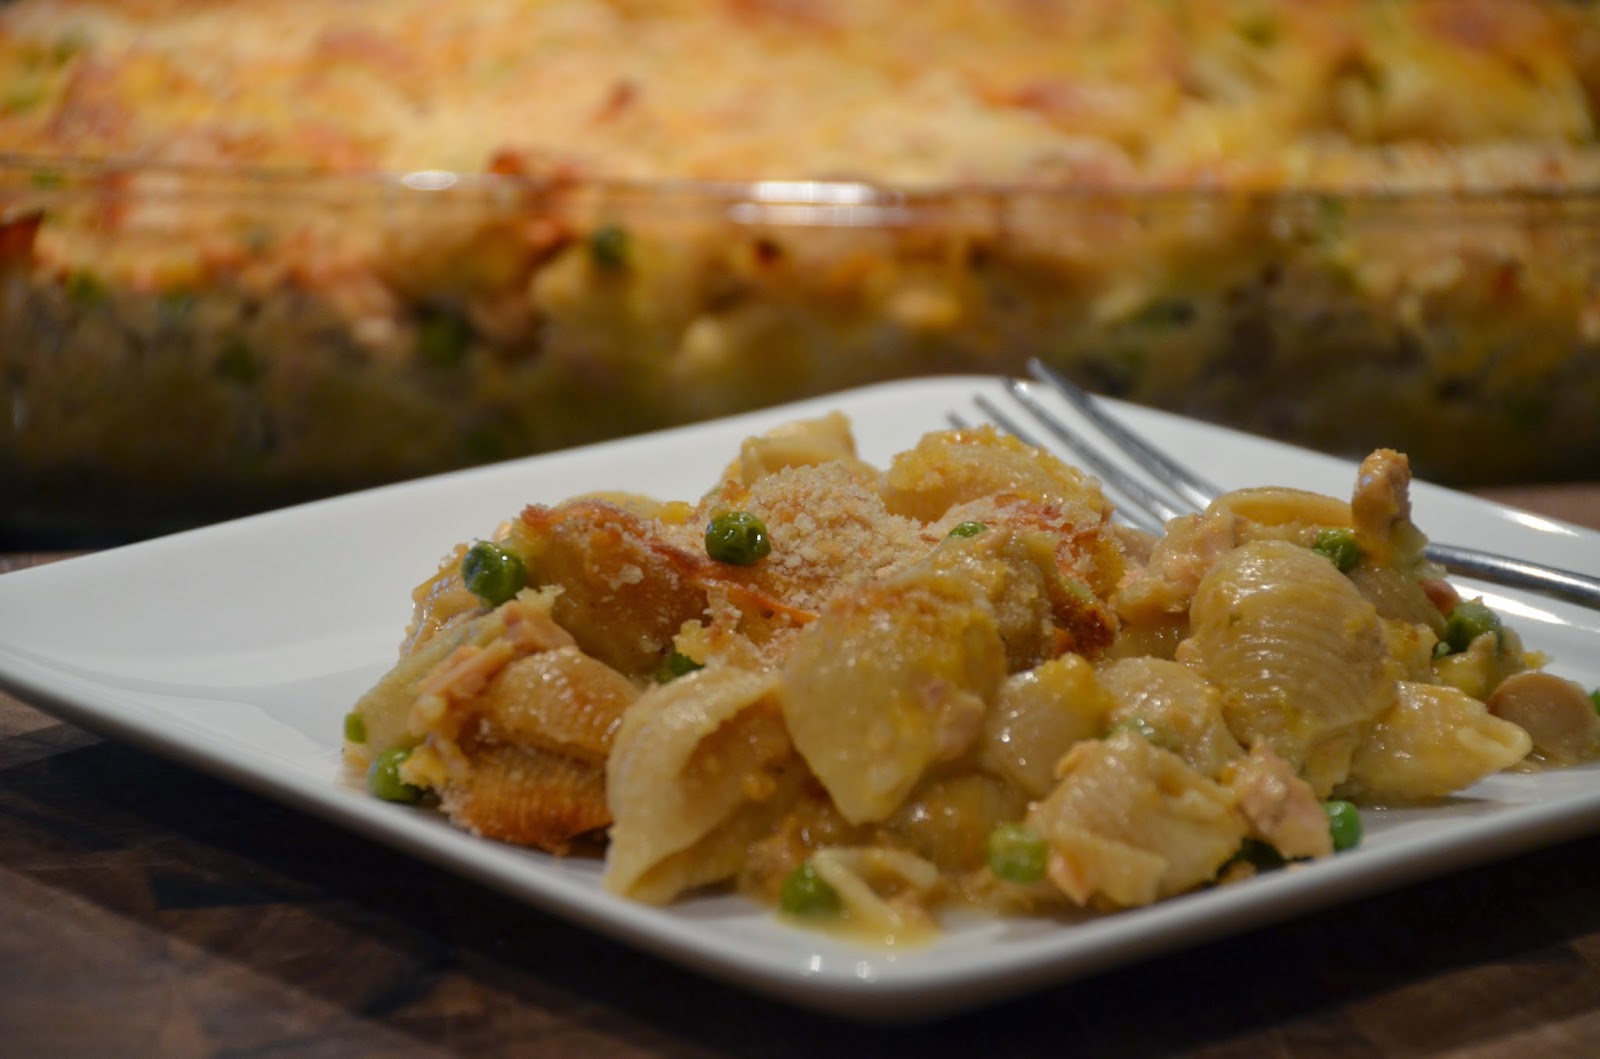
This is good stuff right here folks!


I know you’re all thinking that there’s no way this could be healthy but really it is…I actually did a little calculation on this and one serving has about 4 grams of fat, which means you should eat 3 servings…kidding!  I eat the leftovers for lunch throughout the week and it still tastes amazing reheated.  

I know that tuna casserole isn’t the most popular dish among kids but my boys devour this stuff!!!  If you haven’t made this in a while (or ever) give this easy recipe a shot!  I have to go because my kid just peed on our cat in the tub…don’t ask.

Cheers!

The Good Cooker


How to Microwave an Egg…


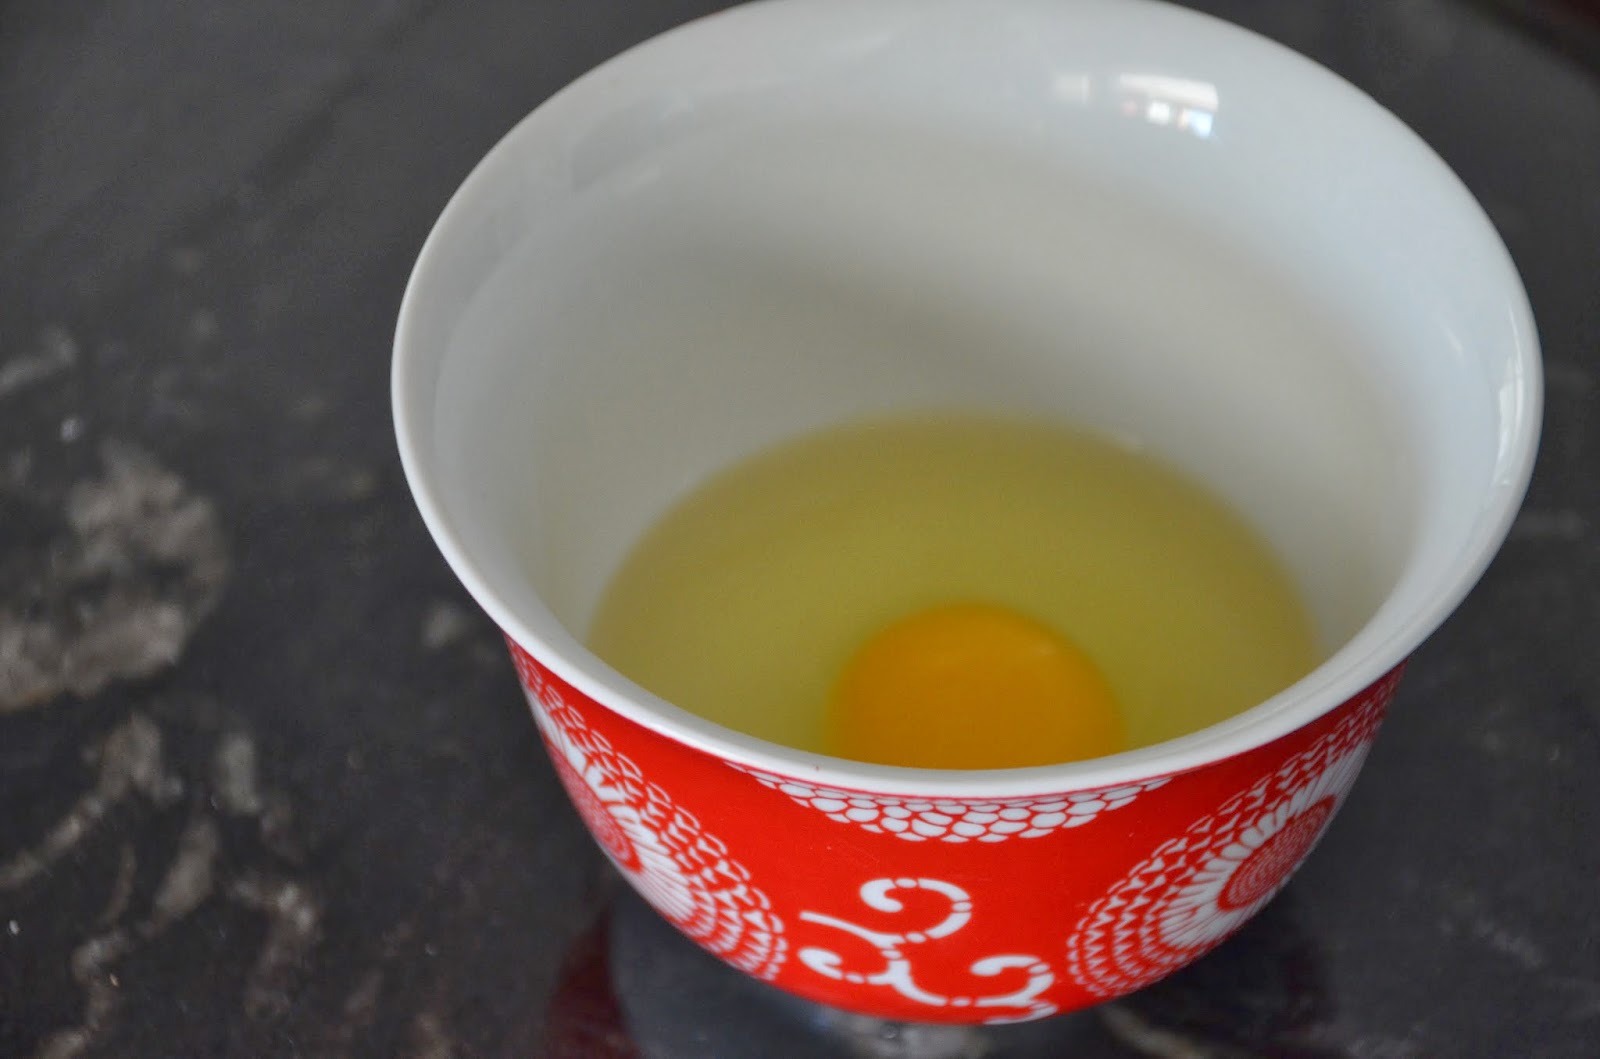
This topic has come up in conversation a few times in the last week so I figured it was a sign…let’s finally be brave enough to talk about microwaving eggs.  Those who do it (like me) don’t really advertise it, and those who never have are intrigued by it but aren’t sure how to do it right.  It’s a little taboo for a food blogger (hey, I have 10 followers!) to advocate for the microwaving of eggs.  But I don’t see any reason to be ashamed…I love eggs and I want to eat them all the time.  Unfortunately my morning routine doesn’t leave much time for whipping up omelets and the like, however this method for cooking an egg is quick and easy and doesn’t even require butter or oil.  It also creates a nice round piece of egg that will lay perfectly between a bagel or toast.  This bowl right here is a good size and shape for microwaving an egg, I guess I should have put something next to it for scale but oh well…
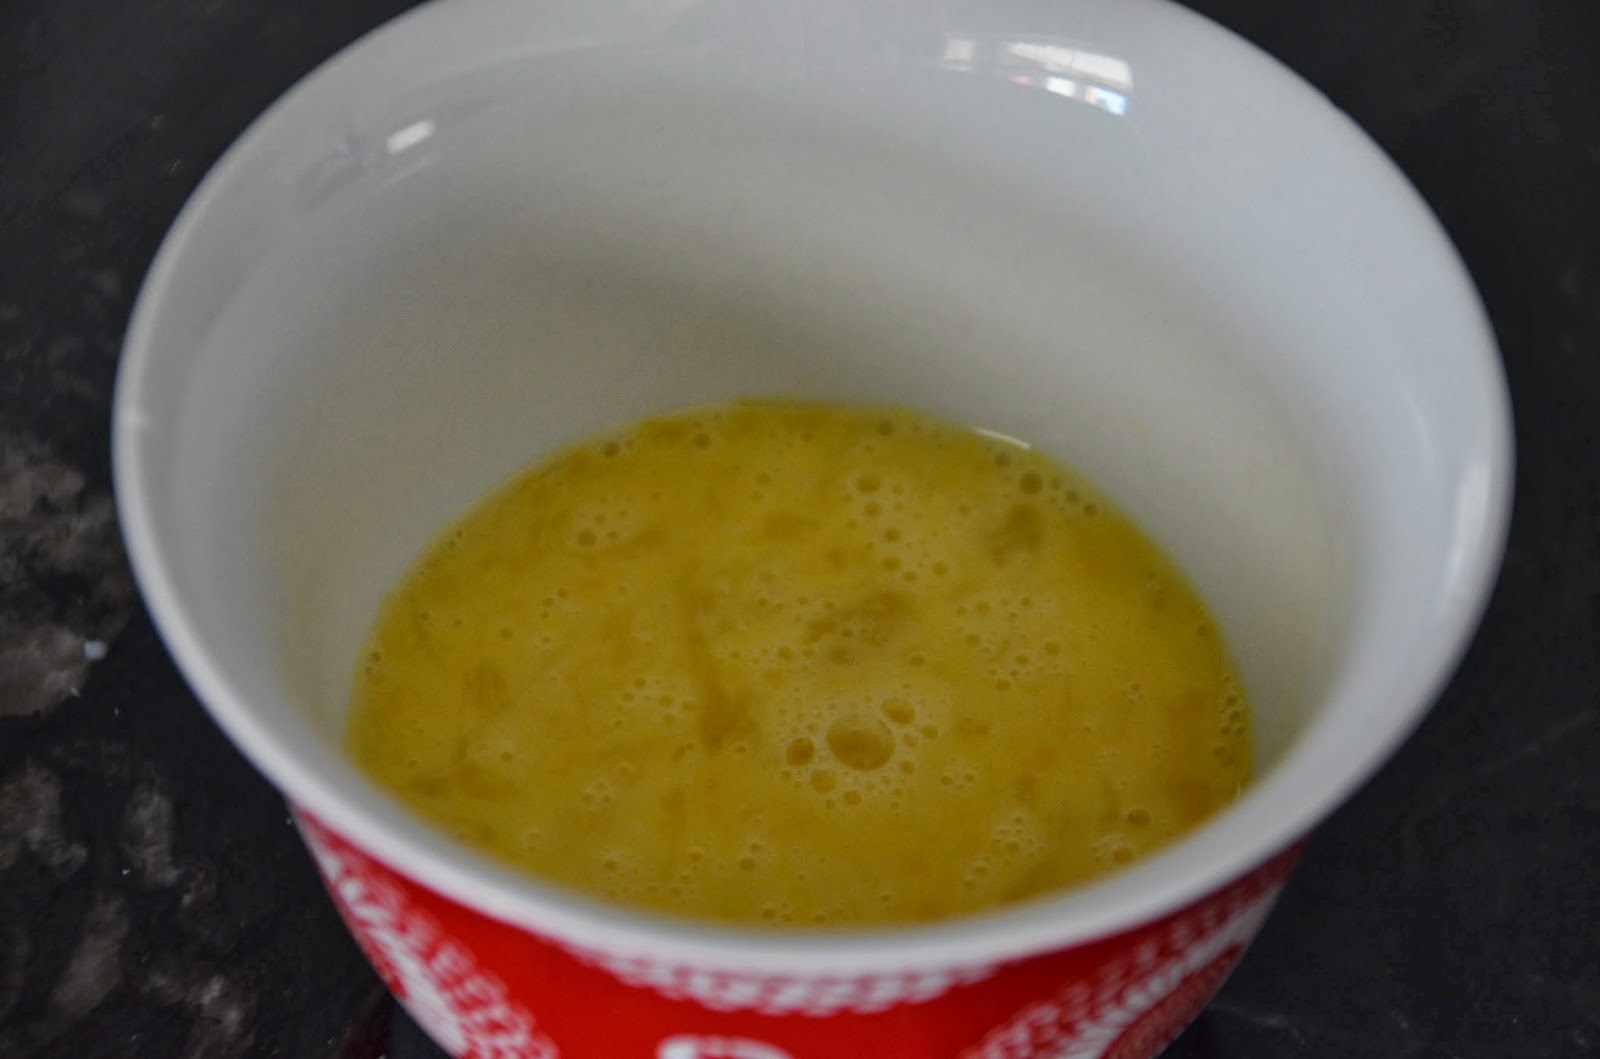
Just crack an egg in the bowl…

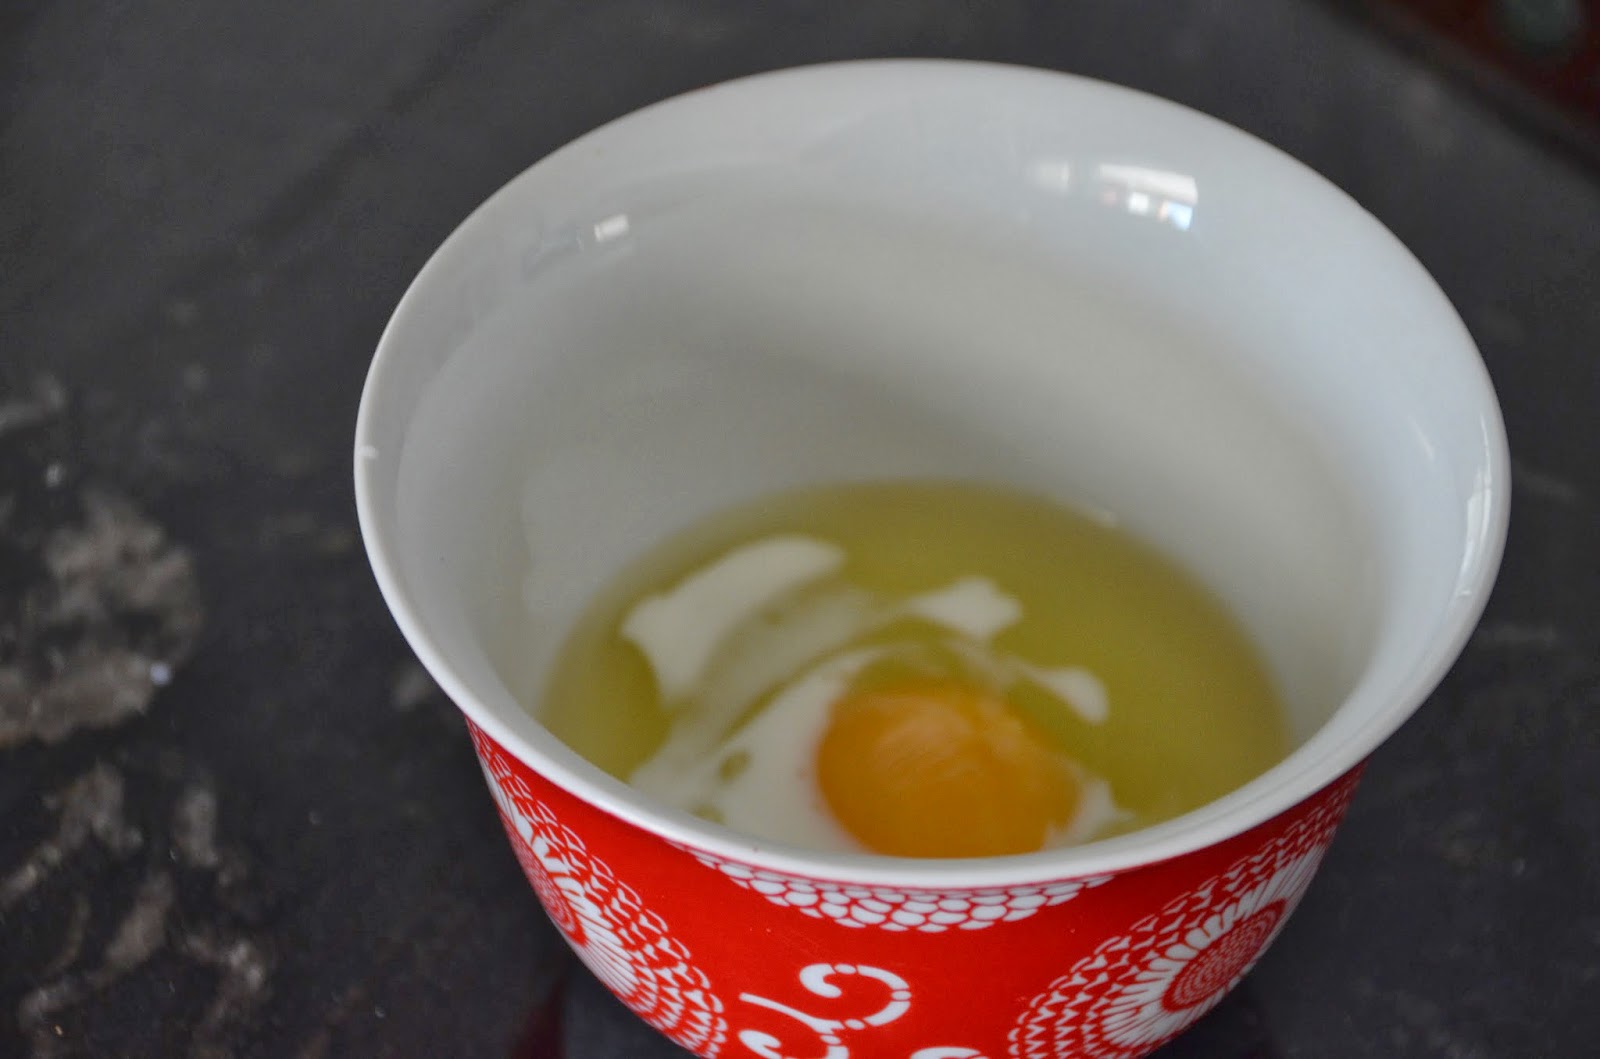
And then add a dash of milk…

Now mix that together with a fork…

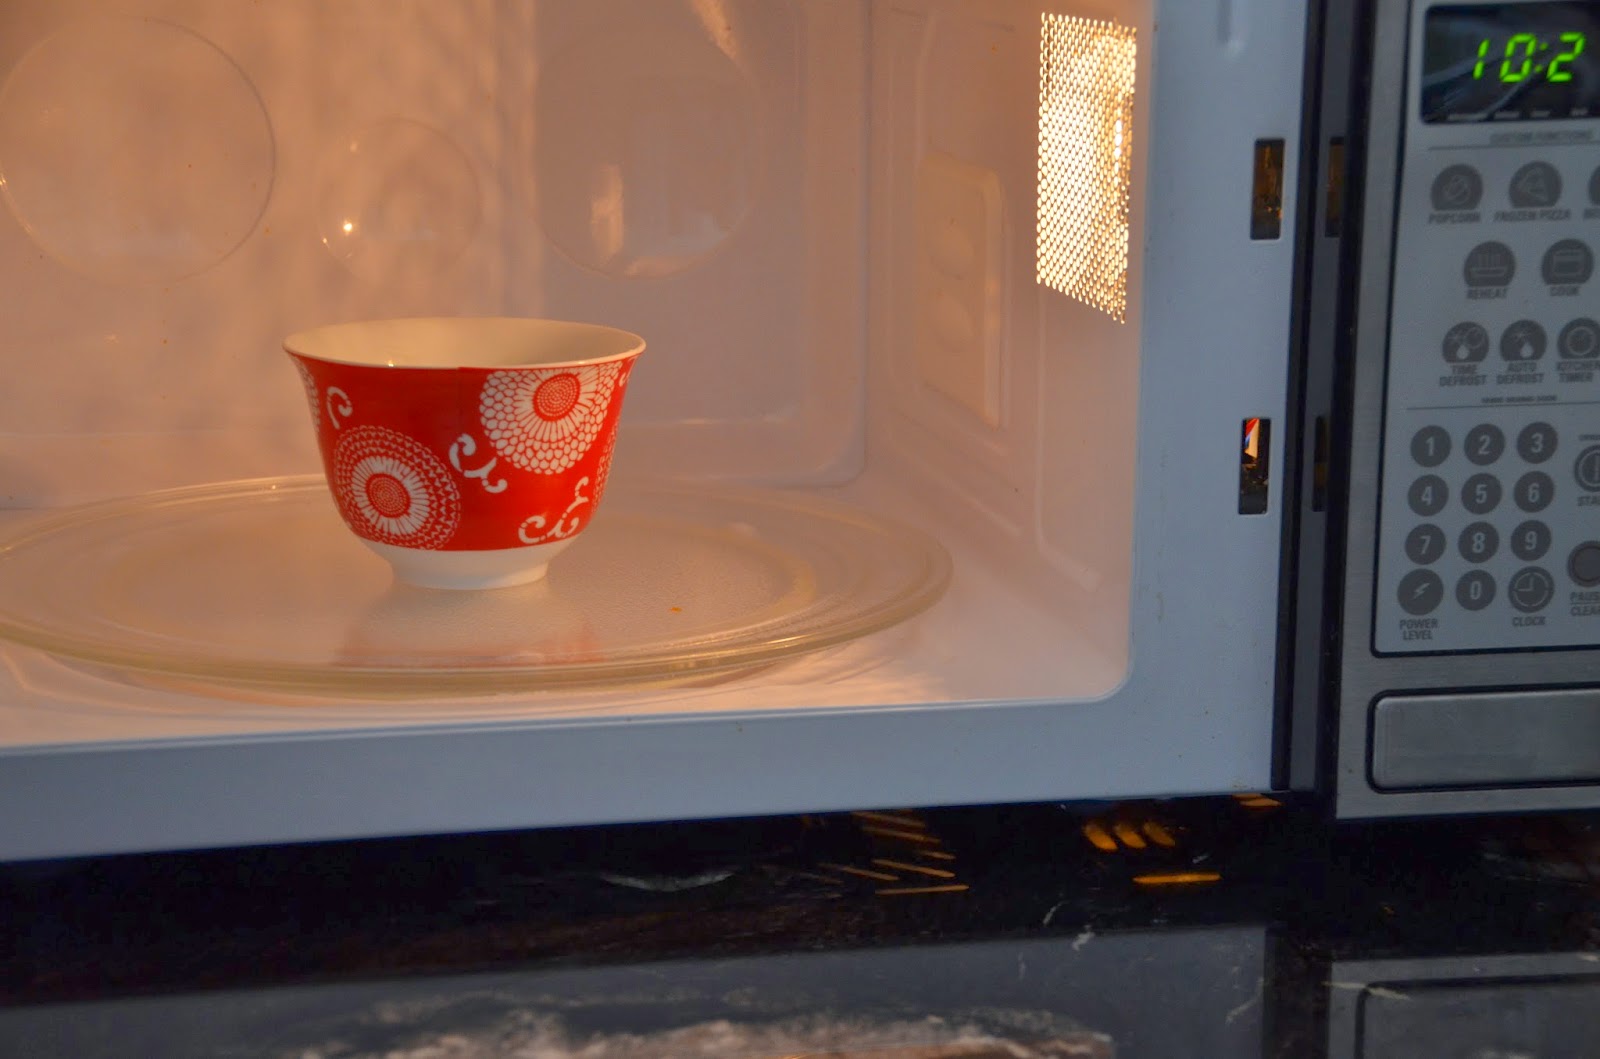
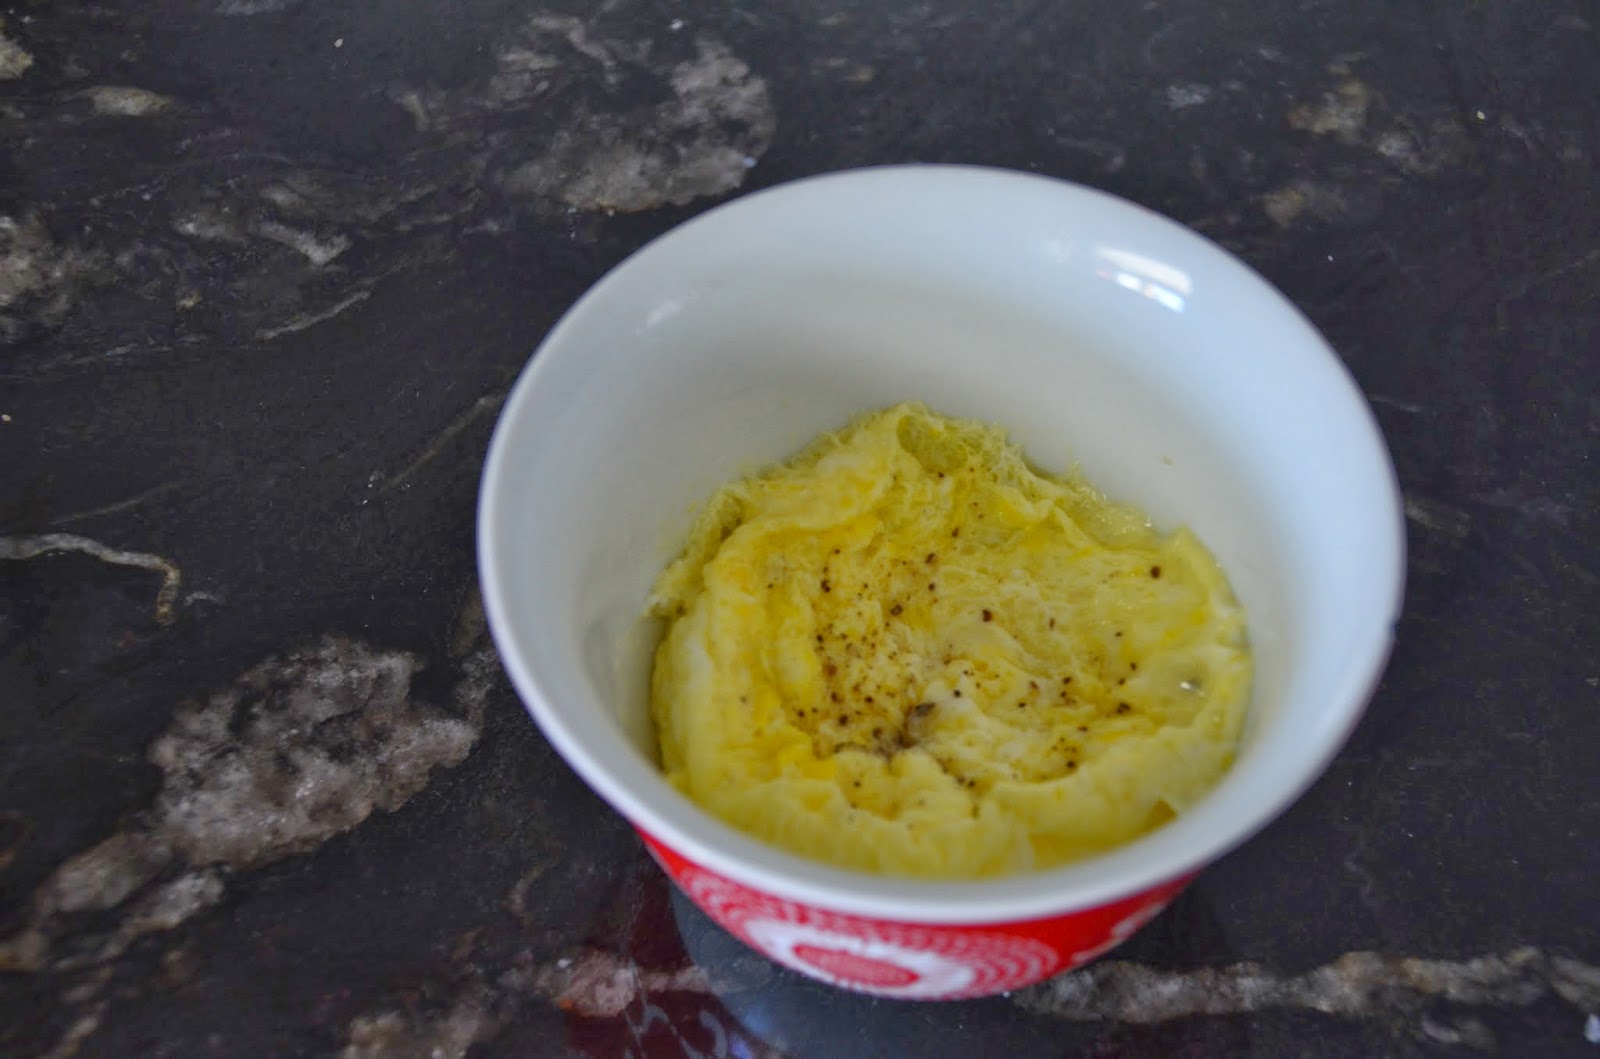
Add some salt and pepper, maybe even a little shredded cheese…and then nuke it for 30 seconds.  Take it out and shake the bowl around a little to redistribute the runny part and then put it back in for another 15 seconds.

It’s done…

You might need a spoon to help it release from the edge of the bowl…

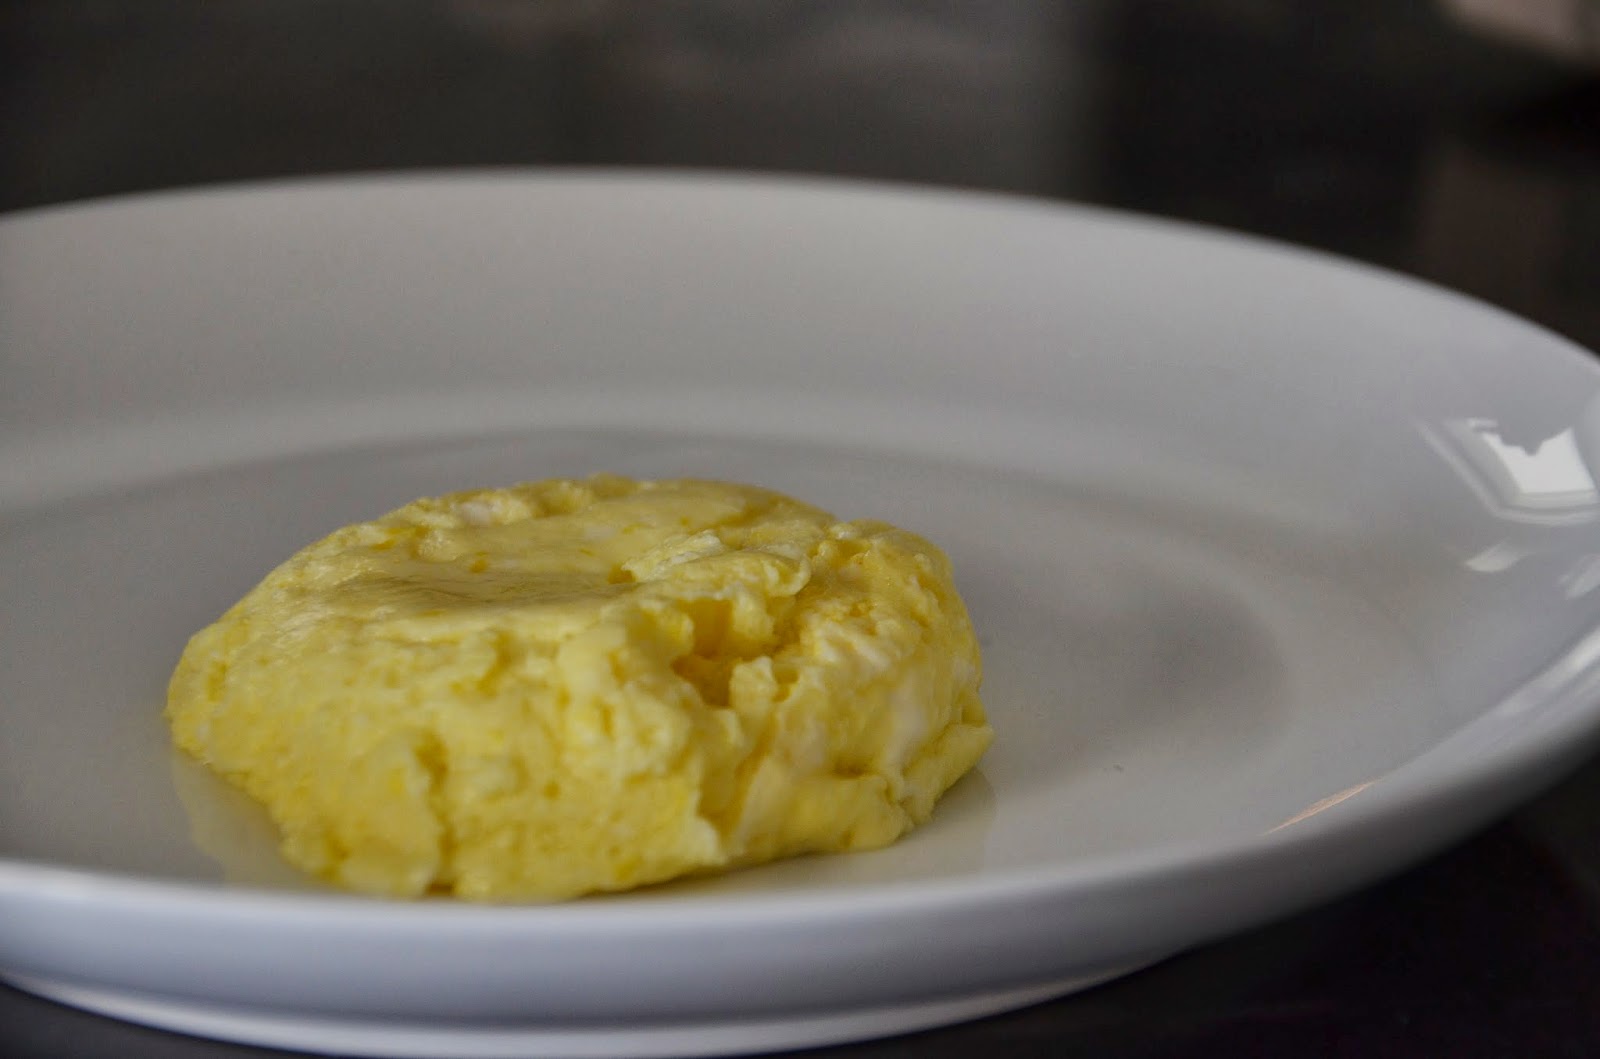
And here is your round egg piece, suck it McDonald’s!

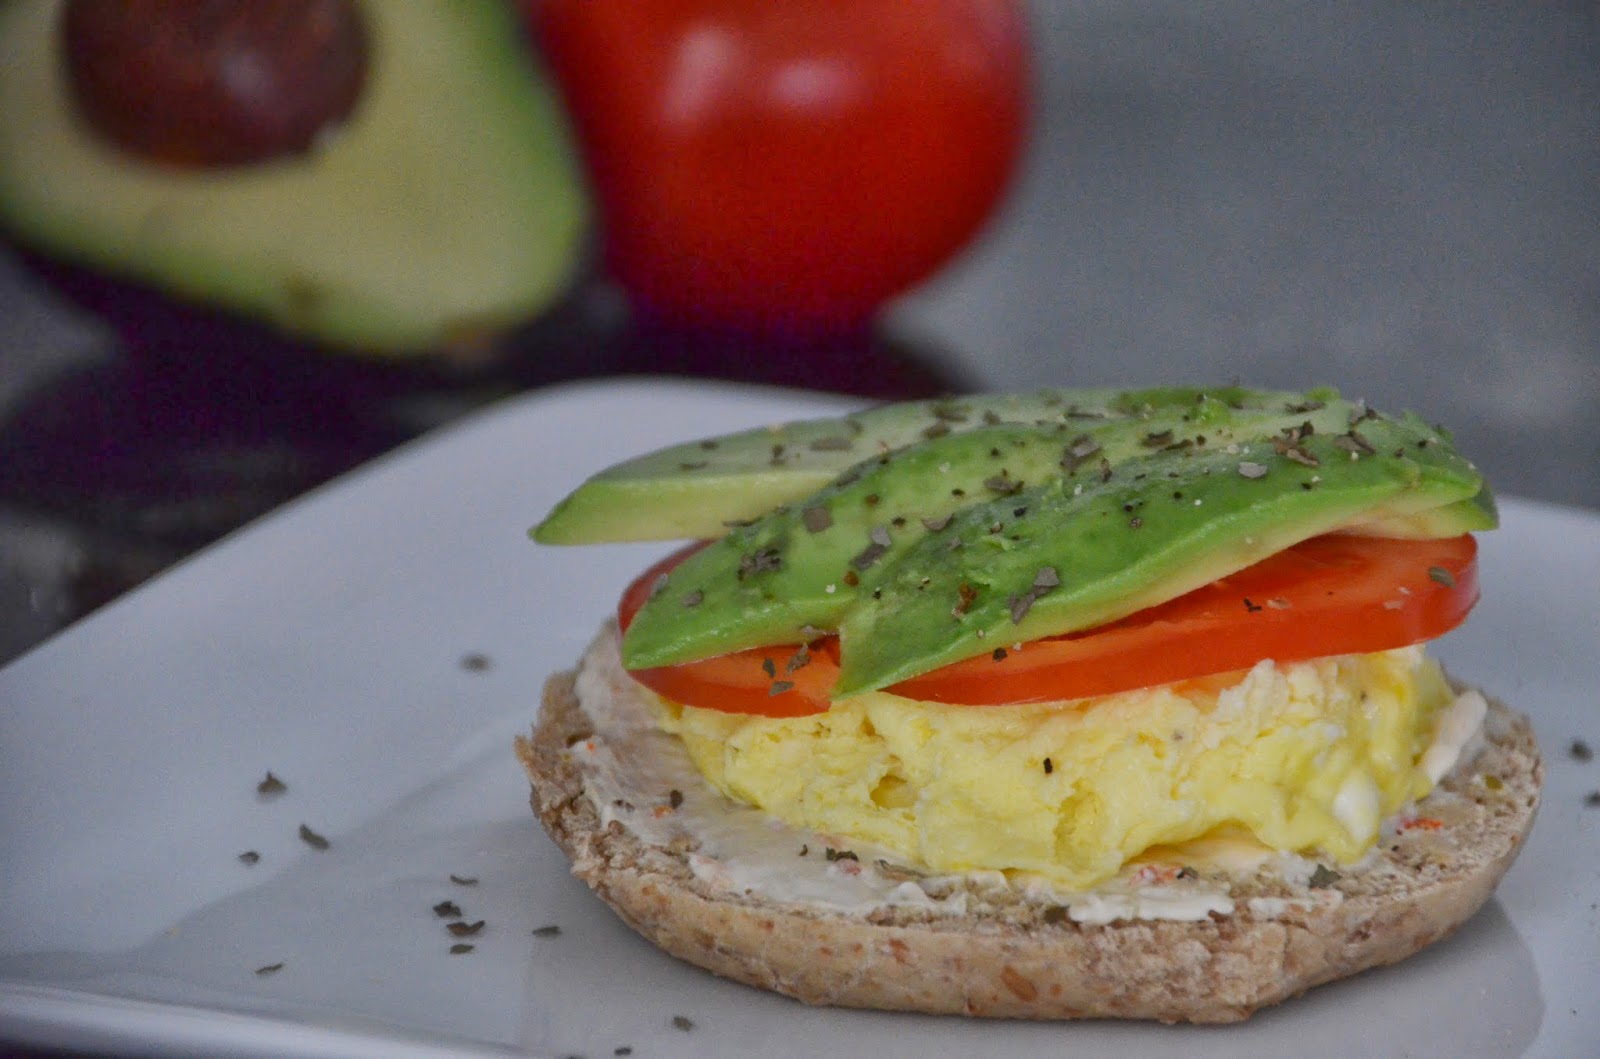
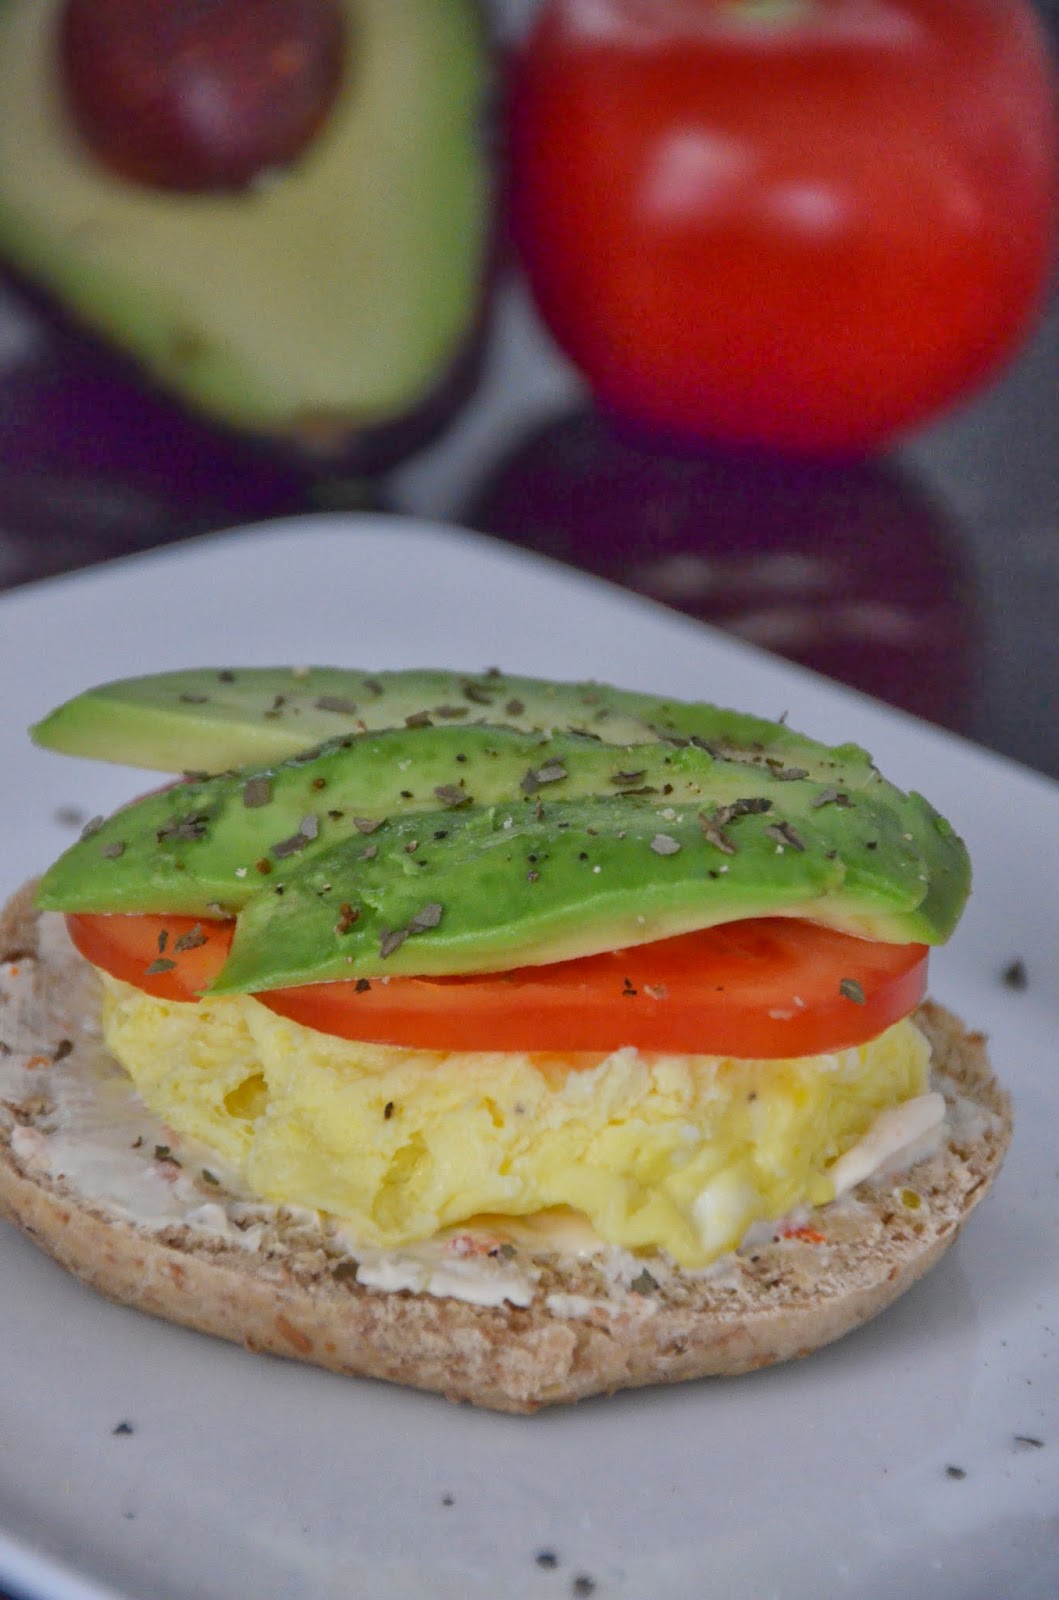
For today’s breakfast, I took half of a sprouted grain bagel and topped it with veggie cream cheese, then put my egg on it, then added some thin sliced tomato and avocado.  I finished it off with some salt, pepper, and dried basil.

I am a BIG fan of this combo…you can’t go wrong with some protein in the morning, am I right?!  I would love to hear how you guys like your eggs!  Or maybe you want to talk about something else?  Who likes the movie Frozen?  I saw it for the first time yesterday…I’ve now seen it 62 times, I think it’s pretty good however now I’m belting out the songs and I can’t stop…”because for the first time in forever!!!!”…my family wants to kill me.

Cheers!

The Good Cooker
La’s Lasagna


I have been making lasagna for a very long time now, I’ve done it a million ways and it always turns out great (it is lasagna afterall).  This recipe is the culmination of everything that works in a lasagna, if I were going to enter a lasagna cooking contest I would use this recipe…ok, you get the picture.

I love making lasagna, it’s relatively simple to throw together and then you just pop it in the oven and magic happens.  Kids love lasagna too, even if it’s stuffed with spinach!

This lasagna also has meat in it but you can always leave it out, the lasagna will still be great.   

ok, here are the ingredients…

1 pound – italian style turkey or chicken sausage
1 box – lasagna noodles
1 jar – favorite pasta sauce
1 – 10 oz. box frozen spinach (thawed and drained well)
2 cups – part skim ricotta
1 cup – reduced fat cottage cheese
1/2 cup – grated parmesan 
12 oz. – shredded mozzarella
1 egg
salt and pepper
dried oregano

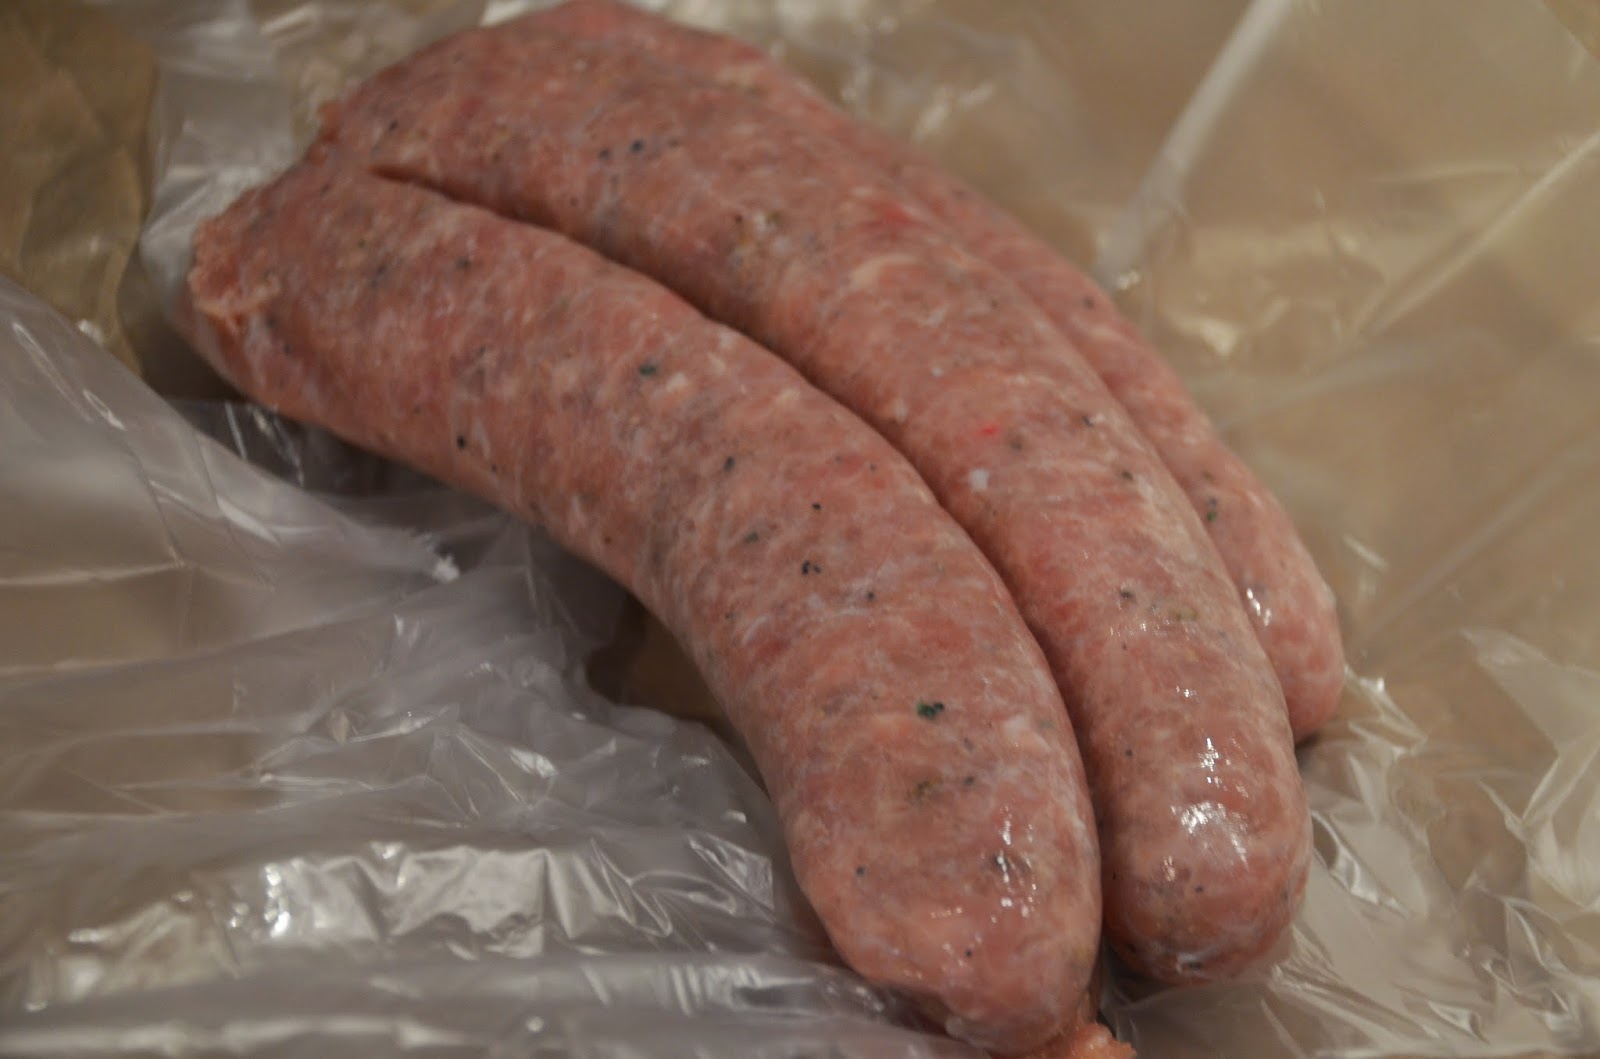
Start with the meat (if you’re using it)…I just got four Italian style chicken sausage links at the deli counter.


Get some olive oil going in a pan over medium low heat…


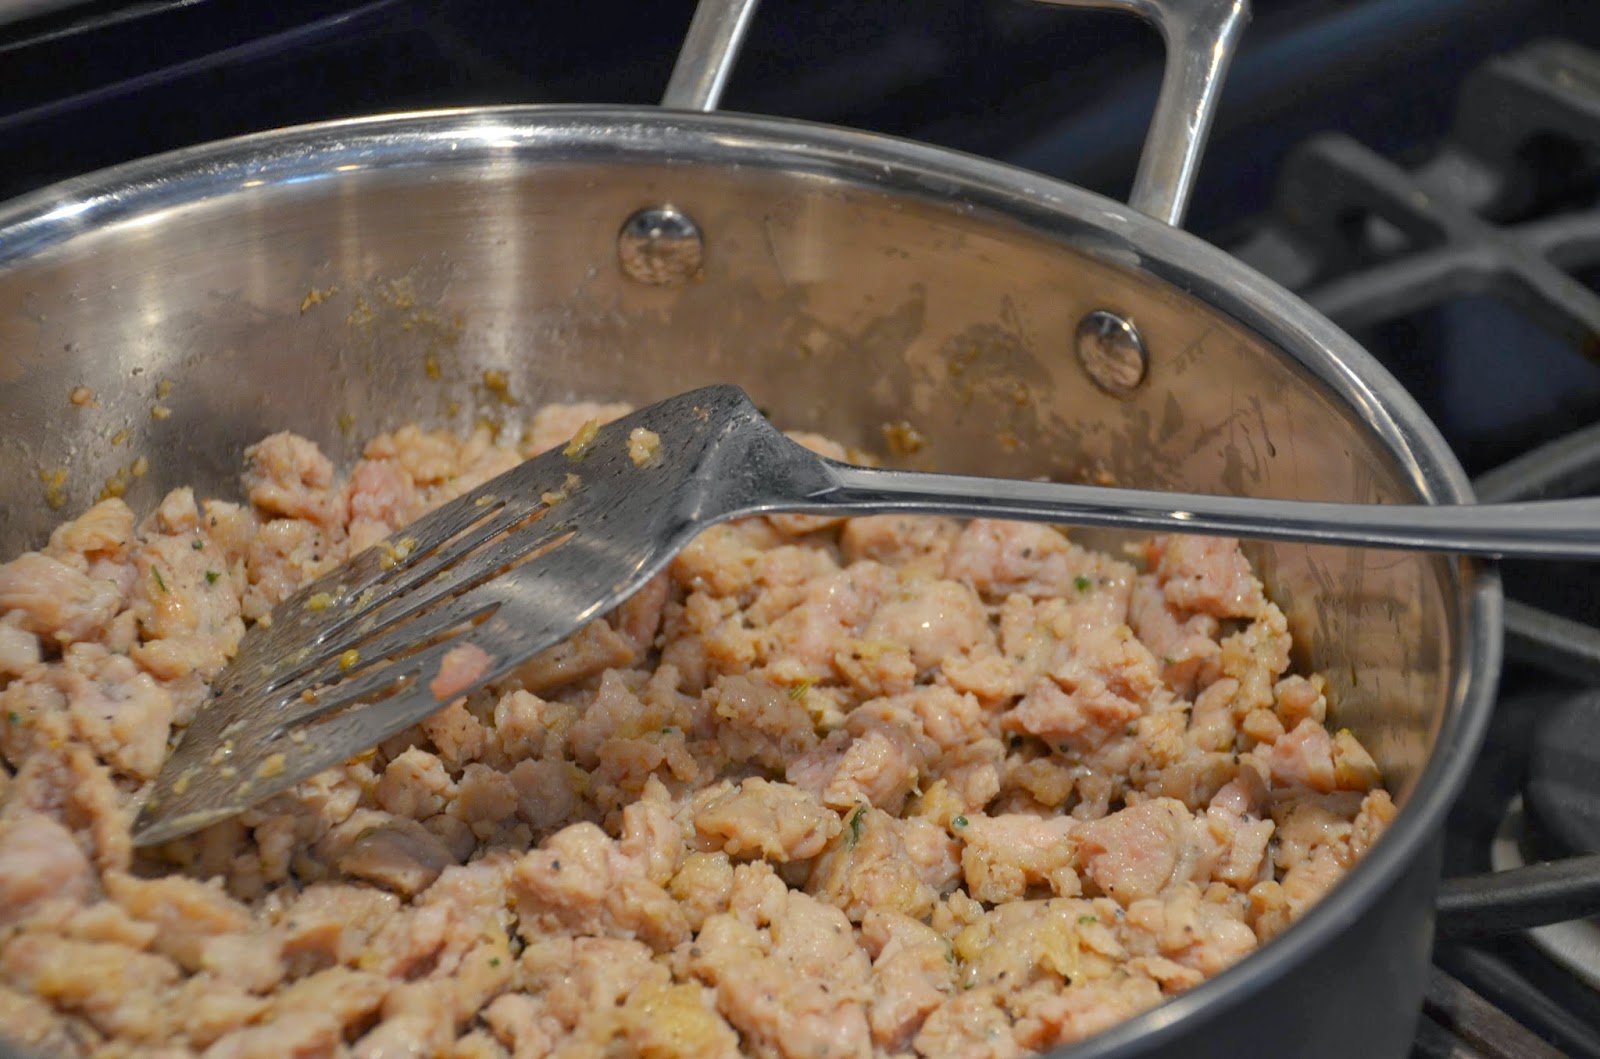
Squeeze the meat out of the casing with your hands (sorry, no photo of this)…and break it up in the pan with a metal spatula.


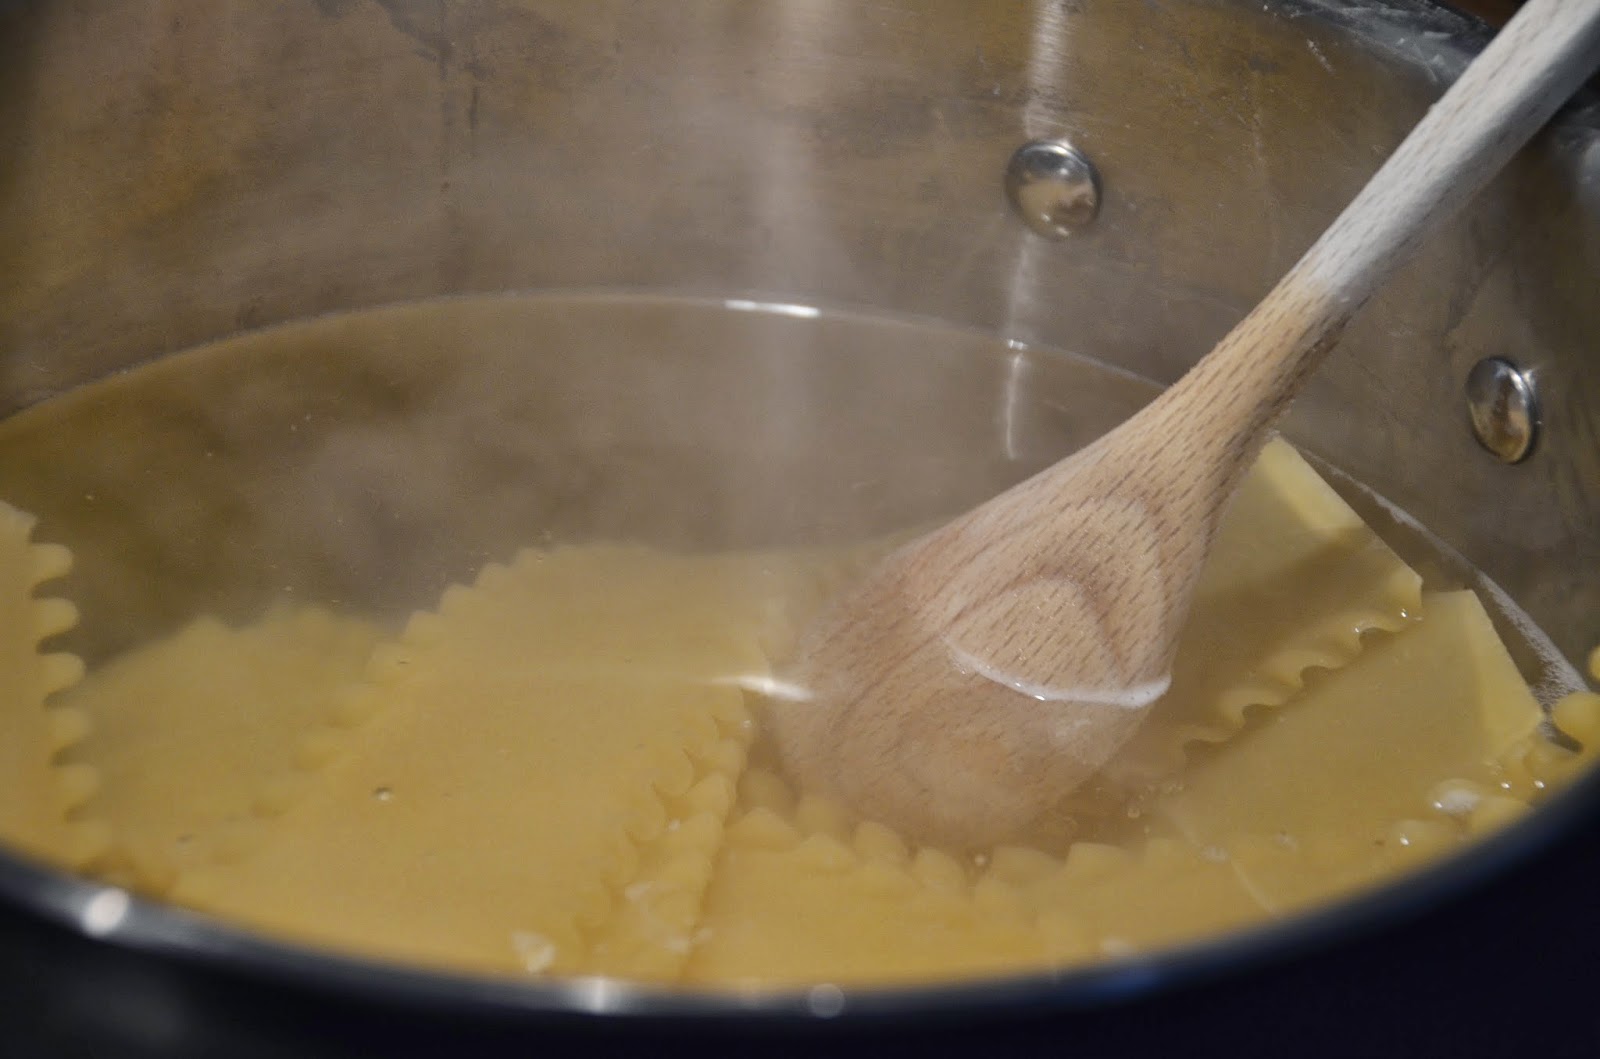
Now start boiling your water…you need a large pot.  When it’s starts boiling, throw in some salt and then add the noodles.  You need 12-noodles for this if you’re using the standard 9×13 pan but I just make them all because a few will end up tearing and my kids will eat the leftover noodles anyway…what is it with kids and plain noodles?  I watched my two year old stuff an entire lasagna noodle in his mouth and then refuse to spit it out.  I tried to get it from him but he ran away (with a mouth full of pasta)…he was eventually able to get it down, or it’s in a corner somewhere…either way he survived.

Anyway, when you get the noodles in the pot use a spoon to push them down so they are covered.  


Cook them for about 7 minutes or so and then drain and rinse the noodles with cold water. Then lay them flat on a plate so they’re easy to grab when you start assembling the lasagna.

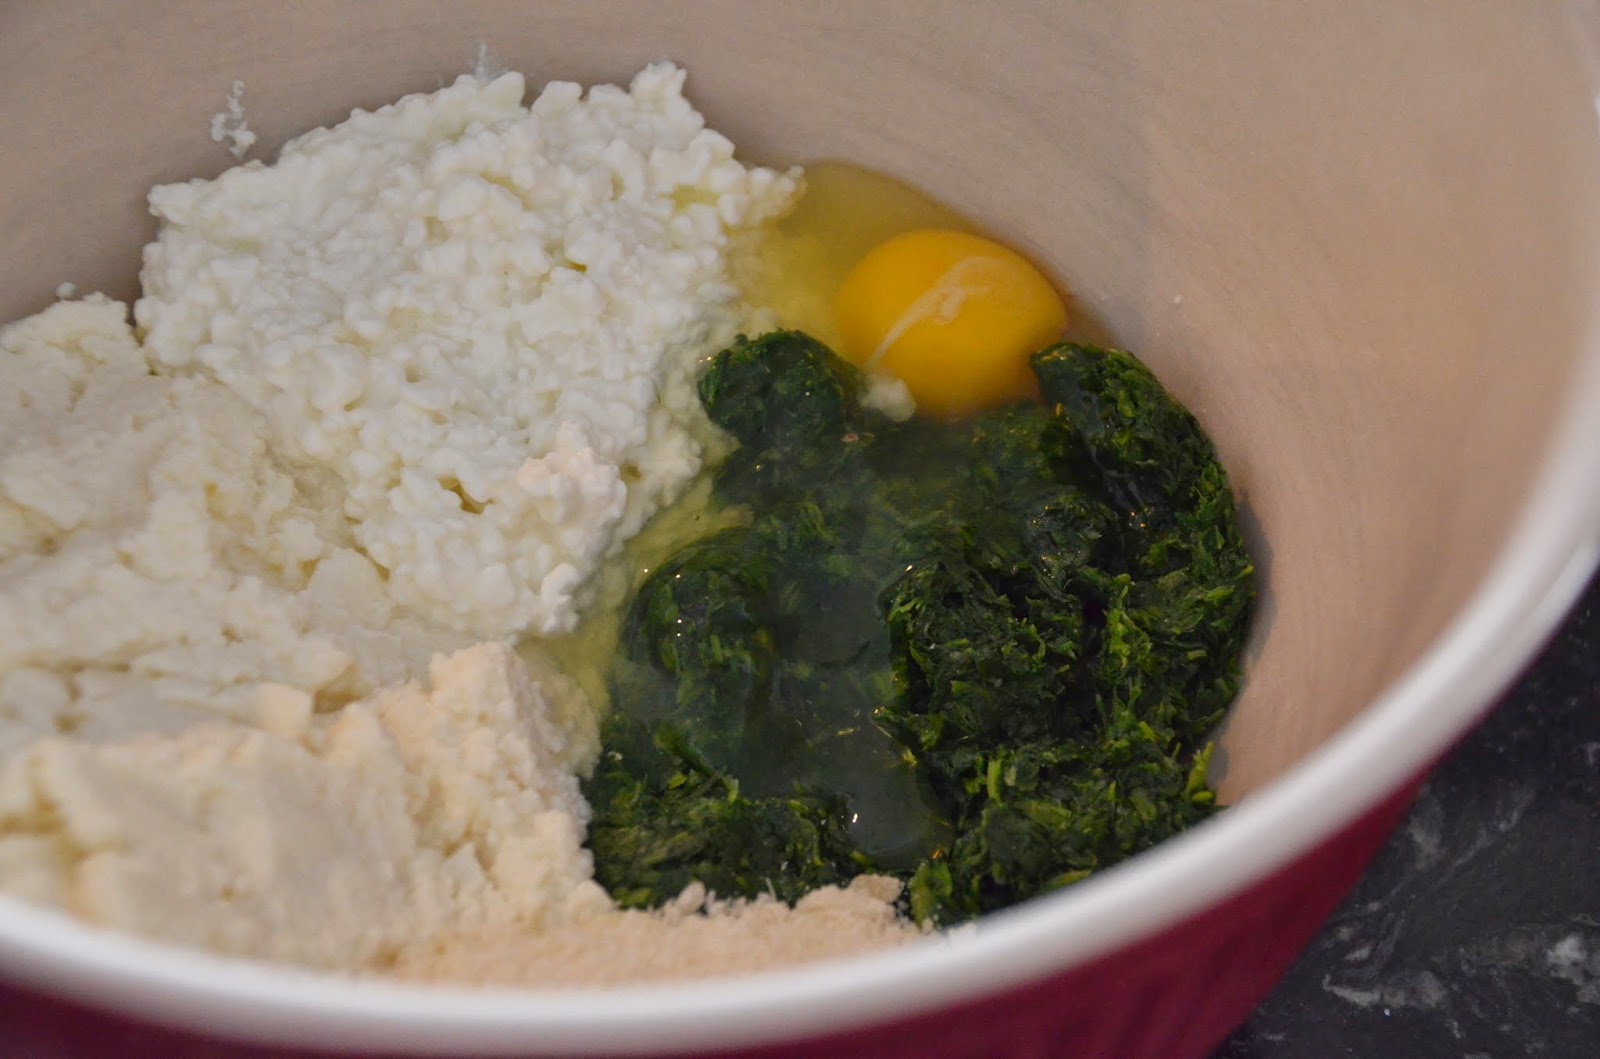
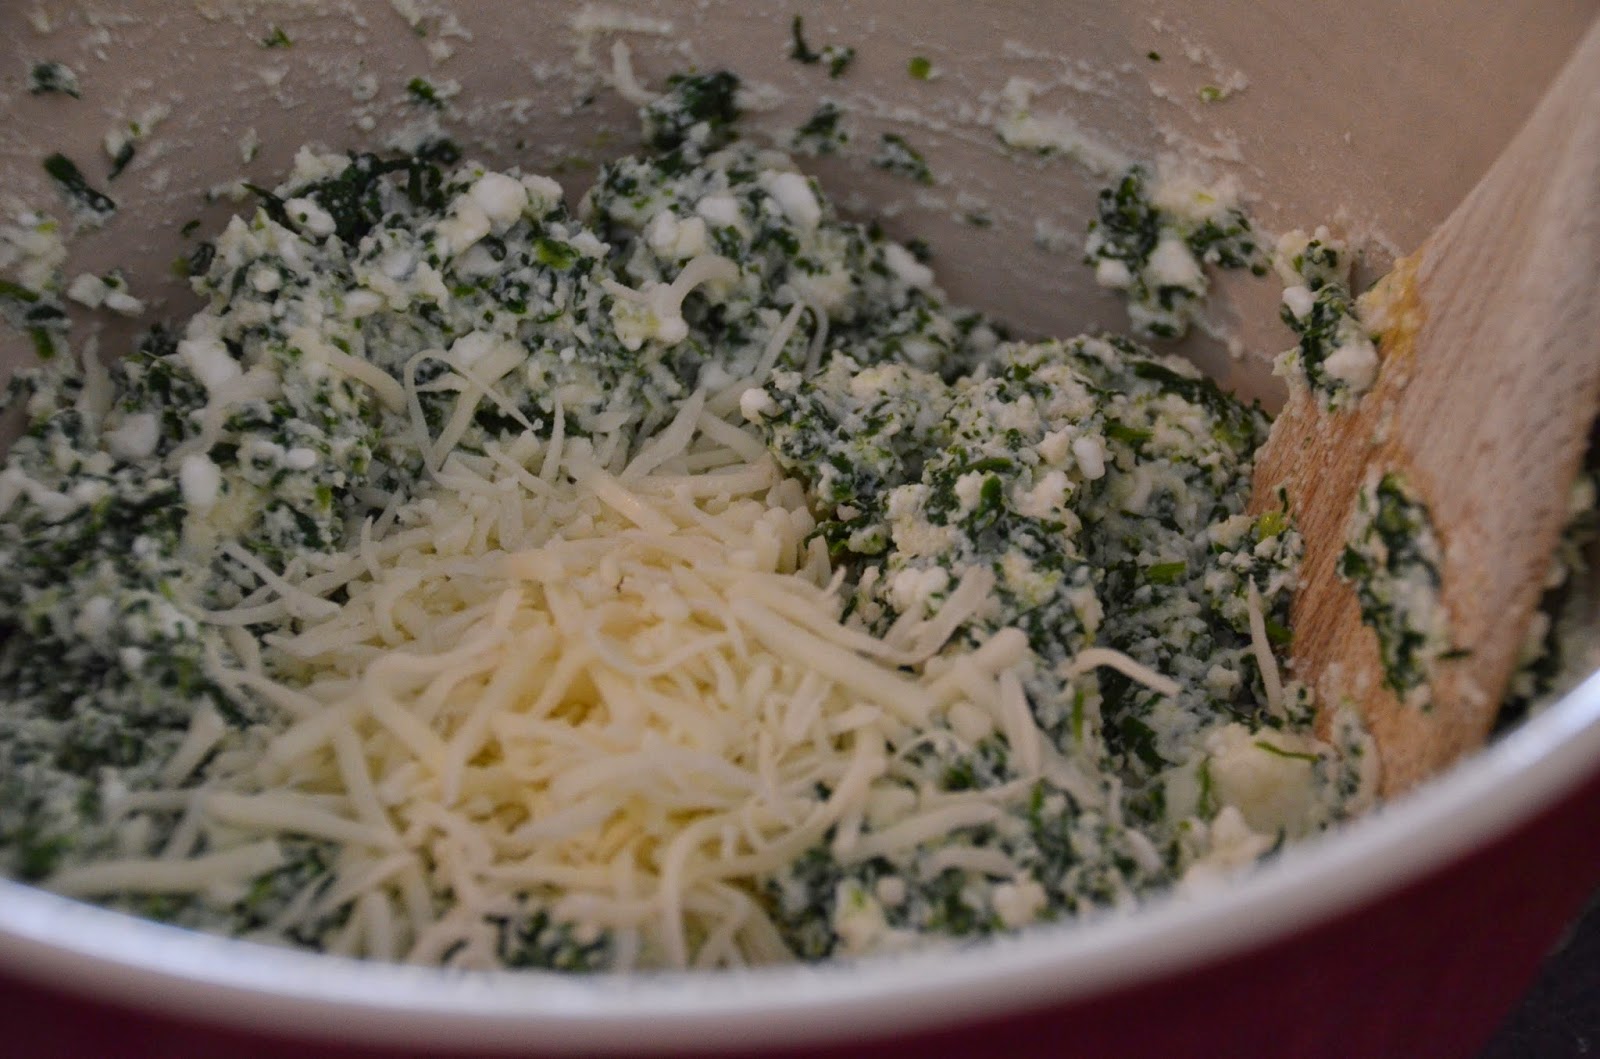
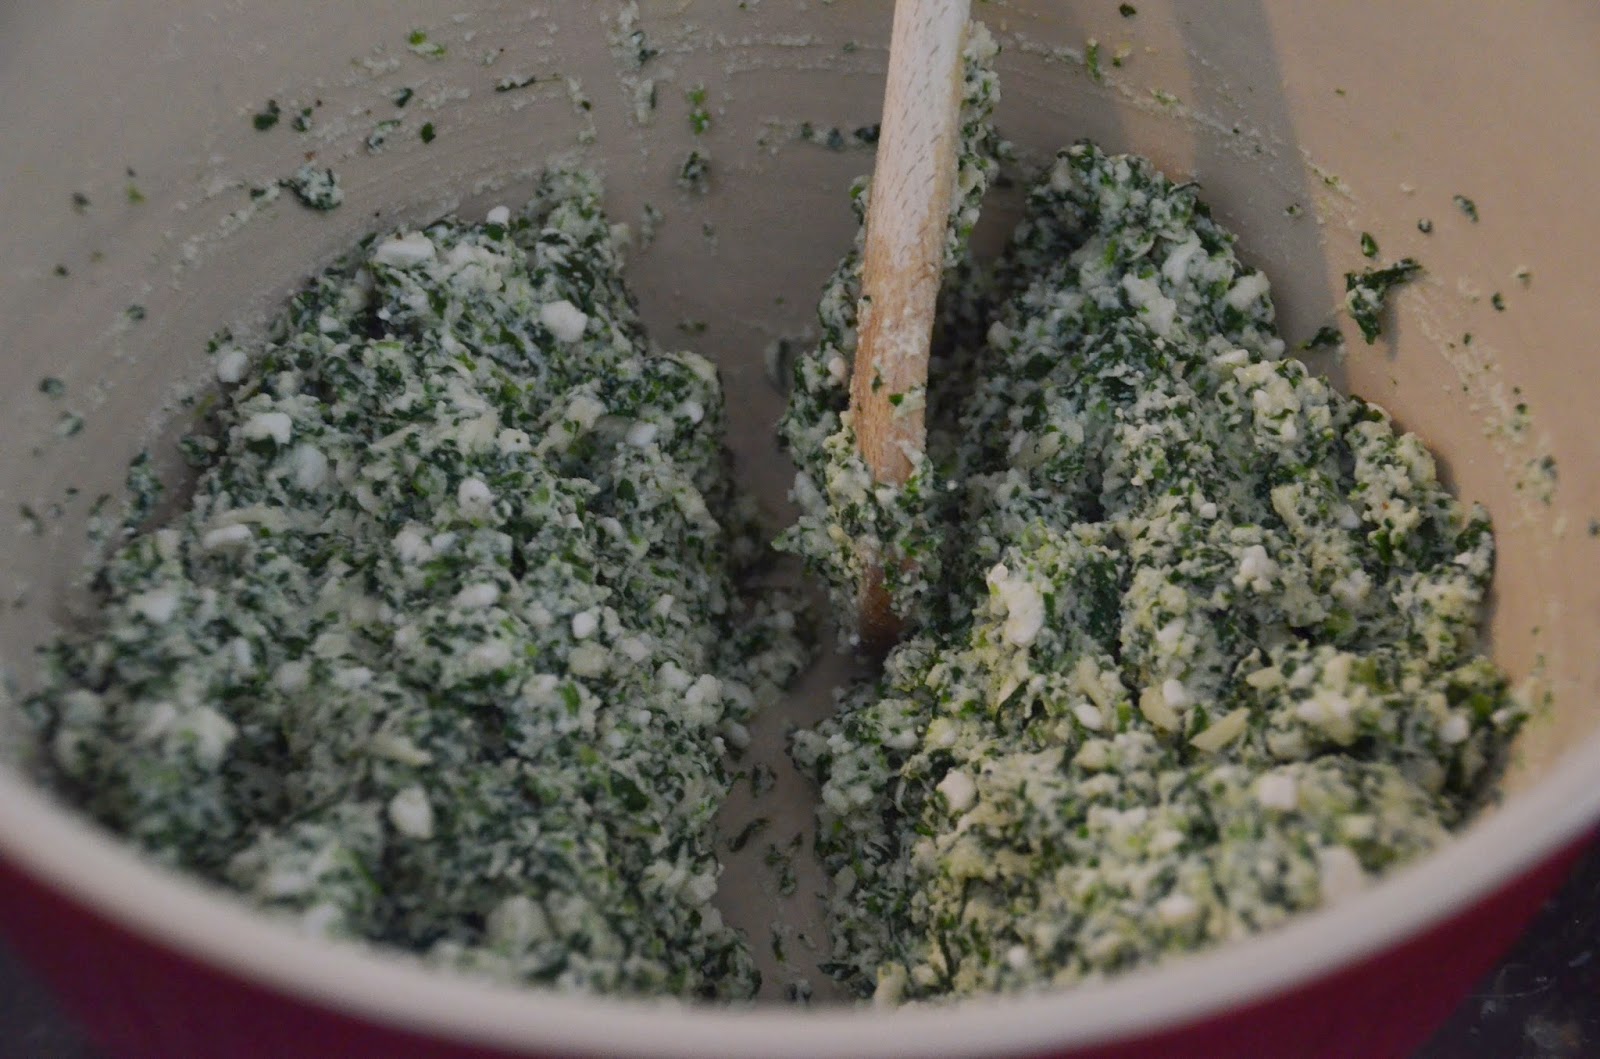
While the pasta is going and the meat is browning, add the following ingredients to a large bowl: ricotta, cottage cheese, parmesan, spinach (make sure you’ve squeezed all the water out of it with a towel), and egg.


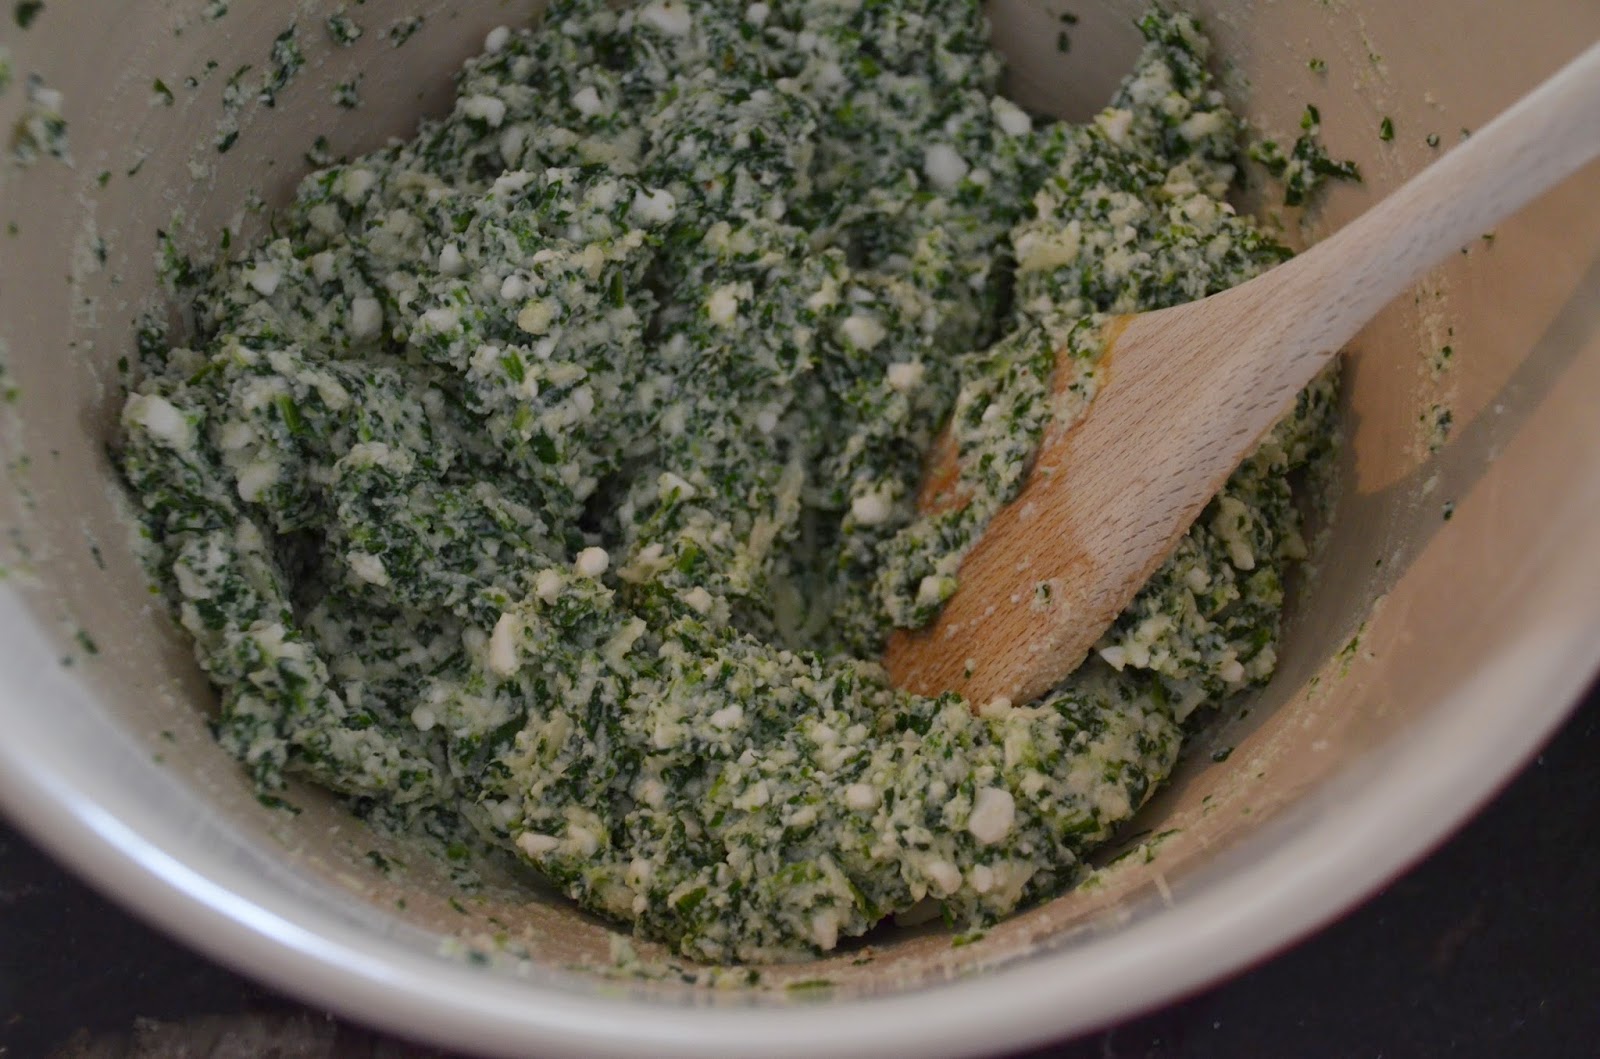
Now mix it all together with a spoon…


You can also add a little bit of the shredded mozzarella if you want, I wanted to…


Now taste it and then add salt and pepper to your liking.

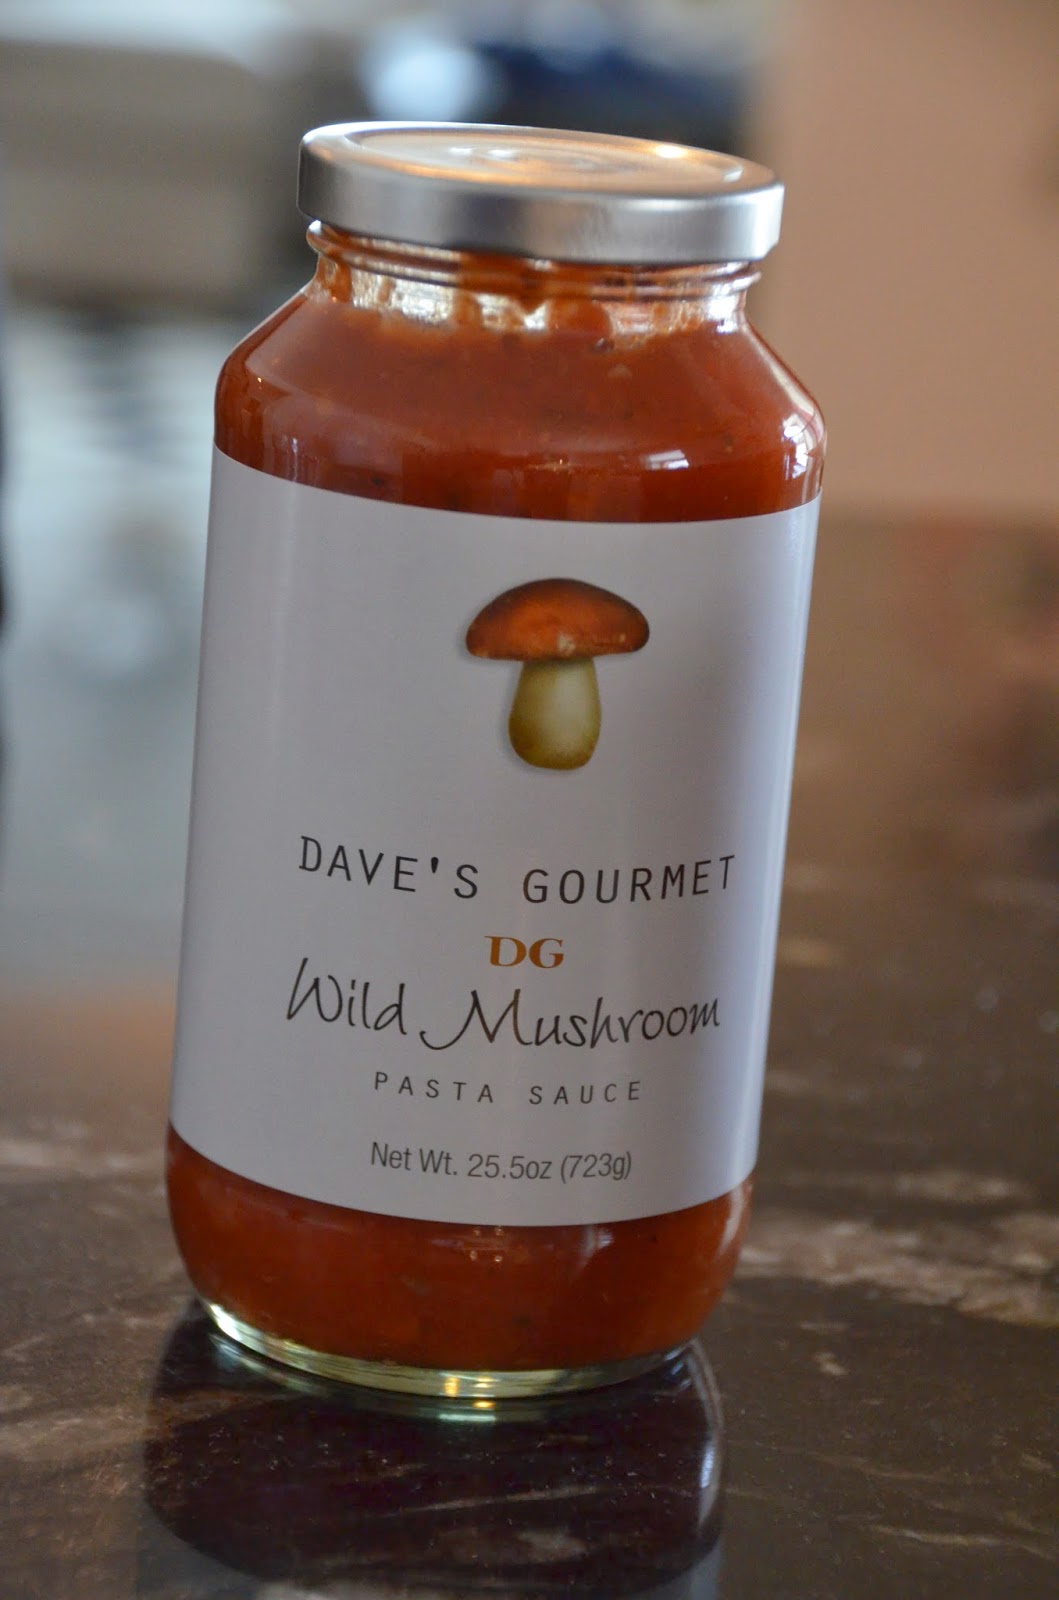
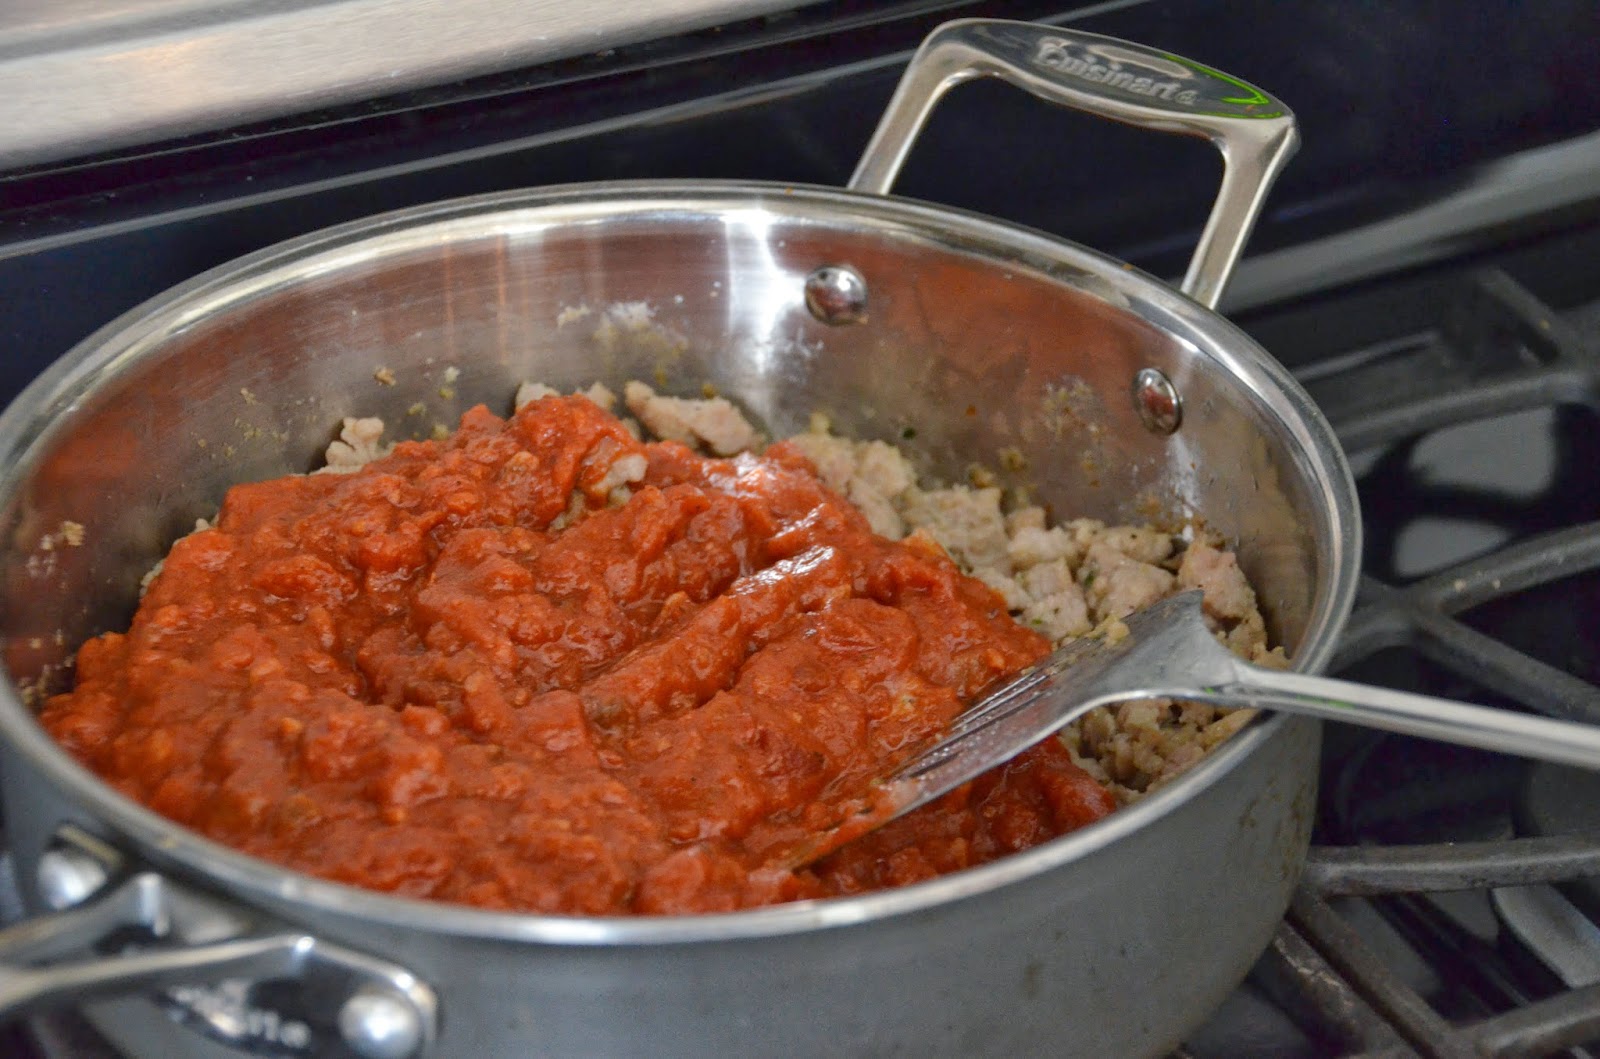
Ok, that part is done…now add your pasta sauce into the pan with the browned meat, I got this sauce on sale at WF and it’s my new favorite.  My kids don’t like mushrooms but they can’t tell when the shrooms are in a sauce….groovy.


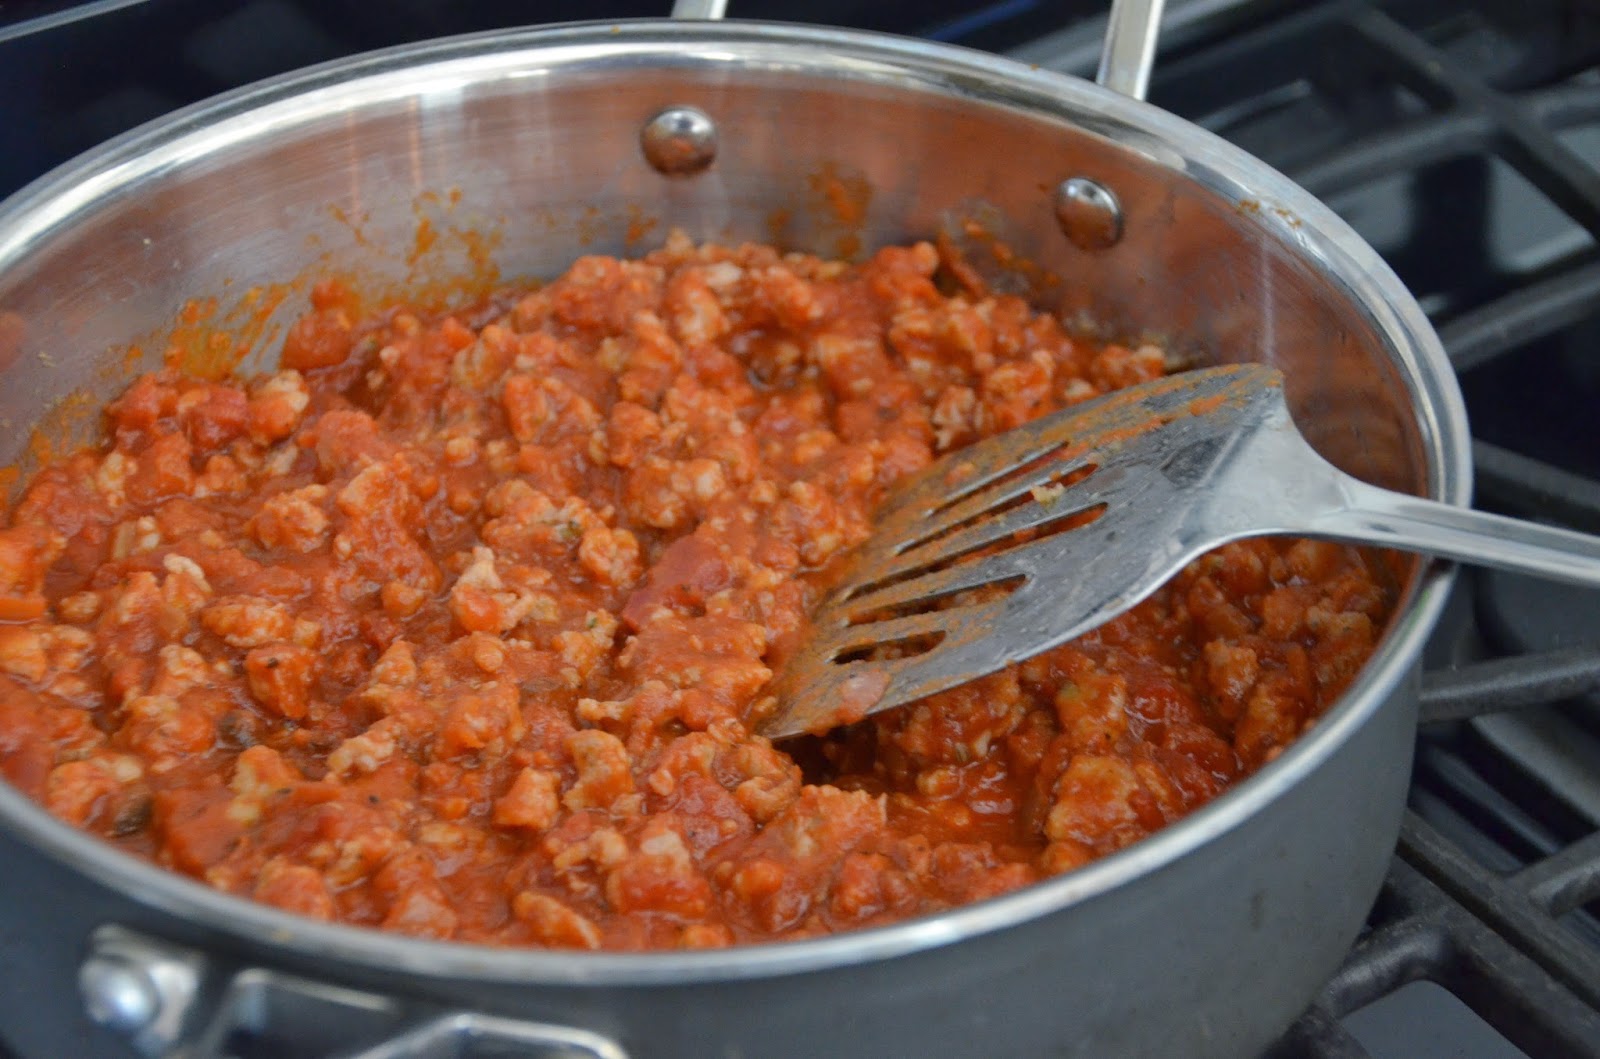
Now stir it all together…


Now it’s time to assemble your masterpiece… but before you do that, get your oven going at 350 degrees.

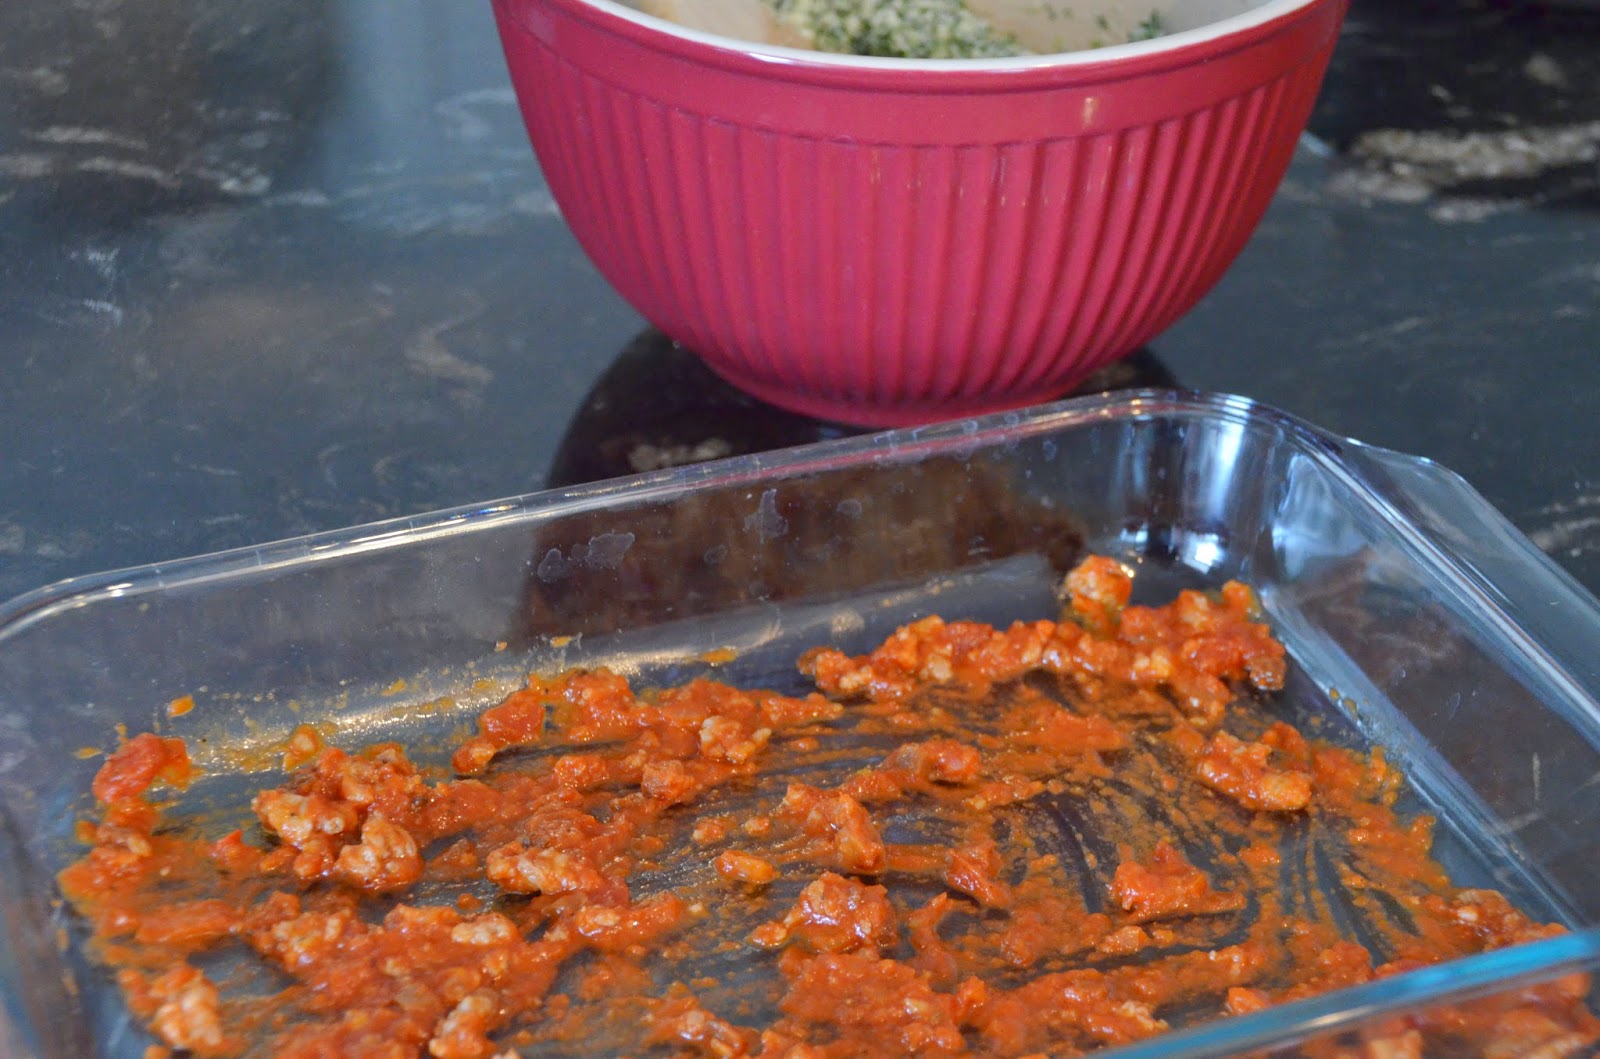
Put a little bit of the sauce down in the bottom of your 9 x 13 dish.


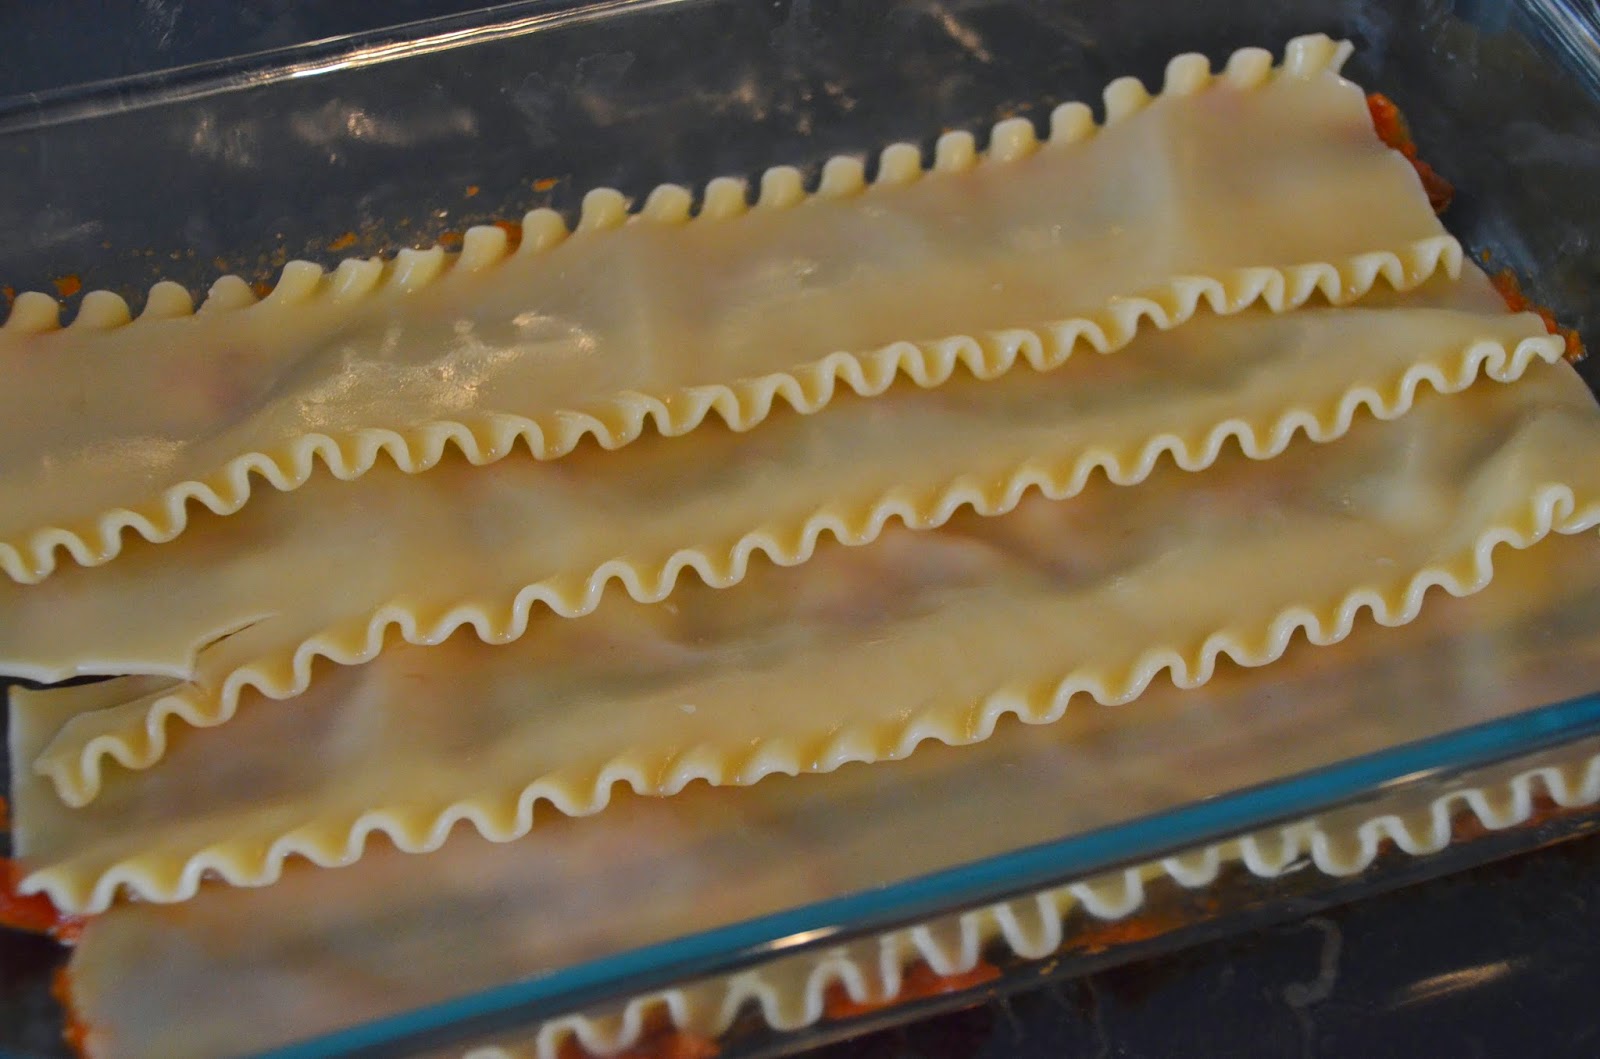
Layer 4 lasagna noodles in the bottom of the dish, they will probably overlap a little.

Now divide your spinach/cheese mixture in half while it’s in the bowl.


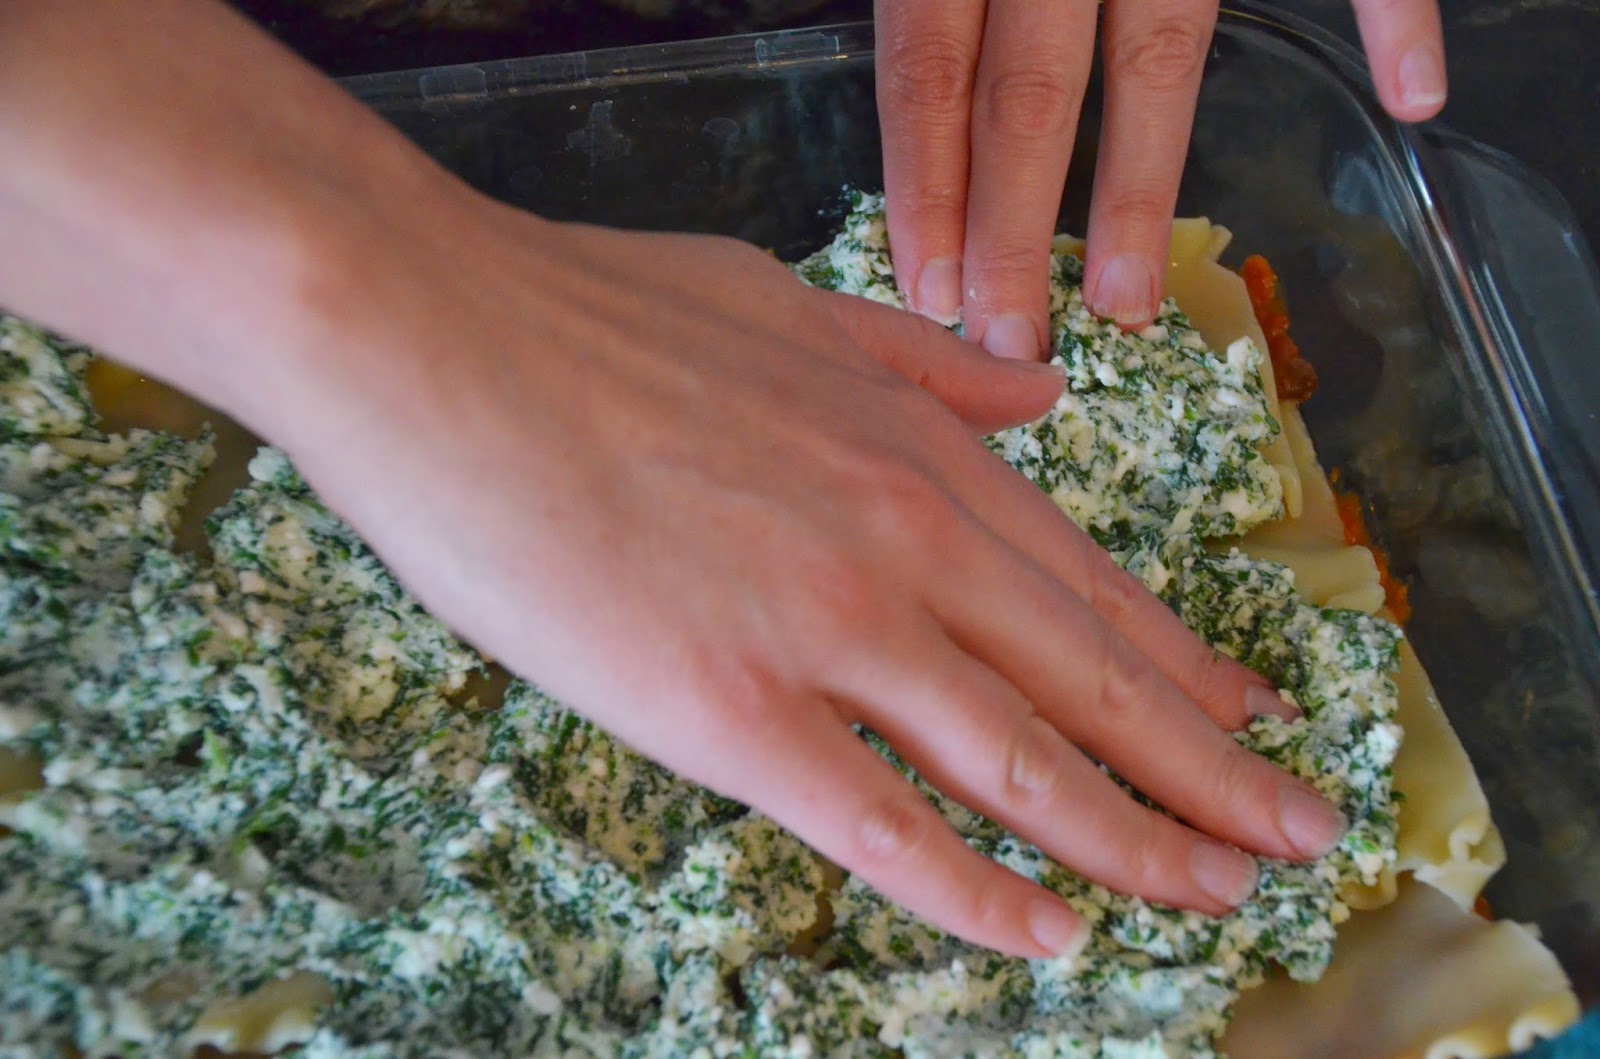
Plop half of it down on top of the noodles, I do large dollops all over the lasagna and then use my clean hands to spread it around.  You can use a utensil if you don’t want to use your hands…good luck with that.


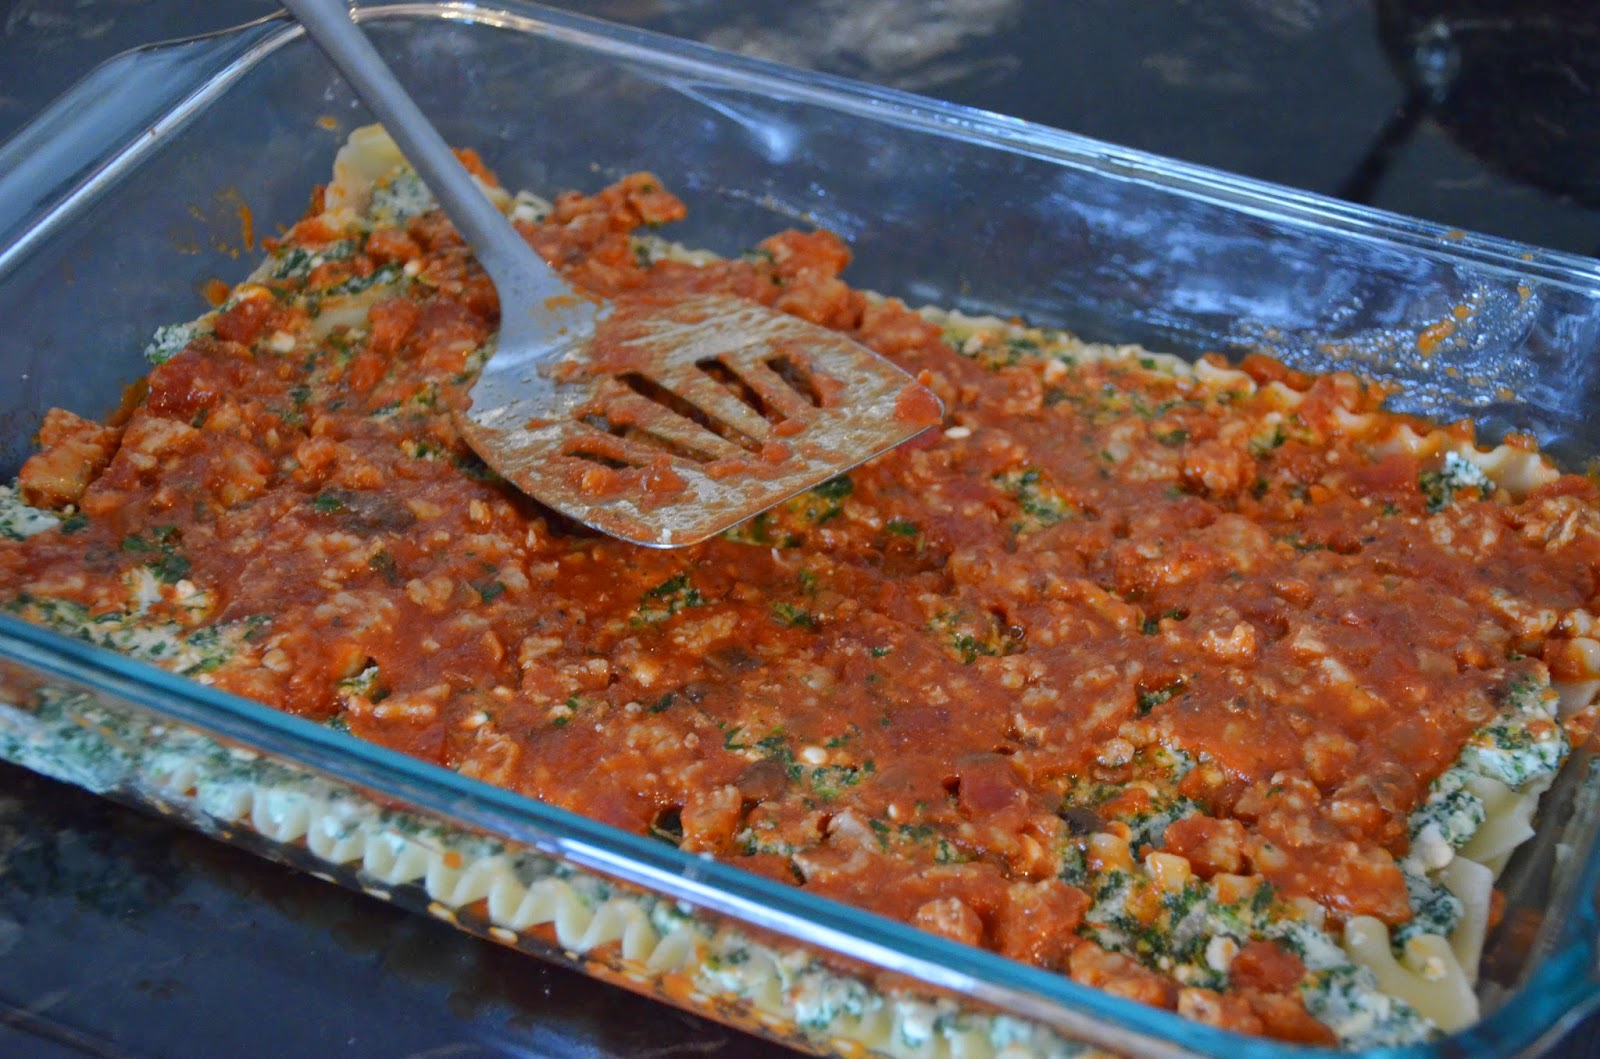
Now put about half of the sauce on top of that and use the spatula to even it out…


Now add 4 more noodles and repeat the process…I reserve a little bit of the sauce for the top of the lasagna, I’ll tell you why in a second.

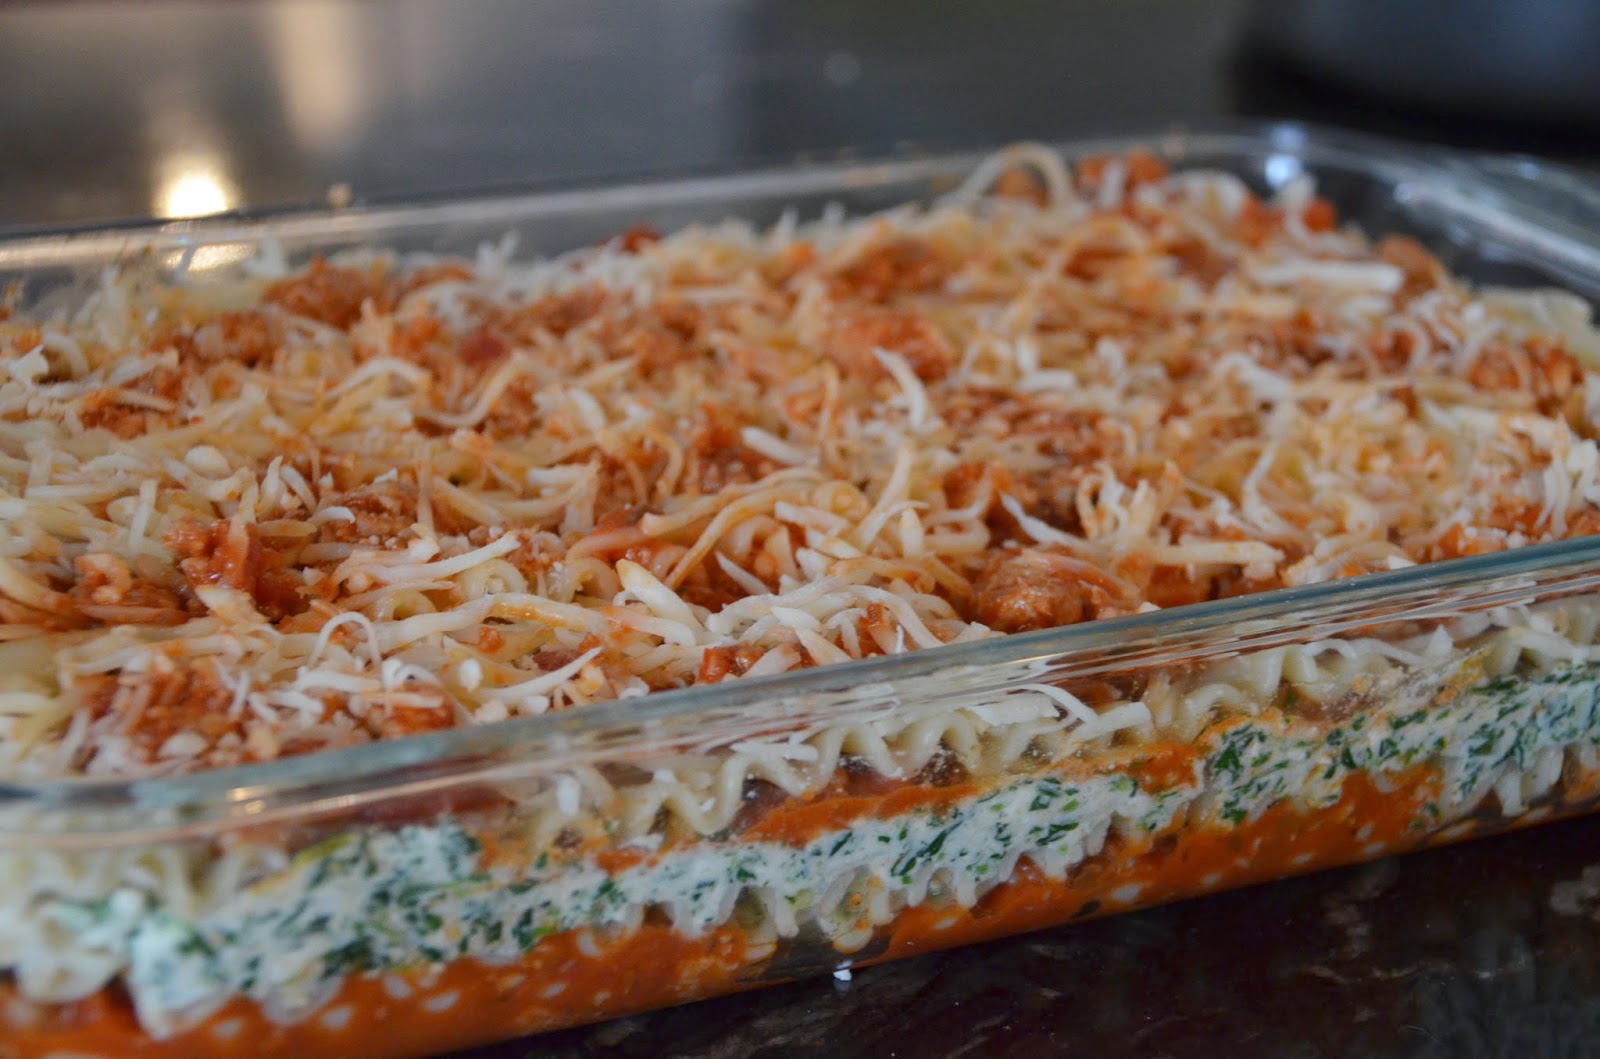
Add your shredded mozzarella all over the top of the lasagna, I save some of the sauce and mix it in with the cheese because I think the moisture helps the cheese melt nicely…


The last thing I do is sprinkle dried oregano over the whole thing.

Now cover it with foil and pop that baby in the oven for about 50-60 minutes.  I remove the foil about 15 minutes before it’s done so the top can get nice and bubbly.

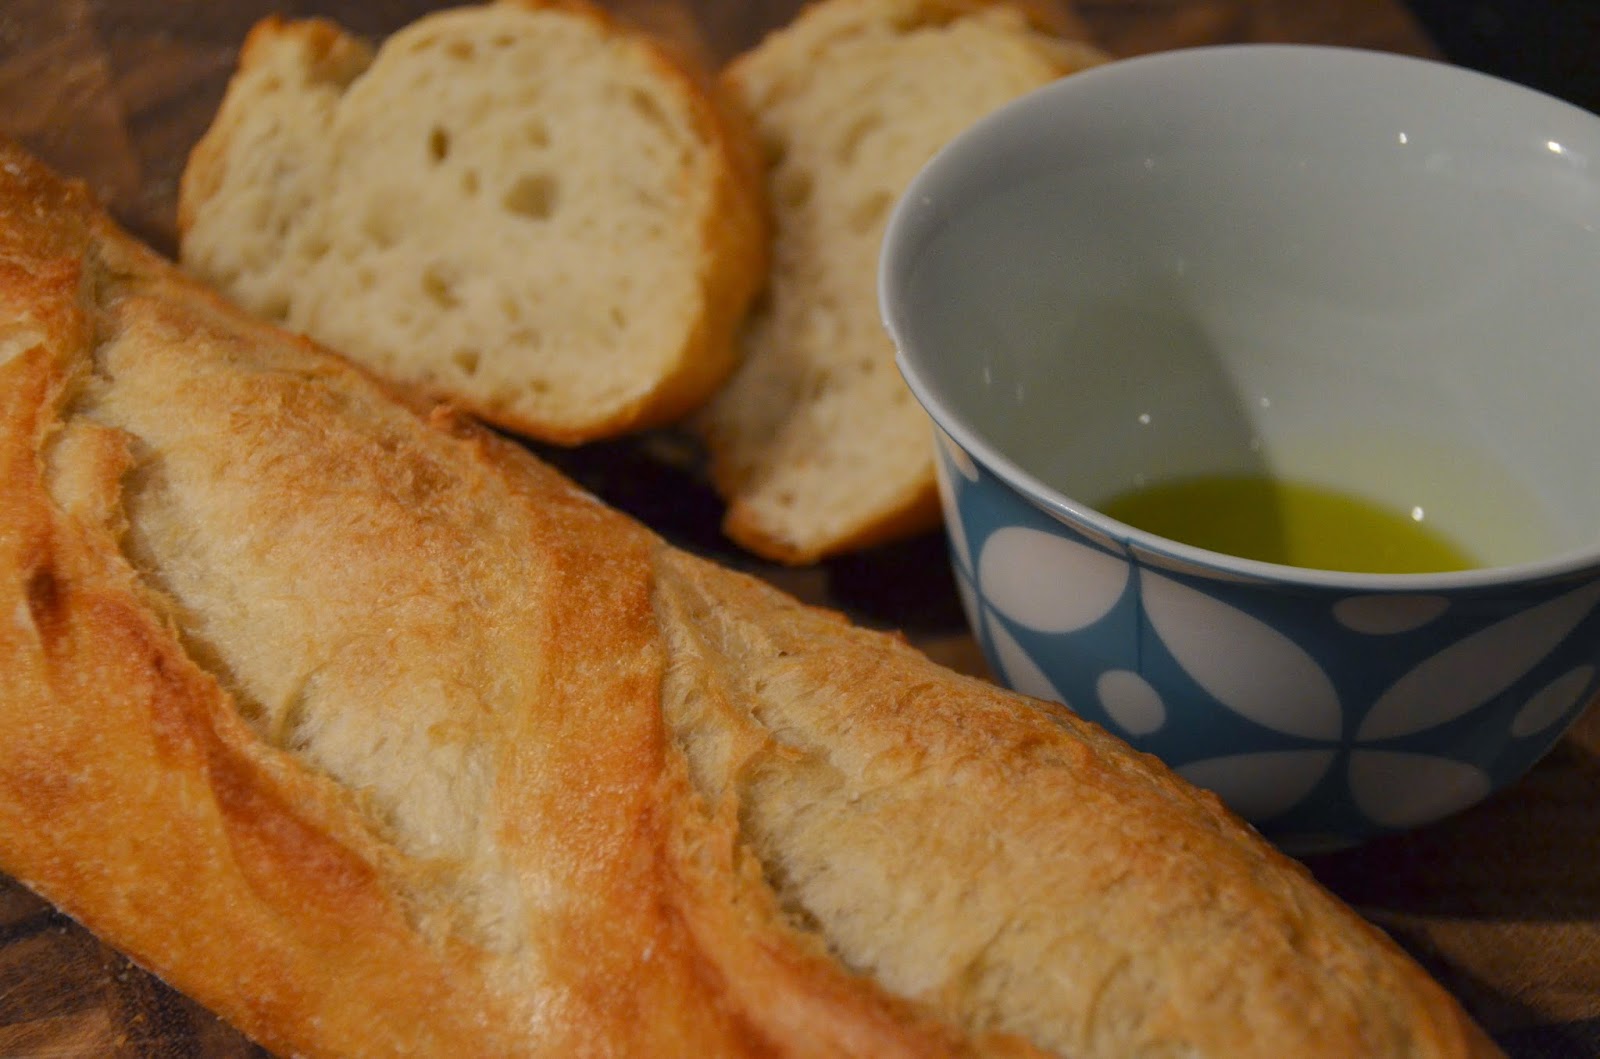
While that’s cooking, I usually cut up some crusty bread and also make a salad…like I’ve said before, a salad might help prevent you from eating 7 pounds of the lasagna…”might” is the key word there.


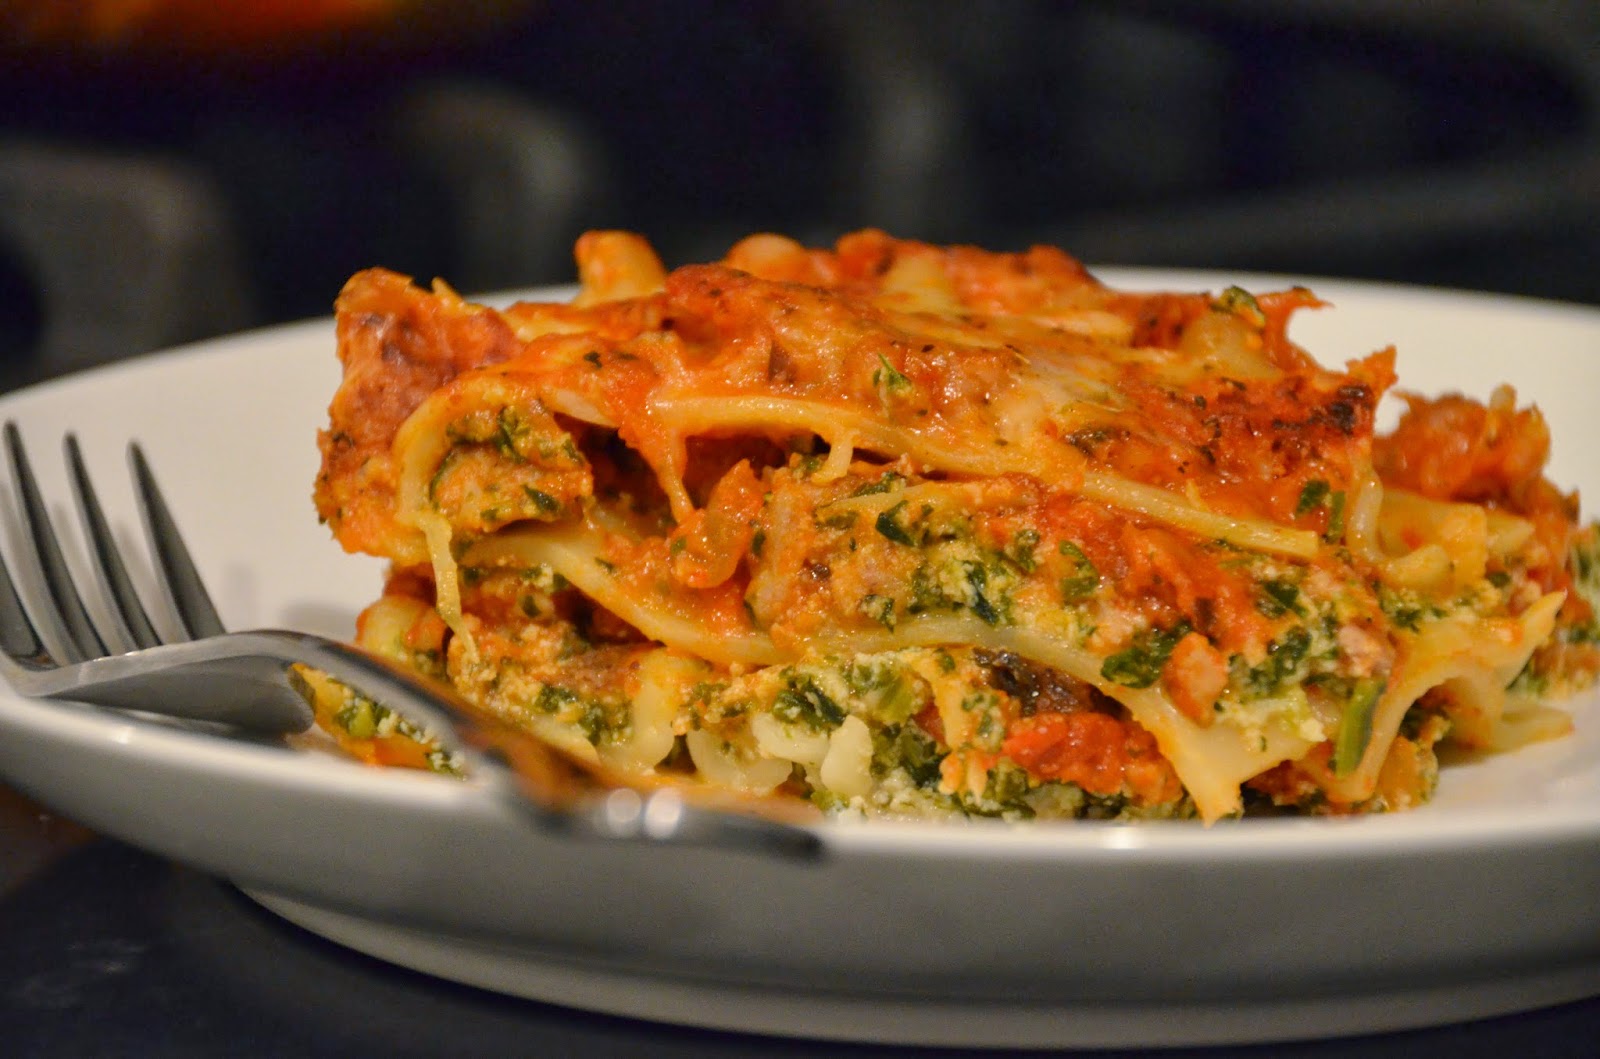
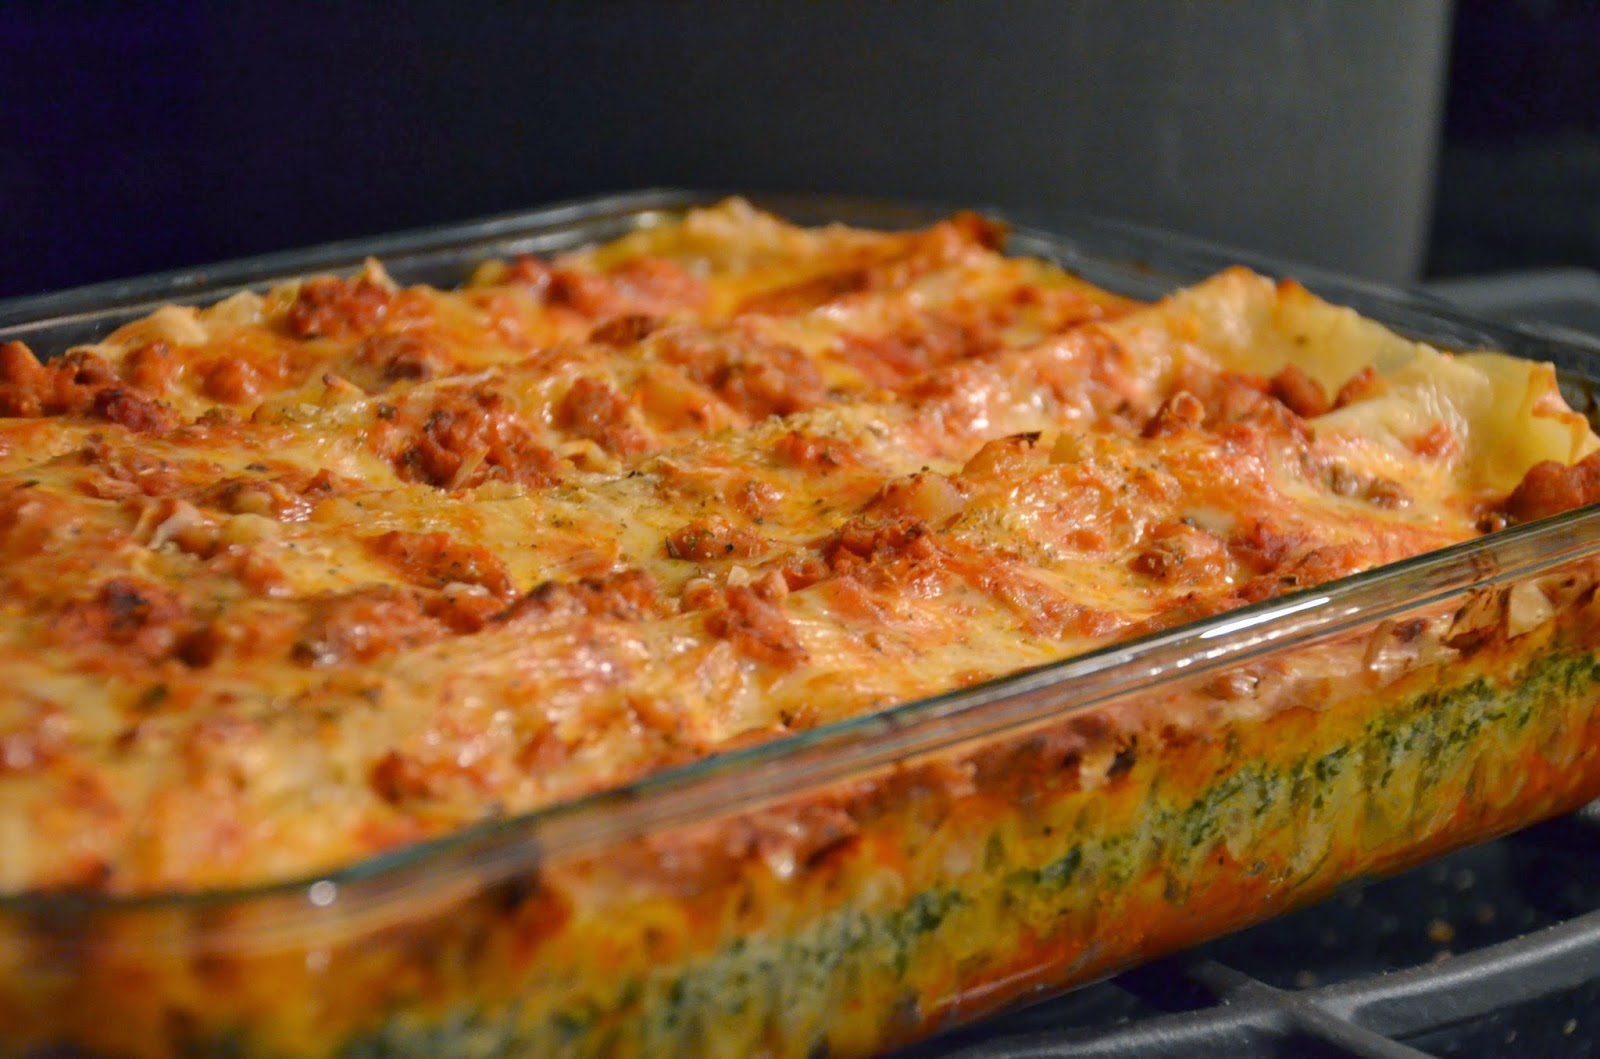
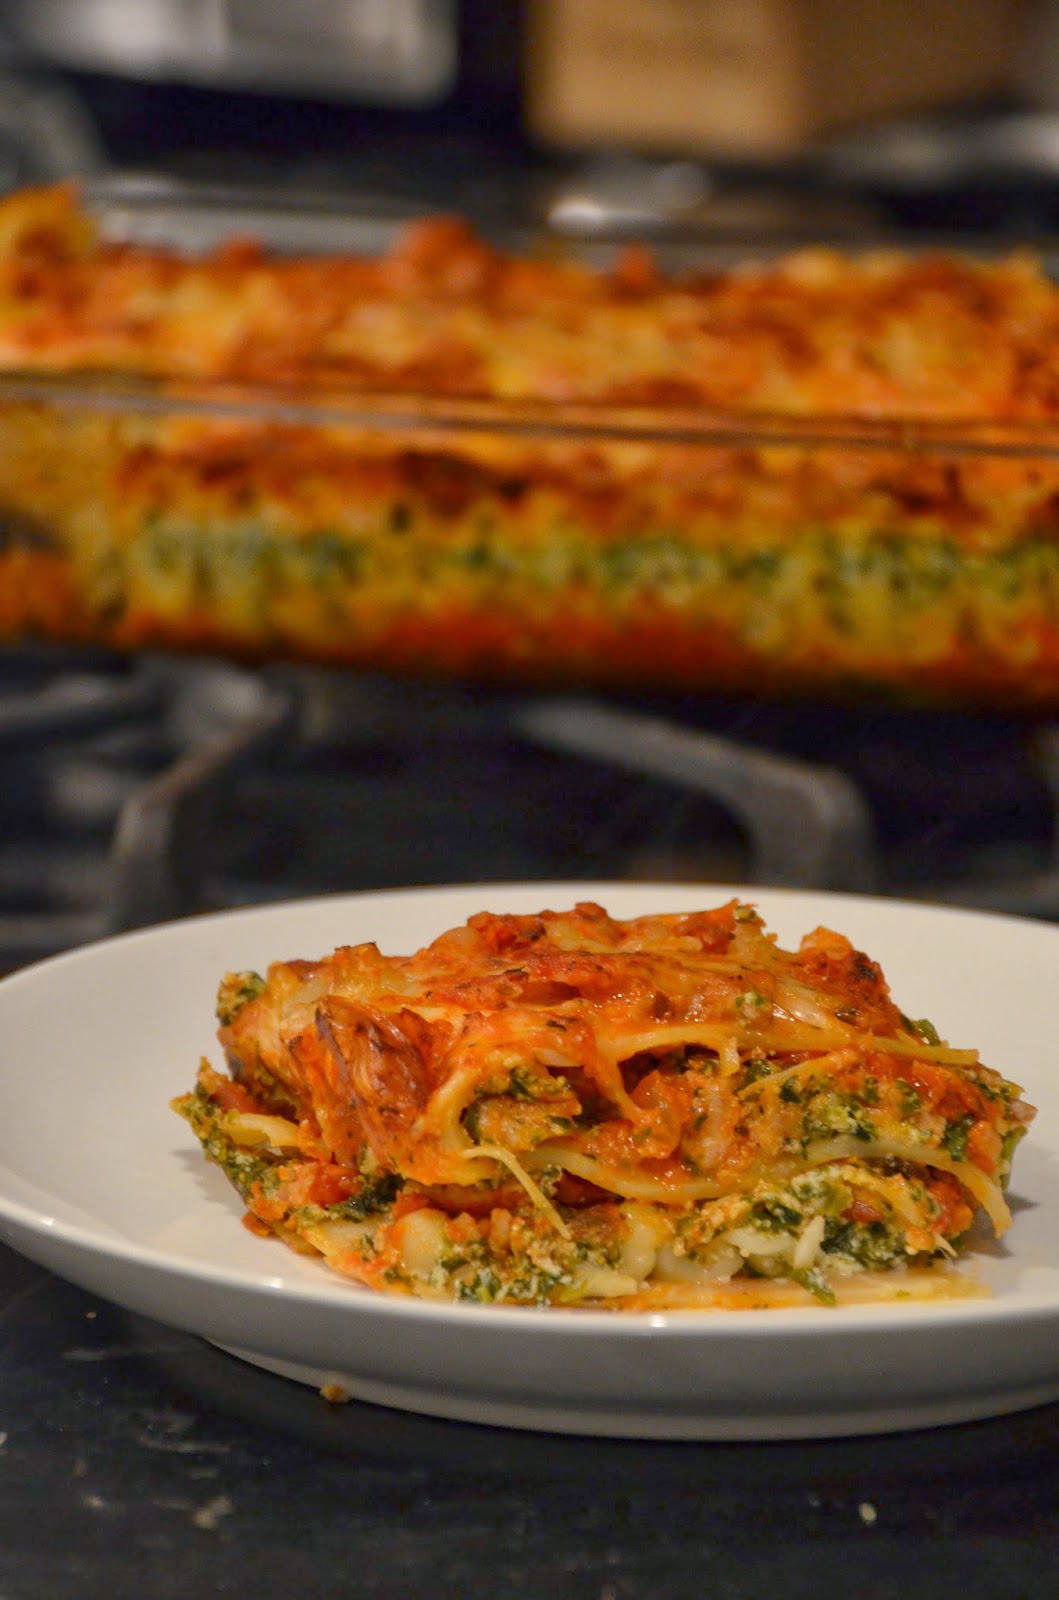
Here is the finished product…


The answer is yes, it does taste as amazing as it looks…


I ate a bunch of this last night and then I had it again for lunch…now it’s 3:00 PM and I want more!  I’ll be glad when it’s all gone, and sad…lasagna brings out so many emotions in me. This is a great dish for cold spring days.  I would have said cold winter days but it’s spring now and it’s still freezing outside, perhaps it will never warm up …excuse me, I have to go eat more lasagna.

Cheers!

The Good Cooker  
Corned Beef and Cabbage and Beer


Well I had every intention of posting my Irish recipe on Sunday (the day before St. Patrick’s Day) but that obviously didn’t happen.  Then I had to go out of town for work on Monday and Tuesday so now here we are on Wednesday and I’m finally getting it out there.  I figure you will all want to make this during the hot summer months anyway…

Oh lordy this is a good one…corned beef and cabbage is so freaking easy to make that it almost annoys me that I don’t have mess with it more in order for it to taste amazing.  I had all the boys over and everyone loved it…then I went on the road and was served Papa John’s pizza and other disgusting food for two days.  They ordered us a new pizza called “the double cheeseburger” for lunch, instead of pizza sauce they use american cheese sauce.  Can you say GENIUS?!…someone is getting a promotion for sure.  There were also pickles on the pizza (I love pickles so I was sort of intrigued by that, not enough to eat that disgusting pizza though).


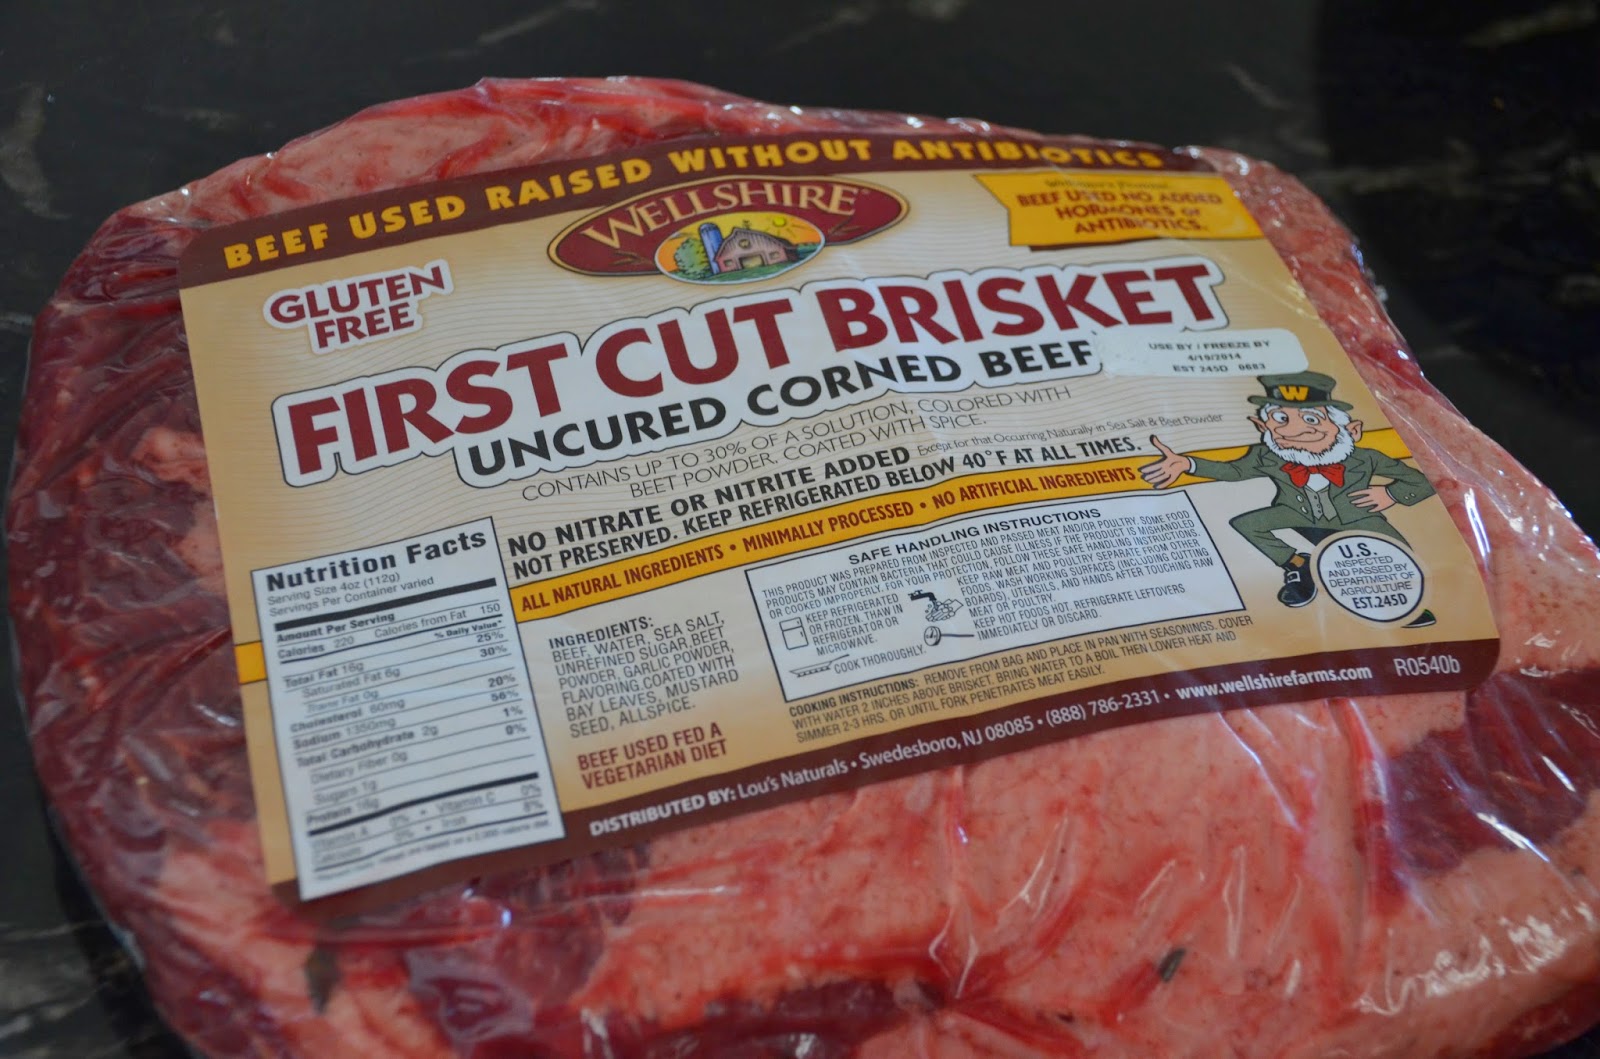
I was pretty happy this year because I was able to get my corned beef from Whole Foods where it isn’t laced with Nitrites and sodium benzoate…and it was on sale for $5.99 a pound, score!


I also knew this was good because it was the “First Cut”…I don’t know what that means but it sounded legit.  The drunk leprechaun in the right corner also had me sold.

There’s two ways to buy corned beef, this way which has the seasonings already in the package of meat…or the other way which has a seasoning packet that you add yourself.

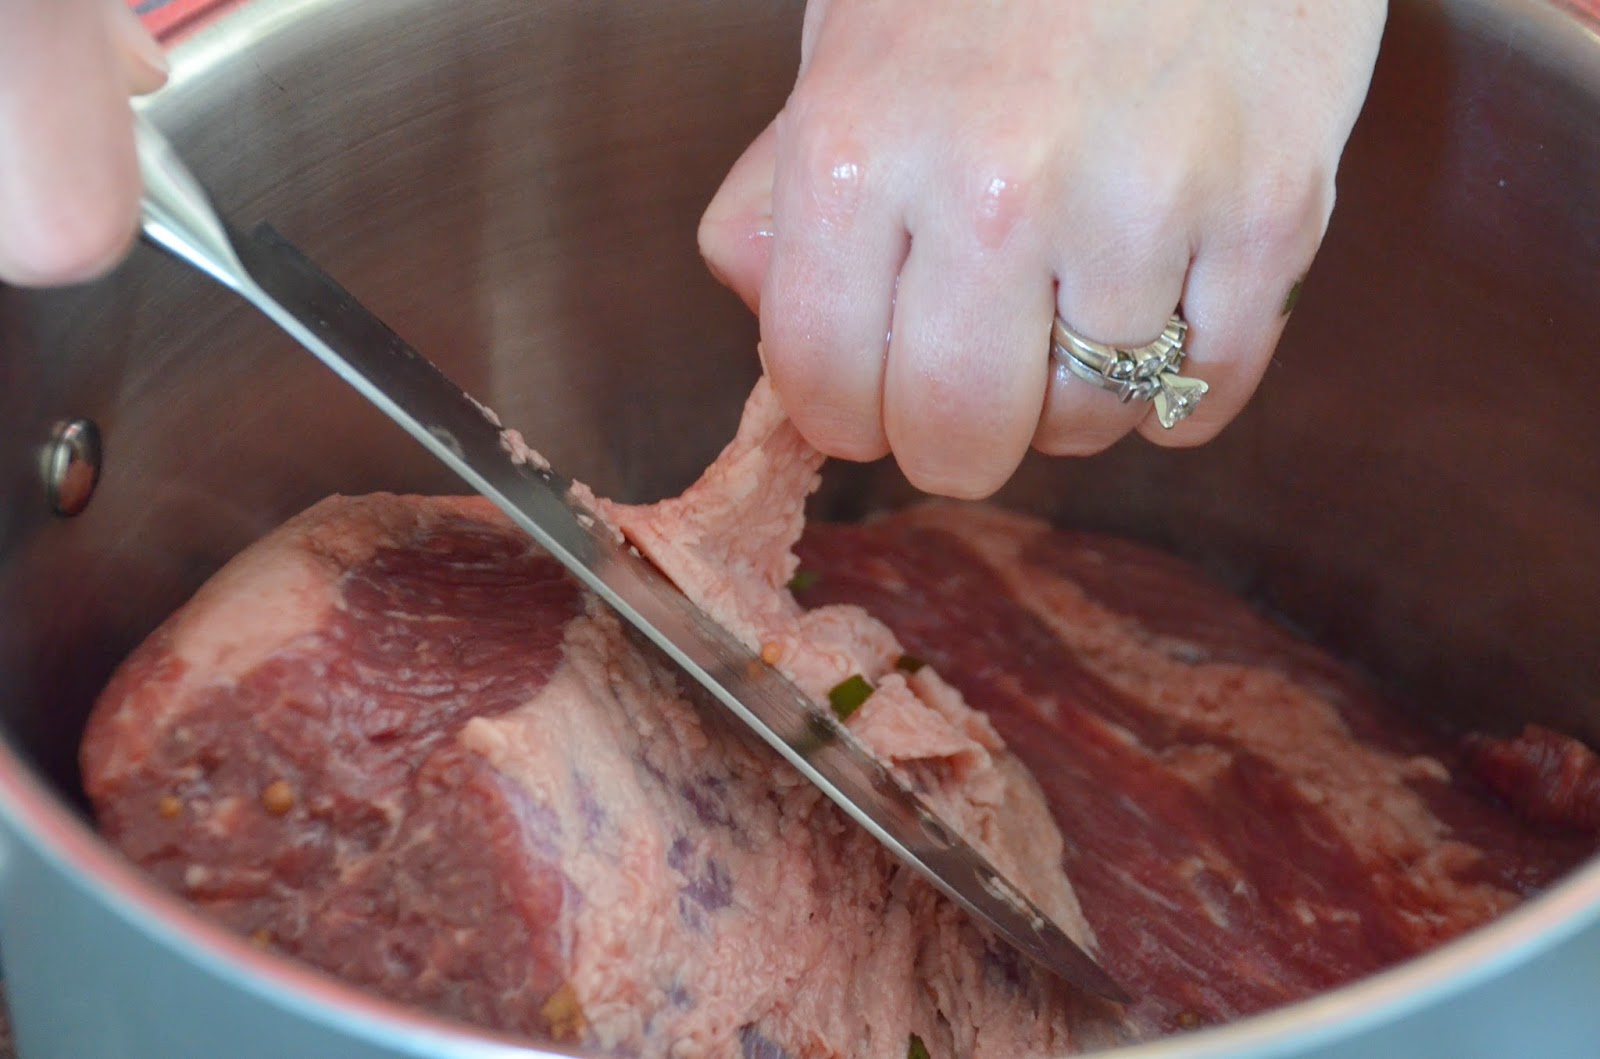
Open the meat and put it down in the bottom of your stock pot or dutch oven…you need a LARGE pot for this if you’re feeding more that 4 people.  I was feeding 3 adult men, 3 child men, and me….so I had a 5.5 lb piece of meat.  I read somewhere that some people rinse the meat which is absolutely absurd but whatever.  I did remove some of the tough fat with a knife, I do this once it’s already in the pot (less mess).  Don’t worry, you can’t possibly trim all of the fat off this thing.


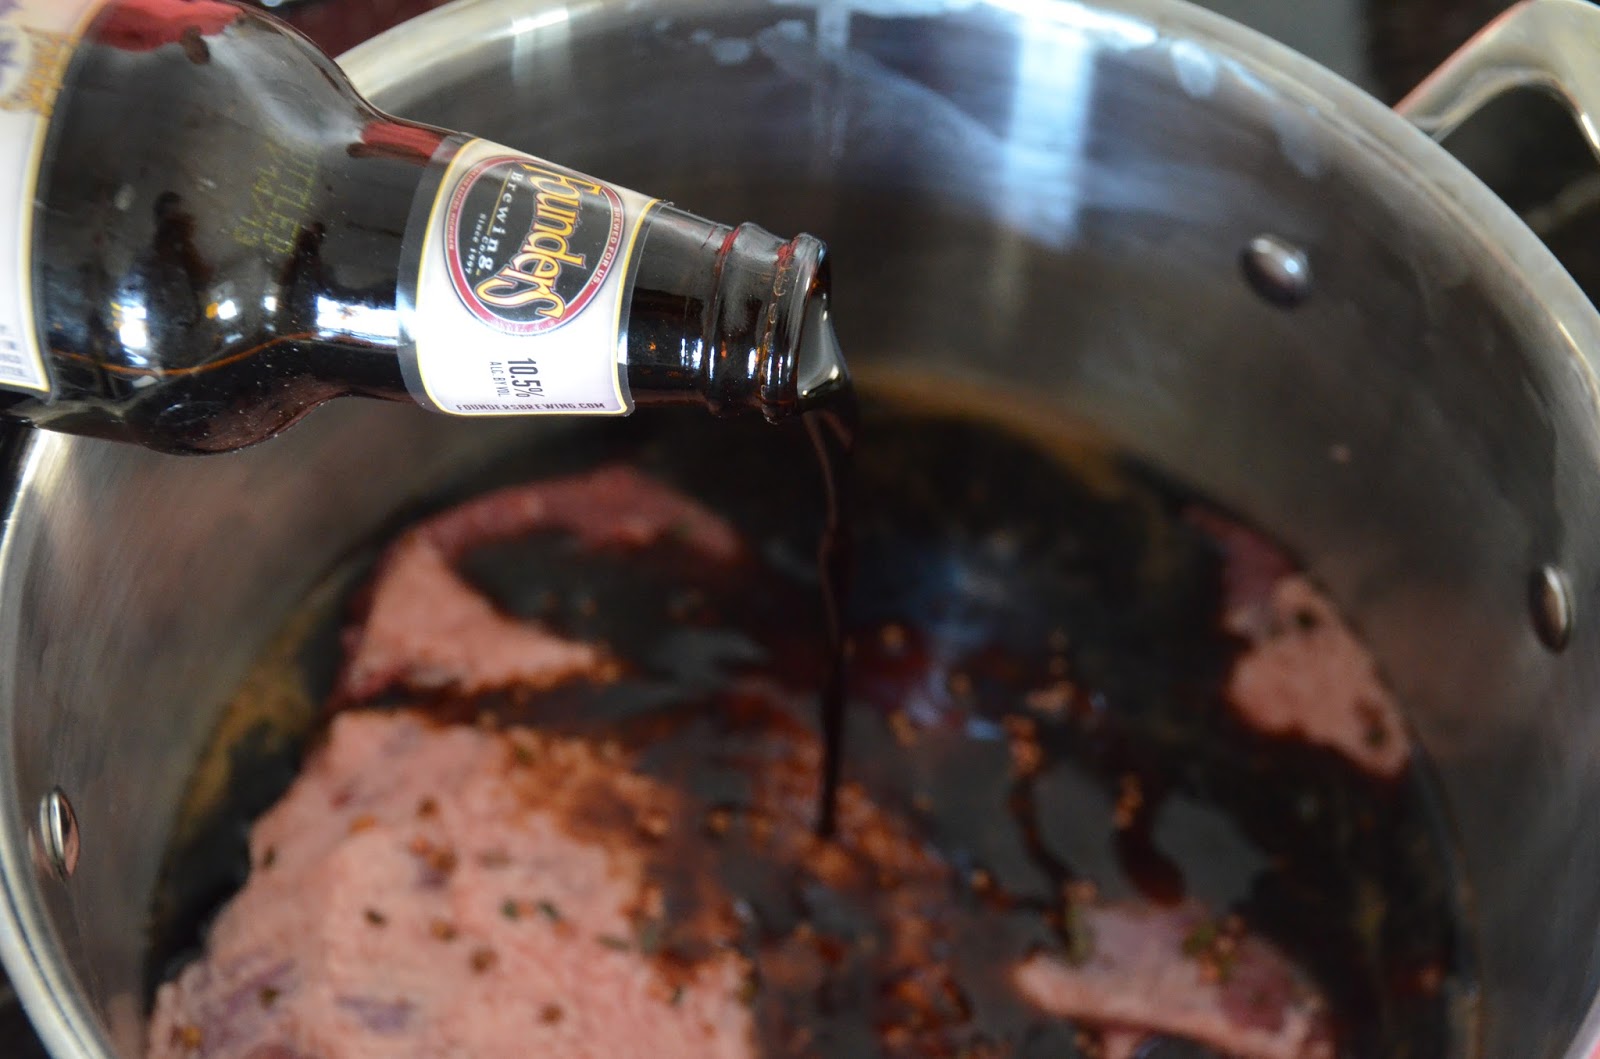
Now pour a bottle of dark stout beer (Guinness works well) over the meat.  Our liquor store was out of Guinness (I’m serious) so Jason picked up this…


It has 10.5% alcohol…I drank one…it was fun.


If your bottle of beer doesn’t cover the meat entirely, add some water until it is covered. Put the lid on and put the pot over a medium flame.  Once it starts boiling, turn the heat down to a simmer and let it go for a few hours.  I do 45 minutes per pound of beef.

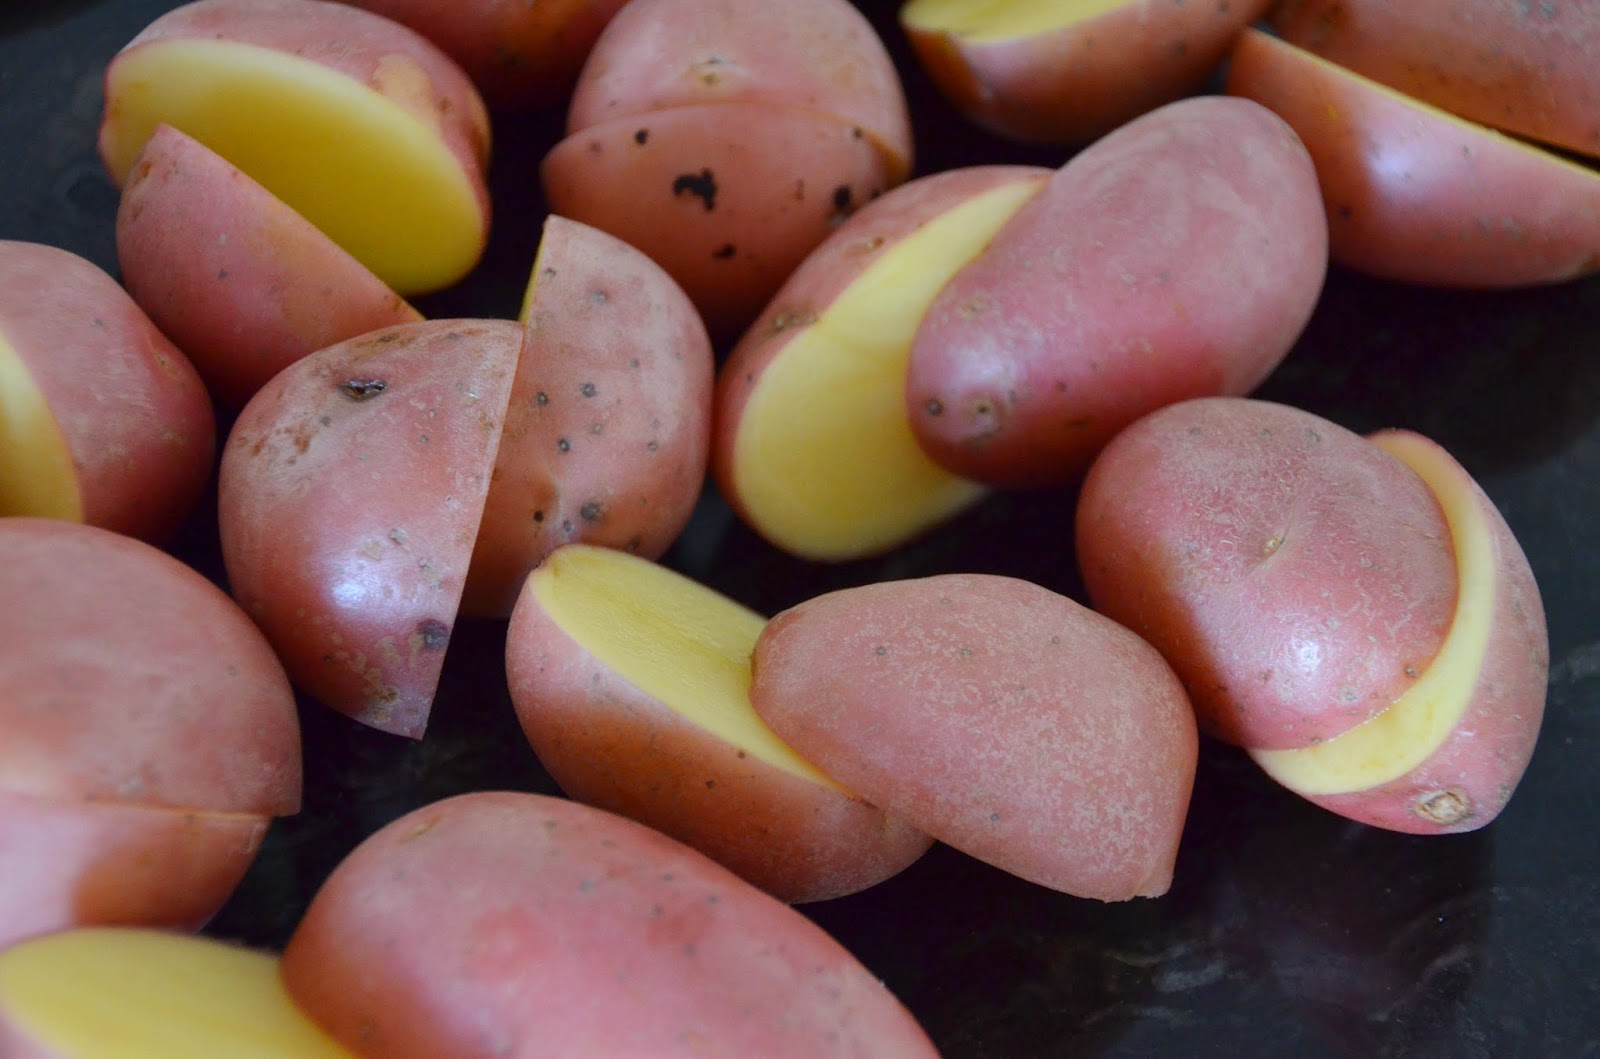
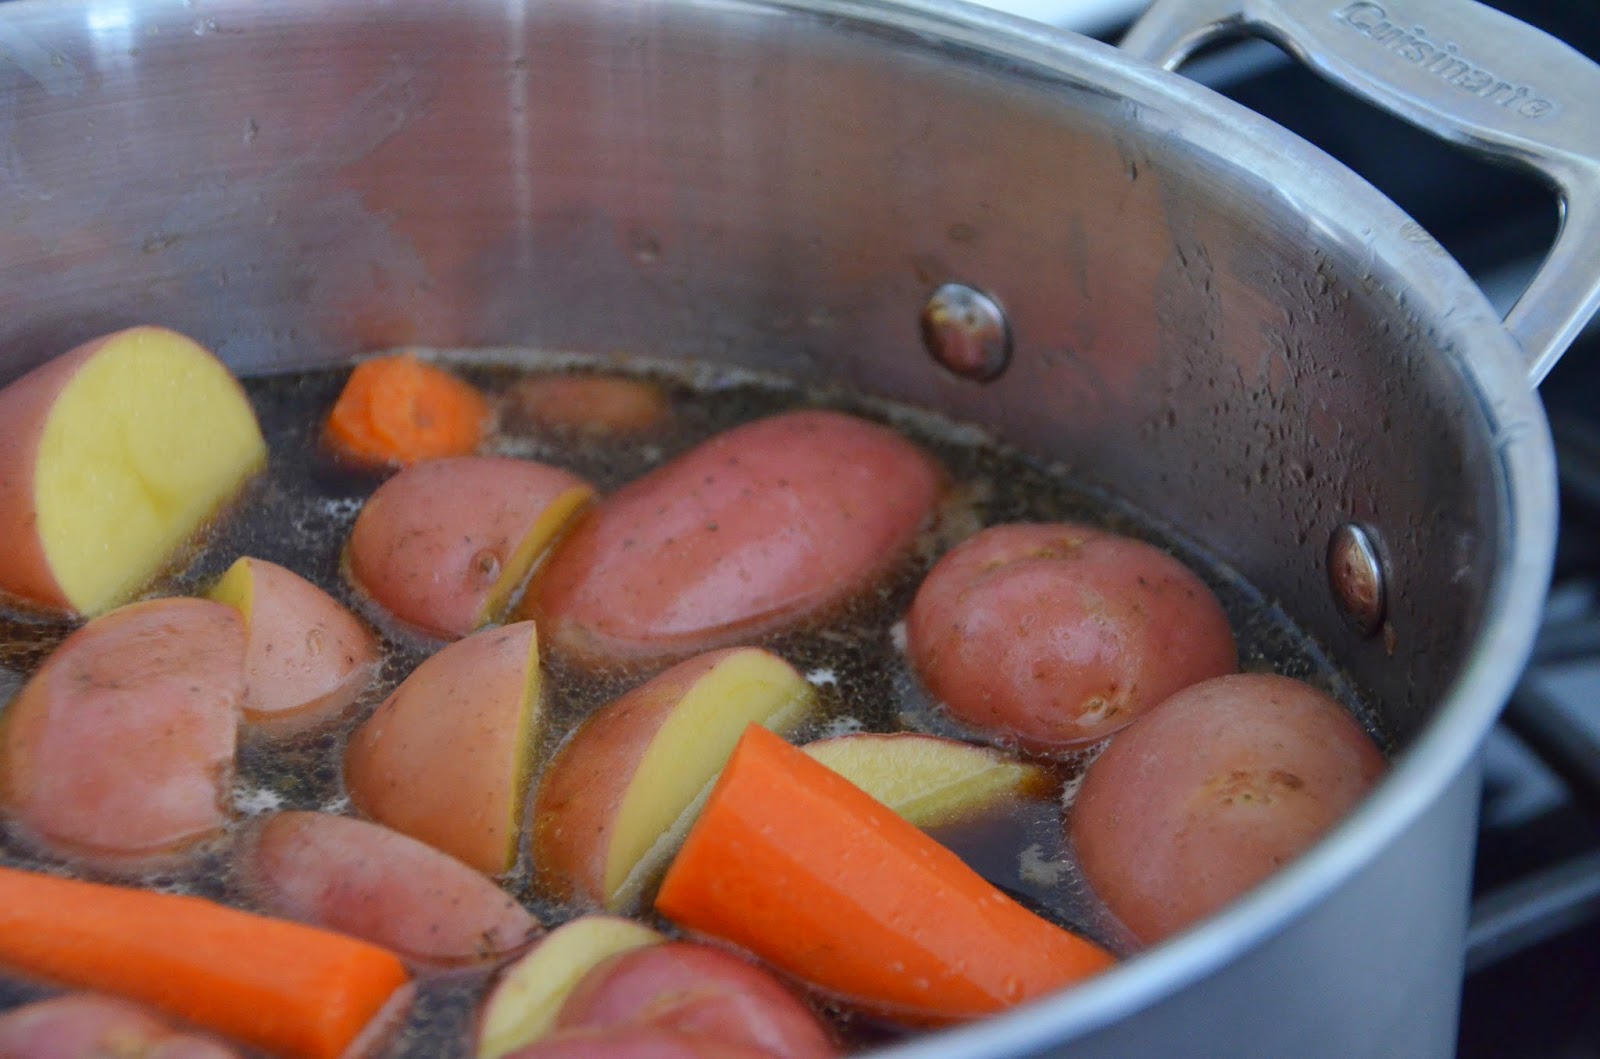
About an hour before the meat is ready, cut some red potatoes in half and throw them in…


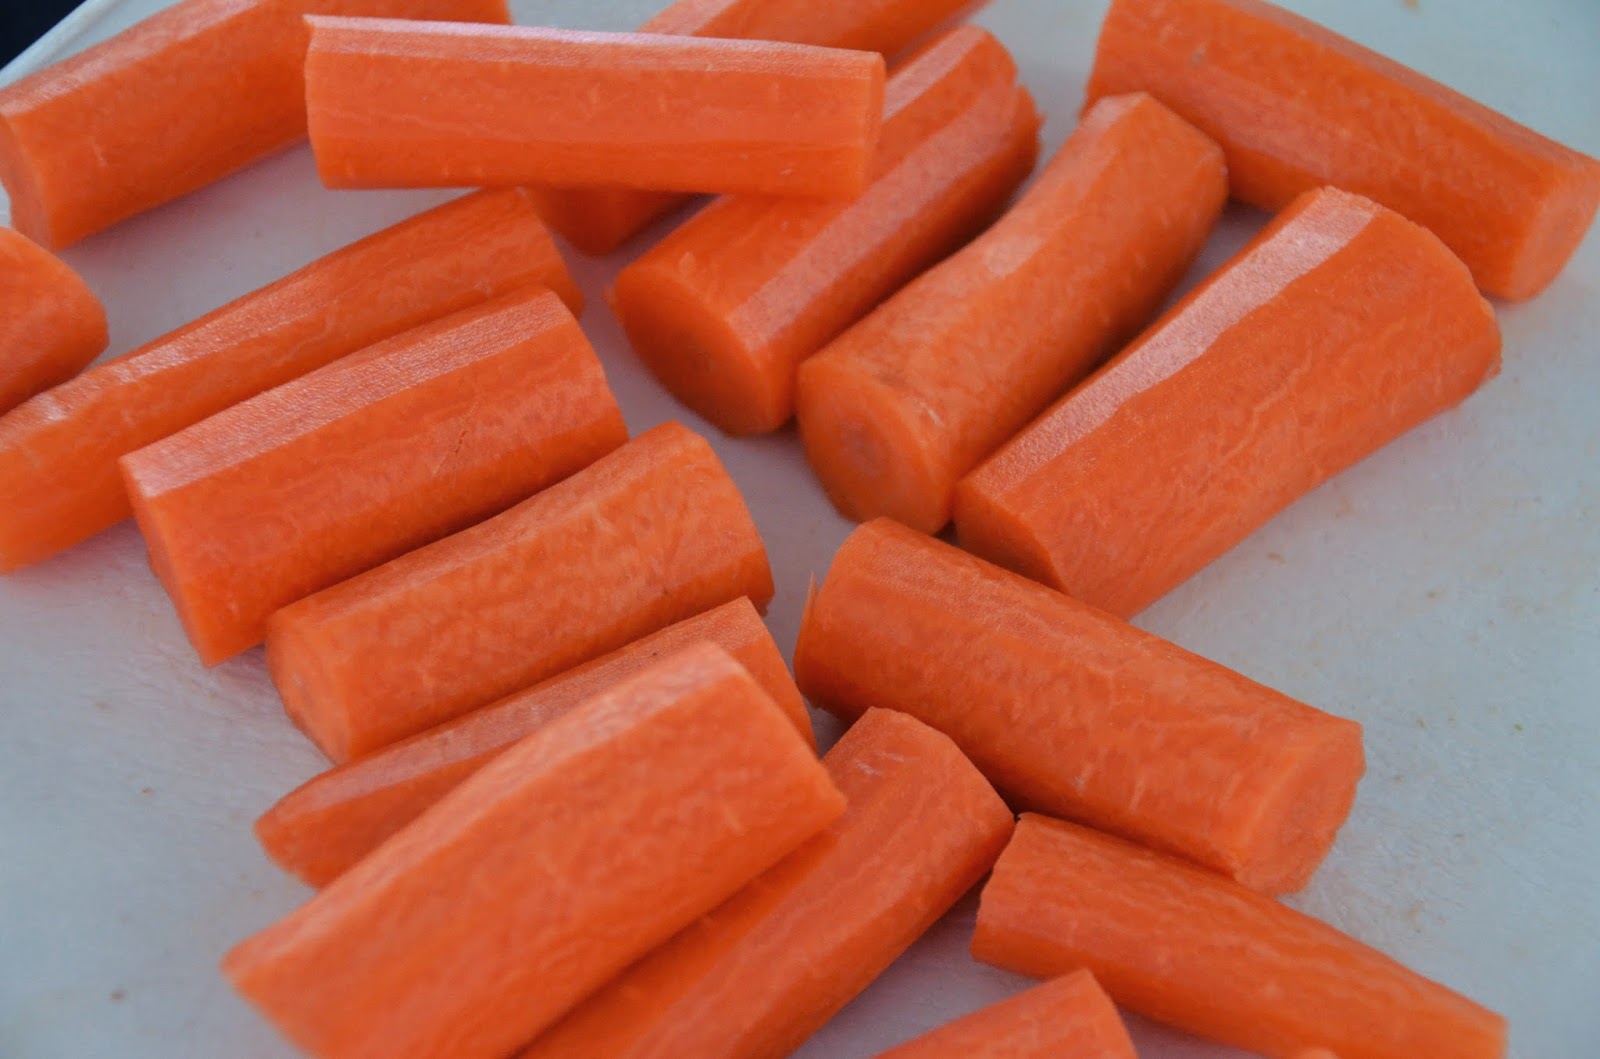
and then chop some peeled carrots into 3 inch segments and throw those in.


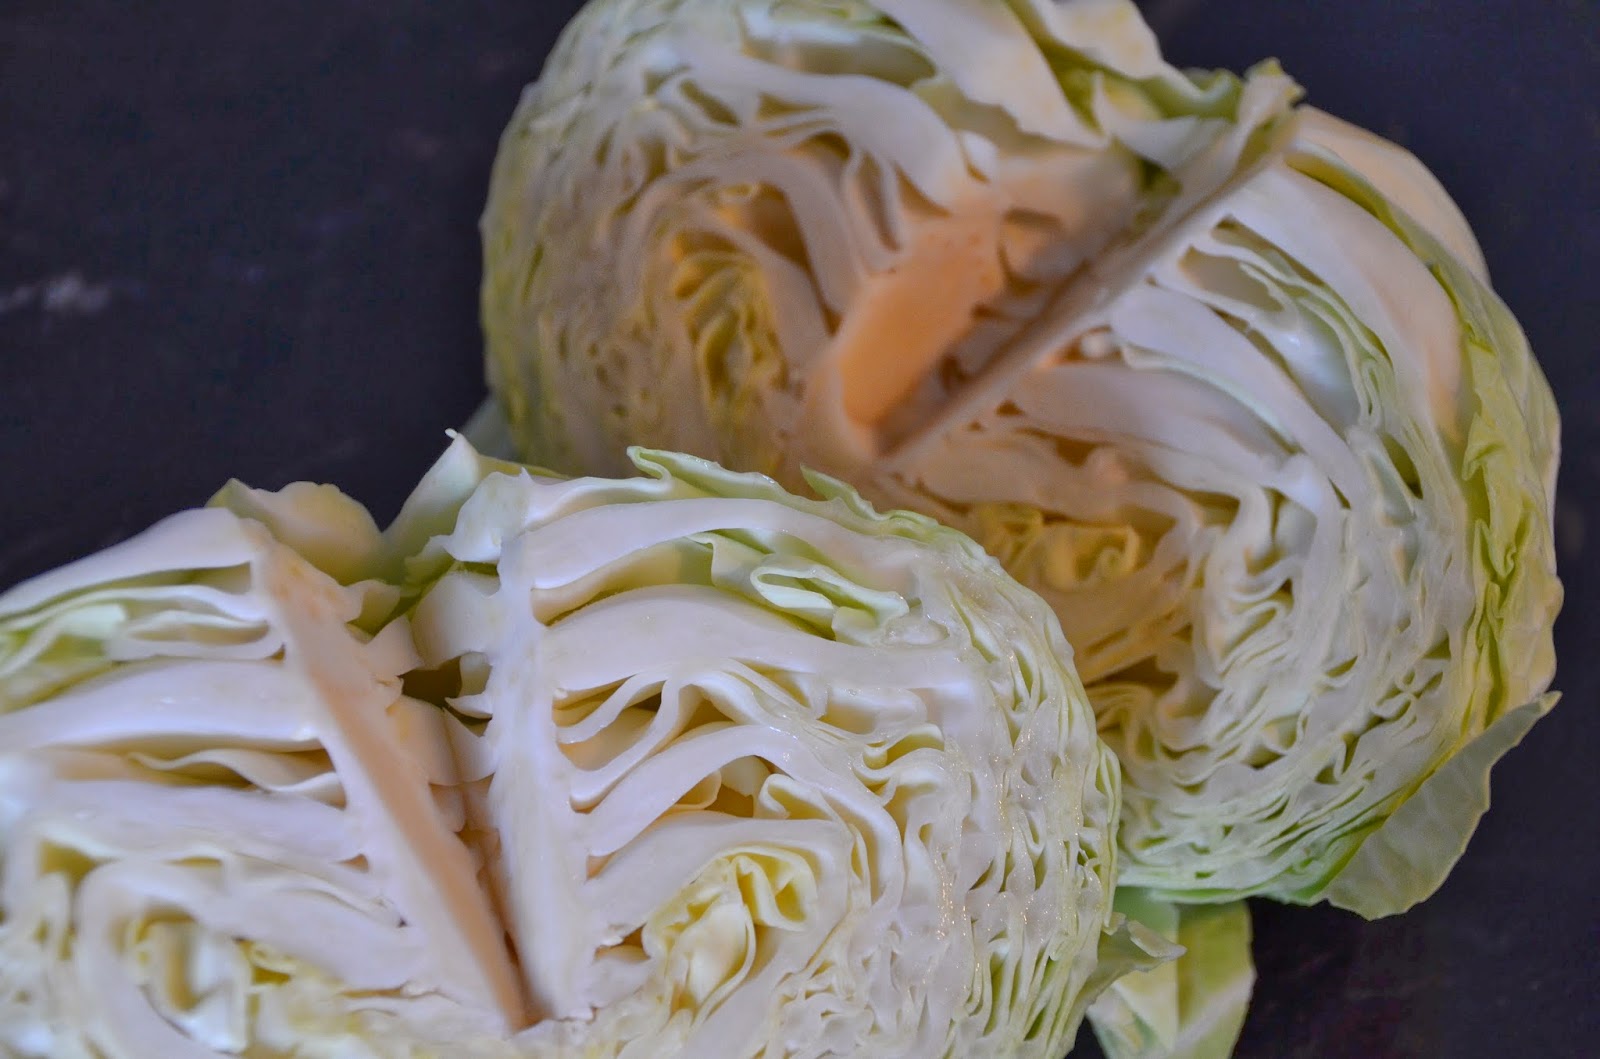
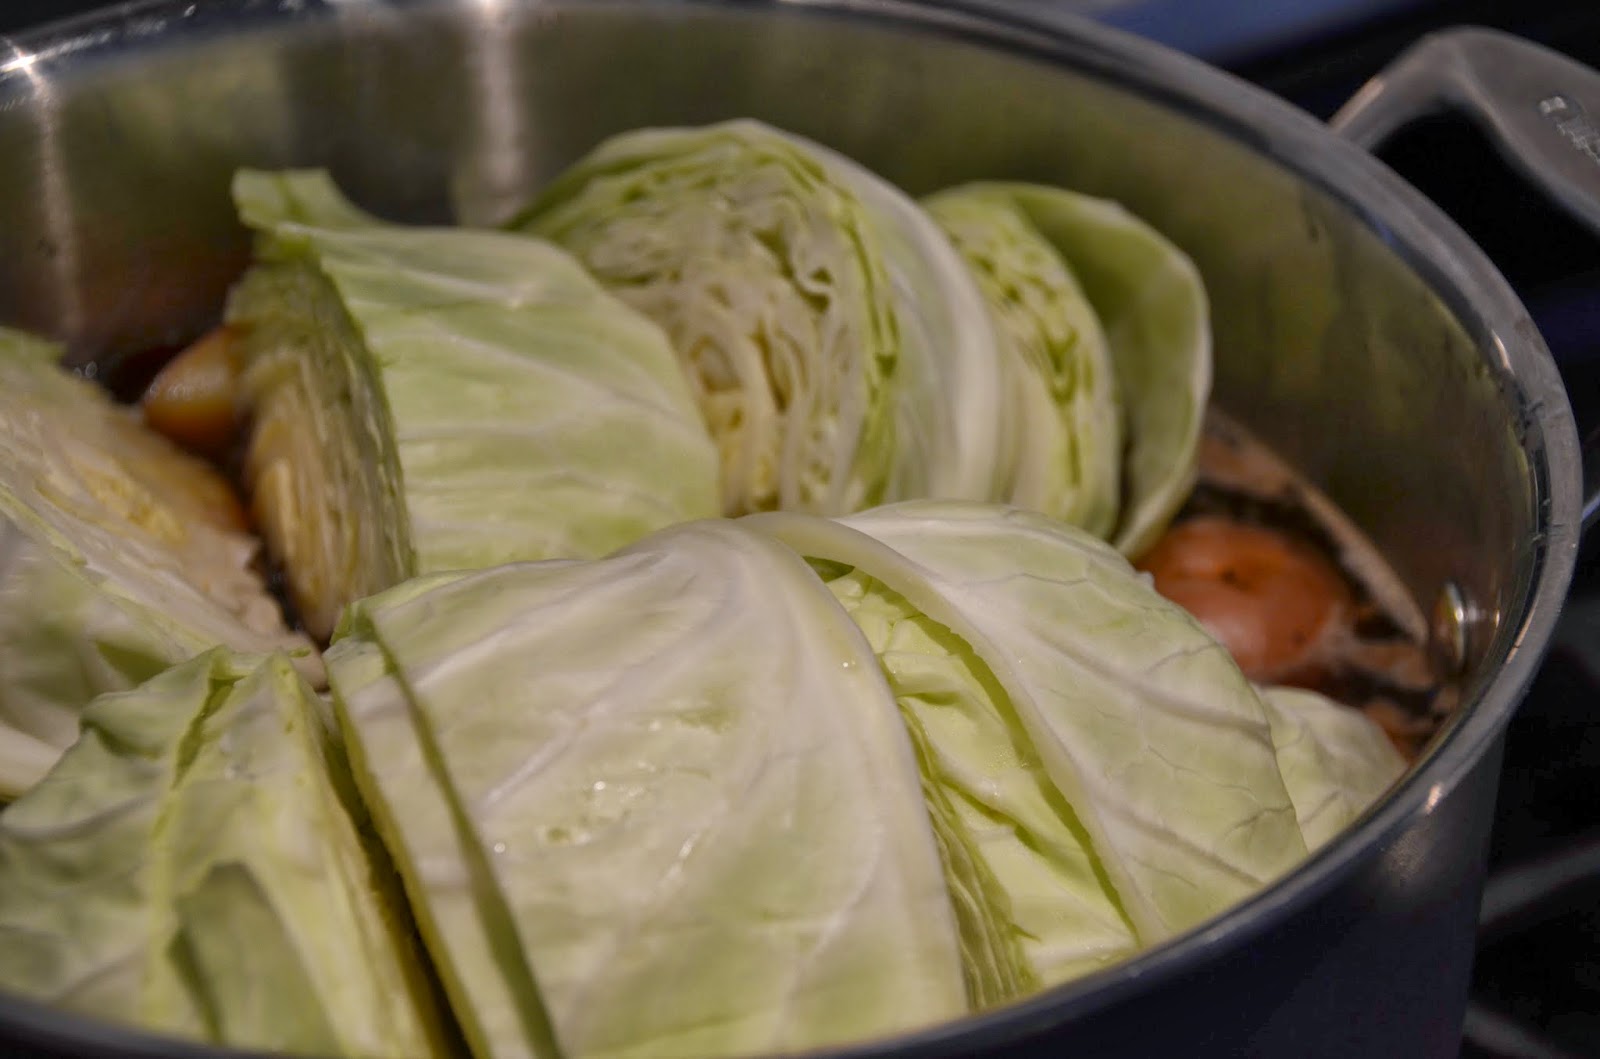
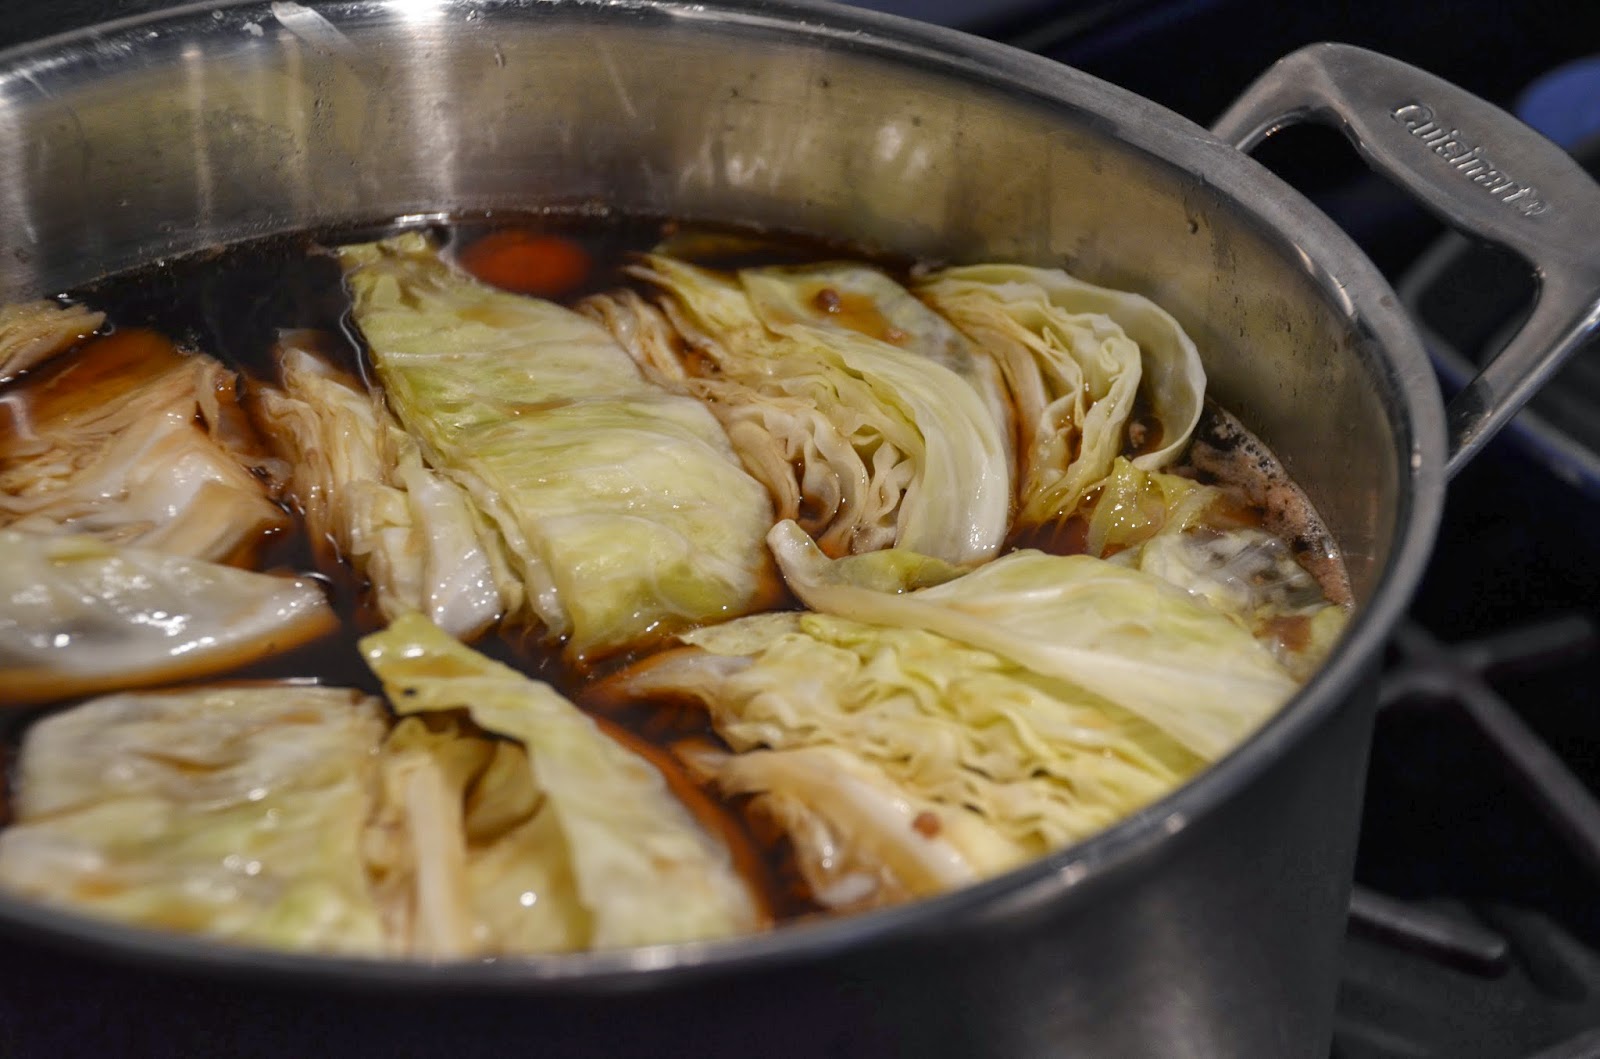
Then about 15 minutes before it’s done I add a head of cabbage that’s been cut into wedges.


After I did that my pot was pretty full, I had to work a little to get the lid back on…

When the meat is done you need to get it out of the pot and let it rest for a little bit.  This is a bit tricky because all of the veggies are on top of the meat, see…


I removed some veggies and got the meat out and then dumped the veggies back in the pot…that’s called thinking on your feet.

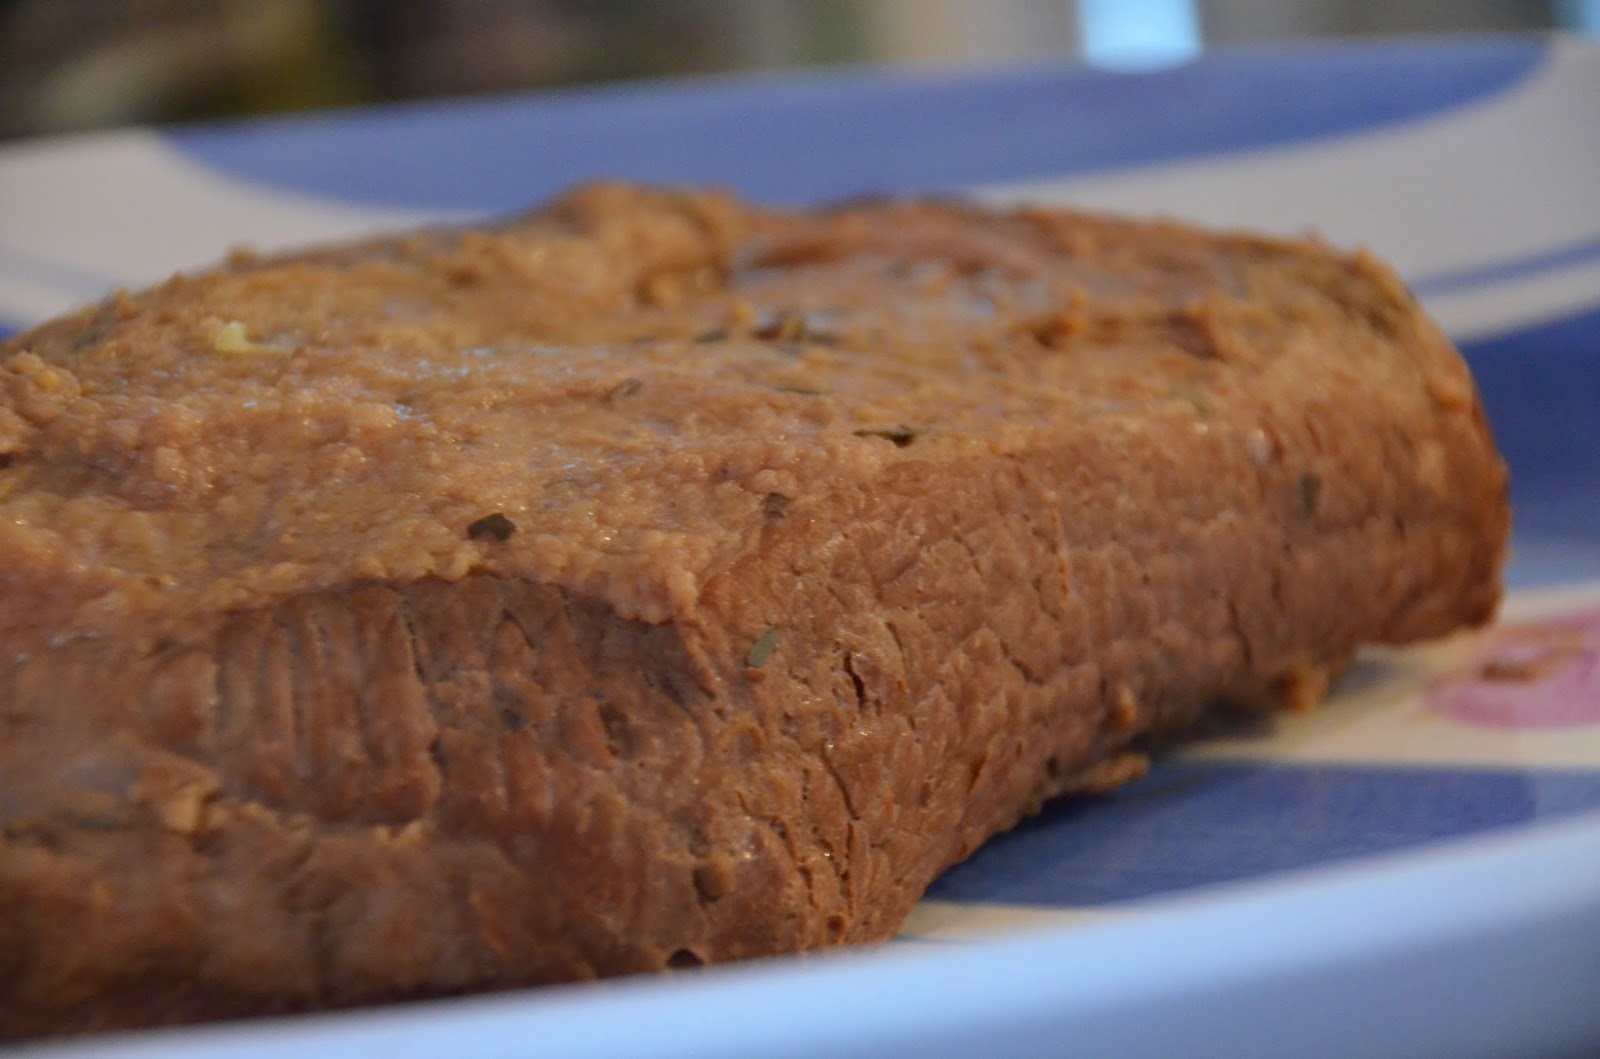
Here is the meat resting comfortably…


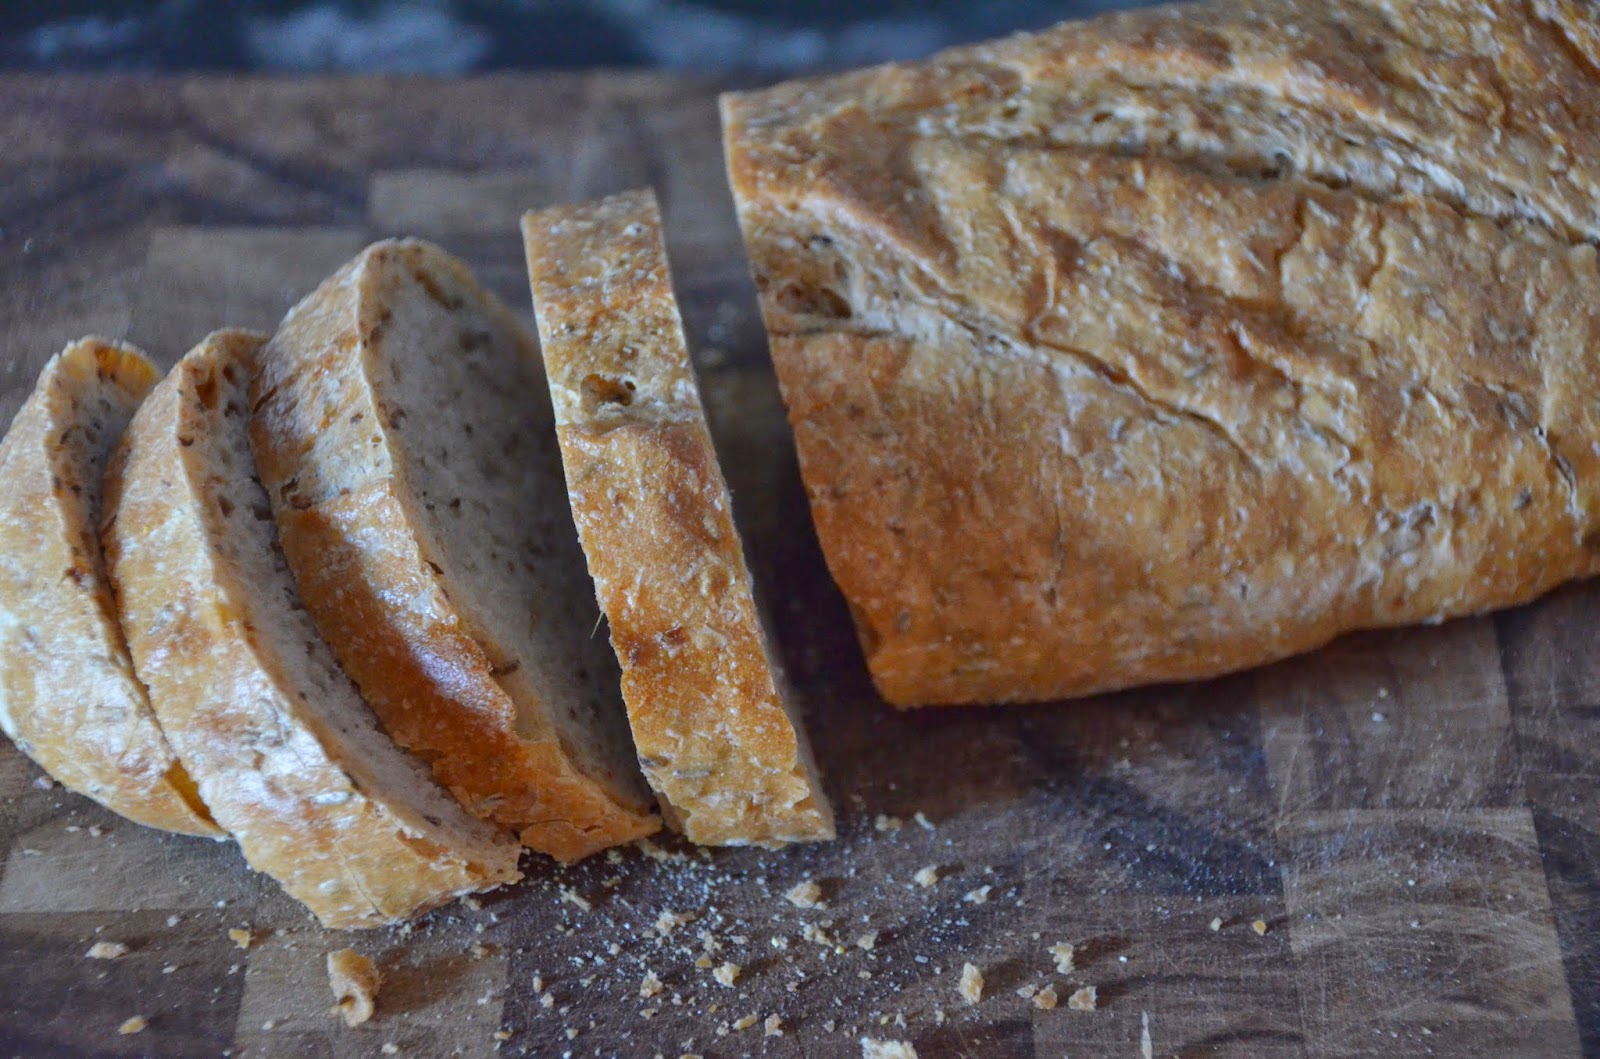
While that is resting, slice up some fresh bread…WF was out of Irish soda bread so I got the old world rye.  This completely devastated my brother, it was a crushing blow…I guess he really wanted that soda bread, but who cares if your brother is pissed.


I also prepared some horseradish which isn’t really Irish but in this family, beef and horsey sauce go hand in hand…am I right Arby’s?!


This is two ingredients…horseradish and sour cream (and a little salt)

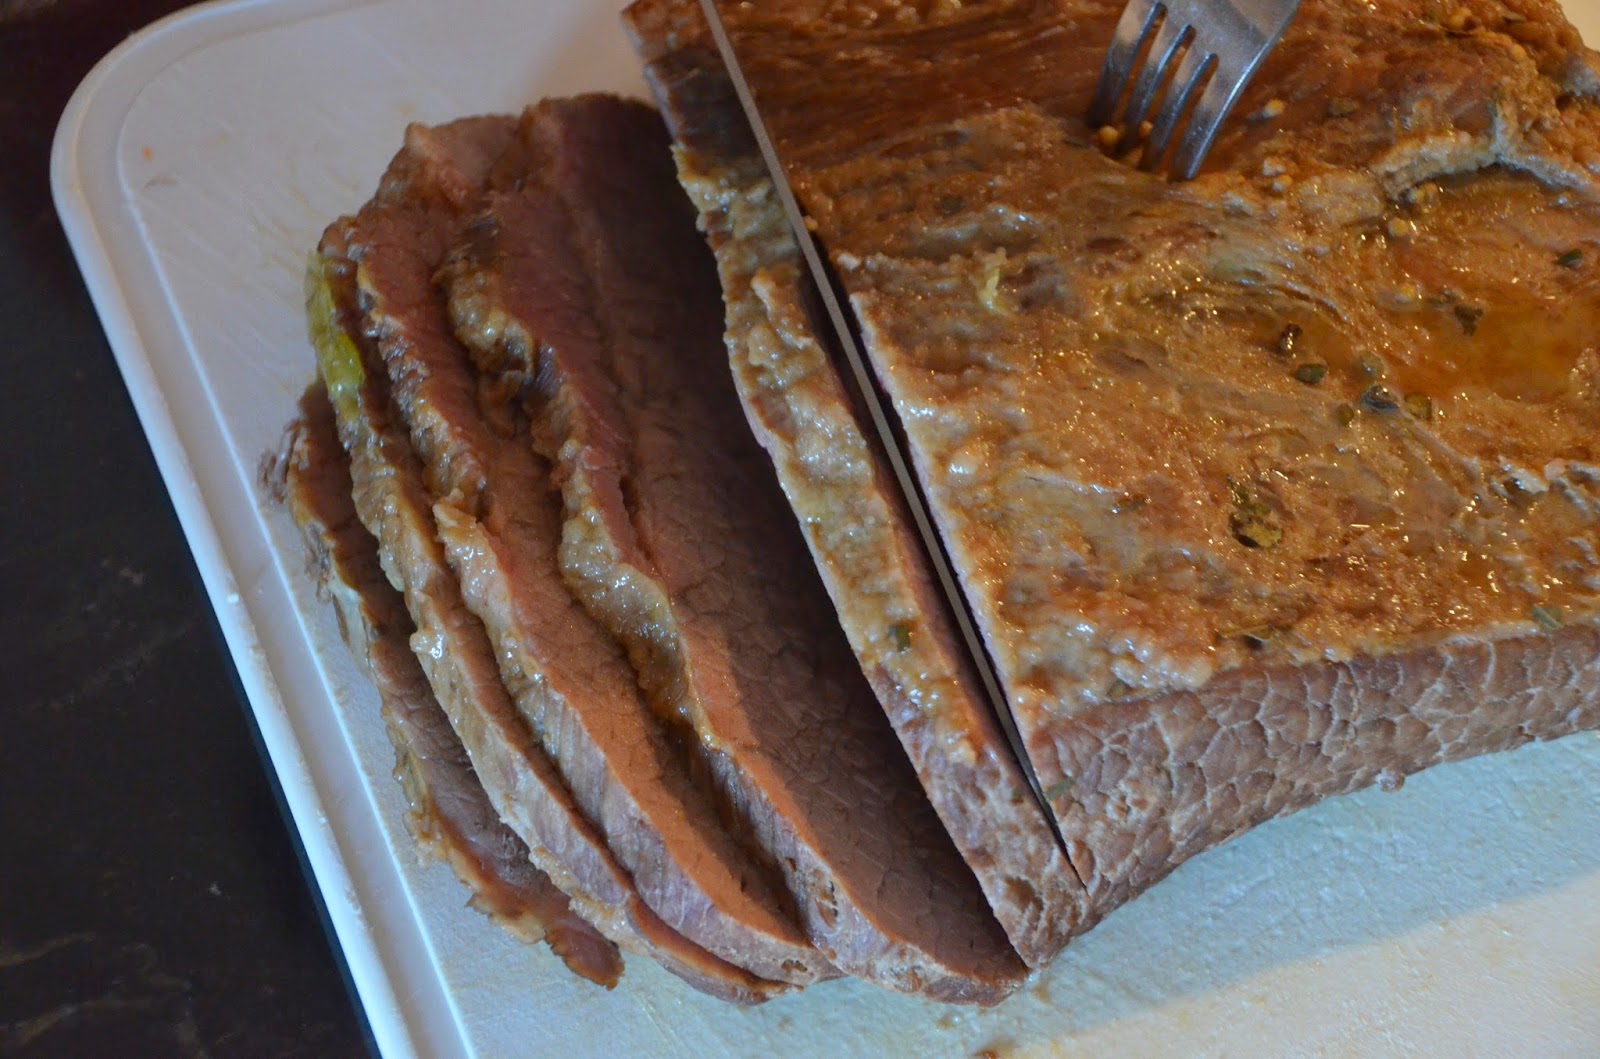
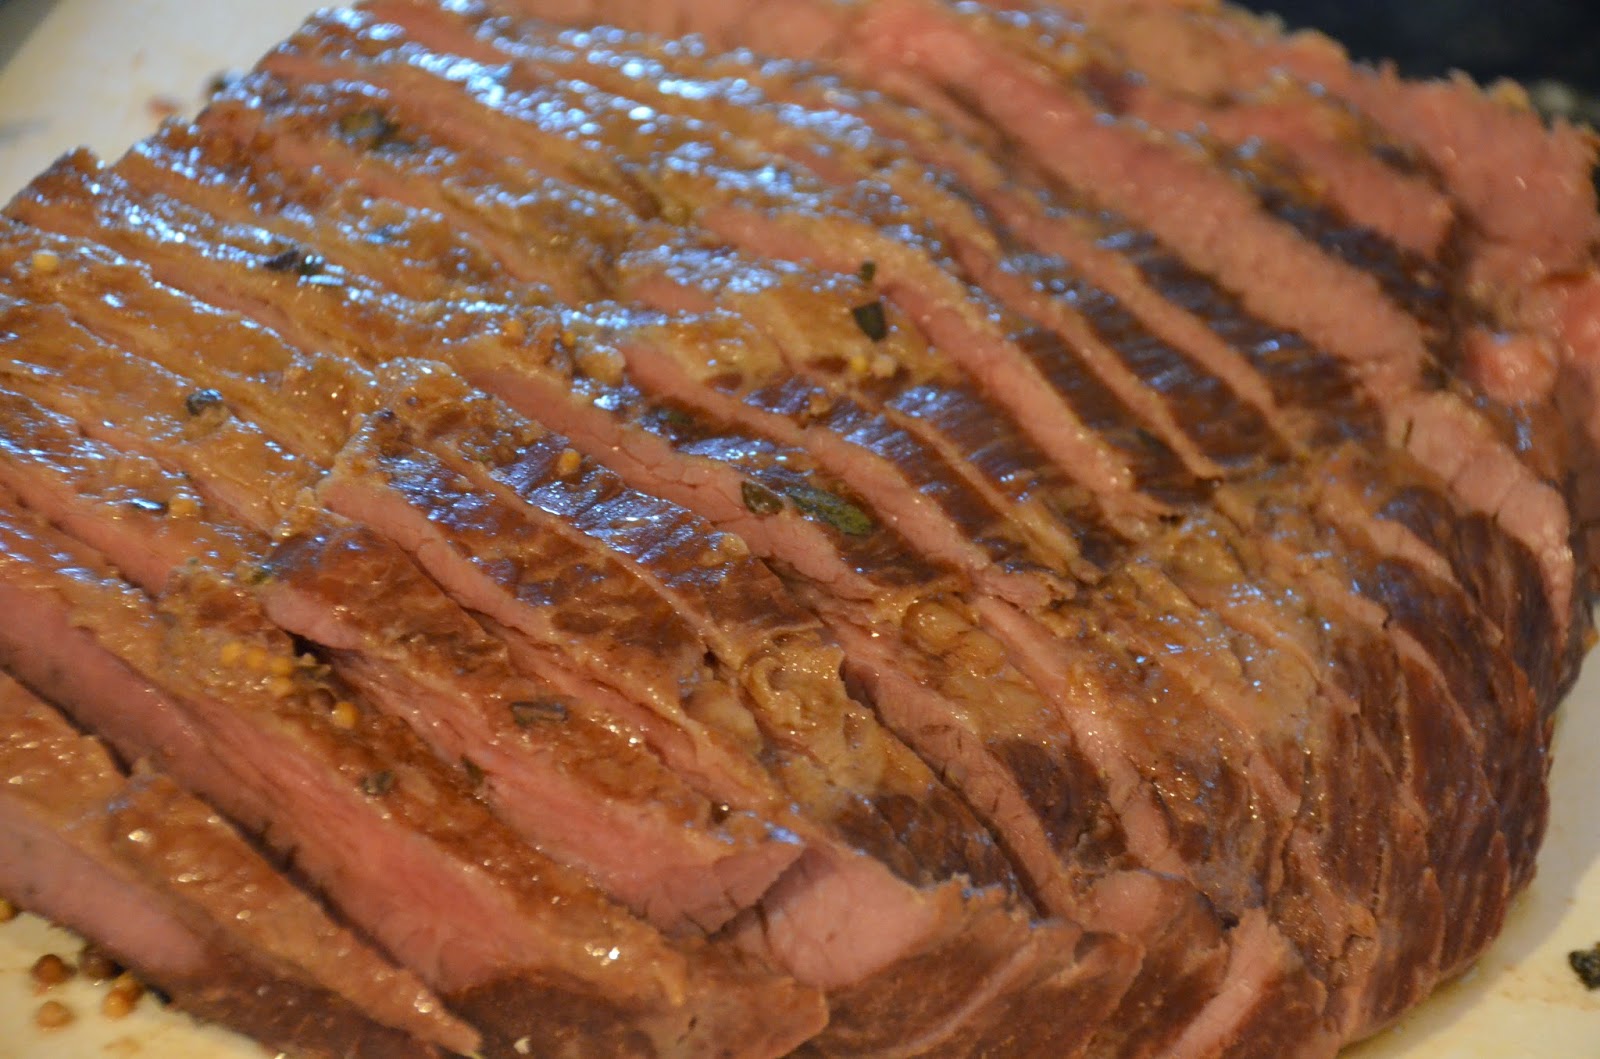
Now it’s time to cut the meat…you can cut the slices as thin or thick as you want, just make sure you cut against the grain.  For more on cutting against the grain…google it.


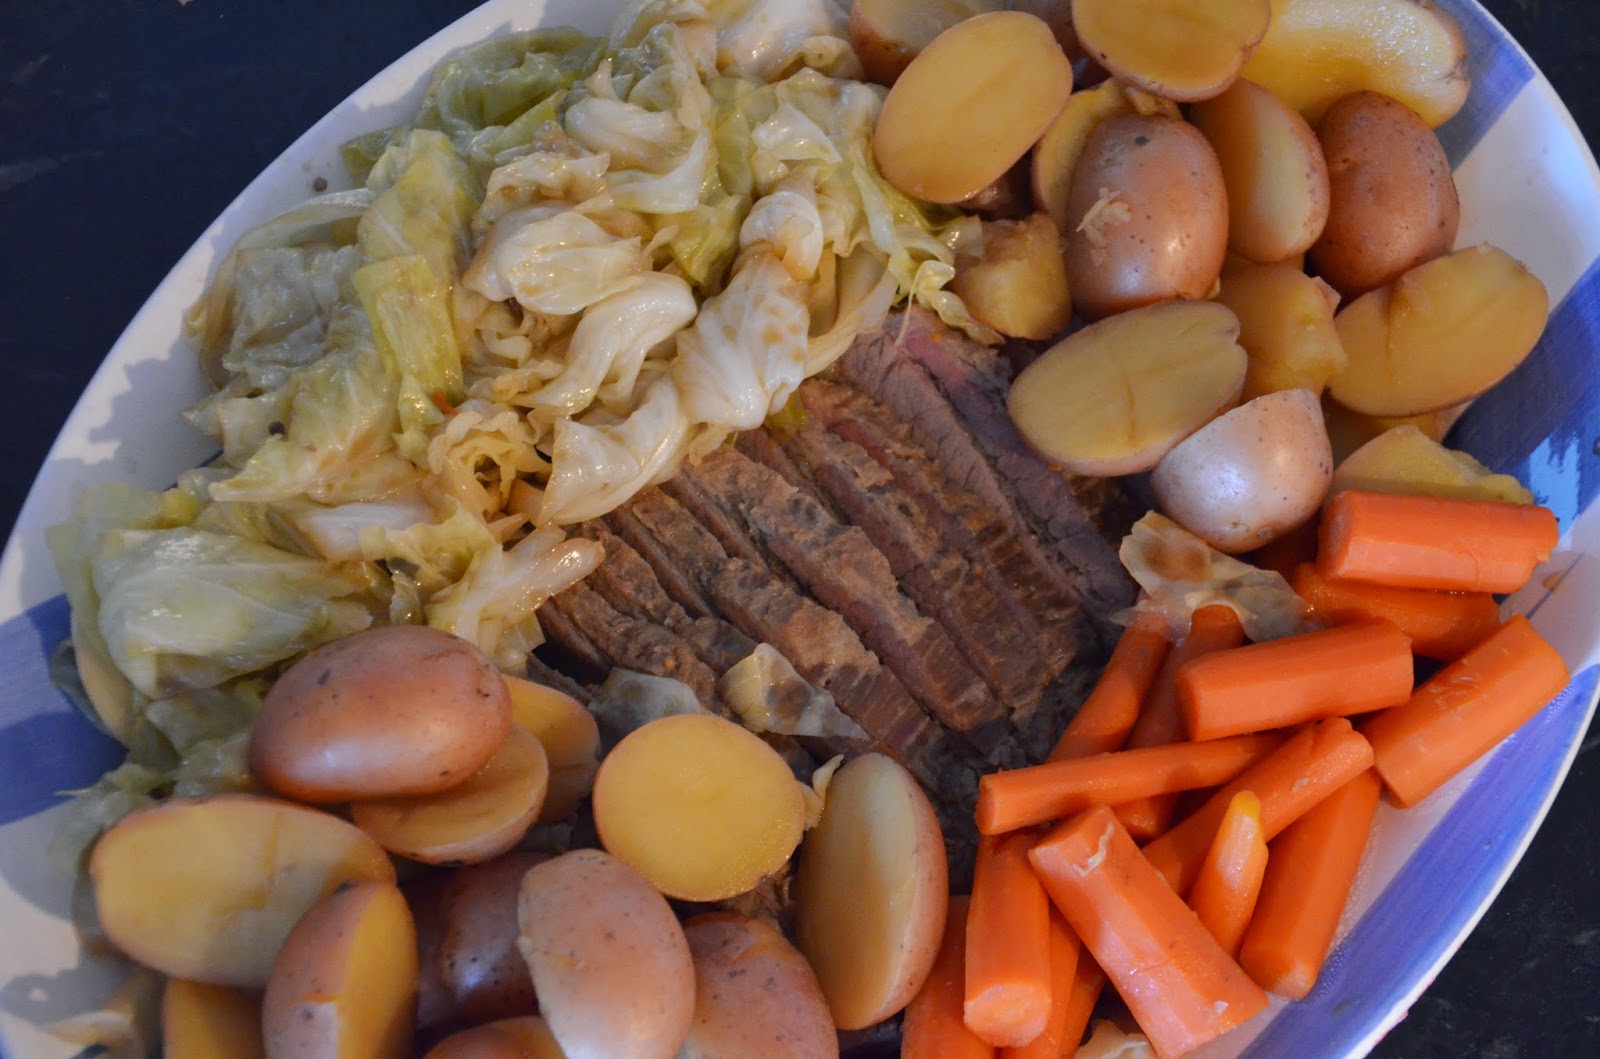
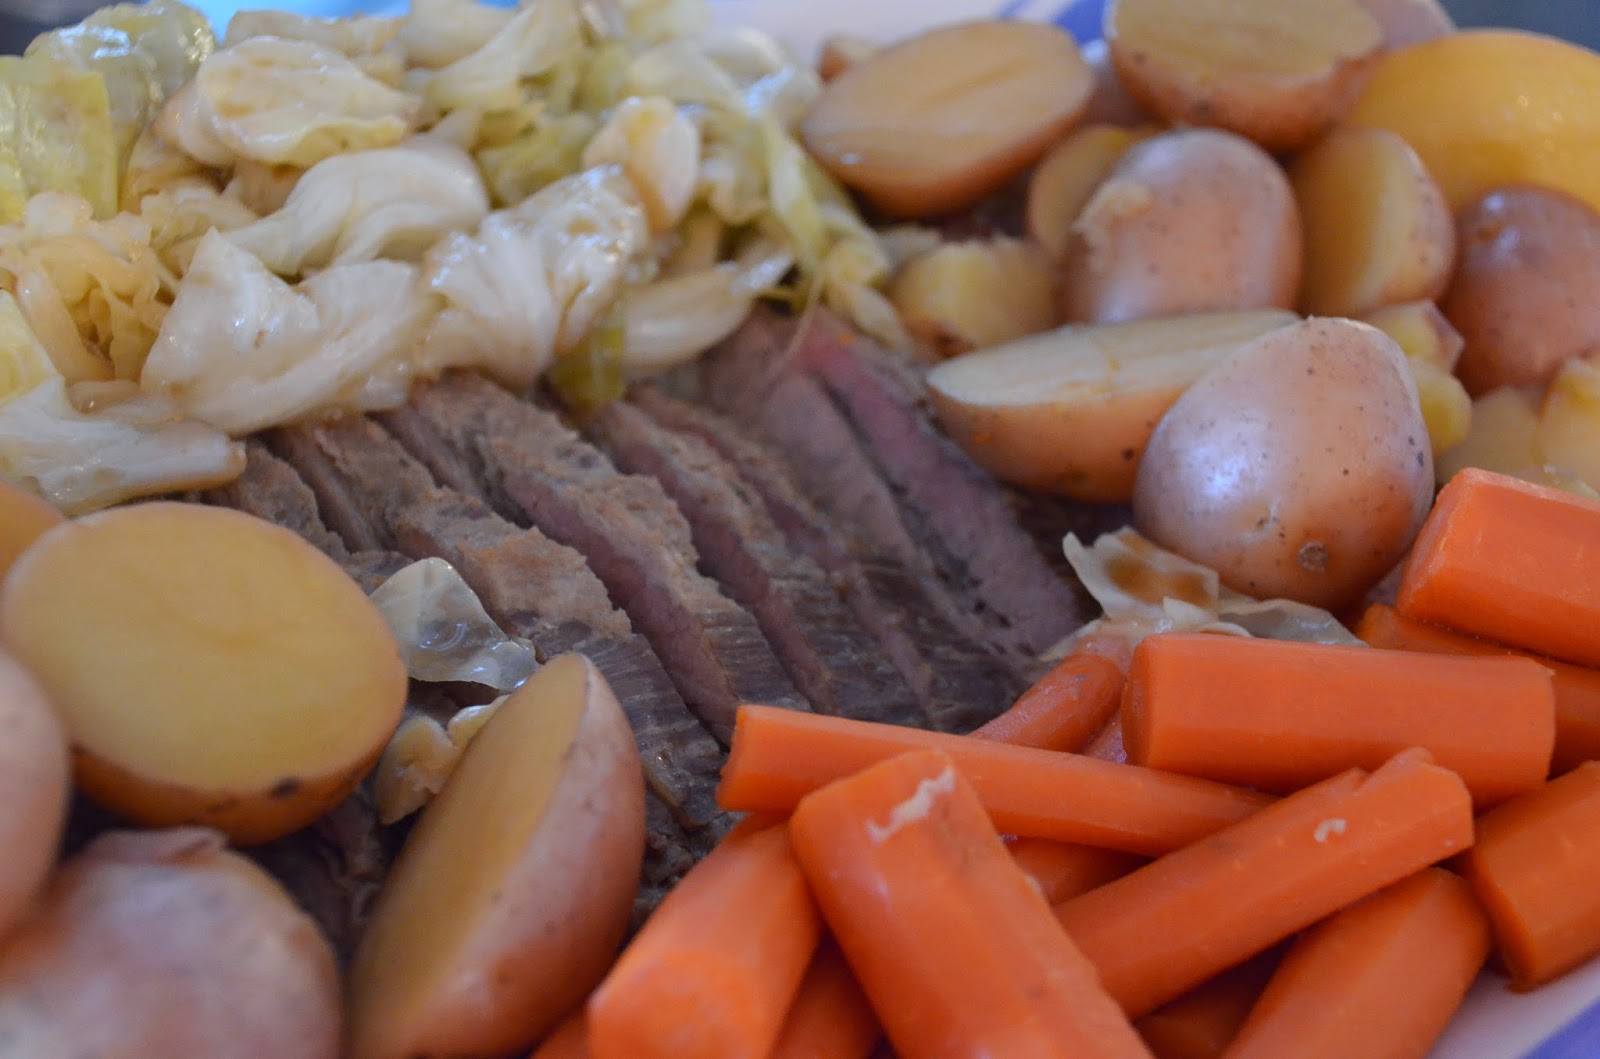
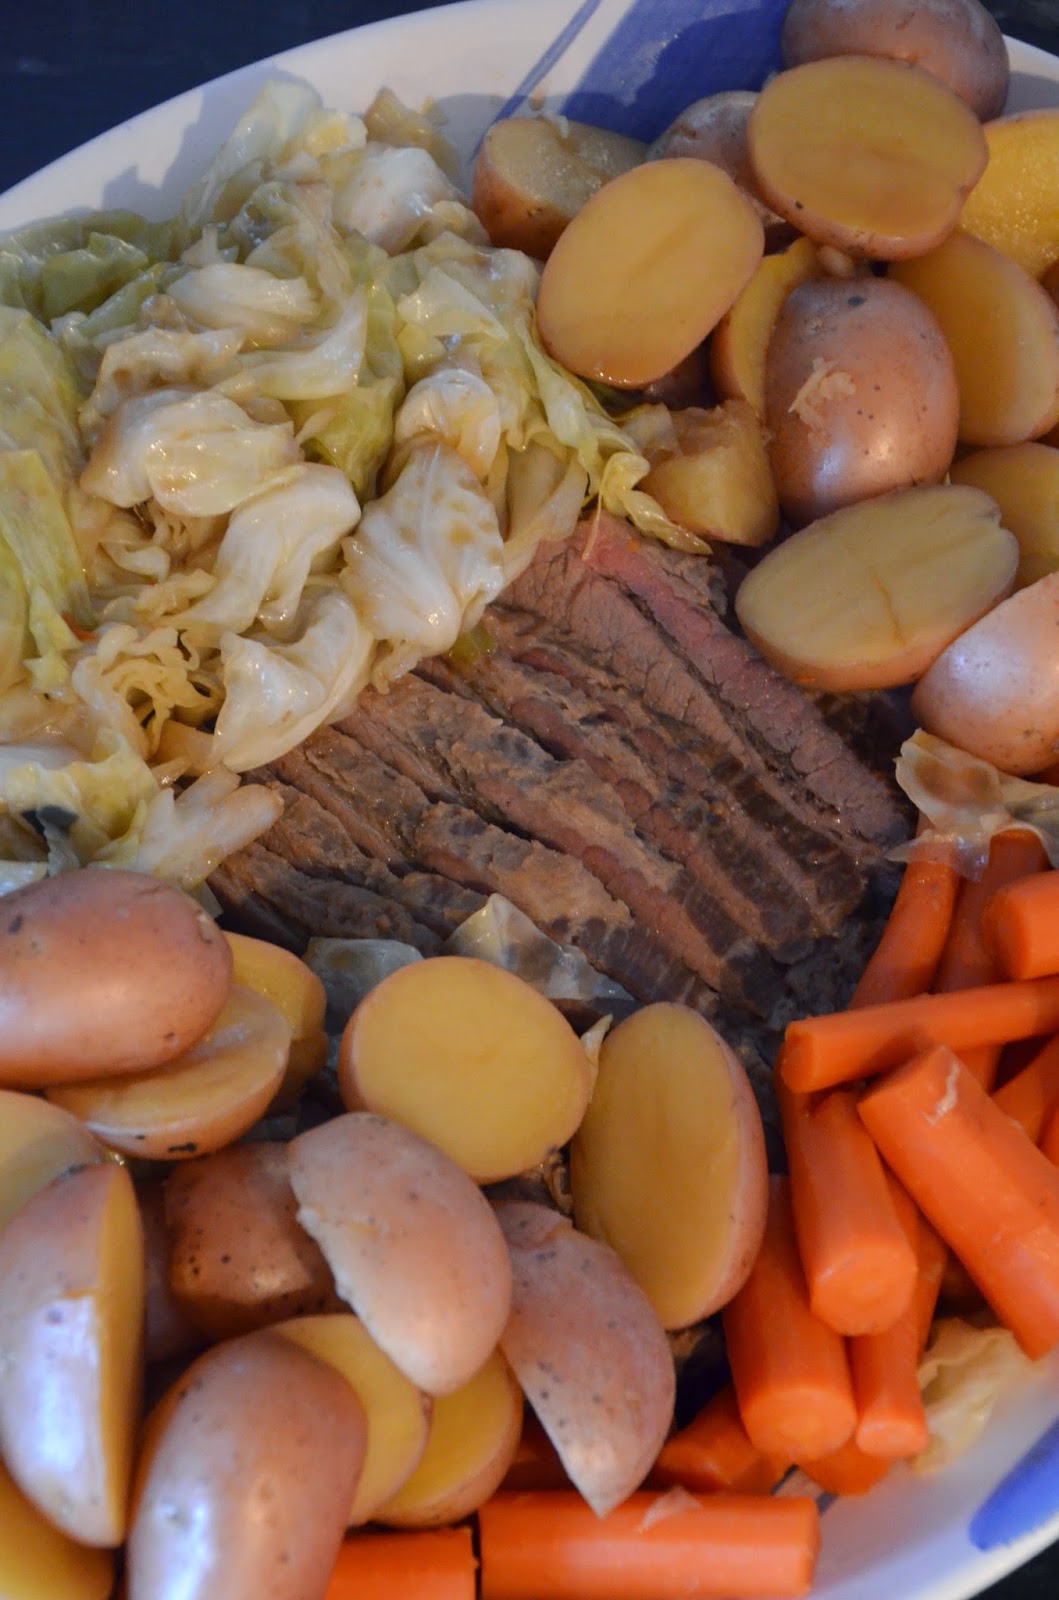
Now get the veggies out of the pot and arrange everything on a nice platter.  I take some of the sauce out of the pot and spoon that over everything.


Ok, it’s done…eat it now.


The men were pleased with the outcome, I’m such a good womanly servant…

Well, I’m really sorry that I didn’t get this post up earlier but being late is the story of my life.  Just save the recipe for next year, or make it this weekend…and then make someone else clean up the mess while you drink more of that beer.

Cheers!

The Good Cooker
Cook’s Choice Breakfast Frittata


There are really only two things you need for a successful frittata…eggs and milk.  The rest is completely up to you, I promise!

I make breakfast frittatas all the time, I usually make it on the weekend and what’s left over gets cut into squares and refrigerated.  For a quick yet delicious breakfast during the week I just pop a square into the microwave for 30 seconds and that’s breakfast.  Alone this is a great low carb meal but you can definitely put this between two pieces of bread, that’s heavenly.

Anyway, the only two must have ingredients are as follows…

1 dozen eggs
1 cup milk (whole, 2%, or skim)
plus salt and pepper but that doesn’t count


Now you just have to decide what else you want to throw in the mix…this is YOUR frittata.

Preheat your oven to 350°F

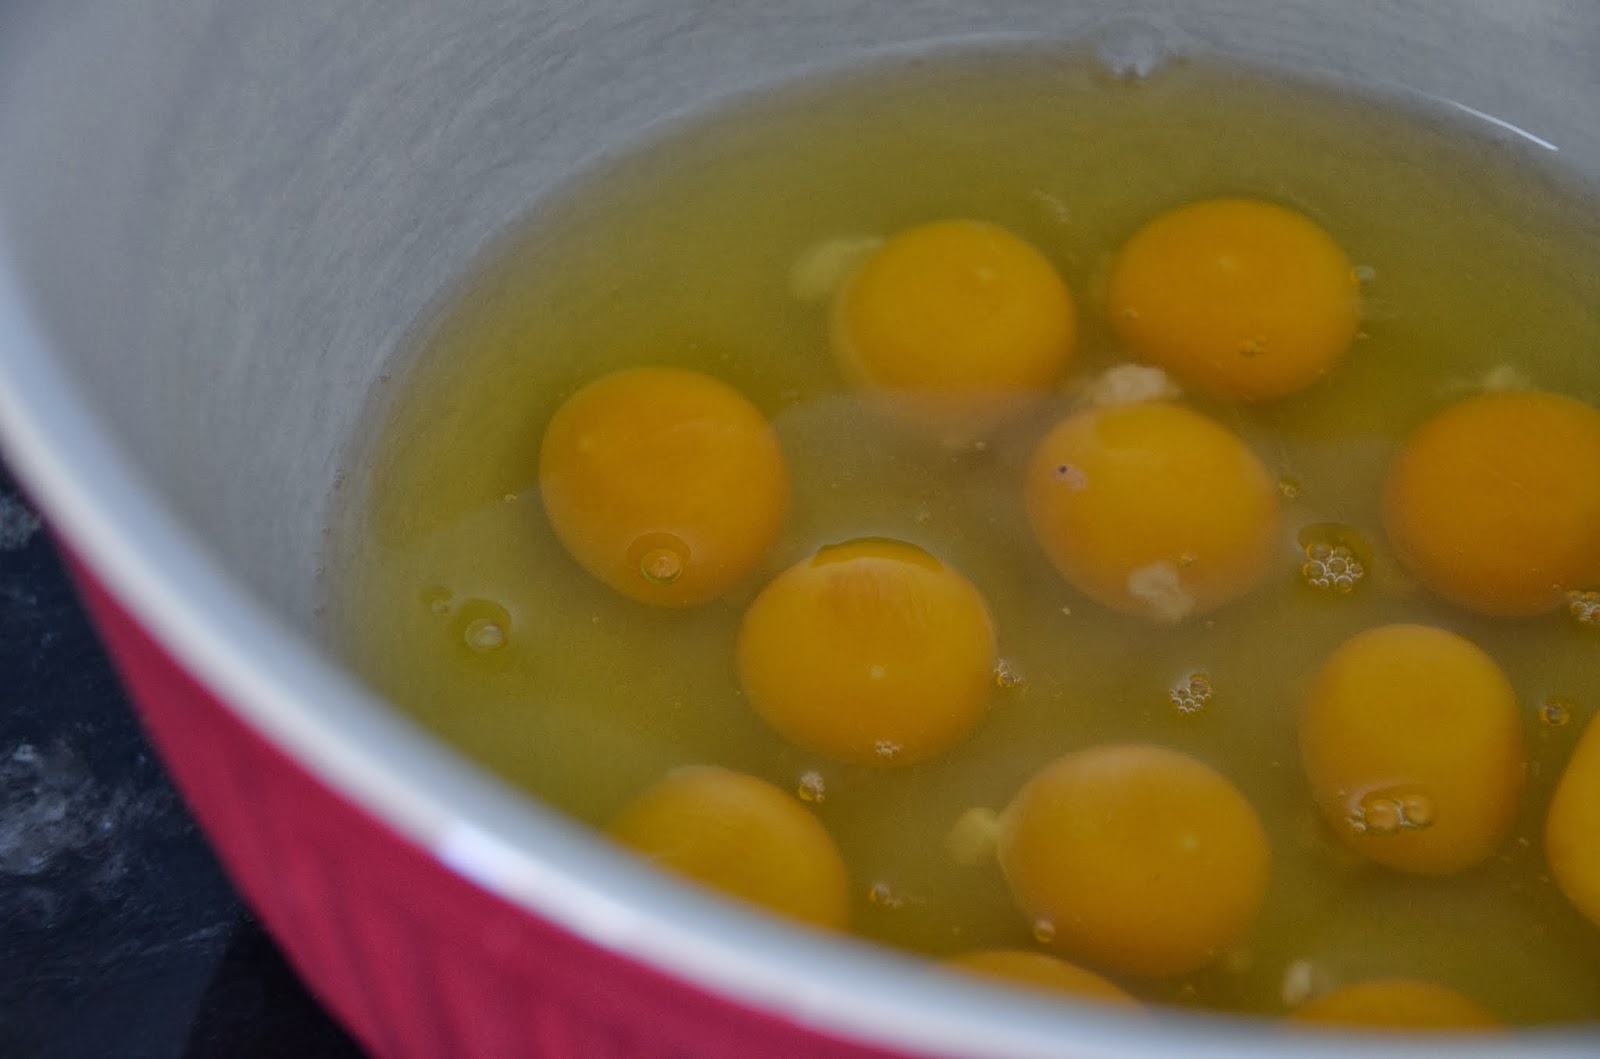
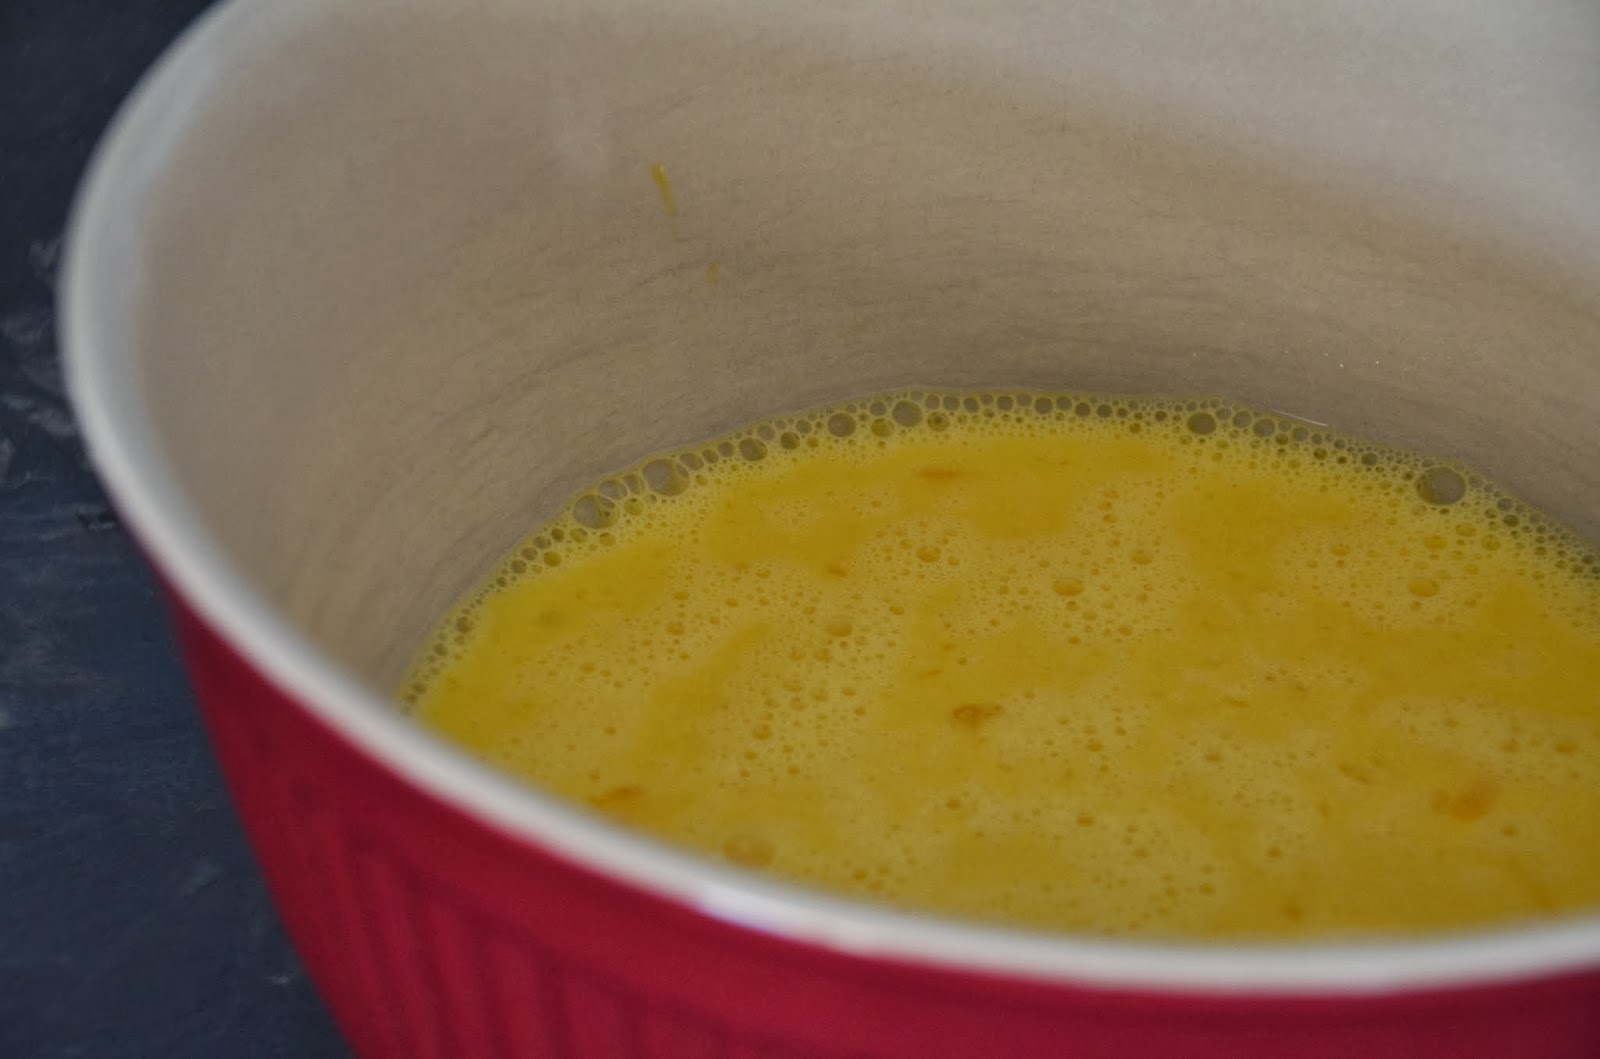
Start by cracking 12 eggs into a bowl…


I broke ONE yolk, I was pissed…because I have OCD.  You can’t see it in the photo on purpose.

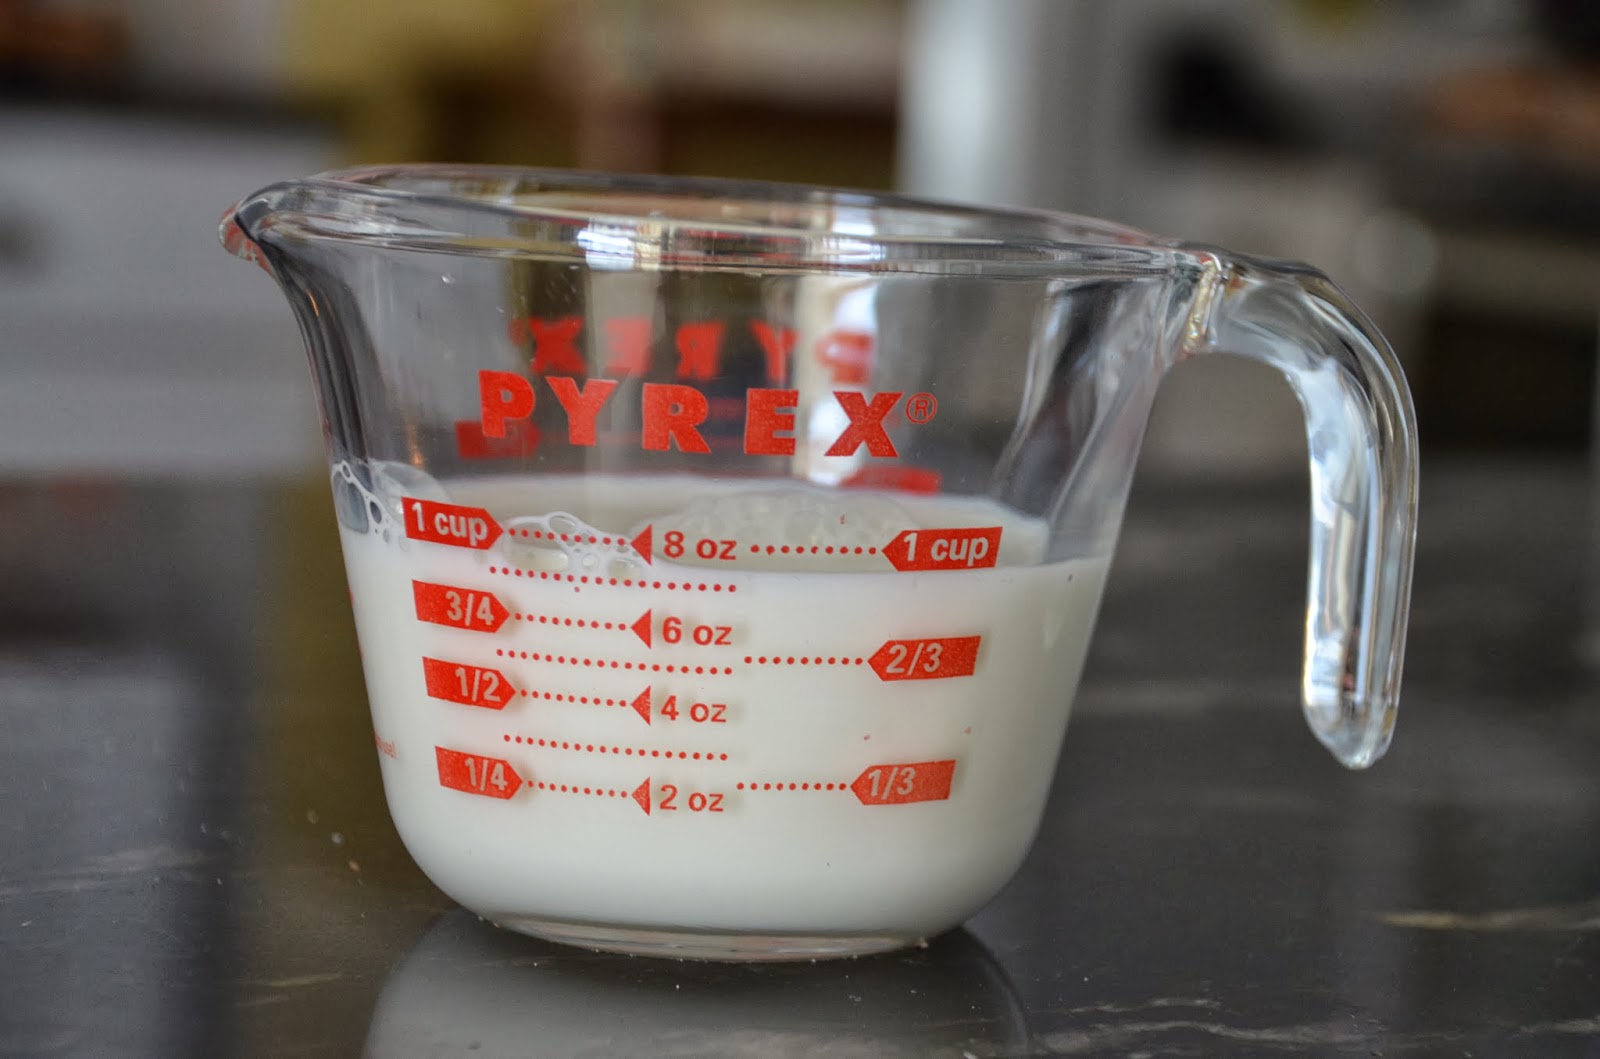
Then add one cup of milk…I have used every level of milk fatness there is and they all work fine.


Mix that all together really well…


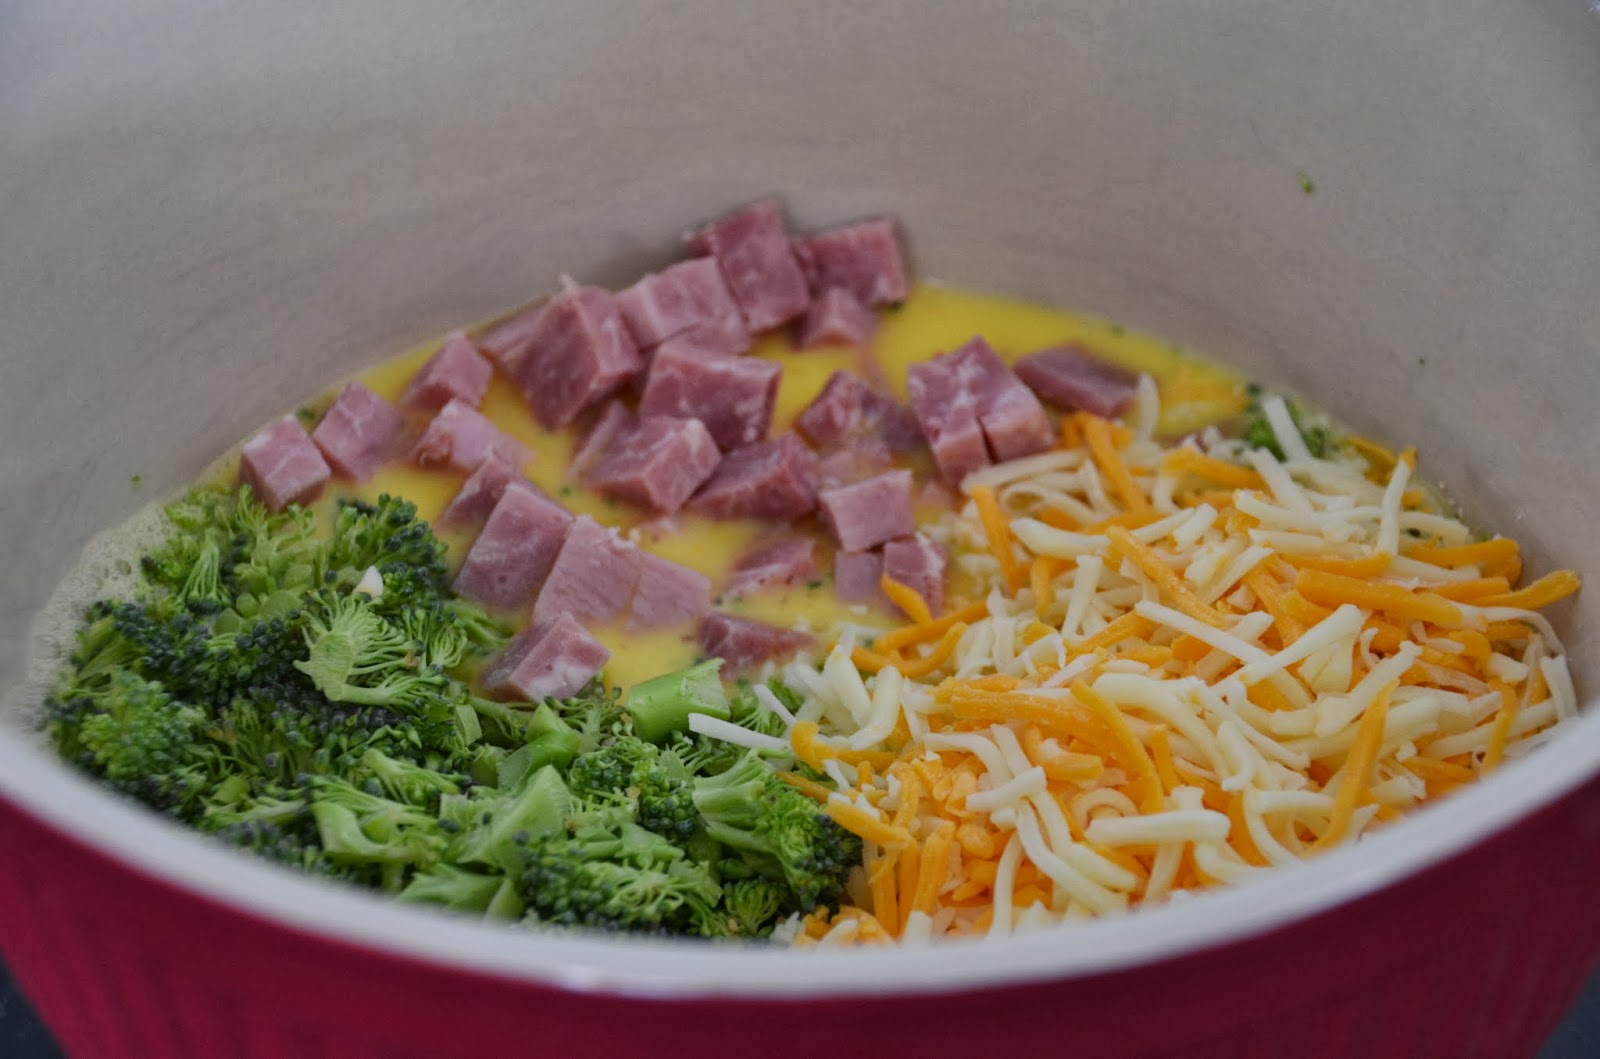
Now what else do you want to put in there?  What’s in your fridge?

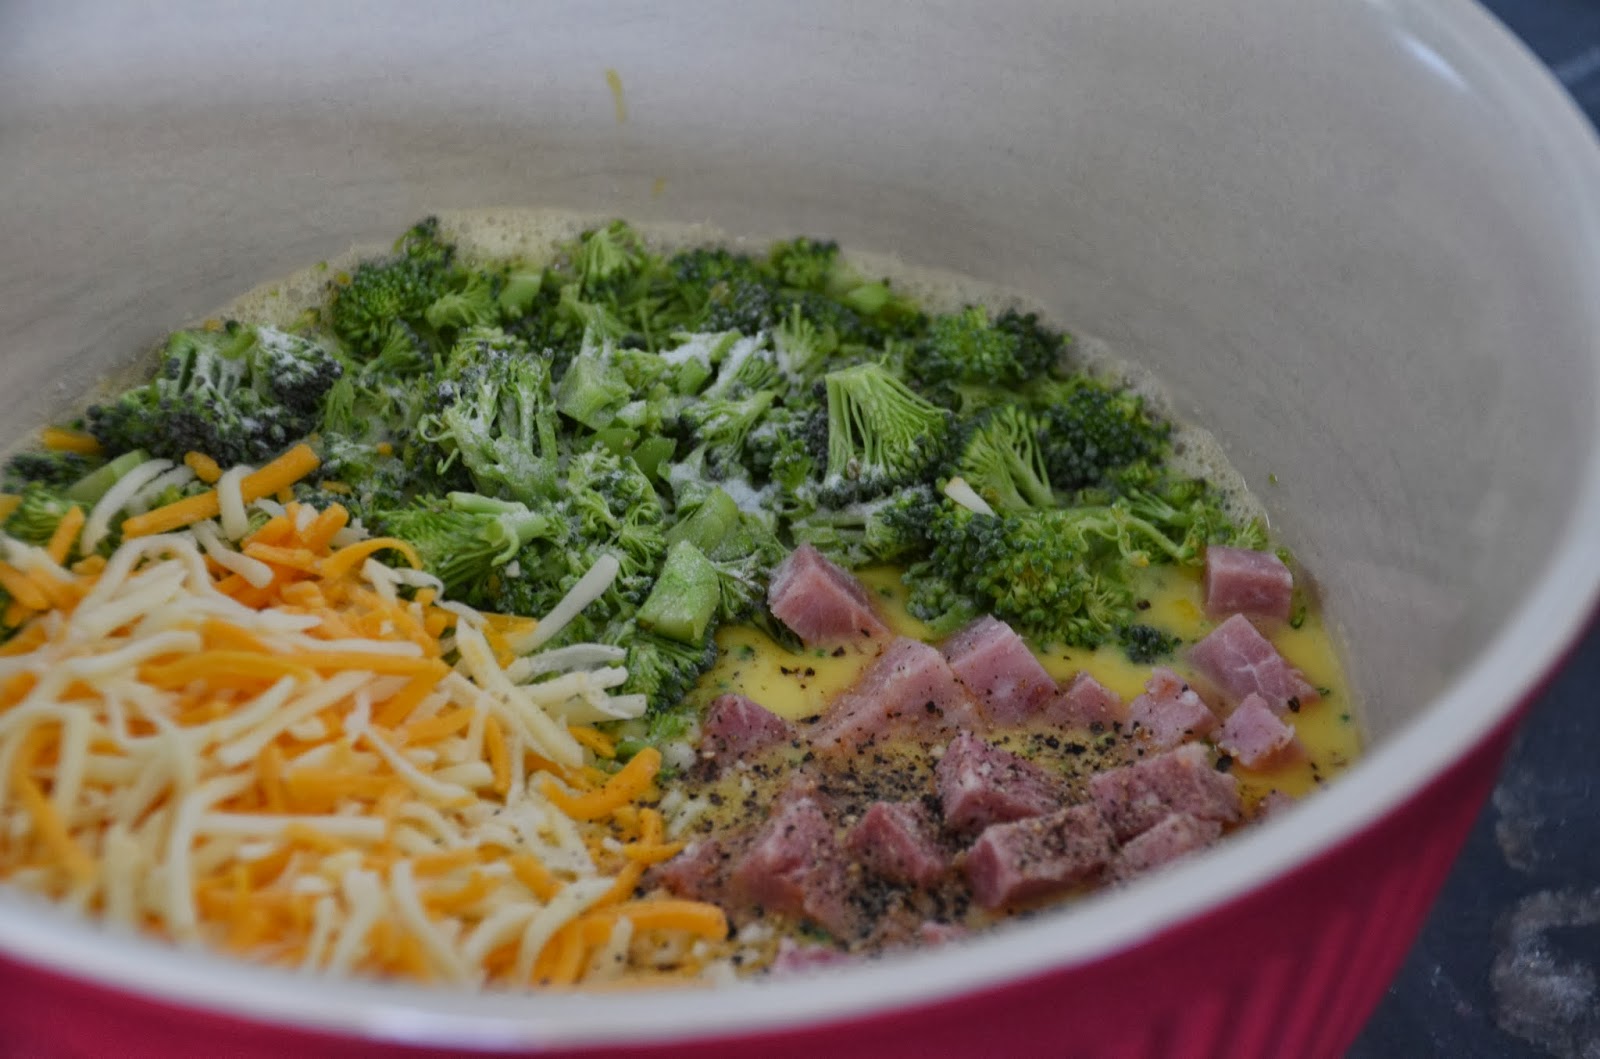
I had some left over cubed ham and shredded cheese from the last meal I made so that was definitely going in.  I also had some chopped broccoli so you know that stuff was in.


I usually put mushrooms and onions in mine but the kids were eating it and I wasn’t in the mood to hear the never ending whine fest that ensues when they see mushrooms.

The only thing I ask of you is that when you choose to add a veggie, take a moment to decide whether it needs to be sauteed briefly before you add it.  I like to saute my mushrooms and onions before they go in because I think they need some extra cook time.  If you do saute something before you add it, make sure it cools before putting it in with the milk/egg mixture…we don’t want it cooking until it goes in the oven.

This time I didn’t have to saute anything so that made life extra easy.

If you’re wondering how much to add of each ingredient my advice is to use your best judgement…wow, that was annoying.  Just use anywhere from 1/2 cup (maybe for onions) and 1 1/2 cups (maybe for the broccoli).  You really can’t mess this up I swear.  

After you add your chosen ingredients, throw about 3/4 tsp. of salt and 1/4 tsp. black pepper in there…

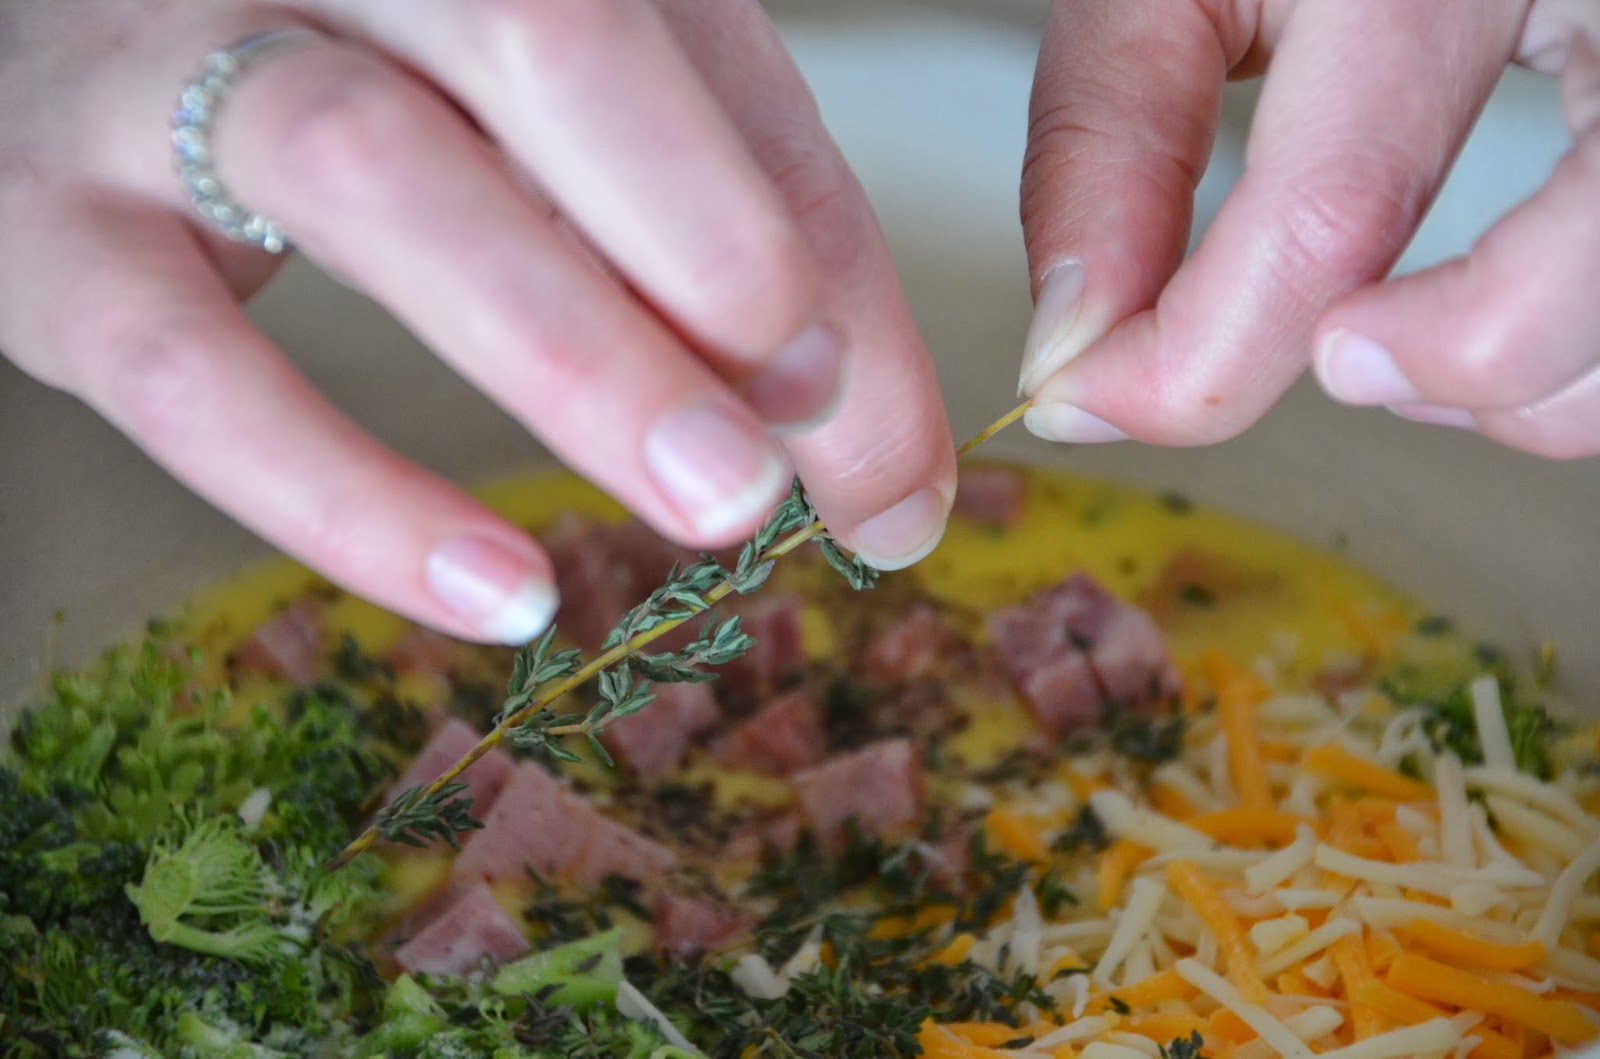
Now your frittata will taste just fine with salt and pepper alone but feel very free to add any other spices you would like.  I had some fresh thyme and I love that stuff so it went in…


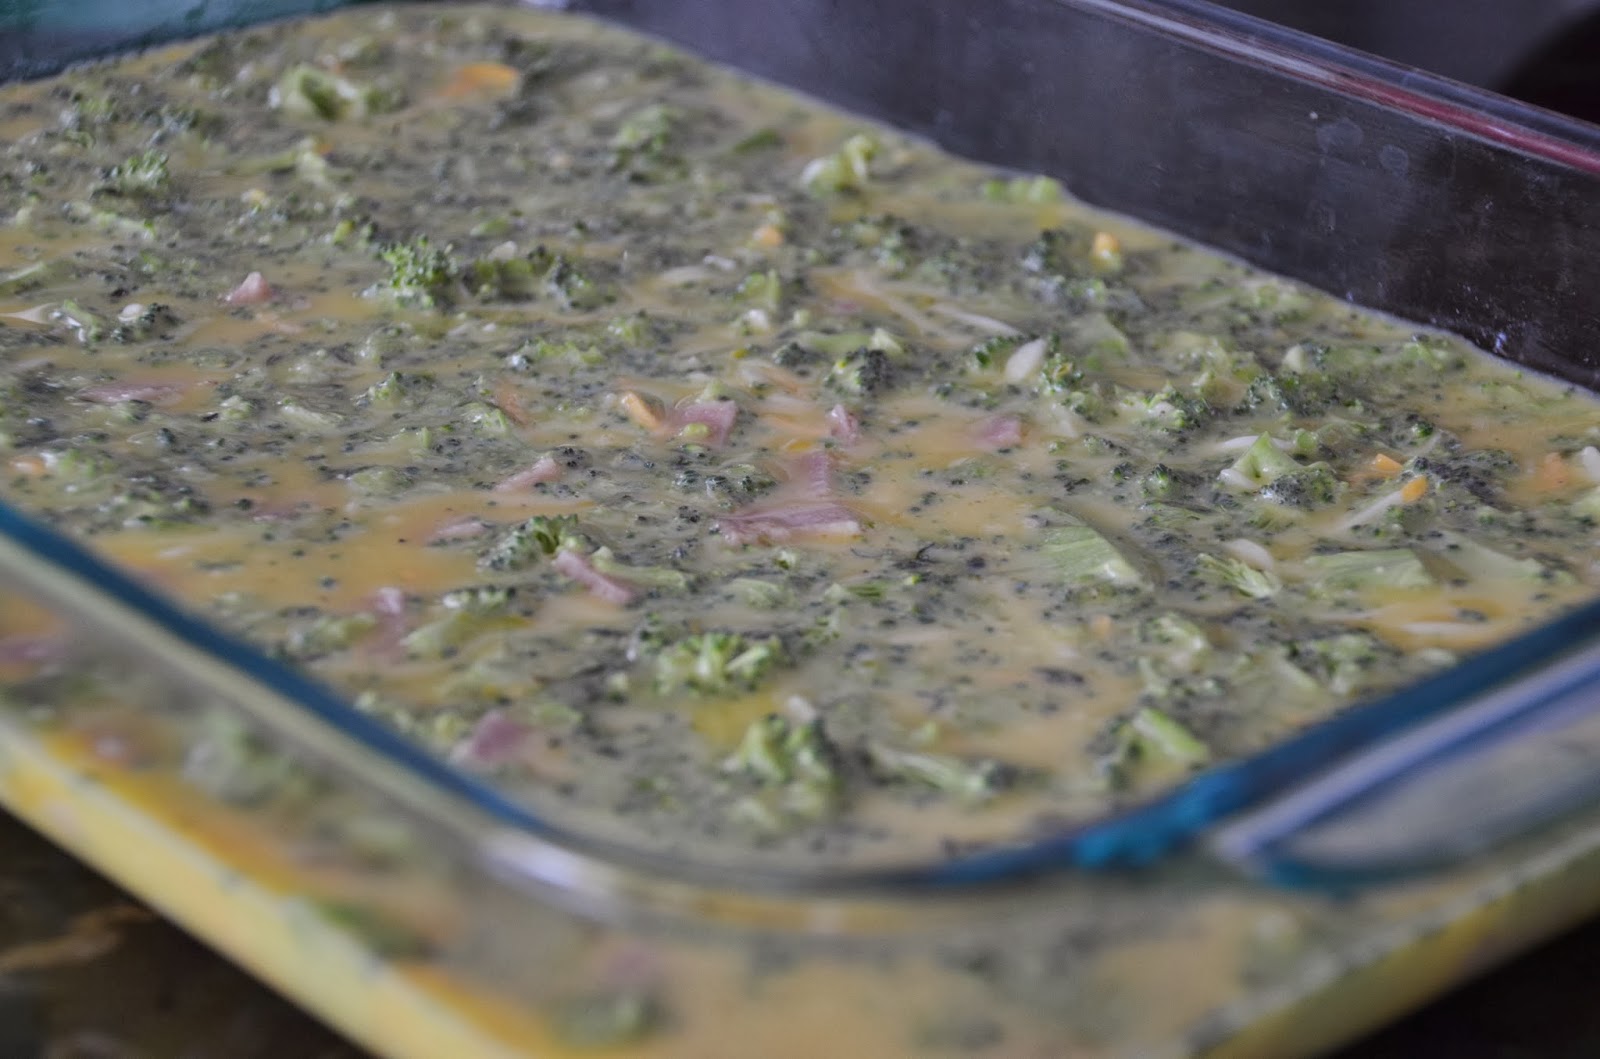
Once you’re done adding ingredients, stir the whole thing up and pour it into a 9 X 13 baking dish that’s been greased with olive oil or butter.

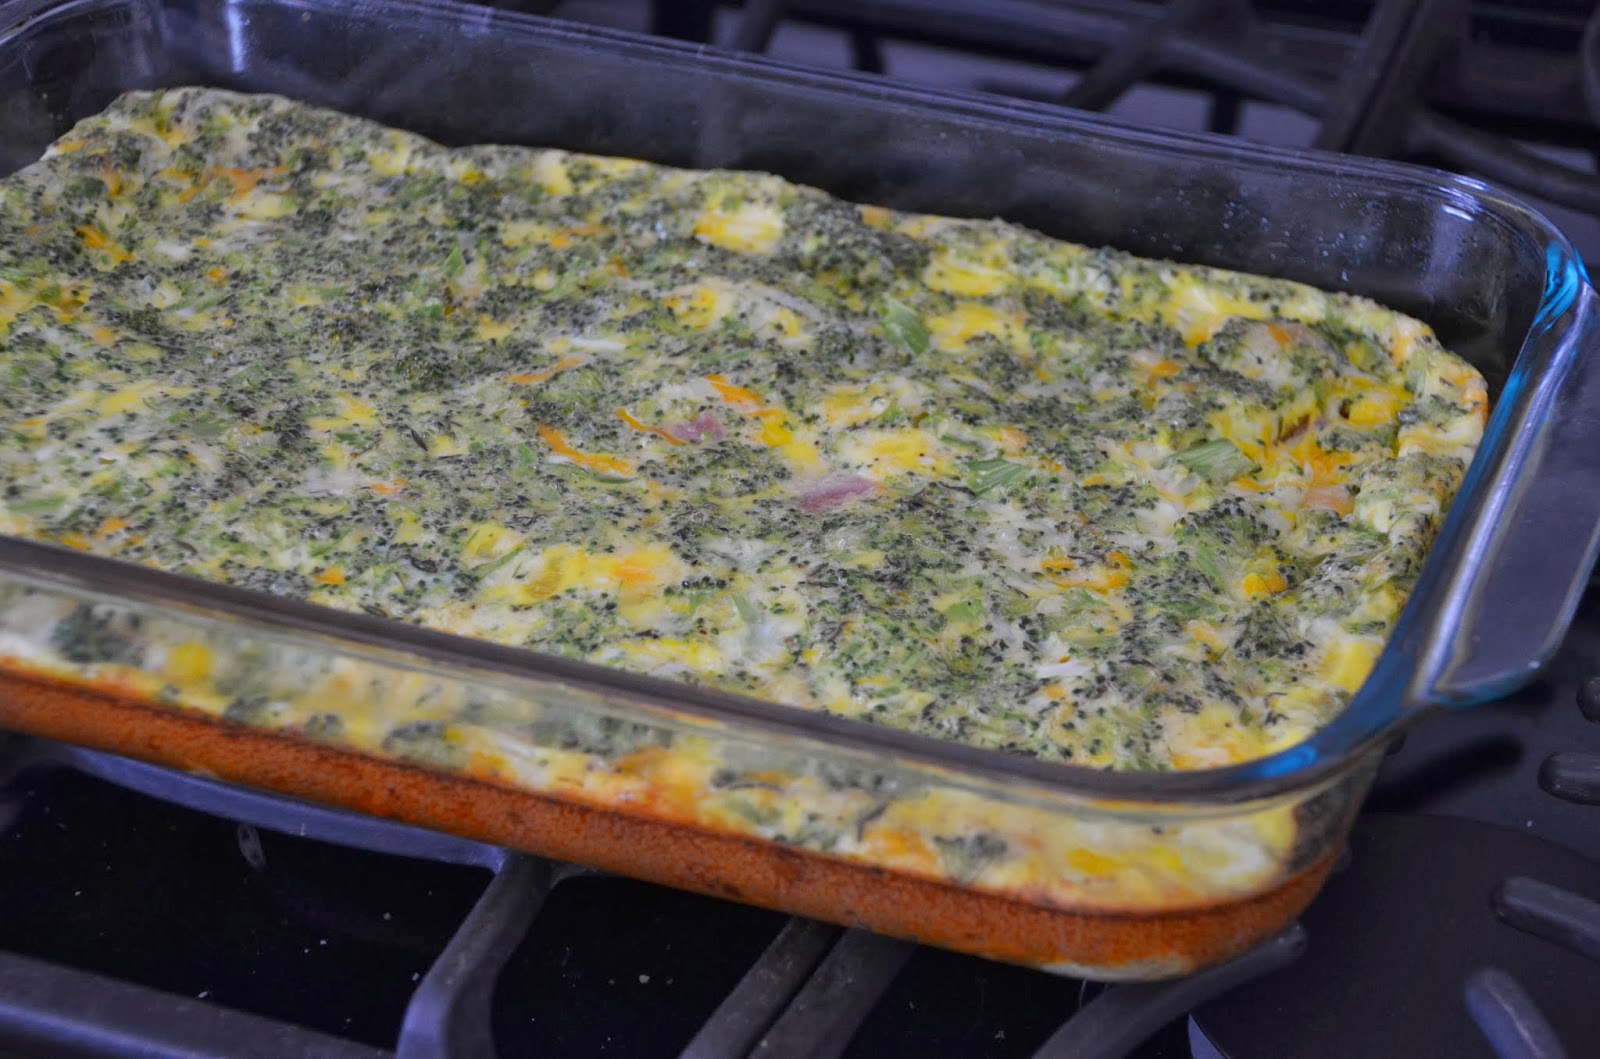
Now plop it into a 350 degree oven for about 35-40 minutes.  When the top has set and the bottom is golden, it’s done!


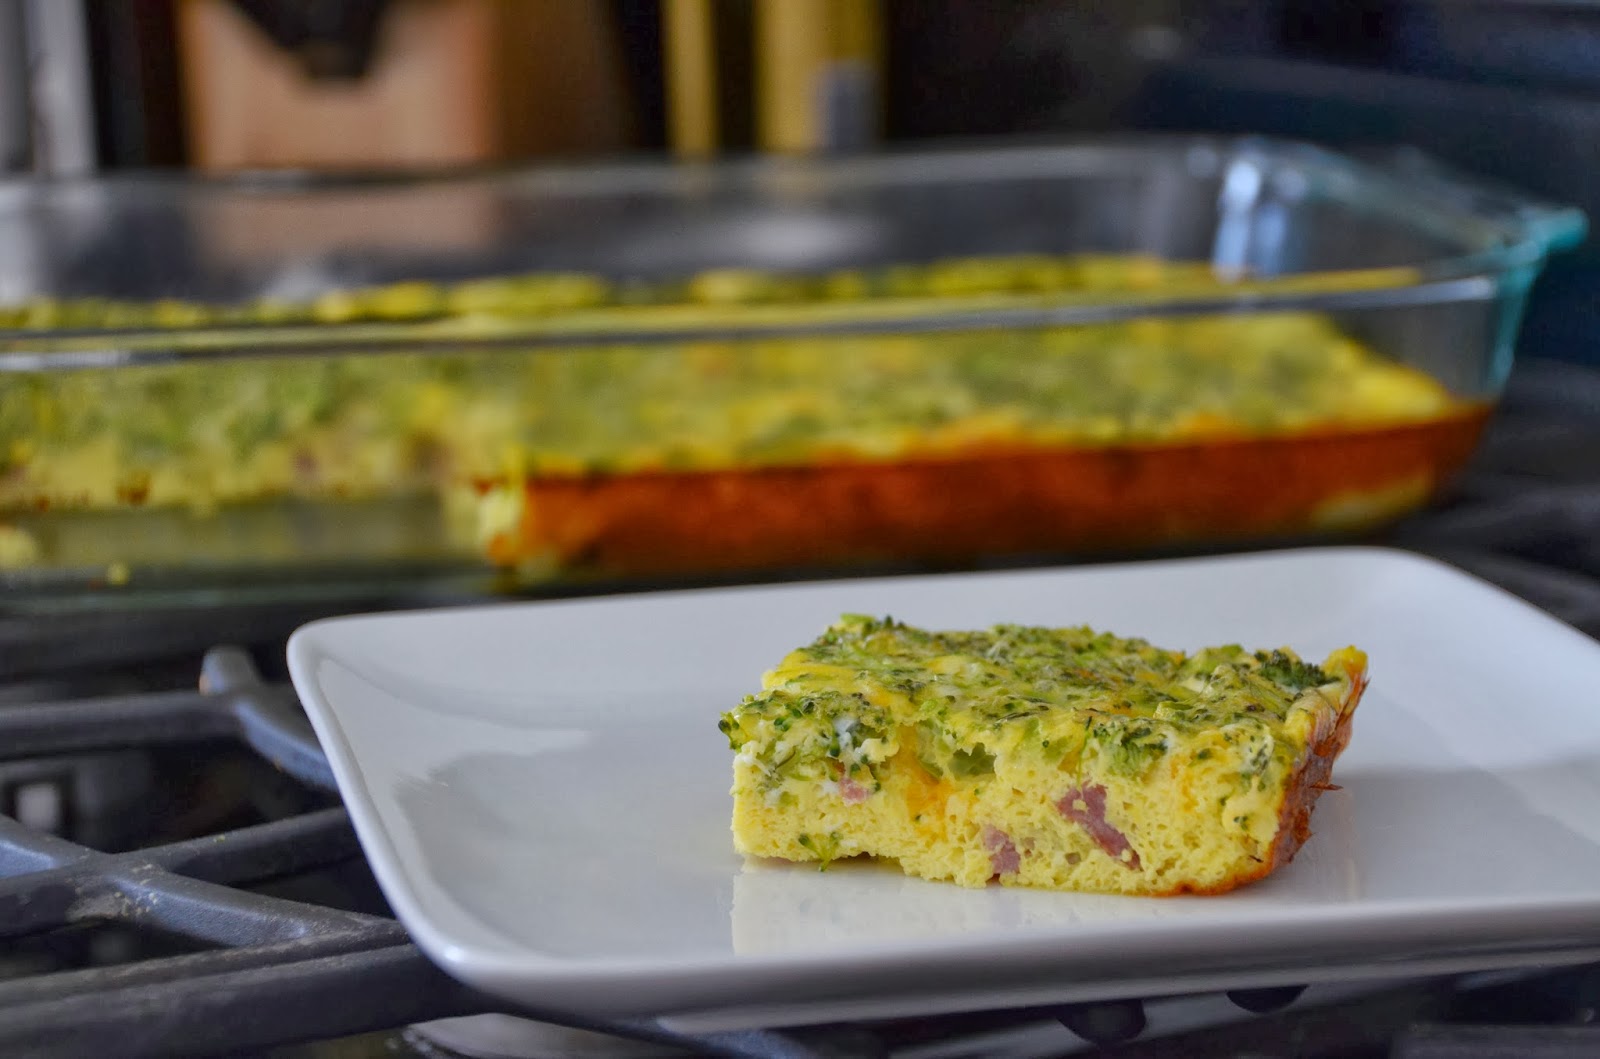
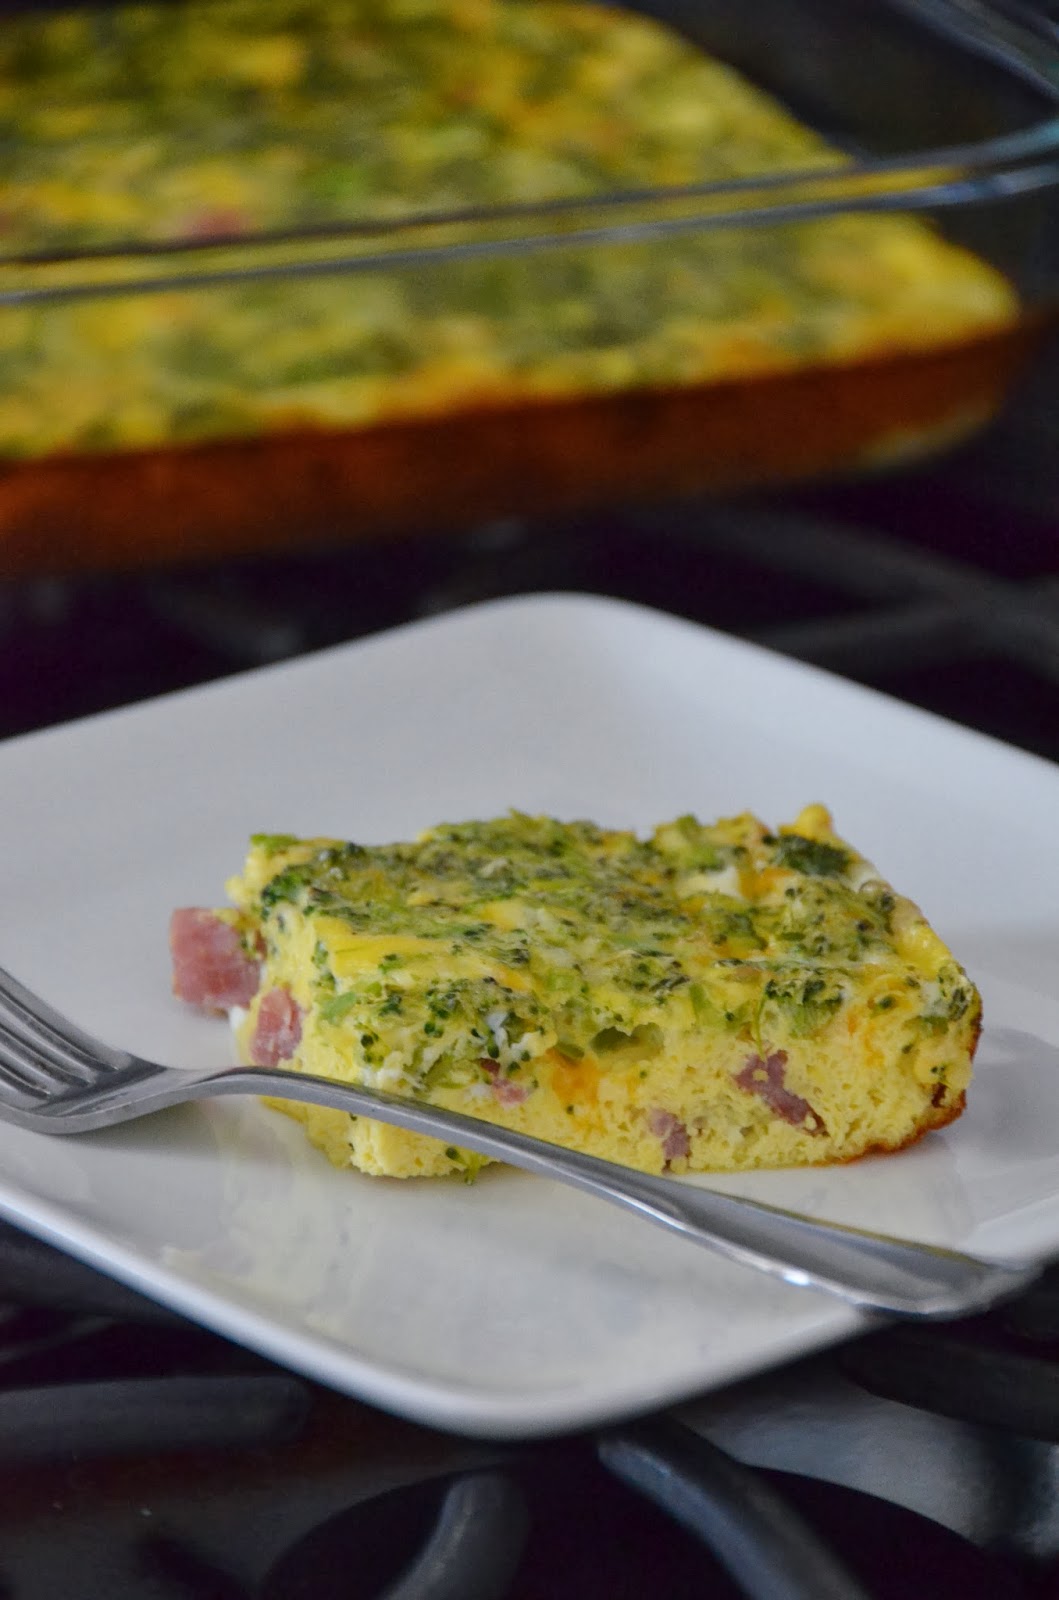
Check it out…YUM!


This is so stupid easy I promise…I’ve been eating these protein packed squares for breakfast all week and they keep my nice and full until lunch.  Try it and let me know what you think!  

Cheers!

The Good Cooker


Vegan Split Pea Soup…and it tastes like butta


So it took me a while to get this blog post up because I was having some technical difficulties, aka the cat chewed my computer charger cord.  I’ve already let him know that you are all angry with him for delaying the Split Pea Soup post…he doesn’t care, cats don’t care if you’re mad at them…he just gave me a dirty look and walked away, probably to go look for an iphone charger.

Split Pea Soup is one of my all time fav soups to make and to eat.  Why? 4 words…Easy, Cheap, Healthy, and DELICIOUS.  I’m trying to come up with an acronym for these four words because they sort of seem to be my mantra for cooking.  #CHED? #DECH?  I will keep working on it…This soup on its own is vegan but I swear it tastes like you’re eating the creamiest, most buttery thing in the world.  I put a ton of veggies in my soup but you can put in (or leave out) whatever you want (except for the peas, they’re sort of a must).

Here’s my ingredient list…

Veggies
1 – 16 oz. bag dry split peas
1 – yellow onion (chopped coarse)
3 – carrots (chopped coarse)
3 – stalks of celery (chopped coarse)
1- leek
1 – fennel bulb
1 – clove garlic (minced)

Spices
2 tsp – turmeric 
1 tbsp – herbs de provence 
2 tsp – salt
1 tsp – ground black pepper
2 bay leaves

Liquid
32 oz – vegetable stock
32 oz – water

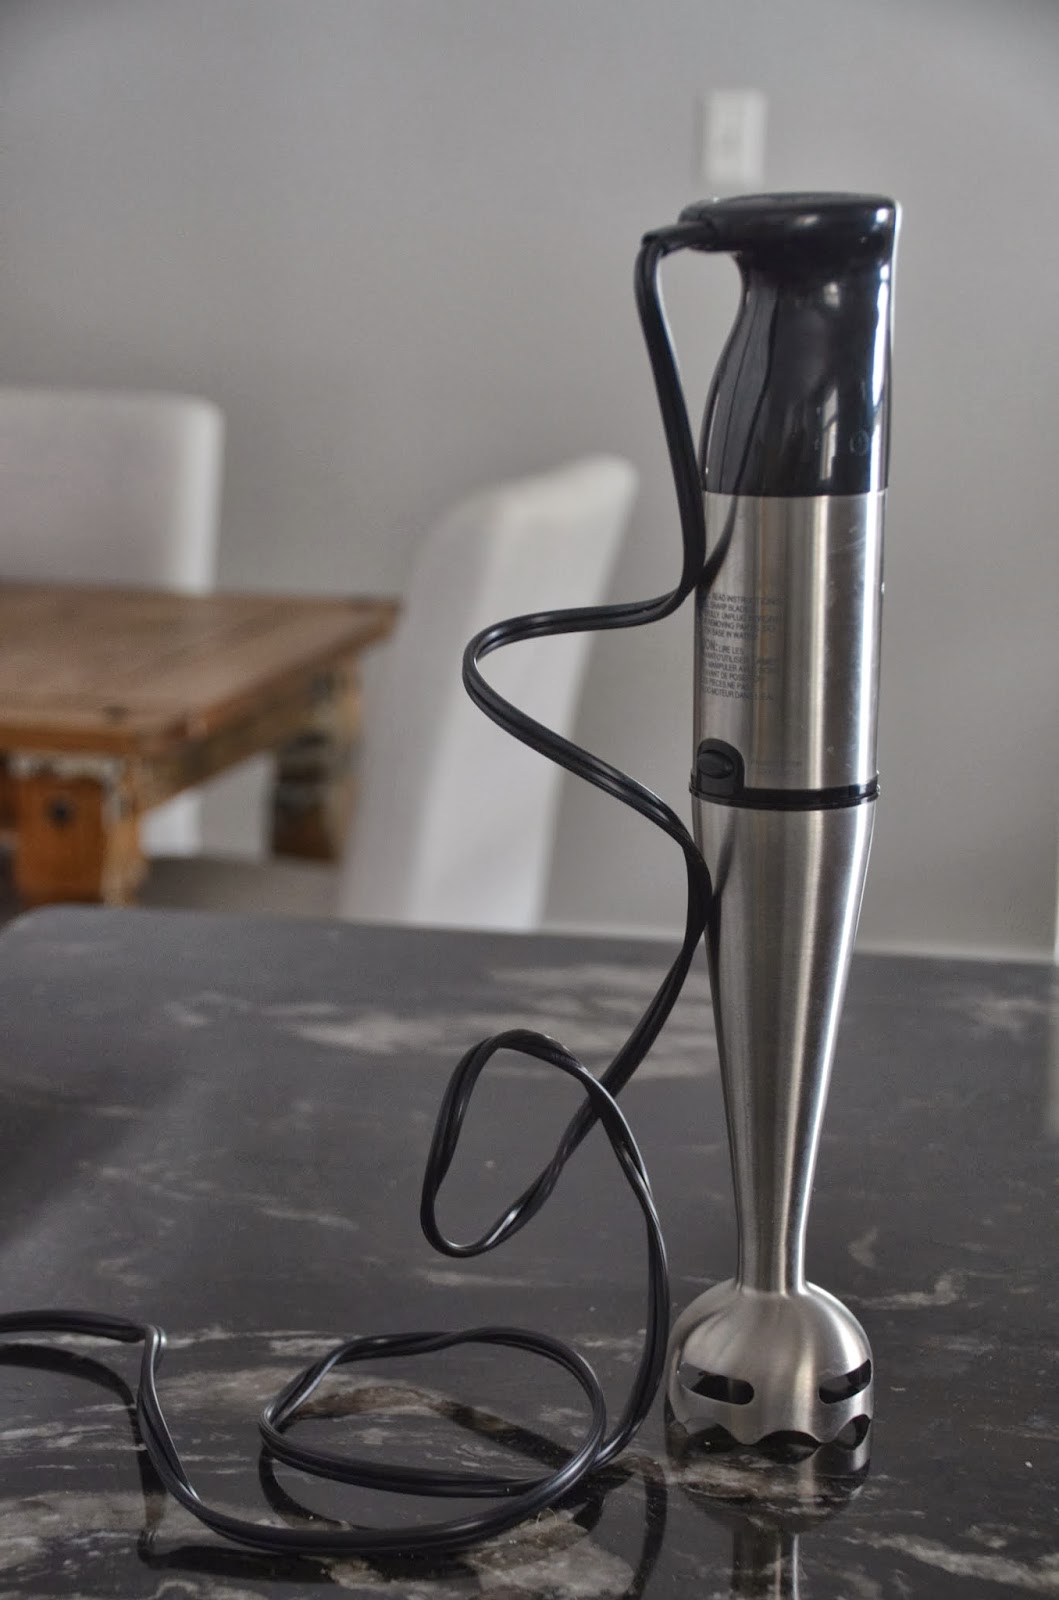
You will also need an immersion blender or a regular blender in order to make this soup because it needs to be pureed at the end.


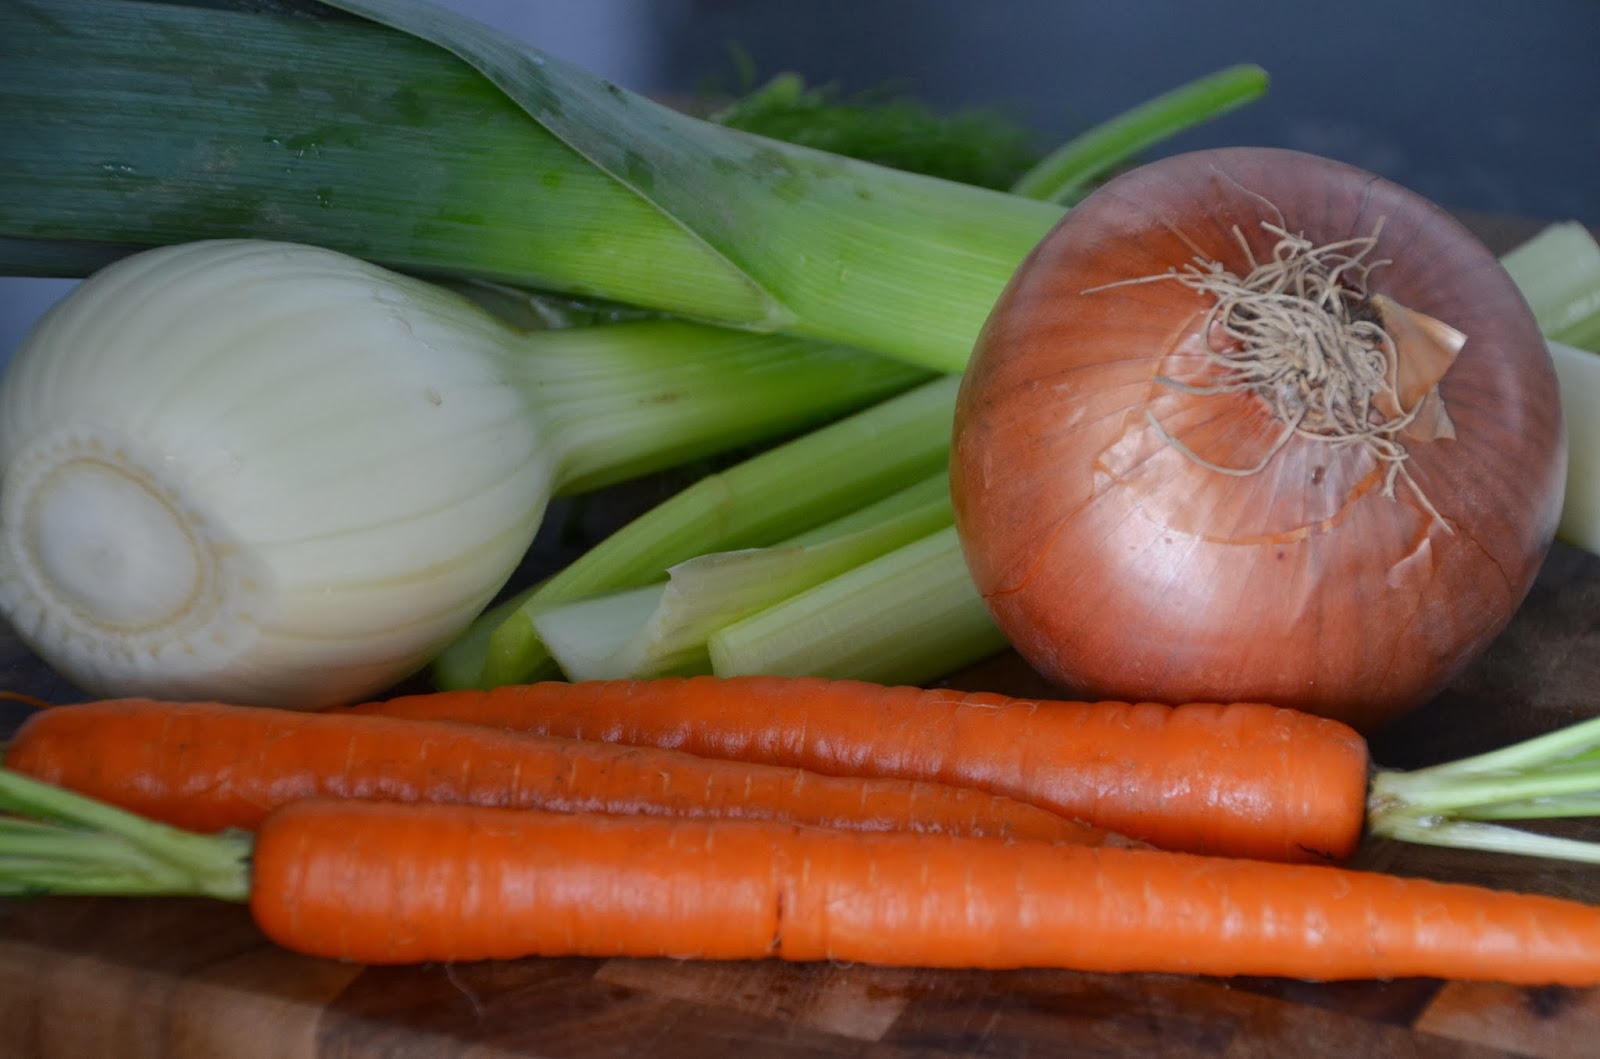
And here’s a pic of your veggies! (I like to take photos of vegetables)


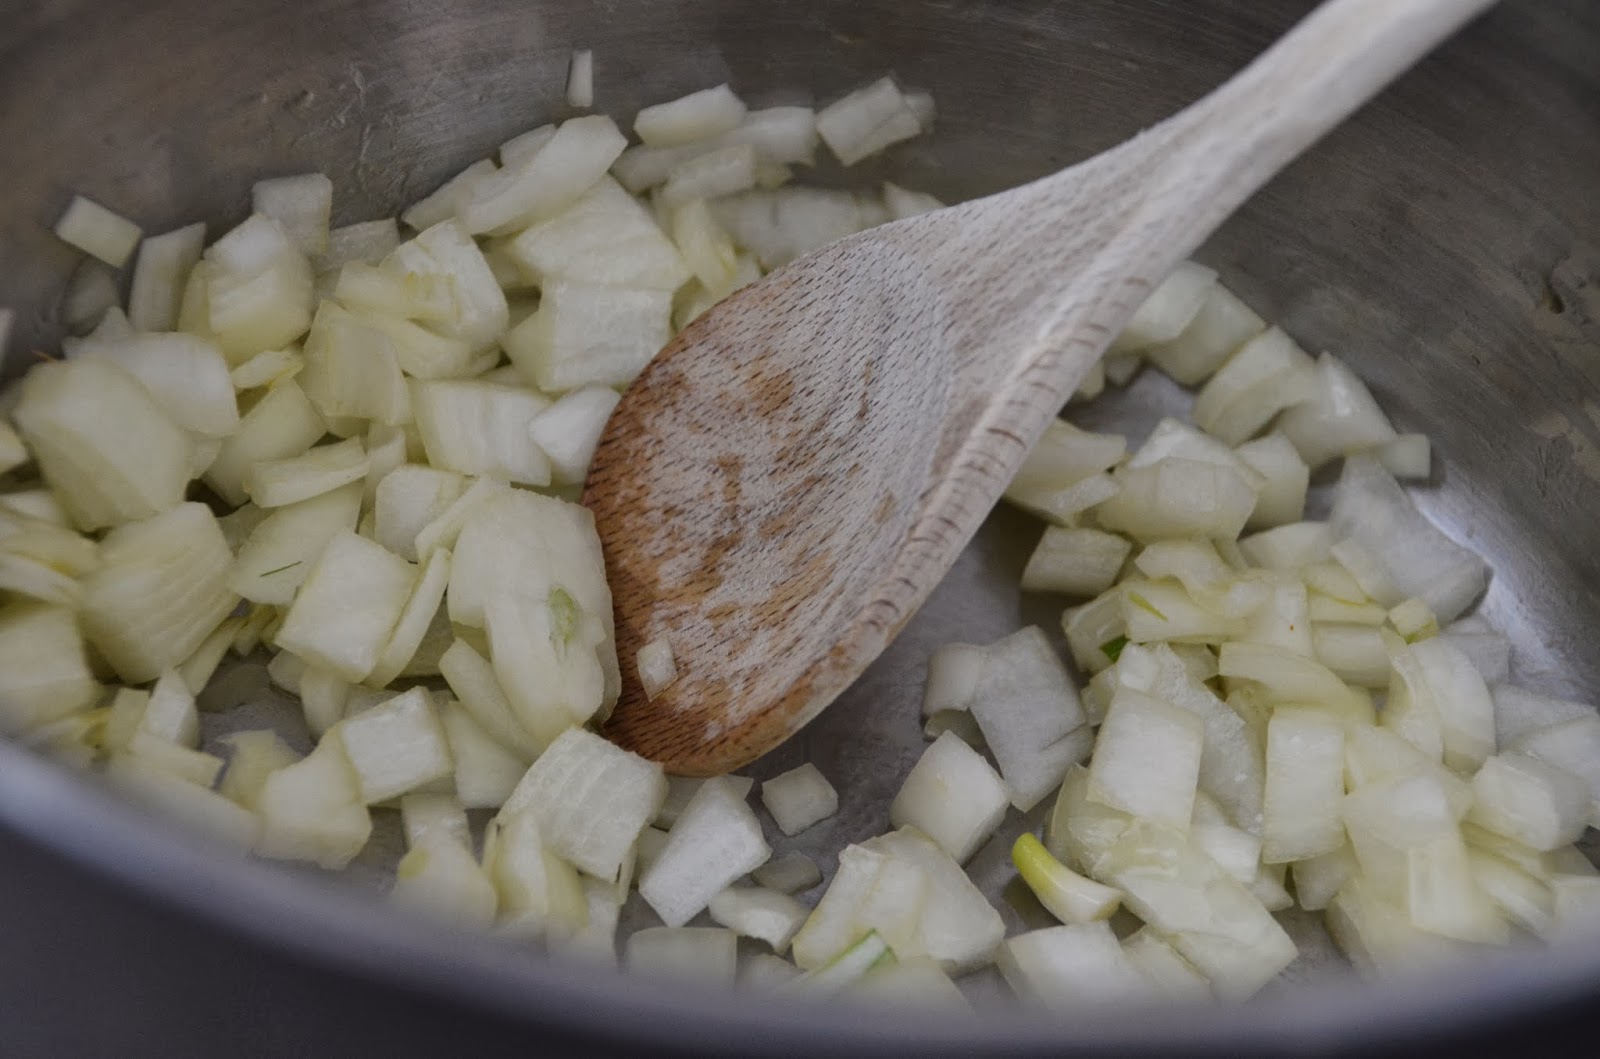
Start by putting some extra virgin olive oil in a big stock pot over medium low heat and throw in your chopped onion.  You don’t have to chop any of these veggies to a specific size because it’s all going to get pulverized in the end…lazy chop will do just fine here.


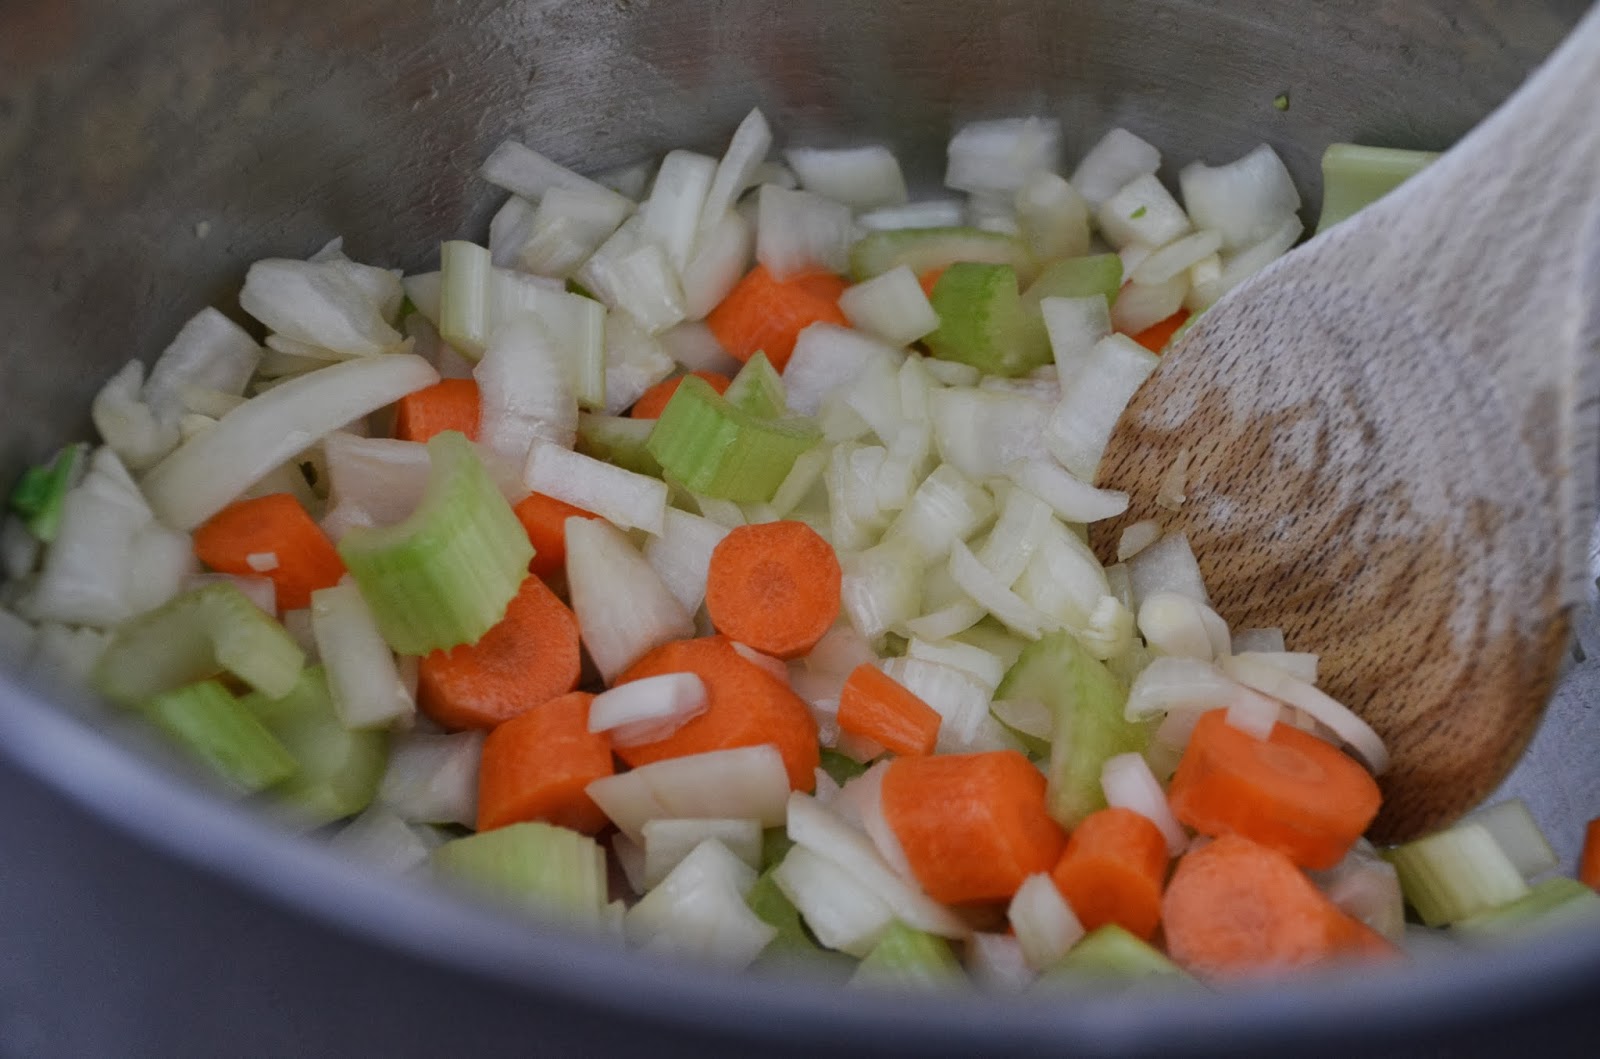
Then throw in your garlic, carrots, and celery.


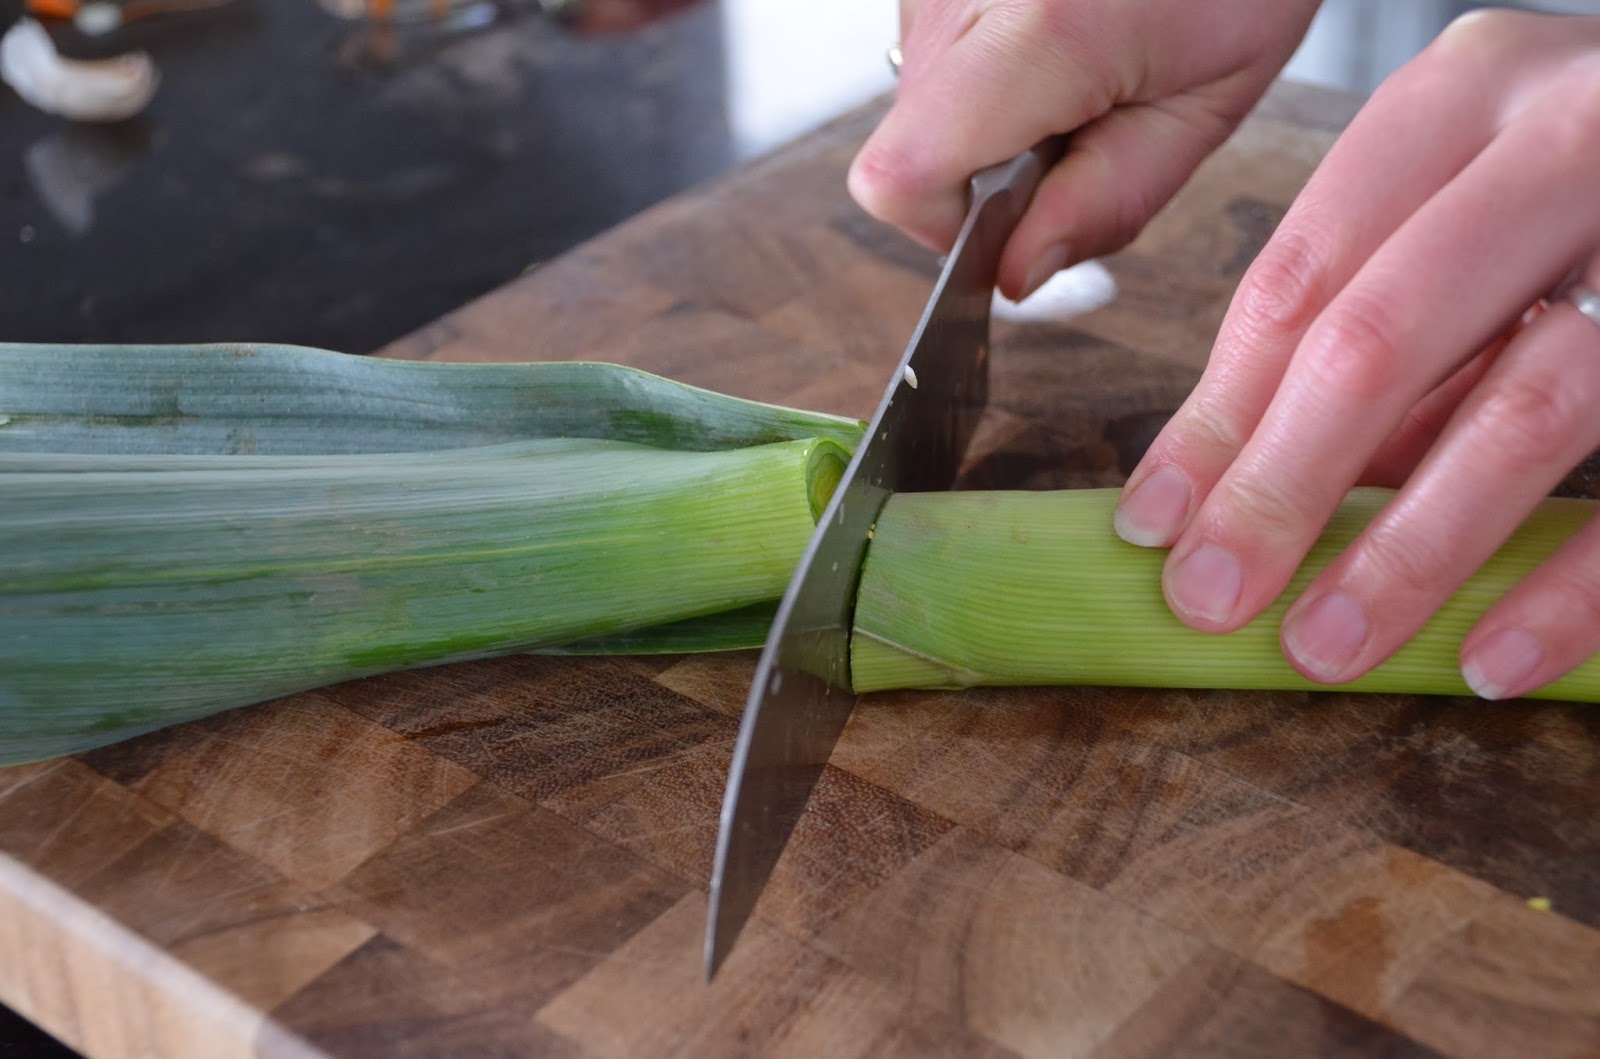
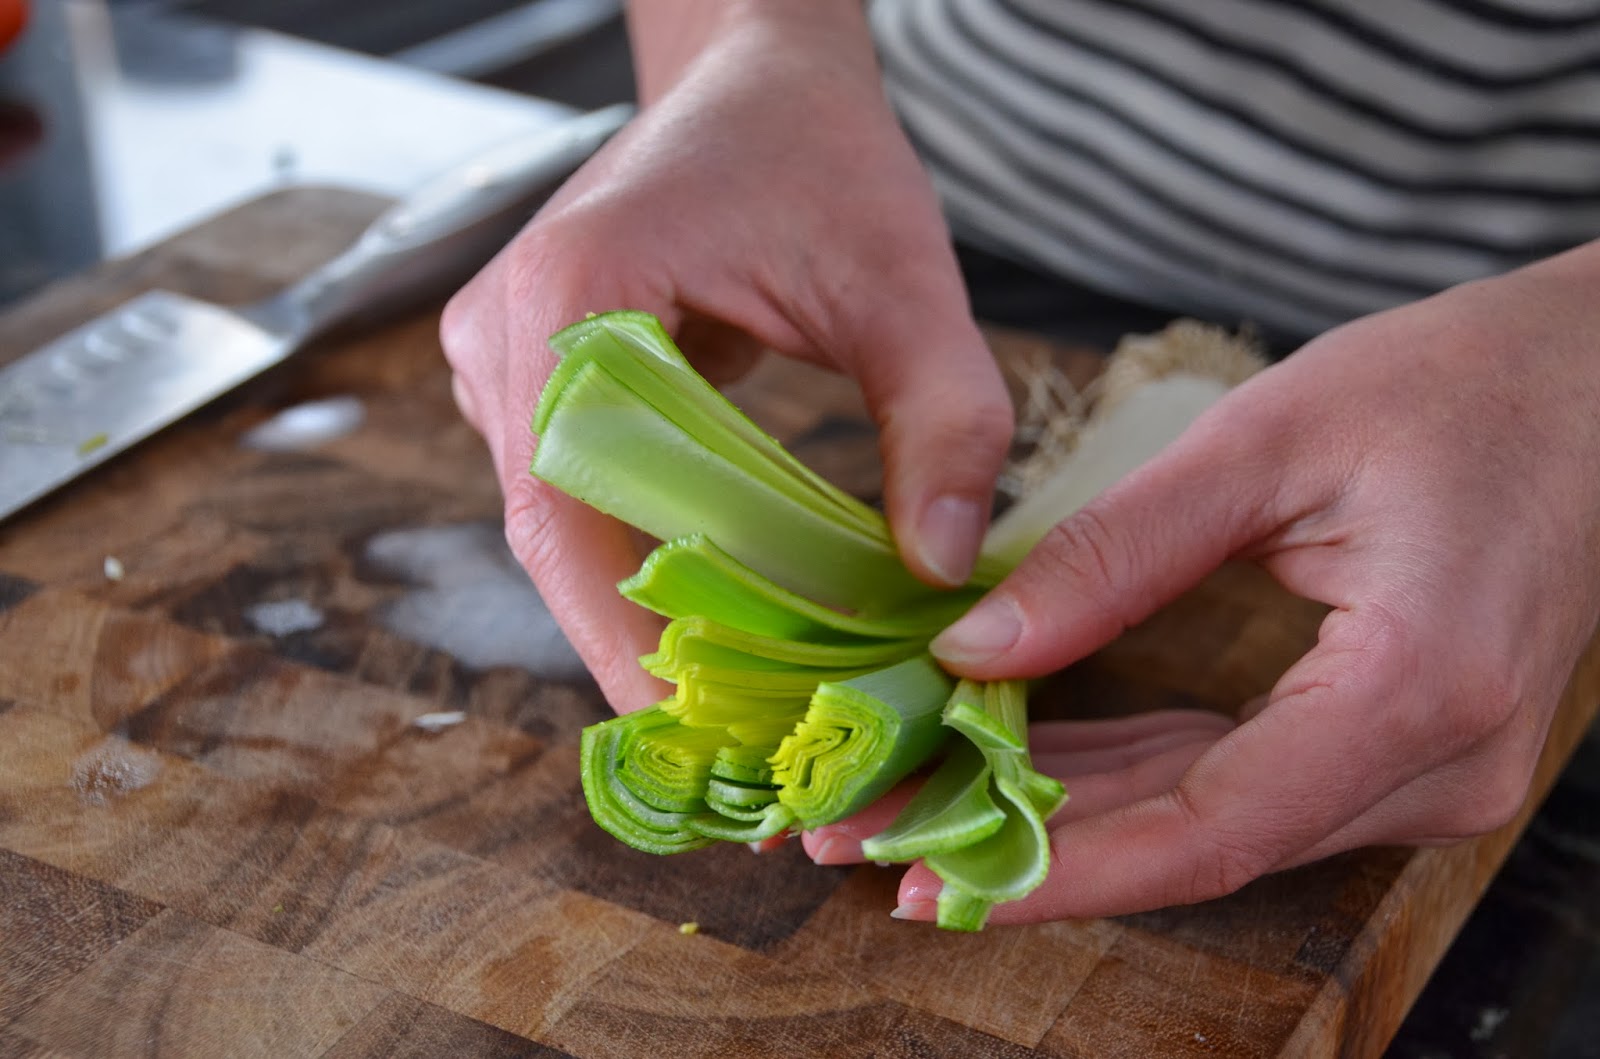
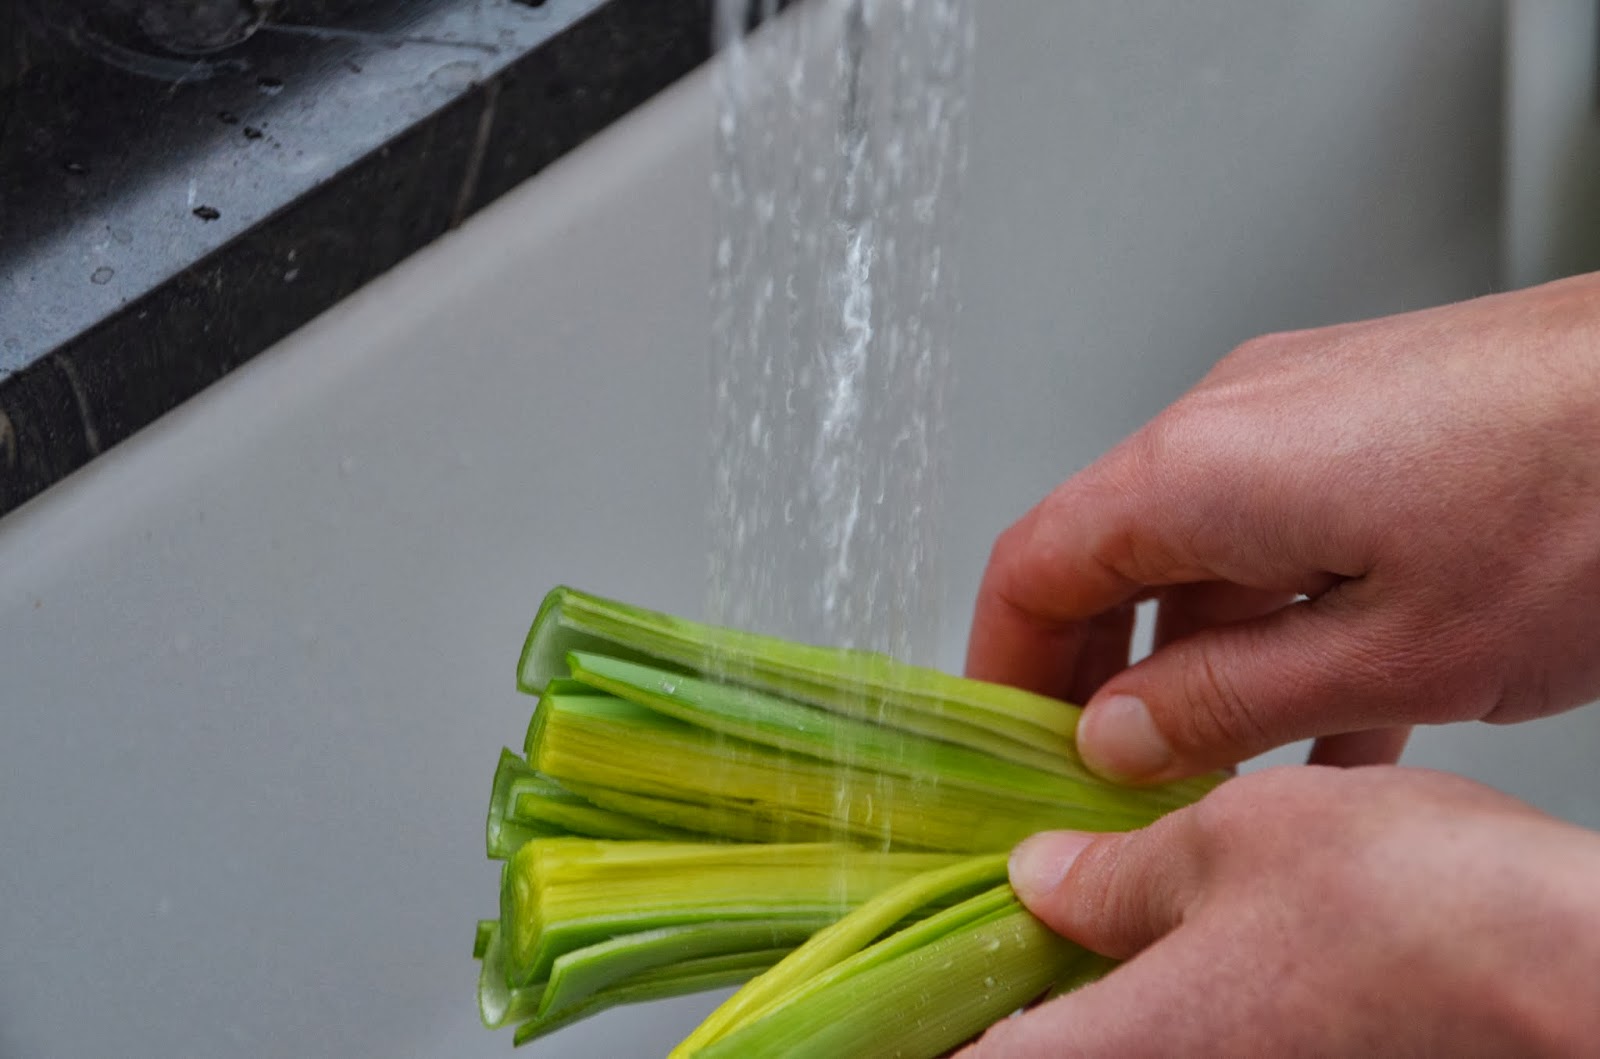
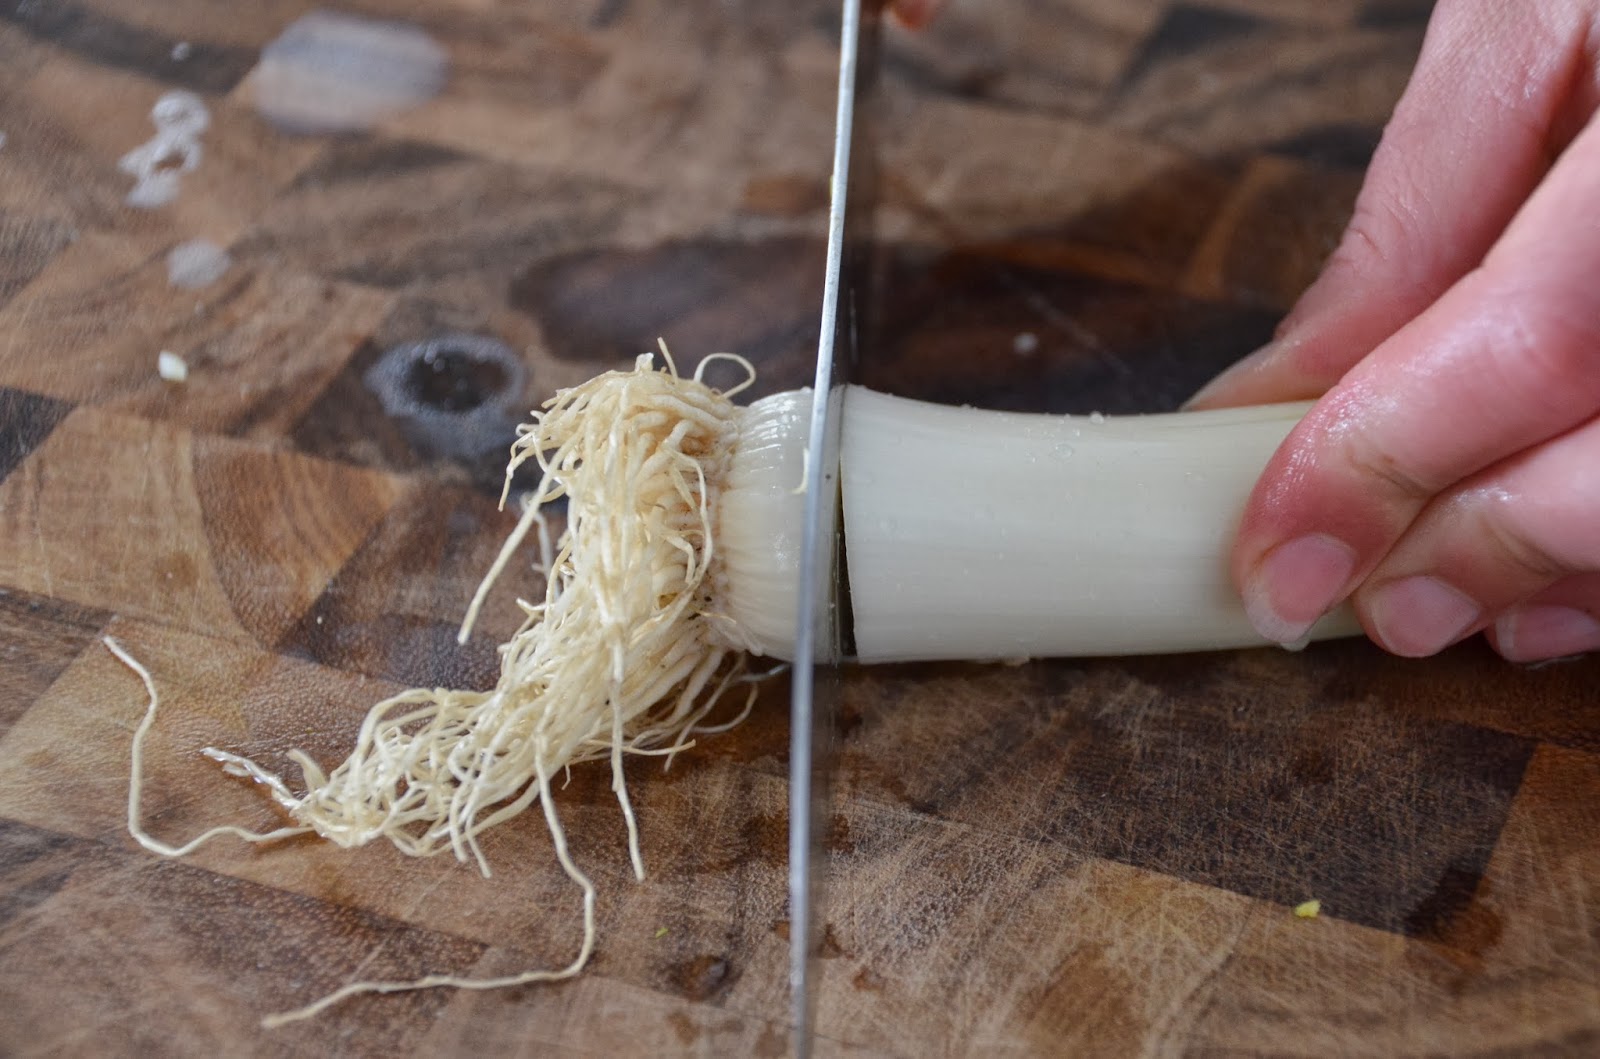
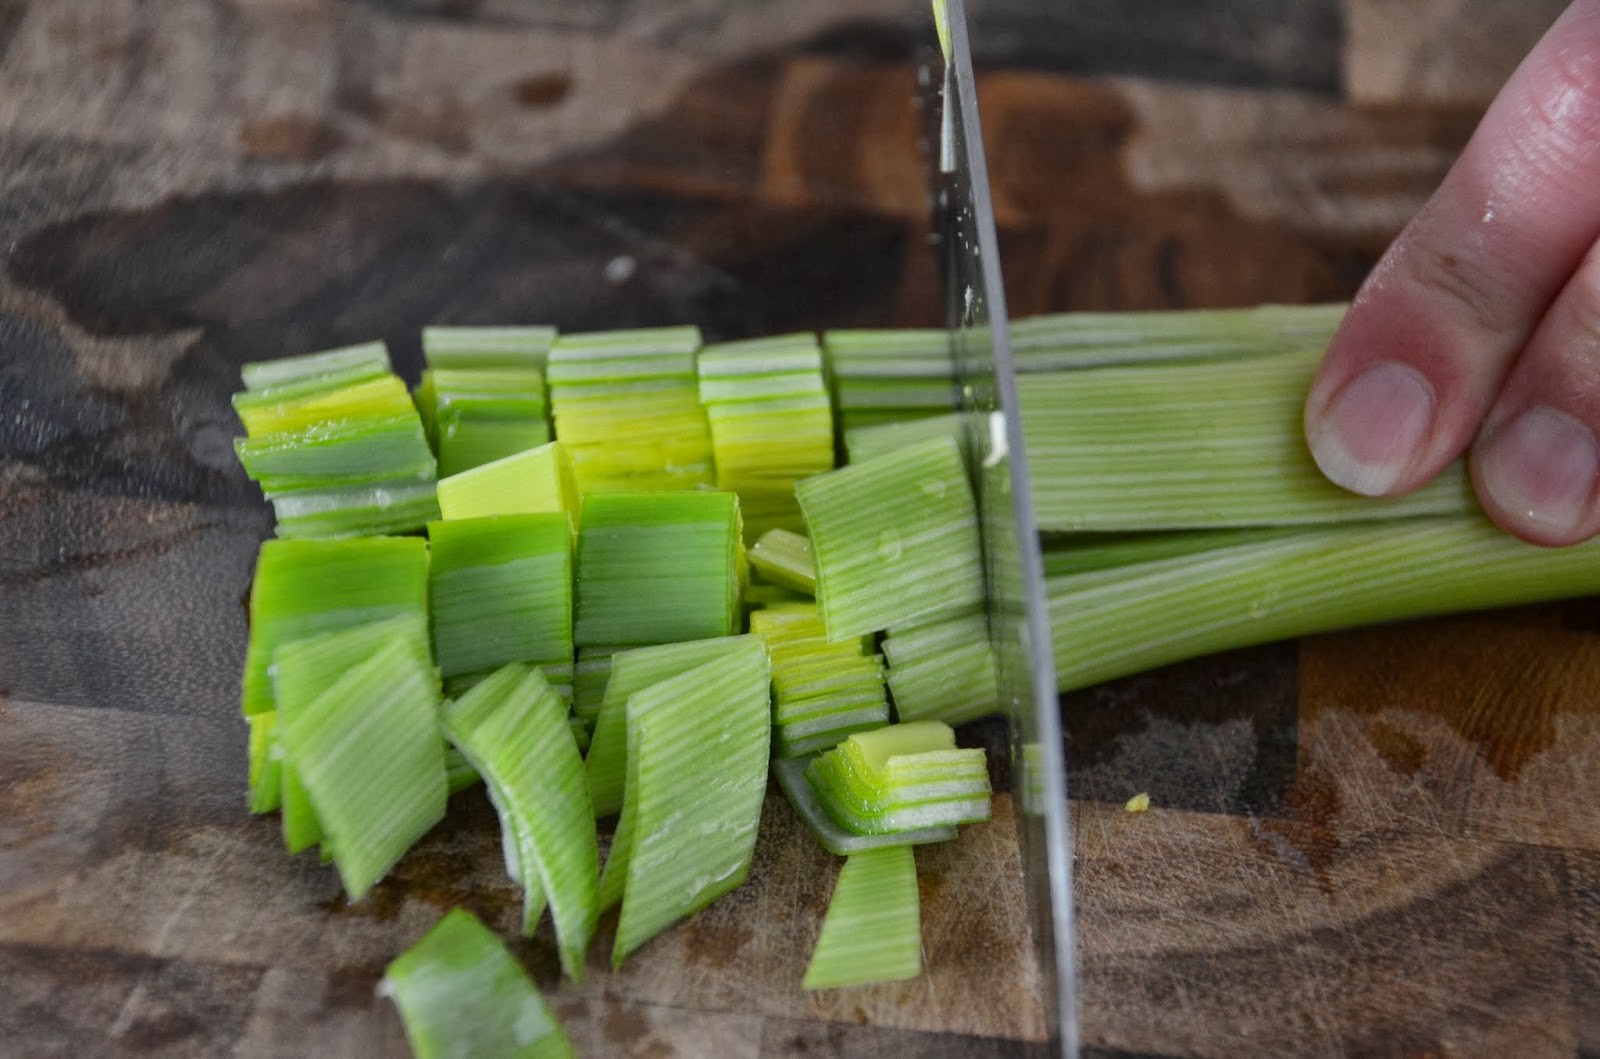
Let’s learn how to properly clean and cut the leek…

Cut off the dark part and discard…

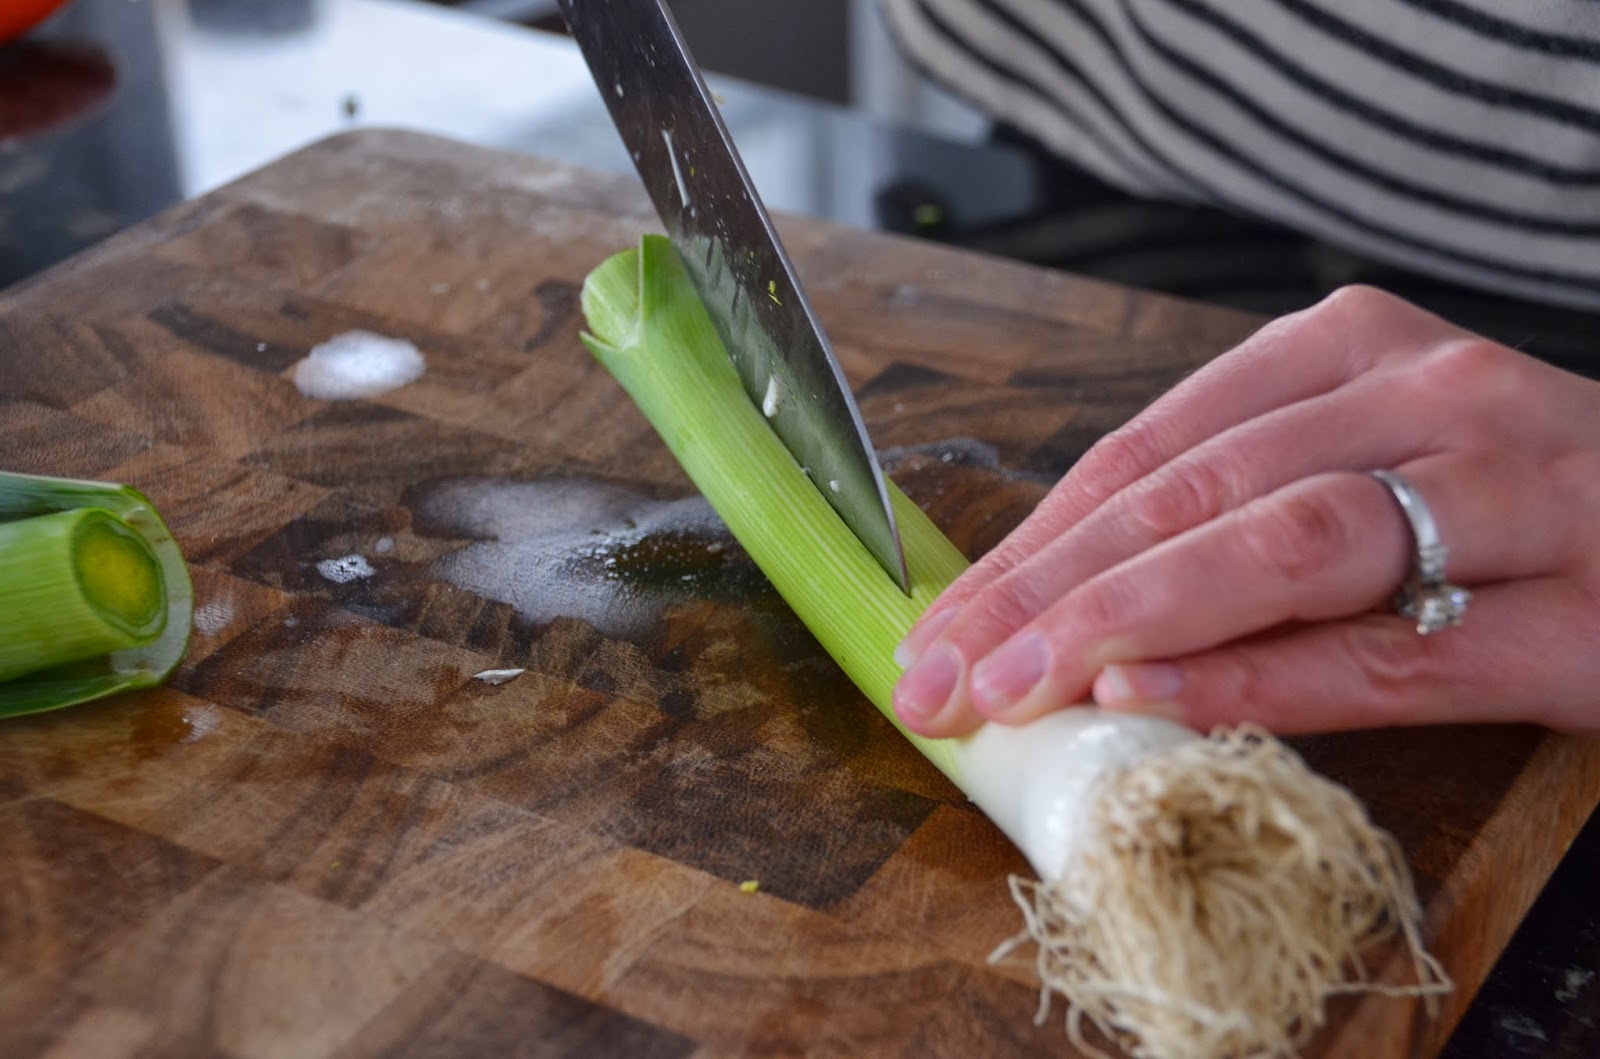
Cut it lengthwise…


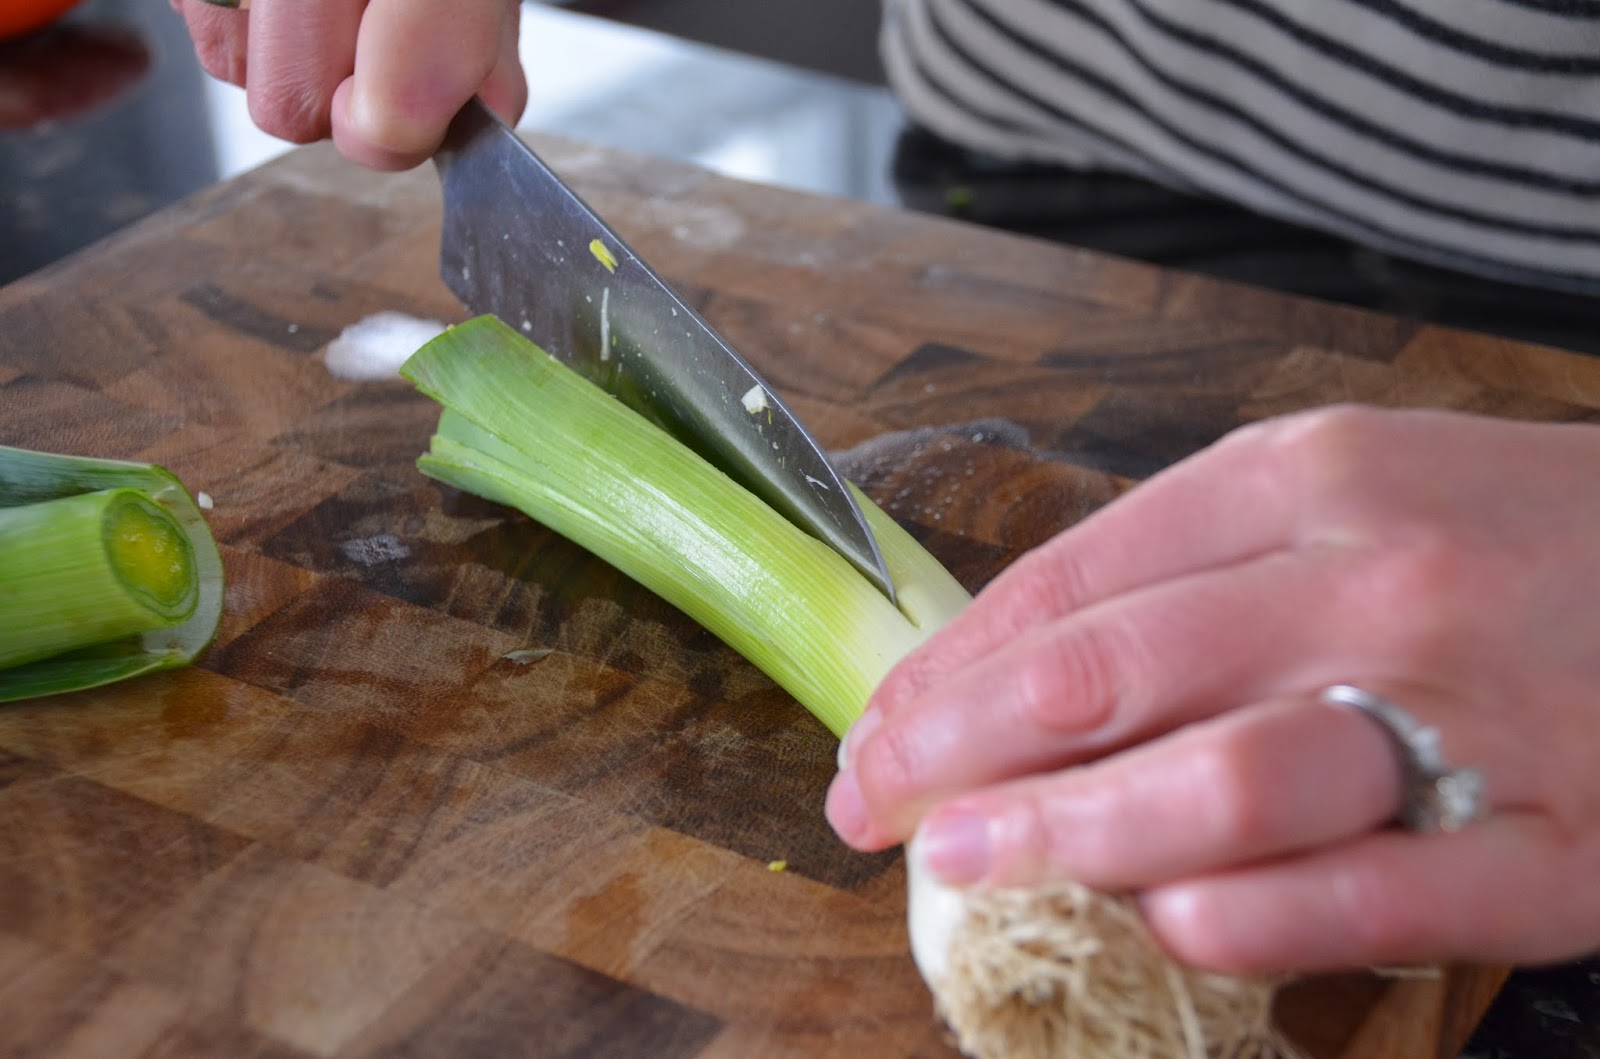
Turn it 1/4 and cut again…

Fan the thing out…

And rinse it under cold water to get the dirt out of it (they’re dirty)…

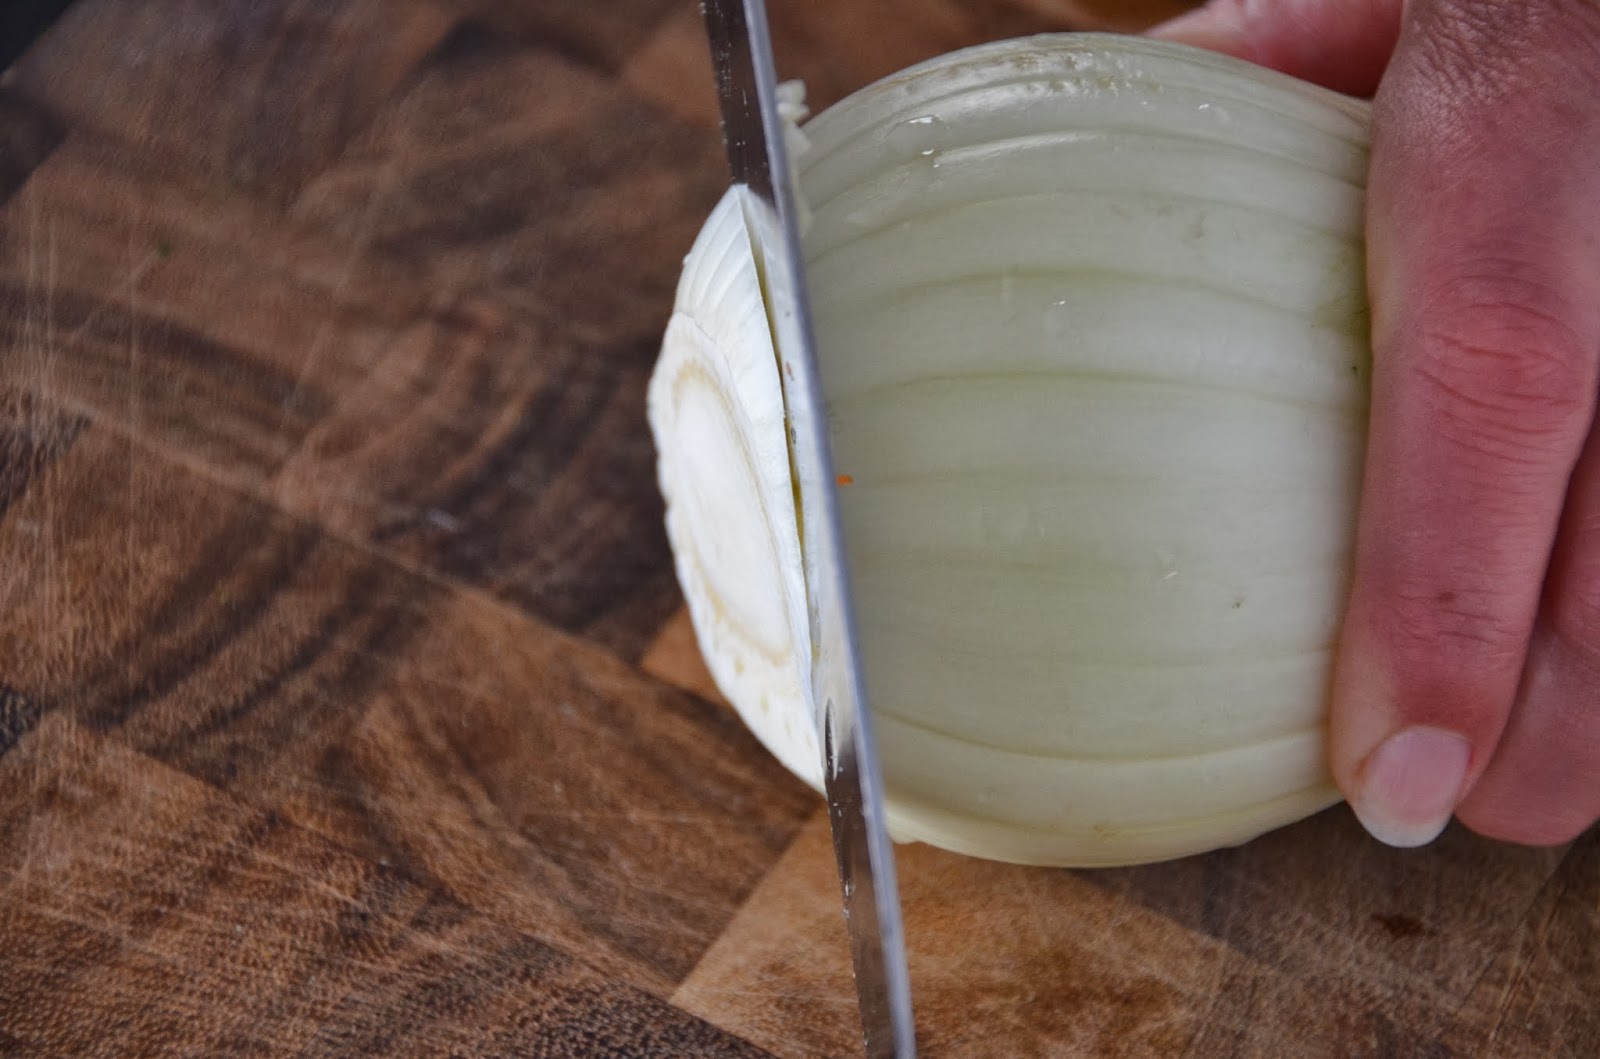
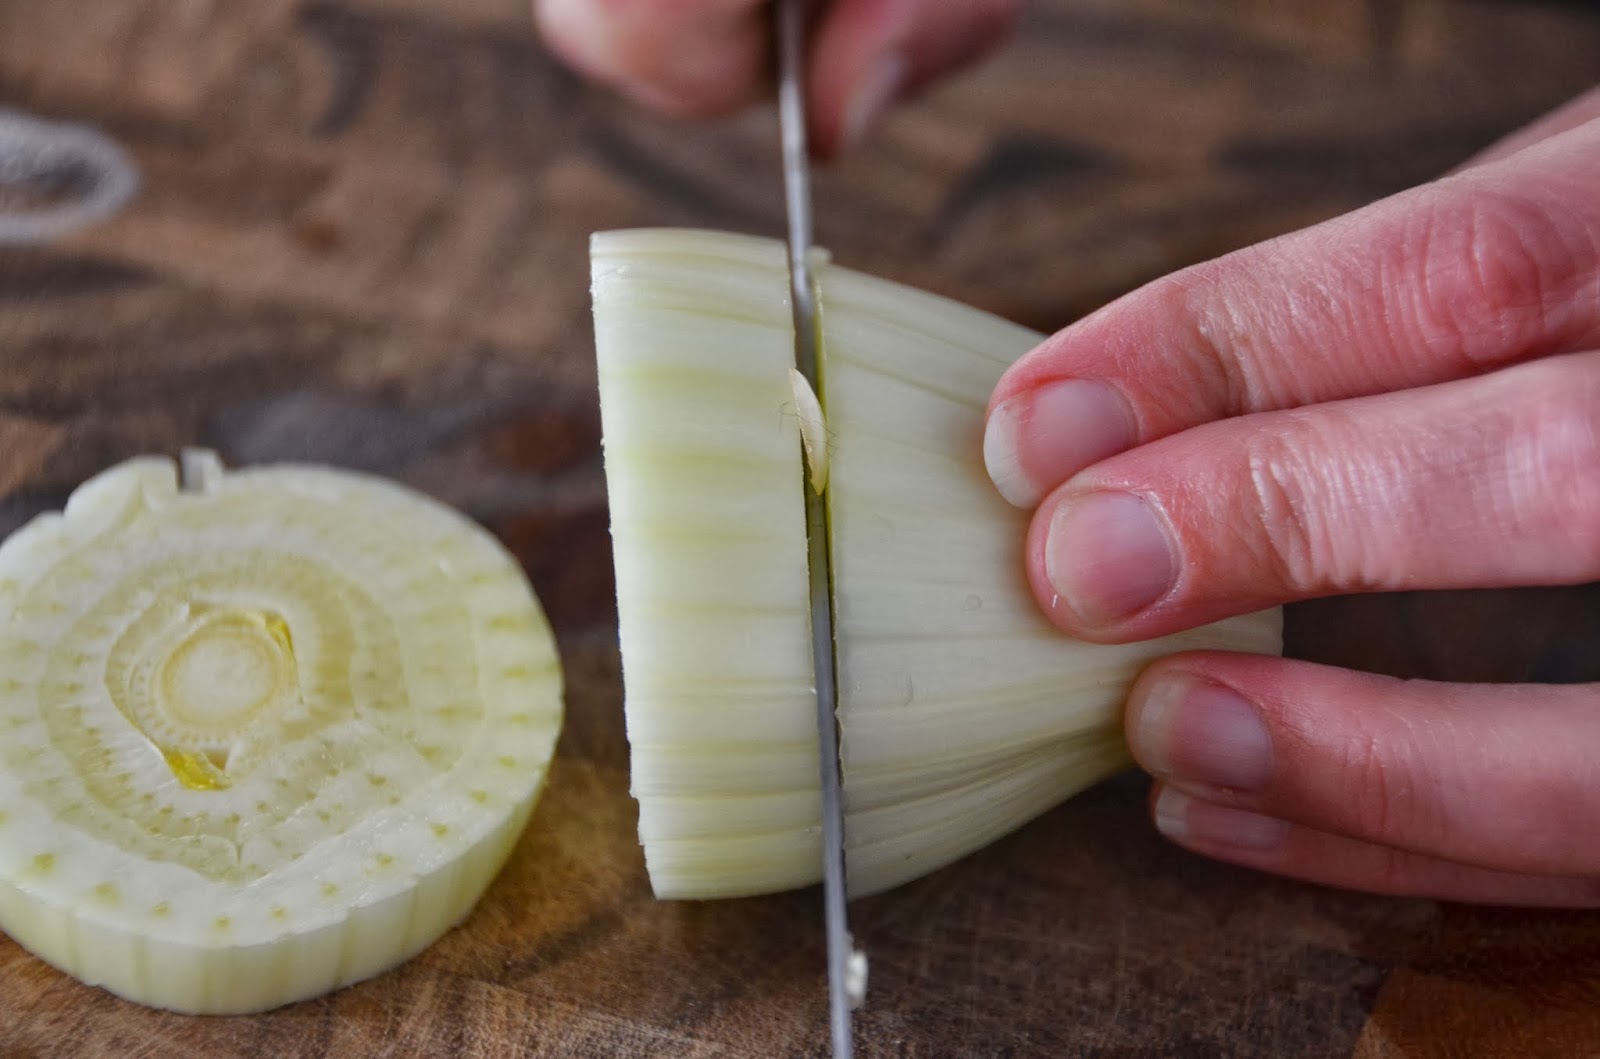
Now cut the end of the bulb off…


And then chop it up…


Now let’s learn how to properly clean and cut the fennel…

Start with cutting the end of the bulb off…


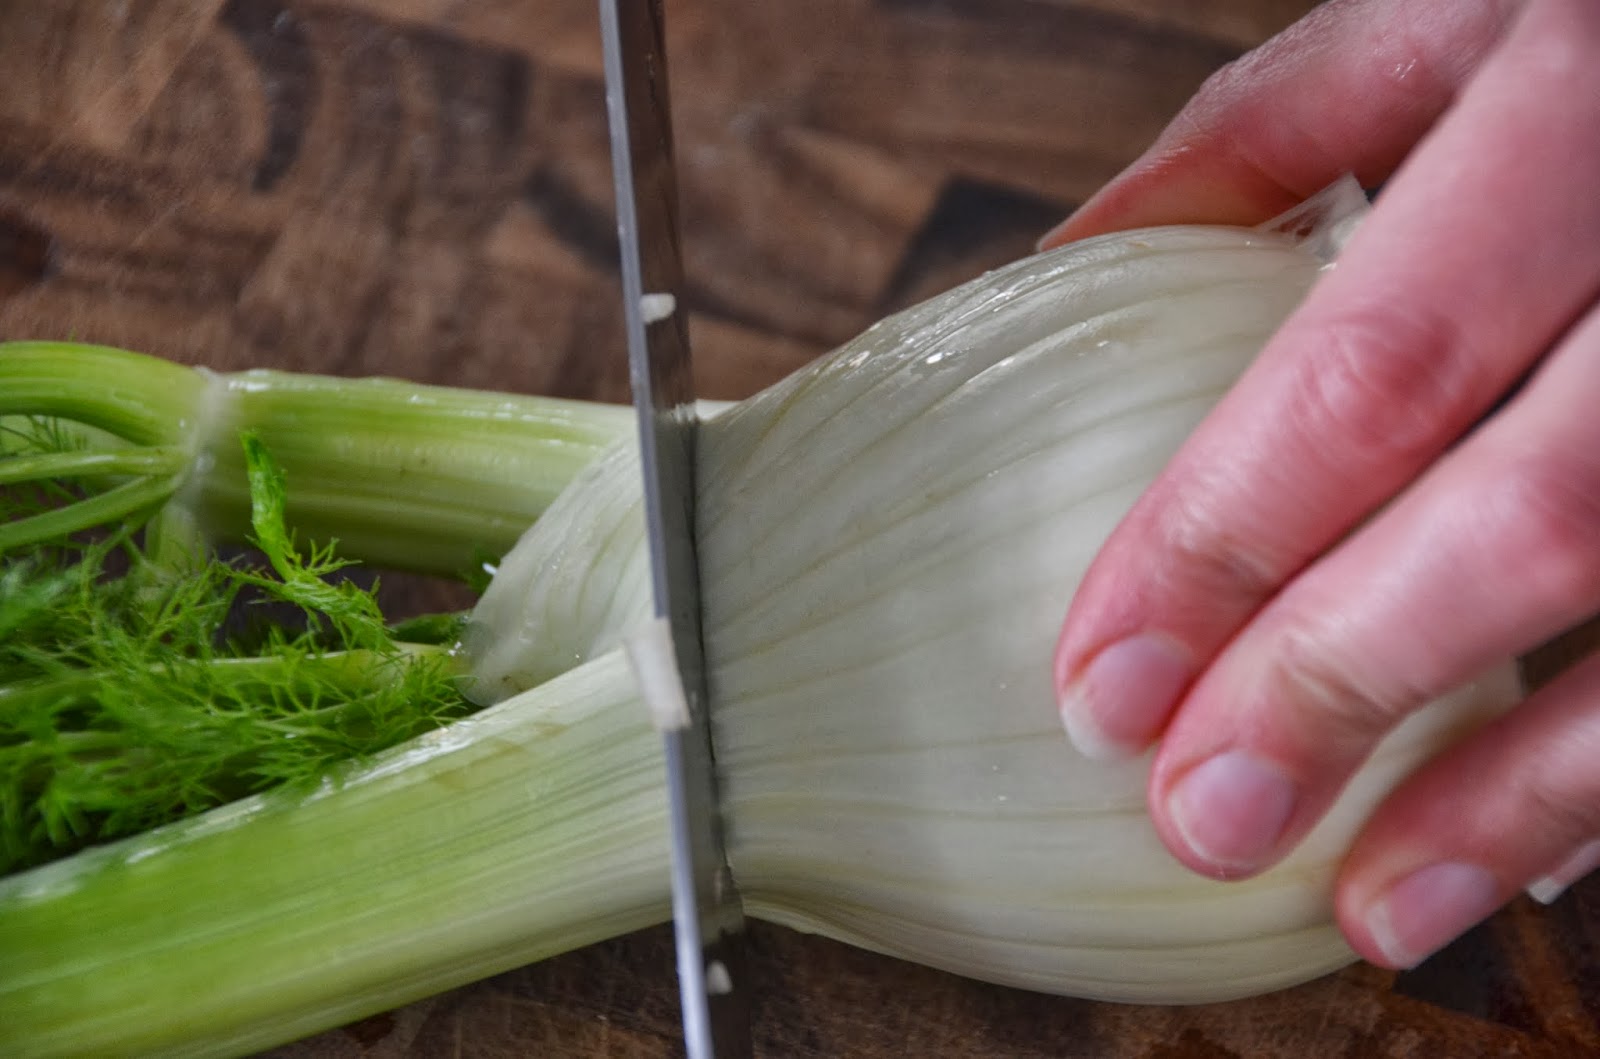
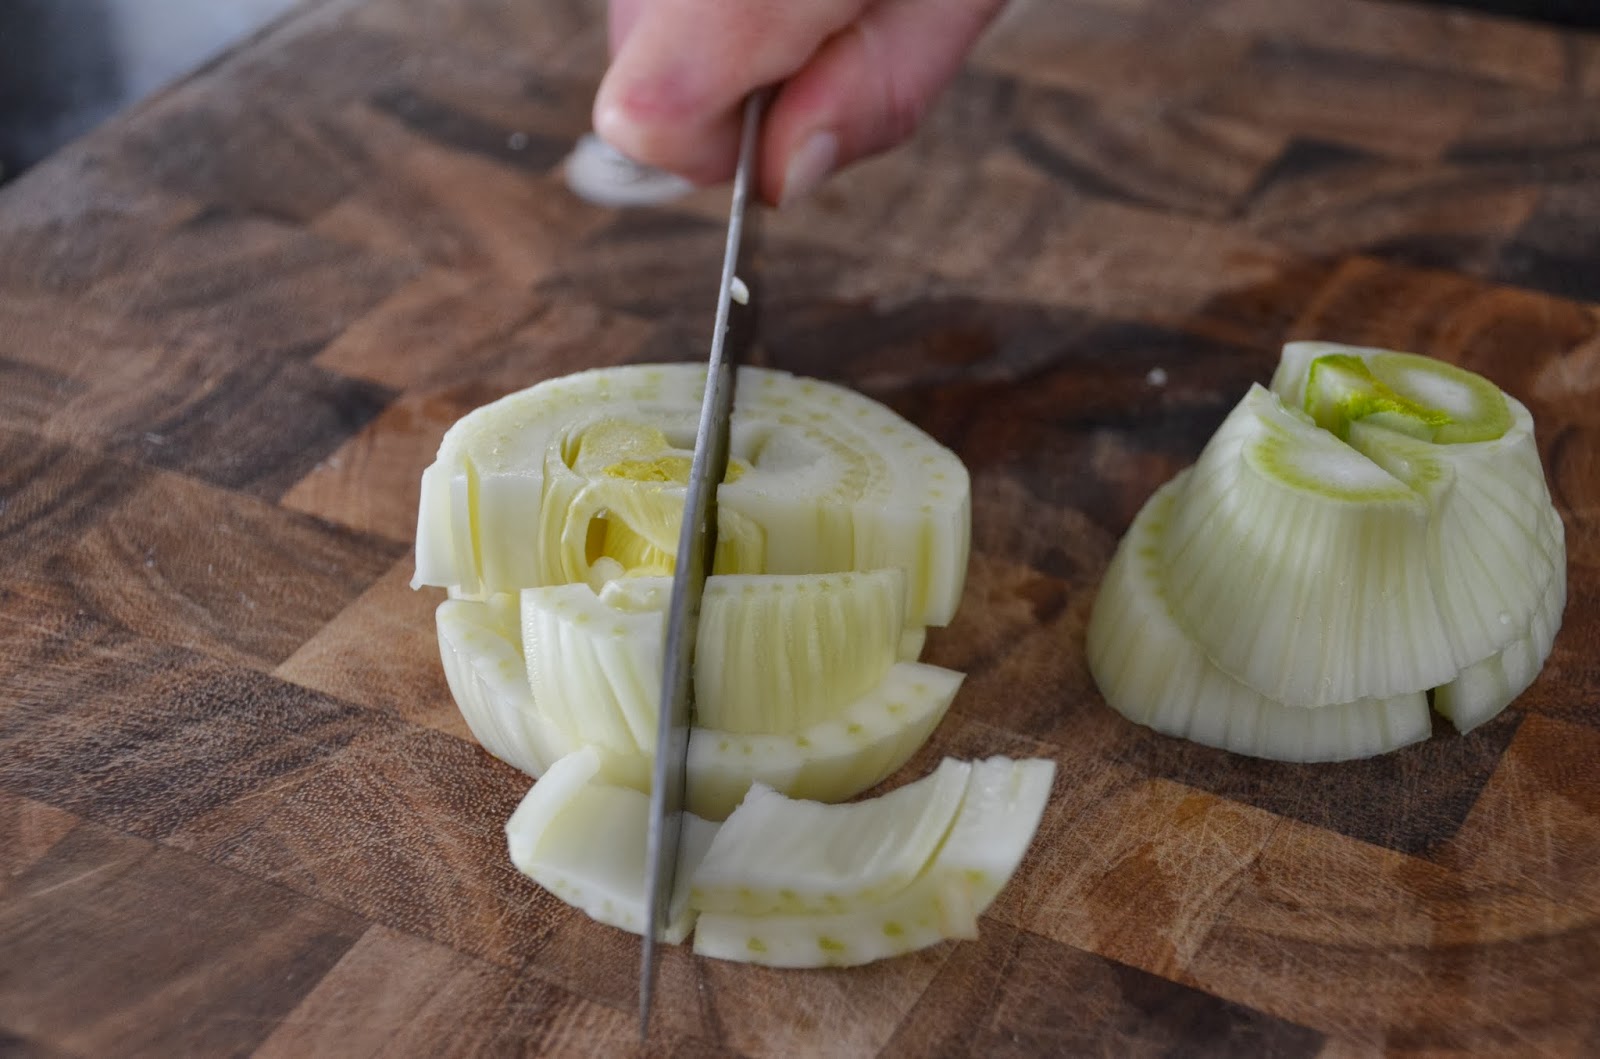
Then cut off the stalks and discard them…

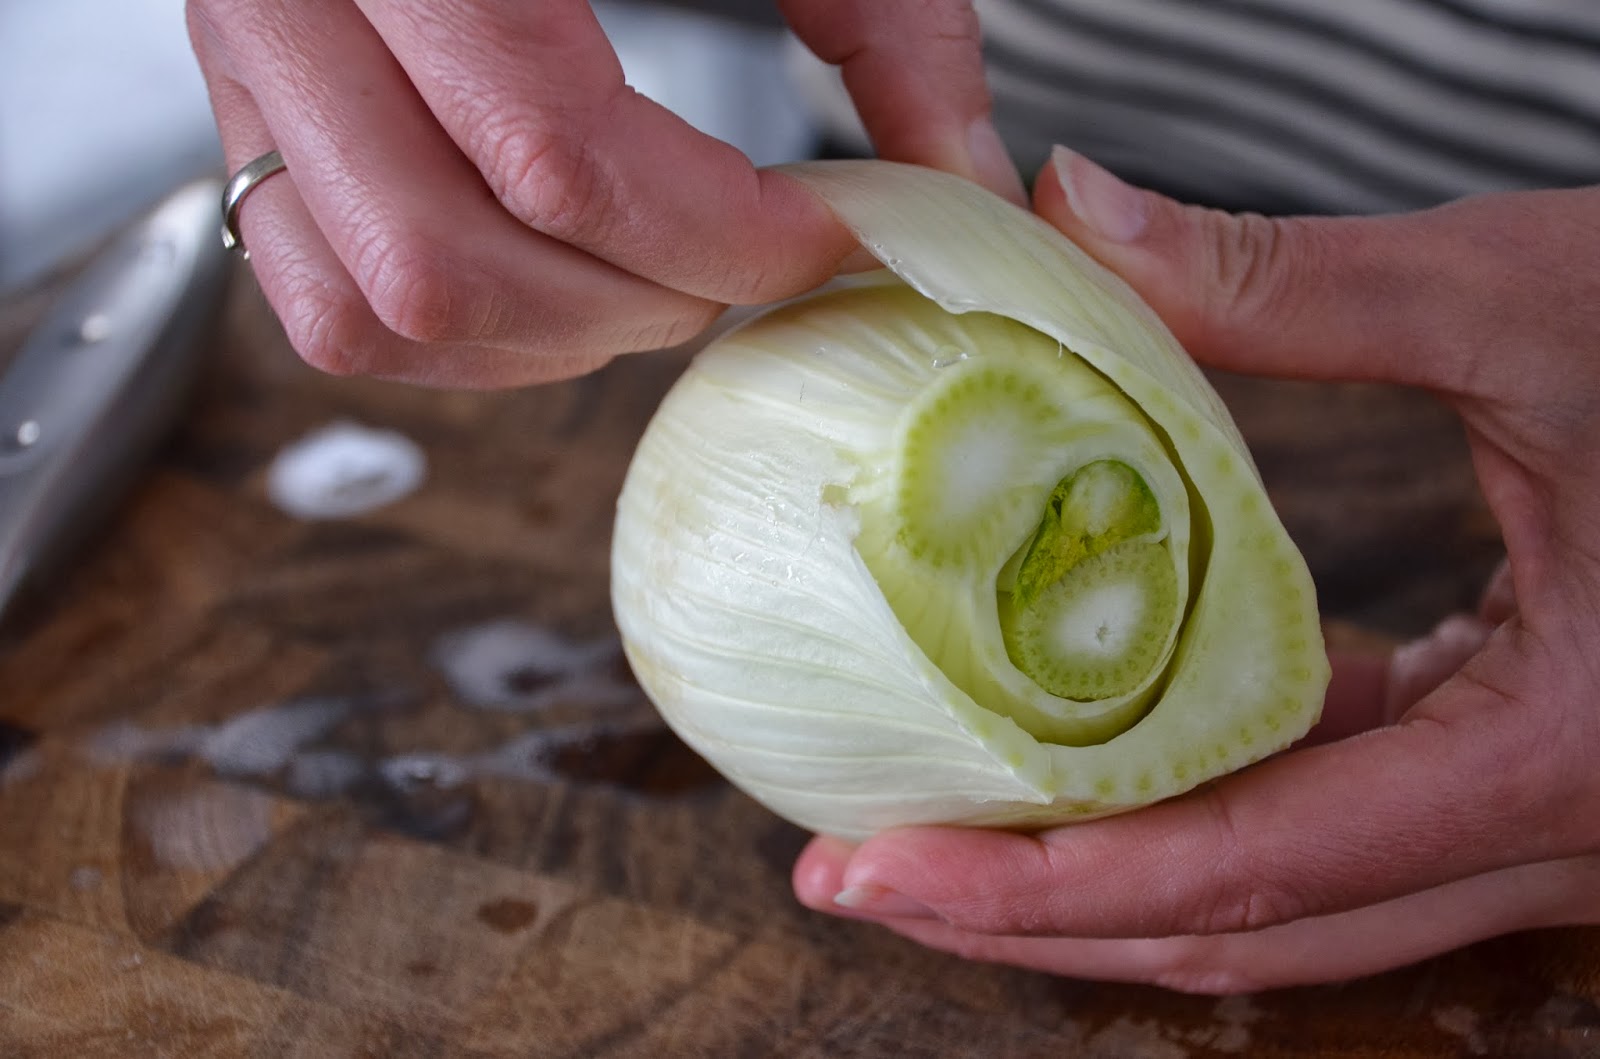
Then discard the outer layer…

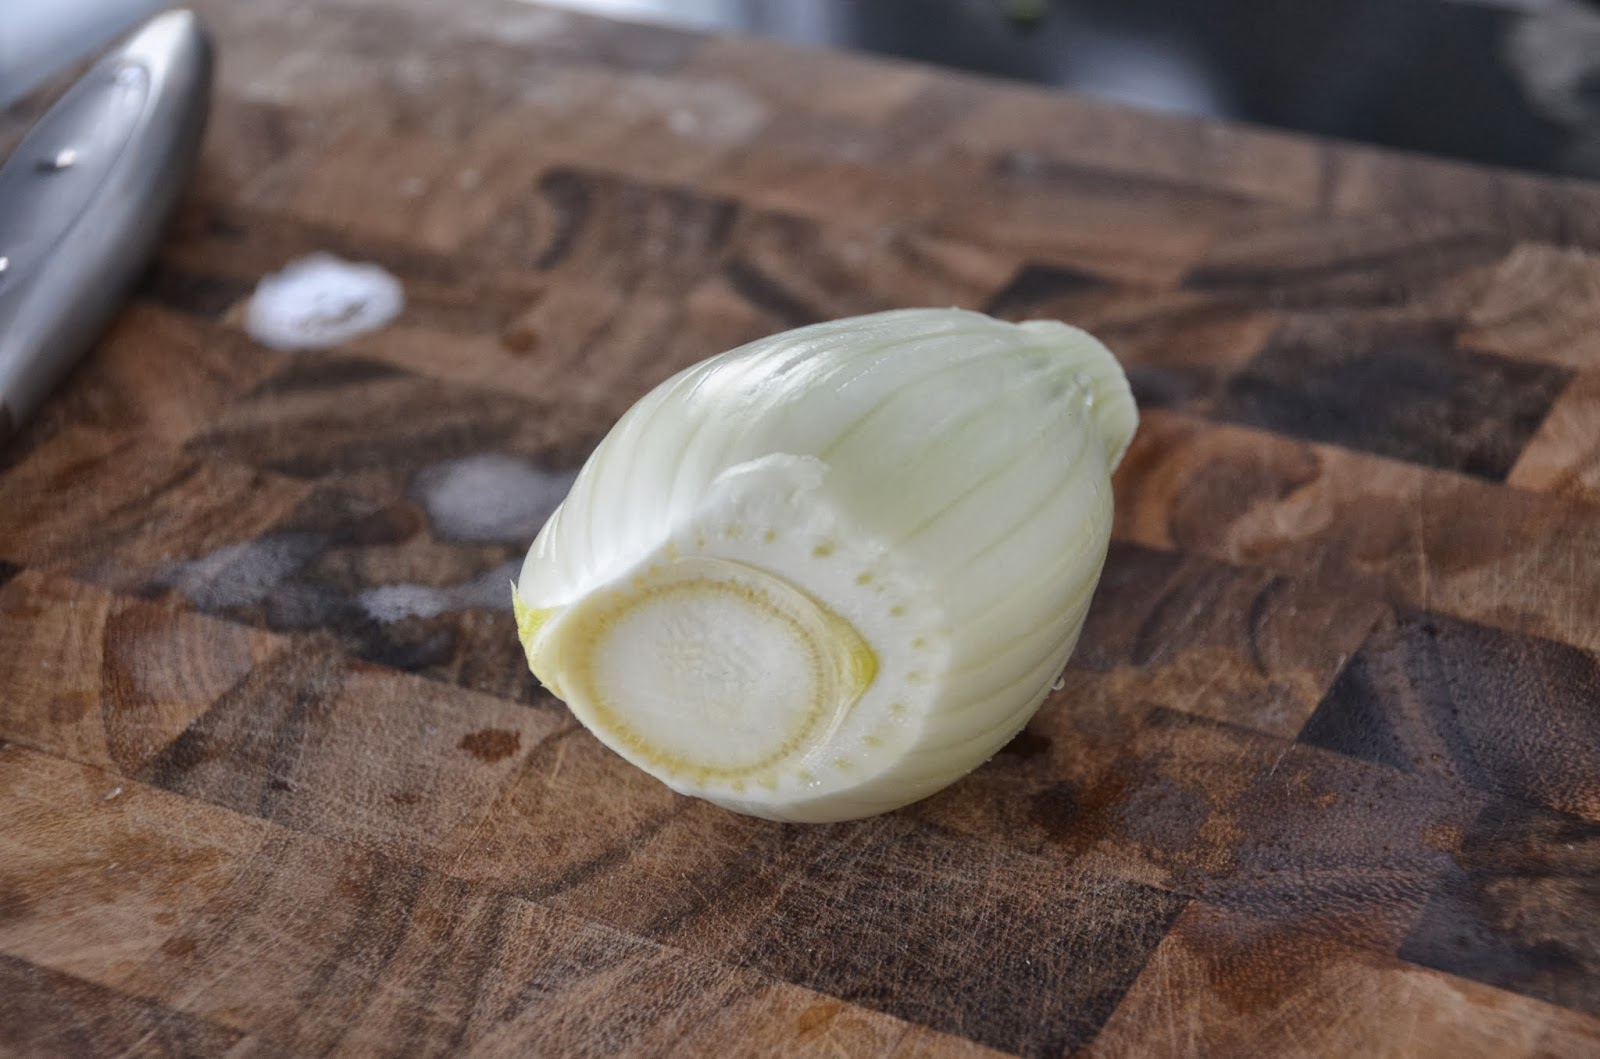
This fennel bulb was a little weird, usually you want to cut it in half at this point and remove the small hard core but this one didn’t have any stiff parts so I just chopped it up and threw it in…


You don’t have to use either of these veggies but I can’t see why you wouldn’t, both add fantastic flavor to the soup.  

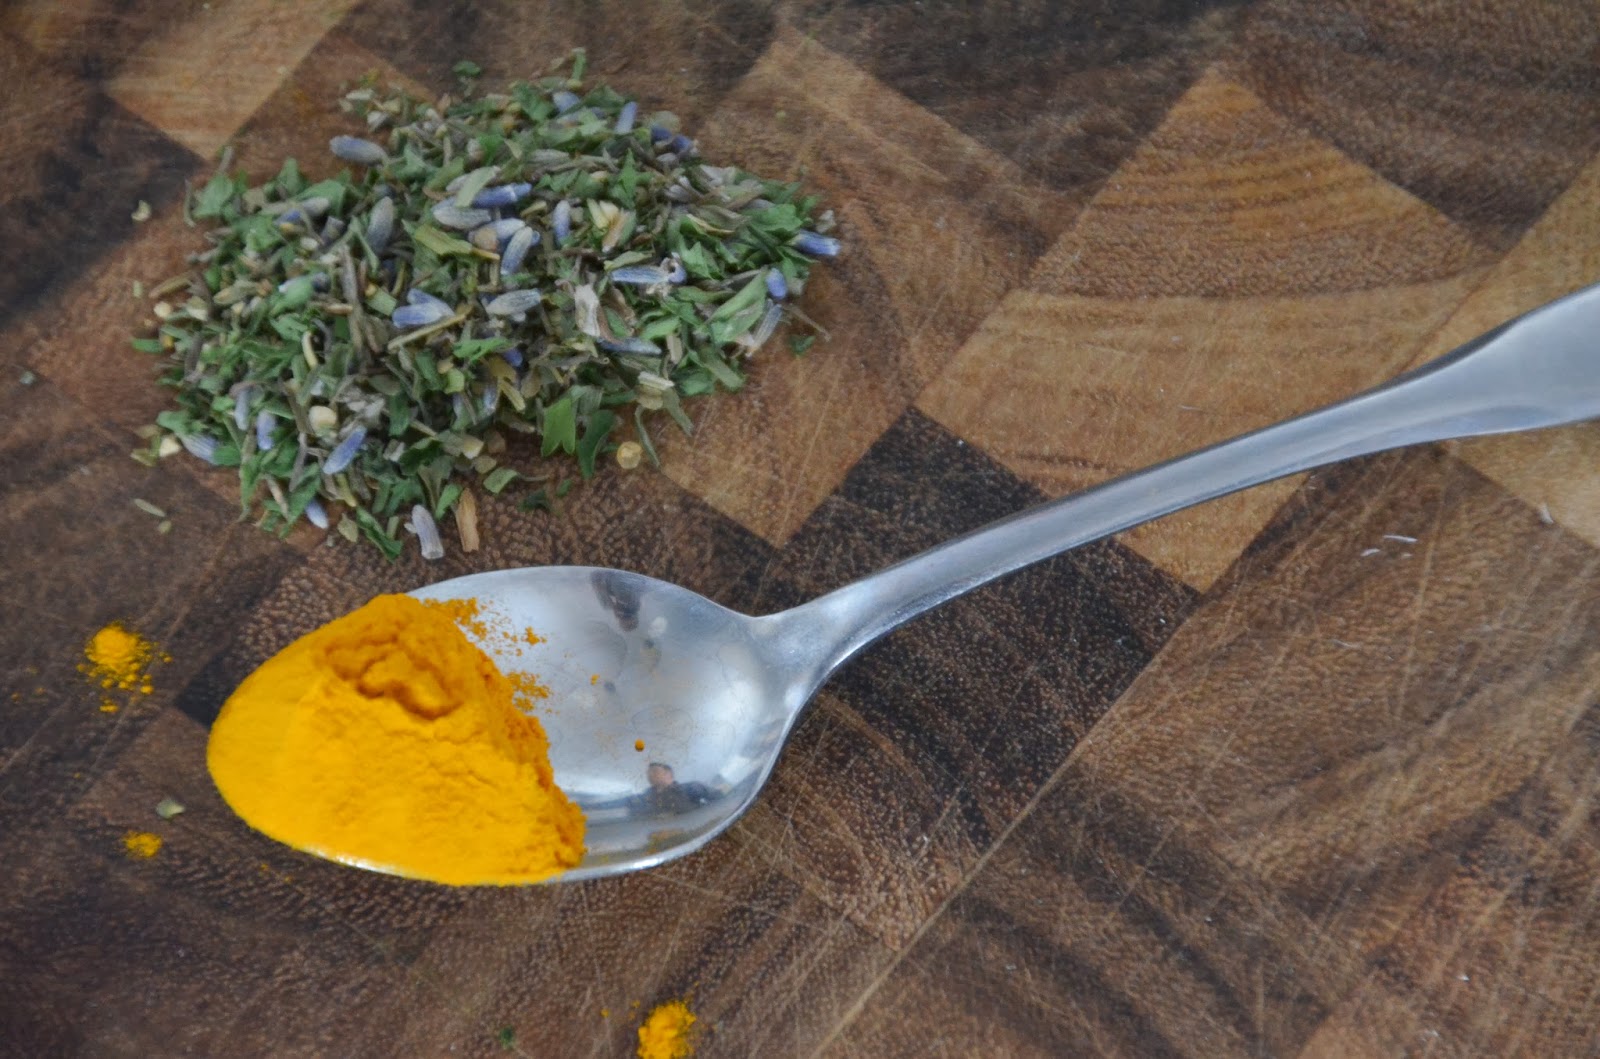
Now add your spices…turmeric and herbs de provence.  


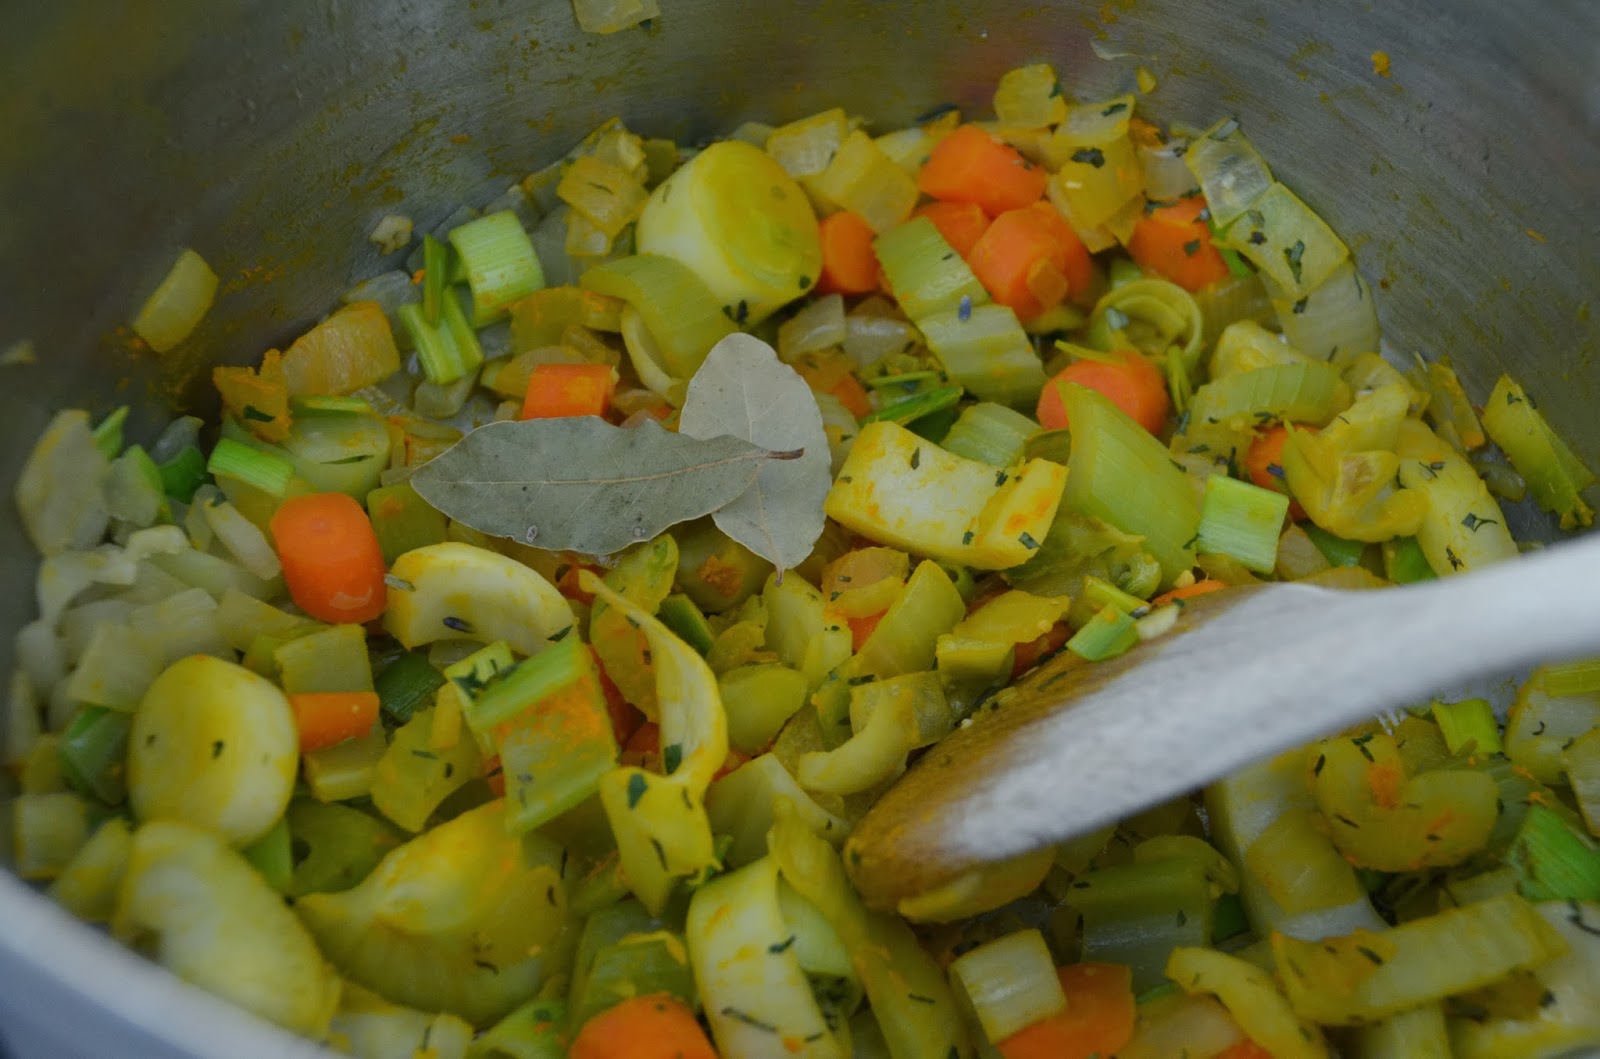
Two of my all time favorite spices right there.  Turmeric is used a lot in Indian cooking and thanks to Mrs. Soni I have a ton of it…and herbs de provence is a blend of spices that originated in Provence, you can read all about it here.  Also add those boring bay leaves (just kidding, they are also fascinating).


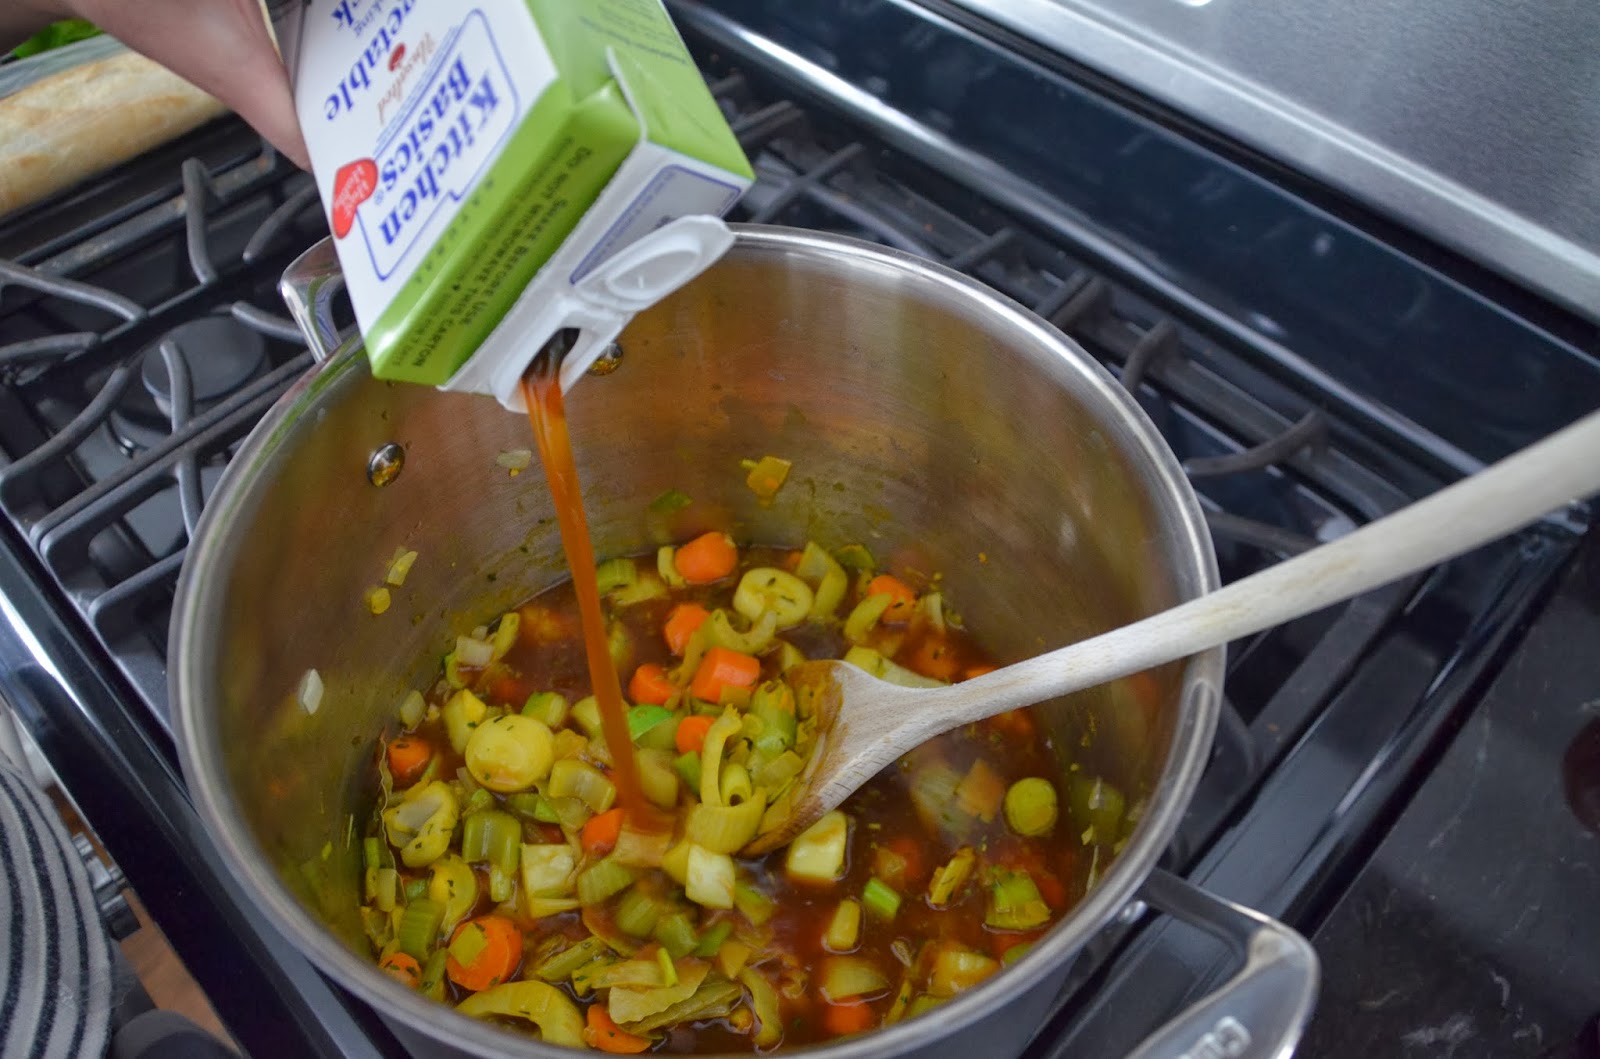
Now add your salt and pepper, your vegetable stock, and your water.  My vegetable stock looked like beef stock and I almost had a heart attack but it was just because this particular stock had some tomato in it…whatevs.


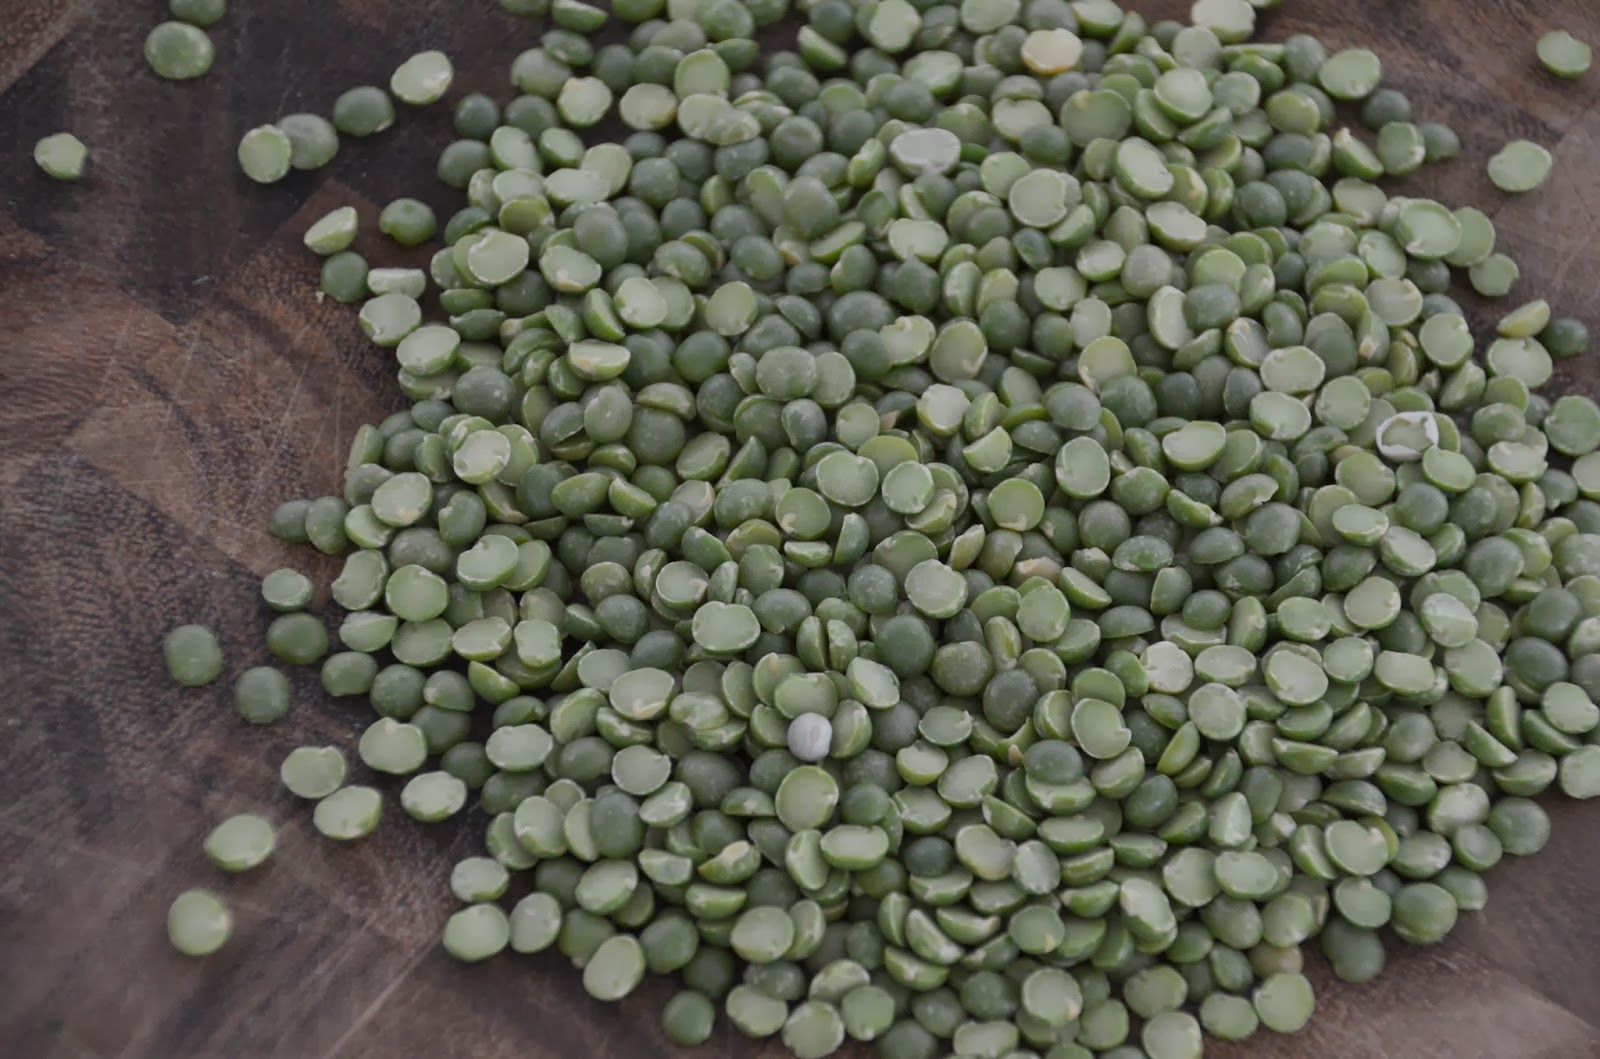
Now add your peas…


I got 2 pounds of organic split peas from the bulk section at Whole Food’s for $1.99…good times.

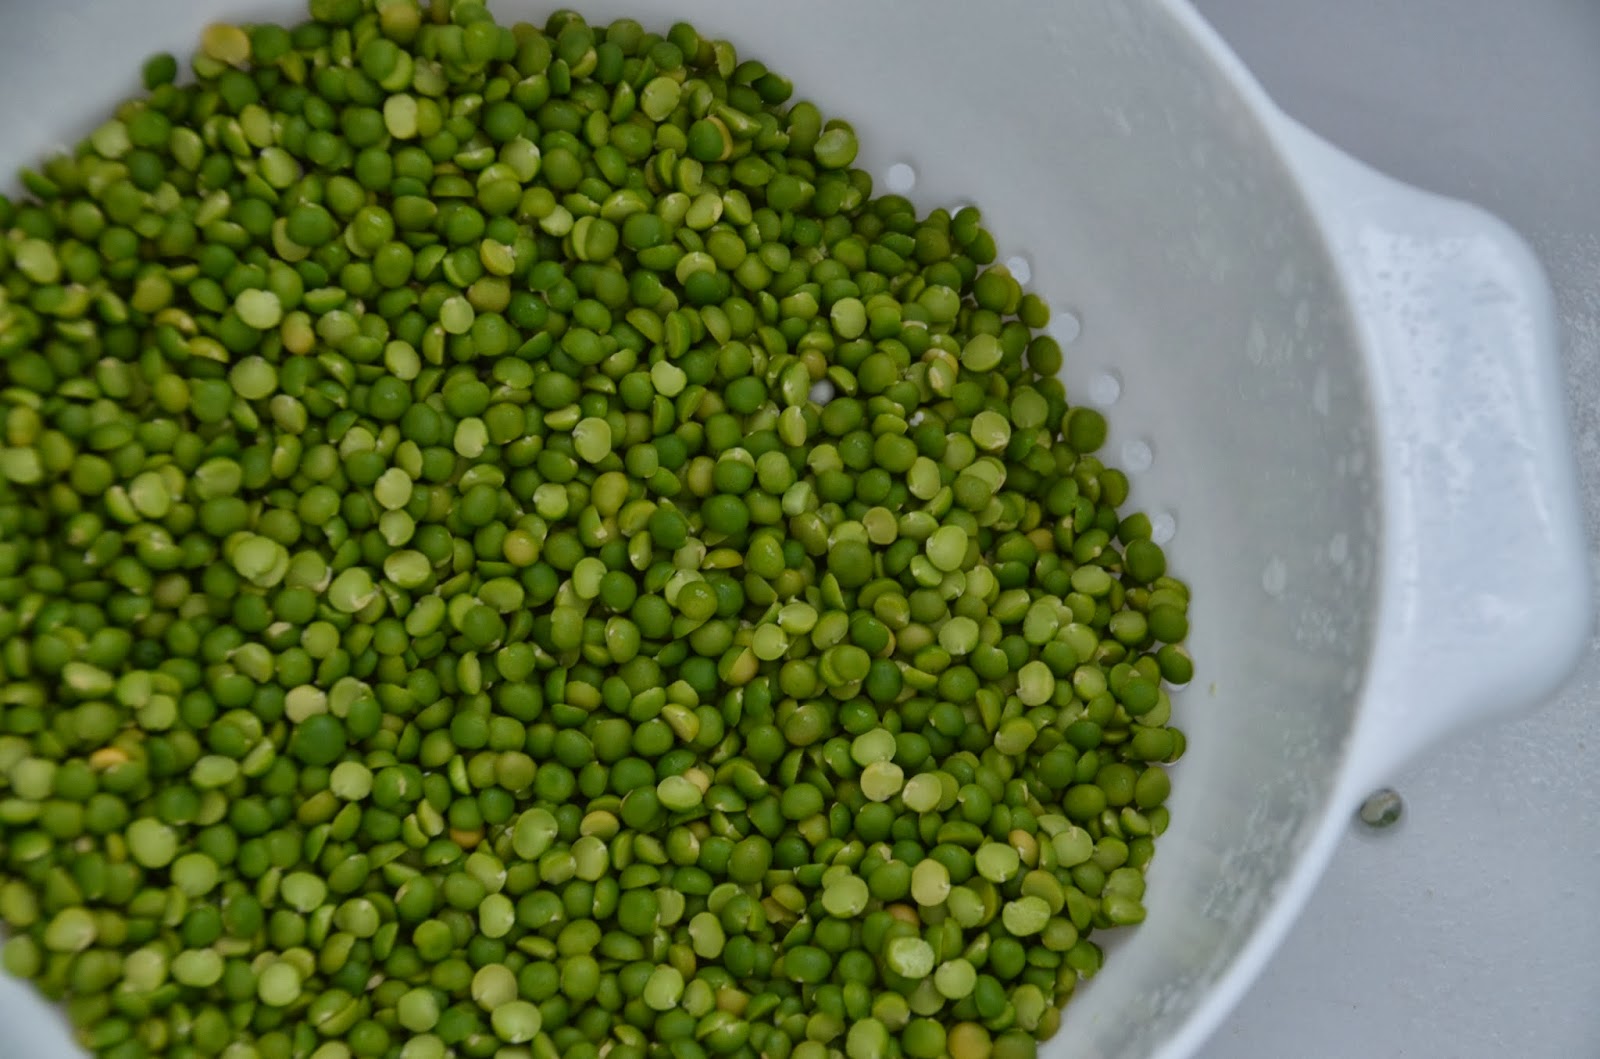
Make sure you rinse and drain them first…


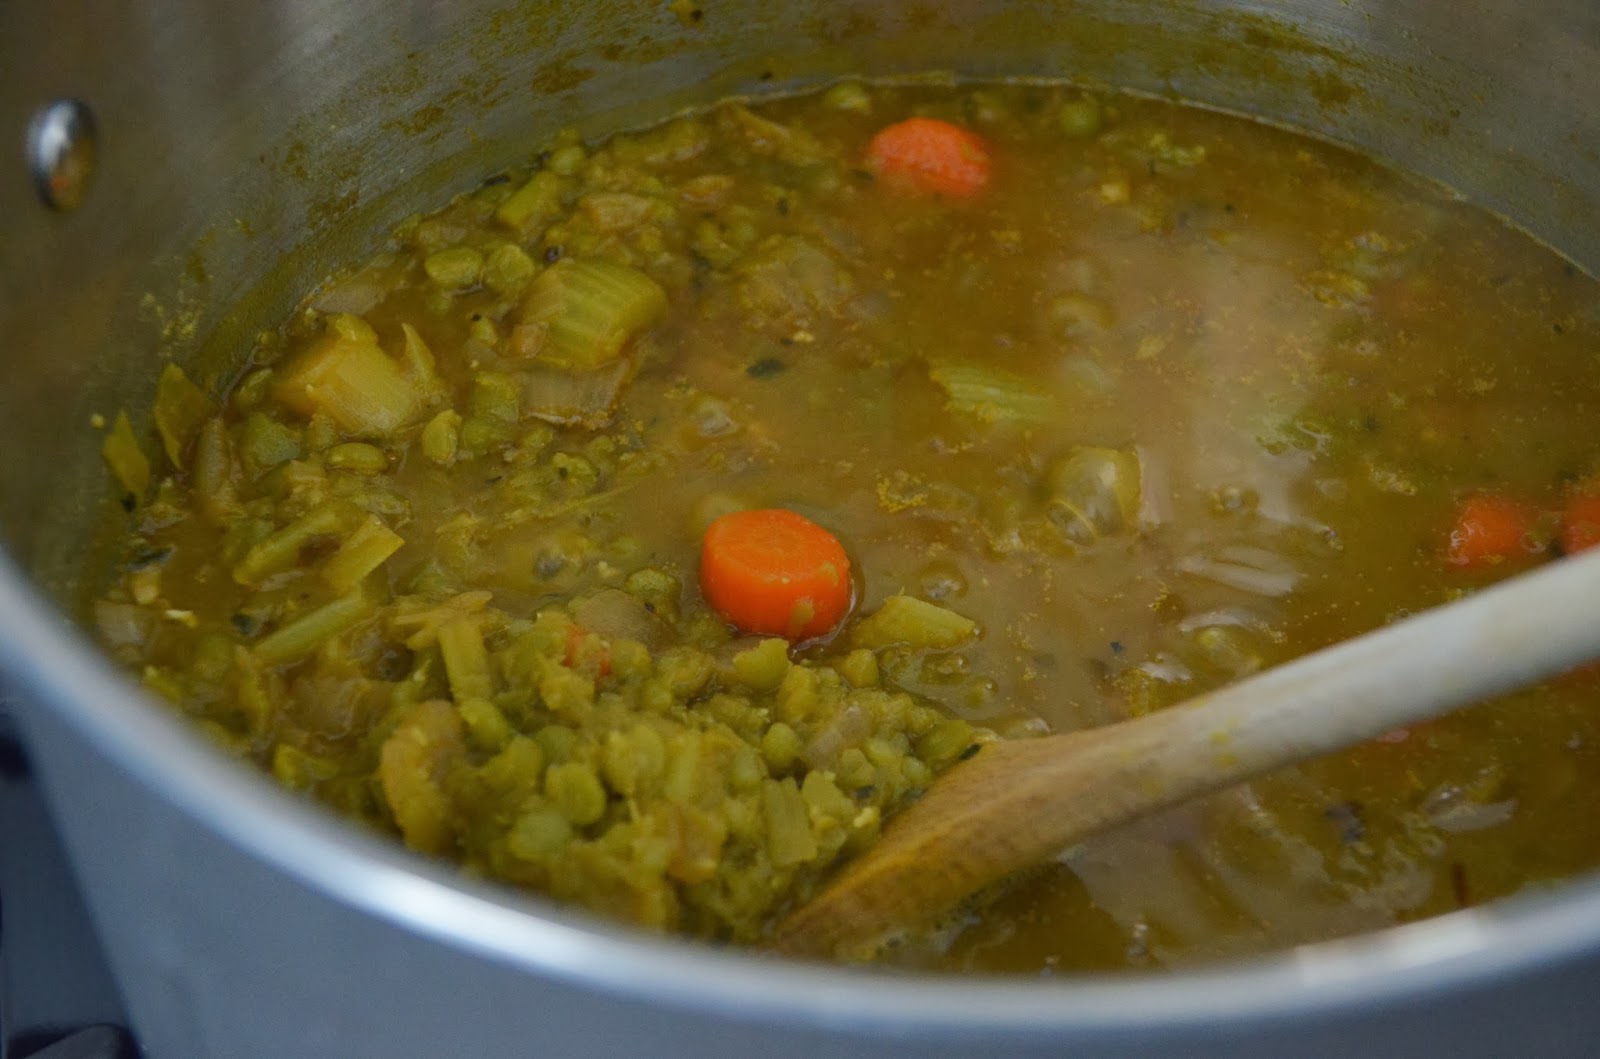
Now stir everything together, put the pot on simmer, cover loosely with a lid, and then go make sure your cat isn’t chewing on something…or do whatever else.  Come back and check on the soup every 20 minutes or so and give it a good stir.  You will know when it’s done because the peas will get really soft, mine took about 2 hours before I was happy with it.

This is what it looks like after about an hour…


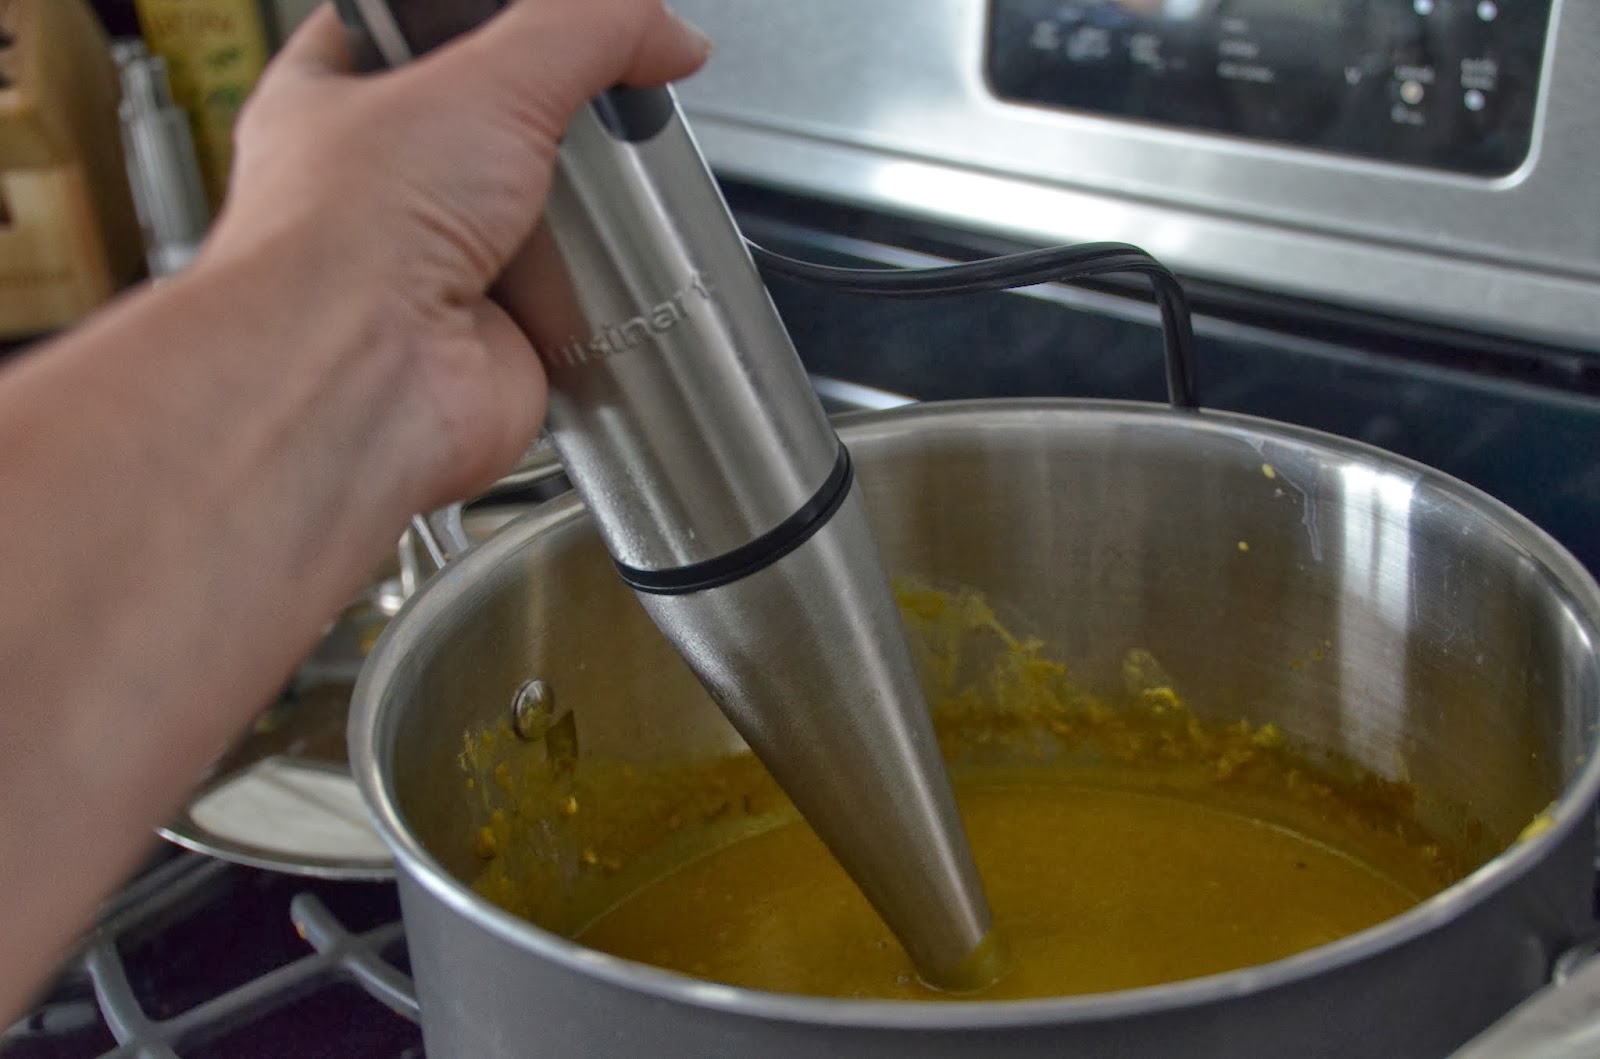
It’s time to get out your immersion blender and puree everything together.


If you are using a regular blender you may need to do this in a few batches because there’s a ton of soup here…and for goodness sakes be careful.


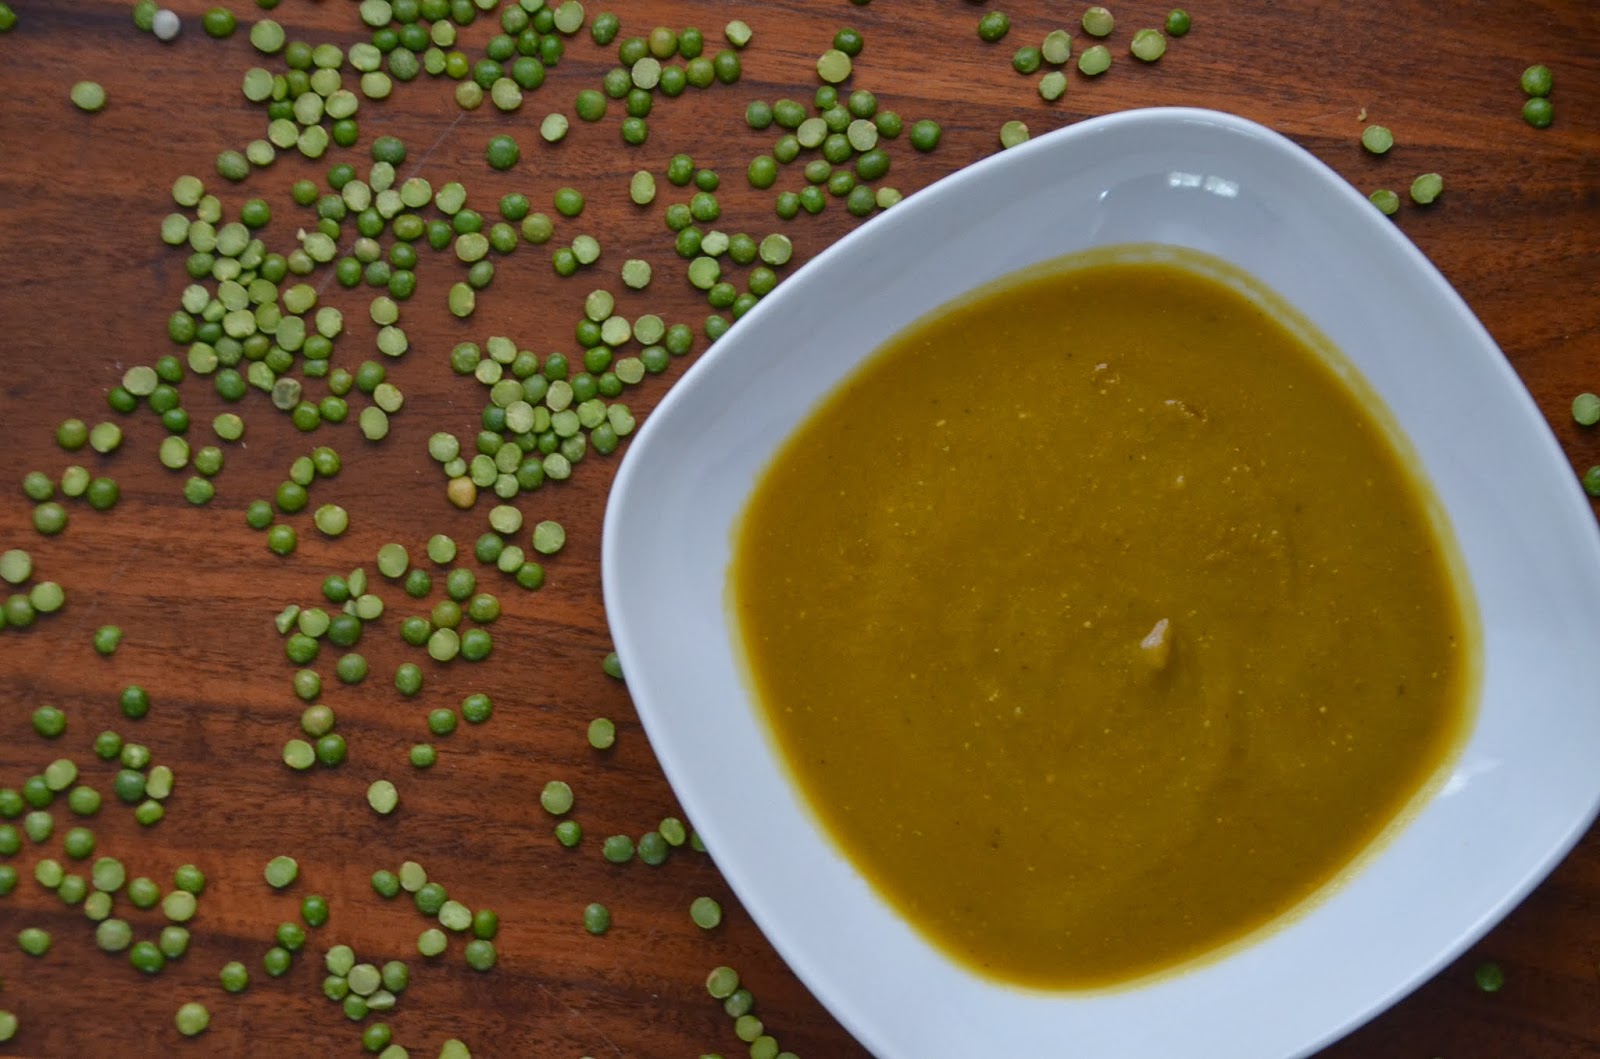
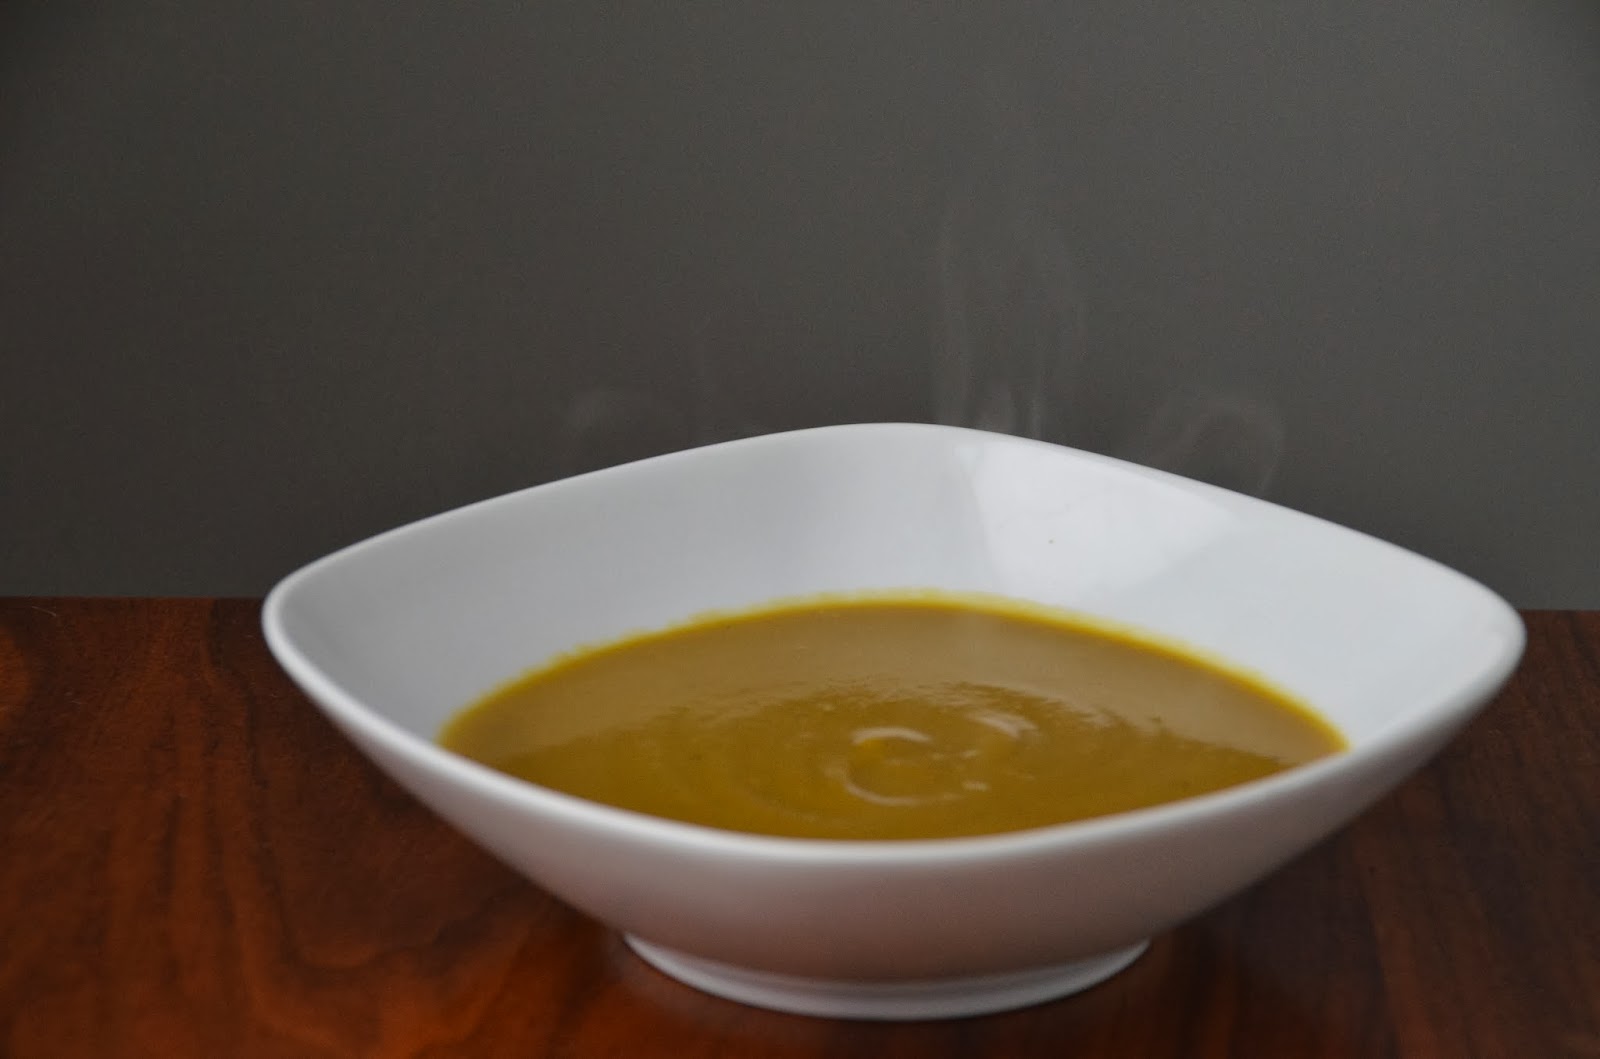
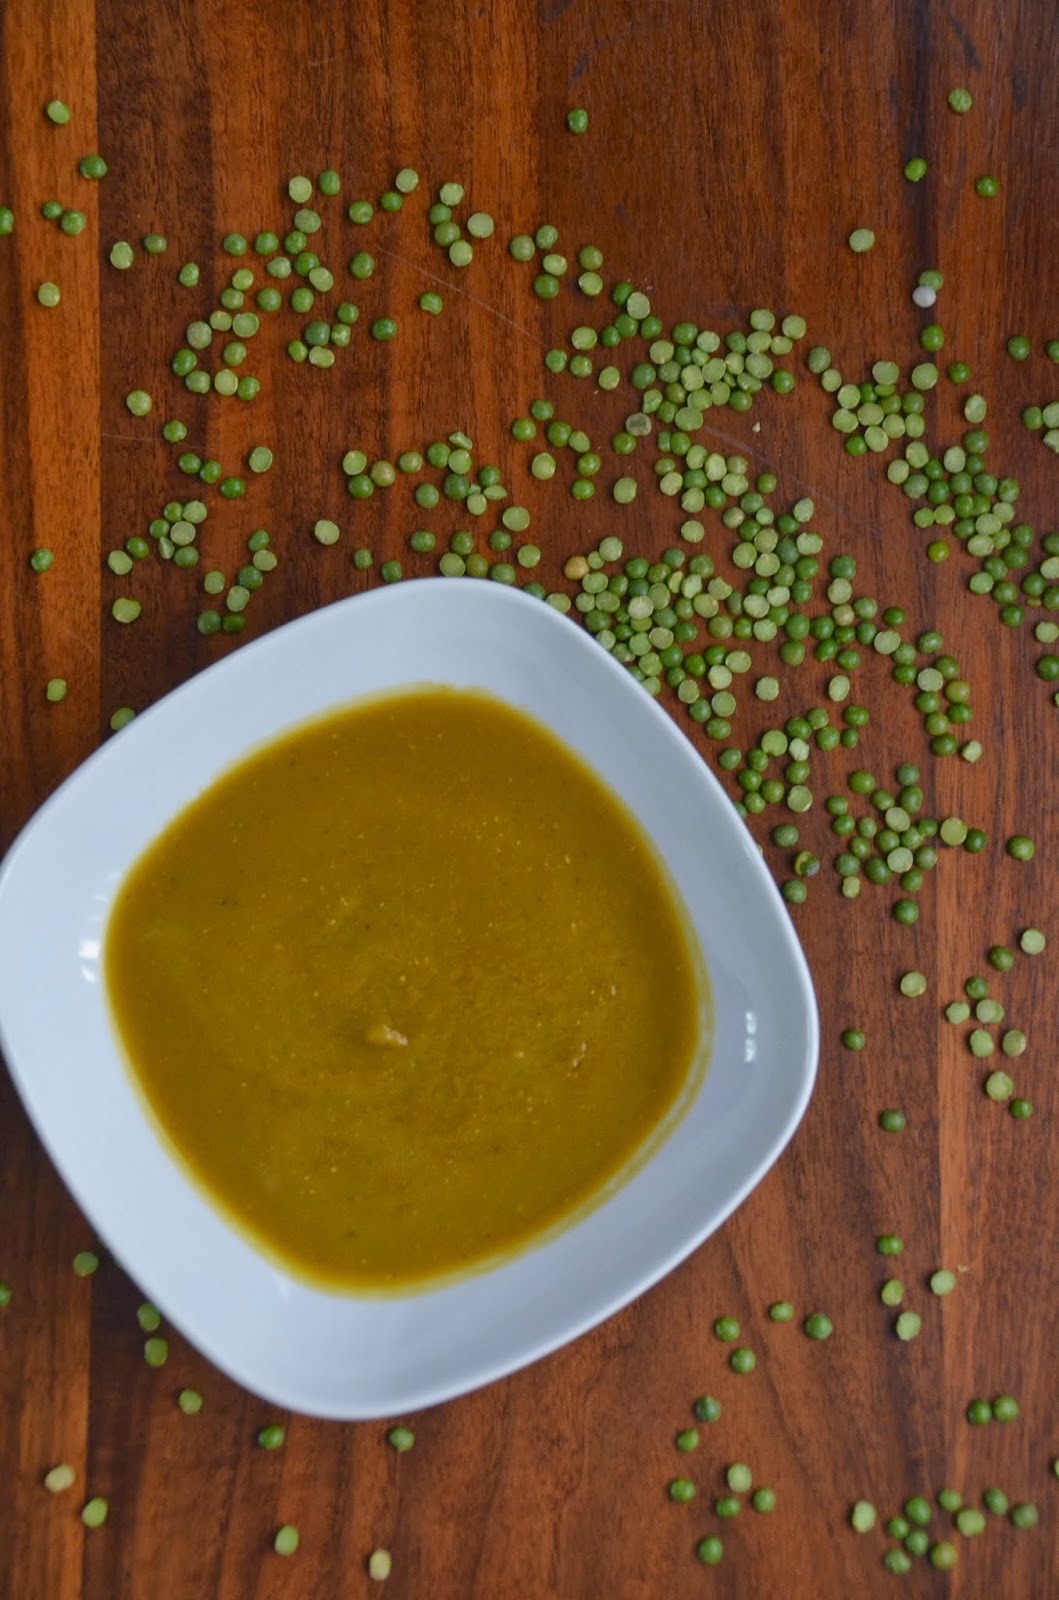
Guess what, it’s done!  Go ahead and taste it to see if you want to add more salt/pepper, my soup was on the thicker side but I like it like that…you can always add more stock or water at the end if you think it’s too thick.


Now in order to trick my kids into eating something that is so jammed packed with vitamins and other nutritional goodness, I have to veer off the vegan path.

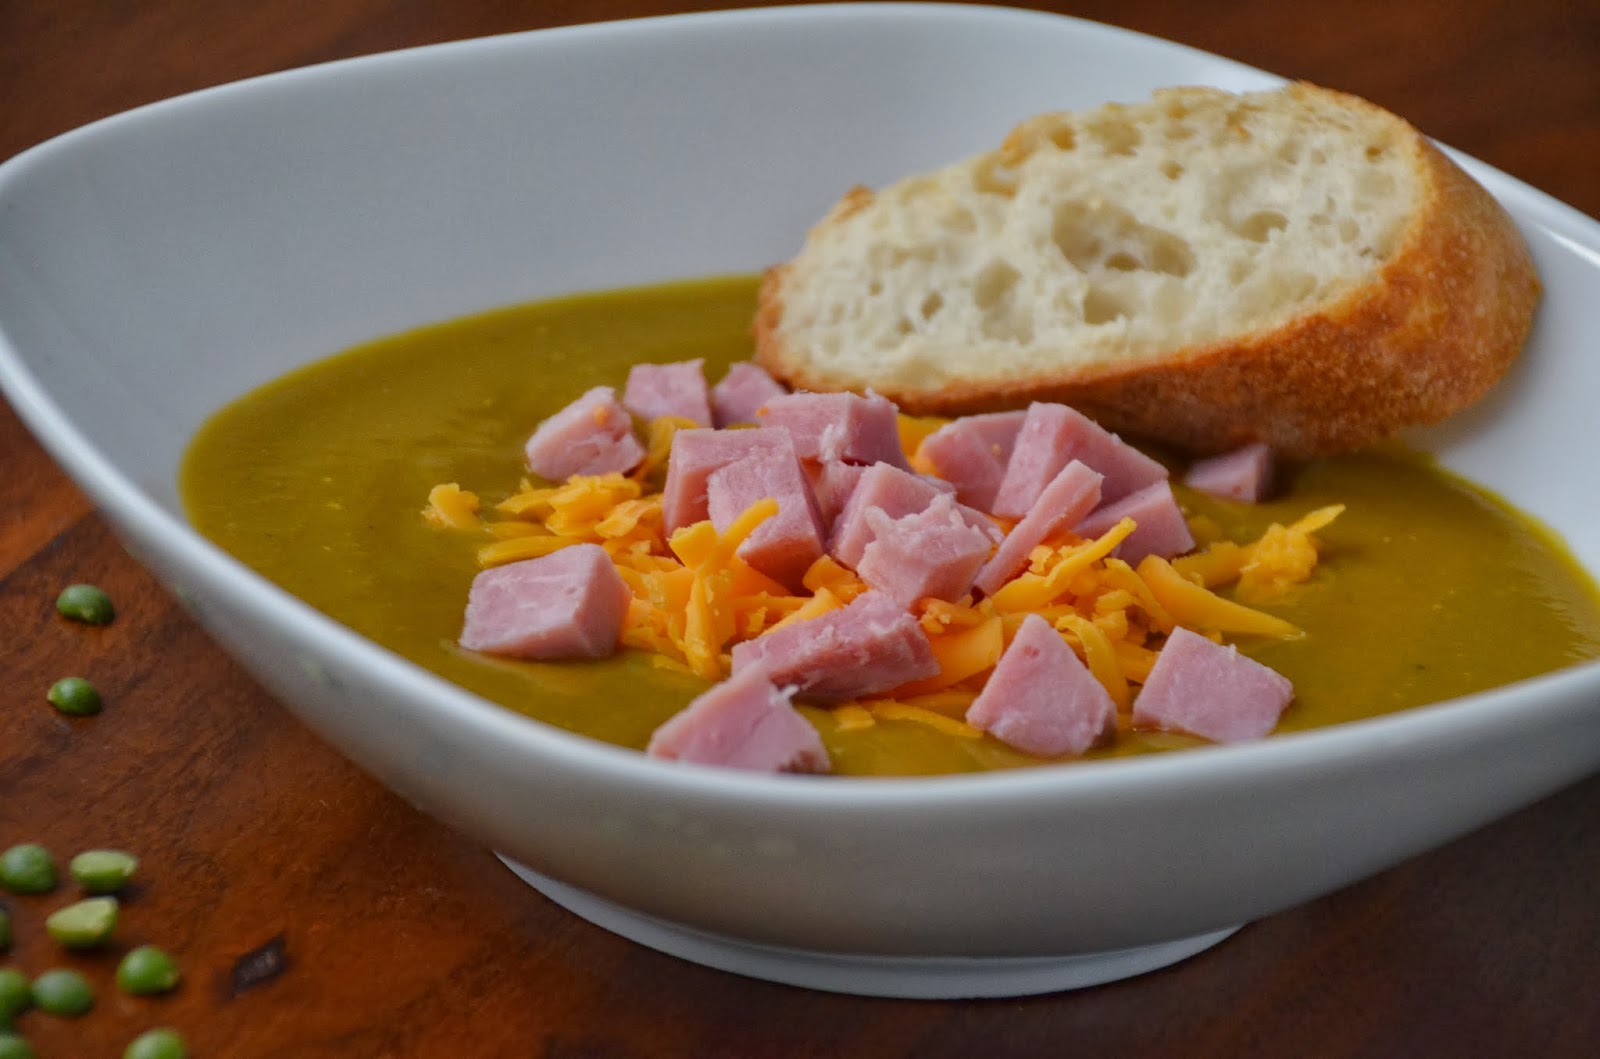
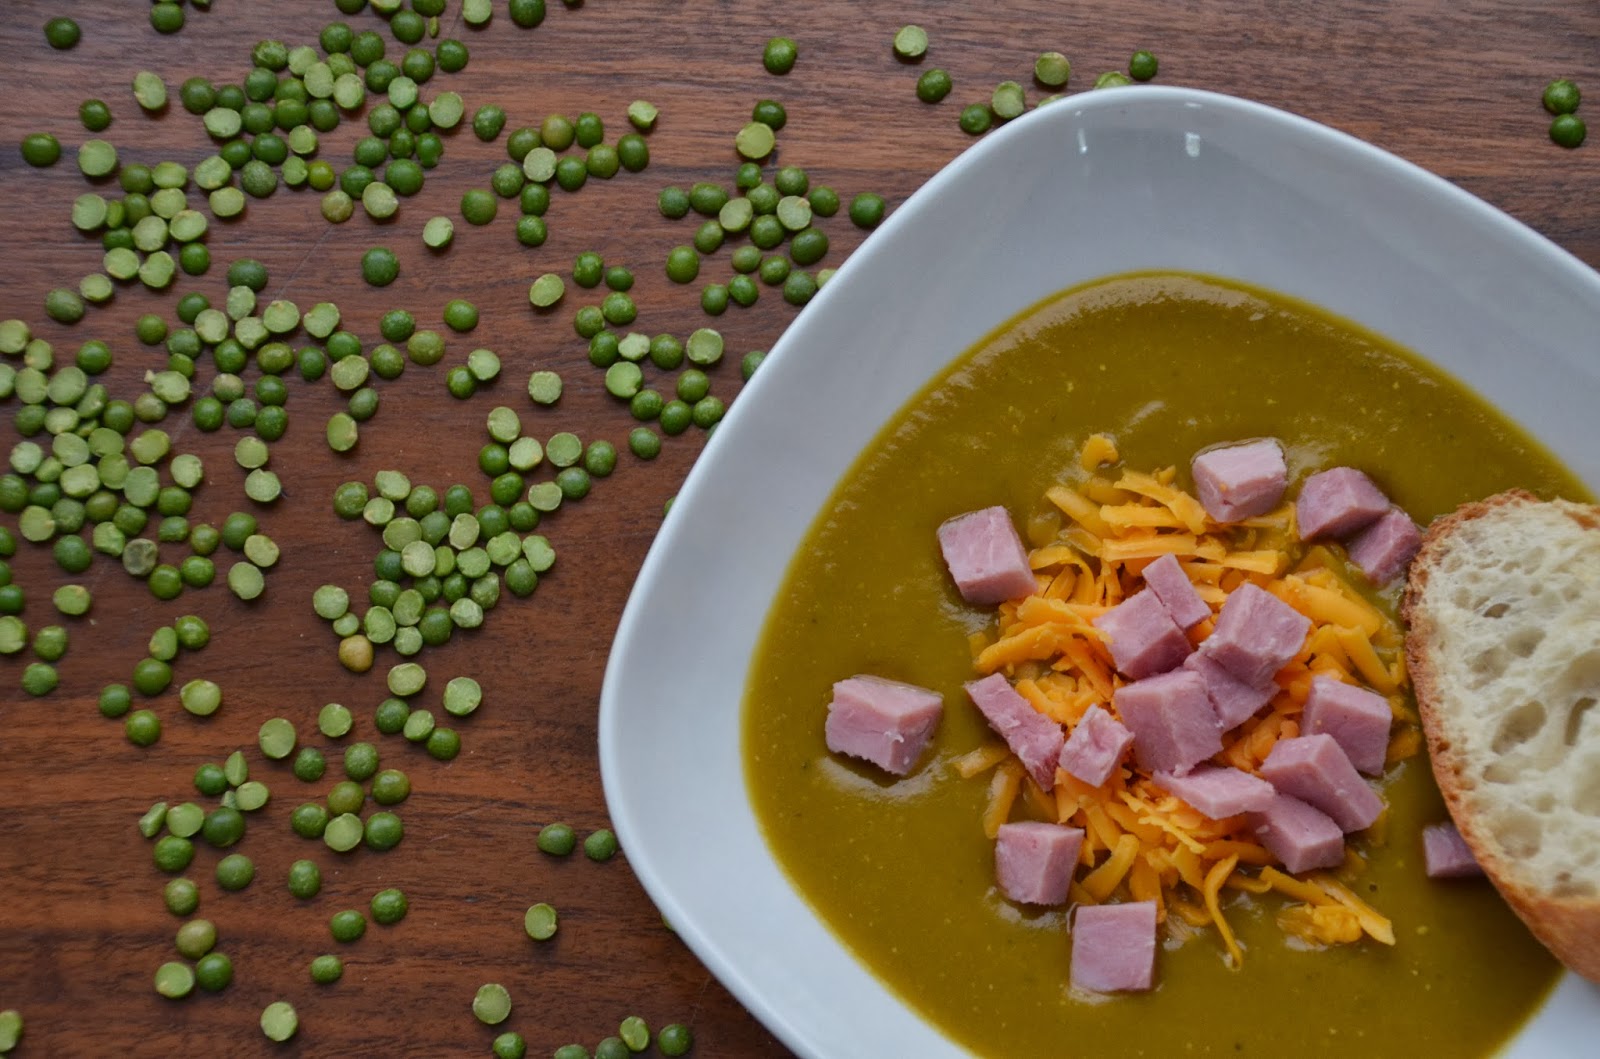
Green soup on its own isn’t very appealing to them…but green soup topped with ham and cheese is a totally different story.  


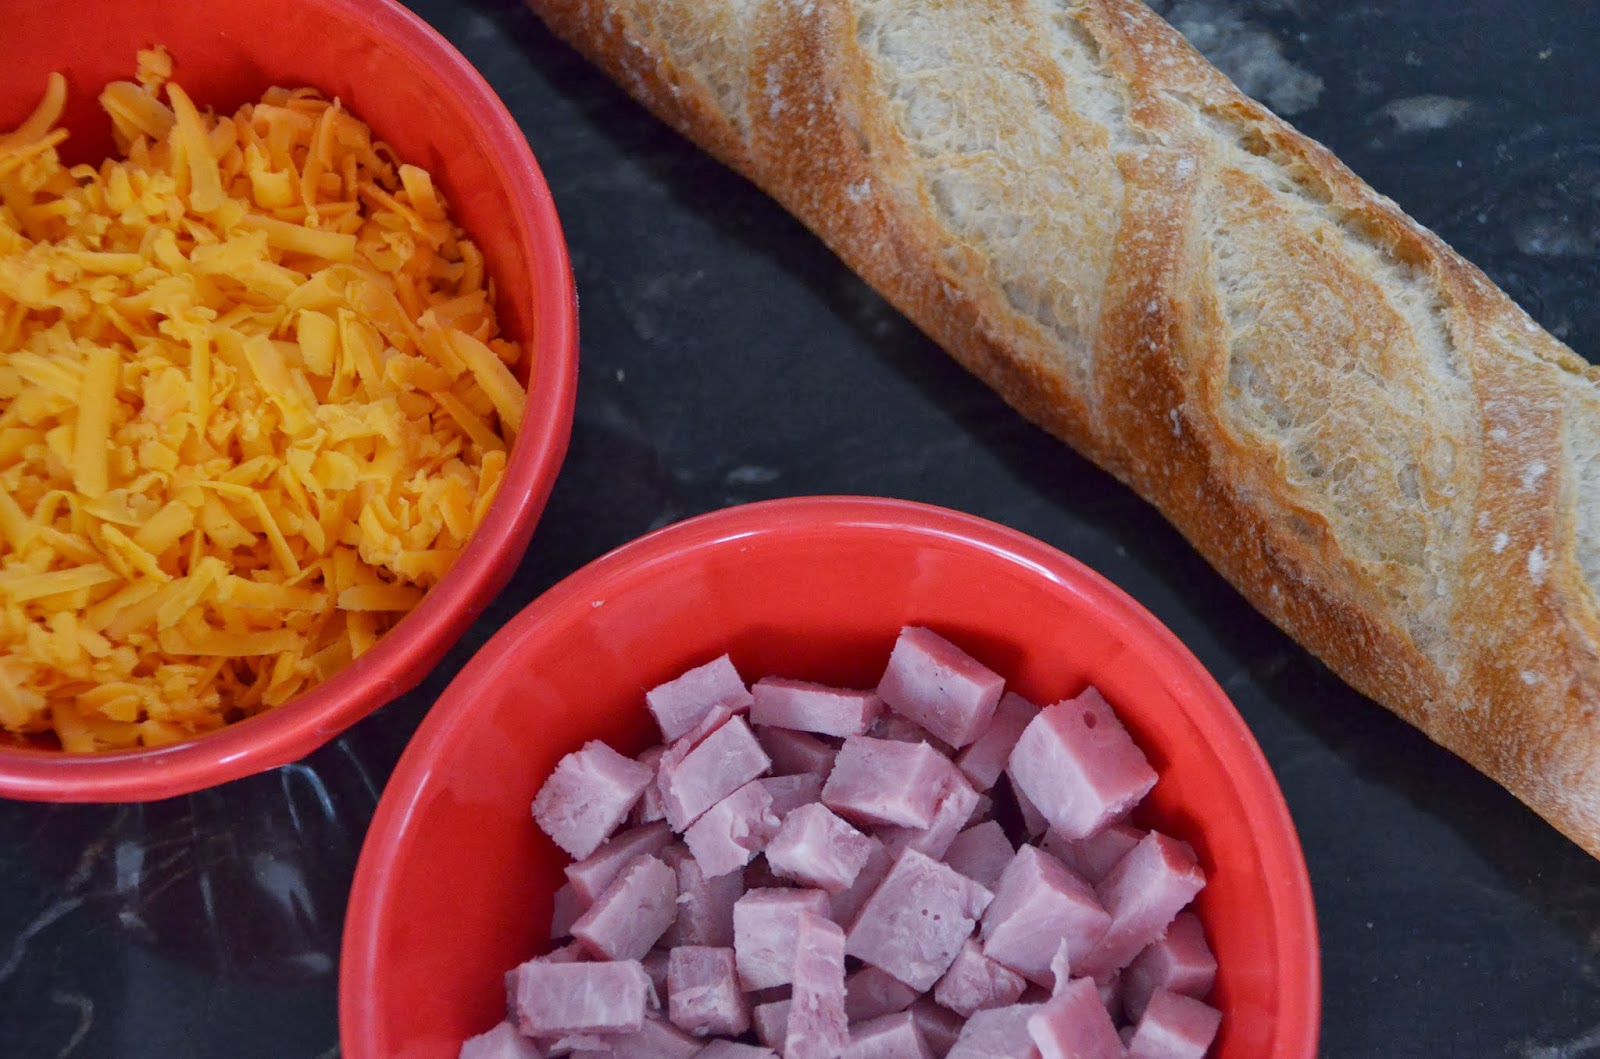
I cube up the ham (I just got a slab from the deli because that’s where it’s the freshest), shred some mild cheddar cheese, and then put it in bowls so they can top their own soup with what they like…this is fun for kids I promise.  I also bake a baguette for dipping (more fun).

And that’s it…


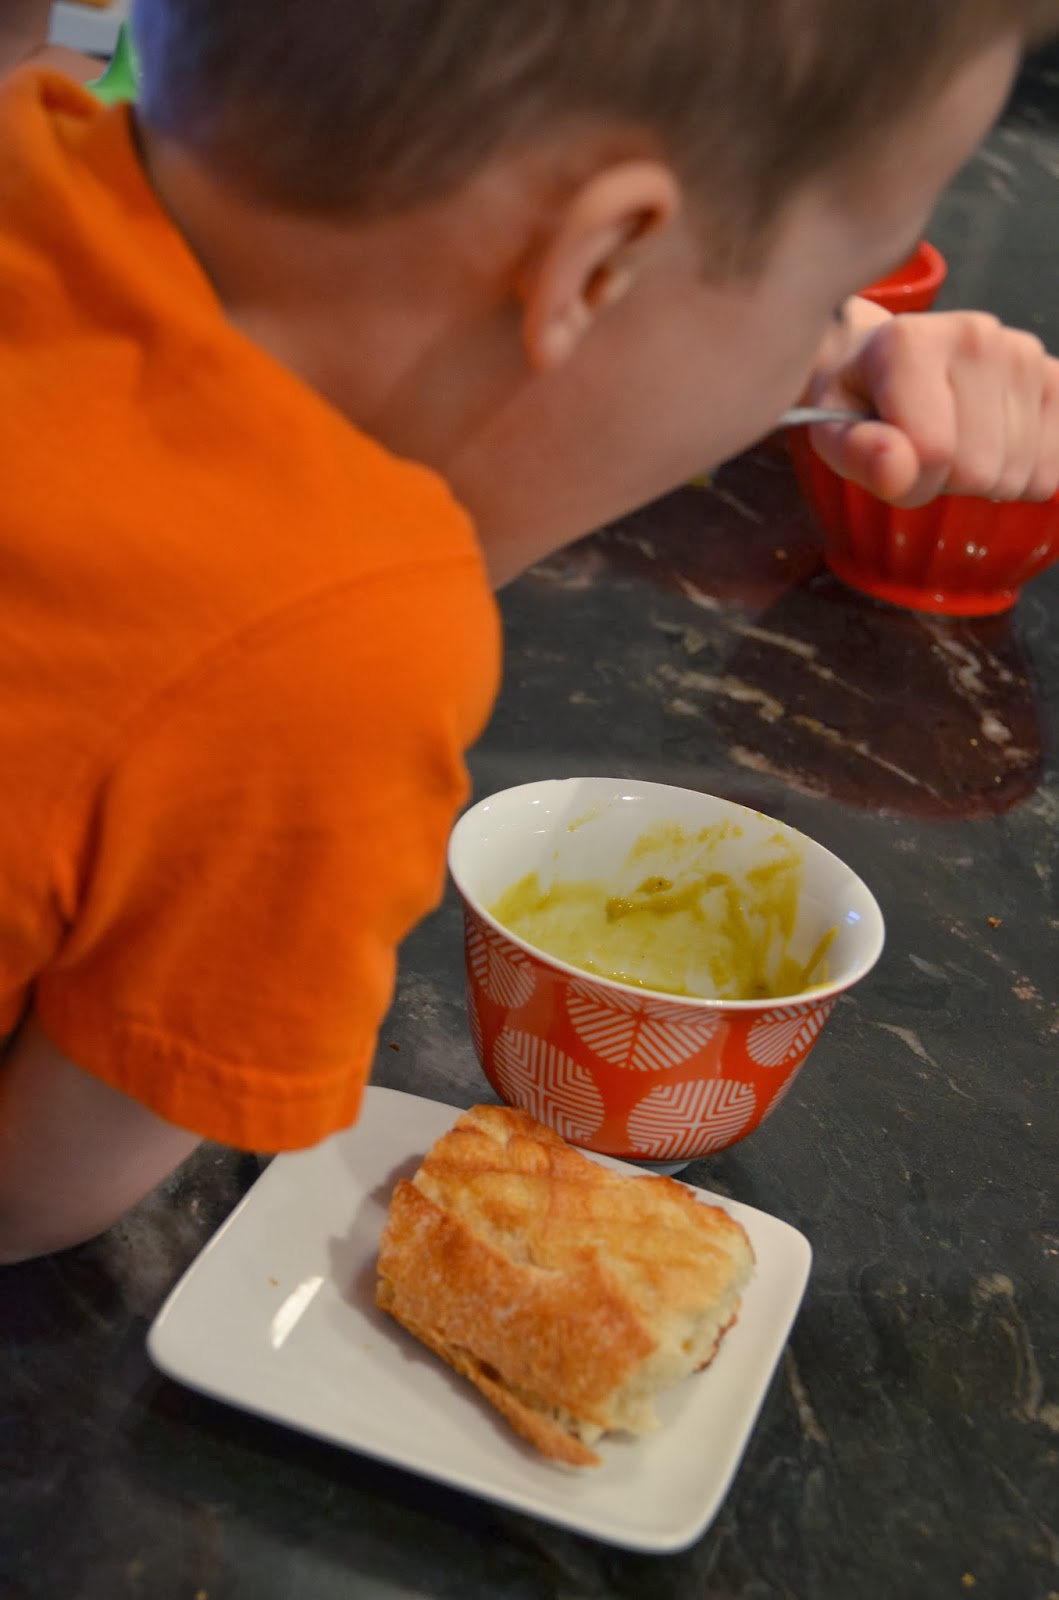
This soup TASTES LIKE BUTTA!  Here is my pickiest child chowing it down…


If you like split pea soup, you will love this recipe…and if you don’t like pea soup you will still love this recipe.  Make it and then trick your kids into eating it!  Muahahahahaha! (evil laugh)

Cheers!

The Good Cooker